
Want to turn your front walkway into the most talked-about spot on the block this Halloween? This DIY archway is built from pool noodles and PEX pipe, and you can have it standing by dinnertime.
Here’s the best part for teachers and parents: this isn’t just a craft. It’s a hands-on engineering project.
Your kids (or your classroom) will get to see real physics in action. They’ll watch a floppy foam noodle become a rigid, self-supporting arch, just by adding one flexible pipe down the middle. That’s a genuine lesson in structural engineering, and they won’t even realize they’re learning.
If you love the spooky vibe but want something more versatile for a wedding or garden party, this same technique works for that too. We’ll cover those variations further down.
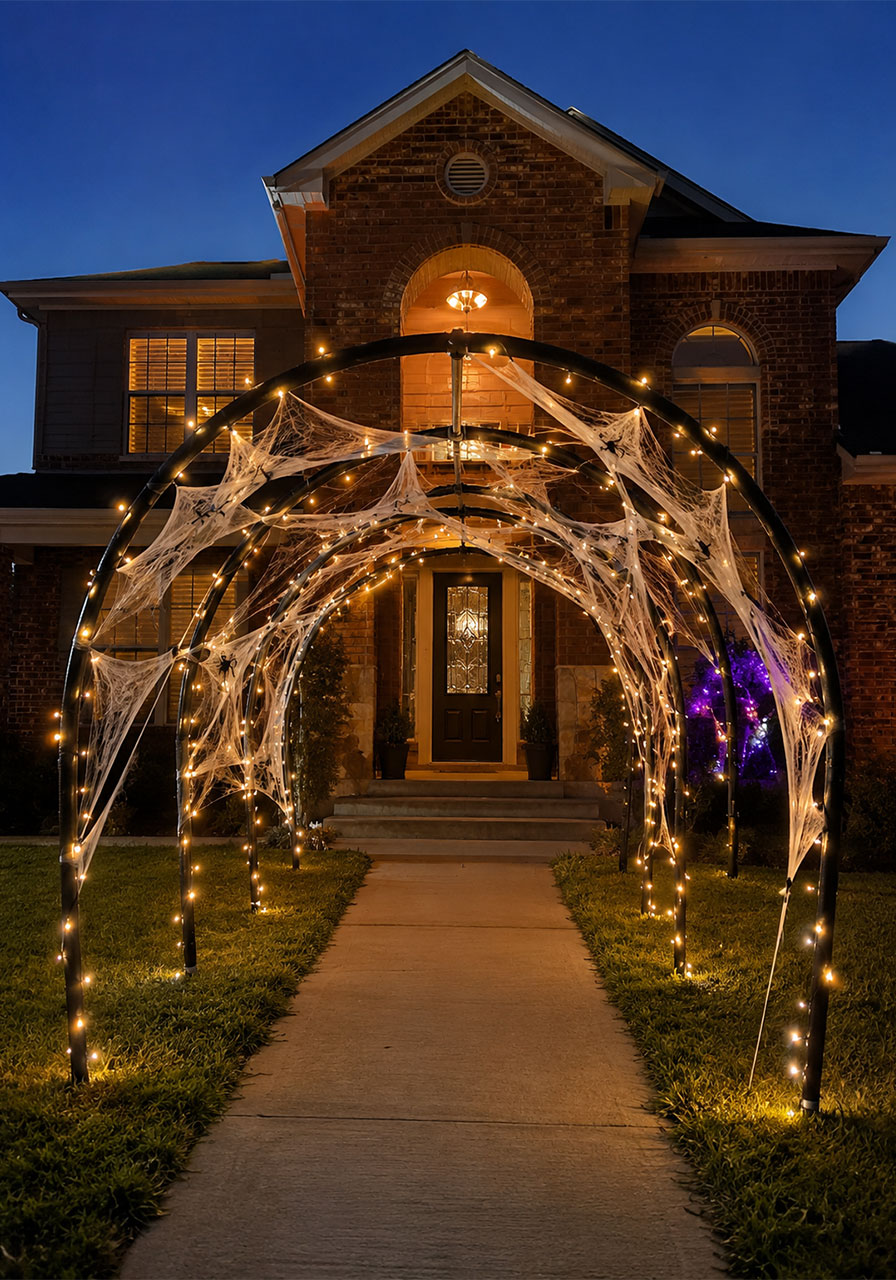
Quick Answer: How Do You Make a Cheap Halloween Arch?
You can build a lightweight, freestanding archway in four simple steps:
1. The Base: Hammer broom handles or garden stakes into the ground on either side of your path.
2. The Arch: Thread PEX pipe or PVC tubing through hollow pool noodles to create a flexible, curved shape.
3. Connect: Slide the ends of the PEX pipe over the ground stakes to secure the arch.
4. Decorate: Spray paint the noodles black or stone-colored, then wrap with spider webs and lights.

Why This Is a Perfect Family (or Classroom) STEM Project
Before we get into the steps, let’s talk about why this project is worth the afternoon.
A pool noodle by itself has zero structural strength. Bend it, and it just flops over. But slide a length of PEX pipe through the center, and suddenly it holds a perfect curved shape under its own weight.
That’s a real-world demonstration of how a flexible material gains rigidity when it’s reinforced. It’s the same basic principle behind tent poles, umbrella ribs, and even some bridge designs.
If you’re a teacher, this is a fantastic tie-in for a lesson on forces, materials, or simple engineering design challenges. If you’re a parent, it’s a great excuse to get the kids outside, measuring, testing, and problem-solving together.
And when it’s done, you get a genuinely impressive Halloween decoration out of it. Win-win.
Materials Needed
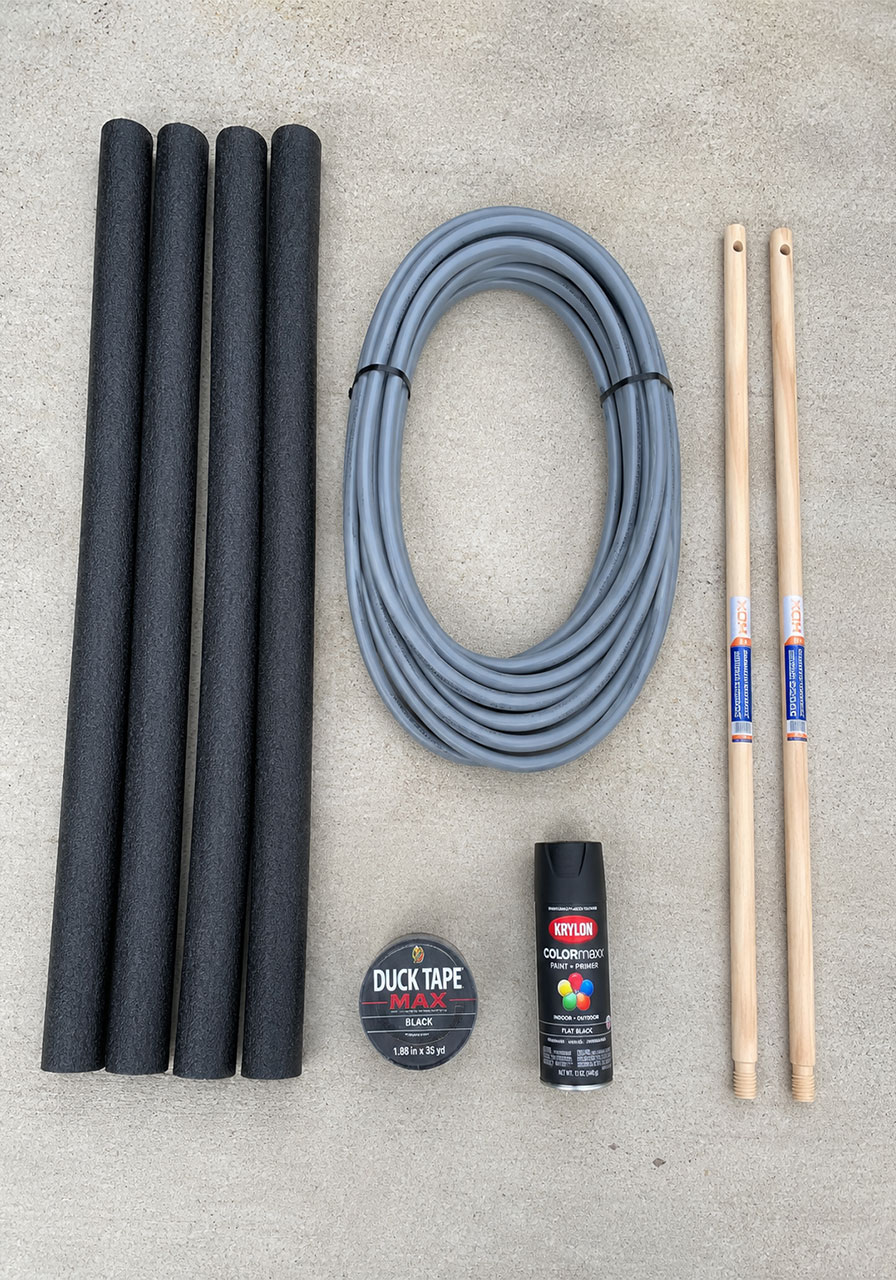
Pool Noodles: 4 noodles per arch (12 total if you want a triple archway tunnel). Black ones save a painting step, but any color works.
Broom Handles or Garden Stakes: 2 per arch, used to anchor it into the ground.
PEX Pipe (or 1/2 inch PVC): This goes inside the pool noodles to keep them stiff but flexible. You’ll want about 10-12 feet per arch.
Duct Tape: To connect noodles end-to-end. (Skip the hot glue. It melts the foam.)
Black Spray Paint: For the base color, if your noodles aren’t already black.
Stone Texture Spray Paint: Optional, but it gives the arch a creepy, aged, gargoyle-like finish.
Decorations: Solar string lights, fake spider webs, or plastic chains.
Total cost: Around $20-30 per archway, depending on what you already have on hand.
How to Make a Halloween Archway
Step 1: Set the Ground Stakes
Start by mapping out where you want your archway to go. A front walkway or porch entrance works great.
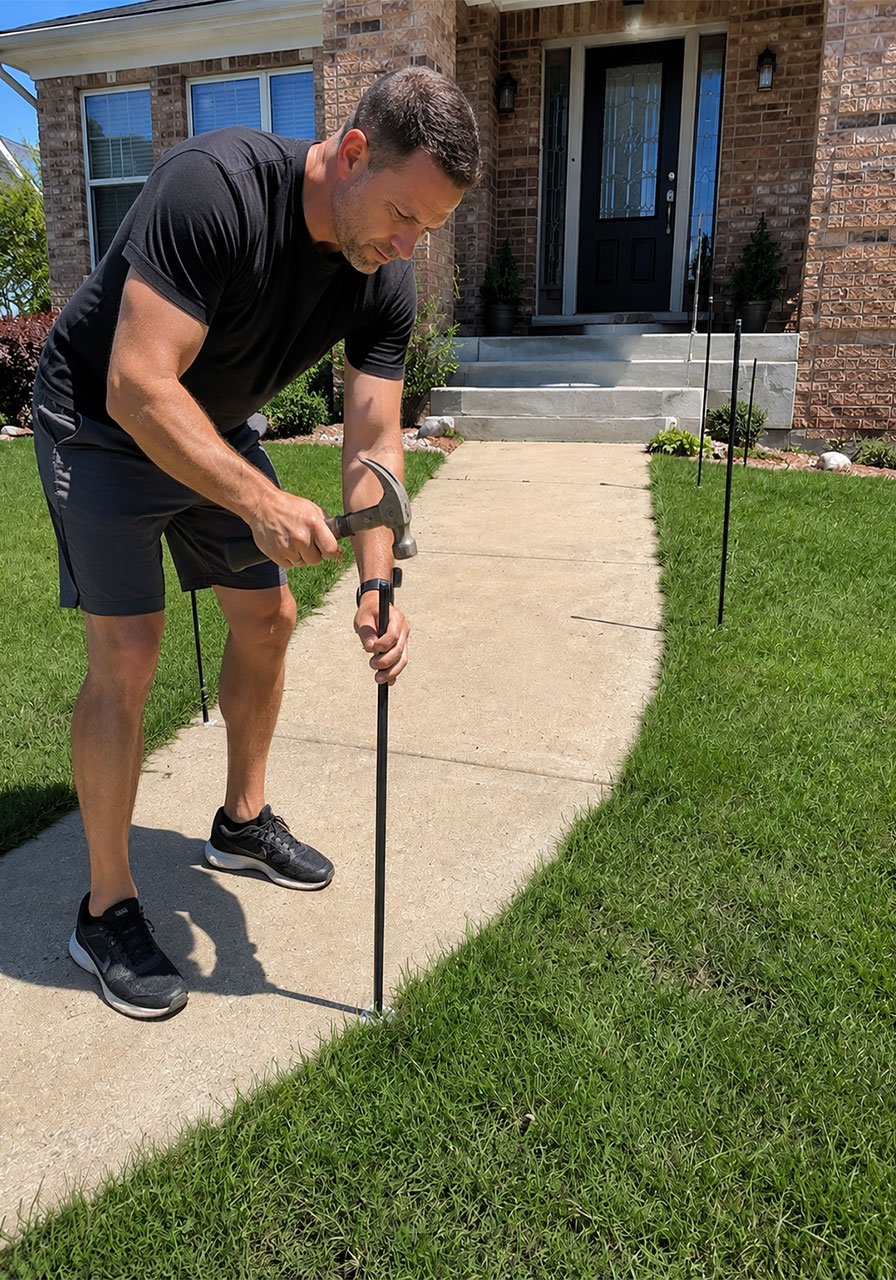
Hammer your broom handles (or garden stakes) into the ground on either side of your walkway, directly across from each other.
Pro Tip: Hammer the stakes at least 6-10 inches into the ground. This is the single biggest factor in whether your arch stays standing in the wind, so don’t skip it.
If you want the stakes to disappear at night, spray paint them black before you set them.
Step 2: Prep the “Stone” Noodles
Grab your pool noodles and remove any tags or stickers.
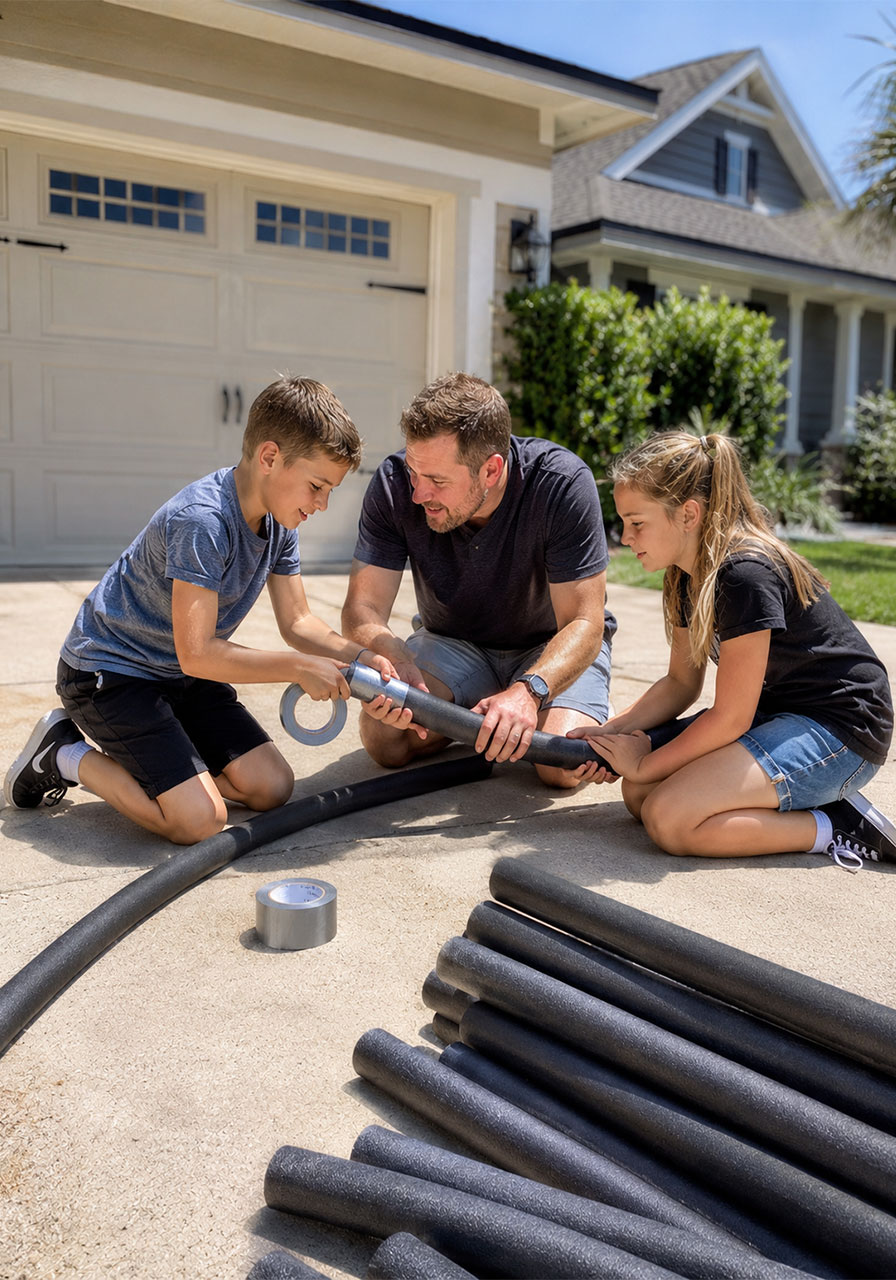
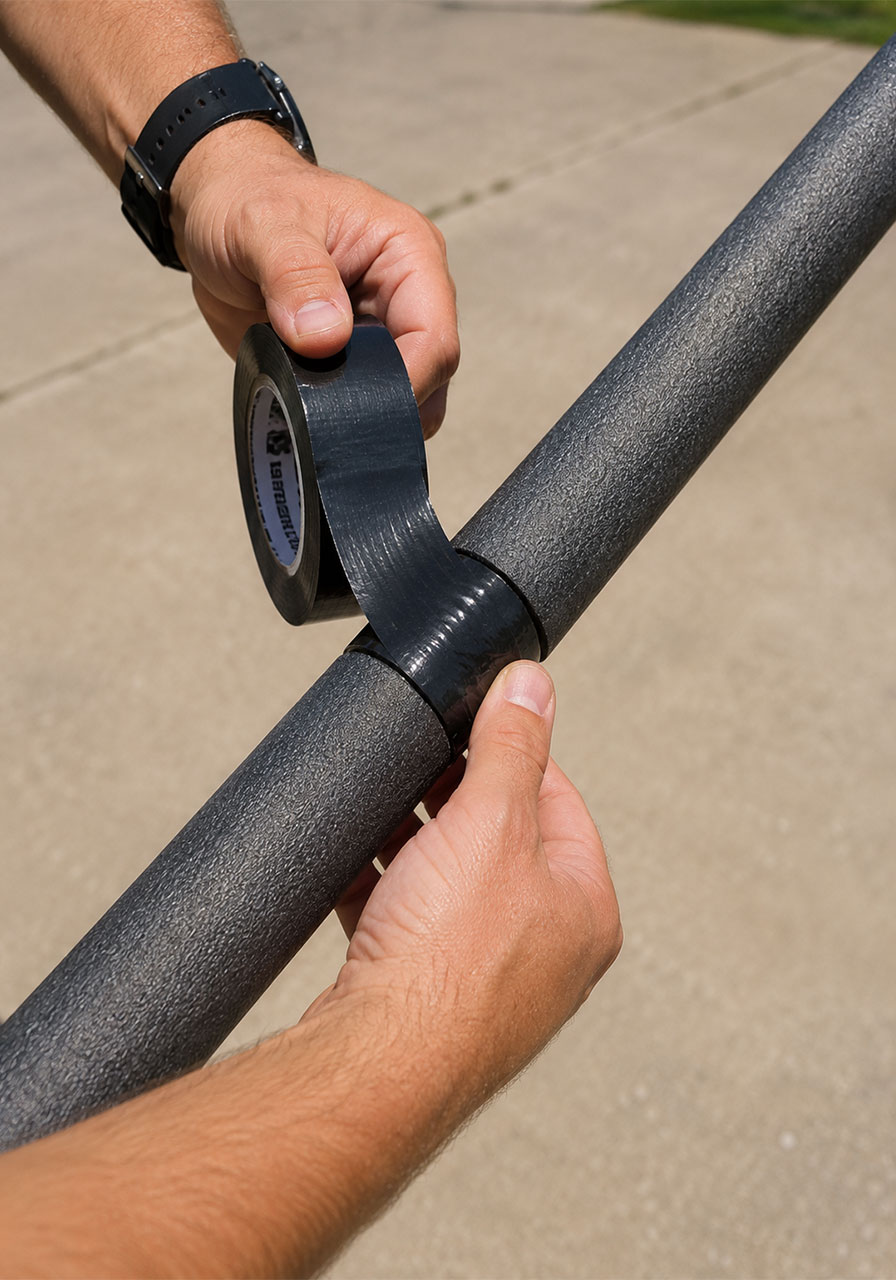
Tape your pool noodles together end-to-end to make one long tube. Duct tape is your friend here. Wrap it firmly at each seam so the noodles don’t twist apart later.
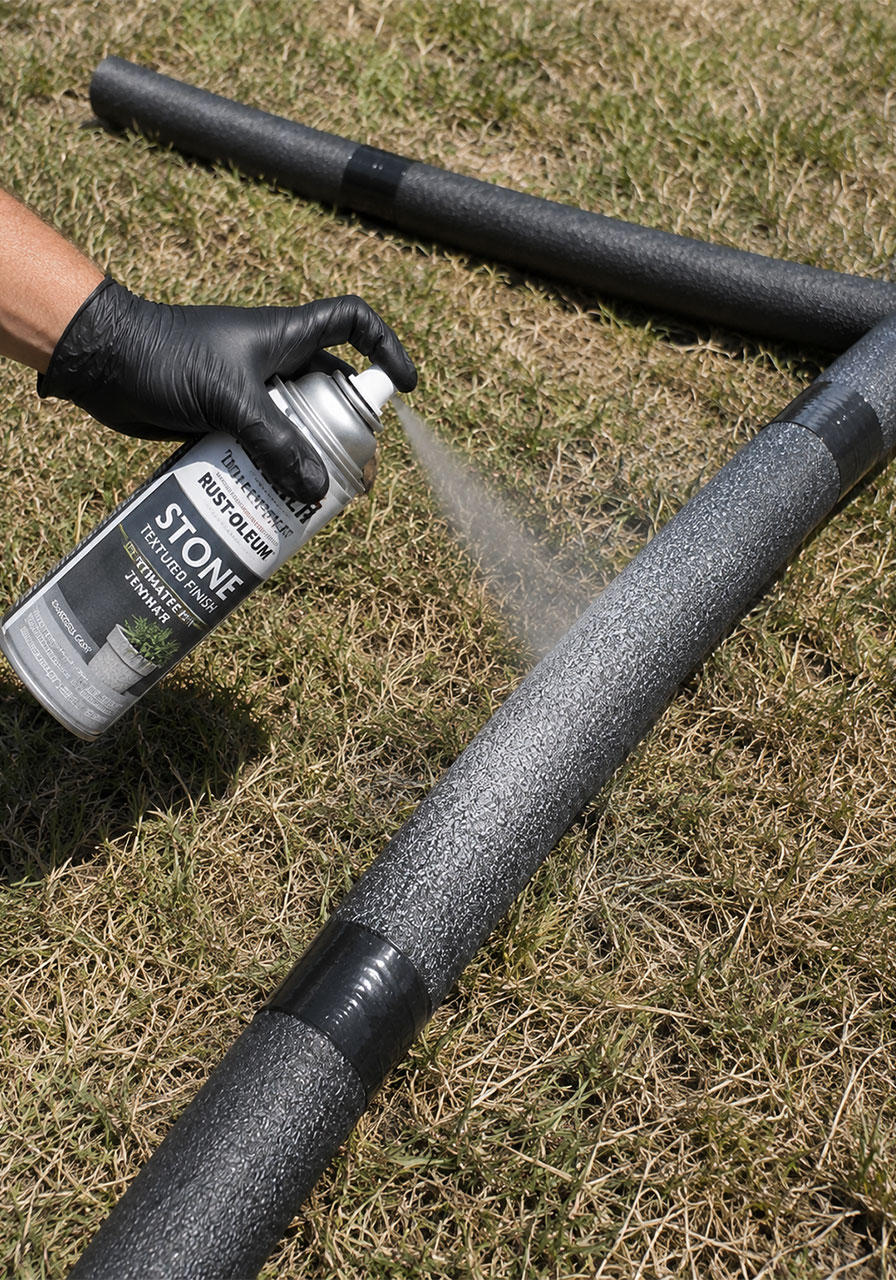
If you couldn’t find black noodles, spray paint them black first and let them dry completely.
Once the black coat is dry, lightly mist the noodles with Stone Texture Spray. This step is optional, but it makes a huge difference. It gives the foam a cool, gargoyle-like finish that photographs beautifully at night.
Step 3: Build the Arch Structure
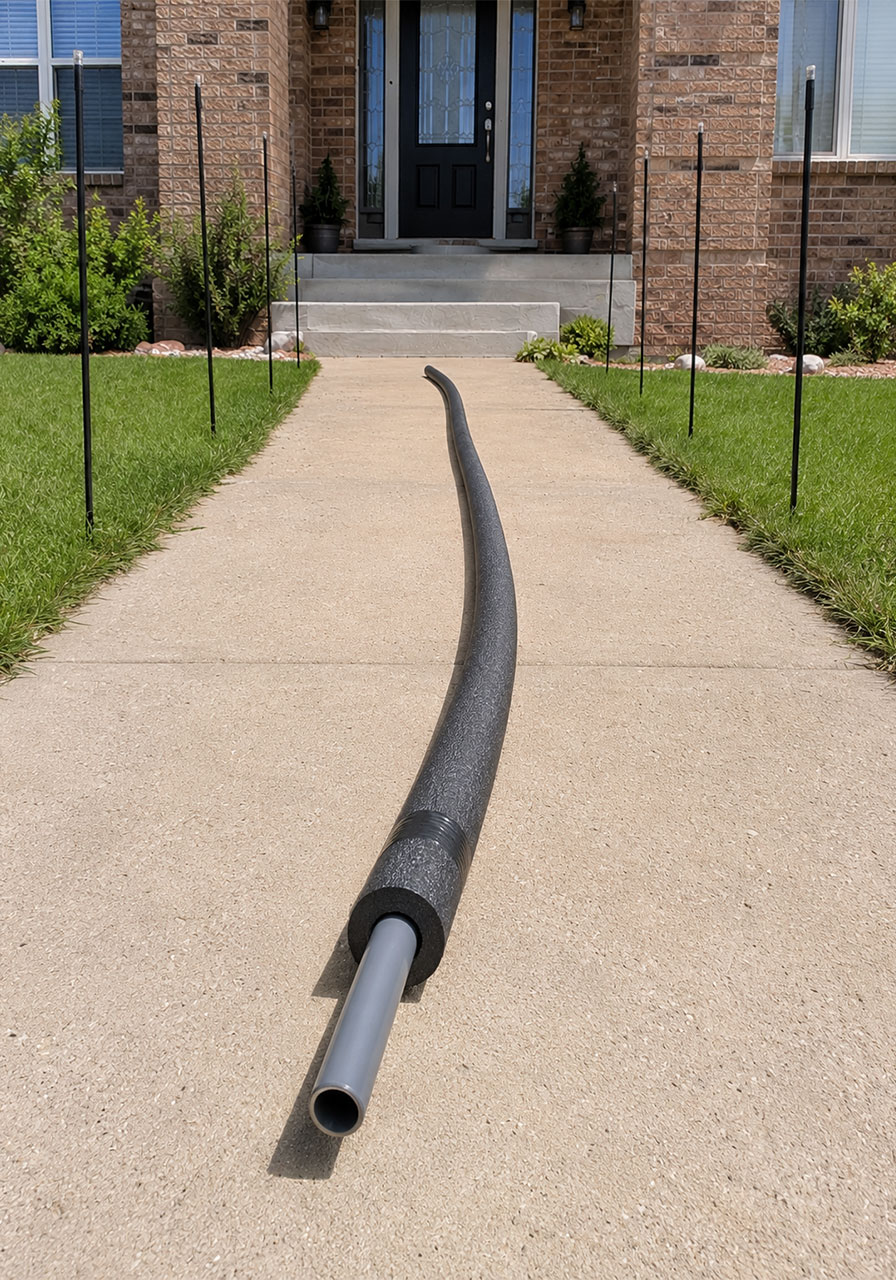
Feed your PEX pipe all the way through the hollow center of your taped-together pool noodles.
This part takes a little patience, especially with a long run of noodles. Go slowly and keep pushing the pipe forward in small sections.
Why PEX? It’s flexible enough to bend into a smooth arch shape, but strong enough to keep the noodles from flopping over. This is the exact structural principle we mentioned earlier, and it’s worth pointing out to your kids as you build.
Step 4: Assemble the Archway
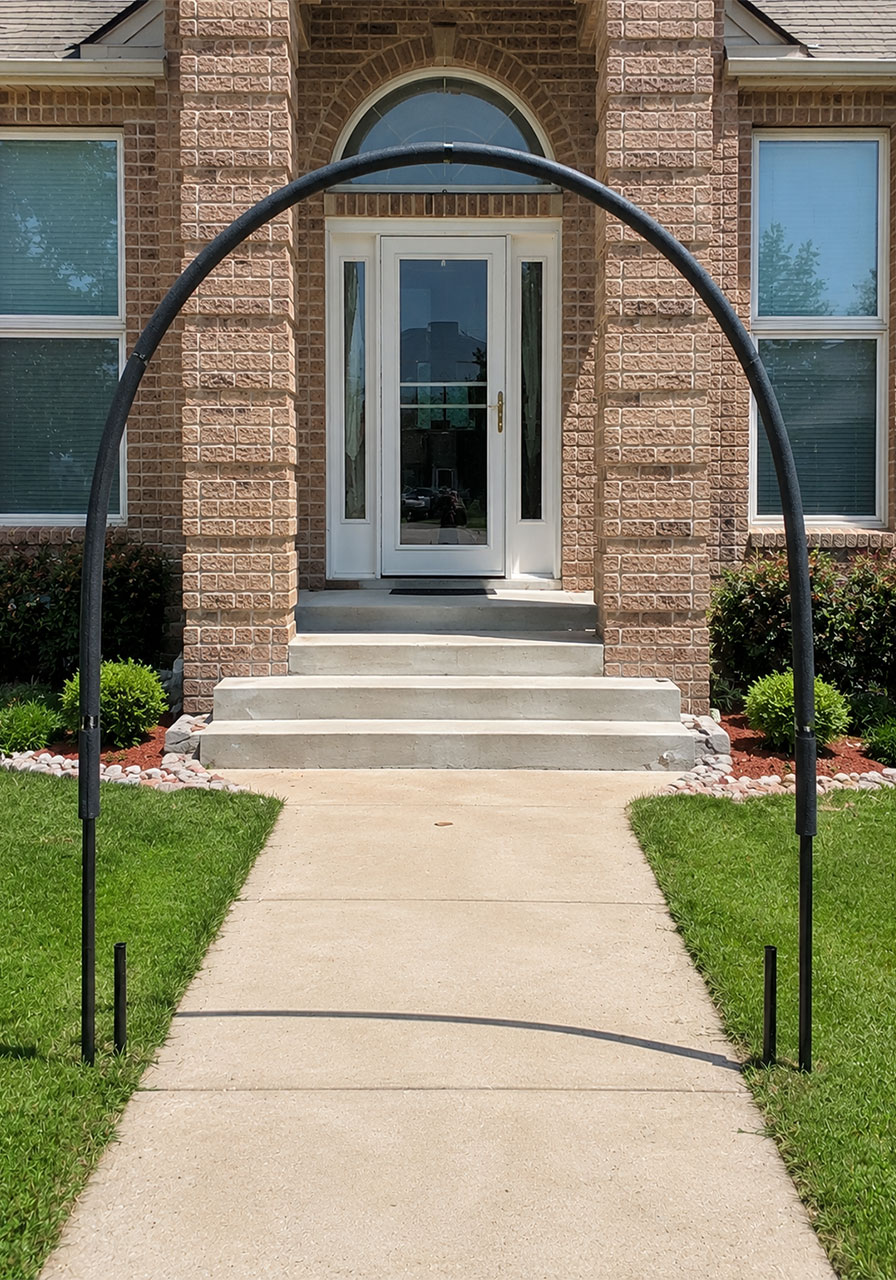
Take one end of your PEX pipe (sticking out of the noodle) and slide it over the broom handle stake on the left side.
Now bend the entire noodle structure over the walkway to create the arch shape.
Secure the other end of the pipe onto the broom handle stake on the right side.
Step back and check your arch. It should hold its curve on its own, with no sagging.
If you’re building a tunnel effect, repeat this entire process for each additional archway, spacing them a few feet apart down the walkway.
Step 5: Add Spooky Lighting
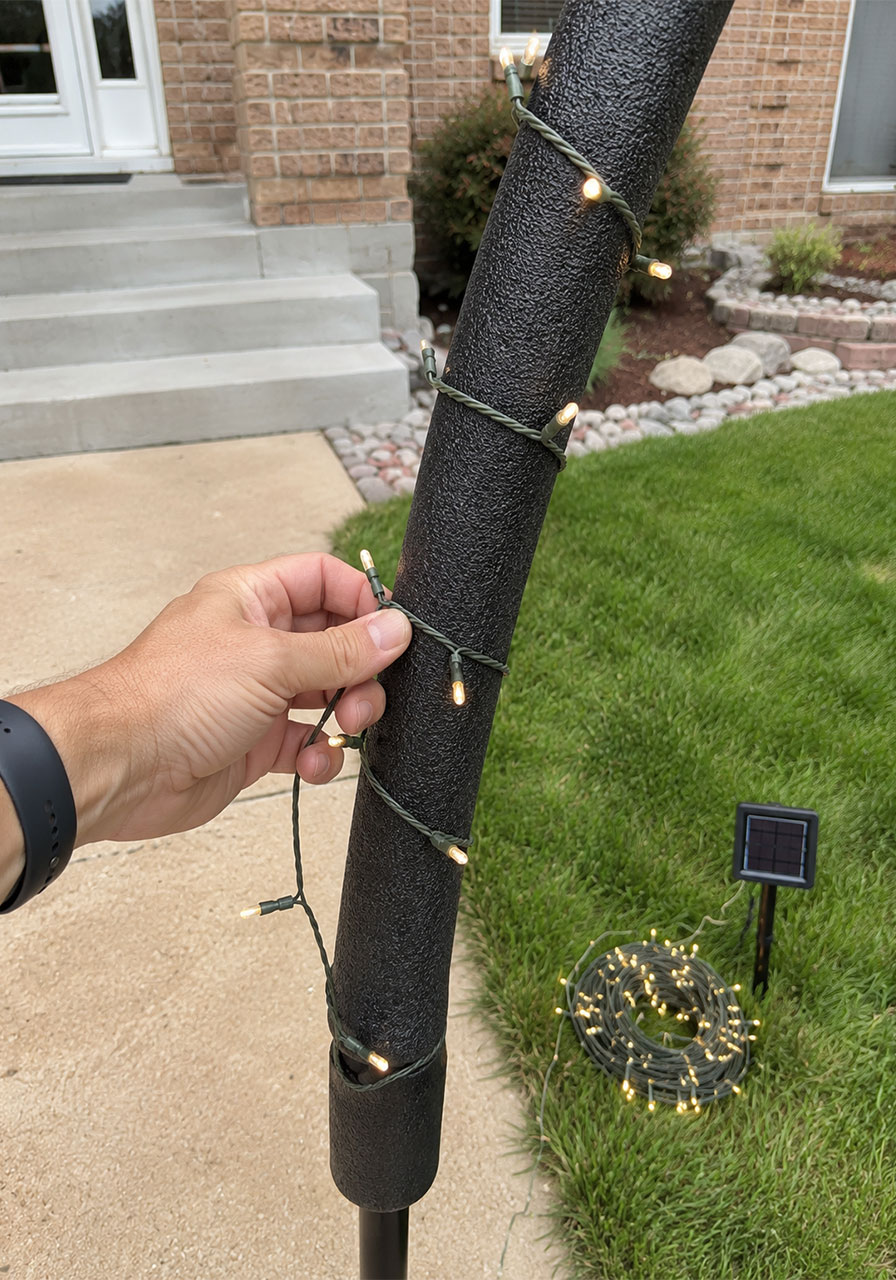
Stake a solar panel into the ground where it will get full sun during the day.
Wind solar string lights around the pool noodles, working from one end of the arch to the other.
This keeps your archway glowing at night without a single extension cord running across the lawn, which matters a lot if you have trick-or-treaters walking through.
Step 6: Embellish!
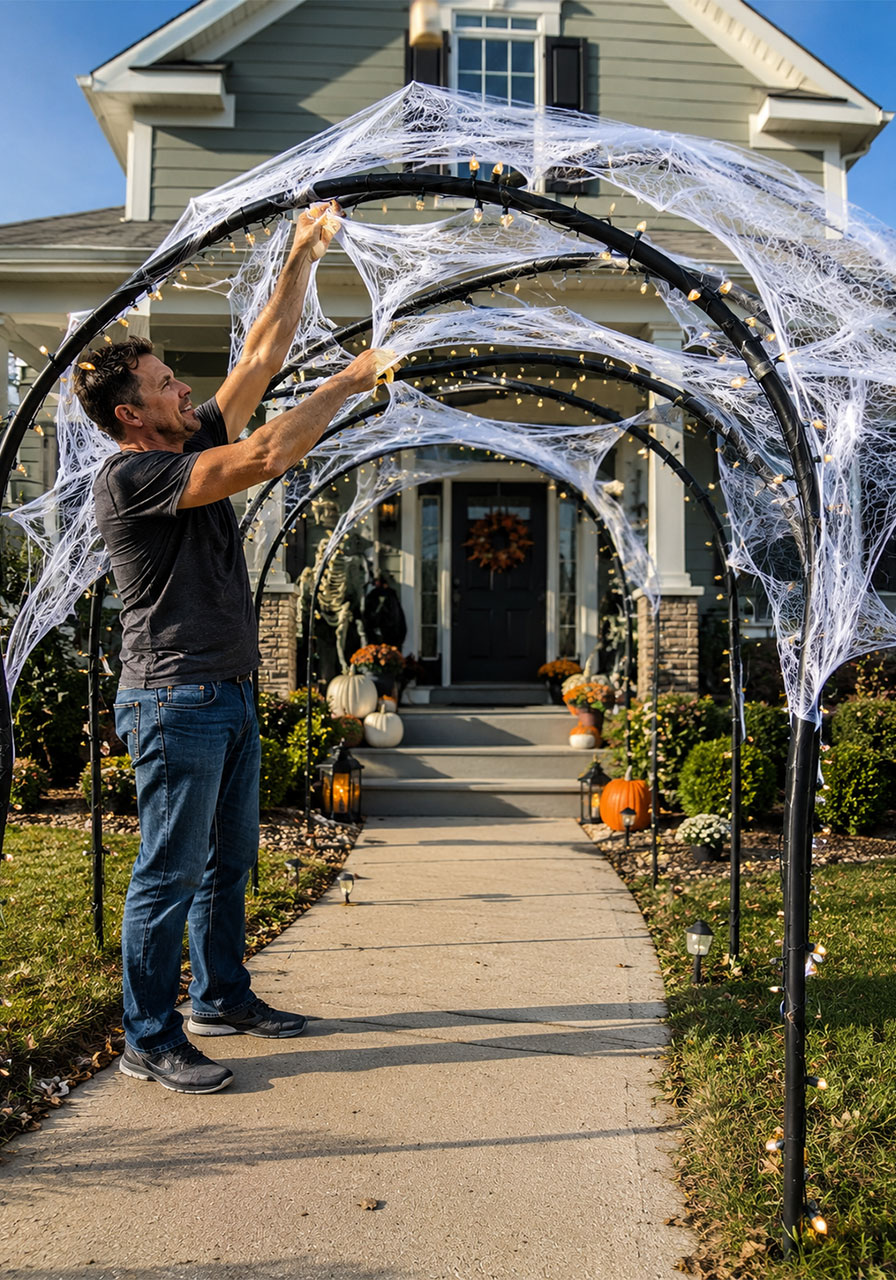
Now for the fun part. Drape fake spider webs over the arches and let them catch the wind for extra movement.
You can also attach plastic jack-o-lanterns, ghosts, or plastic chains for added texture.
Step back, turn on the lights, and admire your work. This is genuinely one of the easiest high-impact decorations you can build in a single day.
Frequently Asked Questions
My archway keeps falling over. What should I do?
If the PEX pipe isn’t rigid enough, switch to 1/2 inch PVC pipe instead. It’s slightly stiffer and holds its shape better.
Also double-check your ground stakes. They need to be hammered at least 6-10 inches into the ground for real stability, especially if you get any wind.
Can I make this without stakes?
Yes, if you’re working on a concrete porch or patio where you can’t hammer stakes into the ground. Use 5-gallon buckets filled with concrete or sand as your base instead.
Just stick the PVC pipe directly into the bucket to hold the arch upright. This also makes the whole structure portable, which is handy if you want to reuse it for a school event or a different spot in the yard.
How do I store this after Halloween?
This is genuinely one of the best parts of the project. It breaks down in minutes.
Slide the PEX pipe off the stakes, untape the pool noodles, and store everything in a bundle. It takes up almost no space in the garage, and you can rebuild it again next year in an afternoon.
Is this safe for kids to help build?
Absolutely, and we’d encourage it. Kids can help with taping the noodles, threading the pipe, and decorating.
Save the hammering and stake placement for an adult, just to be safe. Everything else is a great hands-on task for kids ages 6 and up.
Can I make a bigger tunnel version for a school event or party entrance?
Yes, and it’s a great option for a fall festival, a class party, or a haunted trail. Simply repeat the full build for each archway and space them 3-4 feet apart down your walkway.
For a classroom or PTA event, consider assigning each arch to a different group of students. It turns the whole project into a collaborative engineering challenge.
5 Ways to Make Your Archway Spookier
The base structure you just built is really just a blank canvas. Here’s how to push it toward full haunted-house energy.
1. Add Fog for a Creeping Mist Effect
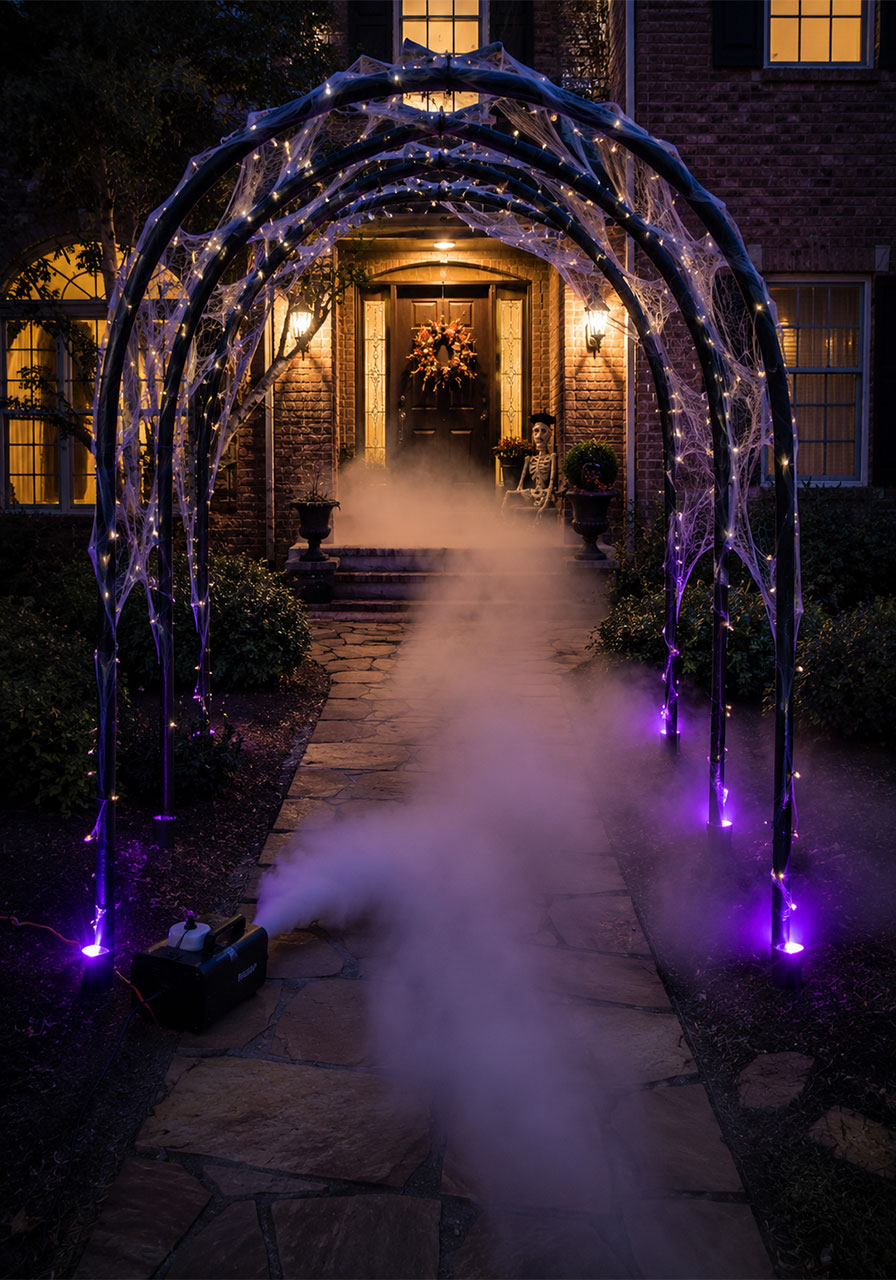
A small tabletop fog machine placed at the base of the archway creates a low, rolling mist that drifts through the walkway. It’s one of the cheapest upgrades that makes the biggest visual difference at night.
Set the fog machine on the ground just inside the arch, angled so the mist flows toward your front door rather than back toward the street. Pair it with colored uplighting for an eerie glow.
2. Switch to Purple or Green LED Lights
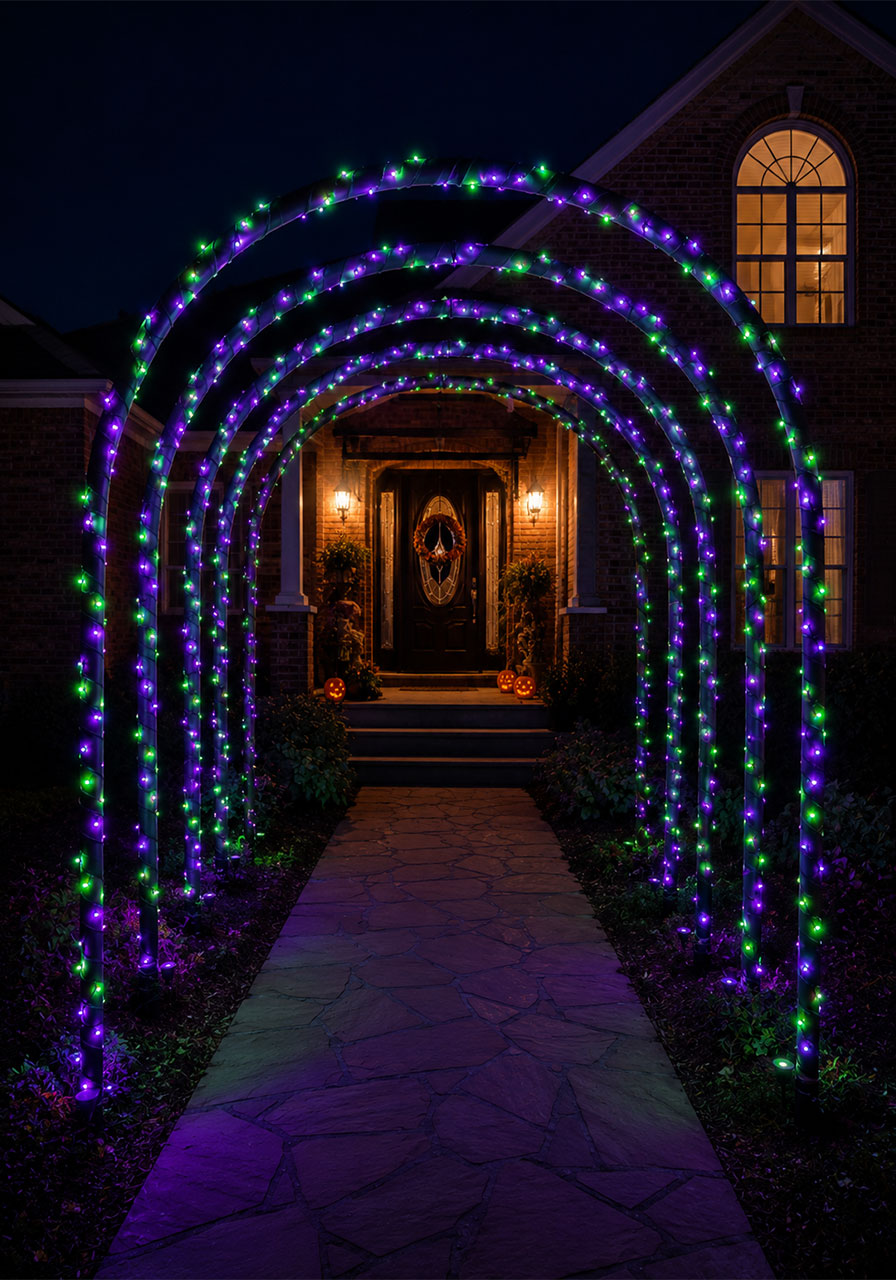
Warm white lights look magical, but colored LEDs instantly shift the mood toward spooky. Purple and green both read as classic “haunted” colors.
Simply swap your solar string lights for a colored LED strand, and wind them the same way you did in Step 5. No other changes needed.
3. Hang Skeleton Hands or Bones Along the Frame
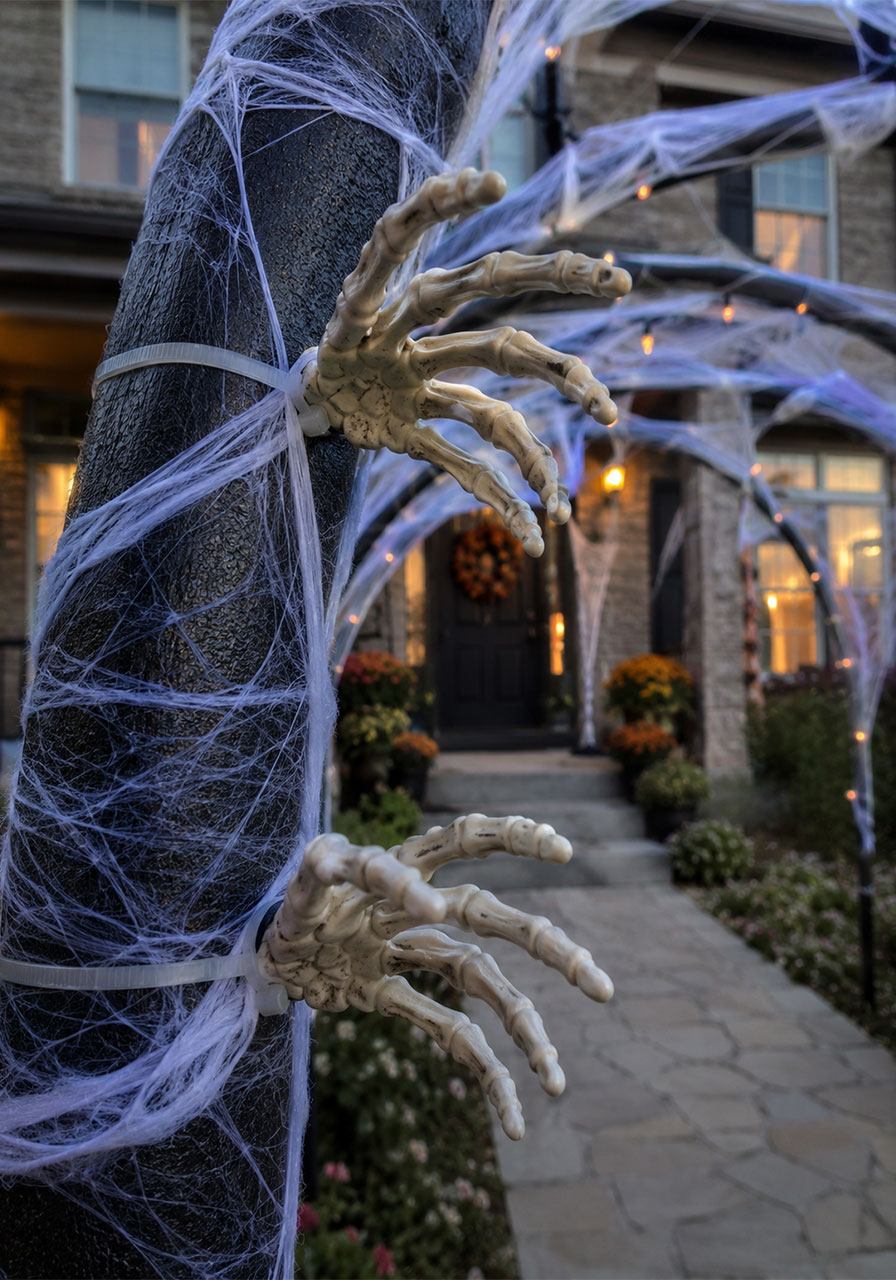
Small plastic skeleton hands, ribs, or bones can be zip-tied directly onto the pool noodle frame, poking through the fake spider webs.
This works especially well if you position a few hands as if they’re “reaching” out from inside the webbing toward anyone walking underneath.
4. Add a Fake Crow or Raven Perched on Top
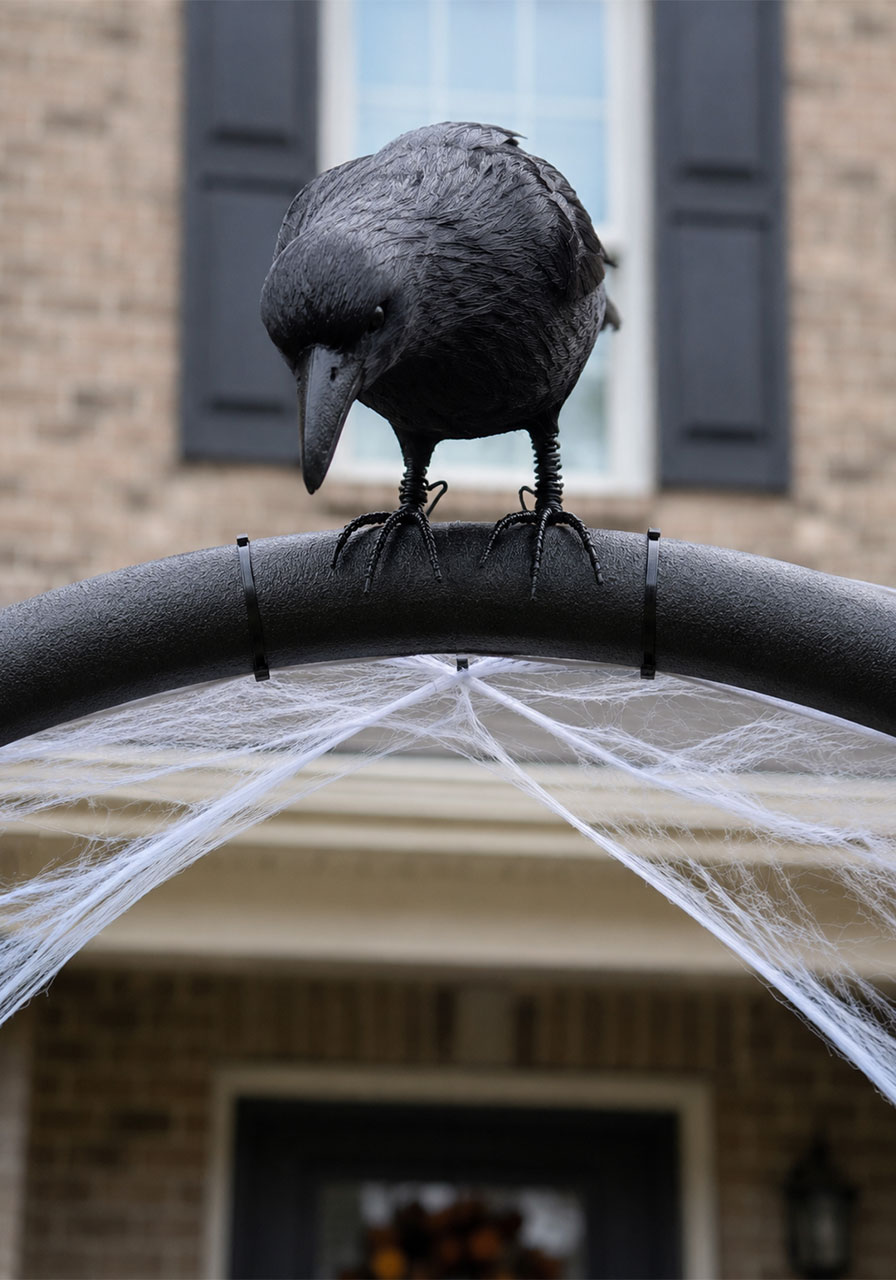
A single plastic crow secured to the peak of the arch adds a surprising amount of atmosphere for very little effort. Look for one with wire feet so it clips securely onto the noodle.
Position it facing down toward the walkway so it feels like it’s watching visitors approach.
5. Add Sound with a Motion-Activated Speaker
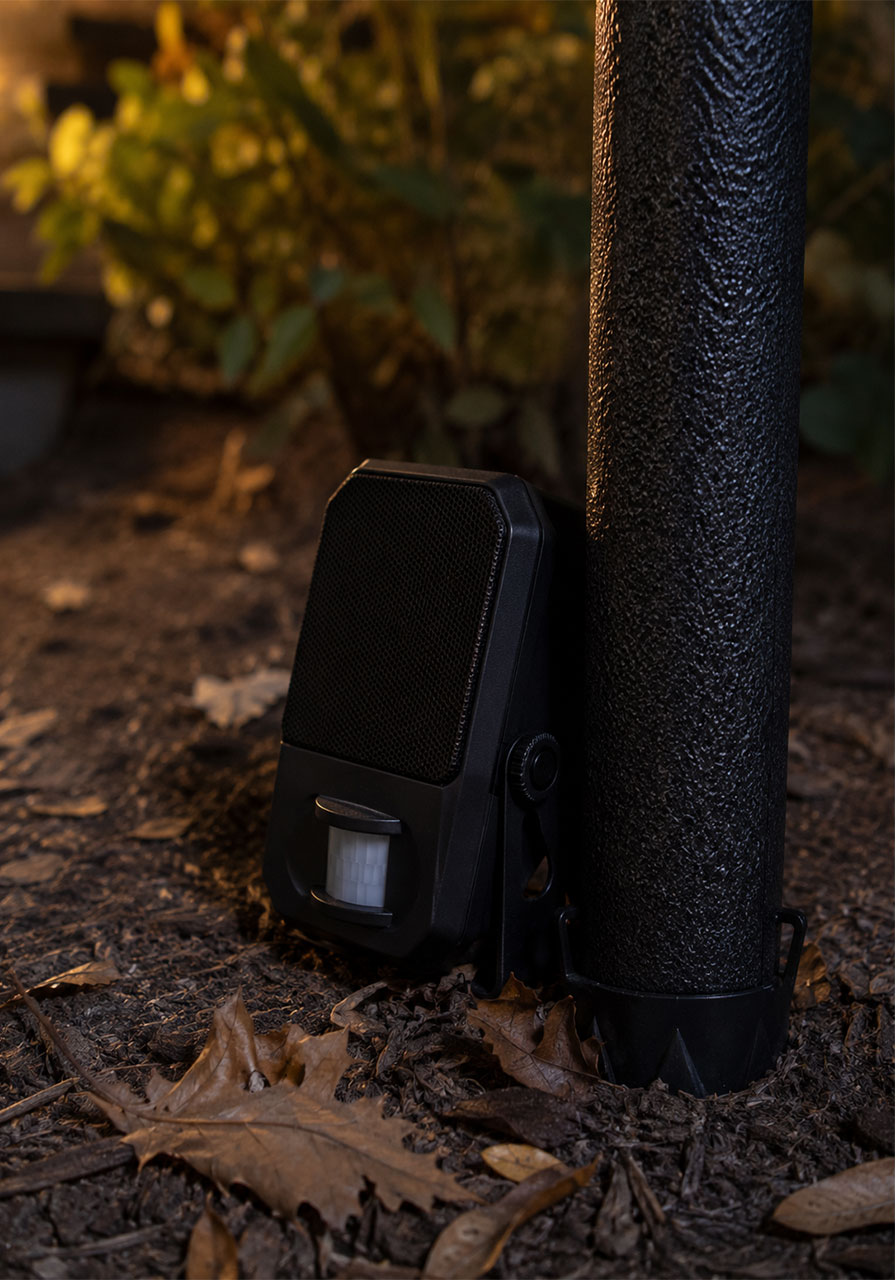
A small battery-powered speaker hidden near the base of the arch, set to play creaking, wind, or distant howling sounds, adds an entire sensory layer that most neighbors won’t think to include.
Motion-activated versions are worth the extra few dollars. They trigger only when someone actually walks through, which makes the effect land much better than a sound playing on a loop all night.
The Bottom Line
Whichever version you build, you’re getting more than a decoration. You’re getting a real, hands-on lesson in how simple materials can create surprisingly strong structures, and a project your kids or students will actually be excited to help with.
Start with the classic Halloween archway, then reuse the same frame for whichever variation fits your next event. Once you’ve built one, the rest come together fast.
