
Looking for a Halloween craft that’s actually doable on a weeknight? You’re in the right place.
These DIY Halloween luminaries are a budget-friendly way to give your front walkway a spooky glow, and they’re a fantastic alternative to store-bought decorations that cost a fortune. Best of all, most of these projects use supplies you can grab at the dollar store.
If you’re a teacher or parent looking for a fun, hands-on activity, these luminaries double as a mini STEM project. Kids get to practice measuring, wrapping, gluing, and problem-solving, all while making something they’re genuinely excited to show off. There’s real satisfaction in building something with your hands and watching it light up your porch that night.
We’ll start with our favorite featured project (a glowing jack-o’-lantern luminary on a stick), then run through eight more easy variations so you can pick whichever fits your supplies, your budget, and your afternoon.
1. Featured Project: Pool Noodle Jack-O’-Lantern Luminary
This one looks like it came from a fancy home decor store, but it’s really just a pool noodle, a pumpkin candy pail, and some tape working together. It’s sturdy enough to survive wind and weather, and it makes a seriously impressive glow once the sun goes down.
Best for: Families, classrooms, front porches, and walkways.
Active Time: 30 minutes.
Skill Level: Beginner-friendly, great for kids to help with.
Cost: Around $10 per luminary.

What You’ll Need
1 pool noodle
Gaffer’s tape (orange and black work great for the classic candy-cane stripe look)
1 plastic pumpkin candy pail
A hot glue gun (a cool-melt version if you have one)
A broom handle or garden stake
String lights or battery-operated LED lights
A bow and a mini witch hat for finishing touches
How to Make It
1. Remove the top handle piece from an old broom, then hammer the handle into the ground where you want your luminary to stand. Make sure it’s staked in firmly so it can hold up in the wind.
2. Wrap gaffer’s tape around the pool noodle in a spiral, alternating colors like a candy cane. This step is a great one to hand off to a helper since it just takes patience, not precision.
3. Slide the taped pool noodle down over the broom handle so it stands upright.
4. Add a generous amount of cool-melt hot glue to the top of the pool noodle, then press the pumpkin pail on top and hold until it sets. Using cool-melt glue matters here, since regular hot glue can melt the foam noodle.
5. Once the glue has fully cooled, wrap your string lights around the top of the pumpkin pail and let them cascade down. If you don’t have an outdoor outlet nearby, battery-powered LED lights placed inside the pumpkin work just as well.
6. Glue a bow to the base of the pumpkin, then top the whole thing off with a mini witch hat, securing it with a small dot of hot glue.
Pro Tip: You can remove the broom handle underneath, but leaving it in gives the luminary extra height and stability. Once it’s finished, line a few of these up along your walkway for a seriously spooky, glowing entrance that will have trick-or-treaters talking.

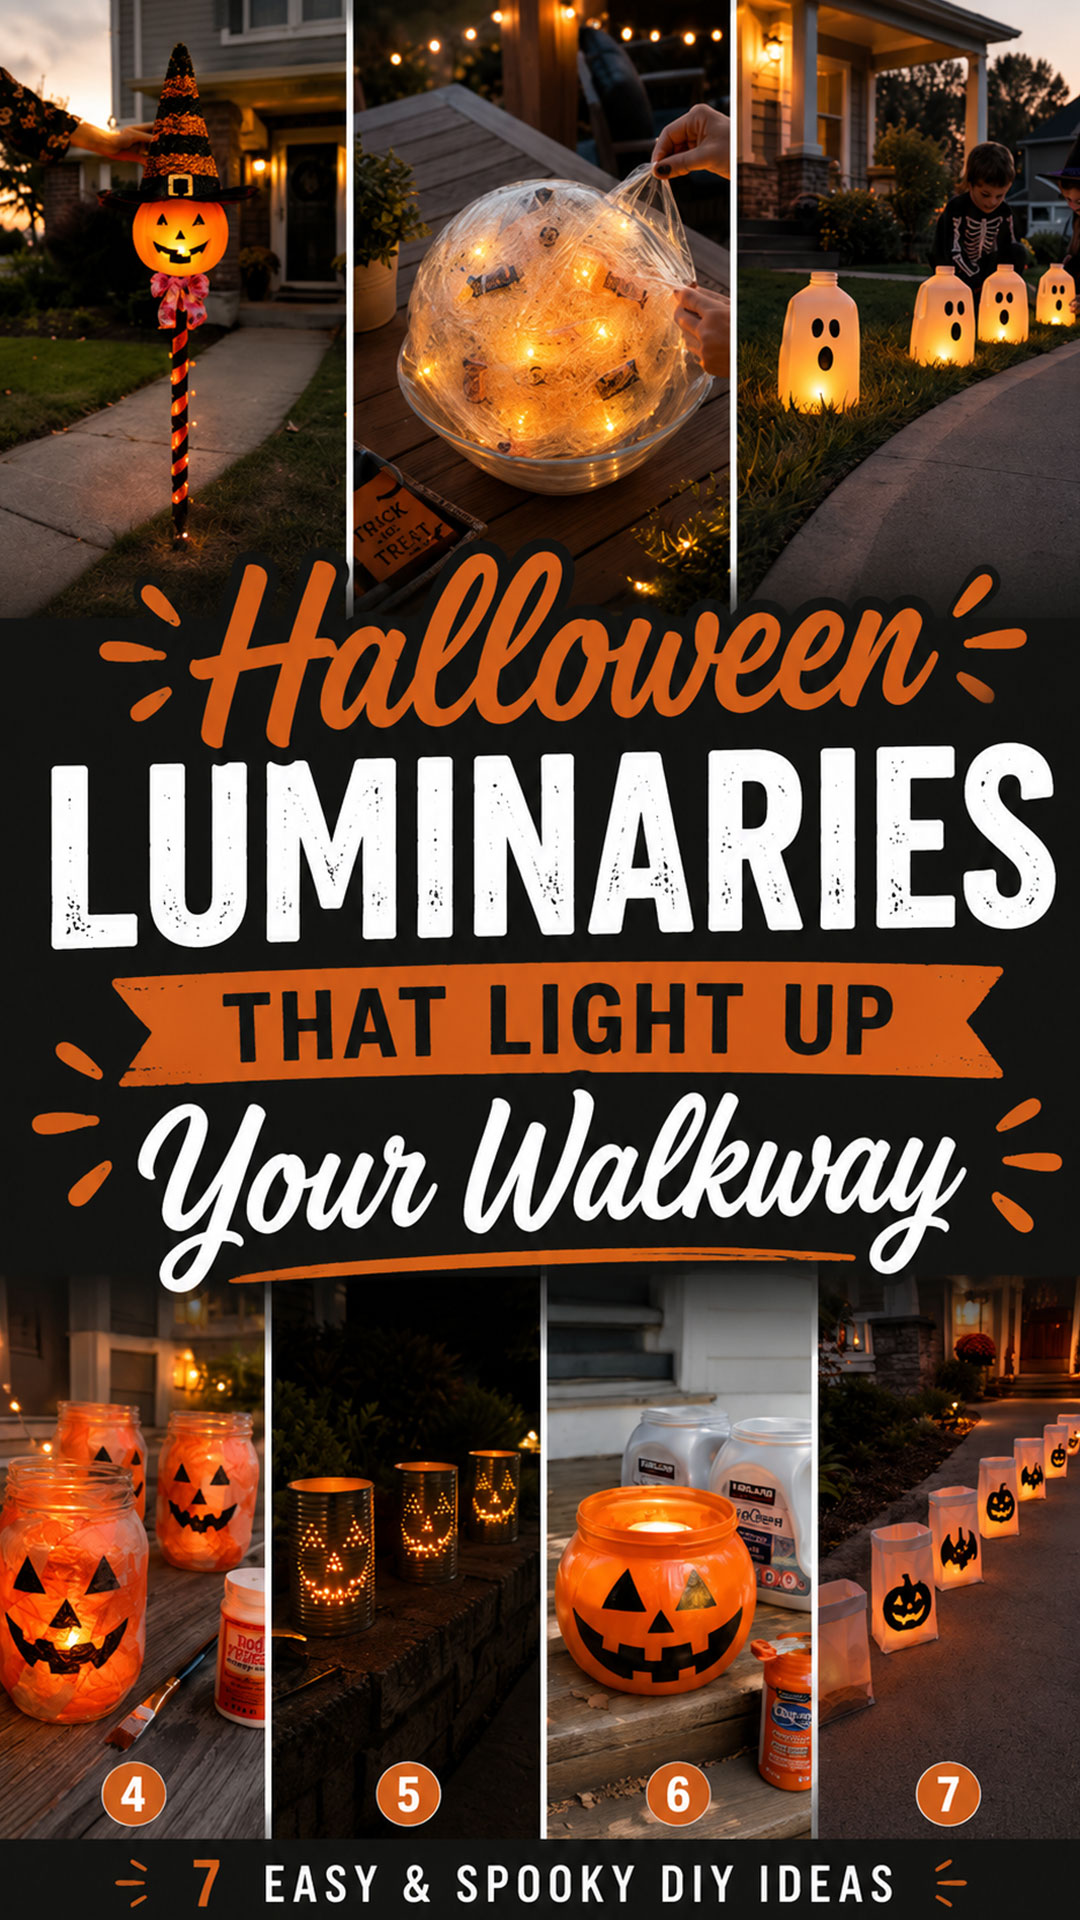
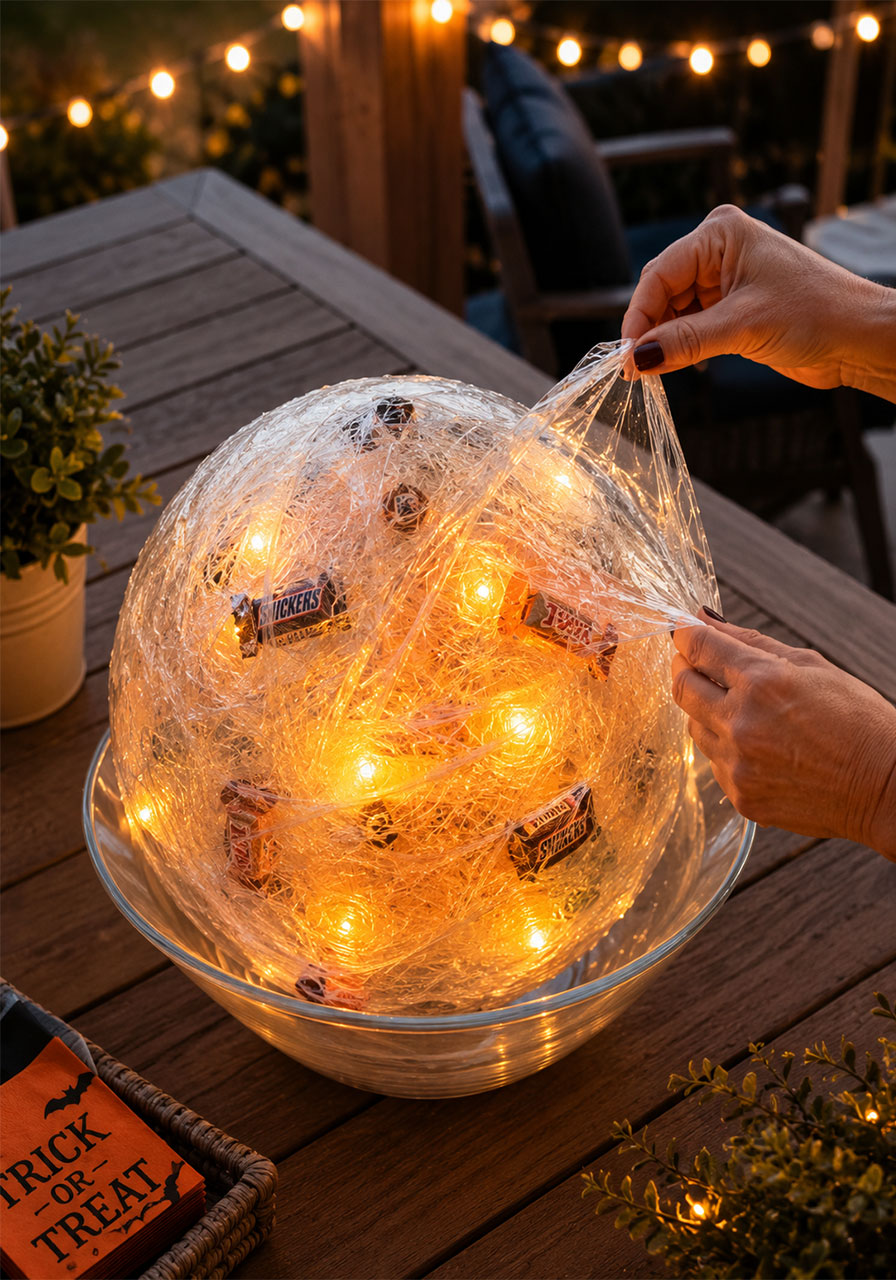
2. Saran Wrap Luminary Ball
This one pulls double duty as a decoration and a game, which makes it a fun classroom or party activity while it’s still on the table.
What You’ll Need
A large roll of plastic wrap
Small candies, trinkets, or treats
Battery-operated tea lights or LED string lights
How to Make It
1. Place a small LED light or a piece of candy at the center of your wrap ball to start.
2. Wrap plastic wrap around it tightly, then keep adding small treats as you build up layers, wrapping each layer securely before adding the next.
3. Once you’ve used a full roll of wrap, tuck in a few battery tea lights near the outer layers so the glow shows through.
4. Set the finished ball in a glass bowl or clear jar along your walkway or entryway table.
Fun Variation: Turn this into a group activity first. Everyone takes turns unwrapping the ball to win the treats inside, then you can rewrap it with fresh candy for display.
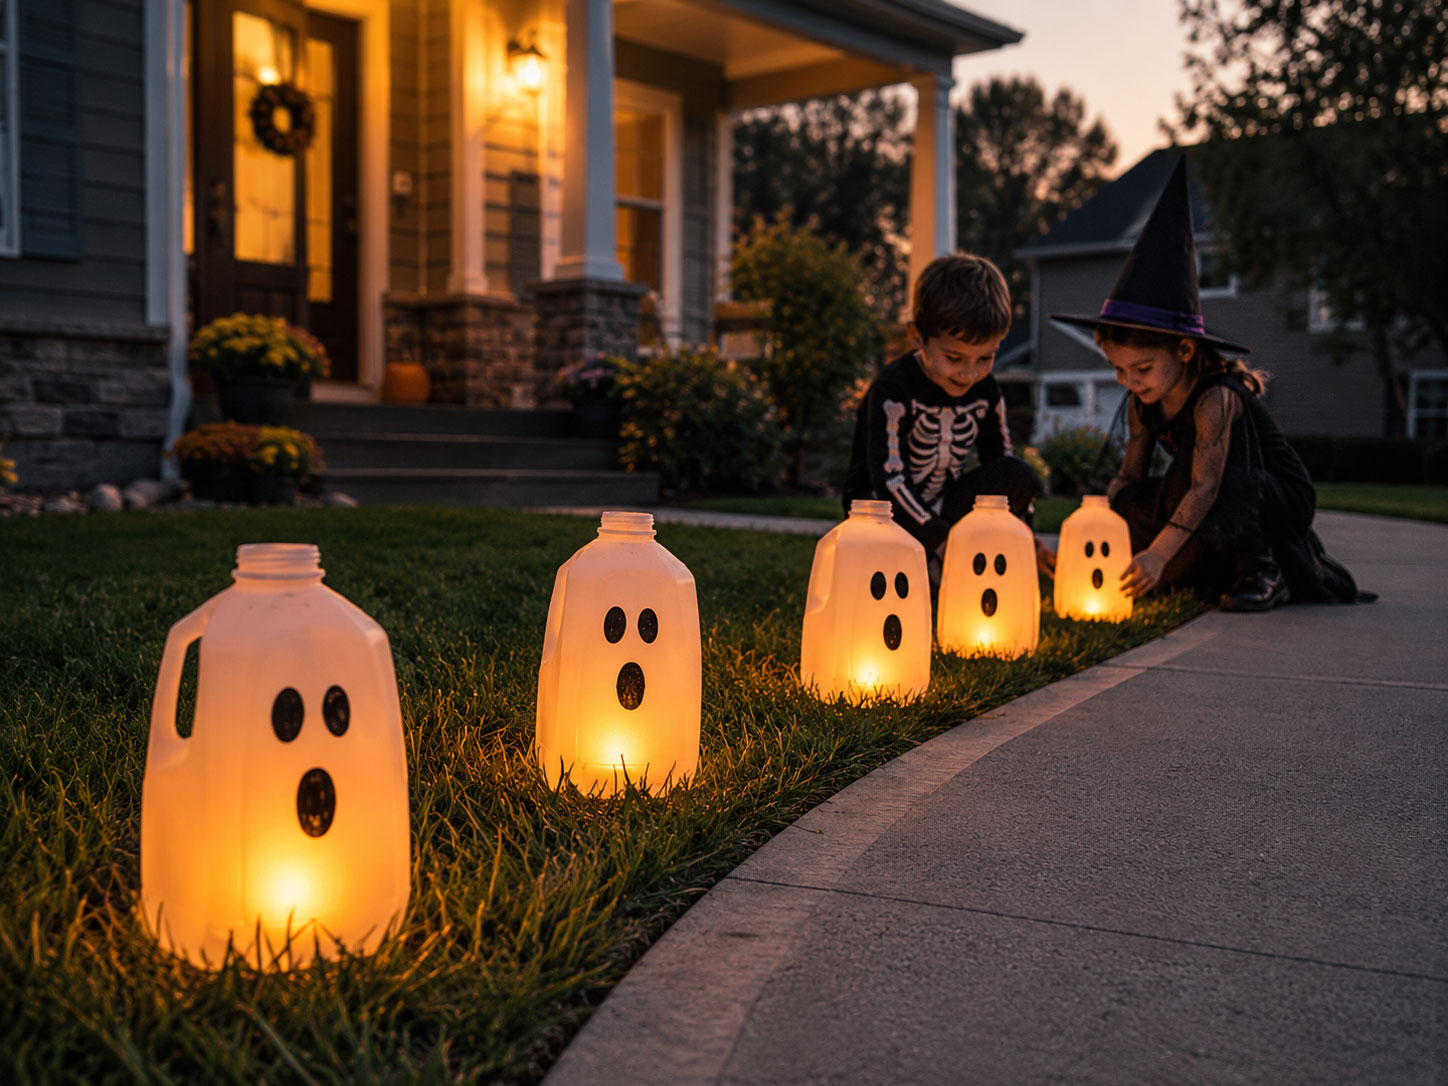
3. Milk Jug Ghost Lanterns
This is one of the easiest projects on this list, and it’s perfect for younger kids since there’s no cutting or hot glue involved.
What You’ll Need
Clean, empty plastic milk jugs
Black permanent marker
Battery-operated tea lights or LED string lights
How to Make It
1. Rinse and dry your milk jugs completely so there’s no residue left inside.
2. Draw a simple ghost face on the front of each jug using a black permanent marker.
3. Drop a battery-operated tea light or a few LED string lights inside each jug.
4. Line the jugs along your walkway, spacing them evenly so the light spreads out.
Pro Tip: This project is a great one for a classroom, since each student can decorate their own jug and take it home afterward.
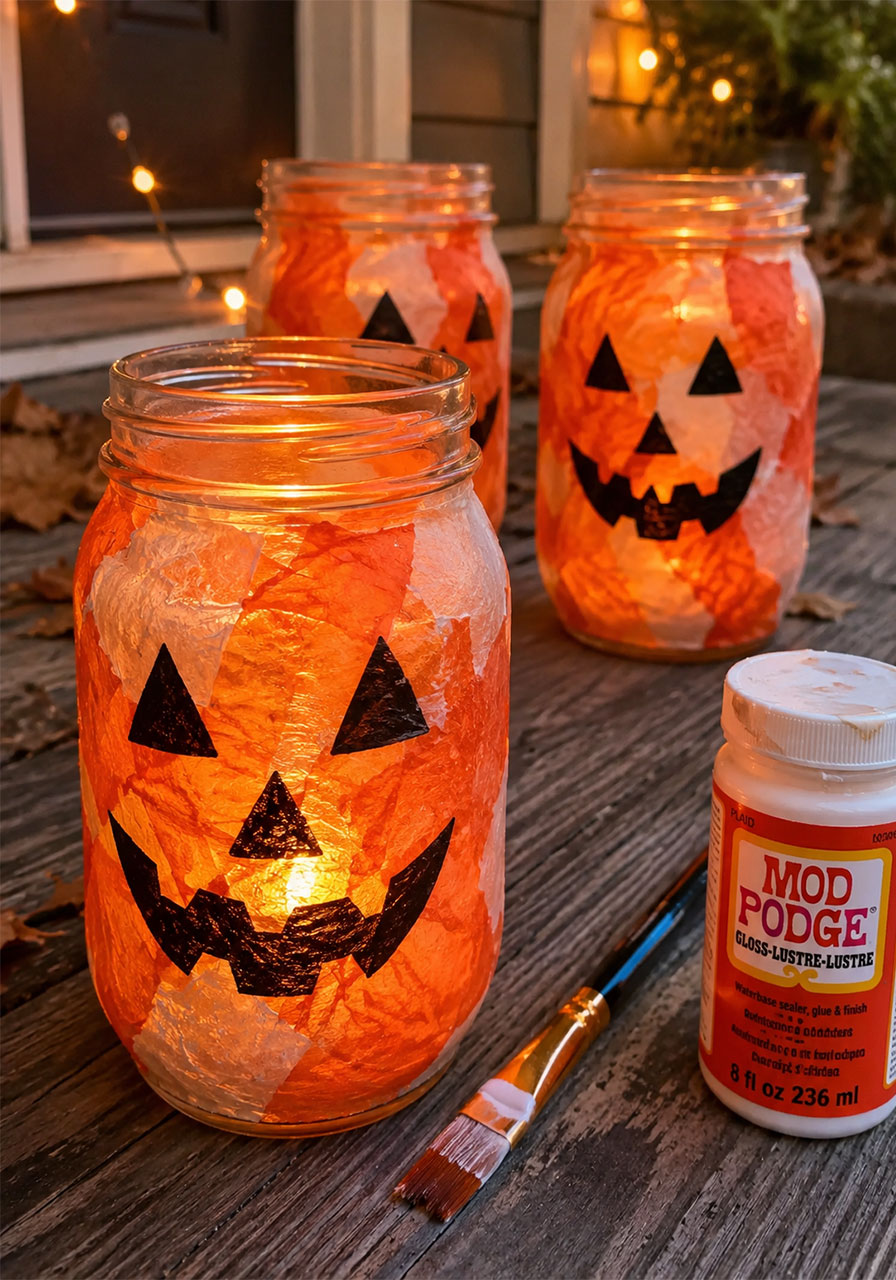
4. Recycled Glass Jar Lanterns
If you’ve got jars sitting around from pasta sauce or pickles, this is a great way to give them a second life.
What You’ll Need
Clean glass jars
Orange or white tissue paper
Mod podge and a paintbrush
Black permanent marker
Battery-operated tea lights
How to Make It
1. Tear tissue paper into small pieces.
2. Brush a thin layer of mod podge onto the outside of the jar, then press tissue paper pieces onto the glue until the jar is fully covered.
3. Let it dry completely, which usually takes about an hour.
4. Once dry, draw a pumpkin or ghost face directly onto the tissue paper with your marker.
5. Drop in a battery-operated tea light and set the jar wherever you want that warm, glowing look.
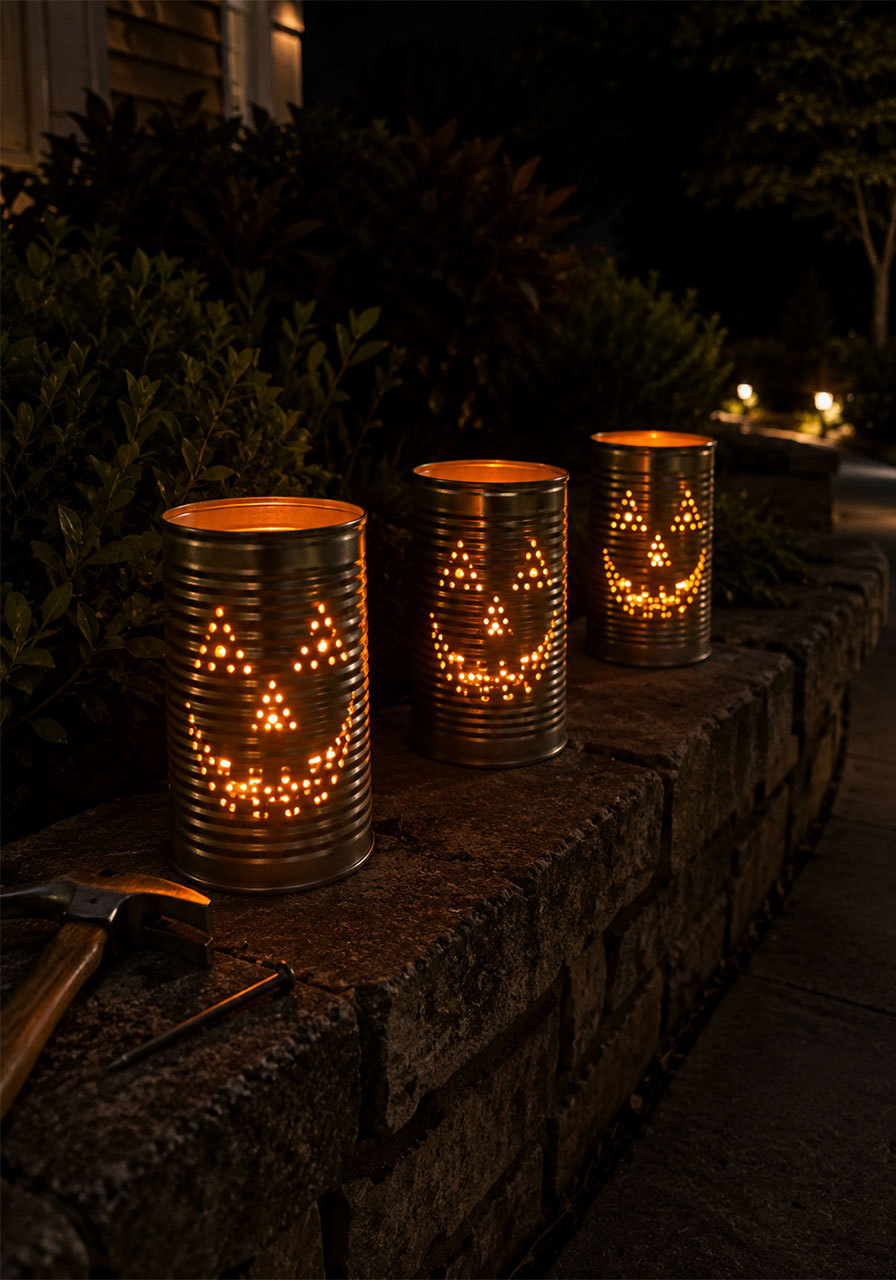
5. Tin Can Luminaries
This project takes a little more prep, but the finished result throws beautiful patterned light once it’s dark out.
What You’ll Need
Clean, empty tin cans with the labels removed
A hammer and a nail
Battery-operated tea lights
How to Make It
1. Fill the can with water and freeze it overnight. The ice keeps the can from denting while you’re punching holes.
2. Once frozen, use a hammer and nail to punch holes in a simple pattern, like a jack-o’-lantern face or a spiral of stars.
3. Let the ice melt and dry the can completely.
4. Drop in a battery-operated tea light and set your luminaries along the walkway.
Note: This project involves a hammer and nail, so it’s best handled by an adult or with close supervision for older kids.
6. Laundry Pod Bucket Jack-O’-Lanterns
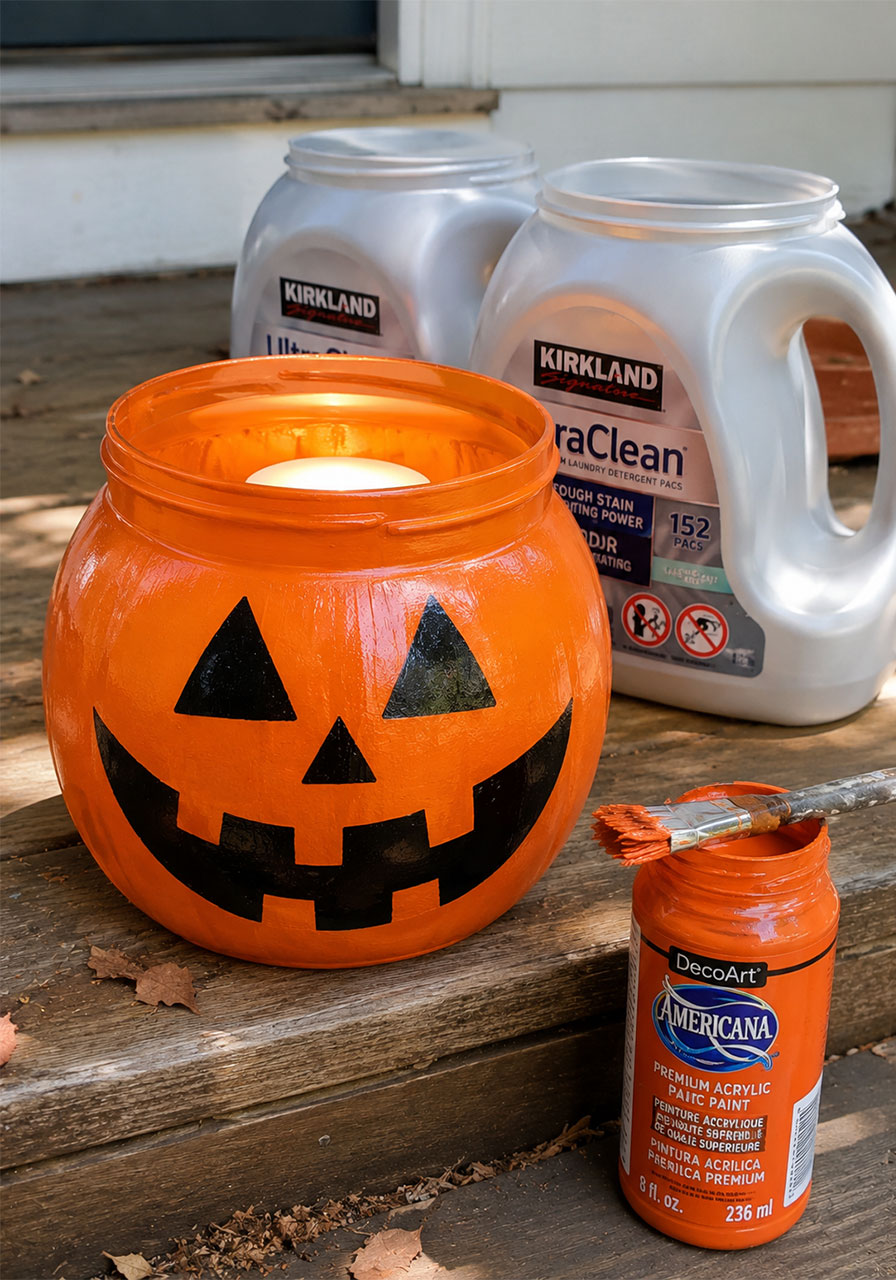
Empty laundry pod containers are already shaped like little pumpkins, which makes this one of the fastest projects on the list.
What You’ll Need
An empty laundry pod bucket, cleaned out
Orange acrylic paint (skip this step if the bucket is already orange)
Black permanent marker or paint
An LED puck light or battery tea light
How to Make It
1. If needed, paint the bucket orange and let it dry fully.
2. Draw or paint a jack-o’-lantern face on the front.
3. Place an LED light inside and set the lid back on loosely, or leave it open depending on the light source you’re using.
7. Paper Bag Luminaries
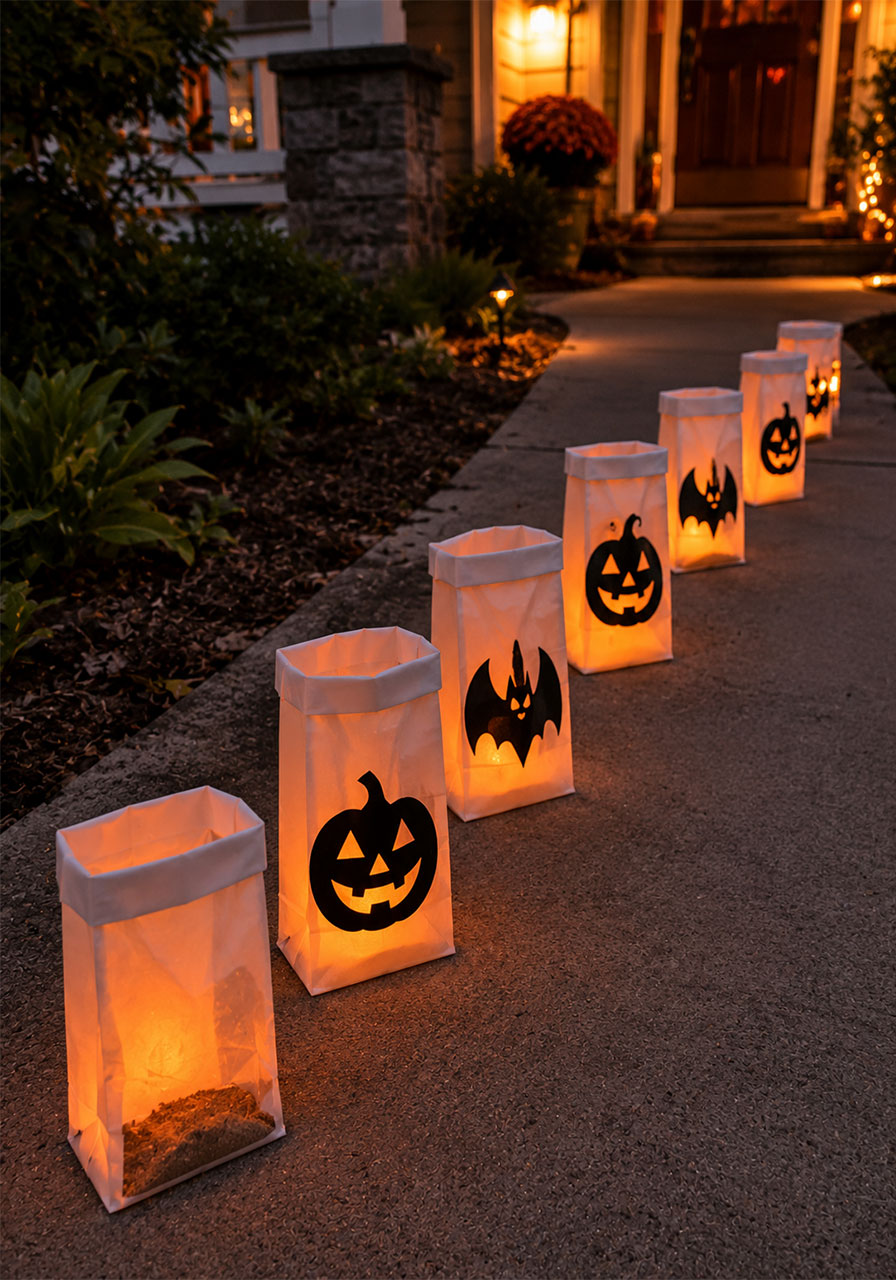
This is the classic, no-fail option, and it’s a fantastic one for a classroom full of students since every bag turns out a little different.
What You’ll Need
Paper lunch bags or white paper bags
Black paint or a permanent marker
Sand or small rocks for weight
Battery-operated flameless candles
How to Make It
1. Paint or draw a simple face on the front of each bag: a pumpkin, ghost, or bat all work great.
2. Add a scoop of sand or a few small rocks to the bottom of each bag to keep it from blowing over.
3. Drop in a flameless candle.
4. Line the bags along both sides of your walkway for an instant glowing path.
Pro Tip: Always use flameless, battery-operated candles here since paper and open flame are a bad mix.
8. Hanging Halloween Lanterns
If your walkway has trees or a shepherd’s hook already in place, this is the fastest option of them all.

What You’ll Need
Small lanterns or decorated jars with handles
Battery-operated tea lights
Shepherd’s hooks or sturdy tree branches
How to Make It
1. Place a battery-operated tea light inside each lantern.
2. Hang the lanterns from shepherd’s hooks or low tree branches along your walkway.
3. Space them evenly so the light spreads out along the whole path.
Frequently Asked Questions
Are these luminary projects safe for kids to help with?
Most of these projects are great for kids to help with, especially the milk jug ghosts, paper bag lanterns, and decorating steps on any of the projects. Steps involving a hot glue gun, hammer and nail, or hot broom handle staking are best handled by an adult, with kids helping on the fun, creative parts.
What kind of lights should I use for outdoor luminaries?
Battery-operated LED lights are the easiest option since you don’t need an outdoor outlet nearby, and they’re safe to leave running for hours. If you do have access to an outlet, waterproof outdoor string lights work well too, especially for the pool noodle luminary.
How long do these luminaries last outside?
Most of these projects, especially the pool noodle luminary and painted buckets, can be reused year after year if you store them indoors between seasons. Paper bag luminaries are more of a one-time use since paper doesn’t hold up well to rain or humidity.
Can I make these projects with a small budget?
Yes. Most of these ideas use materials you already have at home or can pick up at the dollar store, with the featured pool noodle project costing around $10 total.
Light Up Your Walkway This Halloween
Whether you go all in on the glowing pumpkin luminary or keep it simple with a row of painted milk jugs, these projects are an easy way to turn your walkway into something trick-or-treaters will remember. They’re budget-friendly, mostly beginner-proof, and genuinely fun to build with your kids or your students.
Pick one, gather your supplies, and give your front porch the spooky glow it deserves this Halloween.
