
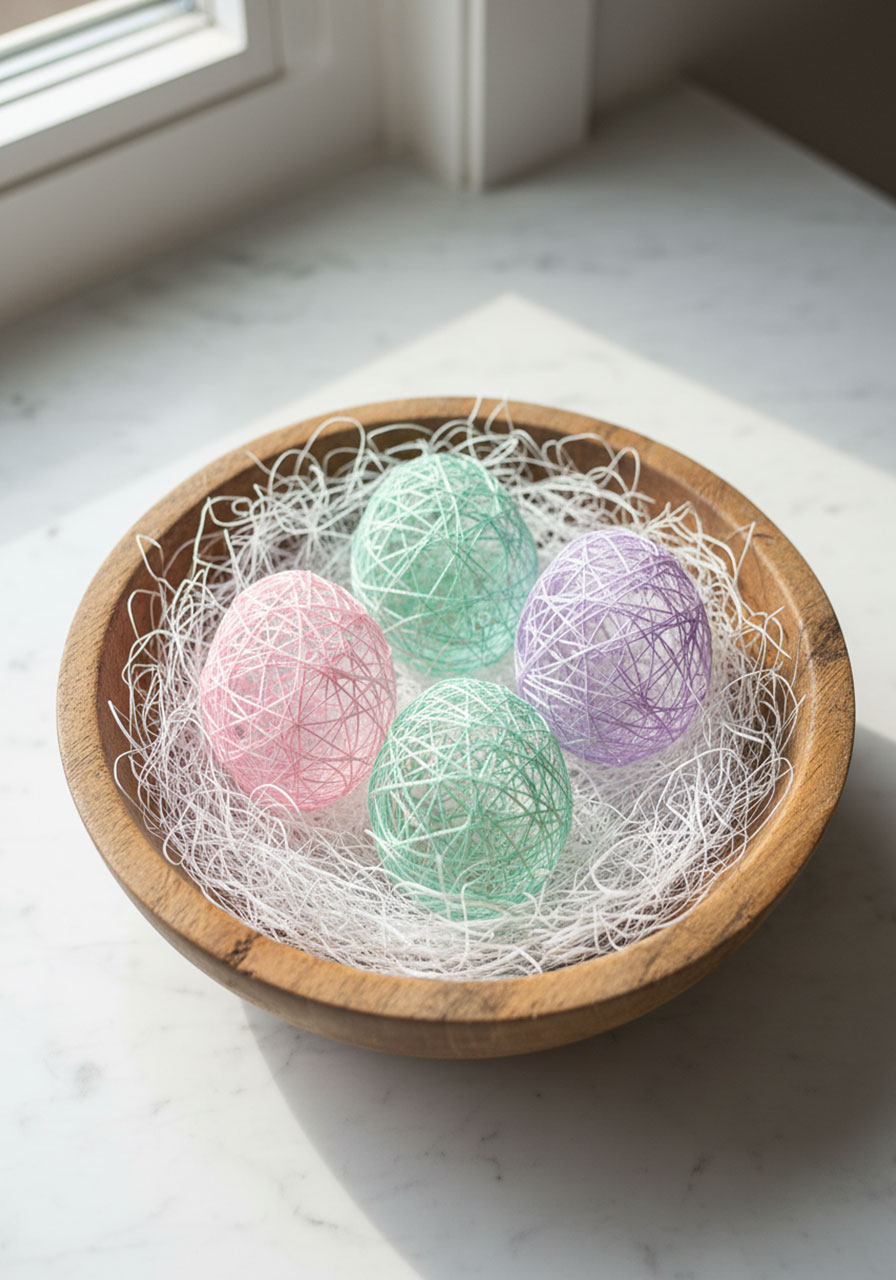
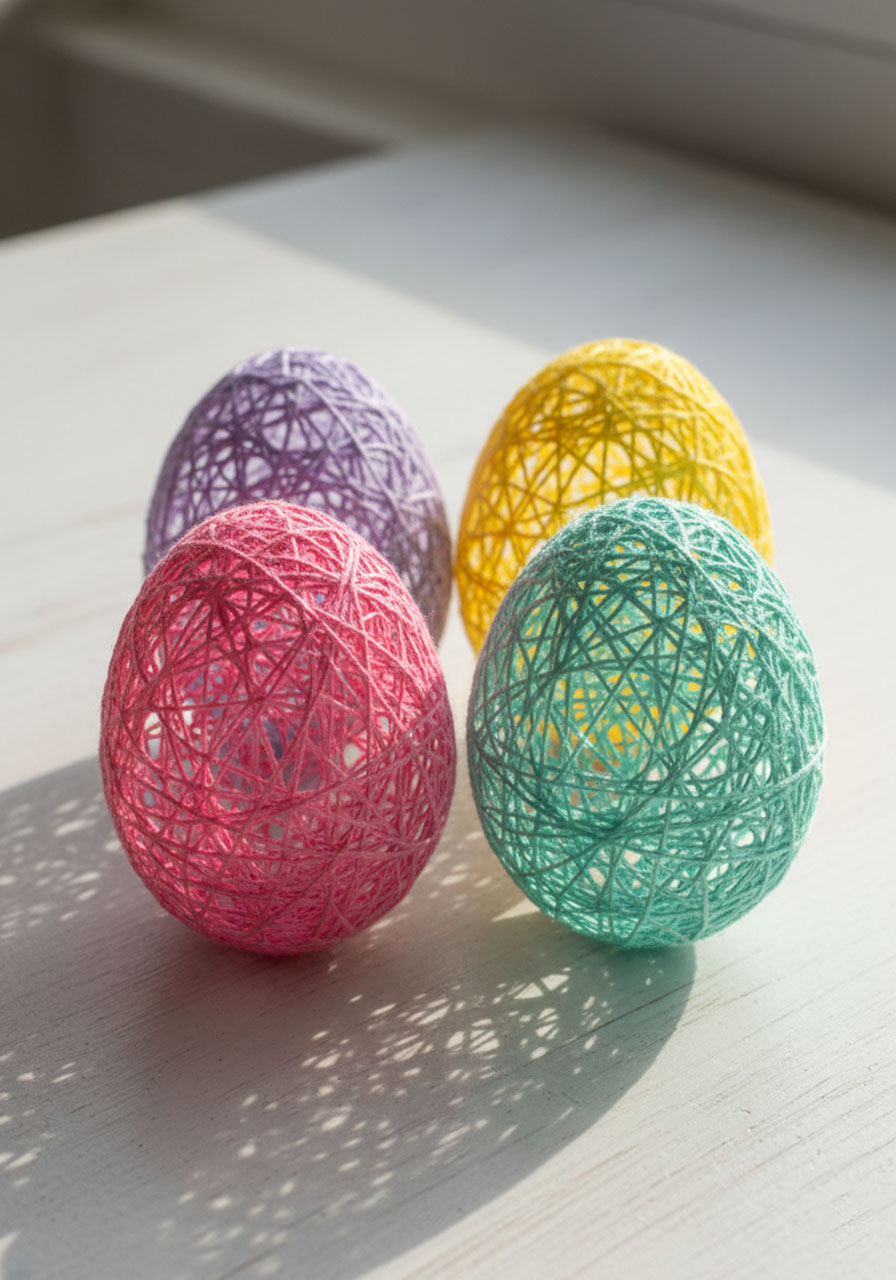
Let’s be honest: string Easter eggs are messy, take patience, and require a bit of trial and error. But when you finally pop that balloon and reveal a delicate, lacy egg that actually holds its shape? Pure magic. Your kids will be amazed, and you’ll have a beautiful decoration that beats plastic eggs any day.
This craft is perfect for parents tackling a weekend project with kids or teachers planning a memorable classroom activity. The key is getting the glue mixture just right – and we’ll show you exactly how.
Time Commitment: 30 minutes active work + 12-24 hours drying time
Mess Level: Medium (glue gets everywhere, but it washes off)
Kid-Friendly: Ages 5+ with supervision
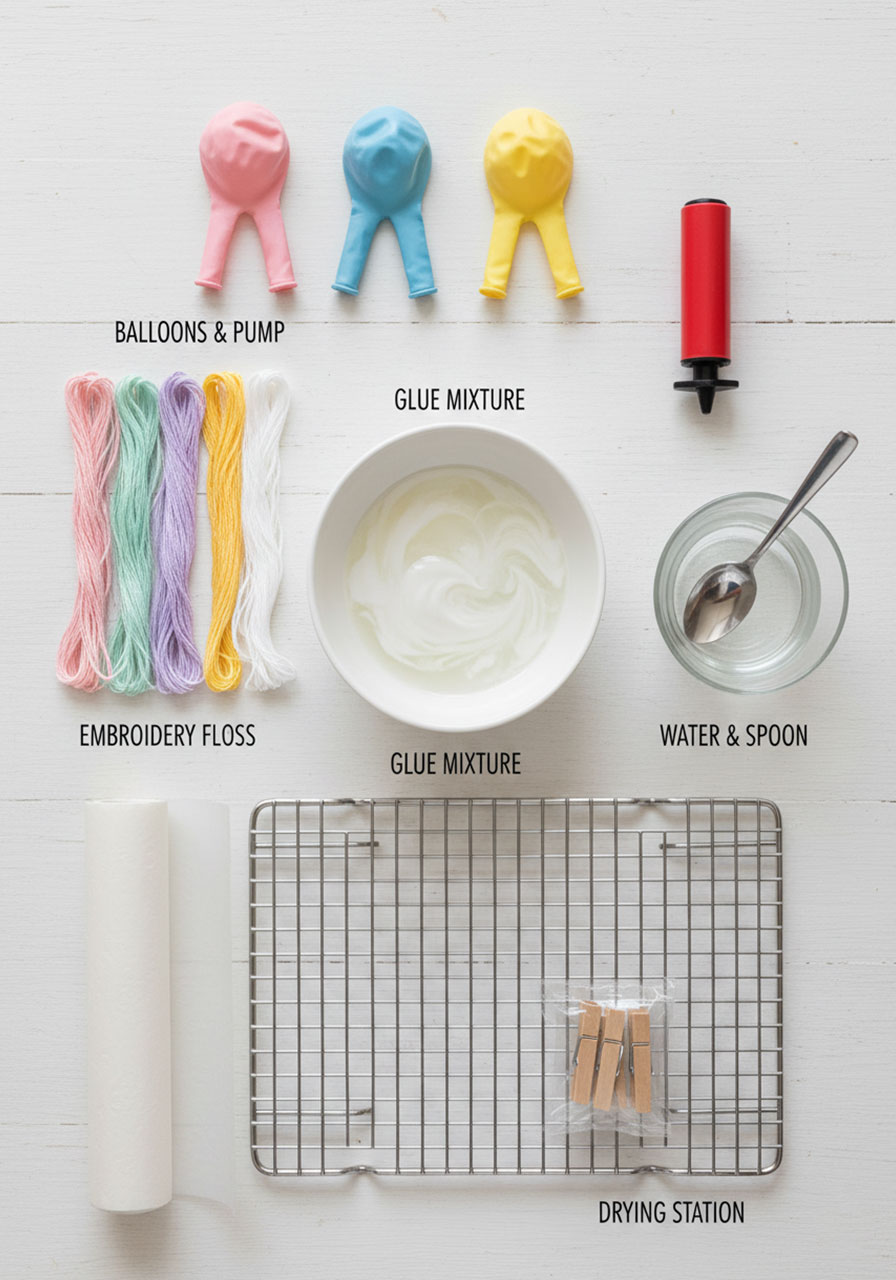
What You’ll Need
Embroidery floss in spring colors (cotton works best)
Water balloons (regular balloons work too, but you’ll get giant eggs)
Balloon pump (save your breath – seriously)
Elmer’s white school glue (not washable glue)
Water
Small bowl for mixing
Wax paper or a drying rack
Clothespins (if using a rack)
Pins or thumbtacks for popping

Easter Story 3D Egg Craft Template Printable | Resurrection Craft for Kids
🐴 Palm Sunday – Kids clearly understand Jesus entering Jerusalem as they color the donkey – turning a complex Bible moment into something simple and memorable.
🍞 Last Supper – The bread and wine panel helps you naturally introduce Jesus’ sacrifice and connect it to real-life church practices like communion.
✝️ The Cross – The crucifixion scene gives you a gentle, age-appropriate way to explain Jesus’ love and why His sacrifice matters.
⛰️ Empty Tomb – This panel captures kids’ attention with the biggest turning point – helping them grasp that Jesus defeated death.
🙏 Resurrection – Seeing Jesus alive again reinforces the full Easter message, giving kids a clear, lasting understanding of why we celebrate.
Step-by-Step Instructions
Step 1: Set Up Your Workspace
Cover your work surface with newspaper or a plastic tablecloth. This project gets drippy. Set up your drying area now – either lay out wax paper or set up a cooling rack where you can clip the wet balloons with clothespins.
Step 2: Inflate Your Balloons
Use the balloon pump to blow up your water balloons to about the size of a large egg or small grapefruit. Tie them securely. If you use regular balloons, keep them small or you’ll end up with ostrich-sized eggs.
Step 3: Mix Your Glue (This Is Critical)
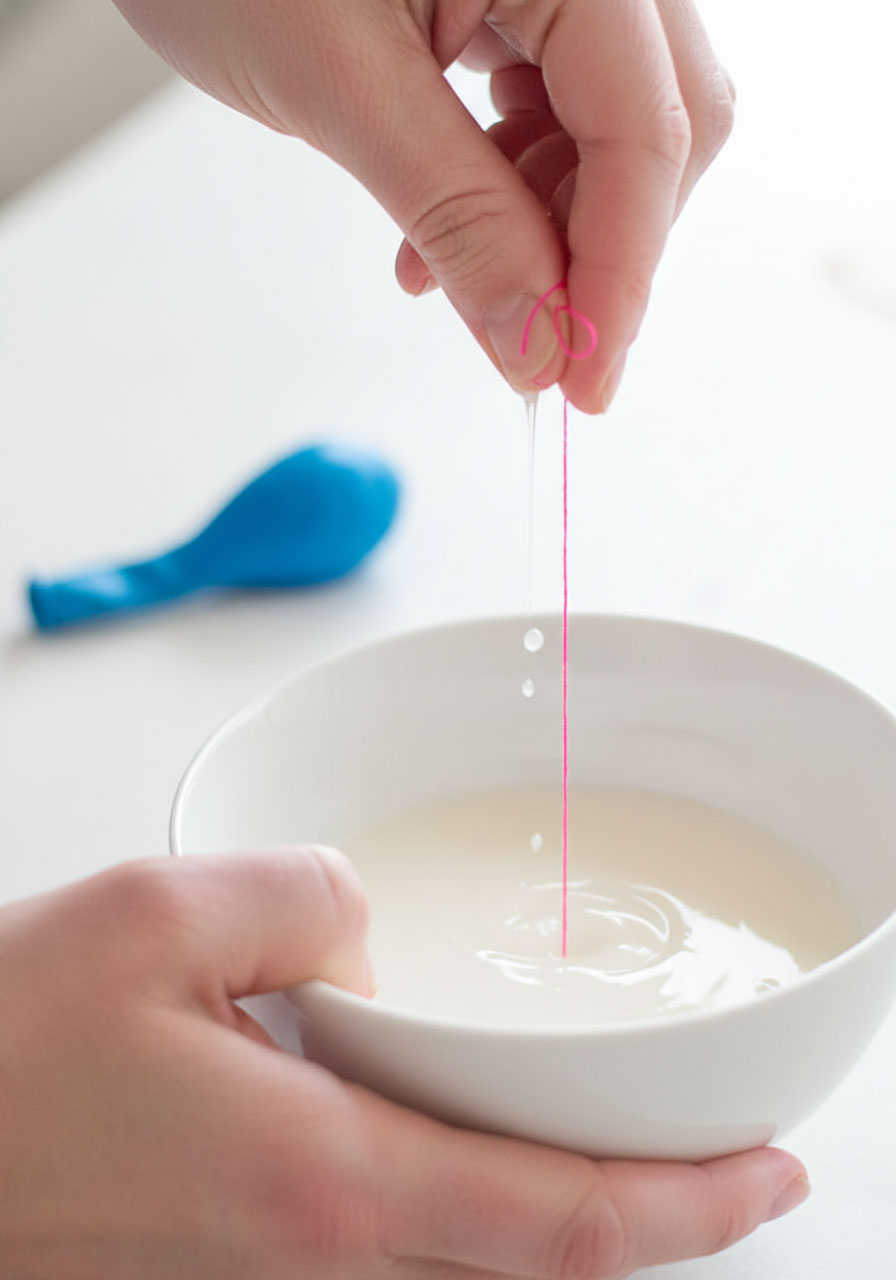
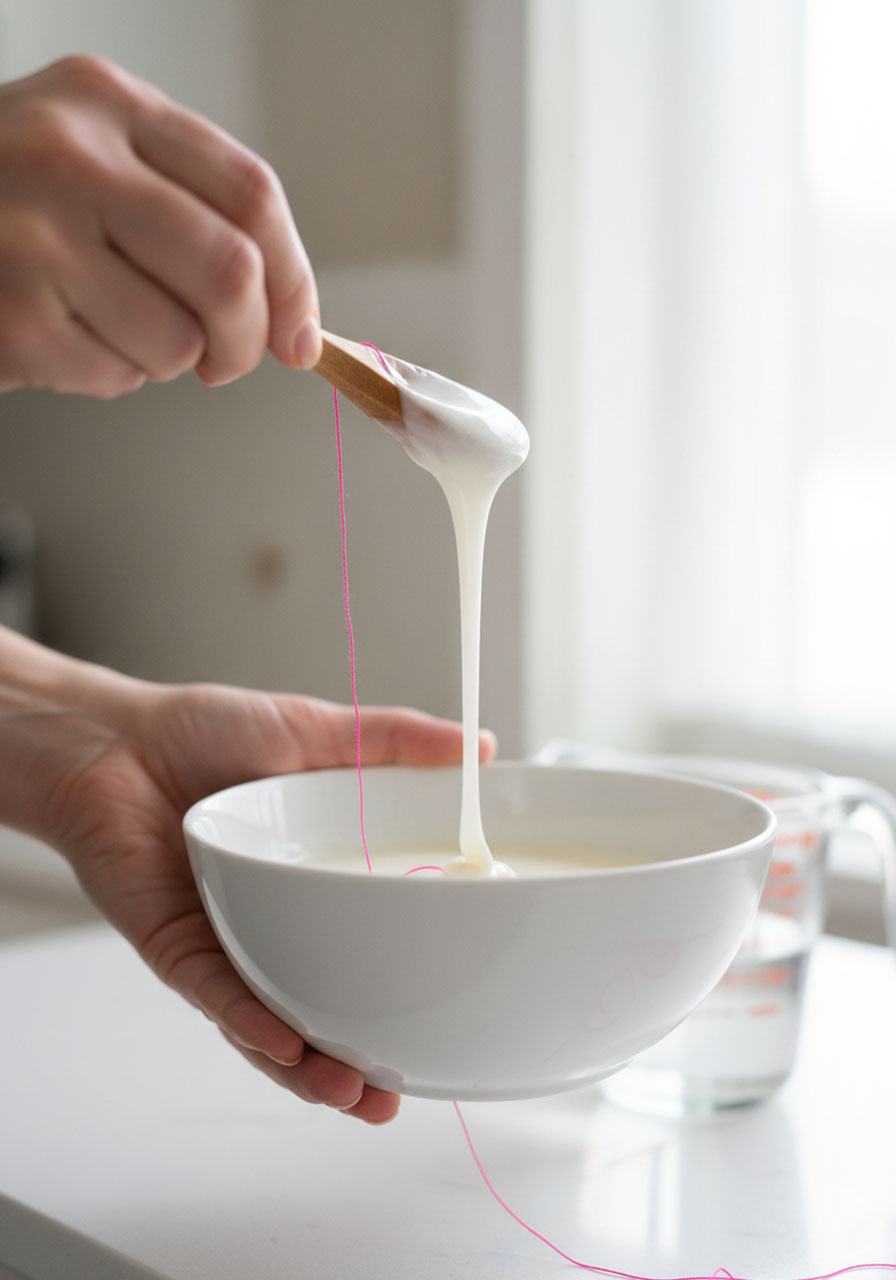
Pour about half a cup of Elmer’s white glue into your bowl. Add water one tablespoon at a time, stirring thoroughly. You’re aiming for a consistency that’s thinner than straight glue but still feels sticky and coats your fingers when you dip them in.
Pro Tip: The mixture should be runny enough to soak into the thread easily, but thick enough that you can feel the glue coating when you run the thread between your fingers. If it’s too watery, the eggs will collapse. If it’s too thick, the thread won’t saturate properly. Start with a 2:1 ratio (2 parts glue to 1 part water) and adjust from there.
Step 4: Prepare Your Thread
Cut 6-8 arm-length pieces of embroidery floss for each balloon. Mix colors for a confetti look, or stick with one color for a cleaner aesthetic. Either way works beautifully.
Step 5: Dip and Wrap
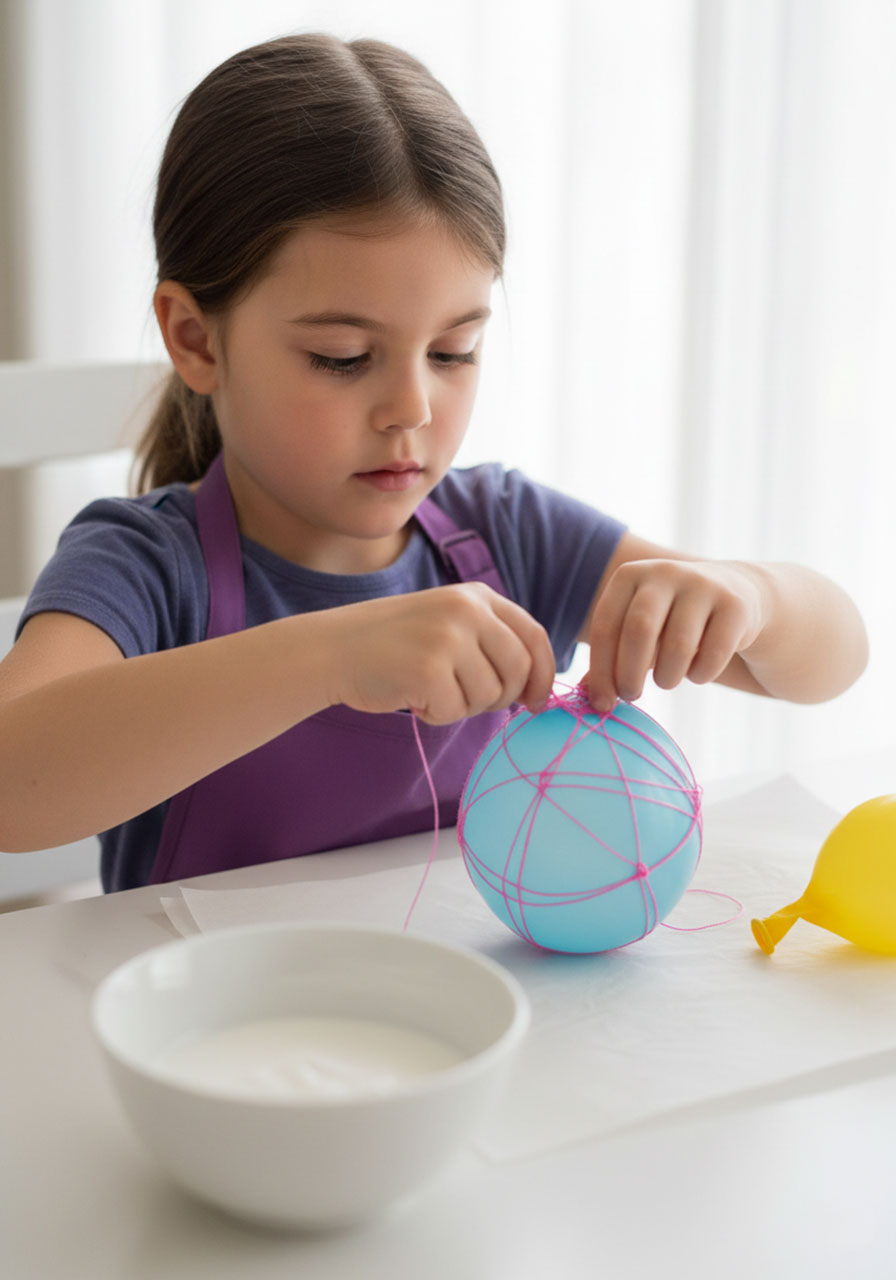
Take one piece of thread and submerge it completely in the glue mixture. Let it soak for a few seconds. Pull it out slowly, then run it between your thumb and forefinger to squeeze off excess glue (but leave it well-coated).
Wrap the gluey thread around your balloon in random directions. Don’t worry about making it perfect – the randomness creates that beautiful, organic look. Repeat with the remaining threads, crisscrossing them until you have good coverage but can still see through the gaps.
Coverage Guide: You want enough thread that the egg will hold its shape, but not so much that it looks like a solid ball. Aim to cover about 60-70% of the balloon’s surface.
Step 6: Dry Completely (Don’t Rush This)
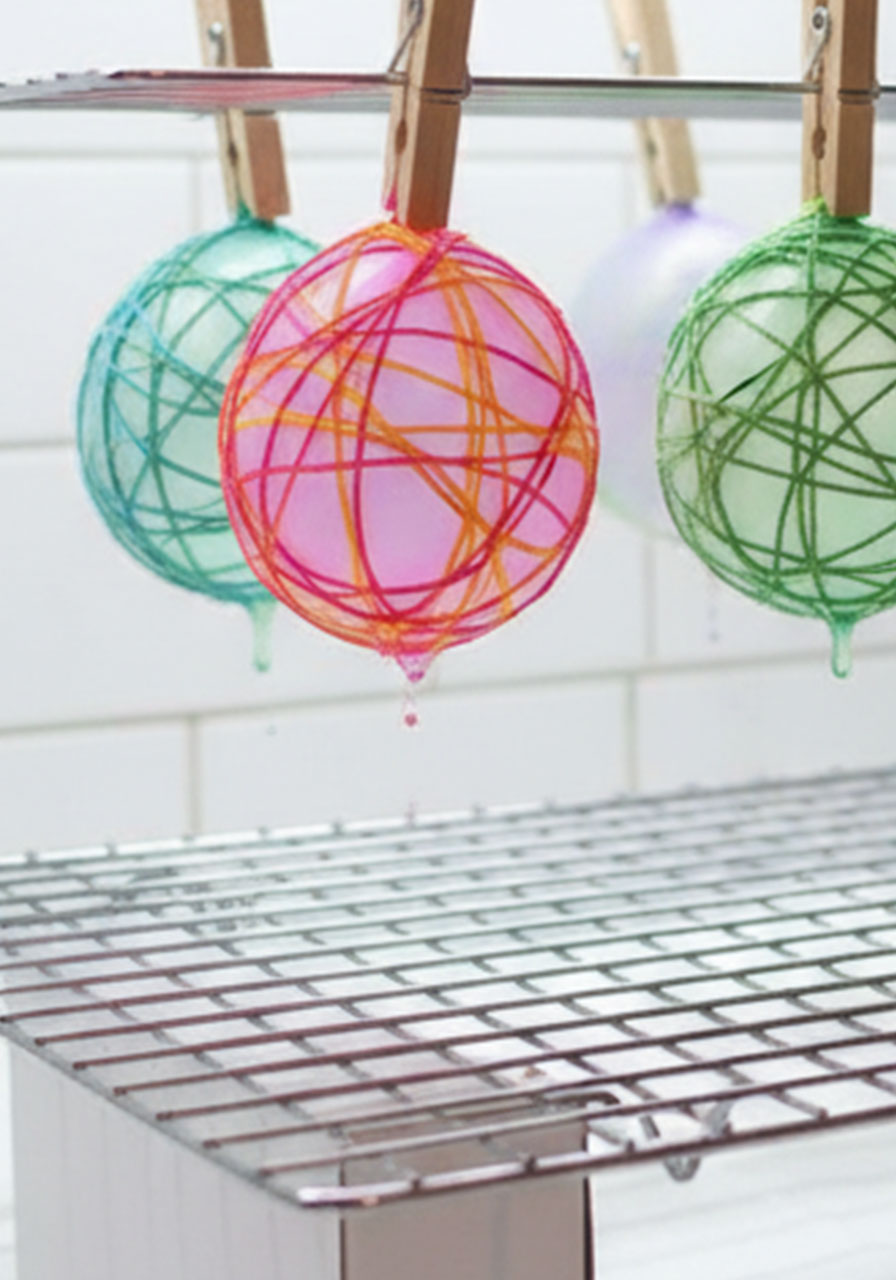
Clip your wrapped balloons to the drying rack with clothespins, or set them on wax paper. Make sure they’re not touching each other or anything else.
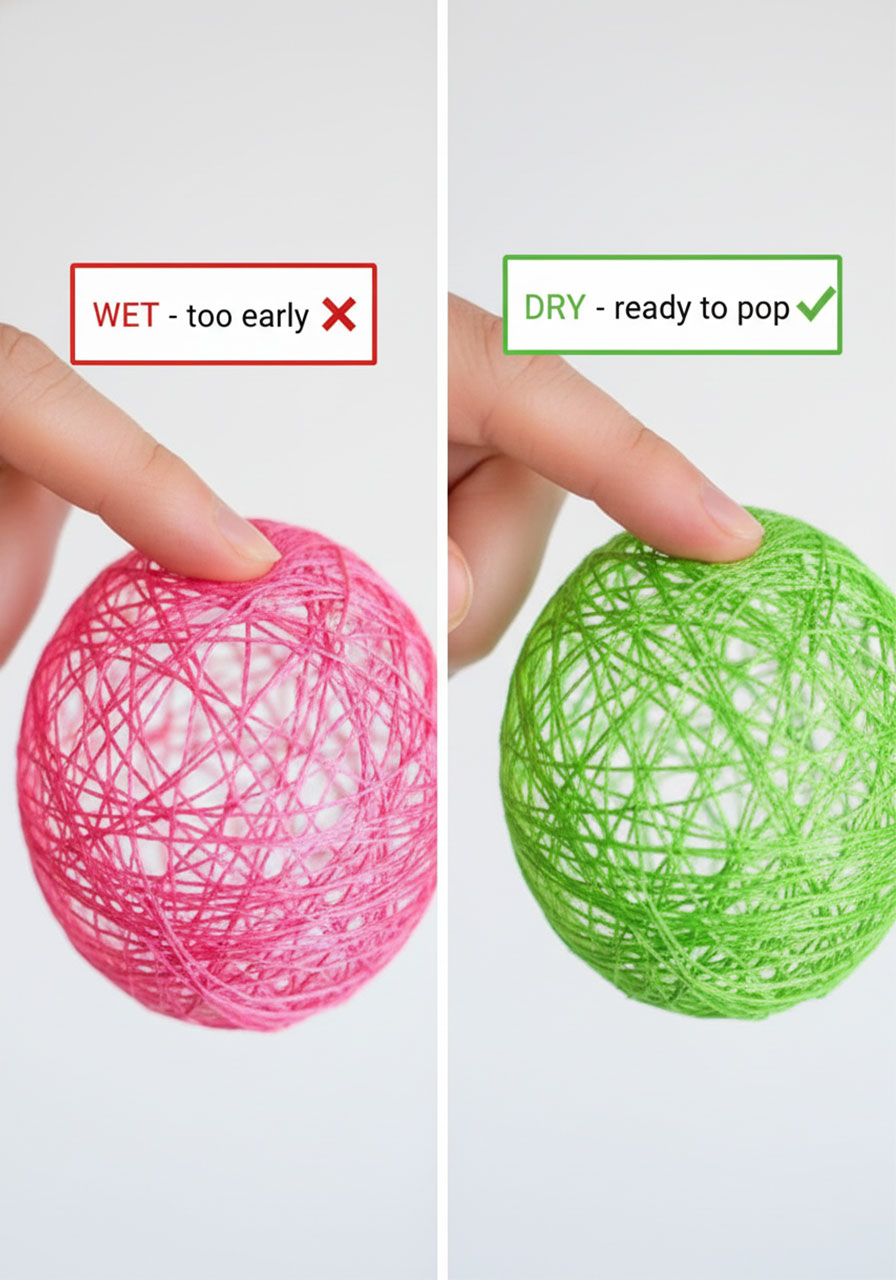
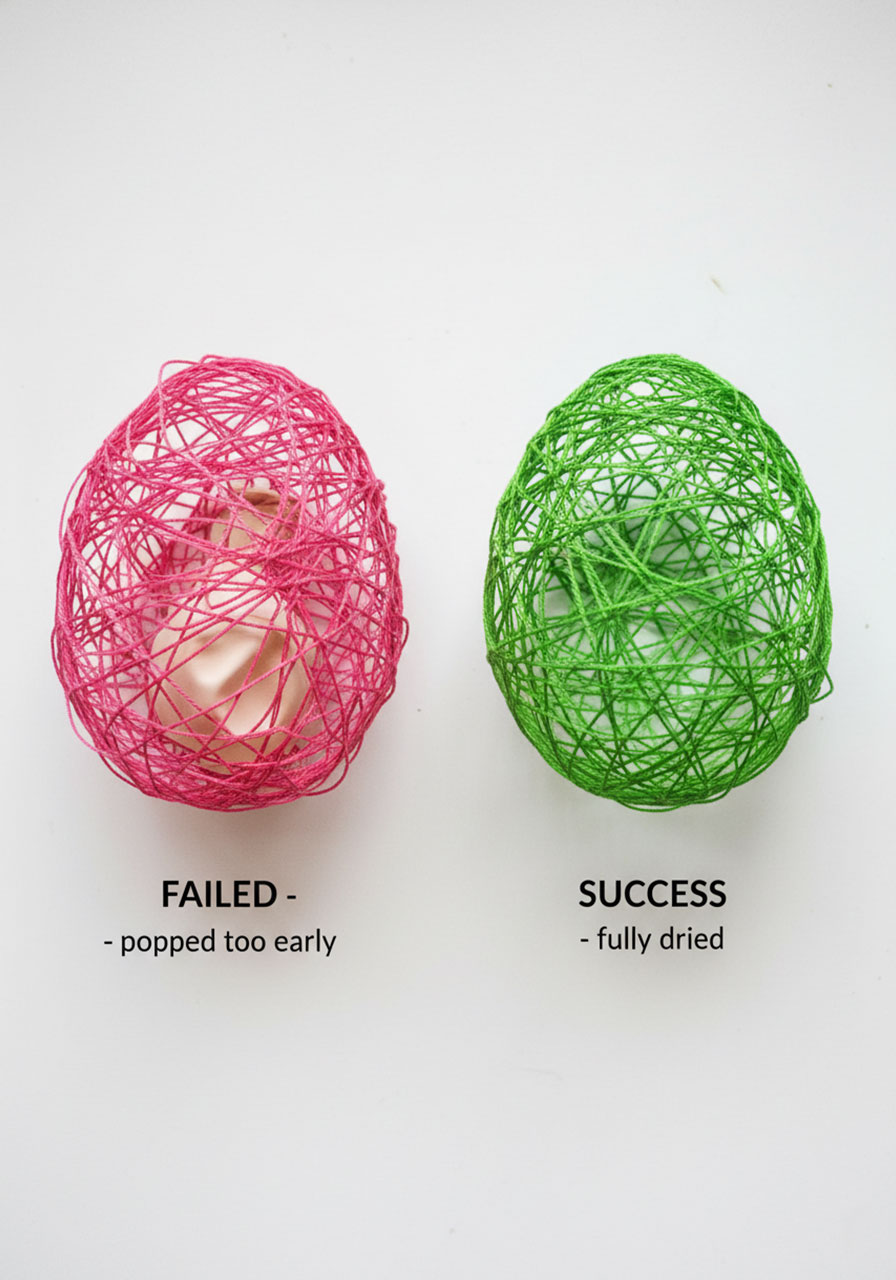
The Make-or-Break Moment: Let these dry for at least 12 hours, preferably 24 hours. This is where most failed attempts happen – popping the balloon too early. The glue needs to be completely hard and dry, not just dry to the touch. If you’re unsure, wait longer. Patience here is everything.
Step 7: The Satisfying Pop
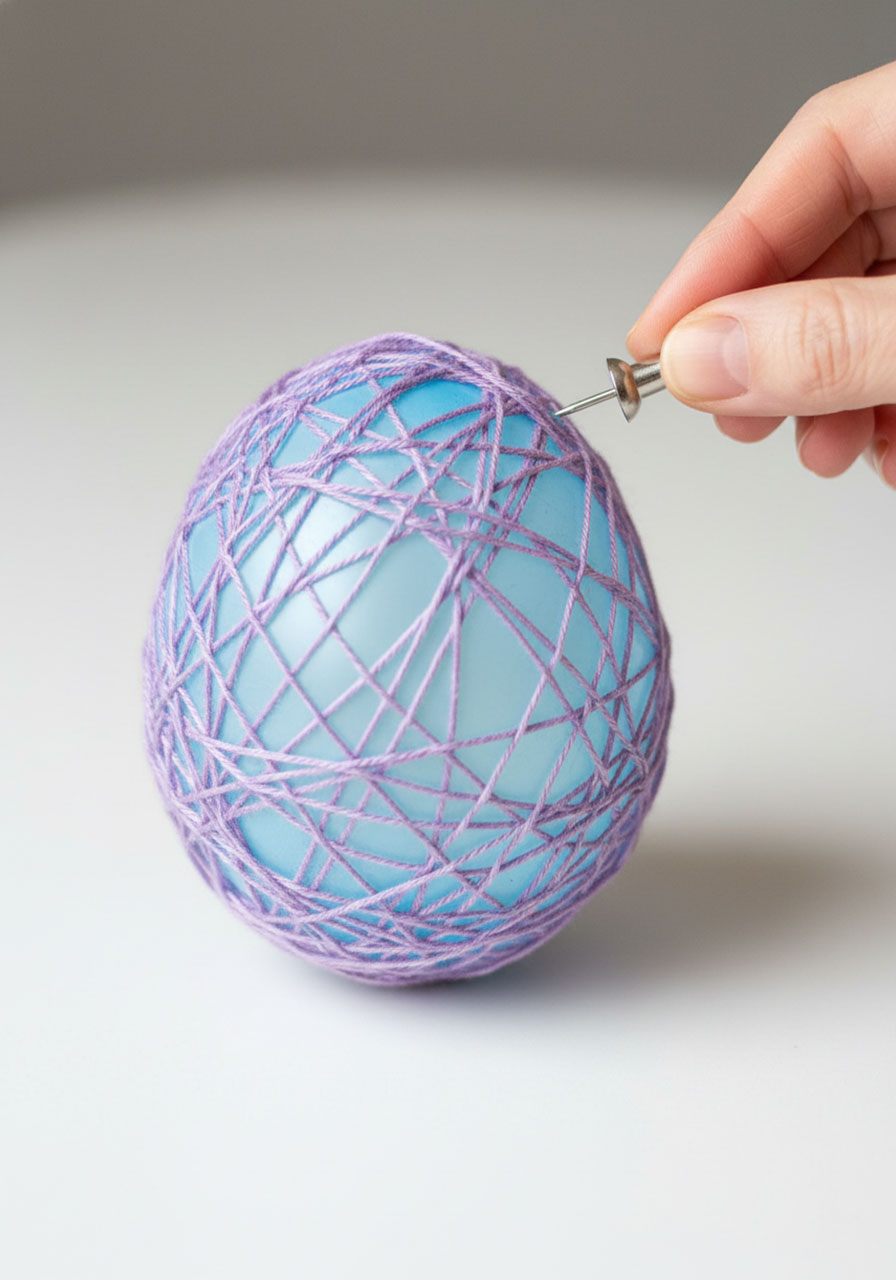
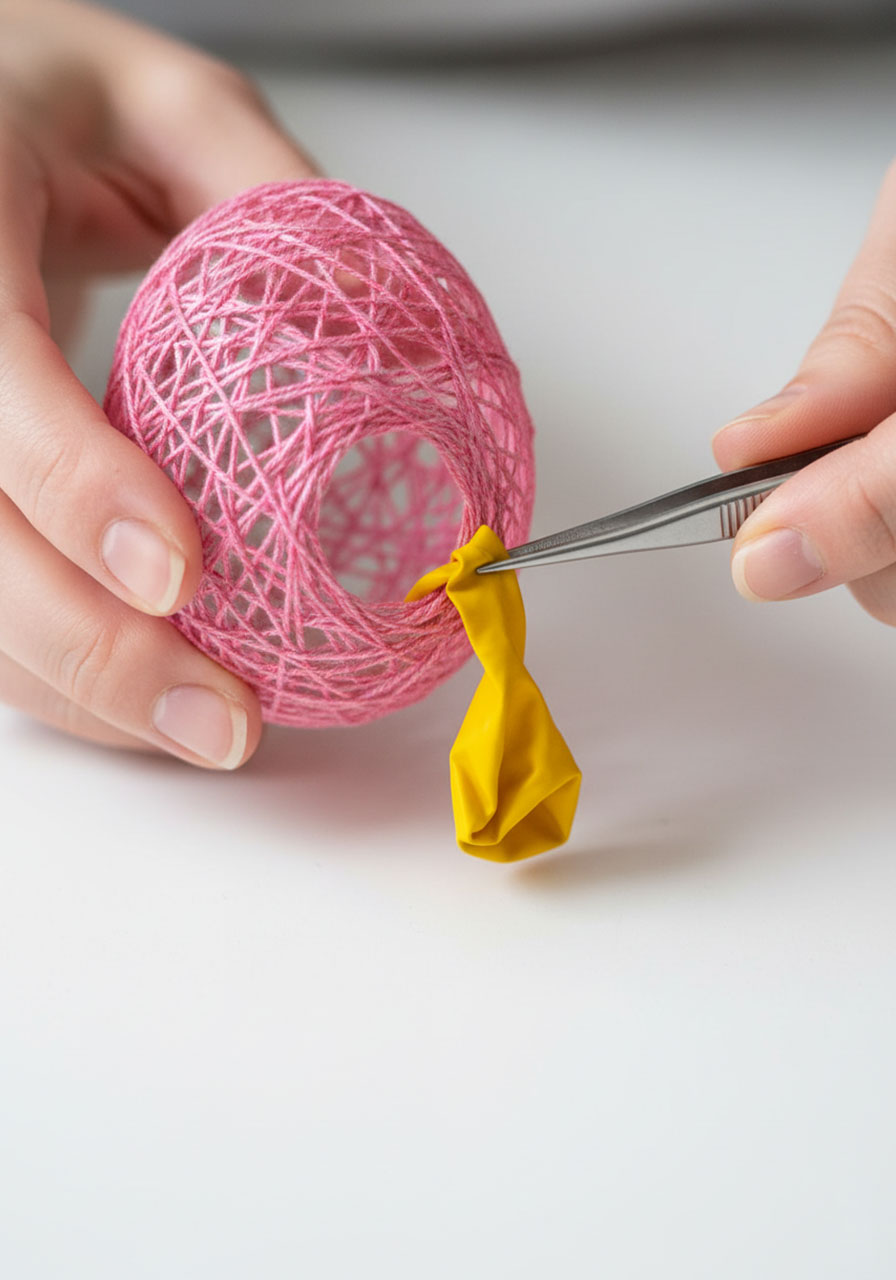
Once your eggs are completely dry (they should feel hard and crispy), poke the balloon with a pin or thumbtack. You’ll hear a slow, satisfying deflating sound – not a loud pop. Gently pull the deflated balloon out with your fingers or tweezers.
If the string starts to collapse when you pop the balloon, it wasn’t dry enough. You can try gently pushing it back into shape, but you may need to start over with a longer drying time.

Display Ideas
Your beautiful string eggs deserve to be shown off. Try these ideas:
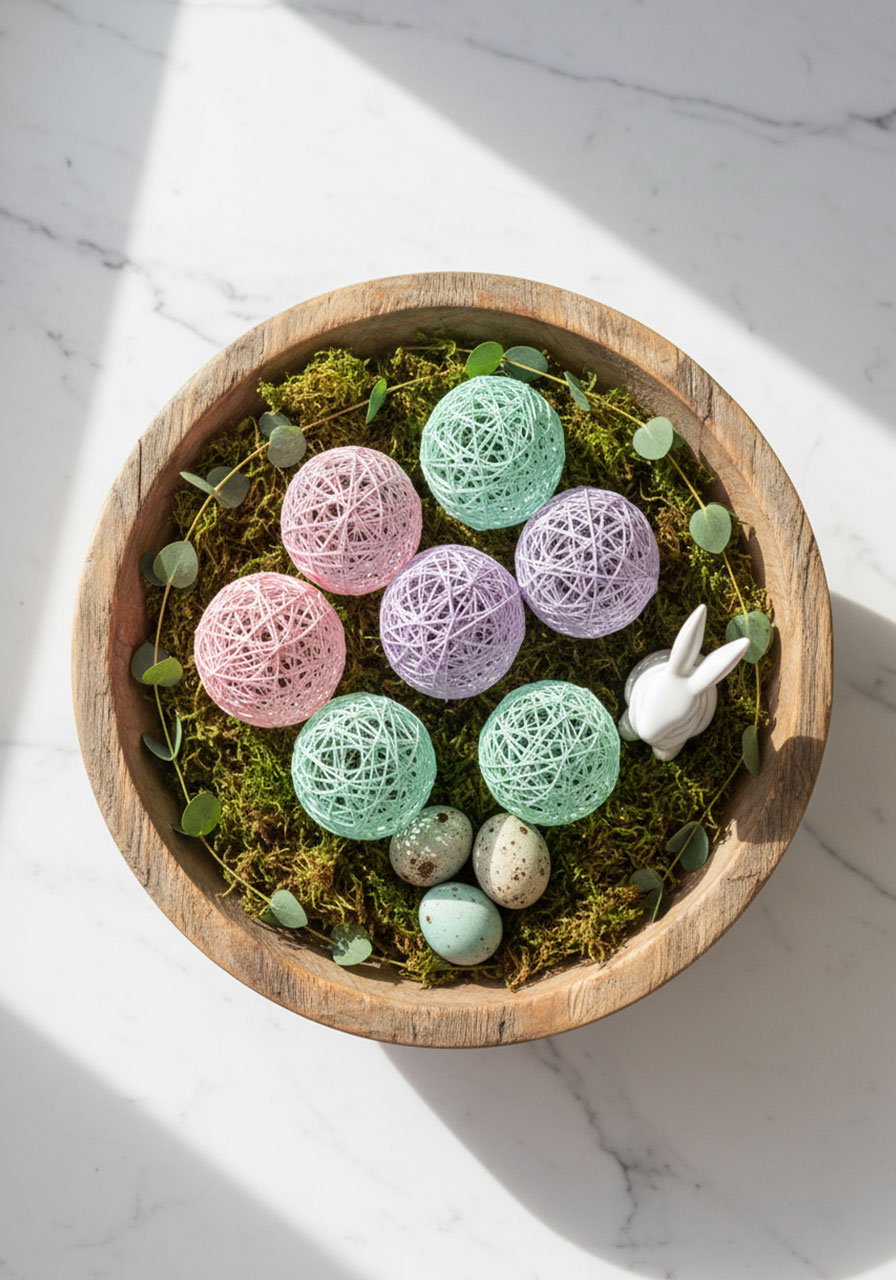
Arrange them in a wooden bowl with moss or Easter grass
Tie fishing line or embroidery thread to them and hang them at different heights from a branch
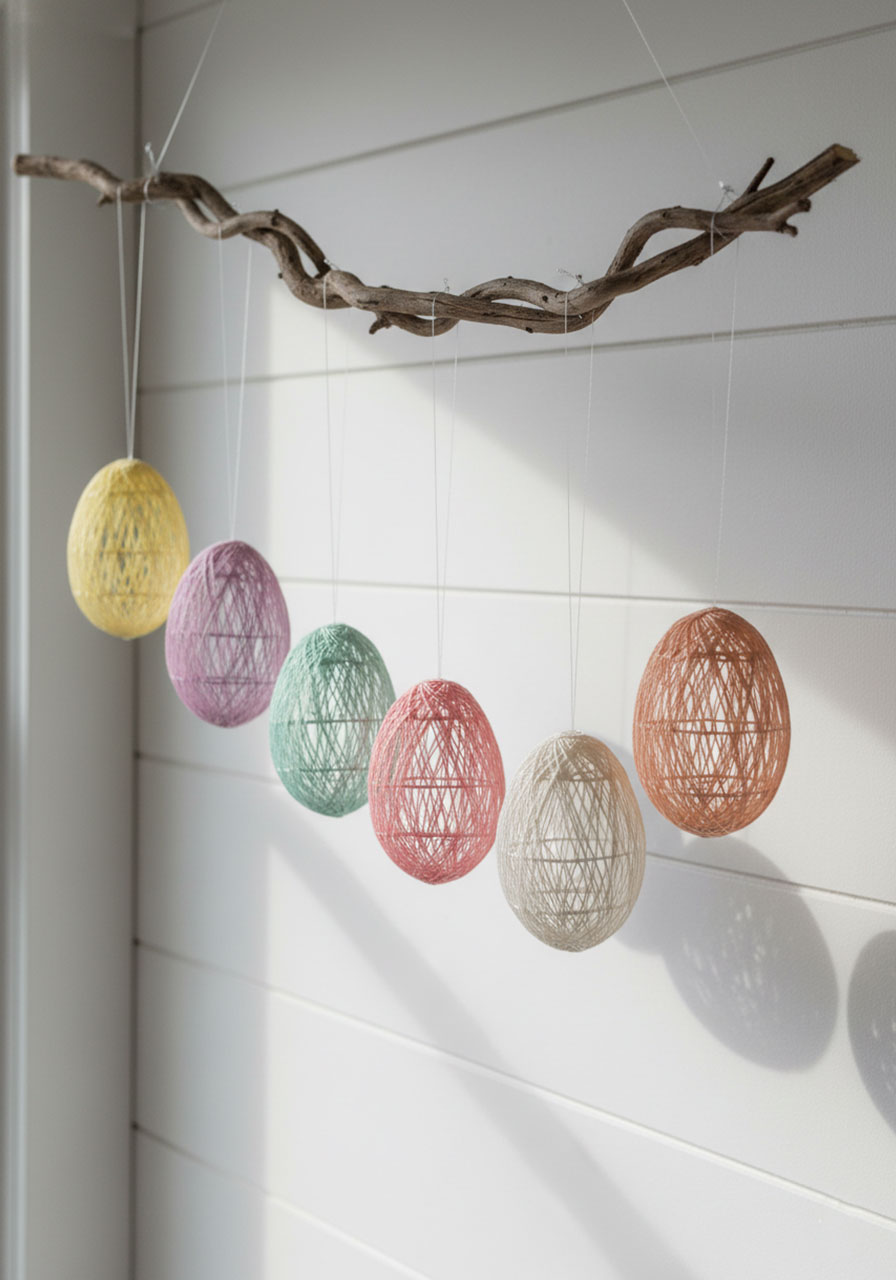
String them as garland across a mantel or window
Give them as gifts (they’re surprisingly sturdy once dry)
Cut a small opening and tuck in a tiny treat or chocolate for an Easter surprise
Troubleshooting Common Problems
My eggs collapsed when I popped the balloon
This is the most common issue. The culprits are usually: too much water in the glue mixture, not enough drying time, or using washable glue instead of regular school glue. Try again with a thicker glue mixture and wait a full 24 hours before popping.
The thread turned into a sticky ball
The glue mixture was too thick, or too much glue was left on the thread. Make your mixture a bit thinner and really wring out excess glue between your fingers as you pull the thread from the bowl.
The string stuck to the balloon
This is normal! When you pop the balloon, it will pull away from the dried glue. Just work gently to separate any spots that stick.
Can I use yarn instead of embroidery floss?
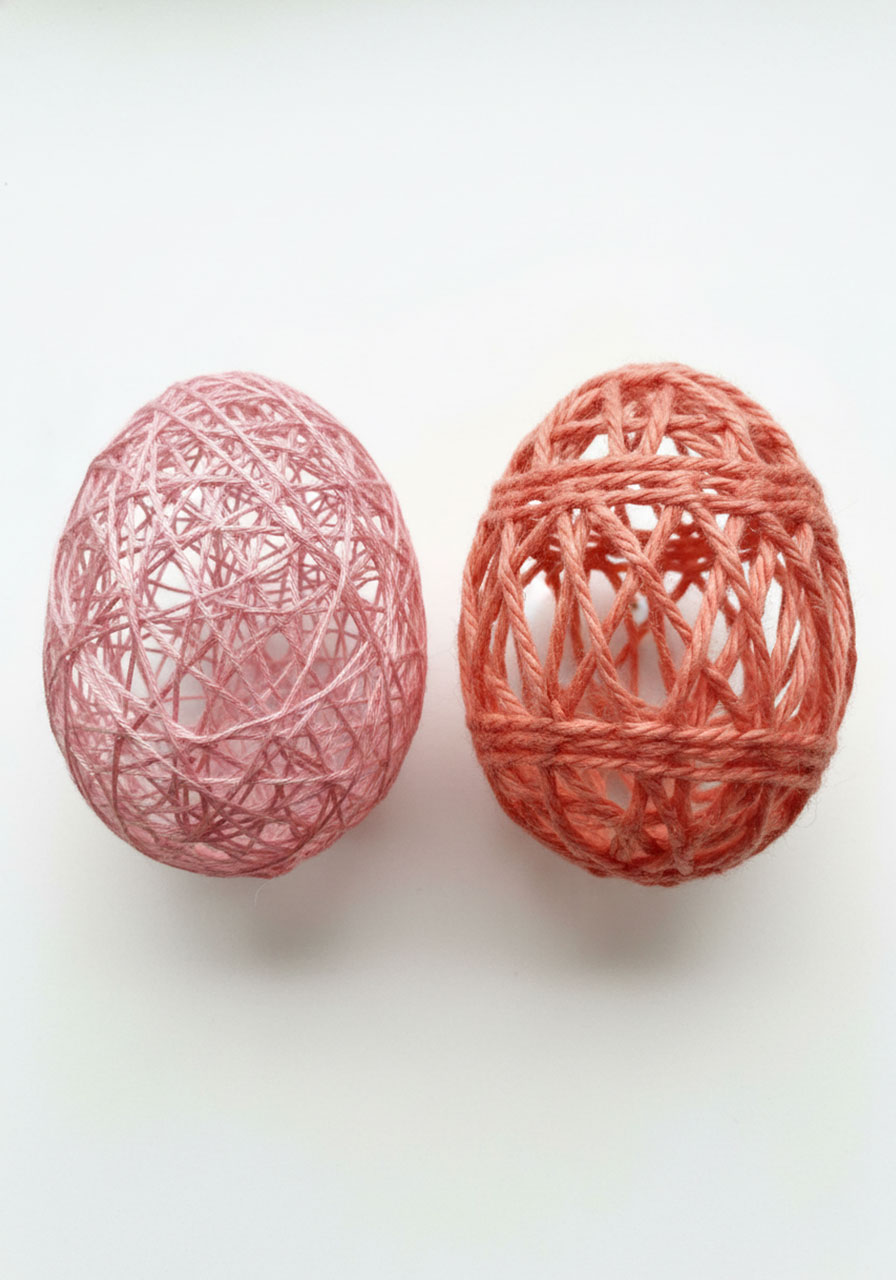
Yes! Yarn creates a chunkier, cozier look. Let it soak longer in the glue mixture since it’s thicker, and expect a slightly longer drying time.
Tips for Doing This with Kids
This is genuinely fun for children, but here’s how to make it successful:
Have kids wear old clothes or smocks – glue will get on everything
Younger kids (5-7) can wrap the balloons while you handle the glue dipping
Older kids (8+) can handle the whole process with supervision
Make extra balloons – some will inevitably fail, and that’s okay
Let kids choose their own color combinations for ownership of the project
The balloon-popping part is the highlight, so save it for when everyone can participate
Classroom Considerations
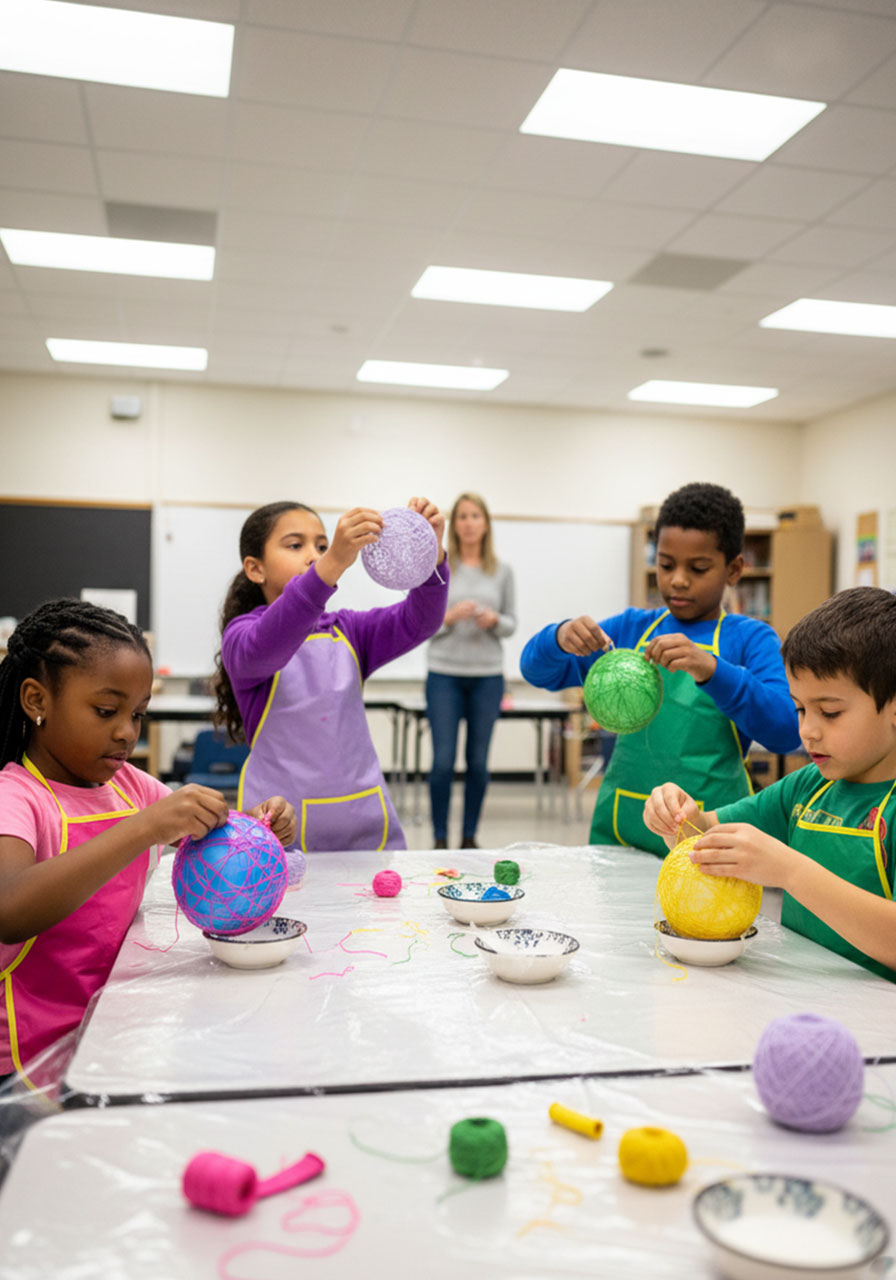
Planning this for a class? Keep these points in mind:
Check for latex allergies before using balloons
Set up stations: one for wrapping, one for drying
Make the eggs one day, let them dry overnight, and pop them the next day
Have students work in pairs to make cleanup easier
Consider making this a take-home project if storage space is limited
Why This Craft Is Worth the Effort
Yes, string Easter eggs take time. Yes, you might have a few failures before you nail the technique. But here’s why parents and teachers keep coming back to this project year after year: it teaches patience and problem-solving, creates something genuinely beautiful, and gives kids that amazing moment when they see that the messy process actually worked.
Plus, these eggs last for years if you store them carefully. You’ll be pulling them out next Easter and remembering the fun (and mess) you had making them.
Final Encouragement: If your first batch doesn’t turn out perfectly, try again. Every crafter who makes these successfully has had at least one batch collapse. The learning curve is part of the experience, and once you get it right, you’ll be able to whip these out every spring with confidence.
Happy crafting, and may your eggs be lacy, delicate, and completely collapse-free!
More Easter Party Ideas to Keep the Fun Rolling:
100 Best DIY Easter Centerpieces That’ll Make Your Table the Talk of the Town
27 Extra Cute Easter Crafts for Adults That’ll Make You the Coolest Host (or Teacher!)
How to Make Foam Cup Bunnies in Just 5 Minutes (Your Kids Will Go Wild!)
20+ Easter Tot School Activities That’ll Make Learning Egg-stra Fun
15 Epic Easter Party Ideas That’ll Have Everyone Hopping with Joy
8 Indoor Easter Egg Hunt Ideas That’ll Have Kids Begging for More
Easter Egg Rescue: The Fine Motor Activity That’ll Keep Kids Busy for Hours
