

Get ready to transform those empty toilet paper rolls into the cutest Easter bunnies you’ve ever seen! This super-simple craft is perfect for keeping little hands busy while creating adorable spring decorations. Whether you’re a parent planning Easter activities at home or a teacher prepping a classroom craft session, this bunny project is about to become your new go-to. The best part? Each bunny gets its own personality, so no two will ever look exactly alike!
Why You’ll Love This Toilet Paper Roll Bunny Craft
This isn’t just another craft to keep the kids occupied – it’s an opportunity to create something truly special without breaking the bank or spending hours on prep work. Here’s what makes this bunny craft a winner:
Best for: Kids ages 3-8, classroom Easter parties, rainy spring afternoons, Easter basket decorations
Time to Complete: 20-30 minutes (including drying time)
Mess Level: Low to medium (mostly just painting)

What You’ll Need
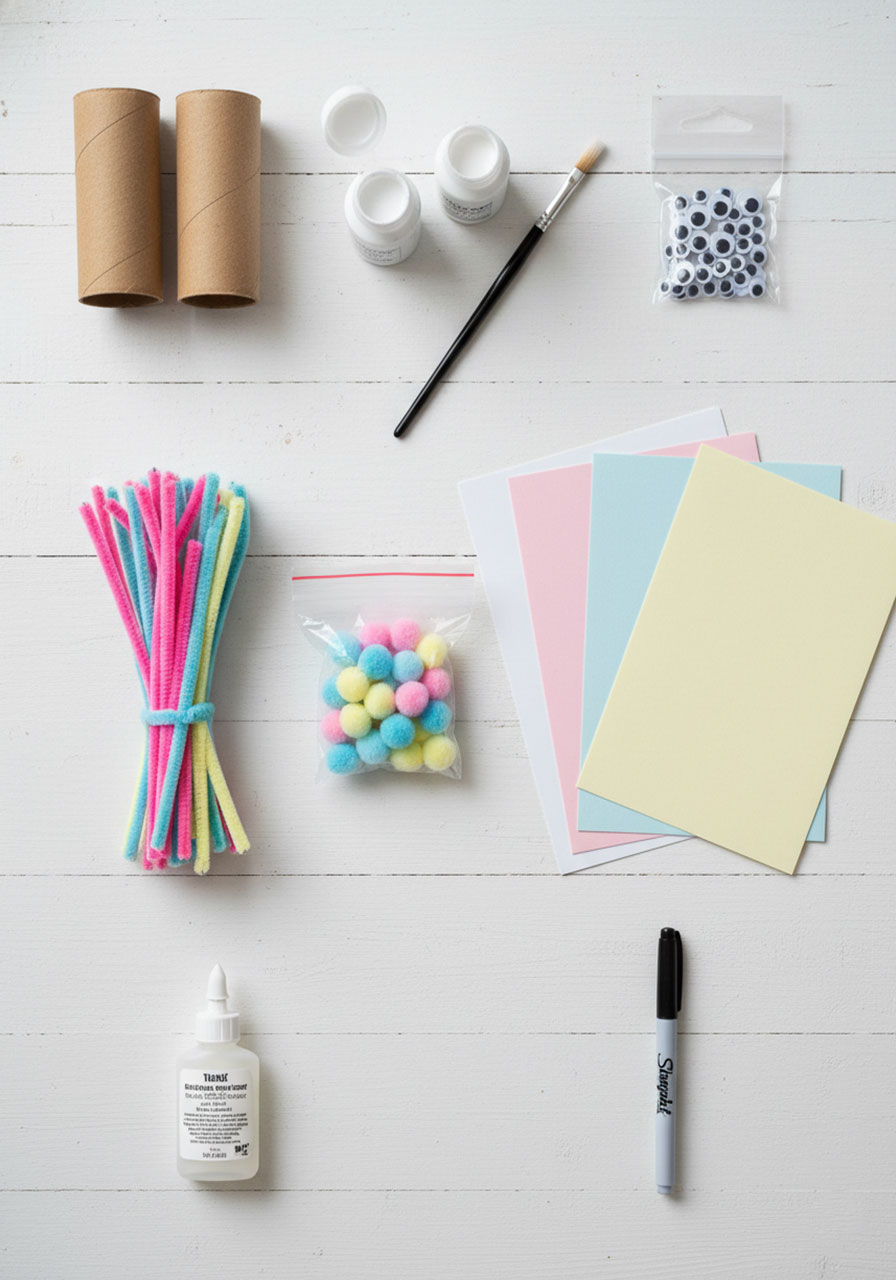
The beauty of this craft is that you probably already have most of these supplies sitting in your craft drawer! Here’s your simple shopping list:
Toilet paper rolls – one per bunny (start saving them now!)
White paint – acrylic works best for good coverage
Paintbrushes – any size will do
Small googly eyes – two per bunny
Pipe cleaners – pick fun colors like pink, yellow, blue, or keep it classic with white
Small pom poms – for the adorable button nose
White cardstock – for the outer ear shape
Colored cardstock – for the inner ear (pink, yellow, or blue look amazing!)
Strong craft glue – the heavy-duty kind that holds pom poms and pipe cleaners
Black permanent marker – for that sweet little smile
Scissors – for cutting out bunny ears
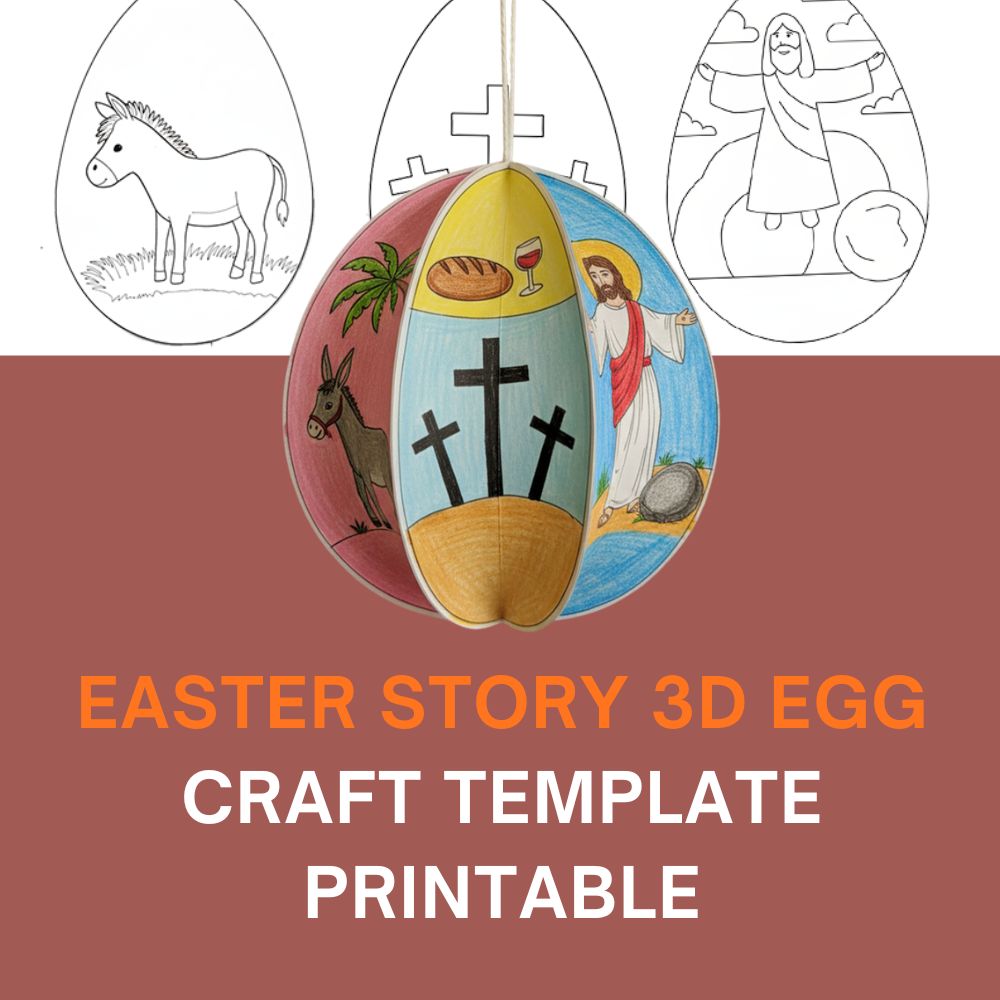
Easter Story 3D Egg Craft Template Printable | Resurrection Craft for Kids
🐴 Palm Sunday – Kids clearly understand Jesus entering Jerusalem as they color the donkey – turning a complex Bible moment into something simple and memorable.
🍞 Last Supper – The bread and wine panel helps you naturally introduce Jesus’ sacrifice and connect it to real-life church practices like communion.
✝️ The Cross – The crucifixion scene gives you a gentle, age-appropriate way to explain Jesus’ love and why His sacrifice matters.
⛰️ Empty Tomb – This panel captures kids’ attention with the biggest turning point – helping them grasp that Jesus defeated death.
🙏 Resurrection – Seeing Jesus alive again reinforces the full Easter message, giving kids a clear, lasting understanding of why we celebrate.
How to Make Your Toilet Paper Roll Bunnies (Step-by-Step)
Ready to hop into this craft? Follow these foolproof steps to create your adorable paper roll bunnies:
1. Paint your toilet paper rolls white.
This is your bunny’s body, so make sure you cover the entire roll. You’ll probably need 2-3 coats to get a nice, solid white color. Acrylic paint works like magic here – it gives you better coverage than regular craft paint and dries faster. Let each coat dry completely before adding the next one. While you wait, this is the perfect time to prep your bunny ears!

2. Create the bunny ears.
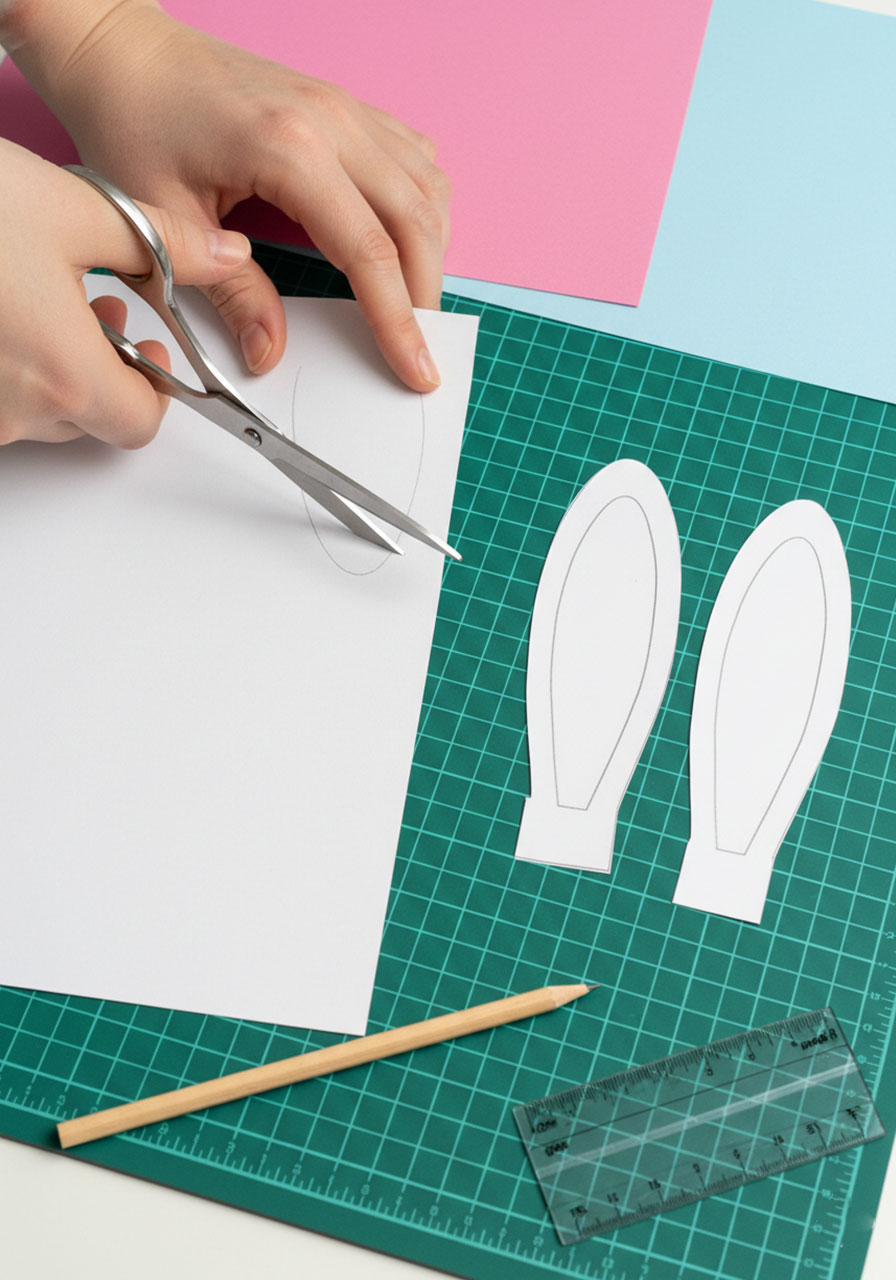
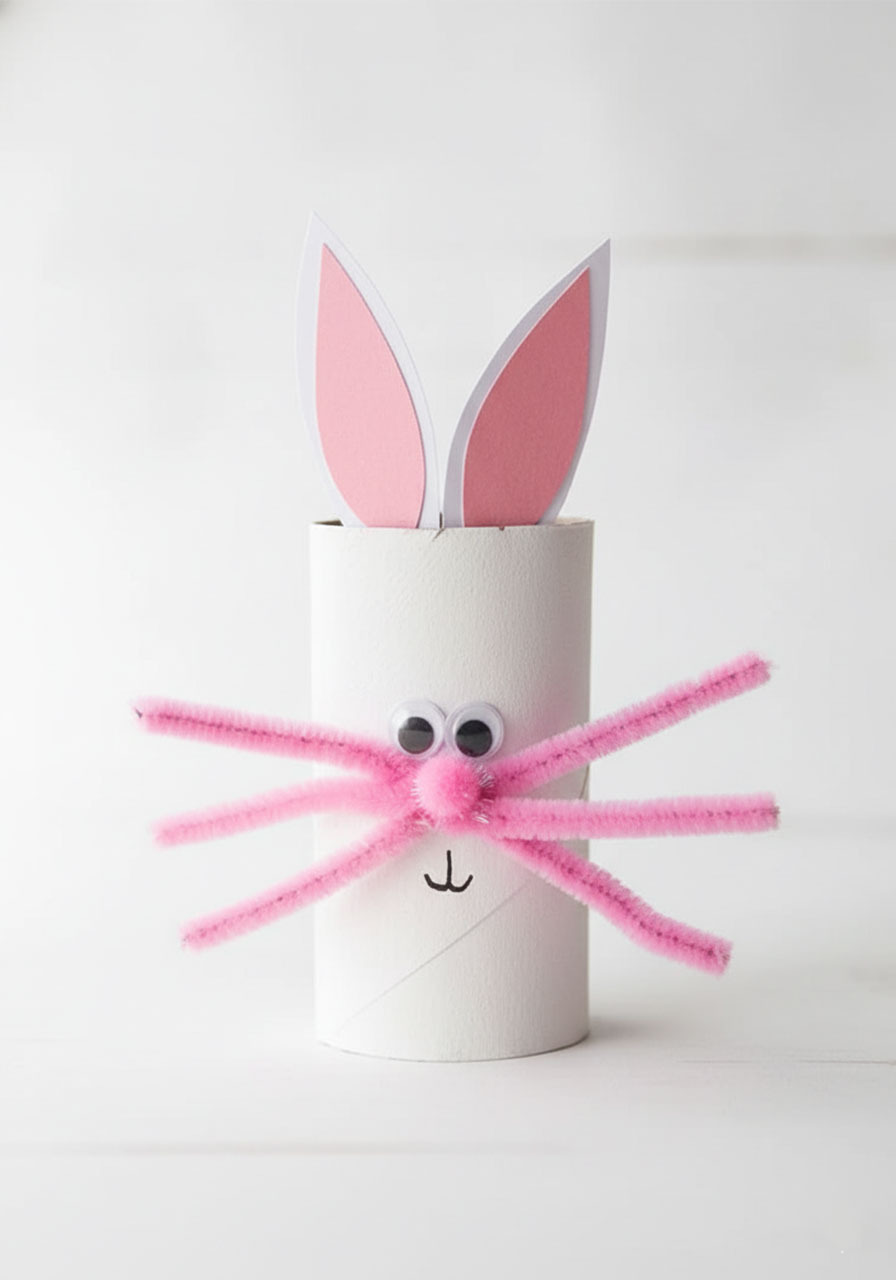
Here’s where you can get creative! Cut out two long, oval ear shapes from your white cardstock (about 3 inches long works great). Then cut two smaller oval shapes from your colored cardstock to create the inner ear detail. Glue the colored ovals onto the white ear bases. Pro tip: Let kids pick their own ear colors – some might want matching ears, others might want each ear a different color!

3. Add the googly eyes.
Once your painted roll is completely dry, glue two small googly eyes near the top of your bunny’s face. Space them about an inch apart for that classic bunny look. The eyes give your bunny instant personality!

4. Make the whiskers.
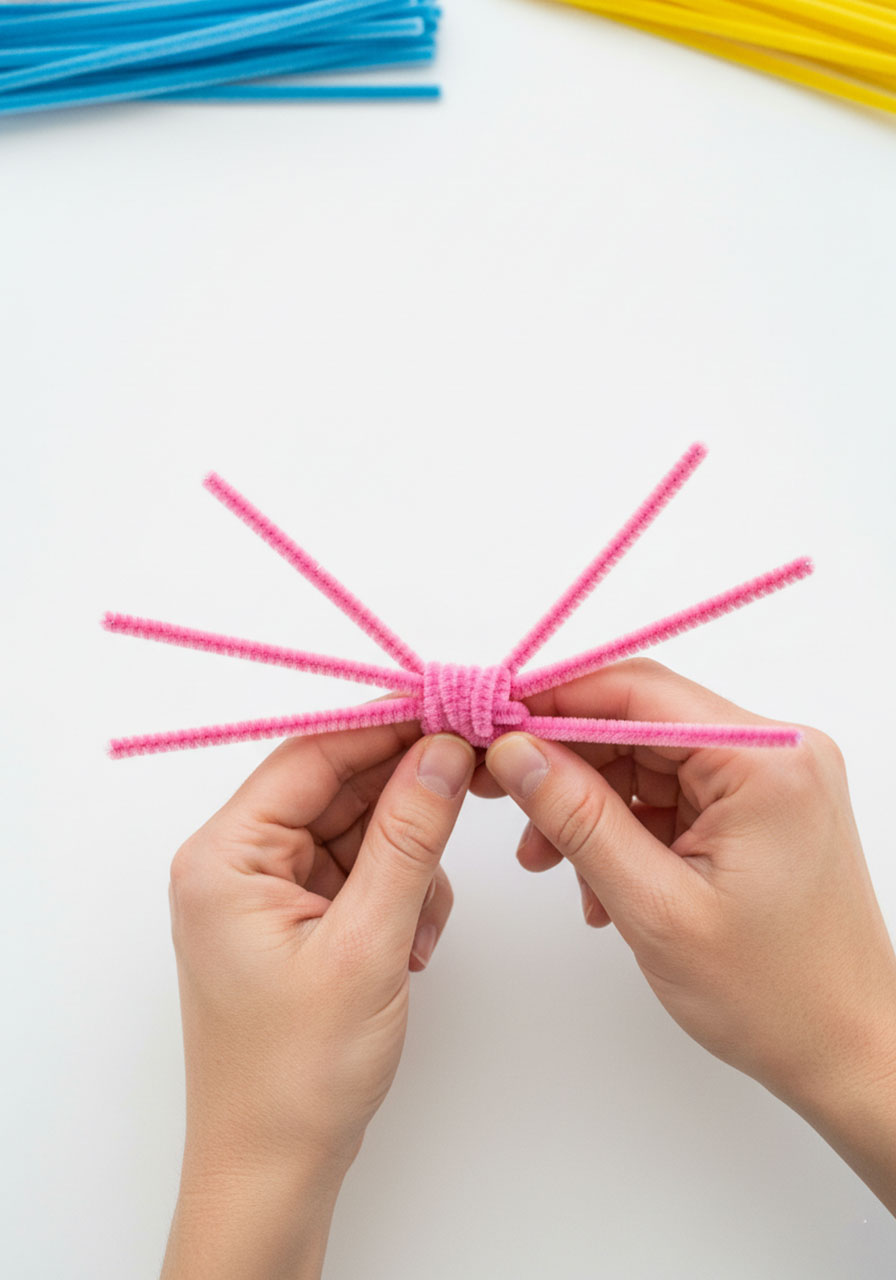
Take three pipe cleaners and twist them together in the middle to create a bundle. This forms your bunny’s whiskers! Glue the twisted center part onto your paper roll, right below the eyes. Let the whiskers stick out on both sides – don’t trim them! The longer they are, the more whimsical your bunny looks.

5. Add the nose.
Grab one of your small pom poms and glue it right on top of the twisted center of your pipe cleaner whiskers. This creates an adorable little button nose that sits perfectly in the middle of the whiskers. Pink pom poms look super cute, but yellow and blue are fun too!

6. Attach the ears.
Here’s the finishing touch! Apply glue to the bottom of each ear and tuck them into the inside top of your toilet paper roll. You can position them straight up for an alert bunny or angled slightly to the sides for a more relaxed look. Hold them in place for a few seconds to make sure they stick.

7. Draw the mouth.
Use your black permanent marker to draw a simple smile or a little “Y” shape below the nose. This gives your bunny that sweet, happy expression. You can make it a tiny smile or a big grin – totally up to you!
And just like that, your toilet paper roll bunny is complete! Stand it up and admire your adorable creation.
Pro Tip: Younger kids (ages 3-5) might need help with the gluing steps, especially attaching the ears and whiskers. Set up an assembly line where you handle the tricky gluing parts while they do the painting and decorating. This keeps everyone involved and prevents any glue-related meltdowns!

Creative Variations to Try
Once you’ve mastered the basic bunny, why not experiment with these fun twists?
Rainbow Bunny Brigade: Skip the white paint entirely and create bunnies in every color of the rainbow. Pink bunnies, purple bunnies, even sparkly gold bunnies – the sky’s the limit!
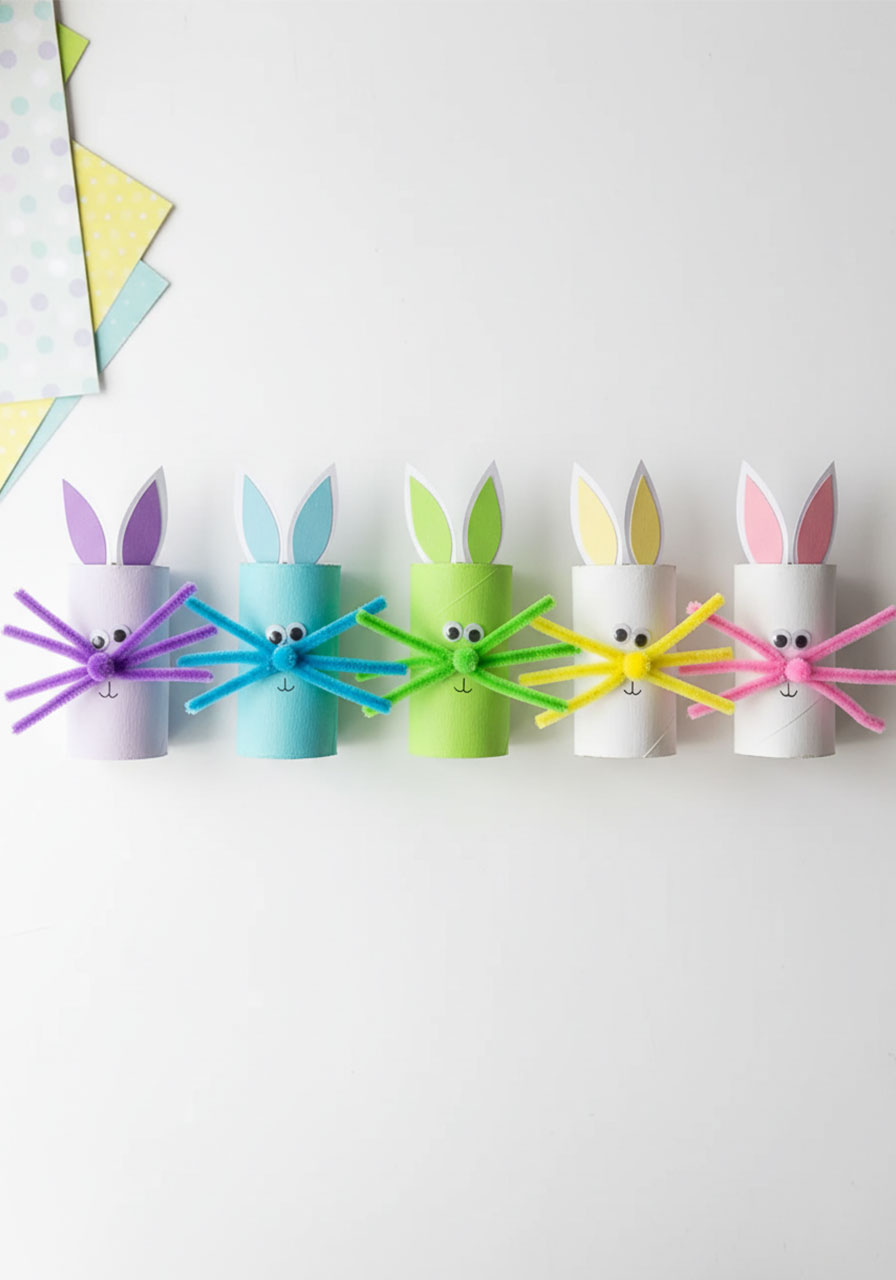
Bunny Family: Use different sized rolls to create a whole bunny family. Paper towel rolls make mama and papa bunnies, regular toilet paper rolls are perfect for kids, and cut-down rolls create baby bunnies.

Textured Bunnies: Instead of paint, wrap your rolls in white felt or cotton balls for a super fluffy bunny texture that kids will love to touch.
Easter Basket Bunnies: Glue a small handle made from a pipe cleaner or strip of paper to the top and fill your bunny with Easter grass and small treats!
What Makes This Craft Perfect for Little Ones
This toilet paper roll bunny craft hits all the right notes for young children. The steps are straightforward enough that kids feel independent and capable, but there’s also room for creativity and personal expression.
Toddlers and preschoolers absolutely love the hands-on nature of this project. Painting the rolls gives them that satisfying sensory experience, while choosing colors for ears and noses lets them make decisions and see their choices come to life. The gluing steps help develop fine motor skills, and watching their bunny come together piece by piece builds patience and sequential thinking.
For classroom settings, this craft is a dream. It uses inexpensive materials, the prep work is minimal, and you can easily scale it up for a whole class. Set up stations – one for painting, one for ear-making, one for assembly – and rotate groups through. It keeps the chaos manageable and ensures every child gets help when they need it.
Teacher Tip: Save toilet paper rolls for weeks before your Easter craft day! Send a note home asking parents to donate their empty rolls. You’ll be amazed how quickly you can collect enough for your entire class.

Display Ideas That Make Your Bunnies Shine
Don’t just make these cute bunnies and then hide them in a drawer! Here are some clever ways to show them off:
Easter Table Centerpiece: Arrange a group of bunnies on a tray with some fake grass, small eggs, and spring flowers for an adorable Easter table decoration.
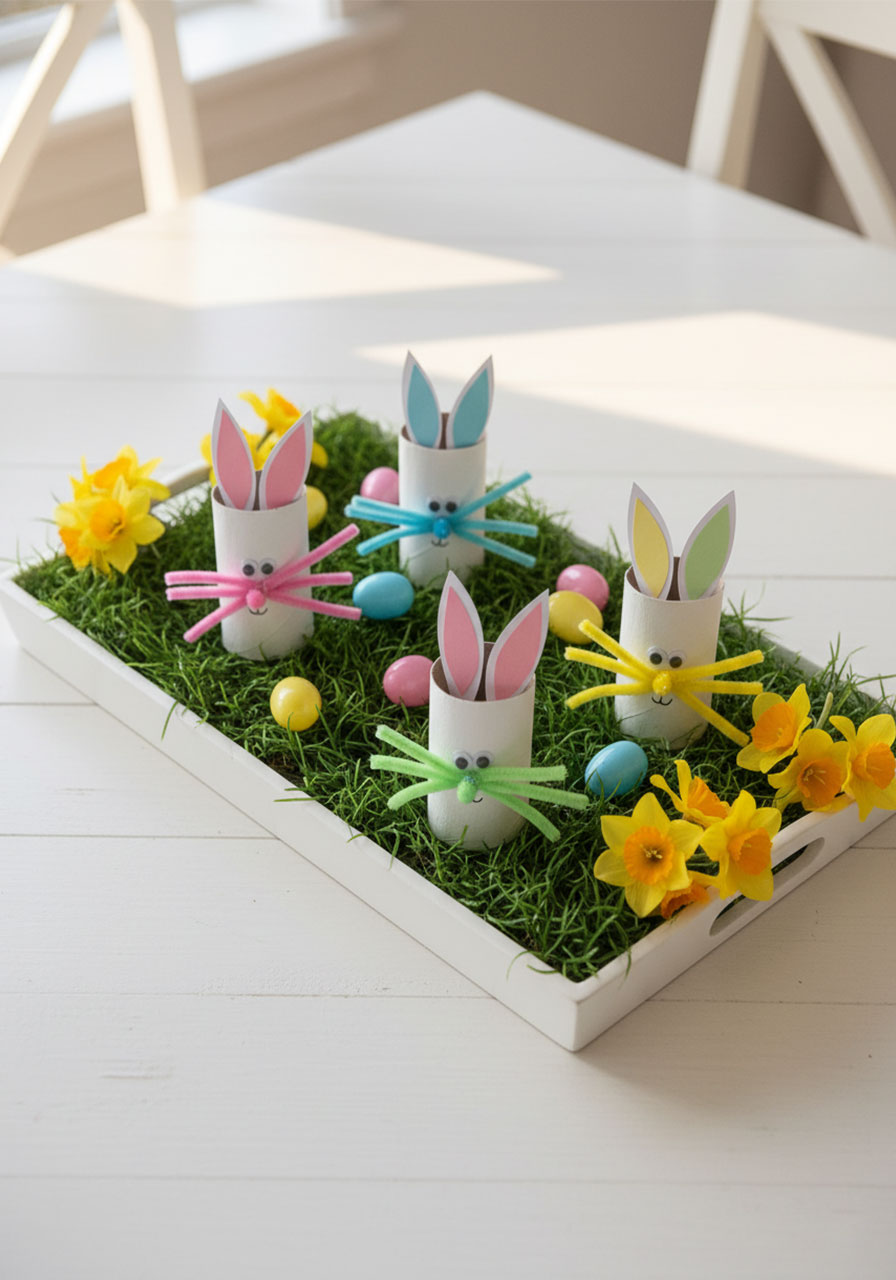
Window Sill Lineup: Stand your bunnies in a row on a sunny windowsill. The light shining through makes them even cuter!
Gift Toppers: Attach a bunny to the top of an Easter gift bag or basket for a personalized touch.
Name Card Holders: Write names on small cards and tuck them behind the whiskers to use as place cards for your Easter dinner.
Beyond Easter: Year-Round Bunny Fun
Who says bunnies are just for Easter? This craft technique works beautifully for other occasions too:
Make brown bunnies for a spring nature theme. Create bunny characters from favorite storybooks. Use them as puppets for imaginative play. The toilet paper roll structure is so versatile that once kids master the bunny, they can adapt the technique to create all sorts of animals!
The Real Magic of This Craft
Sure, you’ll end up with adorable bunny decorations, but the real magic happens during the creating. This is quality time spent together – whether you’re a parent crafting with your own kids or a teacher guiding a classroom full of eager artists.

You’ll hear giggles when someone’s bunny gets “crazy whiskers.” You’ll see concentration when they carefully position those tiny googly eyes. You’ll watch pride bloom on their faces when they hold up their finished bunny and announce, “I made this!”
Those are the moments that make simple crafts like this absolutely priceless. Plus, you’re creating decorations and memories at the same time – and you can’t beat that.
So grab those toilet paper rolls and get ready to create the cutest little bunny brigade your home or classroom has ever seen. Your kids are going to love every minute of it, and you’ll love how simple and sweet this craft turns out to be. Happy crafting!
More Easter Party Ideas to Keep the Fun Rolling:
8 Indoor Easter Egg Hunt Ideas That’ll Have Kids Begging for More
Easter Egg Rescue: The Fine Motor Activity That’ll Keep Kids Busy for Hours
Easter Story 3D Egg Craft – Teach Kids the Resurrection
Easter Sensory Bin: The Rainbow Rice Activity Kids Can’t Resist
Easter Peeps Game: The Hilarious Activity That’ll Have Kids Begging for More!
Spring Bunnies DIY Gumball Machine Craft: The Adorable Easter Decor Your Kids Will Obsess Over!
30 Hilarious Easter Minute to Win It Games That’ll Have Everyone Cracking Up
12 Brilliant Easter Egg Hunt Ideas for Toddlers That Actually Work
