
Ready to make your neighbors do a double-take this fall? These DIY outdoor pumpkins are about to become your secret weapon for epic autumn decor – and here’s the best part: they’re practically free to make and will last for years!
I’m not going to lie – when these beauties were finished, I couldn’t believe they started as garbage bags and newspaper. They look that good.
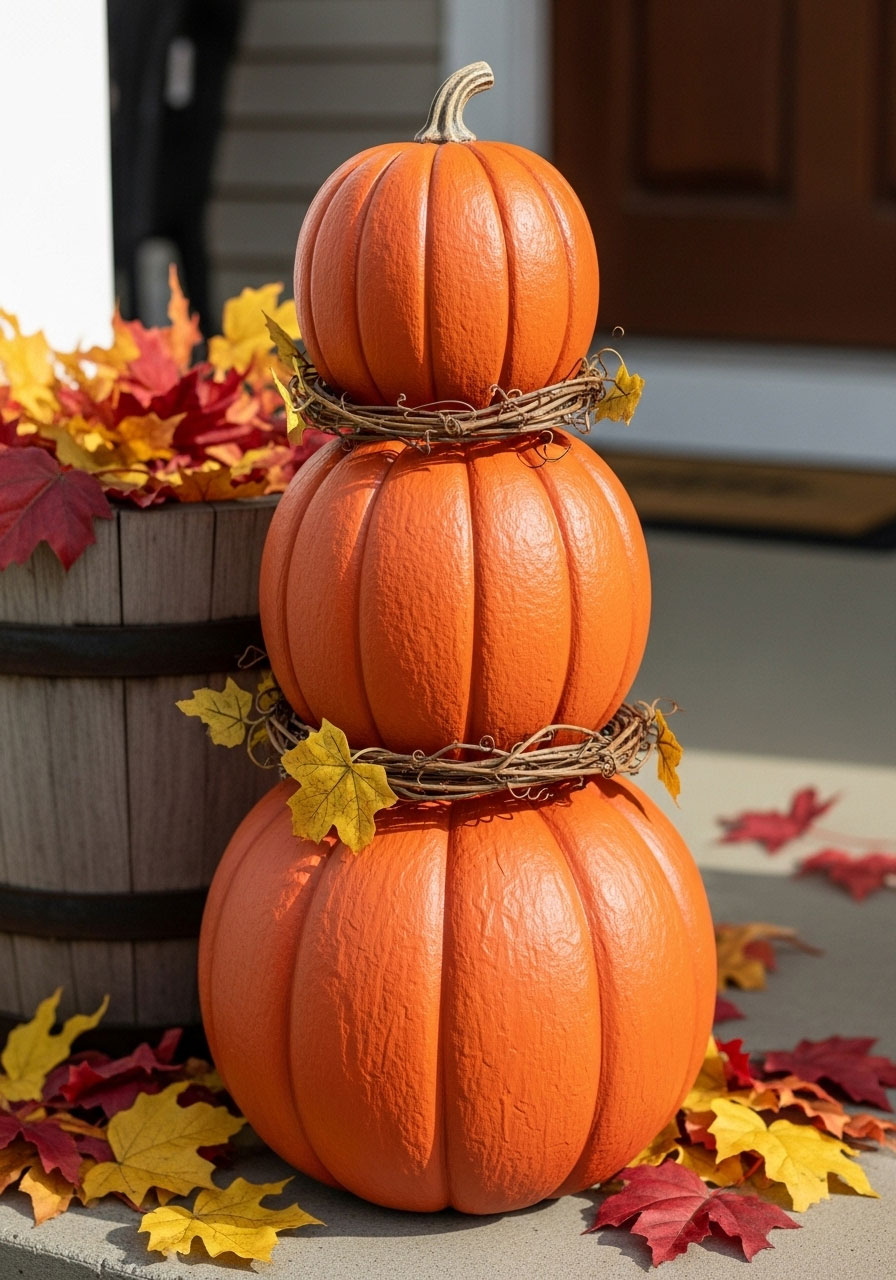
Why You Need to Make These Right Now
Let’s talk about the sticker shock of fall decorating for a second. When I went pumpkin shopping for my front porch, I nearly fainted at the checkout. One large decorative pumpkin? $30. Medium? $15. Small? $12. For a stacked set of three, we’re talking $45 – and I wanted two sets for my front door!
That’s $90 in pumpkins that I’d have to replace every single year. No thanks! I knew there had to be a better way, and after some digging, I discovered the magic of paper mâché pumpkins. Game. Changer.
The total cost? About $3 for grapevine garland plus some outdoor spray I needed anyway. Everything else was stuff I already had at home!


Fall Autumn Outdoor Scavenger Hunt Printable for Kids & Adults
🎁Buy Now and get instant access to your download!
✉After your purchase, you can download your files directly from the website or find them in the email receipt we send you.
📧Should you encounter any issues, please contact us at [email protected] and we'll assist you within 24-48 hours.
What You’ll Need

Here’s your supply list – and trust me, you probably have most of this already:
- Garbage bags (any size – use what you’ve got!)
- Newspaper (finally, a use for all that junk mail)
- Masking tape
- Flour and water (for paper mâché paste)
- Paper clay (easy to make – recipe below!)
- Paint (any kind works – interior, exterior, craft paint, whatever!)
- Minwax Helmsman Spar Urethane spray (this is the outdoor protection magic)
- 1-inch plastic pipe (optional, for stacking)
- Grapevine garland (for that finishing touch)
- Planter (to display your masterpiece)
How to Create Your Pumpkin Magic
Step 1: Build Your Pumpkin Base
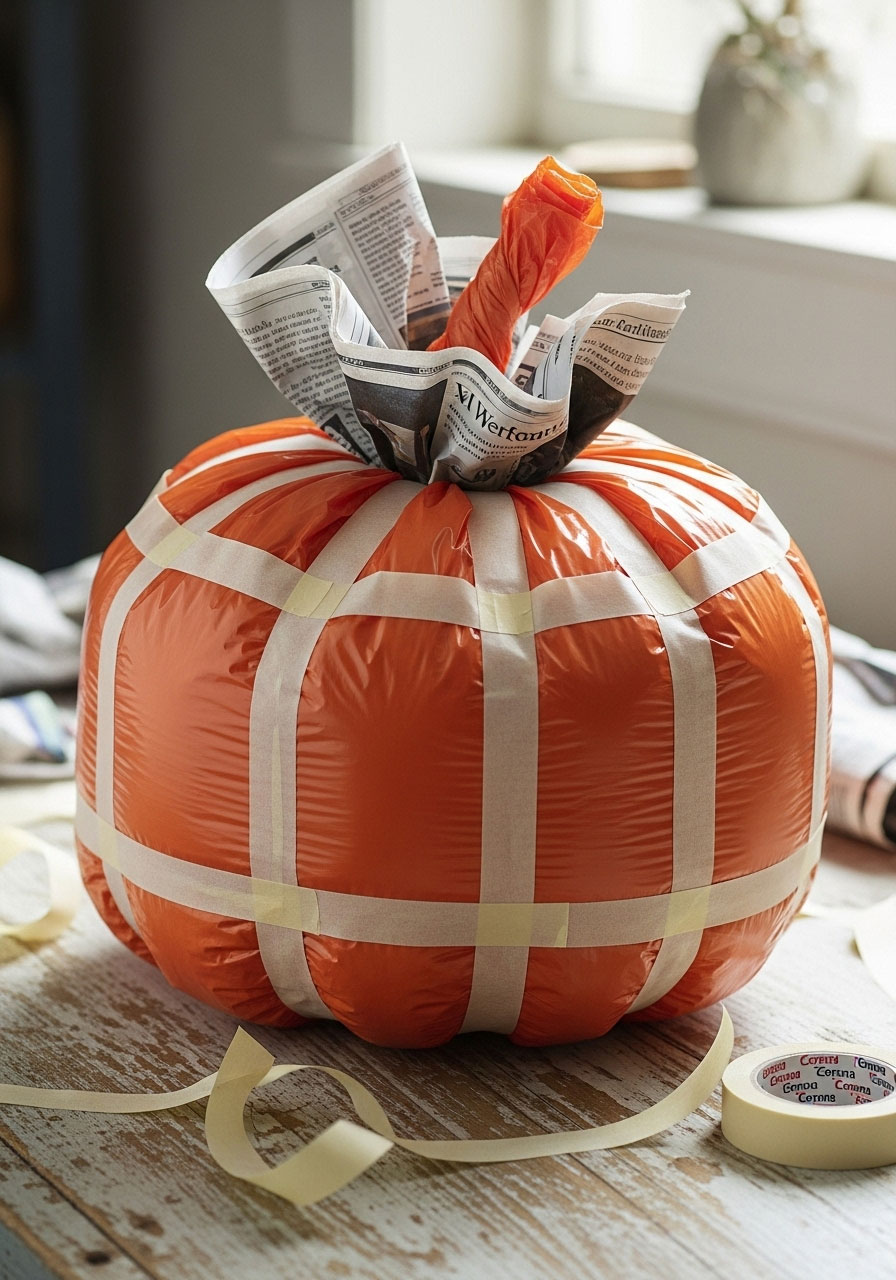
Start by stuffing a garbage bag with wadded-up newspaper. Tape off the top to seal it up. Now comes the fun part – wrap masking tape around the bag to create those classic pumpkin ridges and curves. Don’t worry if it looks a little wonky at first (mine definitely did!). You’re going for the general shape here.
Pro Tip: Set your stuffed bag on your planter as you work to get a sense of the size you want. Make a few different sizes if you’re going for that stacked look!
Step 2: Make Your Paper Mâché Paste

This couldn’t be simpler:
- 2 cups water
- ¾ cup flour
Mix it together and you’re done! Some people cook it, but honestly? The uncooked version works just as well and saves you a step.
Step 3: Apply Paper Mâché Layers

Time to get messy! Rip newspaper into strips and dip them into your paste. Apply two full layers to each pumpkin, making sure to cover everything thoroughly. Let each layer dry completely – this usually takes about a full day, depending on your weather.
Pro Tip: Do this project when you have nice weather. Sunshine is your friend for drying time!
Step 4: Add the Paper Clay Layer (The Game-Changer!)

Once your paper mâché is bone dry, it’s time for the secret ingredient that makes these pumpkins look incredibly realistic: paper clay! There are tons of recipes online – find one that works for you.
Here’s the truth: my first batch was too dry and I had to adjust. Don’t stress if yours looks bumpy at first (mine was VERY bumpy). Use your paper mâché paste to smooth it out as you apply the clay. By the end, you’ll get the hang of it and have a beautifully smooth surface.
Step 5: Paint Like a Pro

Now for the transformation! I used whatever paint I had on hand – interior latex, exterior latex, craft paint – because I knew I’d be sealing everything with that outdoor urethane spray anyway.
Layer different shades of orange, add some yellow highlights, throw in some green near the “stem” area, and watch your plastic-bag creation turn into a convincing pumpkin. You don’t need to be an artist (I’m definitely not!) – from a few feet away, these look absolutely real.
Step 6: Seal the Deal

Spray everything down with Minwax Helmsman Spar Urethane. This is what protects your pumpkins from rain, snow, and whatever else Mother Nature throws at them. Don’t skip this step!
Step 7: Stack ‘Em Up (Optional)

Want that impressive stacked look? Here’s how to make it secure:
- Place an upside-down plastic bucket in your planter
- Drill a hole through the bucket
- Insert a 1-inch plastic pipe through the hole (I found mine in the shed!)
- Cut a hole in a large garbage bag and drape it over the pipe to protect your pumpkins from sitting in wet dirt
- Use a 1-inch drill bit to start holes in each pumpkin, then use a screwdriver to finish the job
- Stack your pumpkins on the pipe (you may need to trim the pipe for the top pumpkin)
Pro Tip: Make grapevine rings from your garland to nestle between each pumpkin. Add a few decorative leaves and you’re done!


Rescue The Runaway Turkeys – Easy Thanksgiving Scavenger Hunt Printable for Kids
🎁Buy Now and get instant access to your download!
✉After your purchase, you can download your files directly from the website or find them in the email receipt we send you.
📧Should you encounter any issues, please contact us at [email protected] and we'll assist you within 24-48 hours.
The Best Part: Storage Made Easy
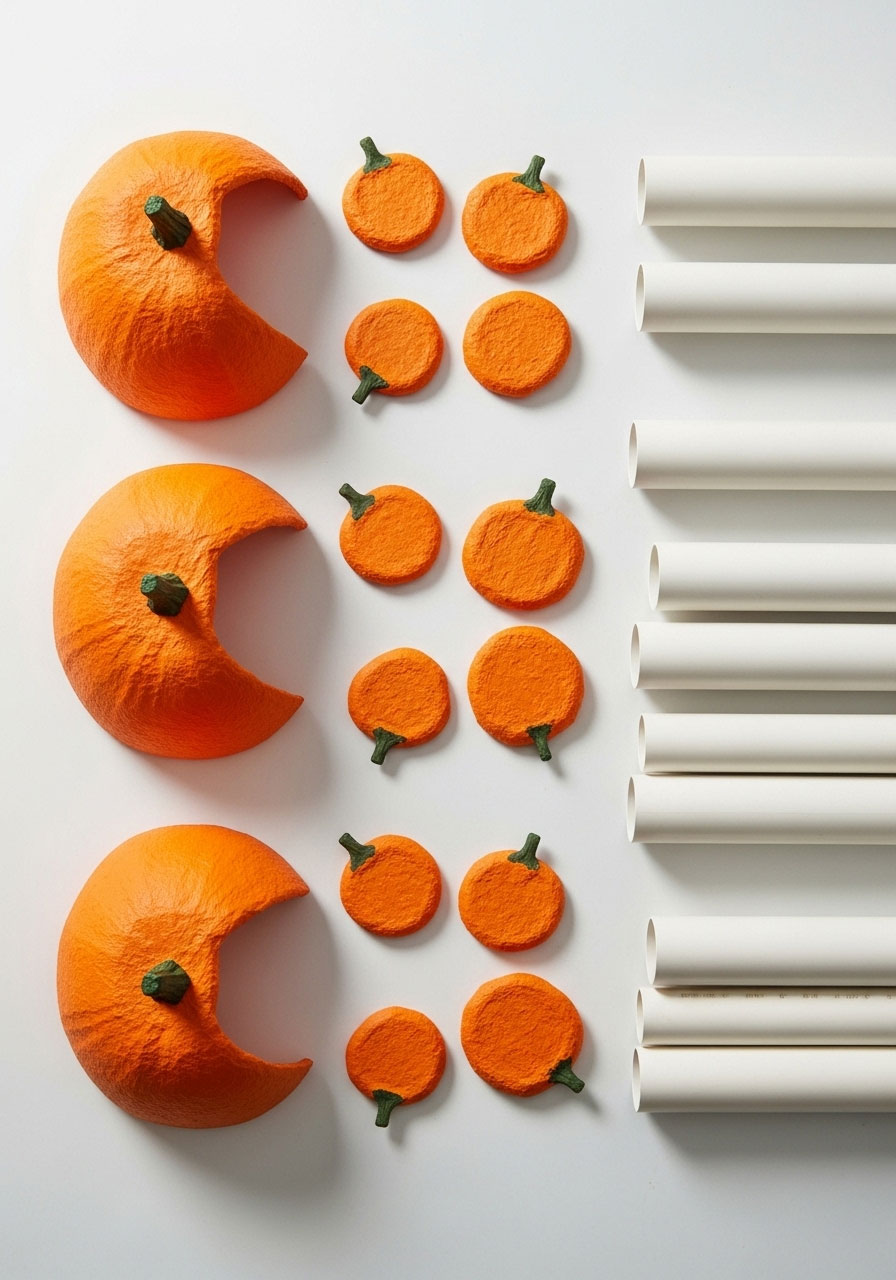
Here’s what makes this project absolutely brilliant – when fall is over, these pumpkins come apart easily! Just lift each one off the pipe, wipe them down, and store them away. They’ll be ready to go again next year (and the year after that, and the year after that…).
Real Talk: Durability Check
Year 1: They held up amazingly! Just a tiny bit of mold between the bottom and middle pumpkin, which cleaned up easily with a quick wipe and another coat of urethane.
Year 2: I got lazy with cleanup and found more mold. Lesson learned – take five minutes to wipe these down before storing them and they’ll last forever!
Final Thoughts
So what do you think? These DIY outdoor pumpkins prove that you don’t need to spend a fortune to create jaw-dropping fall decor. For less than $5 and some materials you already have at home, you can make decorations that’ll last for years and have everyone asking, “Where did you get those?!”
The best part? When you tell them you made them from garbage bags and newspaper, you get to watch their jaws drop all over again.
Now get out there and make some pumpkin magic happen! Your front porch is about to become the envy of the neighborhood.
More Fall Party Ideas to Keep the Fun Rolling:
How to Make No-Knit Yarn Pumpkins (So Easy, Your Guests Will Want the Tutorial!)
How to Host an Epic Pumpkin Carving Party
How to Make a Fall Leaf Garland
How to Play Pumpkin Roll Fall Party Game
Turkey Balloon Races: The Hilarious Thanksgiving Activity That Sneaks in Science
