
Forget the store-bought plastic ghosts that end up in a landfill by November 1st. This fabric ghost garland is soft, sweet, and made from scraps you probably already have lying around.
It’s also one of those rare fall crafts that’s genuinely relaxing to make. No glue guns. No sharp tools. No stress.
If you’re a teacher looking for a calm-down classroom activity, or a parent hunting for something to do with the kids on a rainy October afternoon, this project checks every box. It’s quiet, it’s tactile, and the finished result looks like it came from a boutique home decor shop.
Why You’re Going to Love This Project
This little garland is deceptively simple, but it teaches real skills. Kids (and adults) practice fine motor control, hand-eye coordination, and basic sewing and tying techniques while making something they can actually display.
It’s a wonderful introduction to needle felting, which is a fiber art that’s having a major moment right now. Once you get the hang of shaping wool into a ball, you’ll want to felt everything in sight.
Because every ghost uses a different fabric scrap, no two garlands ever look alike. That means this project works beautifully for a family activity, a classroom station, or a solo crafting night with a movie on in the background.
Best for: Fall decor lovers, classroom craft stations, parent-and-child projects, beginner needle felters.
Time to Make: About 10-15 minutes per ghost, or roughly 1-2 hours for a full 8-10 ghost garland.
Skill Level: Beginner-friendly. No sewing machine required.

What You’ll Need
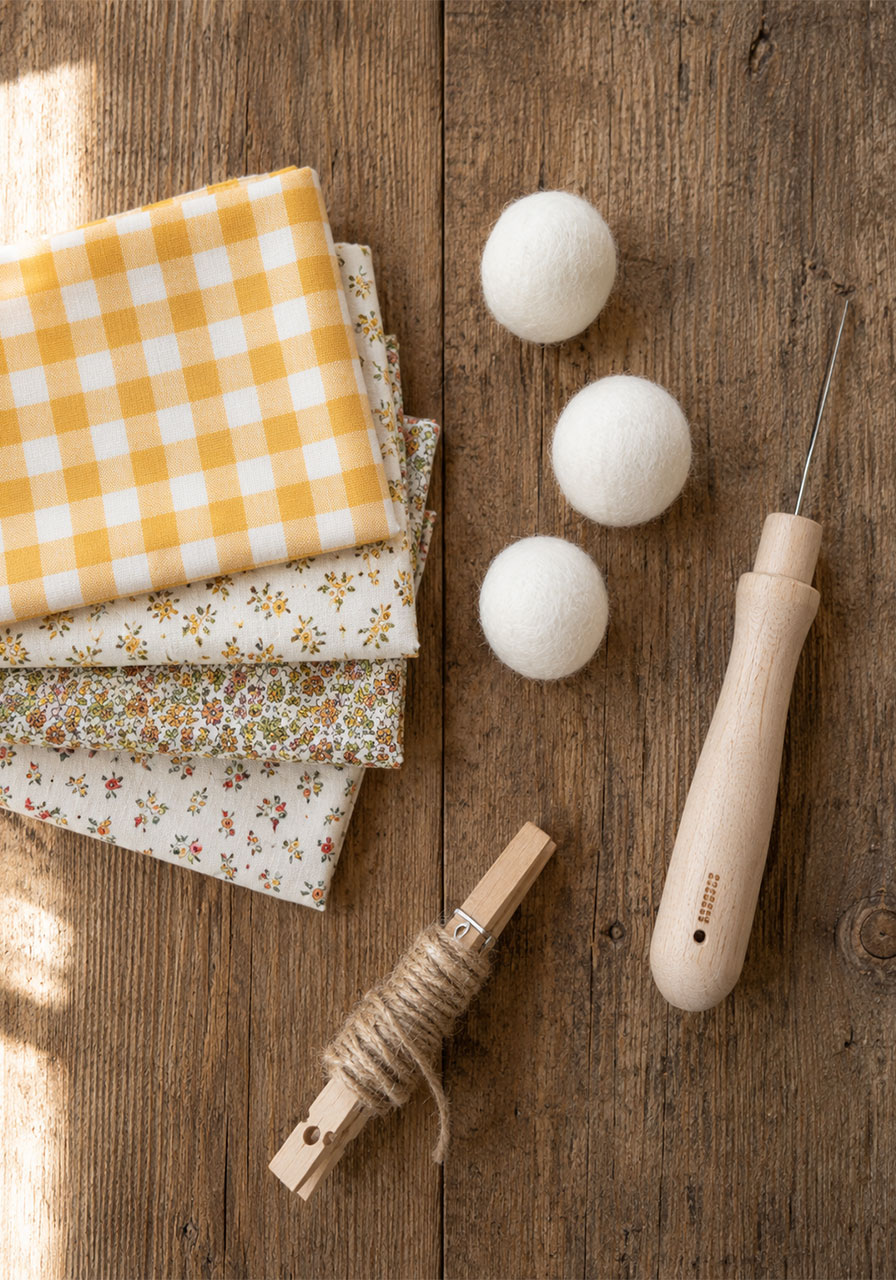
Wool roving (unspun wool fiber, found at craft stores or online)
A felting needle and a foam felting pad or brush mat
Small fabric scraps in coordinating prints (gingham, floral, ticking stripe, and solid cotton all work beautifully)
Thin string, twine, or embroidery thread
A fabric marker, fine-tip permanent marker, or small black fabric paint for the eyes
Scissors
A long piece of twine to string the finished ghosts on
How to Make Your Fabric Ghost Garland
Follow these steps in order, and you’ll have a finished garland before you know it. Each stage builds on the last, so don’t skip ahead.
Step 1: Felt the Ghost Heads
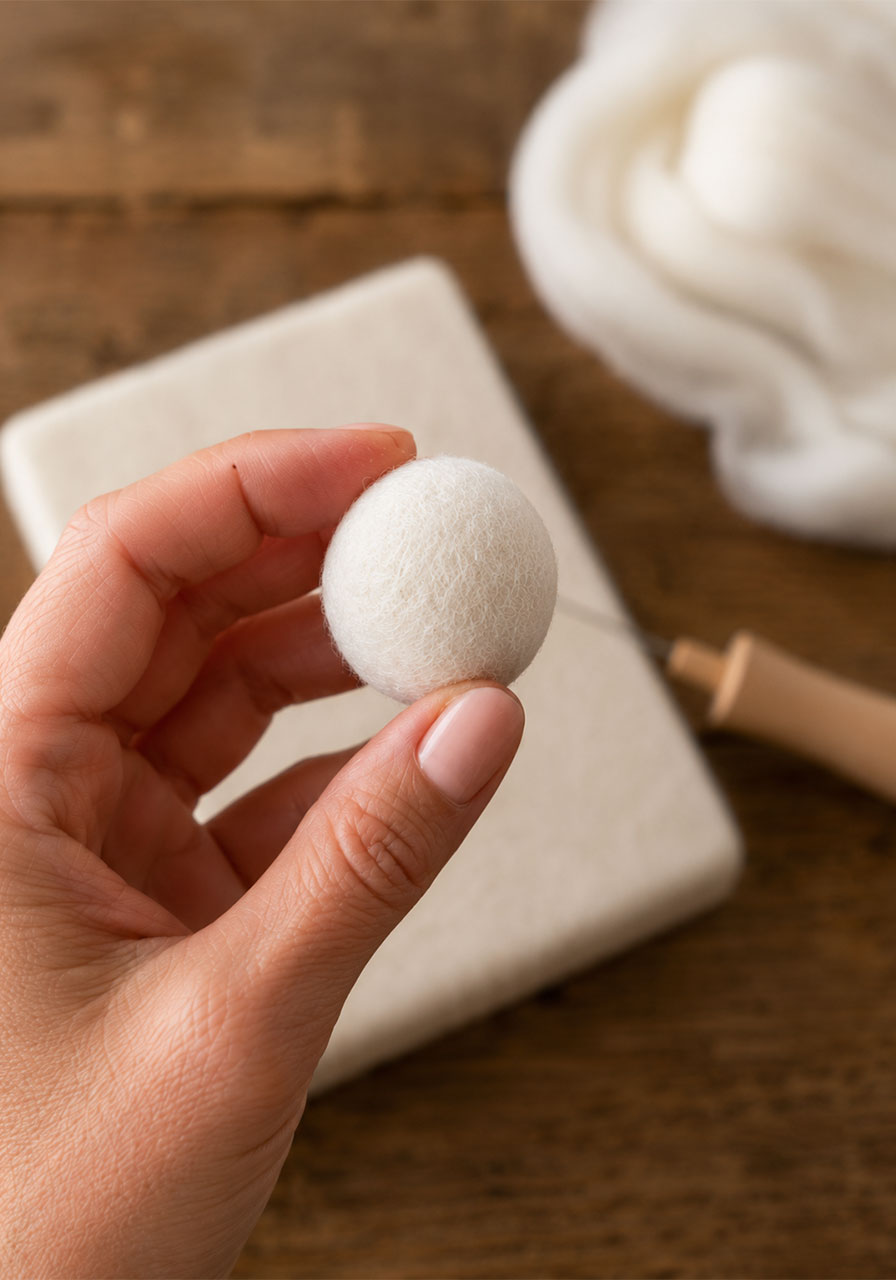
Start by pulling off a small clump of wool roving, about the size of a golf ball before compressing.
Place the wool on your foam pad and begin poking it repeatedly with your felting needle. Keep rotating the wool as you poke so it shrinks evenly into a round shape.
Be careful with your fingers here. The felting needle is barbed and sharp, so this step works best with adult supervision if kids are participating.
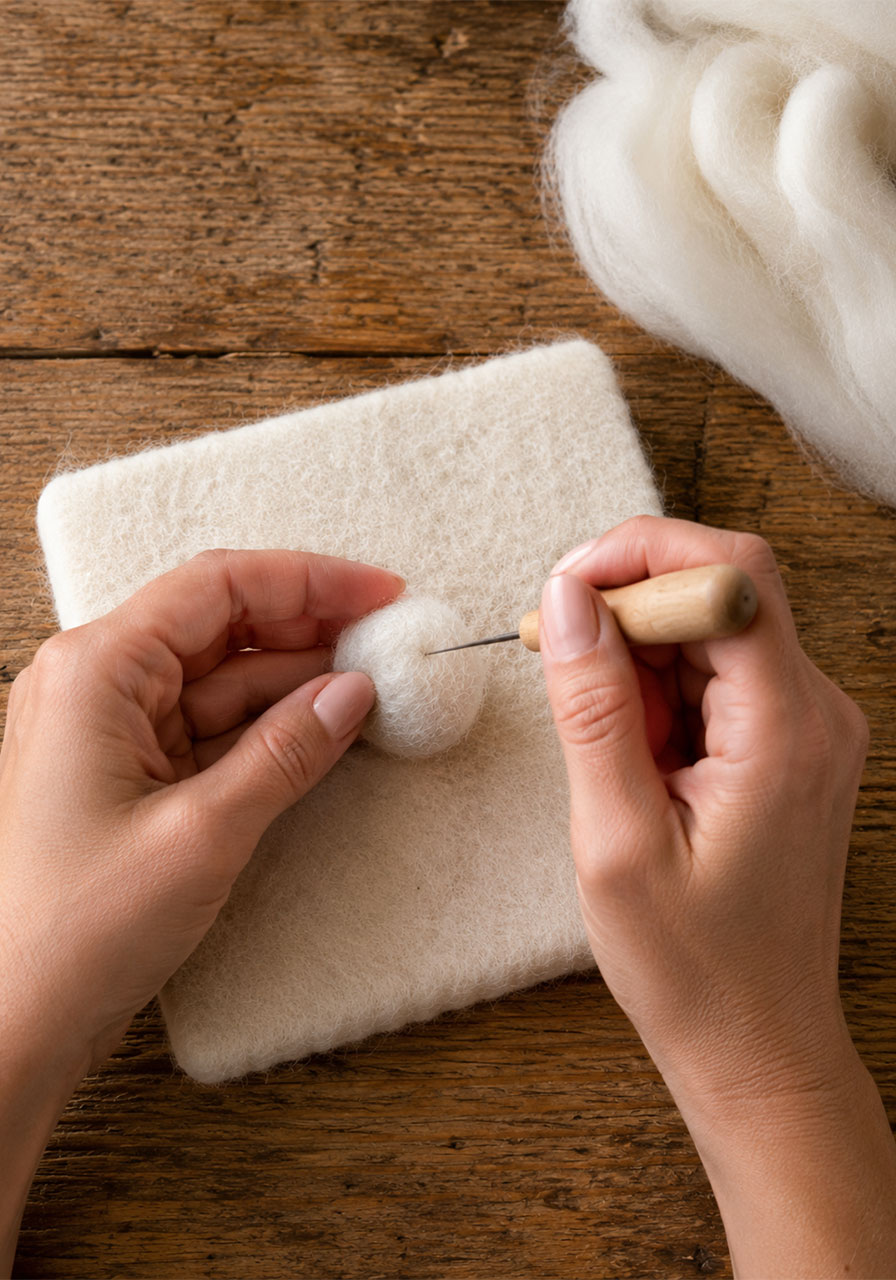
Keep felting until the wool forms a firm, compact ball roughly the size of a large marble. This will become the ghost’s head, so it needs to hold its shape when you pick it up.
Step 2: Cut Your Fabric Scraps
While your felted balls are drying, cut your fabric into small squares, roughly 4×4 to 5×5 inches depending on how full you want each ghost’s “body” to look.
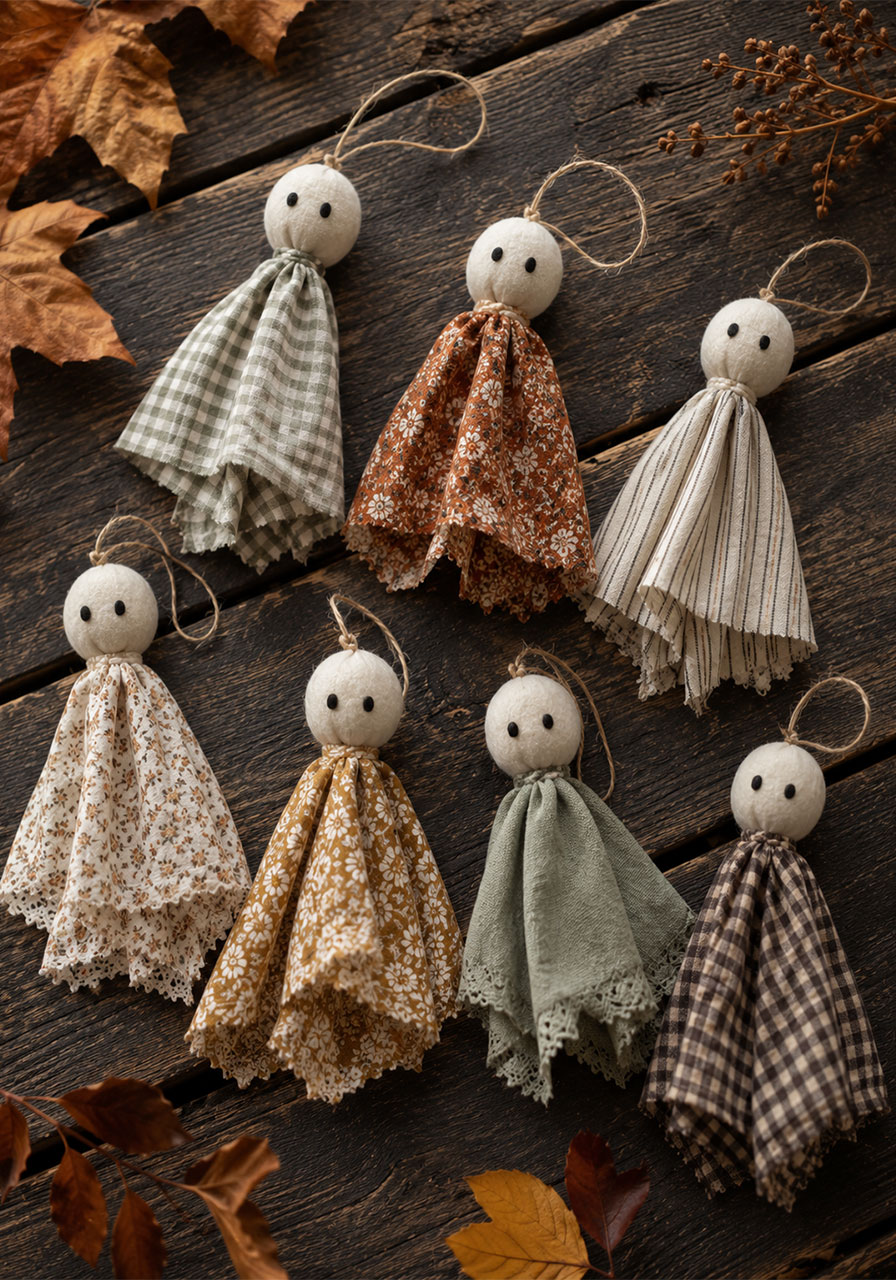
Mixing patterns is part of the charm here. Pull from gingham, small floral, and simple stripe prints so your finished garland has visual variety.
You don’t need to hem or finish the edges. A slightly frayed, rustic edge is exactly the look you’re going for.
Step 3: Wrap the Fabric Around the Head
Lay your fabric square flat, then place the felted ball in the center.
Gather the fabric up and around the ball, letting the corners of the fabric drape down like a little cloak. This is what gives your ghost that classic, flowing shape.
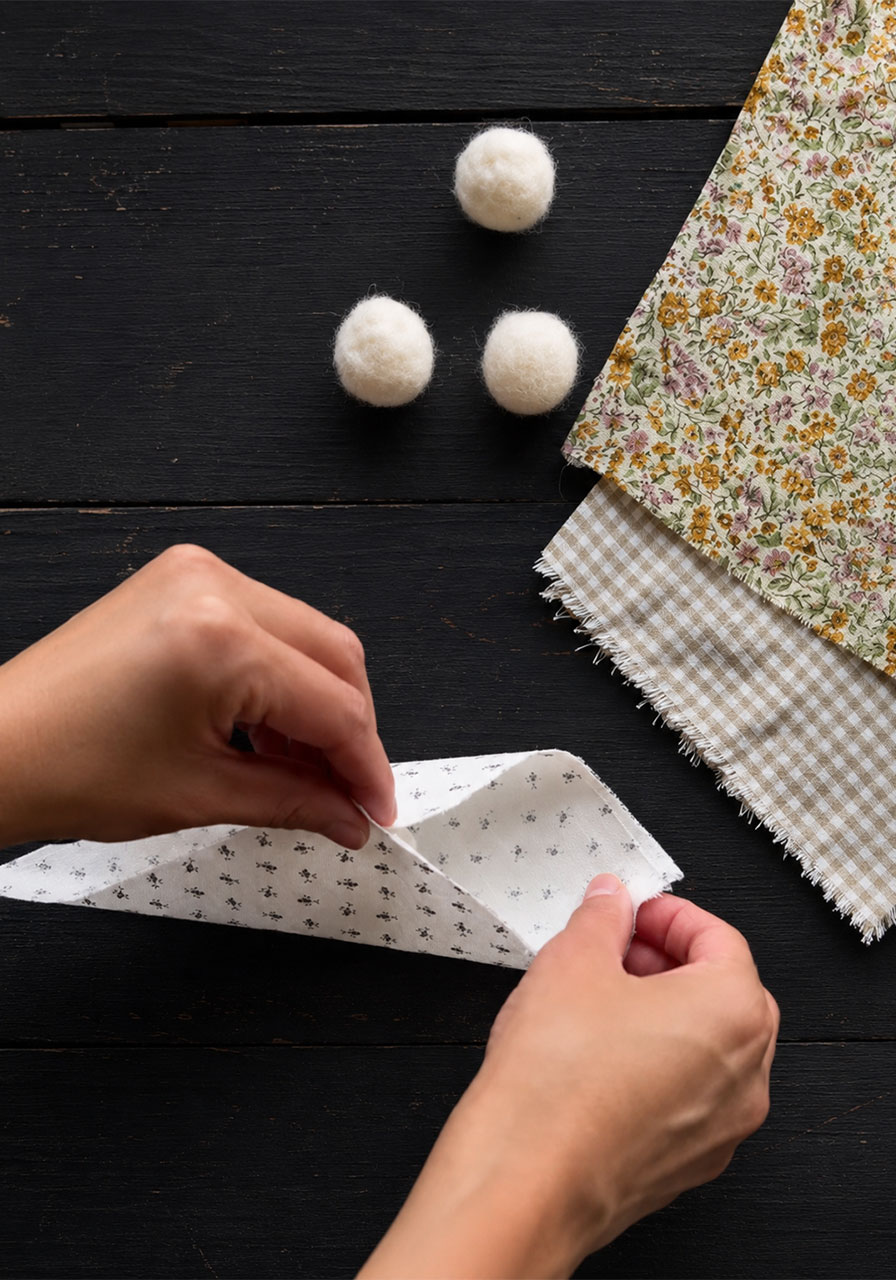
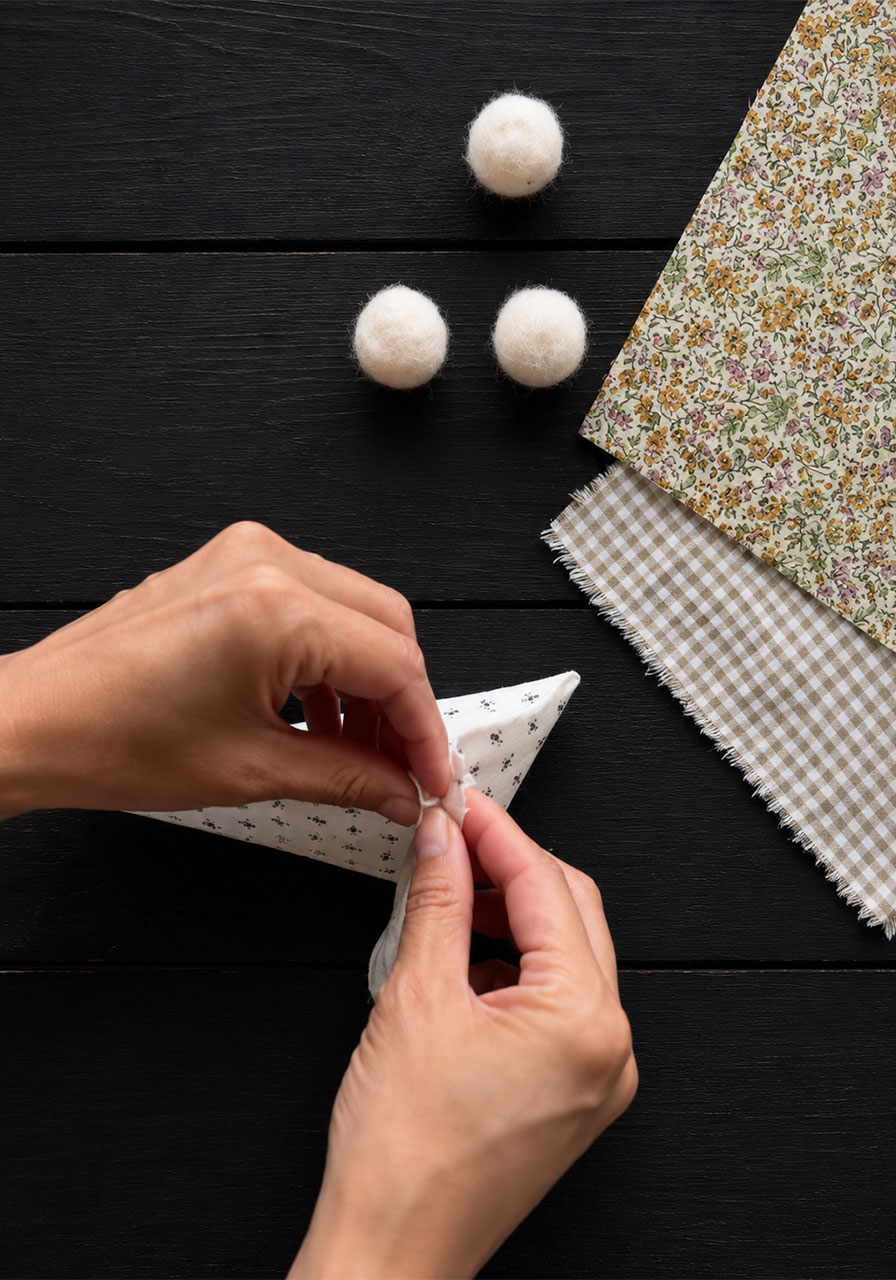
Pinch the fabric together right below the ball to create a “neck.” This is where the head meets the body.
Step 4: Tie Off the Neck
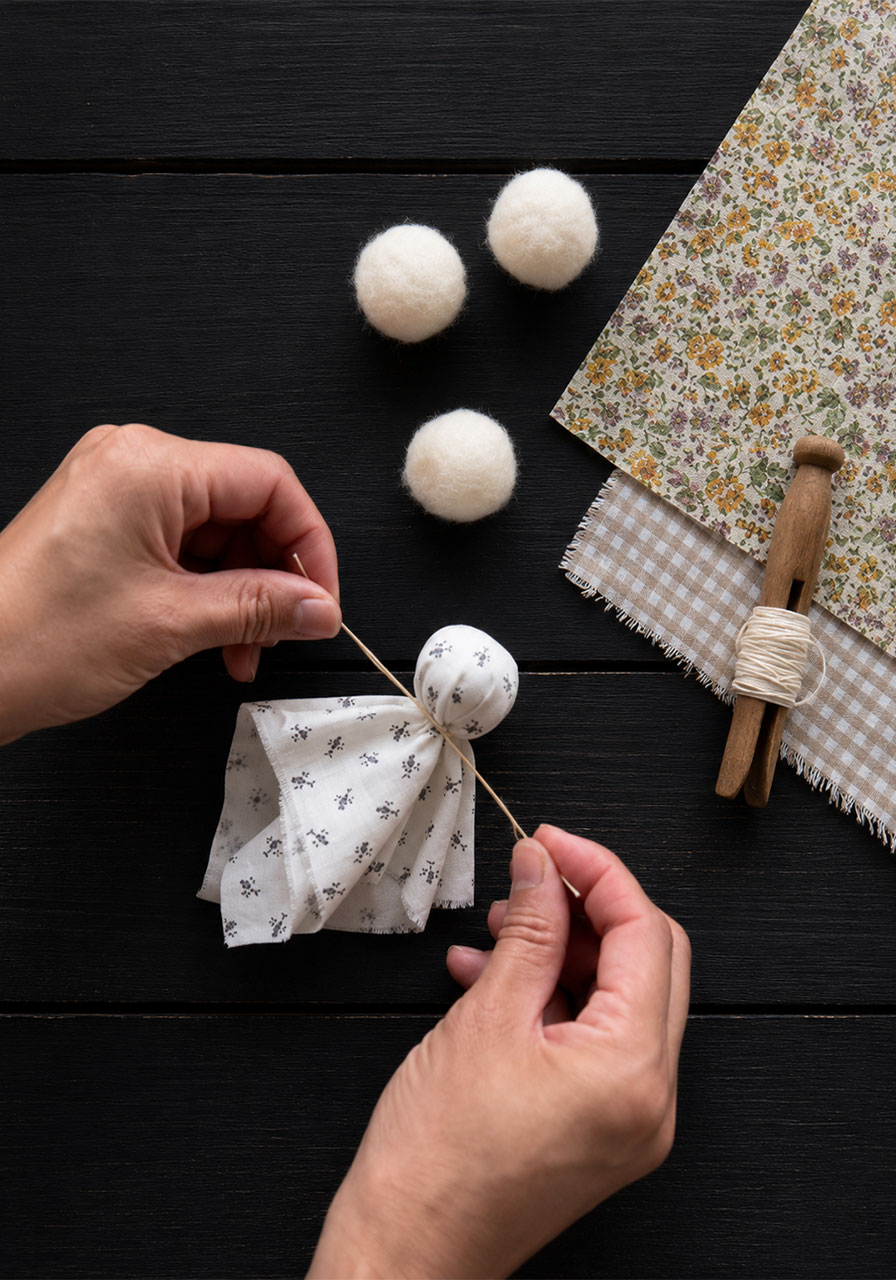
Take your string or thread and wrap it tightly around the pinched neck area two or three times.
Tie it off with a secure knot. This step is what holds the entire ghost together, so make sure it’s snug before you move on.
Trim any extra fabric bunched at the neck if it’s making the shape look bulky, but leave the draped “skirt” of fabric hanging freely below.
Step 5: Add the Eyes
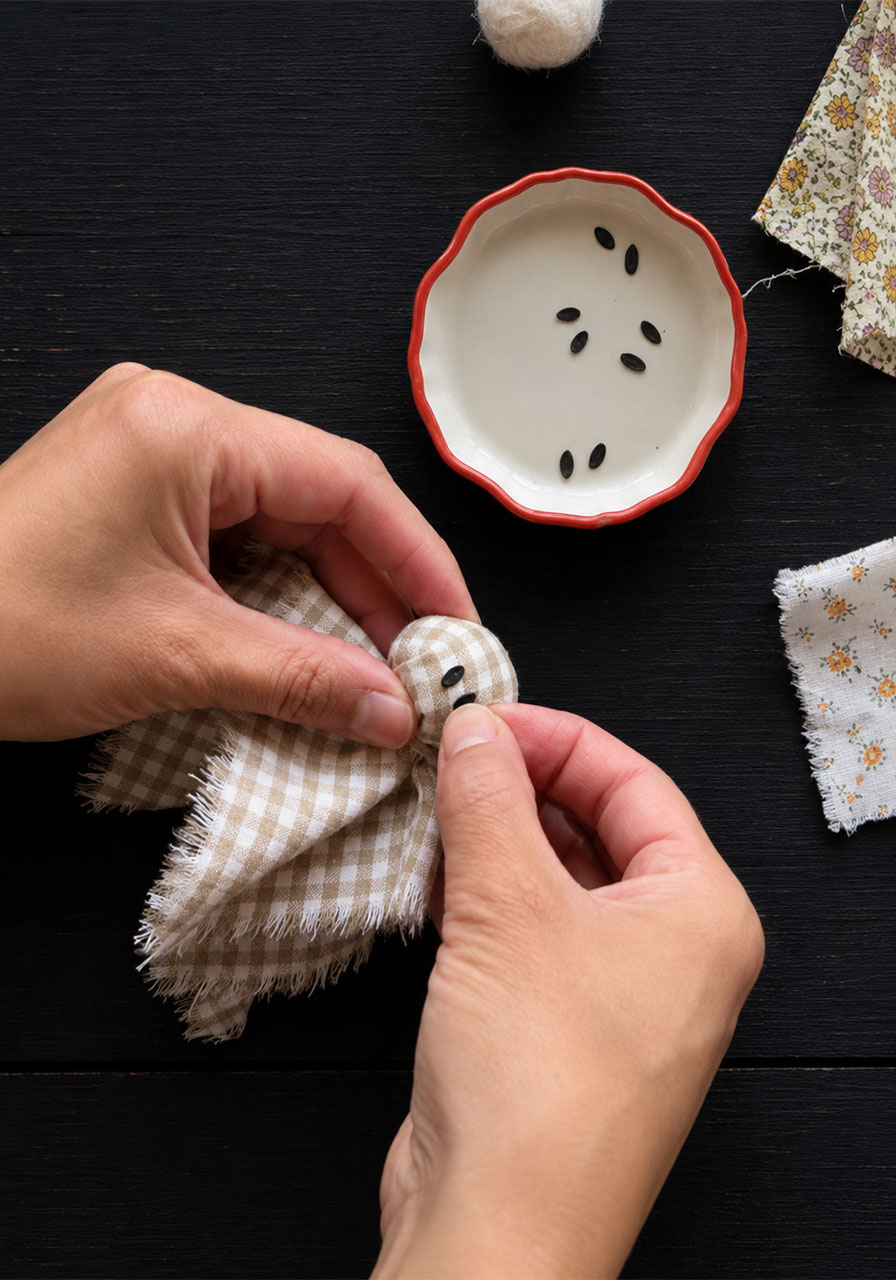
Once your ghost is assembled, use your fabric marker or a small dot of black paint to add two eyes to the felted head.
Keep the eyes simple: two small dots placed close together is all it takes to give your ghost a friendly, slightly spooky expression.
Let the marker or paint dry completely before handling the ghost again, so the ink doesn’t smudge onto the fabric below.
Step 6: String Your Garland
Cut a long piece of twine to match how far you want your garland to stretch across a mantel, wall, or window.
Thread your felting needle (or a large embroidery needle) with the twine, and carefully push it through the top of each felted head, one ghost at a time.
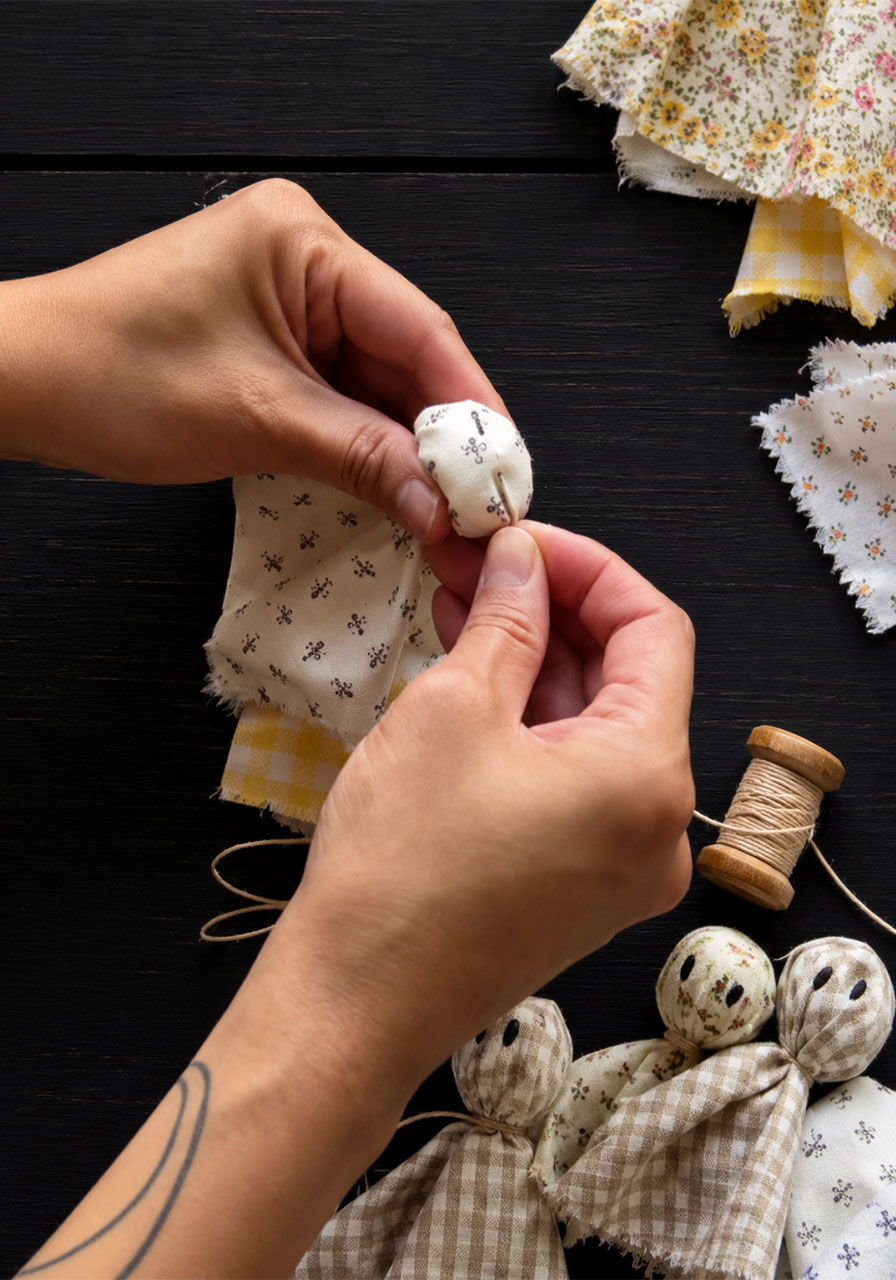
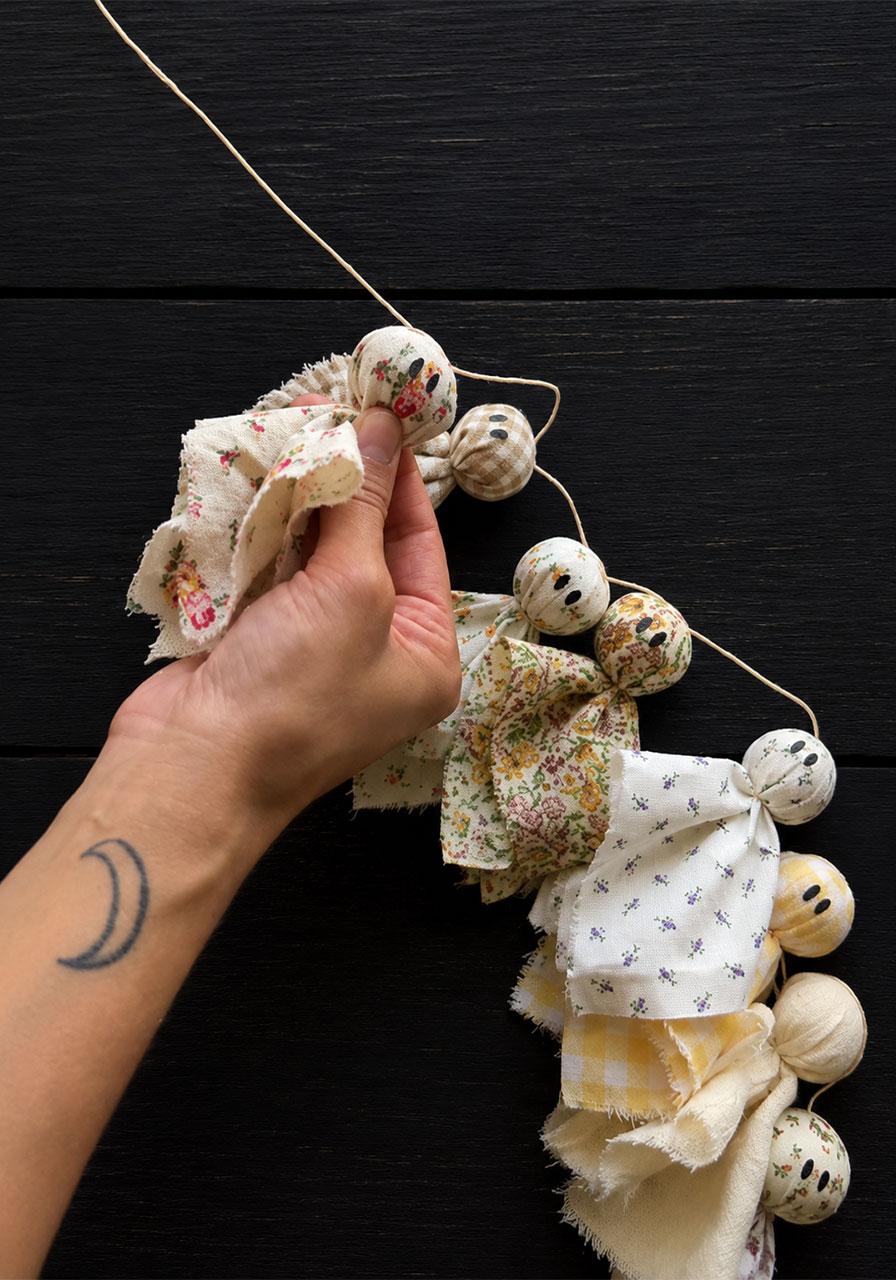
Space the ghosts evenly as you go, leaving a little slack in the twine between each one so they hang naturally rather than sitting stiff and straight.
Repeat until every ghost is strung, then knot both ends of the twine so nothing slides off.
Pro Tip
If your felted balls feel loose or lumpy after your first round of poking, keep going. A properly felted ball should feel dense and hold its shape when squeezed. Under-felted wool will sag over time and won’t hold your fabric drape properly.
Fun Variation
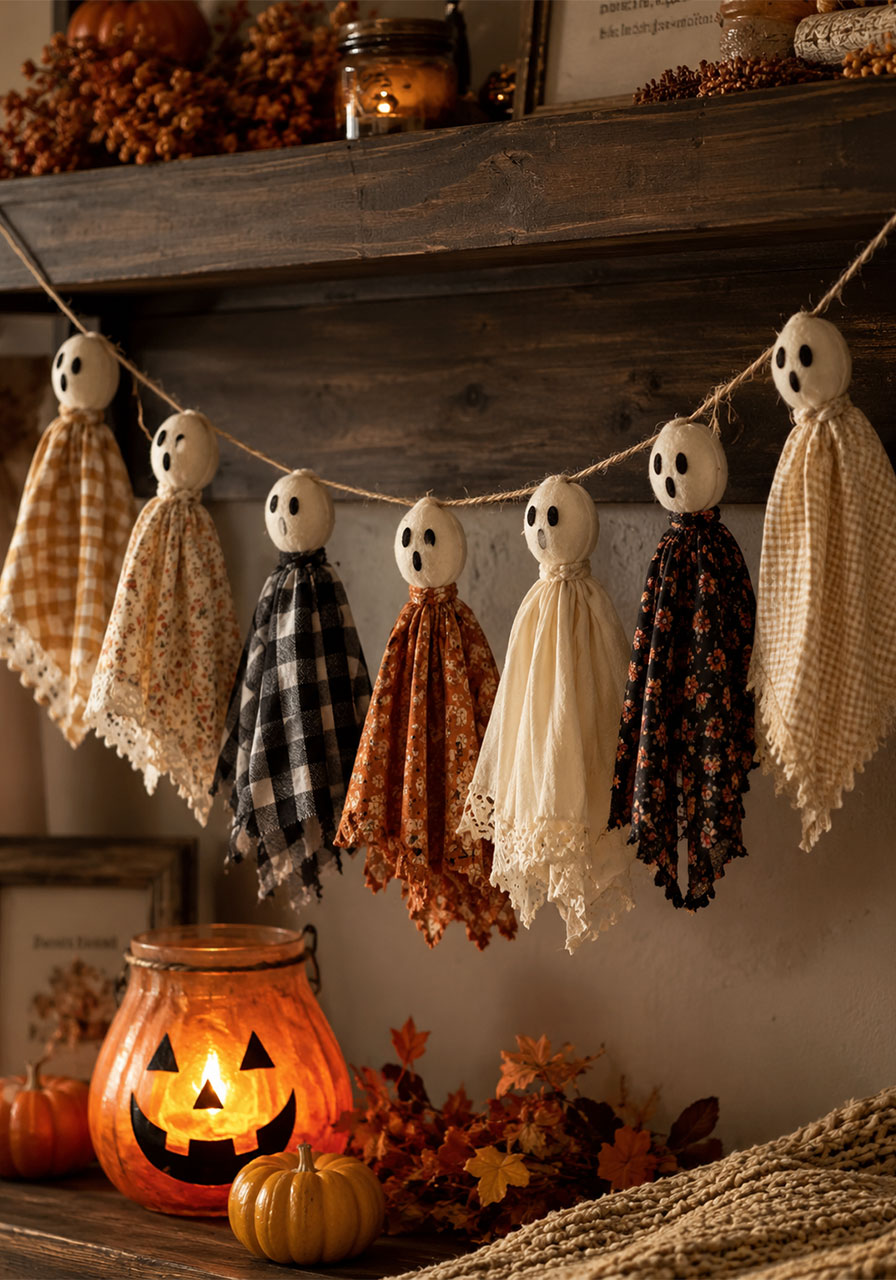
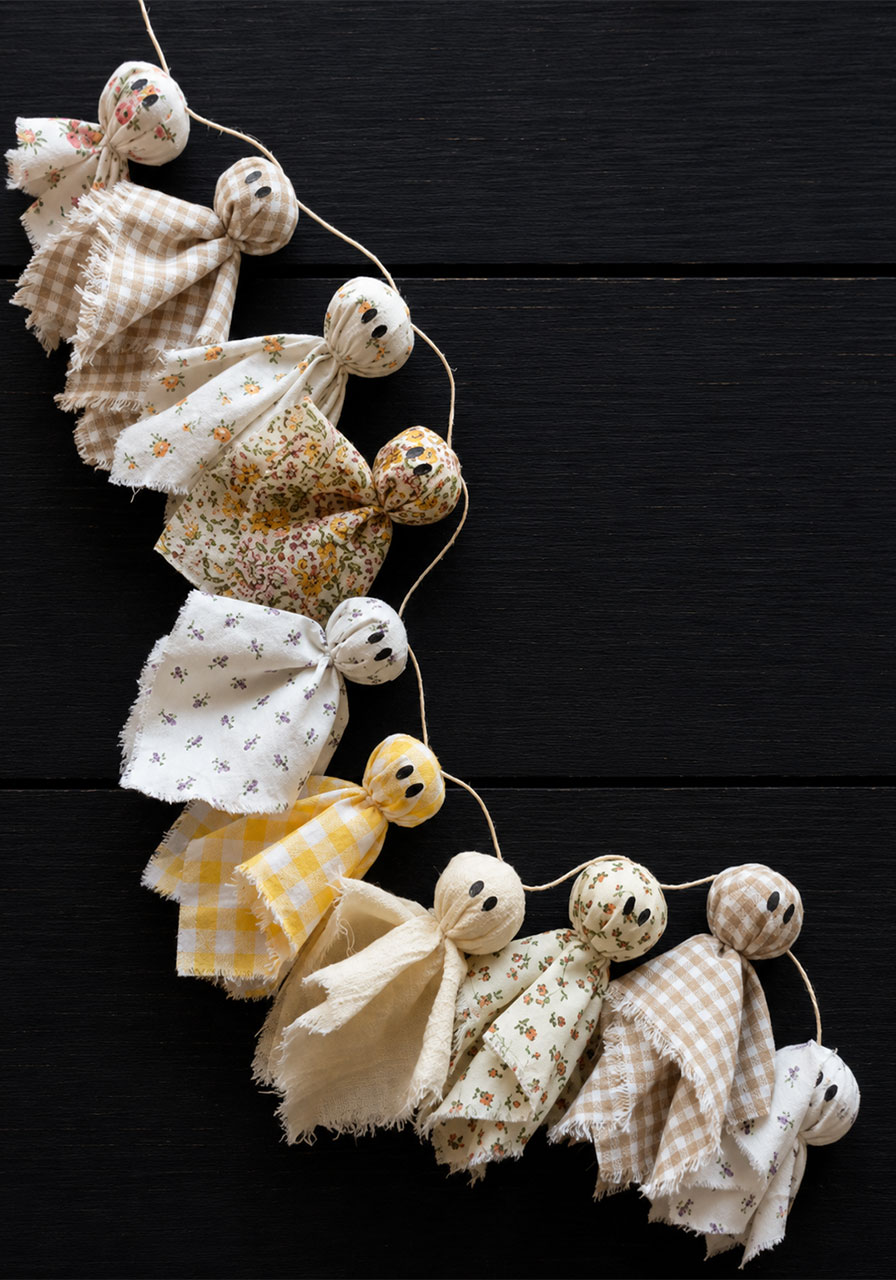
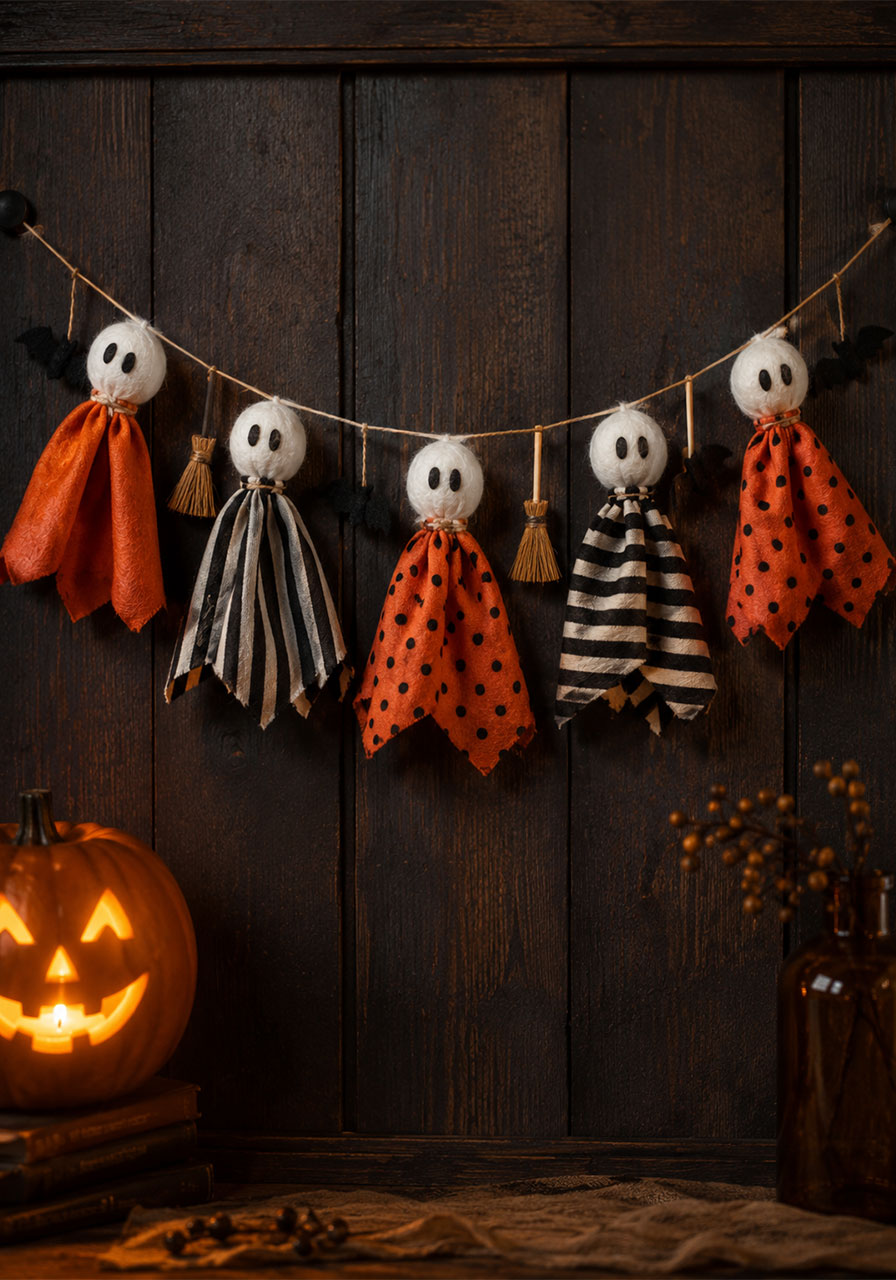
Swap the fall-toned florals and ginghams for orange and black fabric scraps if you want a bolder, more traditional Halloween look. You can also mix in a few tiny fabric brooms or pumpkins along the twine for extra seasonal charm, just like the finished mantel display shows.
Bringing This Craft Into the Classroom
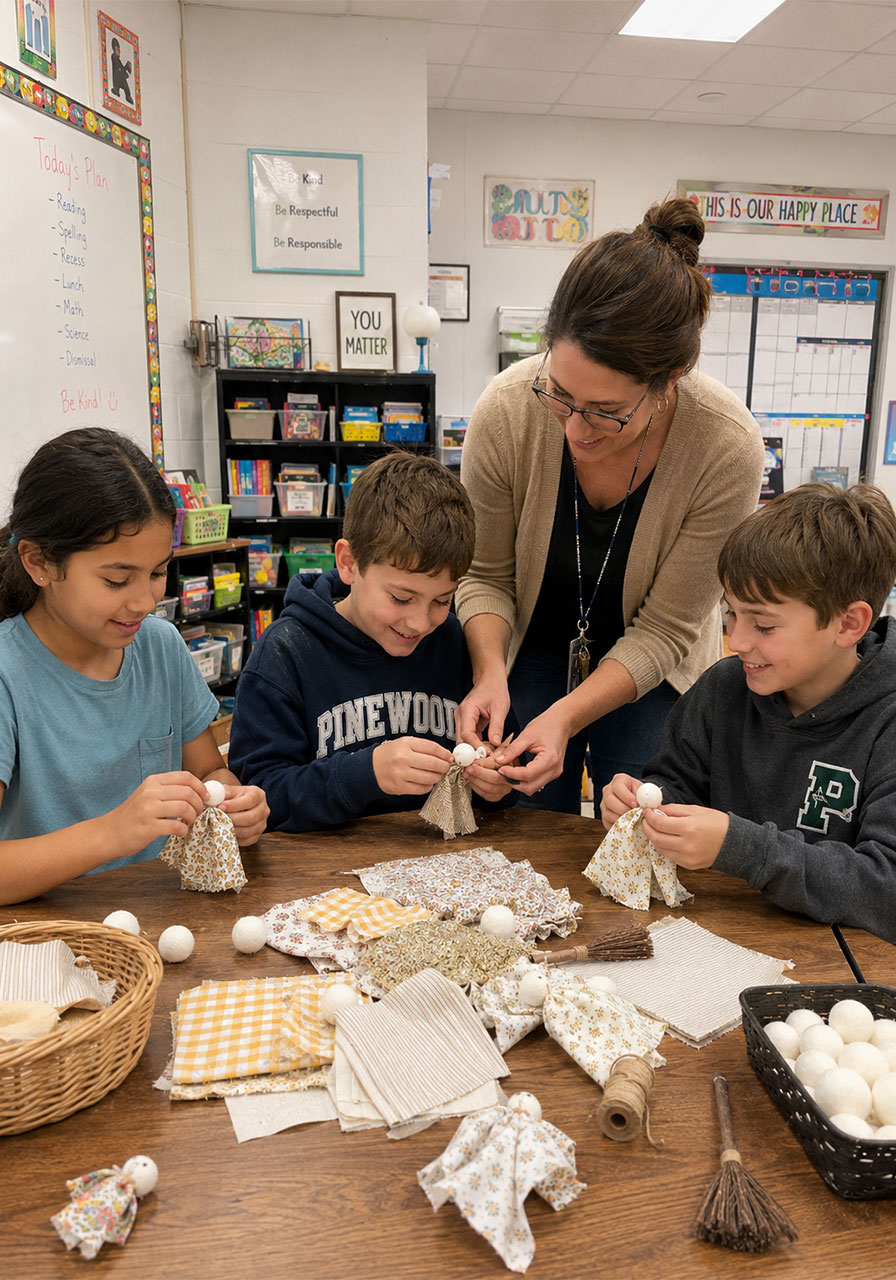
Teachers, this project scales beautifully for a group setting. Pre-felt the heads ahead of time if you’re working with younger students, then let kids handle the fabric wrapping, tying, and eye-drawing steps themselves.
This is a great option for a fine motor skills station, an indoor recess activity, or a fall-themed art class. It also naturally reinforces sequencing skills, since each ghost has to be assembled in the same order every time.
For older students, consider letting them try the needle felting step themselves under close supervision. It’s a wonderful way to introduce textile arts and basic fiber science, including how heat, moisture, and friction cause wool fibers to interlock and bond.
If you’re short on time, this project also works well split across two class periods: felting one day, fabric wrapping and stringing the next.
Styling Your Finished Garland
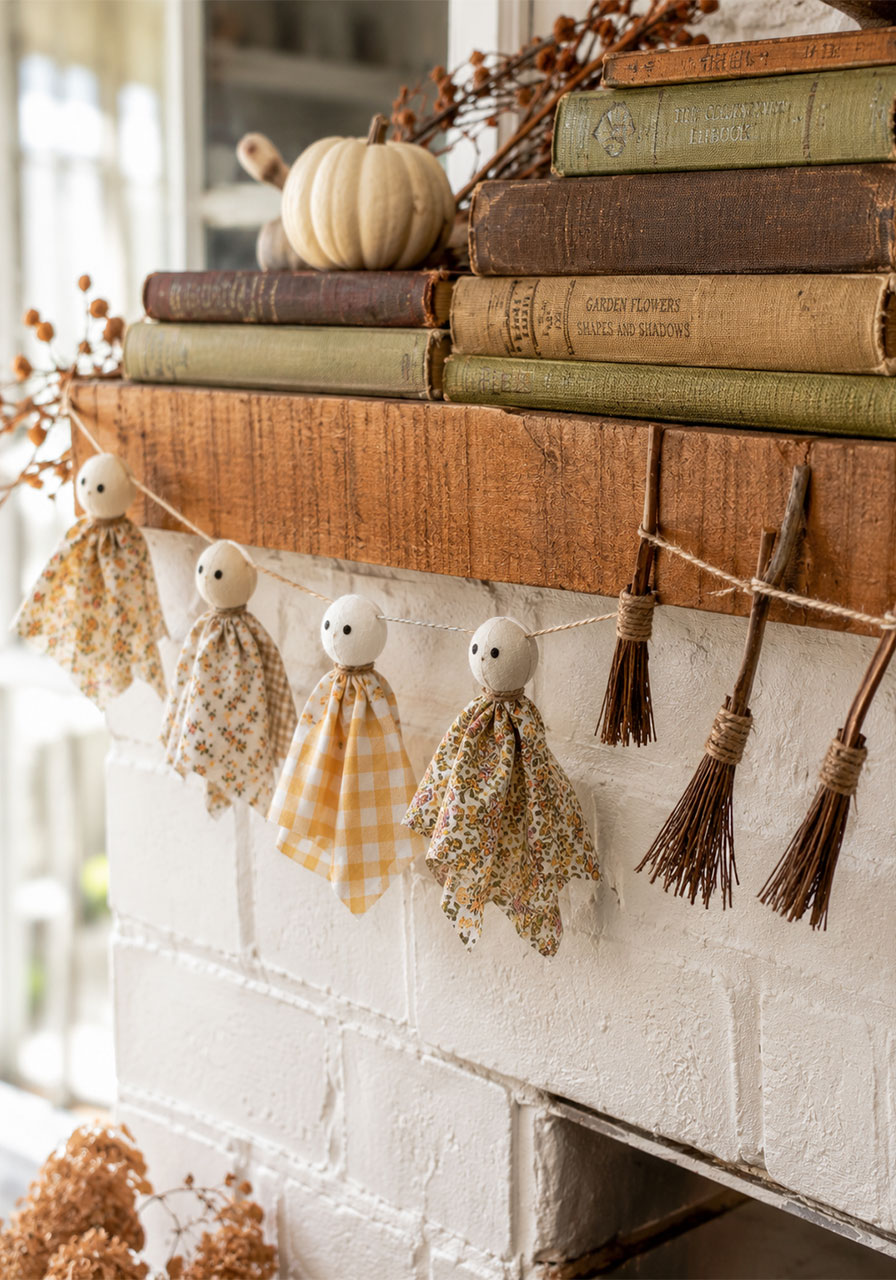
This garland looks gorgeous draped along a mantel, hung across a window, or looped through a bookshelf next to some vintage-looking books and a small pumpkin, just like in the mantel display above.
Because the color palette leans soft and neutral rather than bright orange and black, this garland fits right into a cozy, cottagecore-style fall setup. It pairs beautifully with warm candlelight, dried florals, and knit throw blankets.
Because the fabric scraps are washable and the felted heads are sturdy, this garland can be packed away and reused year after year, making it a decor piece that actually earns its keep.
Frequently Asked Questions
Do I need special wool for felting?
Any wool roving sold for needle felting will work. Avoid synthetic fibers, since they won’t felt properly with a barbed needle.
Can I skip the felting step?
Yes. Small foam balls or pom-poms can stand in for the felted heads if you want a faster, no-felting version of this project.
Is this project safe for young kids?
The fabric wrapping, tying, and stringing steps are great for kids of most ages. The felting needle step should be handled by adults or closely supervised older kids, since the needle is sharp.
How many ghosts do I need for a full garland?
Most garlands look best with 7-10 ghosts, but you can make yours as long or short as your space calls for.
Final Thoughts
This fabric ghost garland proves that the best Halloween decor doesn’t have to come from a big box store. With a handful of fabric scraps, a little wool, and about an hour of your time, you’ll have a one-of-a-kind piece that’s soft, charming, and genuinely fun to make.
Whether you’re crafting solo, with your kids, or with an entire classroom, this is the kind of project that turns into a favorite fall tradition. Because the best Halloweens are the ones filled with a little glue, a little glitter, and a lot of laughter.
