
You know that feeling when dinner is done in 20 minutes, the whole kitchen smells like garlic and toasted tortilla, and everyone at the table thinks you actually tried?
That’s exactly what these Cheesy Garlic Chicken Wraps deliver every single time.
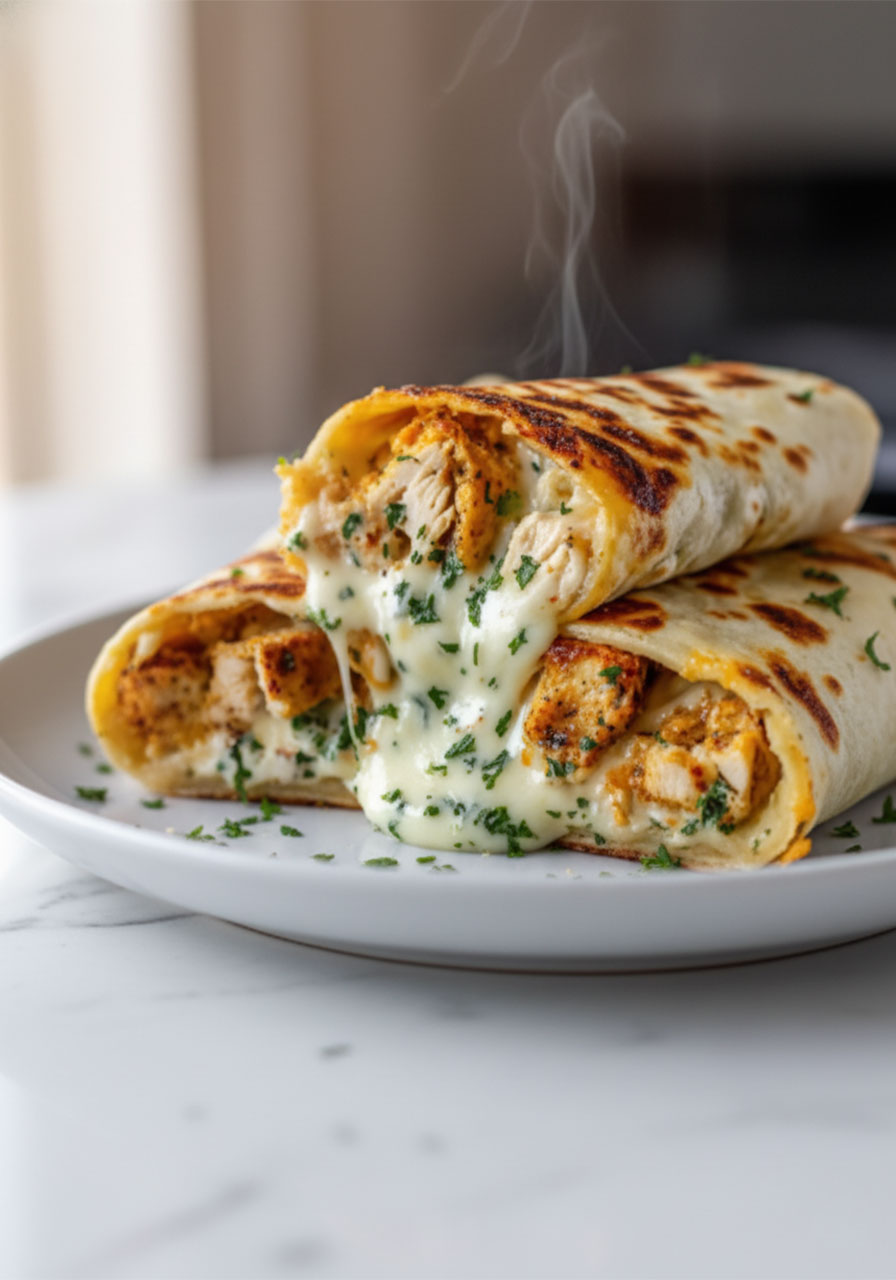
Crispy on the outside. Gooey, melty cheese on the inside. Juicy garlic-seasoned chicken in every single bite. And yes – low carb, high protein, and genuinely satisfying.
Whether you’re eating clean, watching your carbs, or just want a weeknight dinner that doesn’t drain your soul – this recipe is about to become your new go-to.
It’s the kind of meal that feeds your body well AND makes you feel like a rockstar in the kitchen. And honestly? After a long, full day, you deserve both.
Why You’ll Love This Recipe
These wraps check every box you need on a busy weeknight.
They come together in just 20 minutes with simple, real ingredients you probably already have.
The filling is a creamy, garlicky blend of shredded chicken and two kinds of melted cheese – comfort food that loves you back.
They’re low carb and keto-friendly without tasting like “diet food” – your family will never even notice.
They’re also incredibly flexible. Use leftover rotisserie chicken, swap in different cheeses, add spinach for a nutrition boost, or throw in crumbled bacon for a smoky twist.
And clean-up? One skillet. Done.

Ingredients You’ll Need
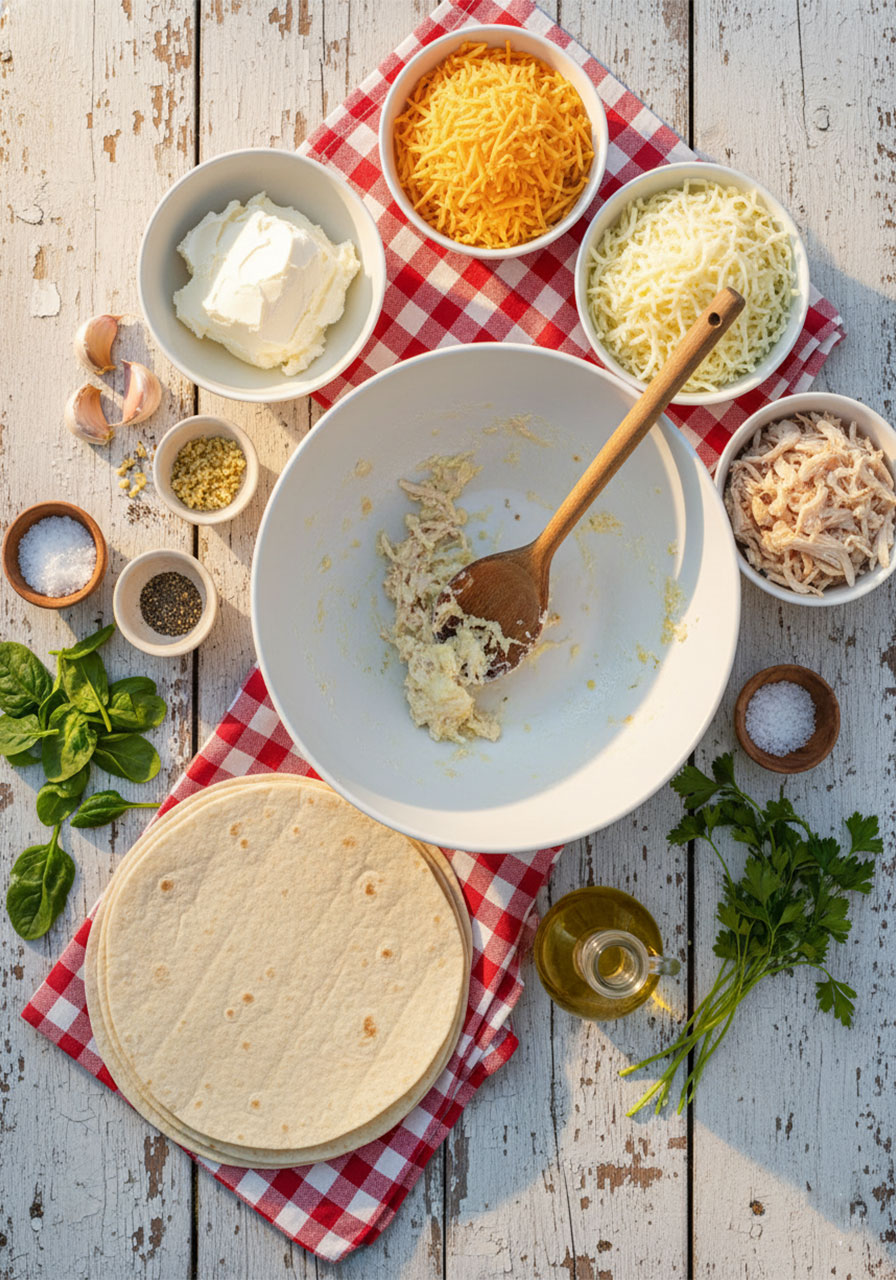
Here’s everything that goes into these wraps. Simple pantry staples – nothing fancy required.
2 cups cooked chicken breast, shredded (rotisserie chicken is a lifesaver here)
1 cup shredded mozzarella cheese
1/2 cup shredded cheddar cheese
1/4 cup cream cheese, softened
2 cloves garlic, minced
1 tablespoon olive oil
4 large low-carb tortillas (Mission Carb Balance holds up beautifully)
1 tablespoon fresh parsley, chopped
Salt and pepper to taste
1 handful baby spinach (optional, but adds a nice nutrition boost)
A quick tip on cheese: Always buy blocks and shred them yourself. Pre-shredded bags contain added starches that prevent proper melting. The difference in gooeyness is very real.
On the cream cheese: Set it out 30 minutes before you start cooking. Softened cream cheese blends evenly into the filling, giving you that creamy, rich texture throughout every single bite.
How to Make Cheesy Garlic Chicken Wraps
This whole recipe takes about 20 minutes from start to finish. Here’s exactly how to do it.
Step 1: Warm Your Tortillas
Preheat a skillet or grill pan over medium heat and add the olive oil.
While that heats up, wrap your tortillas in a damp paper towel and microwave them for 10–15 seconds.
This tiny step makes a big difference – warm tortillas are pliable and won’t crack when you roll them. Don’t skip it.
Step 2: Mix the Filling
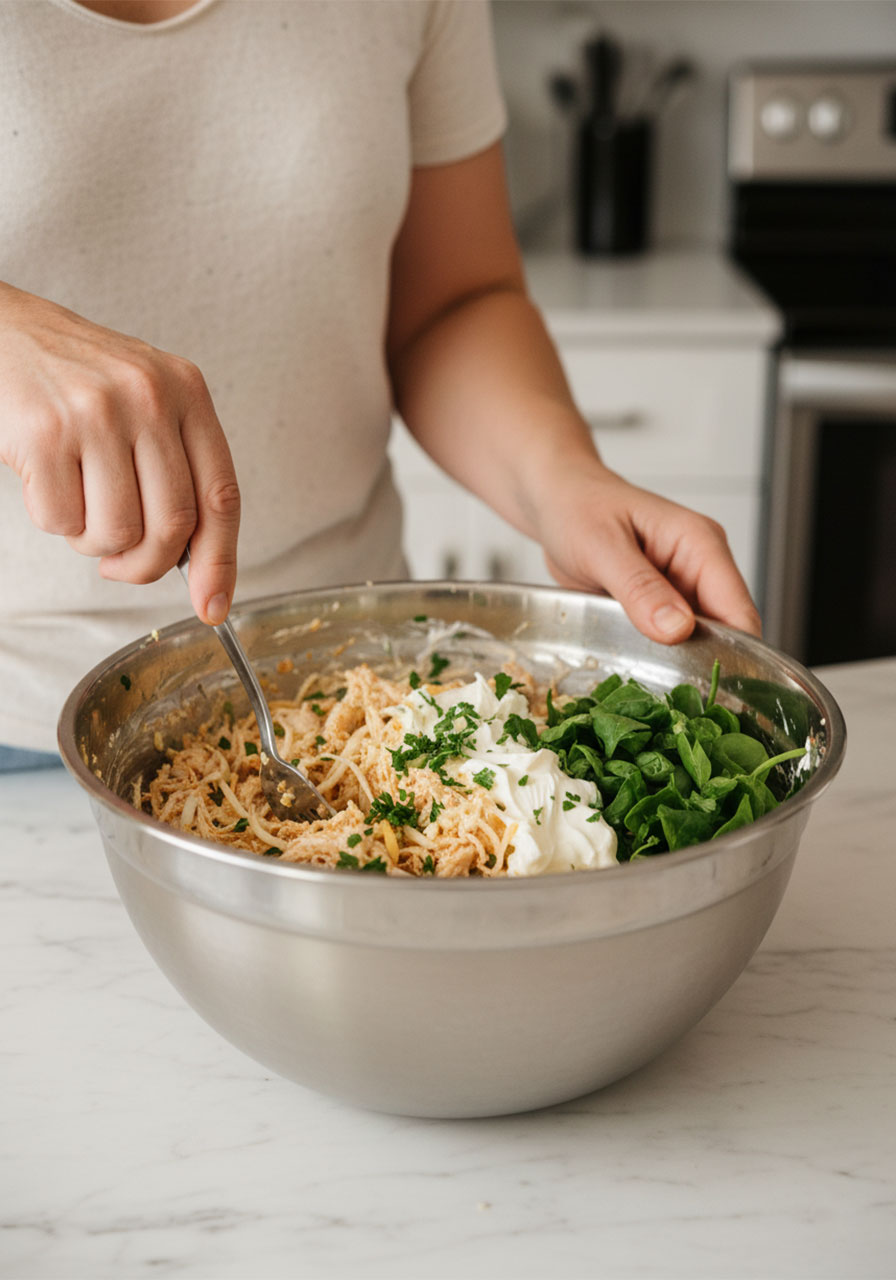
In a large mixing bowl, combine the shredded chicken, mozzarella, cheddar, softened cream cheese, minced garlic, parsley, salt, and pepper.
If you’re adding spinach, toss it in now too.
Mix everything together until the cream cheese coats every piece evenly. Use a fork to break up the cream cheese first if it’s still a little stiff.
The result is this incredible garlicky, creamy filling that smells absolutely amazing before it even hits the pan.
Step 3: Assemble the Wraps
Lay your warmed tortillas flat and spoon about 1/2 cup of the chicken filling into the center of each one.
Don’t overfill – too much and the wrap will split open while cooking. Trust the 1/2 cup rule.
Fold in the sides, then roll tightly from the bottom up, just like a burrito. Press the seam closed firmly.
Step 4: Toast Them Golden
Place each wrap seam-side down in your hot, oiled skillet.
Cook for 2–3 minutes per side without moving them. Resist the urge to press or peek too early – that uninterrupted contact is what creates those beautiful golden-brown marks.
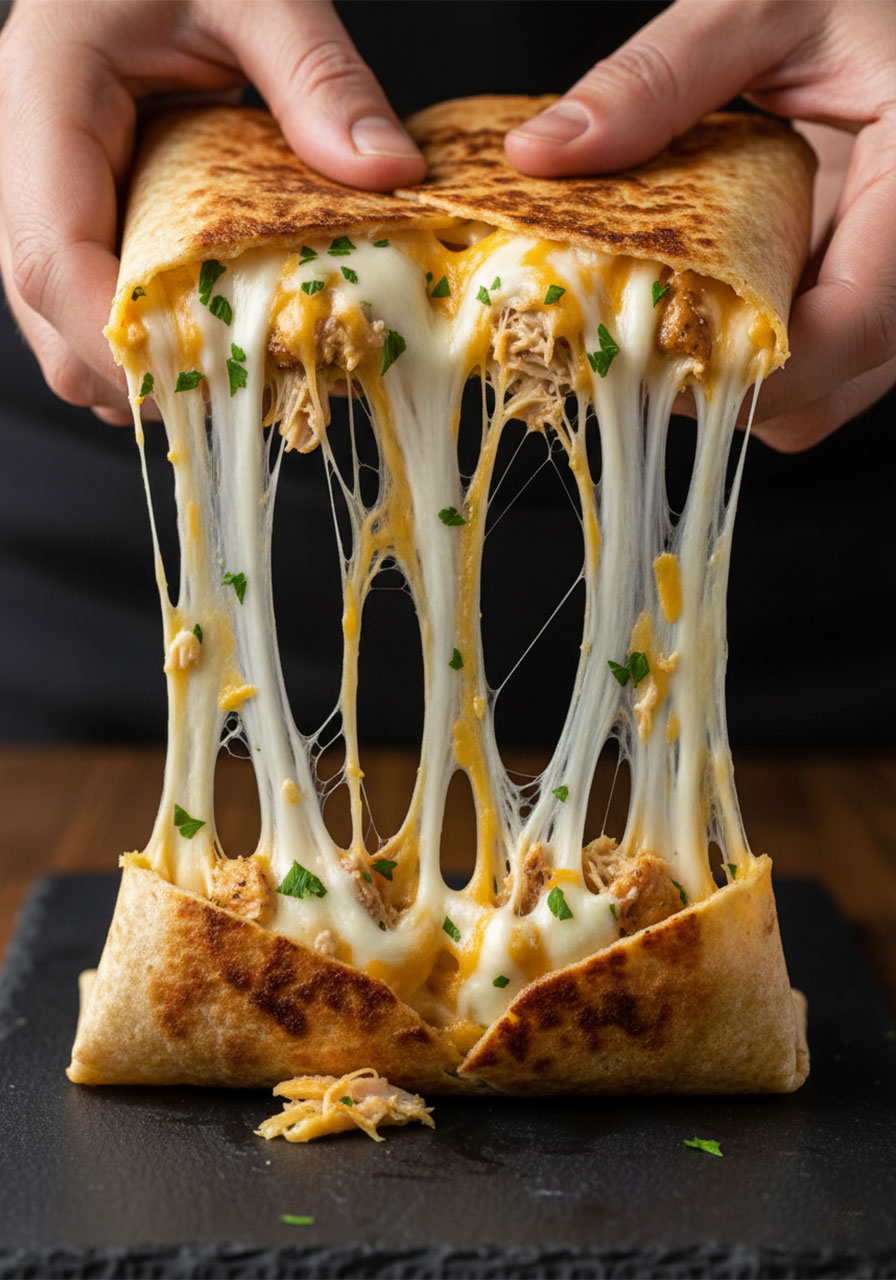
You’ll know they’re ready when the outside is crispy and the cheese starts gently oozing from the edges.
If the outside is browning too fast but the cheese inside isn’t melting yet, reduce your heat to medium-low and give it another minute.
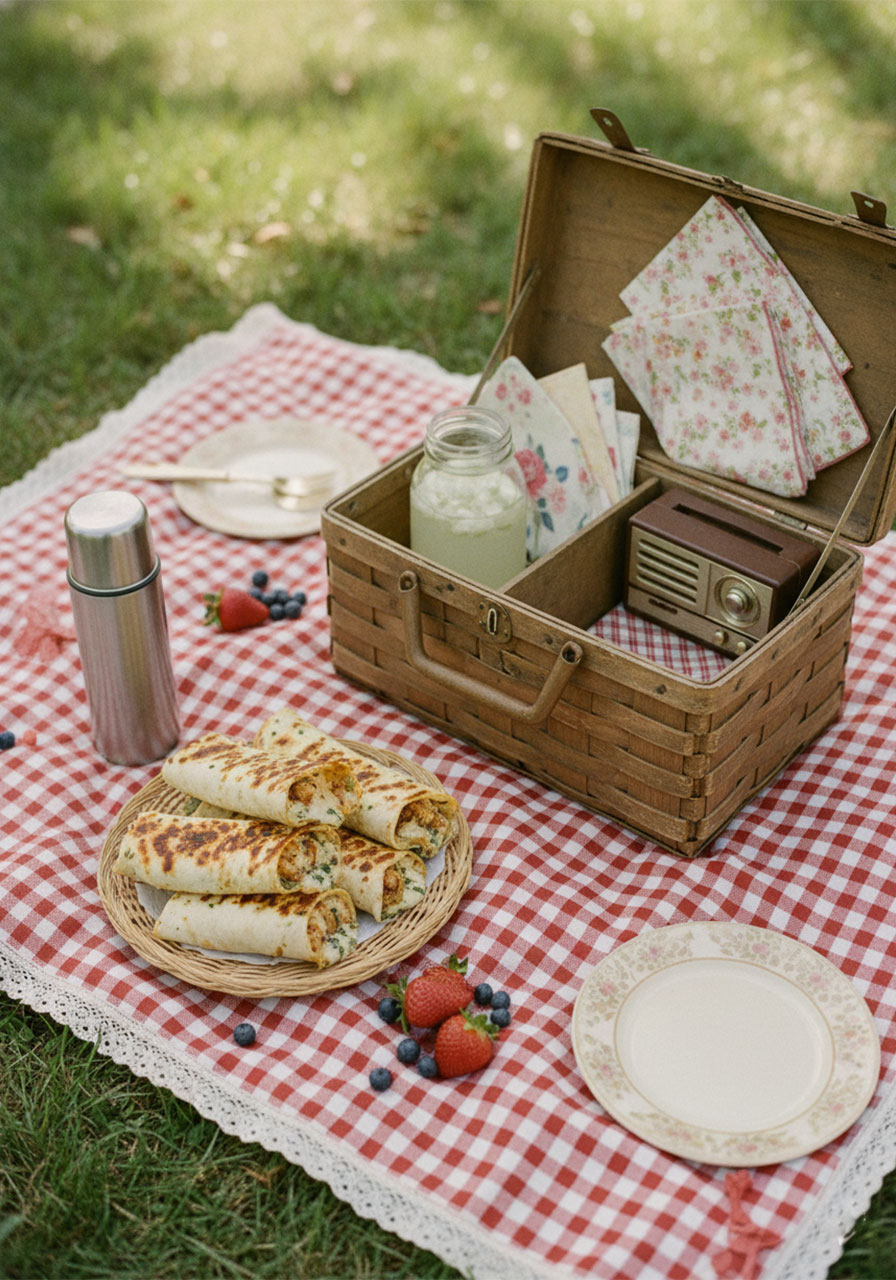
Step 5: Slice and Serve
Remove from the heat. Slice each wrap in half diagonally – this is the moment the cheese pull happens and it is glorious.
Garnish with extra parsley and serve immediately while everything is hot and melty.
Tips for Perfect Wraps Every Time
A few small moves make a big difference with this recipe.
Always warm your tortillas first. Cold tortillas crack and tear when you try to roll them. 10 seconds in the microwave solves the problem completely.
Don’t overfill. It’s tempting, but 1/2 cup per wrap is the sweet spot. Anything more and the filling spills out before the wrap even gets to the pan.
Start seam-side down. This seals the wrap closed as it cooks so nothing falls apart while you’re flipping.
Don’t move them too early. Let the wrap sit undisturbed for the full 2–3 minutes per side. That’s how you build a proper crispy crust.
Shred your own cheese. It melts better. Every time. Full stop.
Fun Variations to Try
Once you’ve made the original version, here’s how to keep things interesting.
Smoky Bacon Chicken Wraps: Stir crumbled cooked bacon into the filling. The smoky, salty hit against all that melty cheese is next-level good.
Spicy Chipotle Version: Add a teaspoon of chipotle powder or a spoonful of adobo sauce to the chicken mixture. A little heat makes the garlic pop even more.
Turkey Version: Leftover Thanksgiving turkey works beautifully here. Same technique, completely different flavor profile – and it’s a great way to use up holiday leftovers.
Extra Veggie: Add diced bell peppers, jalapeños, or sun-dried tomatoes to the filling. More color, more nutrients, more flavor.
Pepper Jack Swap: Trade the cheddar for pepper jack cheese when you want a little more kick without adding any extra ingredients.
What to Serve With These Wraps
These wraps are hearty enough to stand alone, but pairing them with the right side turns dinner into something really special.
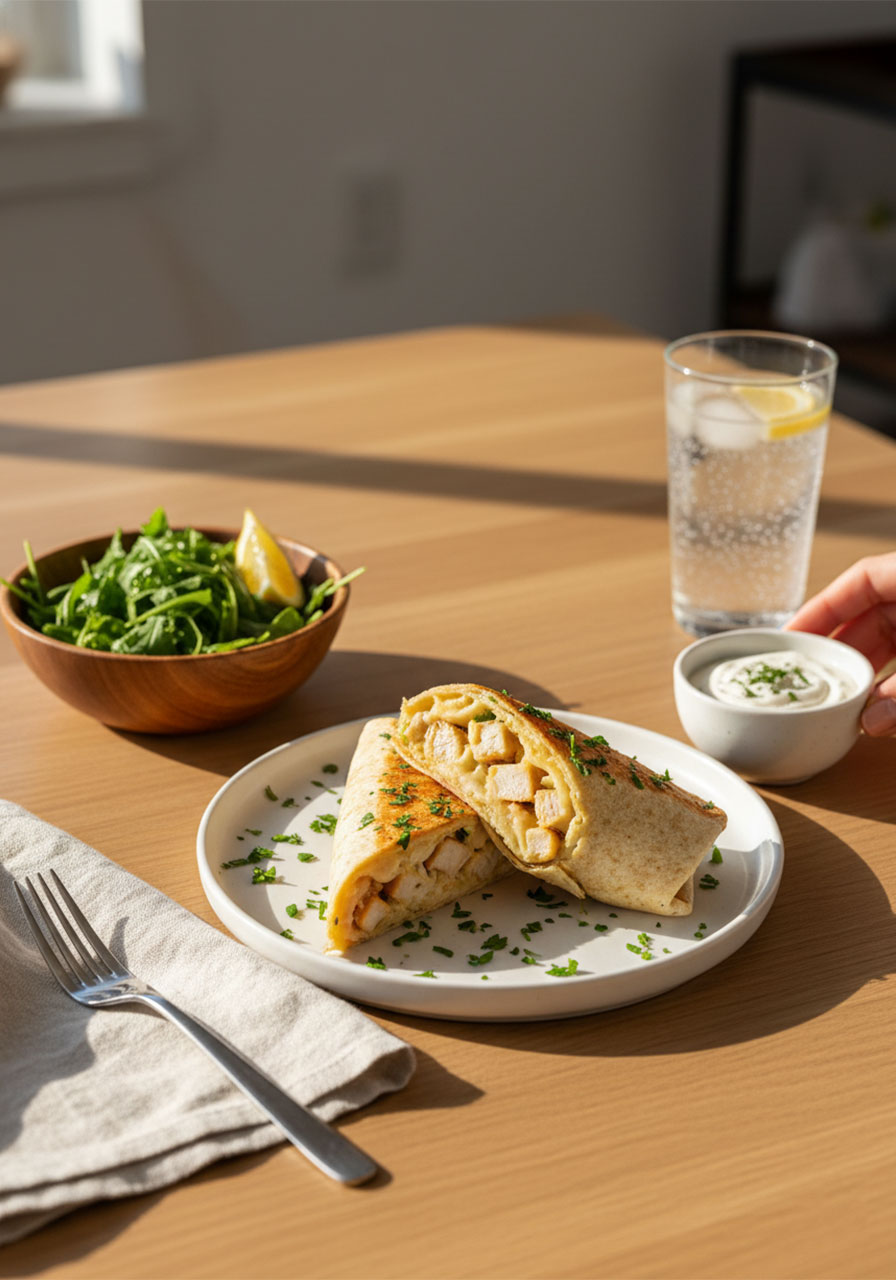
Simple Arugula Salad: The peppery bite of arugula dressed with lemon juice and olive oil cuts right through the richness of the cheese. It’s bright, fresh, and takes about three minutes to throw together.
Roasted Vegetables: Zucchini, asparagus, or bell peppers roasted with olive oil and herbs add color, fiber, and flavor while keeping everything low carb.
Cucumber Tomato Salad: Cool, crisp cucumber and juicy tomato with a light vinaigrette is the perfect contrast to a warm, cheesy wrap. Refreshing and easy.
Greek Yogurt Garlic Dip: Mix Greek yogurt with minced garlic, lemon juice, and fresh herbs for a protein-rich dipping sauce that doubles down on the garlic flavor in the wraps. So good.
Cauliflower Rice: If you want something more filling alongside your wrap, seasoned cauliflower rice adds volume and soaks up all those garlicky juices beautifully.
How to Store and Reheat
These wraps keep well, which makes them perfect for meal prep too.
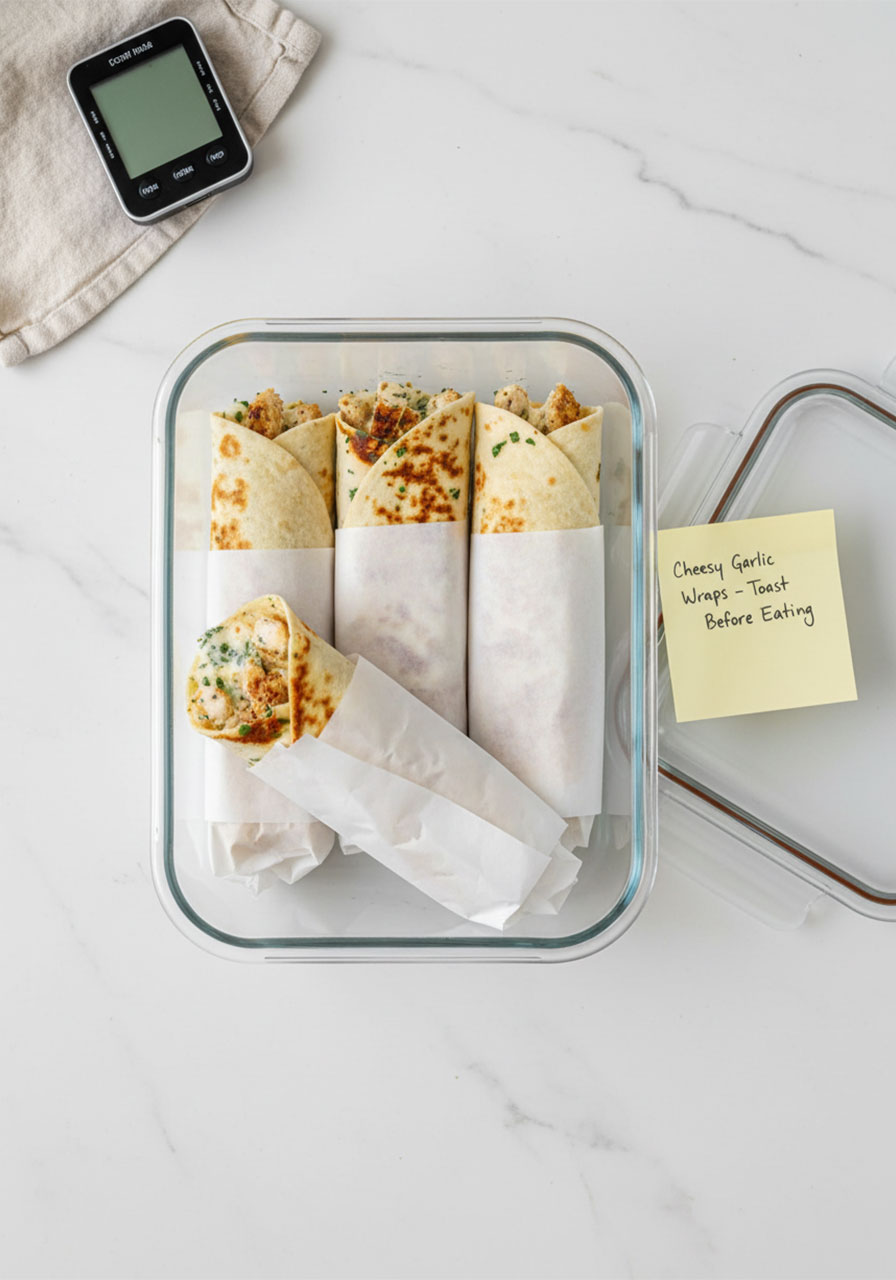
Refrigerator: Store leftover cooked wraps in an airtight container for up to 2 days. Place a sheet of parchment paper between each wrap so they don’t stick together.
Reheating: Skip the microwave for reheated wraps – it makes them soggy. Instead, pop them in the oven at 350°F for 8–10 minutes. The outside crisps back up and the cheese melts again like they’re fresh off the skillet.
Meal Prep Tip: Assemble the wraps in the morning but don’t cook them. Keep them uncooked in the fridge, then toast them fresh right before dinner. This is the move for busy weeknights.
Cold Wrap Option: You can actually eat these straight from the fridge cold – the filling is creamy enough that they still taste great as a quick protein-packed lunch.
A Note on Nourishing Your Whole Self
There’s something quietly beautiful about cooking a real, nourishing meal from scratch – even when it only takes 20 minutes.
It’s an act of care. For your body, yes – but also for your mind and your spirit.
When you sit down to a meal you made with your own hands, something in you settles. You slow down. You’re present. You’re reminded that good, simple things are often the most sustaining.
These wraps are that kind of food. Nothing fussy. Nothing complicated. Just real ingredients, good flavor, and the satisfaction of feeding yourself and the people you love well.
That’s worth something. You’re worth something – and what you put on your plate reflects that.
Frequently Asked Questions
Are these wraps actually keto-friendly?
Yes – as long as you use low-carb tortillas like Mission Carb Balance. With those, each wrap comes in around 5–7g net carbs depending on the brand. The chicken, cheese, and cream cheese filling itself is naturally very low carb.
Can I use canned chicken?
You can in a pinch, but rotisserie chicken or freshly cooked shredded chicken gives you much better texture and flavor. Canned chicken tends to be a bit dry and dense in the filling.
My wraps keep splitting open – what am I doing wrong?
Two common culprits: overfilling and cold tortillas. Use about 1/2 cup of filling per wrap and always warm your tortillas for 10–15 seconds before rolling. Both of those fixes together will solve the splitting problem.
Can I make these ahead of time?
Absolutely. Assemble them uncooked, wrap in parchment paper, and refrigerate for up to 8 hours. Then toast them fresh in the skillet right before eating. This is actually the best meal prep strategy for these.
What other cheeses work well in this recipe?
Mozzarella and cheddar are the classic combo, but provolone, Monterey Jack, Gruyère, or pepper jack all melt beautifully. Use what you love or what’s already in your fridge – you really can’t go wrong.
Final Thoughts
These Cheesy Garlic Chicken Wraps are the proof that eating well and eating deliciously are not in competition with each other.
You don’t have to choose between comfort food and nourishing your body. You don’t have to spend an hour in the kitchen to put something beautiful on the table.
Twenty minutes. One skillet. Real ingredients. Maximum flavor.
Give these a try tonight and watch them disappear from the plate faster than you made them.
Once you taste that first bite of crispy, garlicky, cheese-pull perfection – you’ll understand exactly why this recipe earns a permanent spot in your weekly rotation.
You’ve got this. And dinner is going to be amazing.
Cheesy Garlic Chicken Wraps
Equipment
- Large mixing bowl
- Skillet or grill pan
- Spatula
- Sharp knife
Ingredients
- 2 cups cooked chicken breast, shredded (rotisserie chicken works perfectly)
- 1 cup shredded mozzarella cheese
- 1/2 cup shredded cheddar cheese
- 1/4 cup cream cheese, softened
- 2 cloves garlic, minced
- 1 tablespoon olive oil
- 4 large low-carb tortillas
- 1 tablespoon fresh parsley, chopped
- Salt and pepper to taste
- 1 handful baby spinach (optional)
Instructions
- Preheat a skillet or grill pan over medium heat. Add olive oil. While heating, wrap your tortillas in a damp paper towel and microwave for 10-15 seconds to prevent cracking.
- In a large mixing bowl, combine shredded chicken, mozzarella, cheddar, softened cream cheese, minced garlic, parsley, salt, and pepper. Add spinach if using. Mix until the cream cheese evenly coats the filling.
- Place about 1/2 cup of filling in the center of each tortilla. Fold in the sides and roll tightly from the bottom up to form secure wraps. Do not overfill.
- Place wraps seam-side down in the hot skillet. Cook for 2–3 minutes per side without moving them, until golden brown and the cheese is melted and slightly oozing from the edges. If browning too quickly, reduce heat to medium-low.
- Remove from heat. Slice each wrap in half diagonally. Garnish with extra parsley and serve immediately.
Notes
- Always warm tortillas before rolling – cold tortillas crack easily.
- Do not overfill; 1/2 cup of filling per wrap is the sweet spot.
- Shred cheese from a block for the best melt – pre-shredded bags contain starches that prevent proper melting.
- For reheating, use the oven at 350°F for 8–10 minutes – not the microwave – to restore the crispy exterior.
- Swap chicken for leftover turkey, or add crumbled bacon for a smoky flavor variation.
- Can be assembled uncooked and refrigerated up to 8 hours ahead; toast fresh before serving.
