
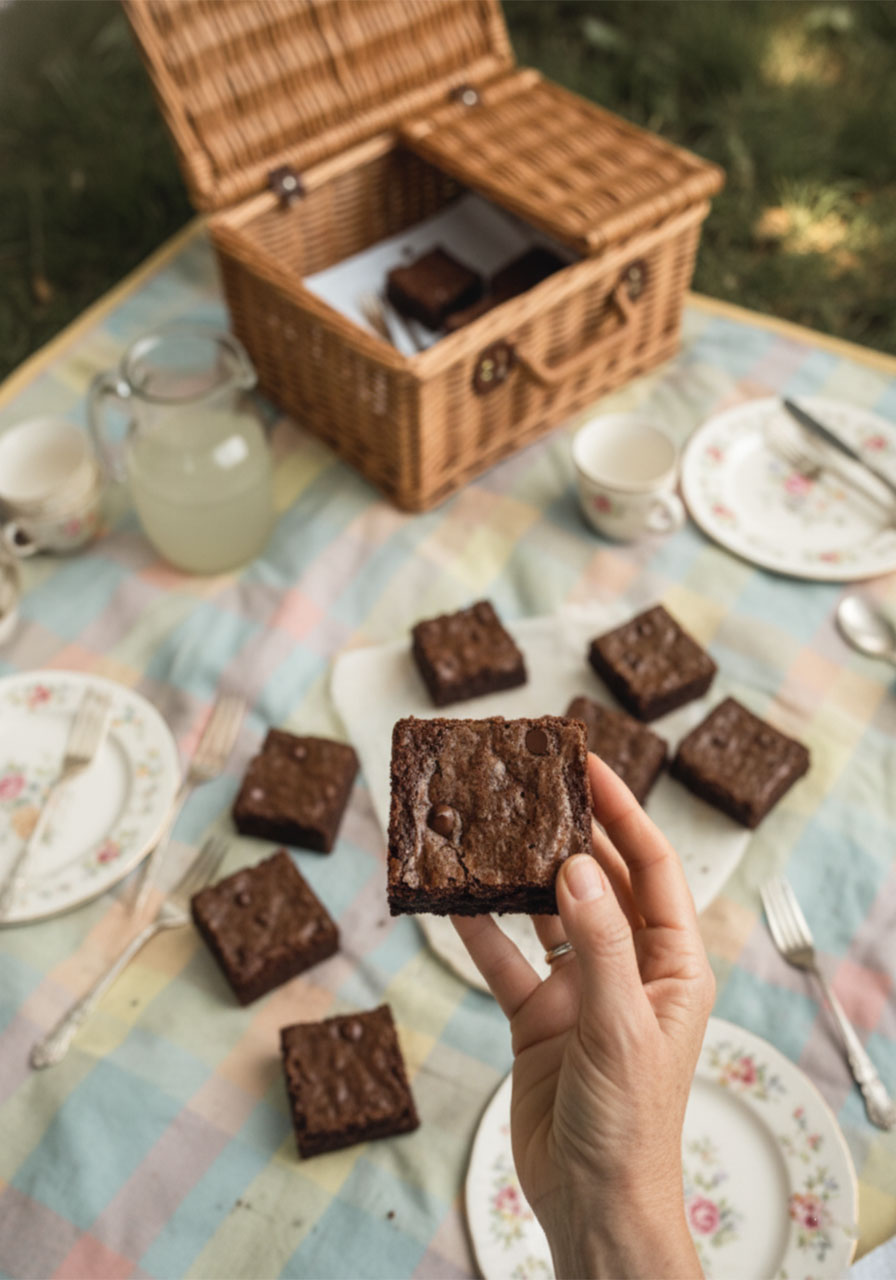
You know that moment when the smell of warm chocolate takes over the whole kitchen and suddenly every single person in the house magically appears asking, “What are you making?”
That’s exactly what happens when you bake these Greek Yogurt Brownies.
They’re fudgy, rich, deeply chocolatey – and the best part? Each piece comes in at around 91 calories. No butter. No refined sugar required. Just wholesome ingredients that somehow produce the most satisfying brownie you’ve had in a long time.
Whether you’re a parent looking for a healthier after-school treat or a teacher bringing something sweet to share at a classroom party, this recipe has your name written all over it.
Let’s get into it.
Why These Brownies Are an Absolute Game-Changer
Most “healthy” brownies sacrifice taste for numbers. These ones? They refuse to do that.
The secret is Greek yogurt. It replaces the butter and oil that traditional brownies rely on – and it adds a subtle tang that actually makes the chocolate flavor pop even more. The result is a brownie that’s moist, chewy, and rich without feeling heavy.
Here’s why parents and teachers especially love this recipe:
One bowl. Simple ingredients. Done in 35 minutes. You don’t need to be a baker to pull this off. If you can stir a bowl, you can make these brownies.
They’re also incredibly easy to customize – use any milk, any yogurt, any sweetener that fits your family’s needs. Got a gluten-free kiddo? Swap the flour. Watching sugar intake? Use a sugar-free sweetener. This recipe bends to fit your life.
And yes – they’re legitimately delicious. Not “healthy-delicious.” Just delicious.

What You’ll Need (Simple Stuff, I Promise)
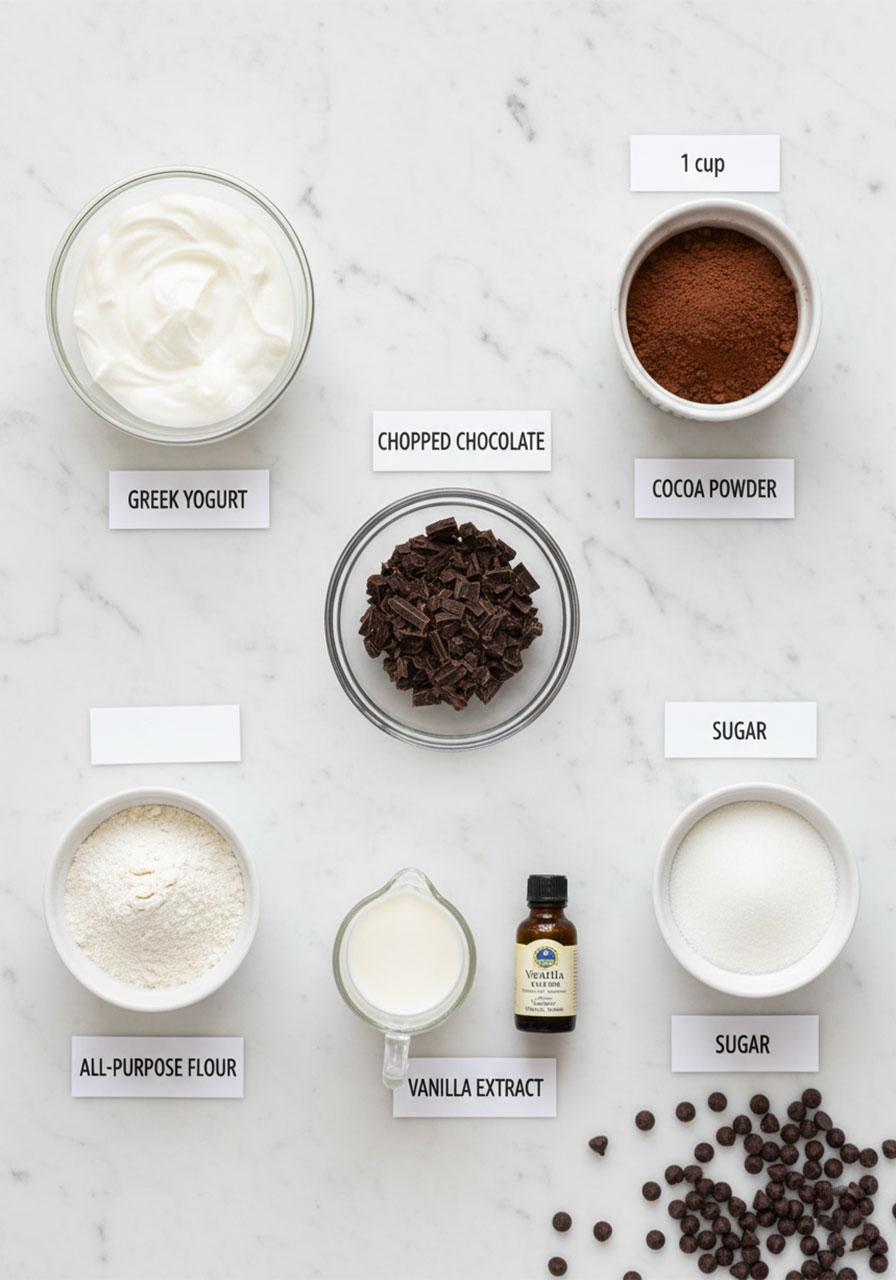
No specialty ingredients. No trip to a fancy store. Here’s your full lineup:
½ cup chopped chocolate – This melts into the batter and gives you that deep, rich base flavor. Dark chocolate works beautifully here.
1 cup vanilla yogurt – Greek yogurt is ideal for extra protein and creaminess, but regular vanilla yogurt works too. This is your moisture and richness all in one.
½ teaspoon vanilla extract – Just a small splash, but it rounds out the chocolate flavor perfectly.
½ cup sugar of choice – White, brown, coconut sugar, or a zero-calorie sweetener. Whatever fits your household best.
¾ cup all-purpose flour – Swap for a 1:1 gluten-free flour blend if needed.
½ cup cocoa powder – This is what makes every bite taste like a proper brownie. Don’t skip it.
½ teaspoon baking soda – Helps the brownies rise just right.
½ cup milk of choice – Regular dairy milk, almond, oat – any works. Unsweetened almond milk keeps it light.
1 cup chocolate chips (optional but highly recommended) – These melt into little pockets of chocolate throughout the brownie. Worth it every time.
How to Make Greek Yogurt Brownies (Step by Step)
This recipe moves fast. Read through once, then dive in – you’ll have brownies in the oven before you know it.
1. Preheat your oven to 350°F. Line an 8×8 square baking pan with parchment paper, or lightly grease it. Parchment makes cleanup a breeze and keeps brownies from sticking.
2. Melt your chopped chocolate. Place it in a microwave-safe bowl and heat in 20–30 second intervals, stirring between each one, until completely smooth and glossy. Don’t rush this step – slow and steady keeps it from burning.
3. Whisk your wet ingredients together. In a large mixing bowl, combine the vanilla yogurt, vanilla extract, and sugar. Whisk until smooth and fully combined.
4. Add the melted chocolate. Pour it into the yogurt mixture and stir gently until everything is blended into one beautiful, rich batter.
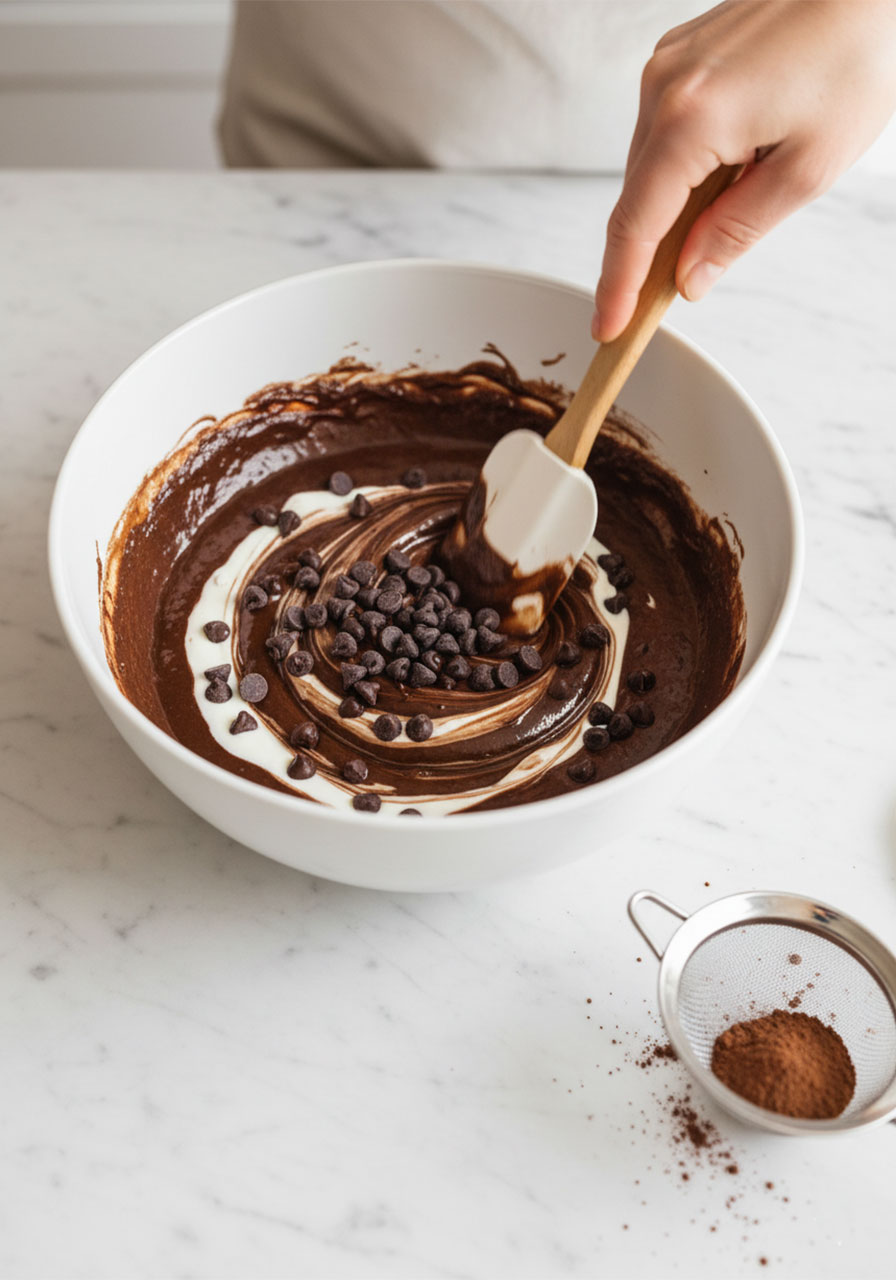
5. Add the dry ingredients. Sift the flour, cocoa powder, and baking soda directly into the bowl. Stir until just combined – don’t overmix or your brownies will be dense instead of fudgy.
6. Pour in the milk. Add it gradually while stirring. The batter should be thick and smooth, not runny.
7. Fold in chocolate chips if you’re using them. (And you should. Trust the process.)
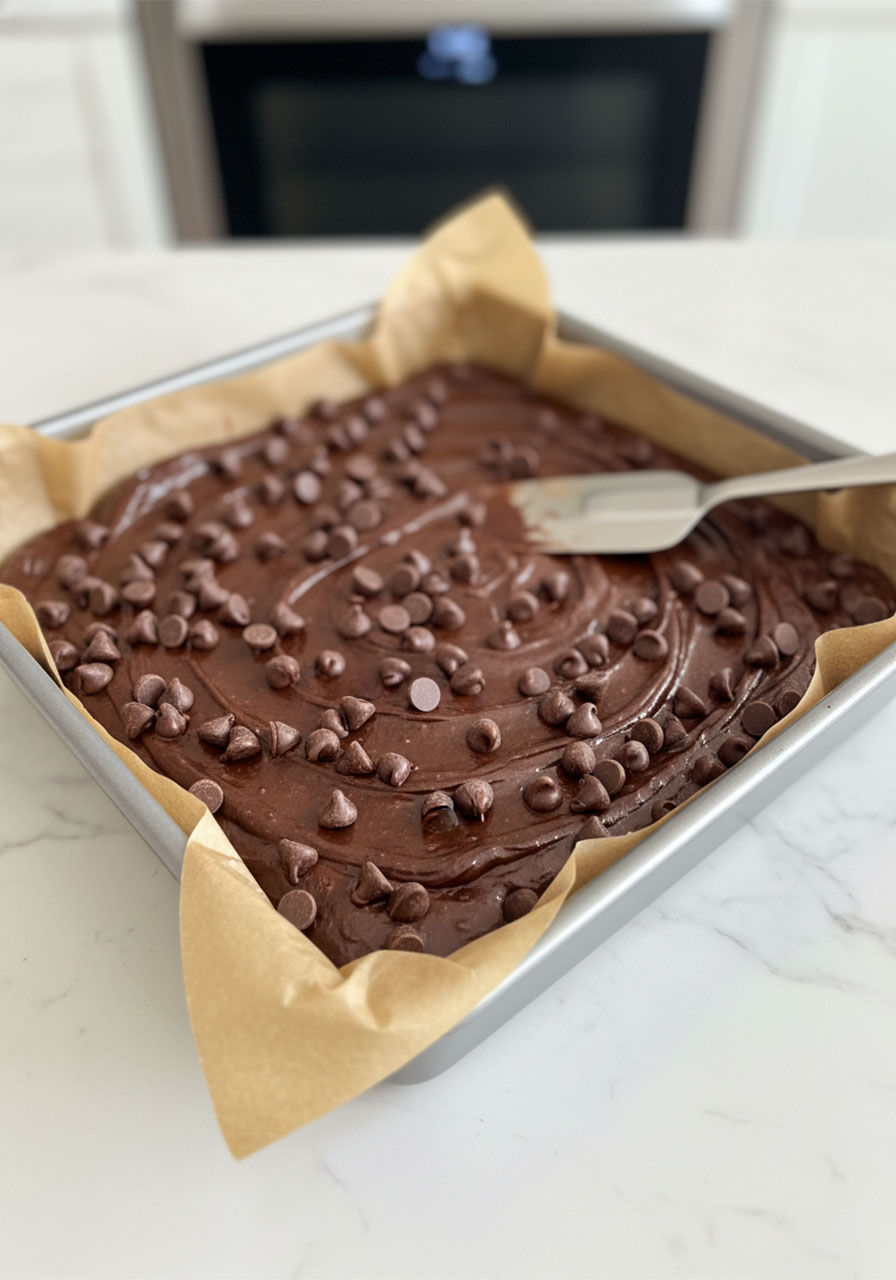
8. Transfer batter to your prepared pan and spread it out evenly with a spatula.
9. Bake for 25–30 minutes. You’ll know they’re done when a toothpick inserted in the center comes out mostly clean – a few moist crumbs are totally fine. That’s fudgy perfection right there.
10. Let them cool completely in the pan before slicing. This is the hardest part, but it’s worth it. Cutting too early = messy brownies.
That’s it. Ten steps, one bowl, and about 35 minutes of your time. You’ve just made a treat that will disappear off the plate embarrassingly fast.
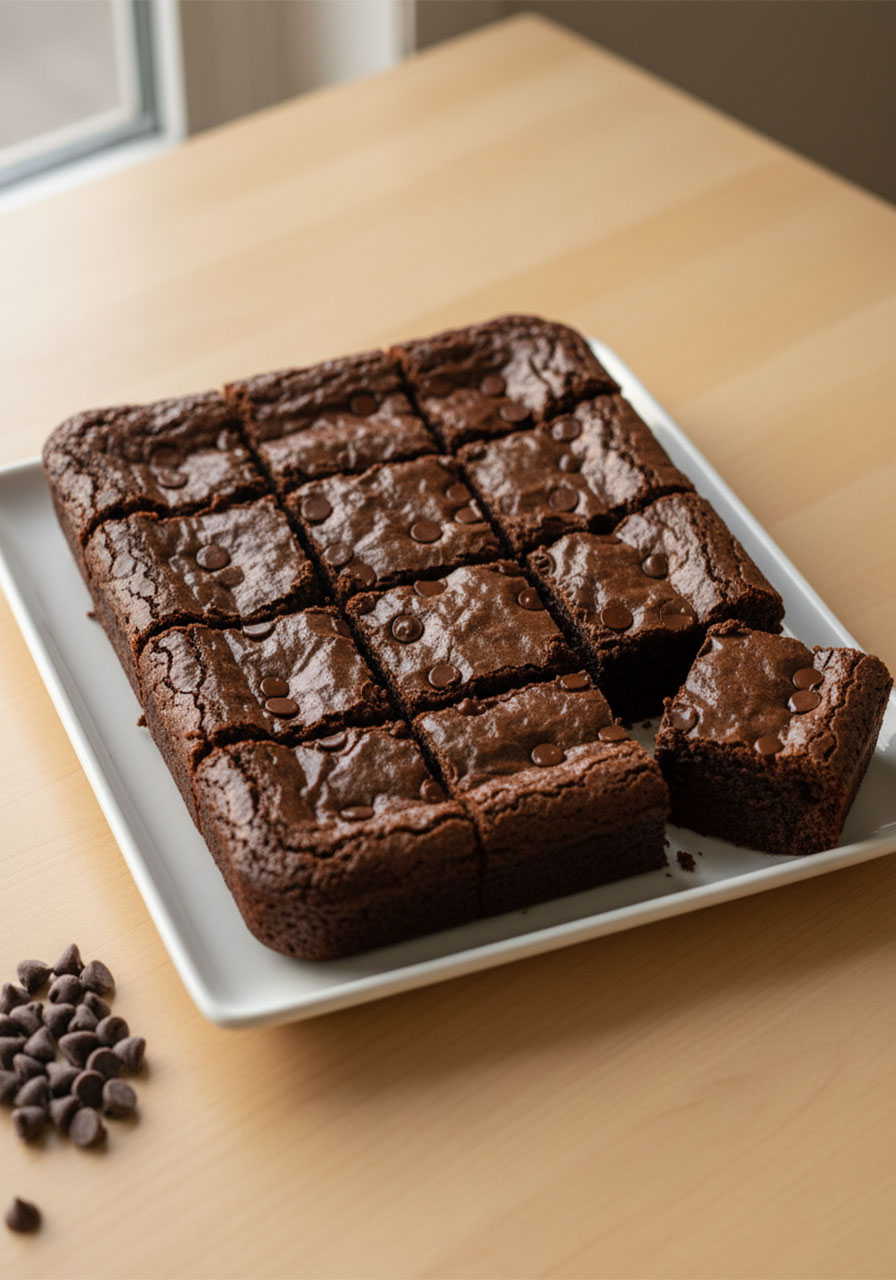
The Toothpick Test: Don’t Skip This
This is the single most important tip for perfect brownies every time.
Stick a toothpick straight down into the center of the pan at the 25-minute mark. Pull it out slowly.
If it comes out with wet, shiny batter – they need more time. Give them 3–5 more minutes and check again.
If it comes out with a few moist crumbs clinging to it – pull them out right now. That’s the fudgy sweet spot.
If it comes out completely clean – they’re ever so slightly overbaked, but still totally good. Just know for next time!
Pro Tips for the Best Results
I’ve made these enough times to know exactly where things can go sideways – and how to avoid it.
Don’t skip the cooling time. I know it’s painful. But Greek yogurt brownies need that cooling period to firm up properly. Cut them too early and they fall apart.
Use full-fat Greek yogurt for the richest texture. Low-fat works, but the brownies won’t be quite as creamy and indulgent. For an everyday treat, full-fat is the move.
Sift your cocoa powder. Cocoa clumps badly, and those lumps won’t fully mix out. A quick sift takes 10 seconds and makes a real difference in the final texture.
Don’t overmix once the flour goes in. Stir until you don’t see any dry patches – and then stop. Overmixing develops gluten and turns brownies tough.
Sprinkle a few extra chocolate chips on top right before baking. Makes them look gorgeous and adds little melted pockets right on the surface.
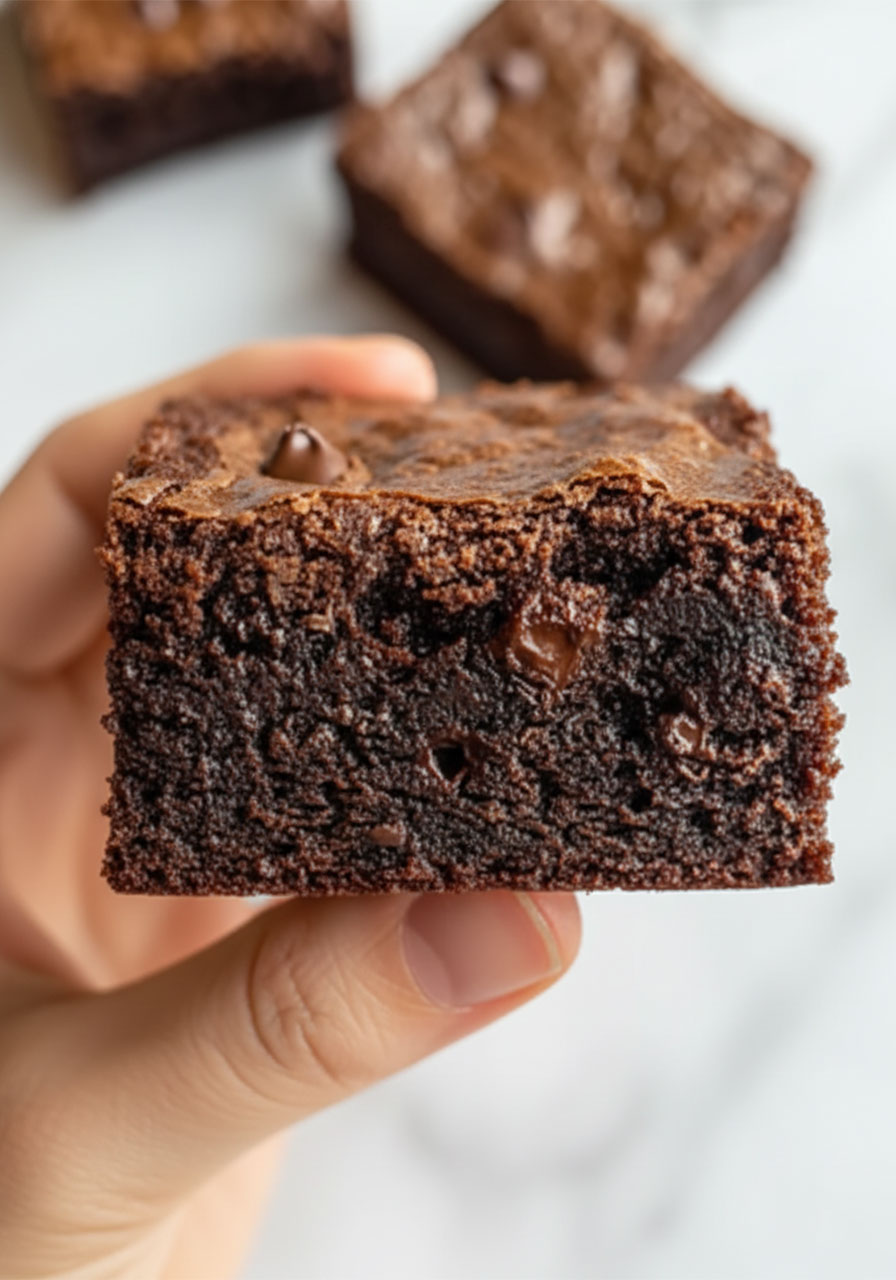
Fun Variations to Try
Once you’ve nailed the base recipe, these are some of my favorite ways to mix it up:
Peanut Butter Swirl: Drop spoonfuls of peanut butter onto the batter and swirl with a toothpick before baking. The combination is absolutely unreal.
Mocha Brownies: Add 1 teaspoon of instant espresso powder to your dry ingredients. It deepens the chocolate flavor without making these taste like coffee – it just makes the chocolate taste MORE like chocolate.
Mint Chocolate: Add ¼ teaspoon of peppermint extract to the batter along with the vanilla. Perfect for holiday parties and classroom events.
Nutty Brownies: Fold in ½ cup of chopped walnuts or pecans with the chocolate chips. Adds a satisfying crunch and extra nutrition.
Double Chocolate Drizzle: Once cooled, drizzle melted chocolate over the top. Purely for drama. Fully worth it.
Perfect for Classrooms, Parties & Potlucks
Here’s something parents and teachers both love: this recipe scales beautifully.
Double the batch and bake in a 9×13 pan for about 30–35 minutes. You’ll get 24 brownies – more than enough for a classroom treat or birthday party spread.
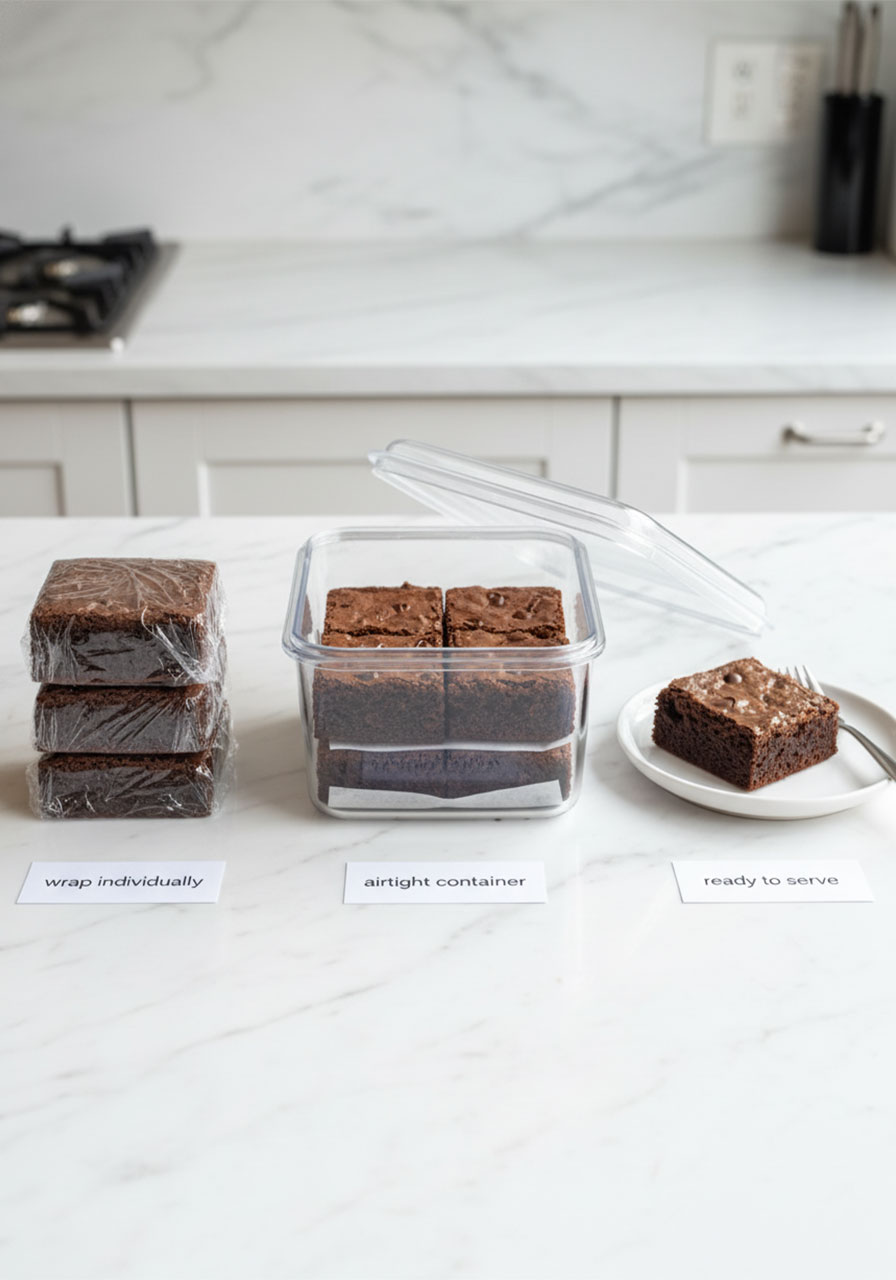
These also travel well. Once fully cooled and cut, you can stack them in a container with parchment between layers and they hold up perfectly.
Bonus: because they’re lower sugar and higher protein than standard brownies, you don’t have to worry about a sugar crash 20 minutes later. That’s a genuine parenting win.
Can Kids Help Make These?
Absolutely – and this is one of the best recipes to make with little ones.
Little kids (ages 3–6) can help stir the batter, pour chocolate chips, and spread batter in the pan (with supervision of course).
Older kids (ages 7–12) can handle measuring ingredients, melting the chocolate with microwave supervision, and doing most of the mixing themselves.
Teens can make this completely independently. It’s a great first solo baking project.
Making food together is genuinely one of the best ways to spend time as a family – and ending up with warm brownies at the finish line doesn’t hurt at all.
How to Store Your Brownies
Good news: these keep really well, so you can make them ahead of time without any stress.
At room temperature: Store in an airtight container for up to 3 days. Wrap individual pieces in plastic wrap to keep them extra moist.
In the fridge: They’ll stay fresh for up to 5 days. Let them come back to room temperature before eating for the best texture and flavor.
In the freezer: Wrap each brownie individually in plastic wrap, then place in a zip-lock freezer bag. They freeze beautifully for up to 2 months. Thaw overnight in the fridge or on the counter for a couple of hours.
To reheat: Pop a brownie in the microwave for 10–15 seconds and it comes back to life like it just came out of the oven. Warm, soft, and perfect.
Answers to Your Most Common Questions
Can I skip the chocolate chips? Yes! They’re optional. The brownies are still delicious without them. But they add wonderful texture and extra chocolate pockets, so if you have them on hand – use them.
What if I only have regular yogurt, not Greek? Regular vanilla yogurt works. The brownies will be slightly less protein-dense and a touch less creamy, but they’ll still taste great.
Can I use a sugar substitute? Absolutely. This is one of the easiest swaps in the recipe. Use erythritol, monk fruit sweetener, or any 1:1 sugar substitute you trust. The texture stays virtually the same.
My batter looks really thick – is that right? Yes! Greek yogurt brownies have a thicker batter than traditional brownies. Spread it into the pan with a spatula and you’re good to go.
Can I make these dairy-free? Yes – use a dairy-free yogurt (coconut yogurt works well), dairy-free chocolate chips, and your favorite plant-based milk. Dairy-free butter or oil isn’t needed since this recipe doesn’t call for it anyway!
Why did my brownies turn out cakey instead of fudgy? Two likely culprits: overmixing the batter, or overbaking. Mix until just combined, and pull them from the oven as soon as the toothpick comes out with a few moist crumbs.
The Nutrition Breakdown
Per brownie (based on 12 servings):
Calories: ~91
Protein: Higher than a standard brownie, thanks to the Greek yogurt
Sugar: Fully customizable based on your sweetener of choice
Fat: Significantly lower than butter-based brownies
For a treat that tastes this indulgent, those numbers are genuinely impressive.
The Greek yogurt does the heavy lifting – it replaces butter and oil while adding protein, calcium, and that perfect moist crumb. It’s one of those rare swaps that actually improves the recipe rather than just making it “healthier-tasting.”
Make Them Ahead for Events
Planning a school bake sale? A parent volunteer party? A classroom celebration?
These brownies are your secret weapon.
Bake them the night before, let them cool completely, then cover the pan tightly with foil or plastic wrap. Slice them the morning of your event – they cut cleaner once they’ve sat overnight and the texture is even better.
You can also bake and freeze them up to a week in advance. Thaw at room temperature for a couple hours before serving and nobody will know they weren’t baked that morning.
Getting ahead like this is the difference between a frantic morning and a confident, calm host who shows up with something genuinely impressive.
Ready to Bake? Here’s Your Quick Summary
Preheat to 350°F. Melt the chocolate. Mix wet ingredients. Add chocolate. Fold in dry ingredients. Add milk. Pour and bake 25–30 minutes. Cool. Slice. Share (or don’t – no judgment).
That’s genuinely all it takes to make a brownie that’s rich, fudgy, high-protein, and under 100 calories per piece.
Your family, your students, your party guests – they’re all going to ask for the recipe. And when they do, you can just smile and say, “Oh, it’s actually really easy.”
Because it is.
Tried this recipe? Leave a comment below and tell us how it went! We love hearing from parents and teachers who are making sweets a little healthier and a whole lot more fun.
Greek Yogurt Brownies (Sugar Free + High Protein)
Ingredients
- 0.5 cups chopped dark chocolate
- 1 cups vanilla Greek yogurt
- 0.5 teaspoons vanilla extract
- 0.5 cups sugar of choice (white, brown, coconut, or zero-calorie substitute)
- 0.8 cups all-purpose flour (or 1:1 gluten-free blend)
- 0.5 cups cocoa powder
- 0.5 teaspoons baking soda
- 0.5 cups milk of choice (dairy, almond, or oat)
- 1 cups chocolate chips (optional but highly recommended)
Instructions
- Preheat & Prep Pan: Preheat your oven to 350°F. Line an 8×8 inch square baking pan with parchment paper, or lightly grease it. Parchment makes cleanup a breeze and keeps brownies from sticking.
- Melt the Chocolate: Place 0.5 cups chopped dark chocolate in a microwave-safe bowl. Heat in 20–1m 30s, stirring between each one, until completely smooth and glossy. Don't rush – slow and steady keeps it from burning.
- Mix Wet Ingredients: In a large mixing bowl, whisk together 1 cups vanilla Greek yogurt, 0.5 teaspoons vanilla extract, and 0.5 cups sugar of choice (white, brown, coconut, or zero-calorie substitute) until smooth and fully combined.
- Add Melted Chocolate: Pour the melted chocolate into the yogurt mixture and stir gently until everything blends into one rich, luscious batter.
- Add Dry Ingredients: Sift 0.8 cups all-purpose flour (or 1:1 gluten-free blend), 0.5 cups cocoa powder, and 0.5 teaspoons baking soda directly into the bowl. Stir until just combined – stop as soon as you don't see any dry patches. Overmixing = tough brownies, not fudgy ones.
- Pour in the Milk: Gradually add 0.5 cups milk of choice (dairy, almond, or oat) while stirring. The batter should be thick and smooth – not runny. That thick texture is exactly what you want.
- Fold in Chocolate Chips: Fold in 1 cups chocolate chips (optional but highly recommended) if using. Gently stir until evenly distributed. Sprinkle a few extra on top for a gorgeous finish.
- Pour & Spread: Transfer the batter to your prepared pan and spread it out evenly with a spatula. It will be thick – that's perfect.
- Bake: Bake for 25–27m 30s . At the 25-minute mark, do the toothpick test: insert a toothpick in the center. A few moist crumbs = perfect fudgy brownies. Wet batter = needs more time. Completely clean = slightly overbaked but still good!
- Cool Completely Before Slicing: Let the brownies cool completely in the pan before slicing. This is the hardest part – but it's worth it. Cutting too early means crumbly, messy pieces. Patience = clean, beautiful squares.
Notes
- Use full-fat Greek yogurt for the richest, creamiest texture.
- Always sift your cocoa powder – it clumps and won’t mix out otherwise.
- Do NOT overmix once the flour goes in. Stir just until no dry patches remain.
- Peanut Butter Swirl: Drop spoonfuls of peanut butter on top and swirl with a toothpick before baking.
- Mocha: Add 1 tsp instant espresso powder to the dry ingredients – deepens the chocolate flavor dramatically.
- Mint Chocolate: Add ¼ tsp peppermint extract. Perfect for holiday parties.
- Nutty: Fold in ½ cup chopped walnuts or pecans with the chocolate chips.
- Room temp: airtight container, up to 3 days.
- Fridge: up to 5 days. Bring to room temp before eating.
- Freezer: wrap individually, freeze up to 2 months. Thaw on counter for 2 hours.
- Reheat: microwave 10–15 seconds for that fresh-baked feel.
