
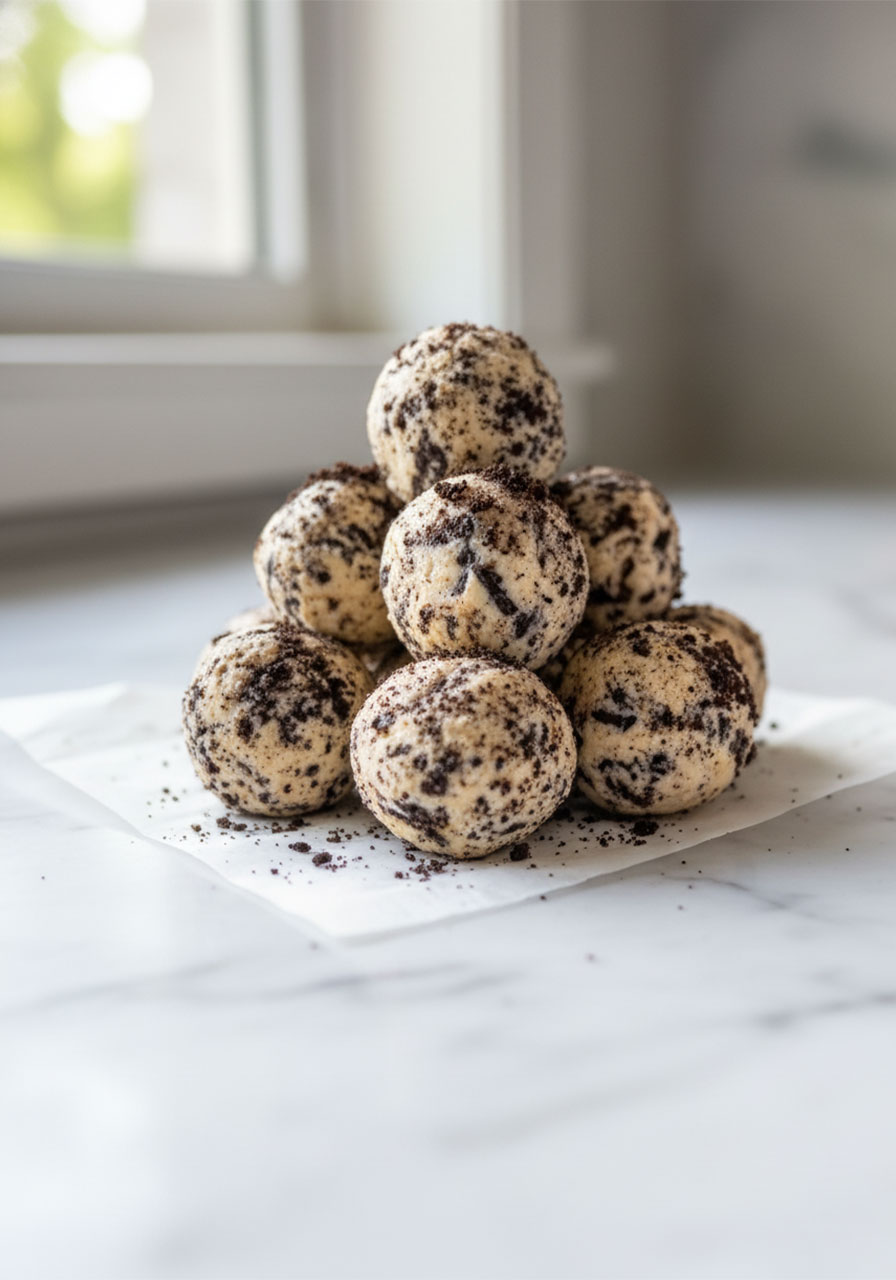
What if your favorite guilty-pleasure snack could also help you hit your protein goals? That’s exactly what these Oreo Protein Balls do – and honestly, they taste so good you’ll forget they’re good for you.
We’re talking soft, chewy, cookies-and-cream-flavored bites that come together in under 20 minutes, require zero baking, and pack about 10 grams of protein per ball. They’re the kind of snack that feels indulgent but actually fuels your body the right way.
Whether you’re meal prepping for the week, need something post-workout, or just want a sweet treat that won’t send your energy crashing – these protein balls are about to become your new best friend.
I first made these on a Sunday afternoon when I had half a pack of Oreos sitting on the counter and a serious craving for something sweet. One batch later, I was texting the recipe to three friends. That’s how good they are.
Why You’ll Absolutely Love This Recipe
Let’s be honest – most “healthy” snacks leave you feeling like you’re missing out. Not these.
These Oreo Protein Balls taste like cookies and cream cheesecake. The cream cheese makes them rich and creamy. The crushed Oreos give you that classic chocolatey crunch. And the protein powder quietly does its job in the background without changing the flavor one bit.
Here’s what makes them such a win:
No baking required. Mix, roll, chill. That’s it.
Ready in about 15 minutes of hands-on time. The fridge does the rest.
Around 10 grams of protein per ball. Snacking smarter never tasted this good.
Easy to customize. Swap the cookies, change the protein flavor, add mix-ins – they’re endlessly adaptable.
Meal prep friendly. Make a batch Sunday and snack on them all week.
Kid-approved too. The little ones in your life will never guess there’s protein powder in there.
These are the kind of snacks you feel genuinely good about eating. And that matters – especially when you’re trying to nourish your body well and show up as your best self every single day.

What You’ll Need to Make Oreo Protein Balls
The ingredient list is short, simple, and probably half in your pantry already.
Makes about 20 balls:
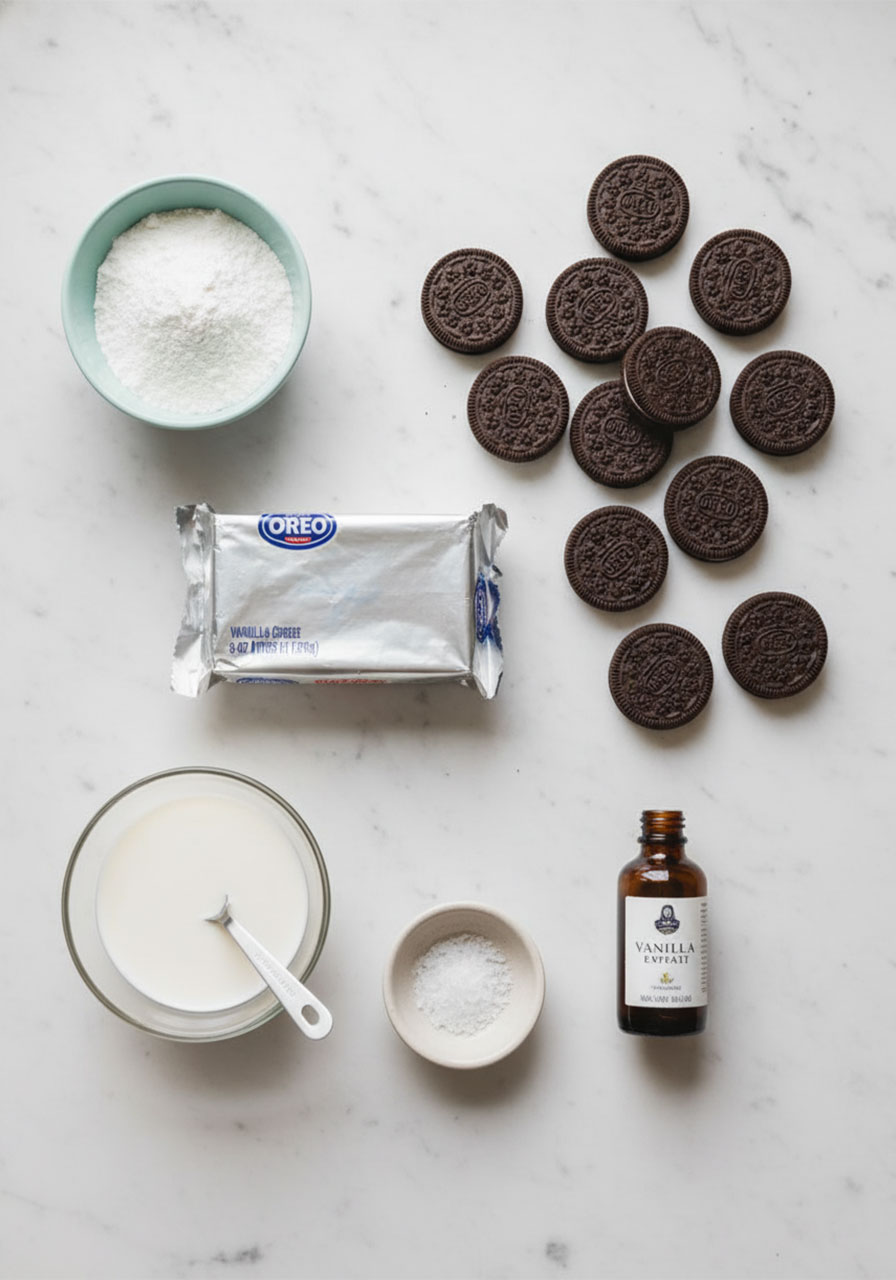
8 oz (227g) cream cheese, softened to room temperature
15–20 Oreo cookies, crushed (cream filling included – don’t you dare remove it)
1 cup vanilla or chocolate protein powder
2–3 tablespoons milk (dairy or plant-based both work great)
1 teaspoon vanilla extract
Pinch of salt
Optional mix-ins: mini chocolate chips, chopped nuts, shredded coconut
A quick note on protein powder: Vanilla protein powder gives you a classic cookies-and-cream flavor. Chocolate protein powder takes these into double-chocolate territory. Both are delicious – it really comes down to what you’re craving that day.
Want to lighten them up? Swap regular Oreos for reduced-fat, or use Neufchâtel cheese instead of full-fat cream cheese. You’ll barely notice the difference.
How to Make Oreo Protein Balls Step by Step
This recipe is genuinely foolproof. Here’s exactly how to do it:
Step 1: Crush Your Oreos
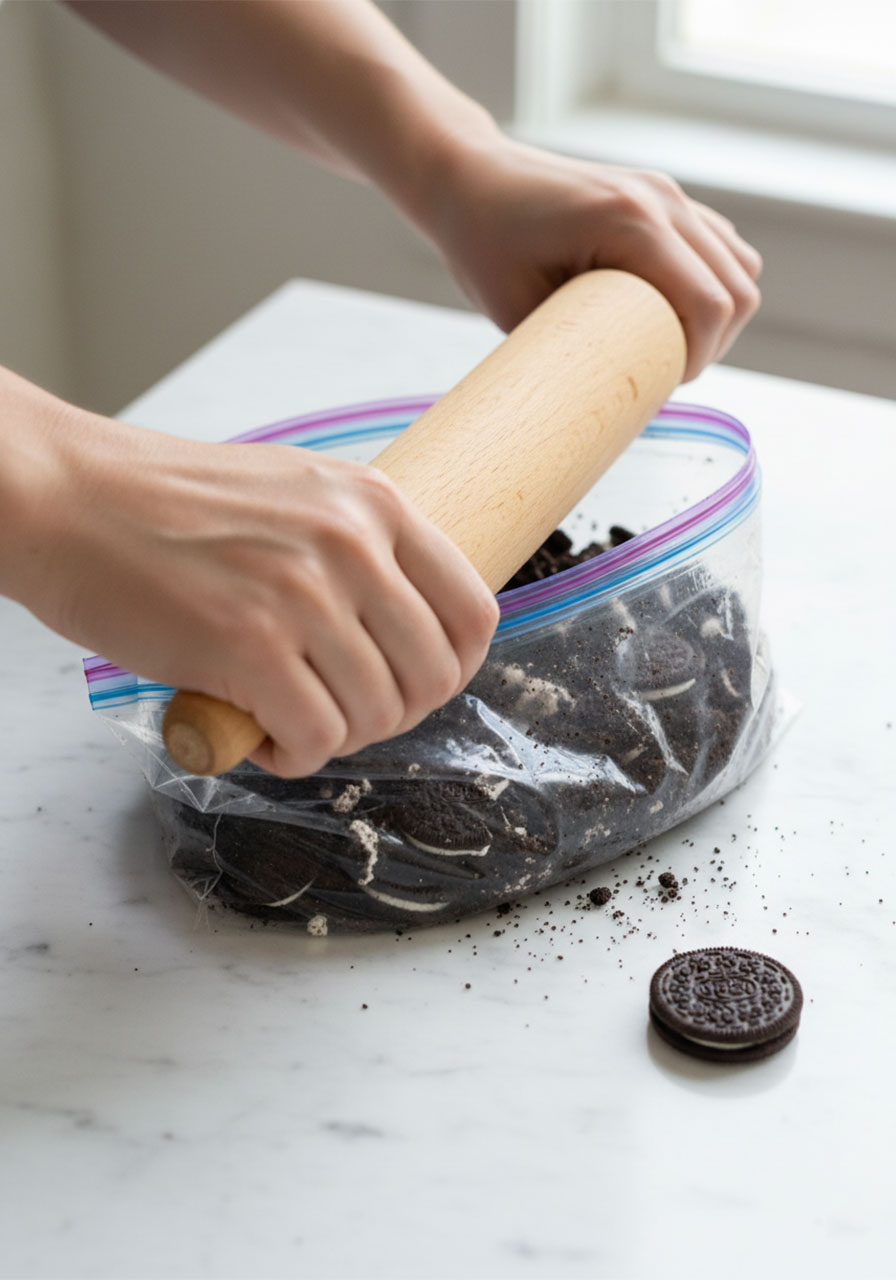
Place the Oreos in a zip-top bag and crush them with a rolling pin until you get fine, sandy crumbs. Leave a few slightly larger pieces in there – those little chunks add amazing texture to the finished balls.
No rolling pin? A food processor works perfectly. Pulse about 8–10 times and you’re done.
Important: Keep the cream filling in. It adds sweetness and helps bind everything together. Don’t skip it!
Step 2: Soften Your Cream Cheese
This step matters more than you’d think. Cold cream cheese clumps up and makes mixing a nightmare. Warm cream cheese gets runny and hard to work with.
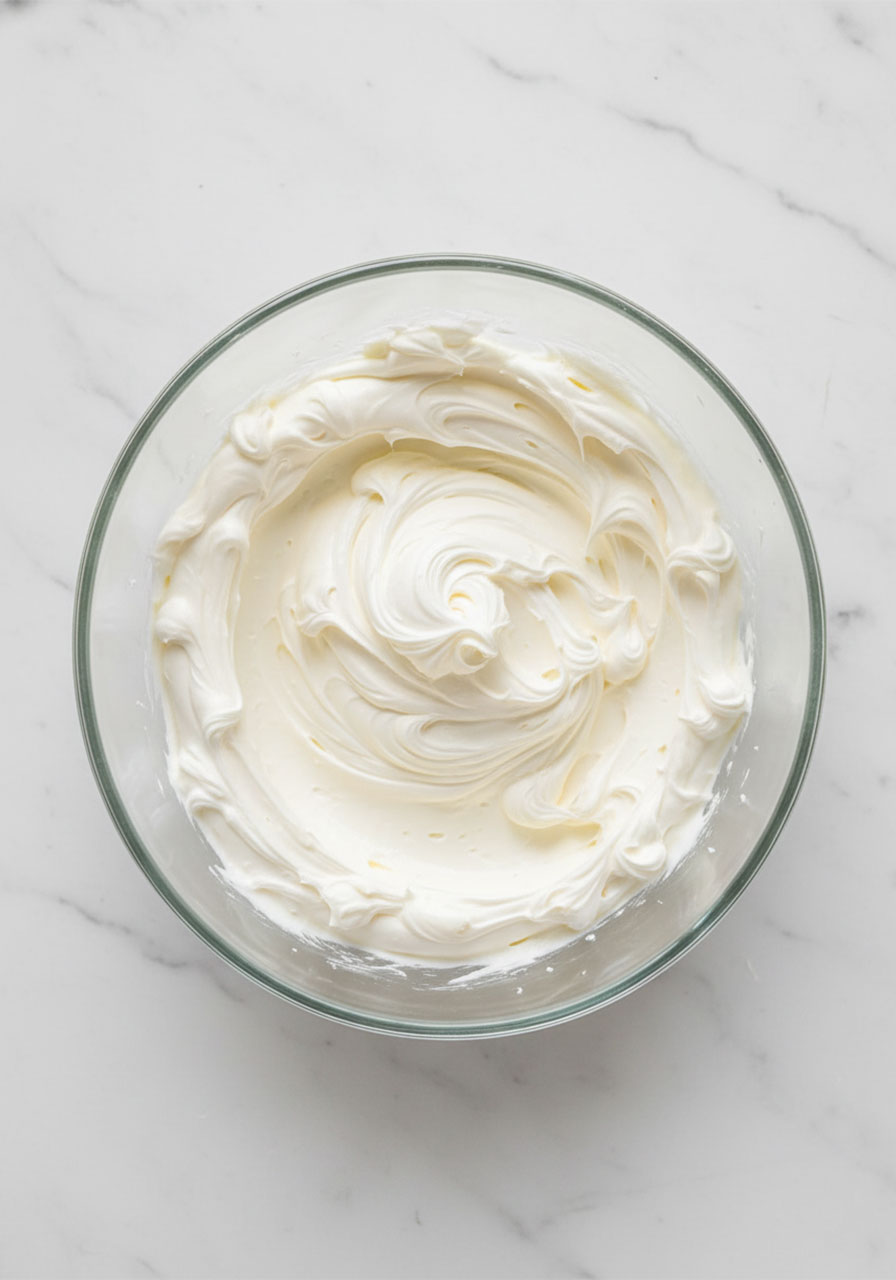
The sweet spot? Leave it on the counter for 30–45 minutes, or microwave it in 10-second bursts until it’s soft and spreadable – like a thick frosting consistency.
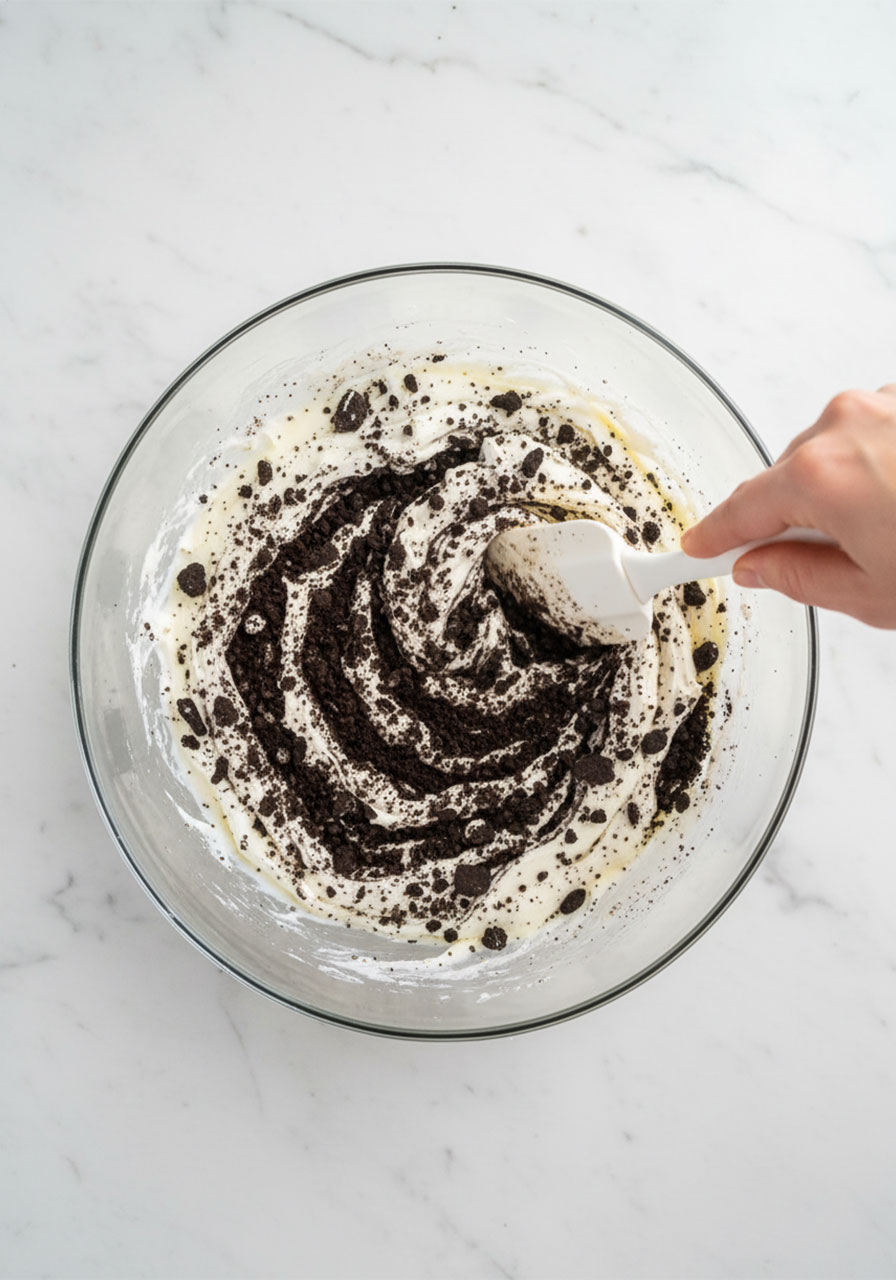
Step 3: Mix It All Together
In a medium mixing bowl, combine the softened cream cheese and crushed Oreos. Stir until smooth and evenly blended.
Next, add your protein powder gradually – a little at a time – stirring well after each addition. This prevents lumps and helps you control the texture as you go.
If the mixture feels too dry, add milk one tablespoon at a time. You’re aiming for a texture that feels like soft playdough – it should hold its shape when you press it together but not stick to your hands.
Stir in the vanilla extract, a pinch of salt, and any optional mix-ins you’re using.
Step 4: Roll Into Balls
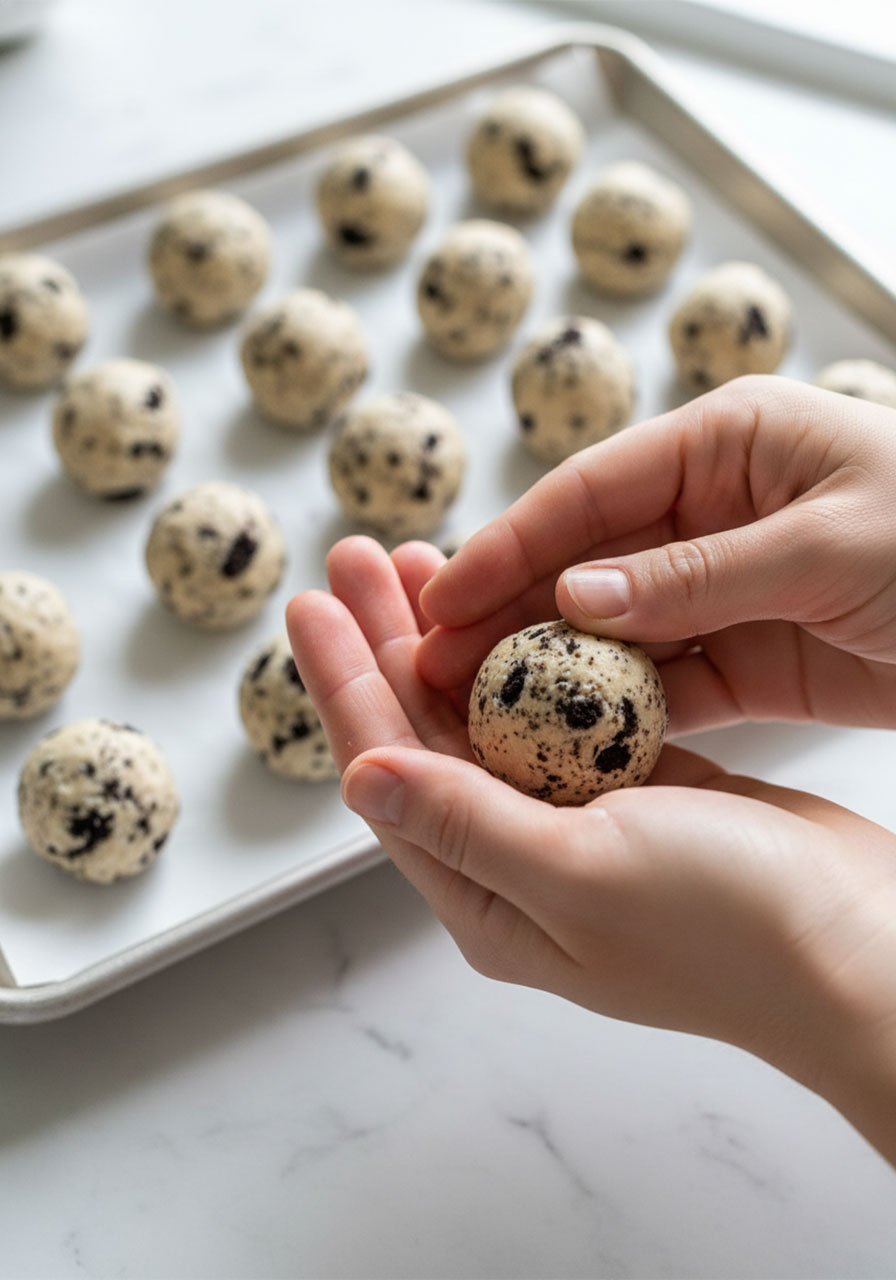
Scoop about one tablespoon of the mixture and roll it between your palms to form smooth, round balls. Place each one on a parchment-lined baking tray as you go.
If the dough is sticking to your hands, pop it in the fridge for 10 minutes first. Cold dough is so much easier to roll.
Step 5: Chill
Refrigerate the tray for at least one hour. This firms up the texture and takes these from “pretty good” to absolutely amazing.
In a rush? Freeze them for 30 minutes instead. Works just as well.
Step 6: Optional Coating (But Highly Recommended)
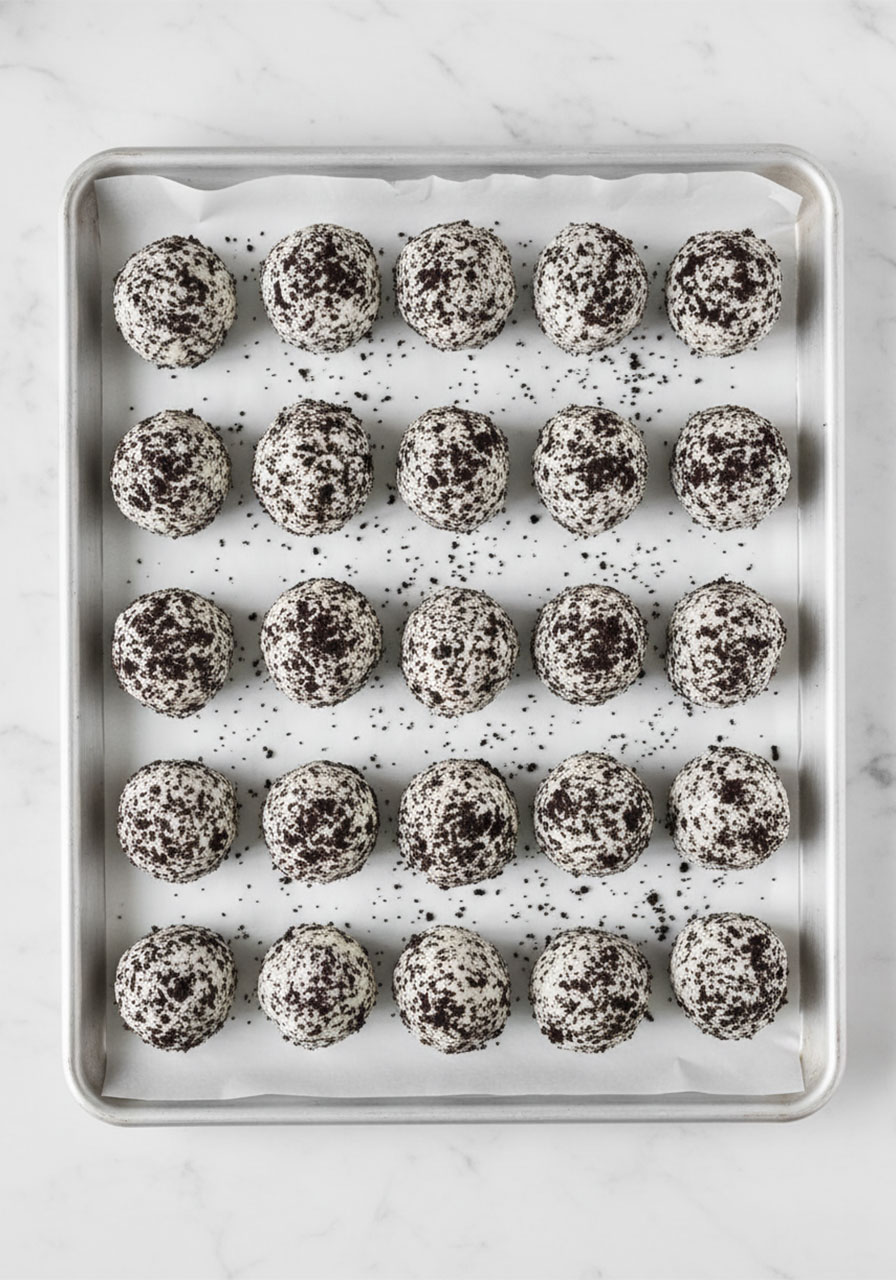
Once chilled, roll each ball in extra crushed Oreos, cocoa powder, or shredded coconut for a beautiful bakery-style finish.
This step is technically optional. But once you see how gorgeous they look – and taste that extra crunch – you’ll never skip it again.
Pro Tips for Perfect Oreo Protein Balls Every Time
A few small things make a big difference with this recipe. Here’s what I’ve learned after making these more times than I can count:
Always use room-temperature cream cheese. It’s the single most important tip in this whole recipe. Cold cream cheese = lumpy mixture = frustrating experience.
Add protein powder slowly. Different brands absorb moisture differently. Add it bit by bit so you can control the consistency as you go.
Aim for playdough texture. If it’s too wet, add more protein powder. If it’s too dry, add milk a tablespoon at a time.
Chill your hands before rolling. Run them under cold water, then dry them. The dough sticks way less.
Don’t rush the chill time. An hour in the fridge makes the texture so much better. They’re chewier, firmer, and more satisfying cold.
Make them uniform. Use a cookie scoop if you have one. Consistent size = consistent texture = even better results.
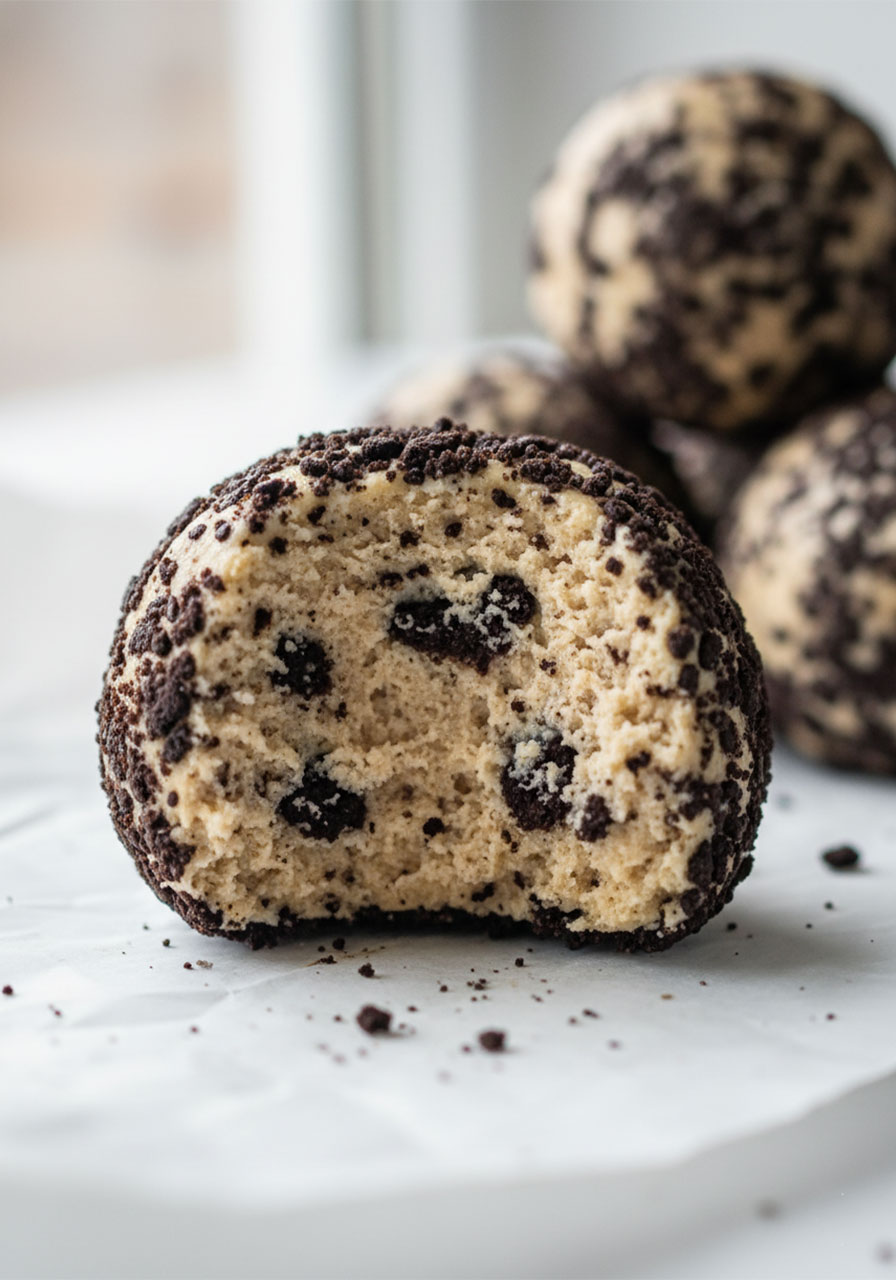
Fun Variations to Try
Once you’ve made the original version, it’s fun to start playing around. Here are some of our favorite swaps:
Switch Up the Cookies
Golden Oreos for a vanilla-forward, lighter flavor
Peanut butter Oreos for a nutty, rich twist
Gluten-free Oreos to make these GF-friendly
Mint Oreos for a cool, refreshing version (perfect for the holidays!)
Mix Up the Protein Powder
Vanilla whey – the classic, creamy choice
Chocolate plant-based protein – for a dairy-free double-chocolate ball
Cookies and cream protein powder – for maximum Oreo intensity
Add-In Ideas
2 tablespoons of peanut butter stirred into the dough – chocolate + peanut butter = perfection
A sprinkle of espresso powder for a mocha vibe
Mini chocolate chips folded in for extra chocolatey bites
Shredded coconut mixed in AND rolled on the outside
Lighten Them Up
Use Neufchâtel cheese instead of cream cheese – same creamy texture, less fat
Swap cream cheese entirely for strained Greek yogurt – adds tang and extra protein
Use reduced-fat Oreos to lower the sugar content slightly
How to Store Oreo Protein Balls
These store beautifully, which makes them ideal for meal prep.
In the fridge: Place in an airtight container and they’ll stay fresh for up to 5 days. They’re best enjoyed cold – the texture is chewier and more satisfying straight from the refrigerator.
In the freezer: Freeze them on the parchment tray first until solid (about an hour), then transfer to a zip-top bag or airtight container. They’ll keep for up to 2 months.
To enjoy from frozen: Just pull one out and let it thaw for 5–10 minutes on the counter, or eat it frozen for an almost ice-cream-like texture. (Trust me – frozen is underrated.)
When to Eat These (Spoiler: Any Time Is a Good Time)
The beauty of these protein balls is how versatile they are.
Post-workout snack: Your muscles will thank you. The protein helps with recovery, and the carbs from the Oreos help replenish energy fast.
Mid-afternoon slump: Instead of reaching for a candy bar at 3pm, grab one of these. You’ll get a sweet fix and actual staying power to carry you through the rest of the day.
Pre-workout fuel: Eat one or two about 30 minutes before the gym for a quick energy boost without feeling heavy.
Dessert that won’t derail you: Have a sweet tooth after dinner? Two of these satisfies the craving and keeps your macros in check.
Meal prep treat: Make a batch on Sunday and you’ve got a grab-and-go snack ready for the whole week. No thinking required.
Frequently Asked Questions
Can I make these without protein powder?
Yes! Just leave the protein powder out and add an extra 2–3 tablespoons of powdered sugar to help bind and sweeten. The texture will be softer, more like a traditional Oreo truffle. They won’t have the protein boost, but they’ll taste absolutely delicious.
How long do they last?
Up to 5 days in the fridge in an airtight container, or up to 2 months in the freezer. They honestly taste better on day 2 after the flavors have had time to meld together.
Are these kid-friendly?
Totally! Kids love them. Just keep in mind that some protein powders have a slightly chalky taste, so use a high-quality powder with a flavor your family enjoys. Vanilla is always a safe bet for younger palates.
Can I make these dairy-free?
Yes! Use dairy-free cream cheese (Violife and Kite Hill are great brands), plant-based protein powder, and non-dairy milk. The texture and flavor hold up really well with these swaps.
Why are my protein balls too sticky to roll?
Your cream cheese is probably too warm, or the dough needs more protein powder. Pop the bowl in the fridge for 15 minutes, then try again. Adding protein powder a little at a time also helps you control the consistency.
Can I use a different cookie?
Absolutely – any sandwich cookie works here. Golden Oreos, Nutter Butters, Biscoff cookies, or even graham crackers all make delicious variations.
A Note on Nourishing Yourself Well
There’s something really beautiful about finding a snack that takes care of your body without feeling like a sacrifice.
So many of us spend our days pouring into everyone else – our families, our work, our communities. Finding little ways to fuel yourself well throughout the day isn’t selfish. It’s wise. It’s how you keep showing up with energy, patience, and joy.
These Oreo Protein Balls are a tiny but real act of taking care of yourself. They taste like a treat. They fuel you like real food. And they take almost no time to make.
That’s a win we can all get behind.
Make a batch this weekend. Leave a comment and let me know what variation you tried. And if you love them as much as I do – share them! Because the best things in life are better when shared.
Oreo Protein Balls (Cookies & Cream No-Bake Snack)
Ingredients
- 8 oz (227g) cream cheese, softened to room temperature
- 15–20 Oreo cookies, crushed (cream filling included)
- 1 cup vanilla or chocolate protein powder
- 2–3 tablespoons milk (dairy or plant-based)
- 1 teaspoon vanilla extract
- Pinch of salt
- Optional: mini chocolate chips, chopped nuts, shredded coconut
Instructions
- Place Oreos in a zip-top bag and crush into fine crumbs with a rolling pin. Leave a few slightly larger pieces for texture. Set aside.
- Let cream cheese sit at room temperature until soft and spreadable, about 30–45 minutes. Alternatively, microwave in 10-second intervals until soft but not runny.
- In a medium mixing bowl, combine softened cream cheese and crushed Oreos. Stir until smooth and evenly combined.
- Add protein powder gradually, a little at a time, stirring well after each addition.
- Add milk one tablespoon at a time until the mixture reaches a soft, playdough-like consistency – it should hold its shape without sticking to your hands.
- Stir in vanilla extract, salt, and any optional mix-ins.
- Scoop about 1 tablespoon of dough and roll between your palms to form smooth balls. Place on a parchment-lined tray.
- Refrigerate for at least 1 hour (or freeze for 30 minutes) until firm.
- Optional: once chilled, roll each ball in extra crushed Oreos, cocoa powder, or shredded coconut before serving.
Notes
- For dairy-free: use dairy-free cream cheese, plant-based protein powder, and non-dairy milk.
- For a lighter version: substitute Neufchâtel cheese or strained Greek yogurt for the cream cheese.
- Storage: airtight container in the fridge for up to 5 days, or in the freezer for up to 2 months.
- Best enjoyed cold straight from the refrigerator for a chewy, fudgy texture.
- If dough is too sticky to roll, refrigerate for 15 minutes before rolling.
