
What if I told you that you could pull a gorgeous, crusty, artisan-style loaf of gluten-free bread out of your oven today – with zero kneading, zero stress, and about 10 minutes of hands-on work?
Because that’s exactly what this recipe delivers.
This No Knead Gluten Free Bread is one of those kitchen miracles that feels almost too good to be true. No stand mixer. No bread machine. No complicated techniques. Just a bowl, a spoon, a little patience, and the most rewarding loaf you’ve ever made at home.
Whether you’re gluten-free by necessity or by choice, this bread is about to become a staple in your kitchen.
And honestly? I think bread-baking is one of the most soul-nourishing things you can do. There’s something deeply grounding about creating food with your own hands, filling your home with that warm, yeasty aroma, and sharing a fresh-baked loaf with the people you love. It’s simple, beautiful, and a little bit holy.
Let’s get into it.
Why You’ll Love This No Knead Gluten Free Bread
Let’s be real – gluten-free bread has a reputation. Dense. Gummy. Falls apart the second you try to spread butter on it. Tastes like cardboard.
This recipe is none of those things.
Here’s what makes it special:
It requires zero kneading. The long rise does all the work for you. No tired arms, no floury mess everywhere (well, maybe a little flour – but the fun kind).
It’s incredibly affordable. A quality gluten-free loaf at the store can run you $7 to $10 or more. This homemade version costs a fraction of that and tastes ten times better.
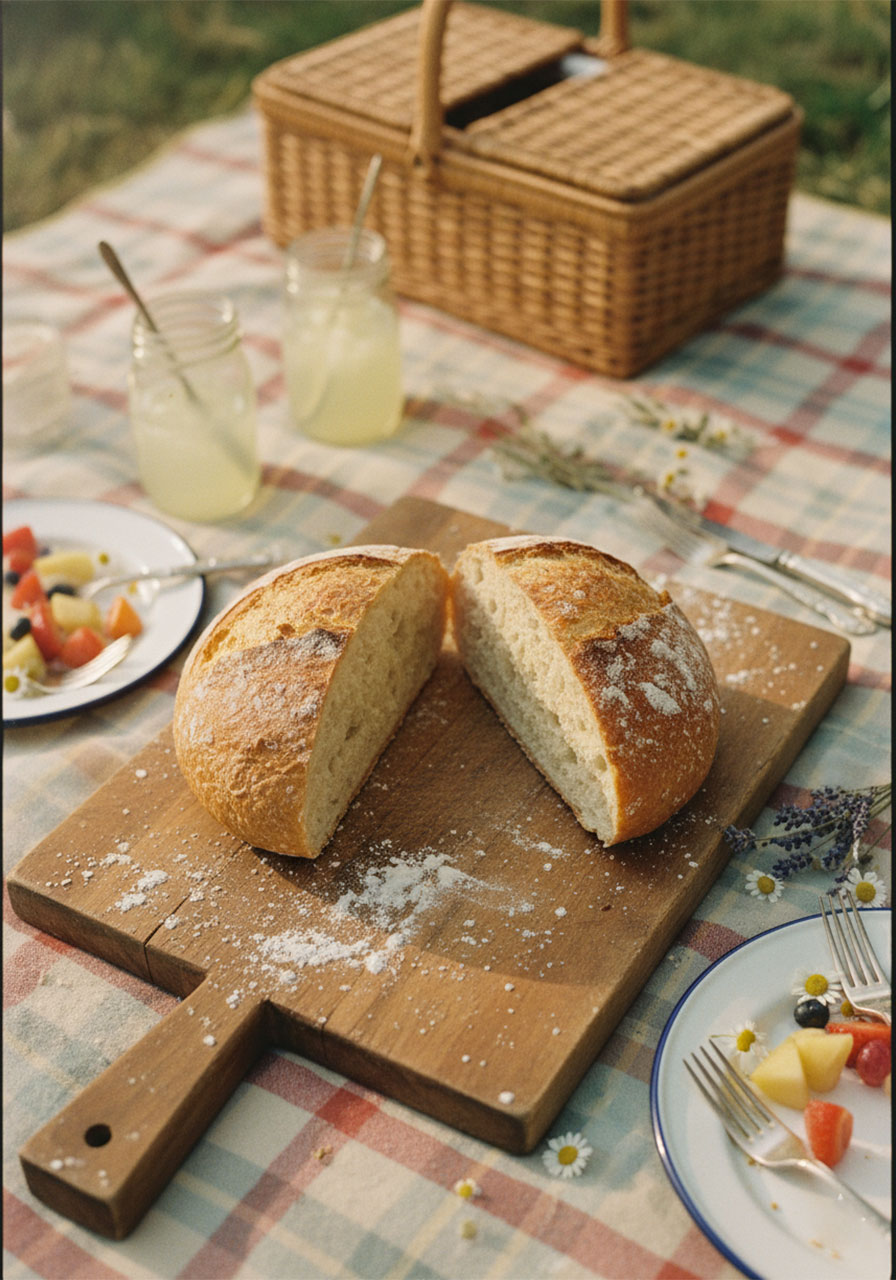
The texture is genuinely impressive. We’re talking a golden, crackly crust on the outside and a soft, chewy crumb on the inside. It slices beautifully. It toasts beautifully. It holds together.
It’s endlessly versatile. Slather it with almond butter and honey for breakfast. Dip it into soup for lunch. Serve it warm alongside dinner. It does it all.
You know exactly what’s in it. No mystery ingredients, no preservatives, no fillers. Just real, wholesome food made by your hands.
For those of us who care about what we put into our bodies – body, mind, and spirit – that matters.

What Is No Knead Bread, Exactly?
Traditional bread-making relies on kneading to develop gluten strands – the network that gives bread its structure and chewiness.
But here’s the thing: gluten-free flour doesn’t have gluten to develop. So kneading is actually unnecessary.
Instead, this method uses time and moisture to create structure. The dough is wetter than traditional bread dough (more like a thick batter, honestly), and it rests for 1 to 2 hours so the yeast can do its magic. Then it goes into a preheated Dutch oven, which traps steam and mimics a professional bread oven.
The result? A loaf with a real artisan crust and a satisfying, soft interior – without any of the effort.
It’s one of those recipes that makes you feel like a genius in the kitchen.
What You’ll Need
The ingredients are simple and probably easier to find than you’d expect.
Dry Ingredients:
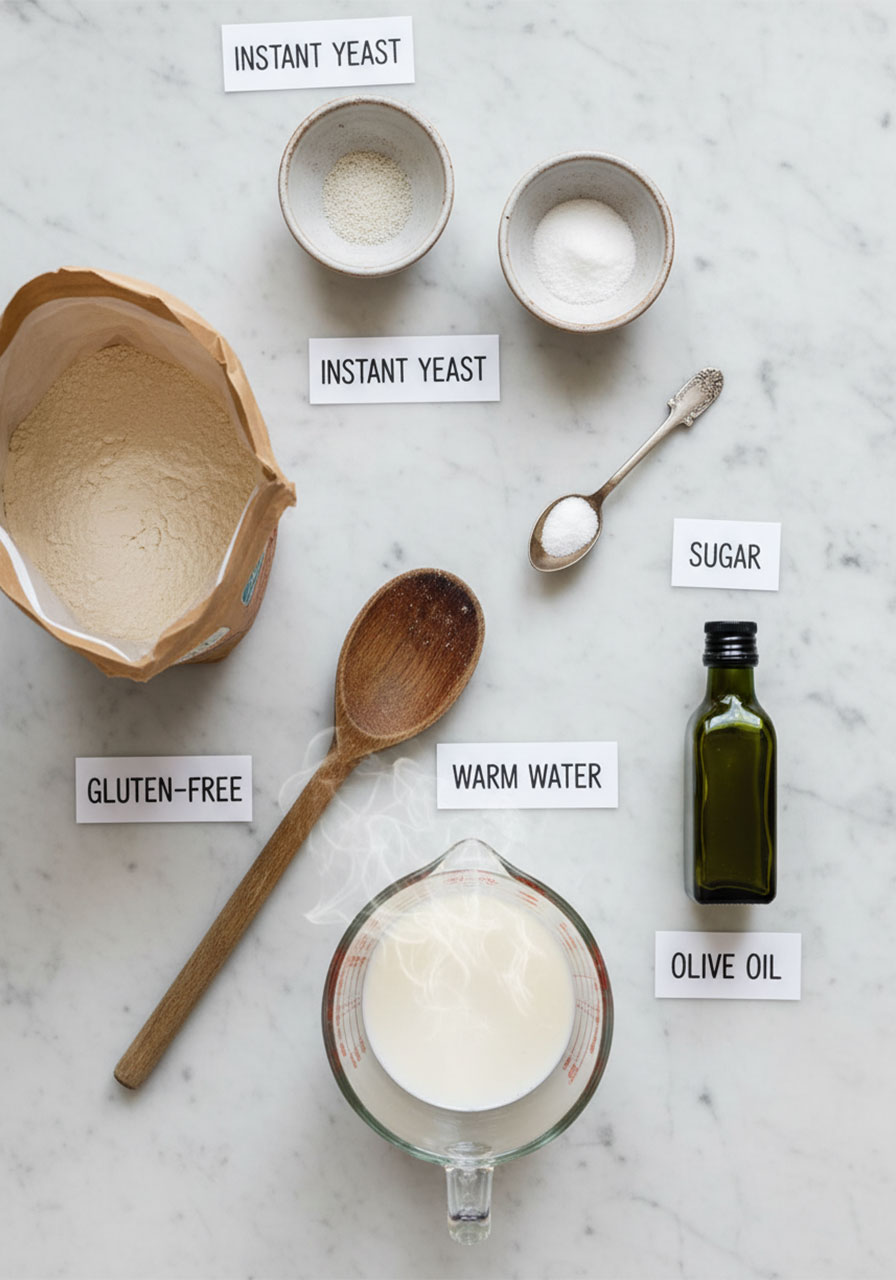
2 cups gluten-free all-purpose flour (make sure it contains xanthan gum – or add 1 teaspoon separately)
1 teaspoon salt
1 teaspoon instant yeast
1 tablespoon sugar (or honey)
Wet Ingredients:
1½ cups warm water (think bathwater warm – not hot, not cold)
1 tablespoon olive oil
Equipment:
A large mixing bowl
A wooden spoon or spatula
A Dutch oven (this is non-negotiable – it’s what creates that gorgeous crust)
Parchment paper
A quick note on flour: not all gluten-free flour blends perform the same. Look for a blend specifically designed for baking (Bob’s Red Mill 1-to-1 and King Arthur Measure for Measure are both excellent). If your blend doesn’t contain xanthan gum, add a teaspoon – it acts as the binder that replaces gluten.
How to Make No Knead Gluten Free Bread – Step by Step
Step 1: Mix the Dough
In a large bowl, whisk together the gluten-free flour, salt, instant yeast, and sugar until well combined.
Add the warm water and olive oil.
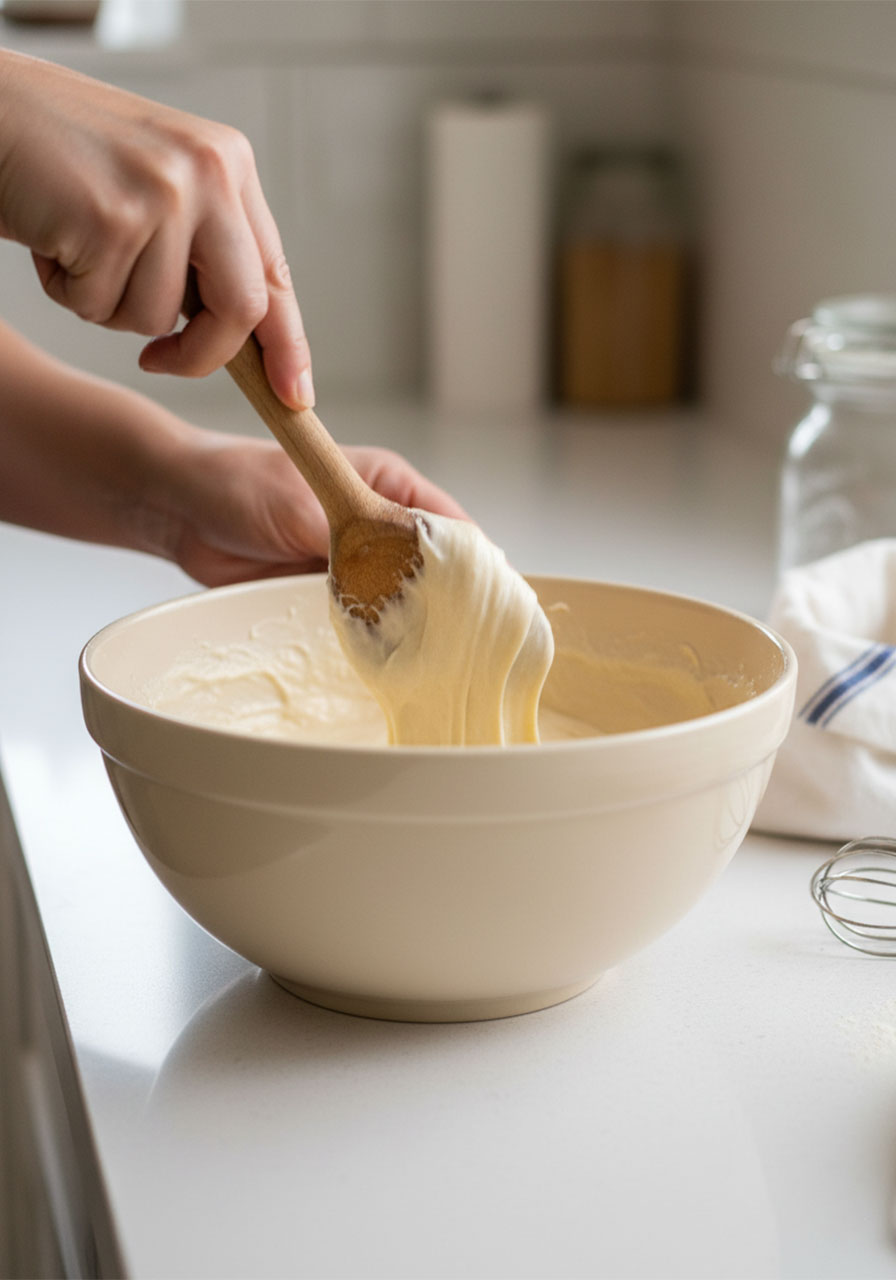
Stir with a wooden spoon or spatula until everything comes together. The dough will be sticky and loose – more like a thick batter than traditional bread dough. That’s exactly what you want. Don’t panic. Don’t add more flour. Trust the process.
Step 2: Let It Rise
Cover the bowl with a clean kitchen towel or plastic wrap.
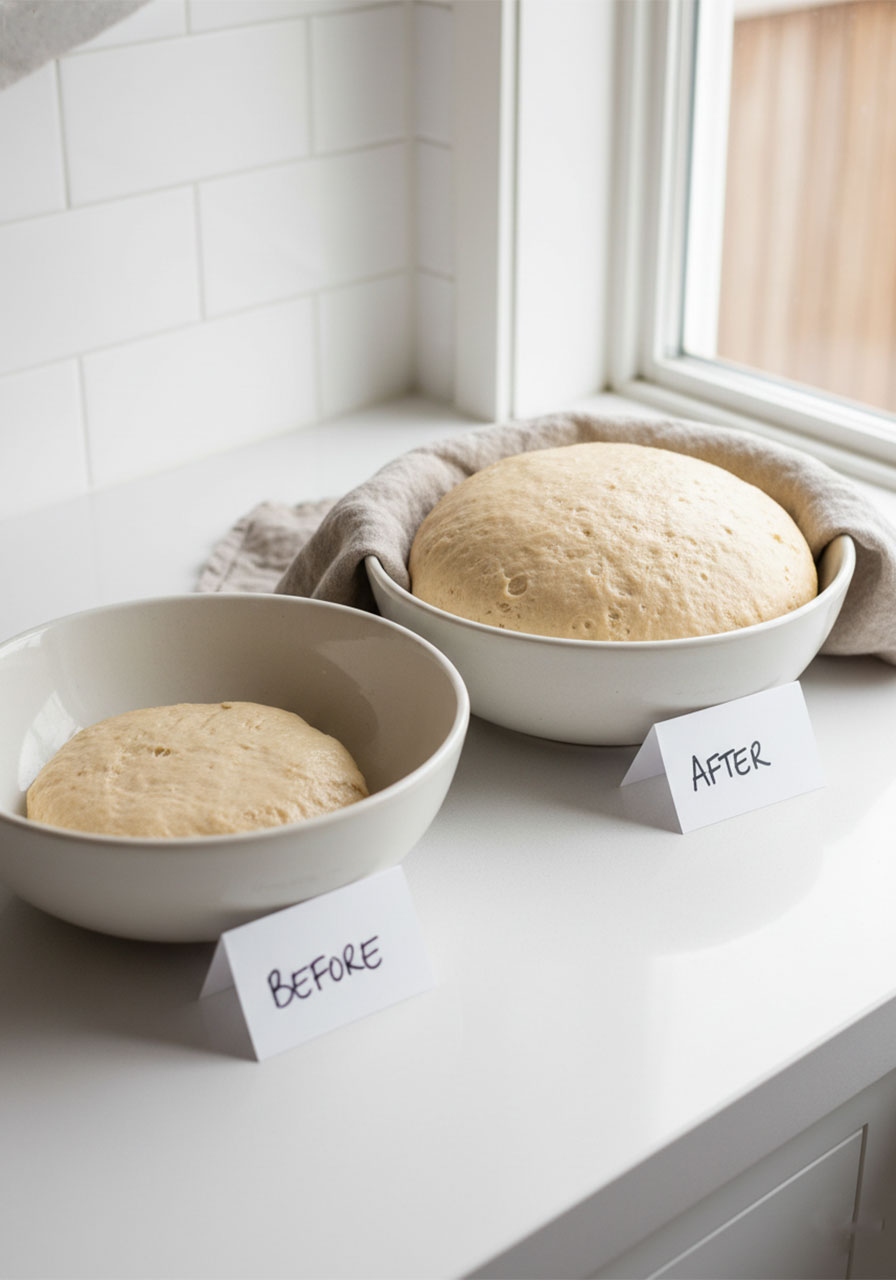
Set it somewhere warm – on top of the fridge, near a sunny window, or inside your oven with just the light on. Let it rise for 1 to 2 hours, or until the dough has roughly doubled in size.
This is the magic part. While you go about your day, the yeast is quietly transforming that sticky dough into something extraordinary. You don’t have to do a thing.
Step 3: Preheat Your Oven and Dutch Oven
About 30 minutes before your dough is done rising, place your Dutch oven (with its lid on) inside your oven and preheat to 450°F (230°C).
This step is crucial. The hot Dutch oven creates an intense burst of steam when the dough goes in, which gives the bread its crackly, bakery-style crust.
Step 4: Shape the Dough
Once the dough has risen, lightly flour a work surface with gluten-free flour and scrape the dough out of the bowl.
Gently fold the edges of the dough into the center to form a rough round shape. Don’t overwork it – you just want it to hold together enough to transfer. It won’t look perfect, and that’s completely fine. Rustic is beautiful.
Let it rest for about 30 minutes while your Dutch oven finishes heating.
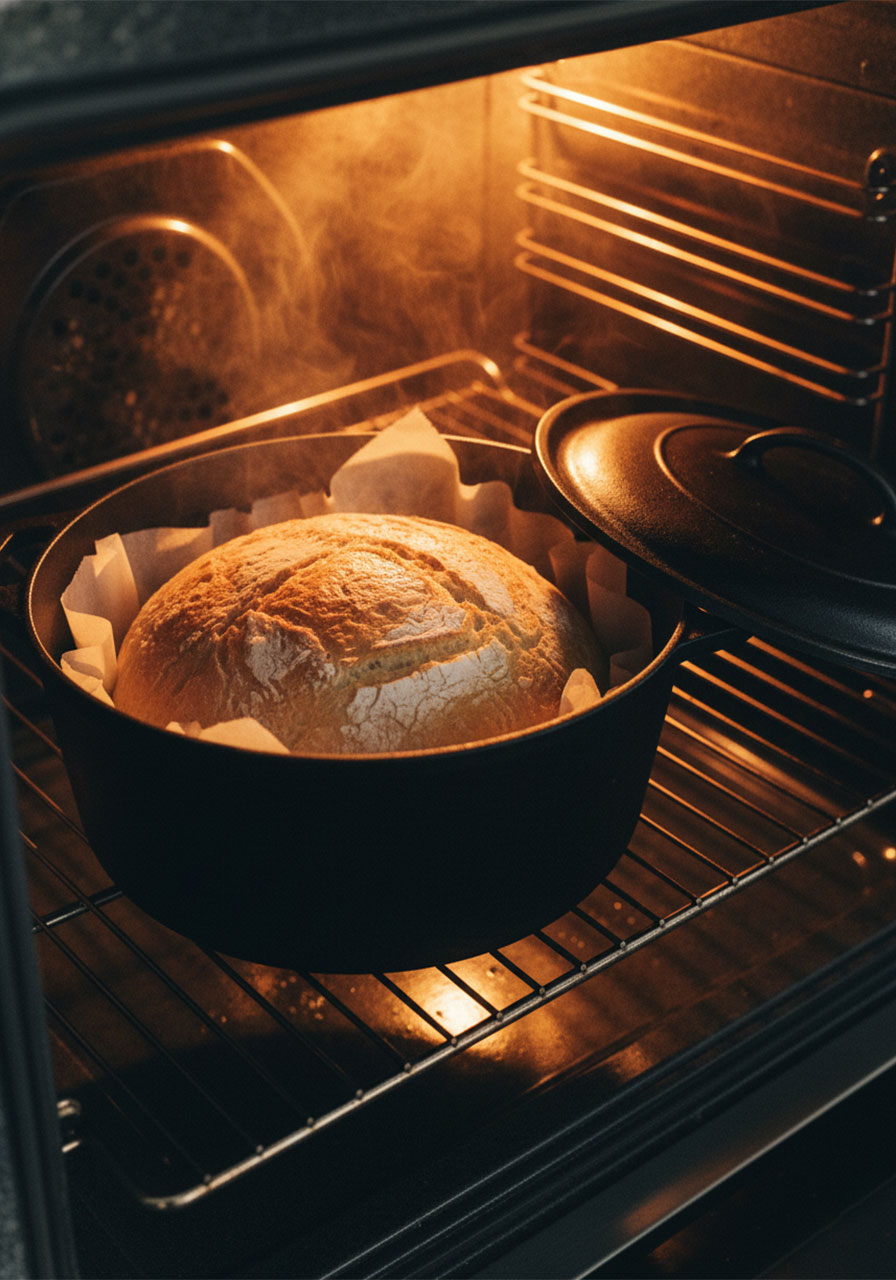
Step 5: Bake
Carefully remove the Dutch oven from the oven – it is extremely hot, so use thick oven mitts and take your time.
Line the inside with a piece of parchment paper. Gently lift your shaped dough and place it on the parchment inside the pot.
Cover with the lid and bake for 30 minutes.
Then remove the lid and bake for another 15 minutes, until the crust is deep golden brown.
Your kitchen is going to smell absolutely incredible.
Step 6: Cool Before Slicing
This is the hardest part.
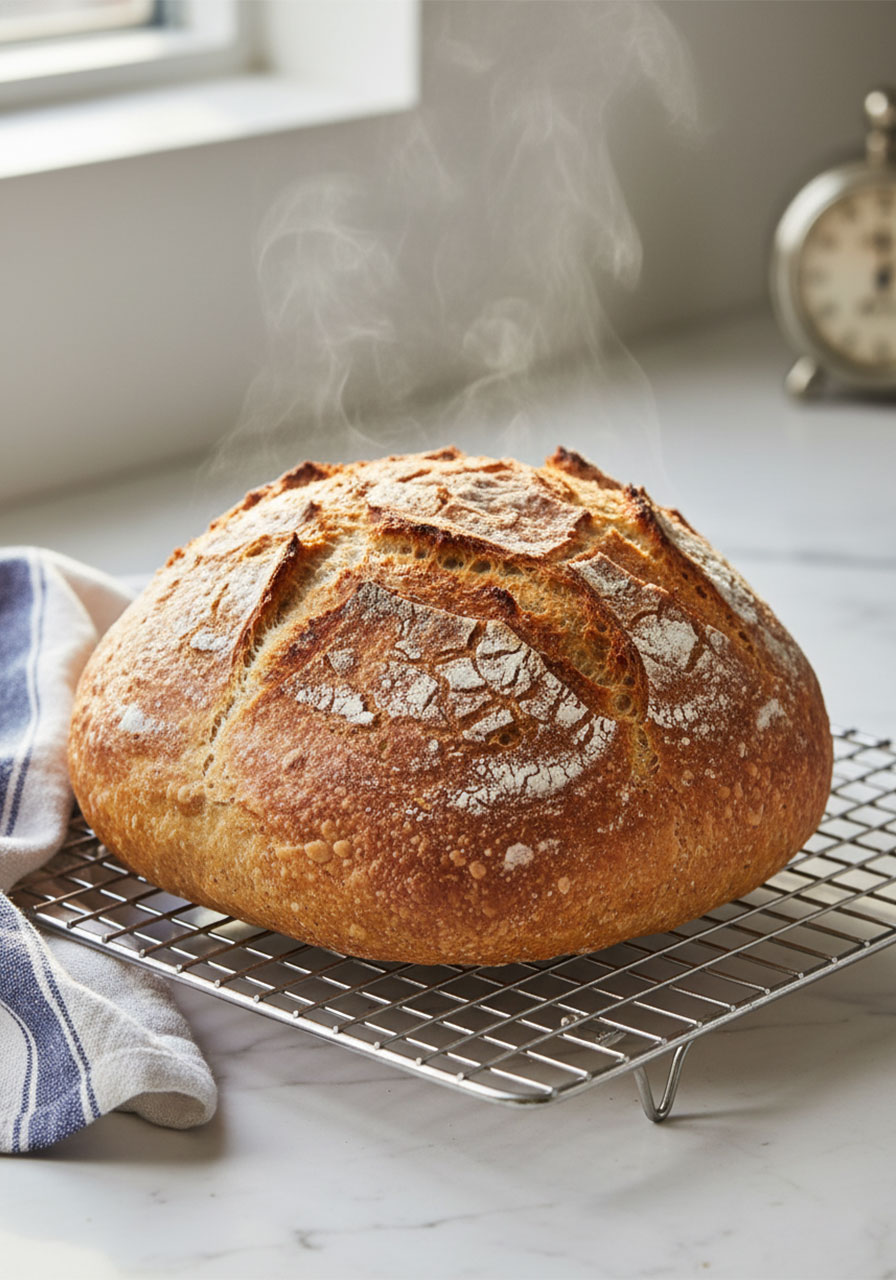
Transfer the bread to a wire rack and let it cool for at least 20 to 30 minutes before slicing. I know. The smell is unbearable. But cutting into it too soon can cause the inside to become gummy.
Wait for it. It’s worth it.
Pro Tips for the Perfect Loaf
A few things I’ve learned after making this recipe more times than I can count:
Warm water is everything. Too hot and you’ll kill the yeast. Too cold and it won’t activate. Aim for around 100–110°F – warm to the touch but not uncomfortable. When in doubt, err on the side of slightly cooler.
Don’t rush the rise. The longer the dough rises (within reason), the more flavor it develops. If you have extra time, you can even do a slow overnight rise in the refrigerator. The results are spectacular.
Every oven is different. Start checking your bread at the 40-minute mark. You’re looking for a deep golden brown crust. If it’s coloring too quickly, tent it loosely with foil.
Use parchment paper. Gluten-free dough is sticky. Parchment paper makes transferring the dough to the Dutch oven much easier and prevents sticking.
Make it yours. Once you’ve mastered the base recipe, try adding rosemary and sea salt, roasted garlic, sunflower seeds, or even shredded cheese folded into the dough. This bread is your canvas.
What to Serve It With
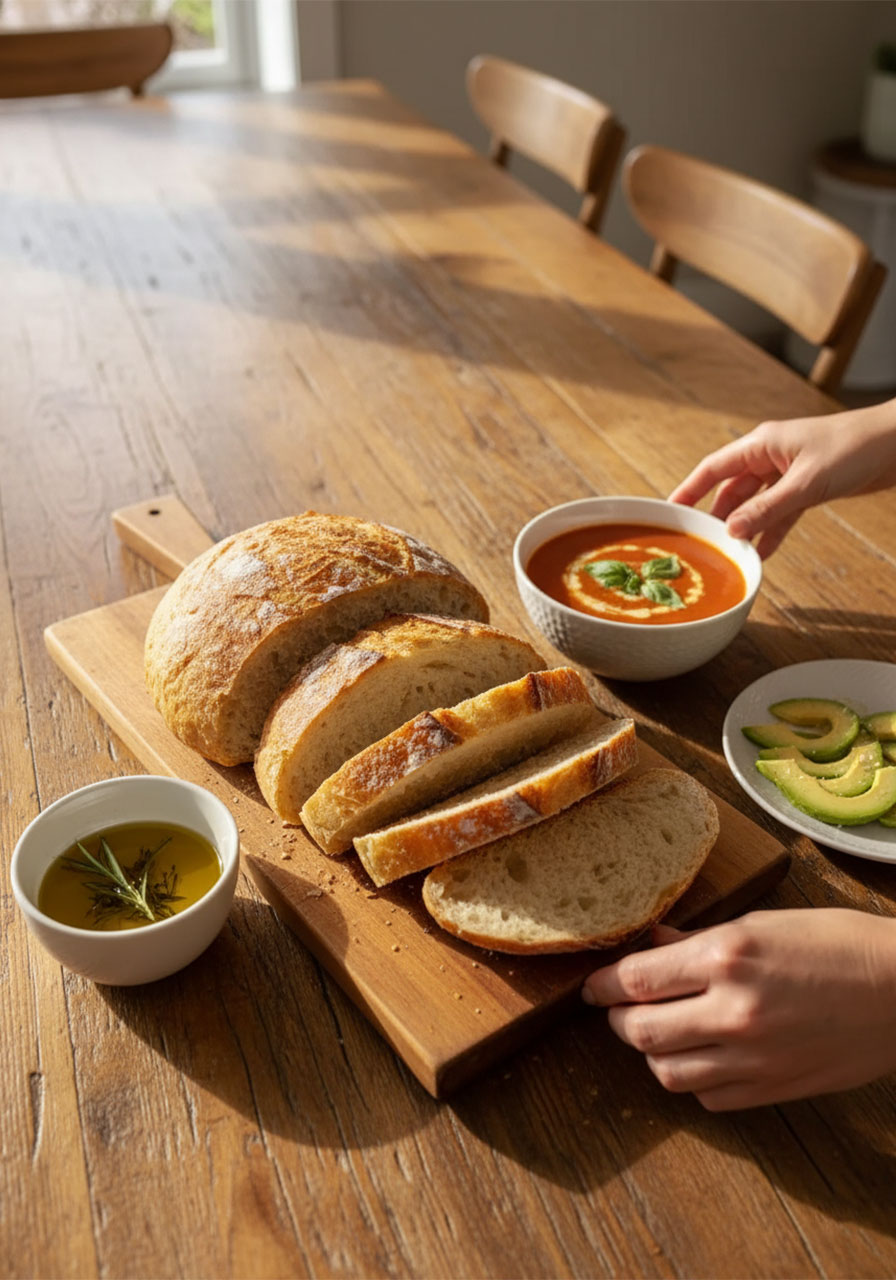
This bread is honestly incredible on its own – still warm from the oven, maybe with a little butter or olive oil for dipping.
But if you want to make it the star of a meal, here are some pairings that work beautifully:
Classic tomato soup. Is there anything more comforting? A thick, creamy tomato soup alongside a crusty slice of this bread is pure soul food.
Avocado and a sprinkle of sea salt. Simple, nourishing, and deeply satisfying for breakfast or a light lunch.
A big garden salad with homemade vinaigrette. Let the bread be your “fork.” Tear off a piece and use it to scoop up the last of the dressing from the bowl. You’ll thank me later.
Herb-infused olive oil for dipping. Mix good olive oil with fresh rosemary, a pinch of red pepper flakes, and a little garlic. Set it in the middle of the table and let everyone go to town.
A bowl of hearty soup or stew. On a cold evening, there’s nothing better than a warm loaf and a bowl of something nourishing. It’s the kind of meal that feeds more than just your body.
How to Store and Reheat
Gluten-free bread is best eaten fresh – ideally within a day or two of baking. But here’s how to keep it at its best:
Room temperature: Wrap the loaf in a clean kitchen towel and store it in a bread bag or an airtight container. It will keep for up to 3 days.
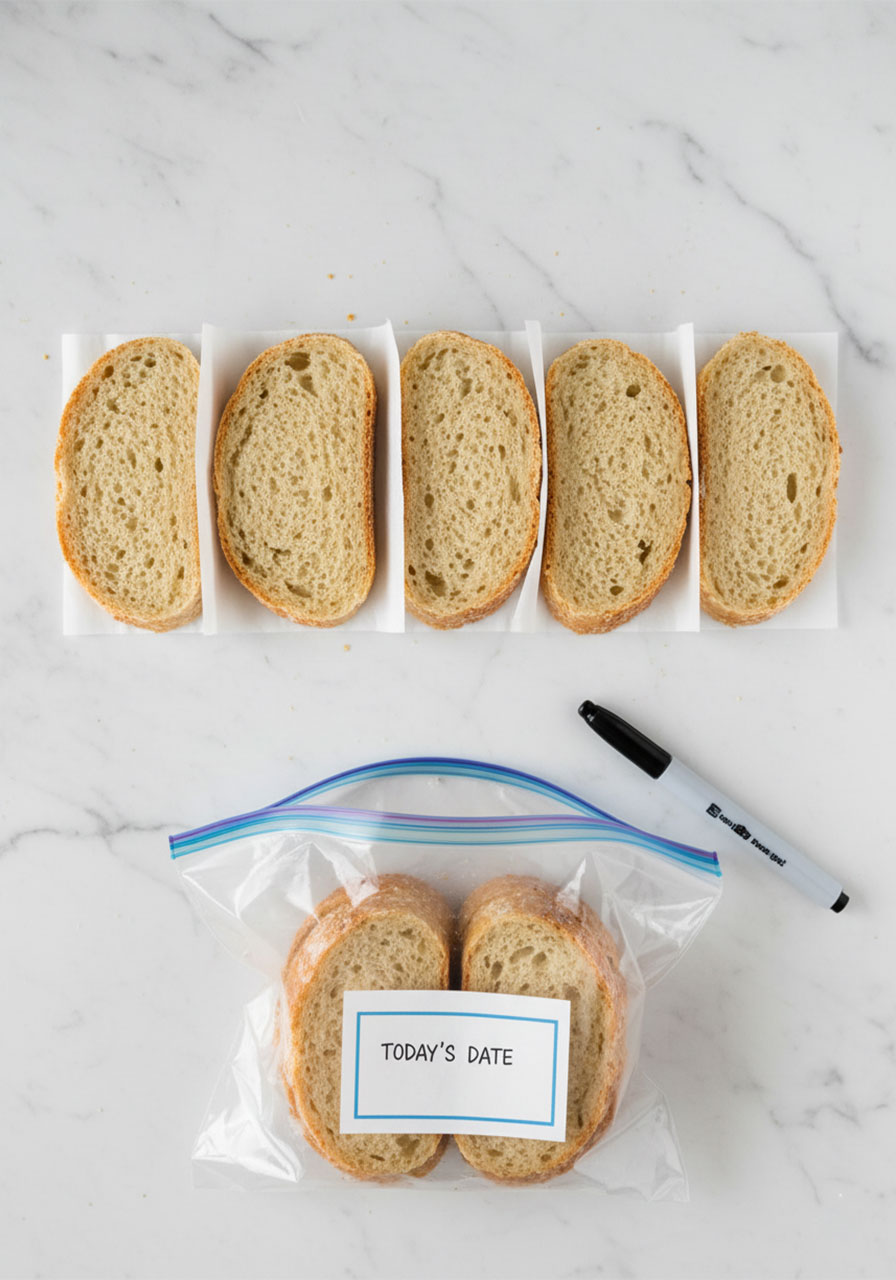
Freezer: This bread freezes beautifully. Slice the entire loaf, separate the slices with pieces of parchment paper, and freeze in a zip-lock bag. Pull out a slice whenever you need it.
Reheating: Pop a frozen slice straight into the toaster. Or warm slices in a 350°F oven for 5 to 10 minutes. It comes back to life like it was just baked.
A Final Thought
There’s something quietly powerful about making bread from scratch.
It’s one of the oldest acts of nourishment in human history – mixing simple ingredients, letting them rest and rise, and transforming them into something that feeds and sustains. It requires very little from us, and yet it gives back so much.
Whether you’re baking this for yourself as an act of self-care, for a family who needs a safe gluten-free option, or simply because you want to fill your home with something warm and real – this bread is for you.
Give it a try. I think you’re going to love every single bite.
No Knead Gluten Free Bread (Easy Artisan Style Recipe!)
Ingredients
Dry:
- 2 cups gluten-free all-purpose flour (must contain xanthan gum, or add 1 tsp separately)
- 1 tsp salt
- 1 tsp instant yeast
- 1 tbsp sugar (or honey)
Wet:
- 1½ cups warm water (around 100–110°F)
- 1 tbsp olive oil
Instructions
- In a large bowl, whisk together the gluten-free flour, salt, instant yeast, and sugar until evenly combined.
- Add the warm water and olive oil. Stir with a wooden spoon or spatula until a sticky, batter-like dough forms. Do not add more flour.
- Cover the bowl with a kitchen towel or plastic wrap. Let rise in a warm place for 1 to 2 hours, or until roughly doubled in size.
- About 30 minutes before the rise is complete, place your Dutch oven with lid inside the oven and preheat to 450°F (230°C).
- Lightly flour a work surface. Scrape the risen dough onto it and gently fold the edges into the center to form a rough round shape. Let rest for 30 minutes.
- Carefully remove the hot Dutch oven from the oven. Line with parchment paper. Transfer the shaped dough into the pot.
- Cover with the lid and bake for 30 minutes.
- Remove the lid and bake for an additional 15 minutes, until the crust is deep golden brown.
- Transfer to a wire rack and cool for at least 20 to 30 minutes before slicing.

Hi, I can’t wait to try this! I was wondering 2 things….
1. If I let it rise in the fridge overnight, does it have to come to room temp before transferring to the Dutch oven?
2. How much extra ingredients can be mixed in if i wanted to experiment with different flavors?
This bread is excellent!