
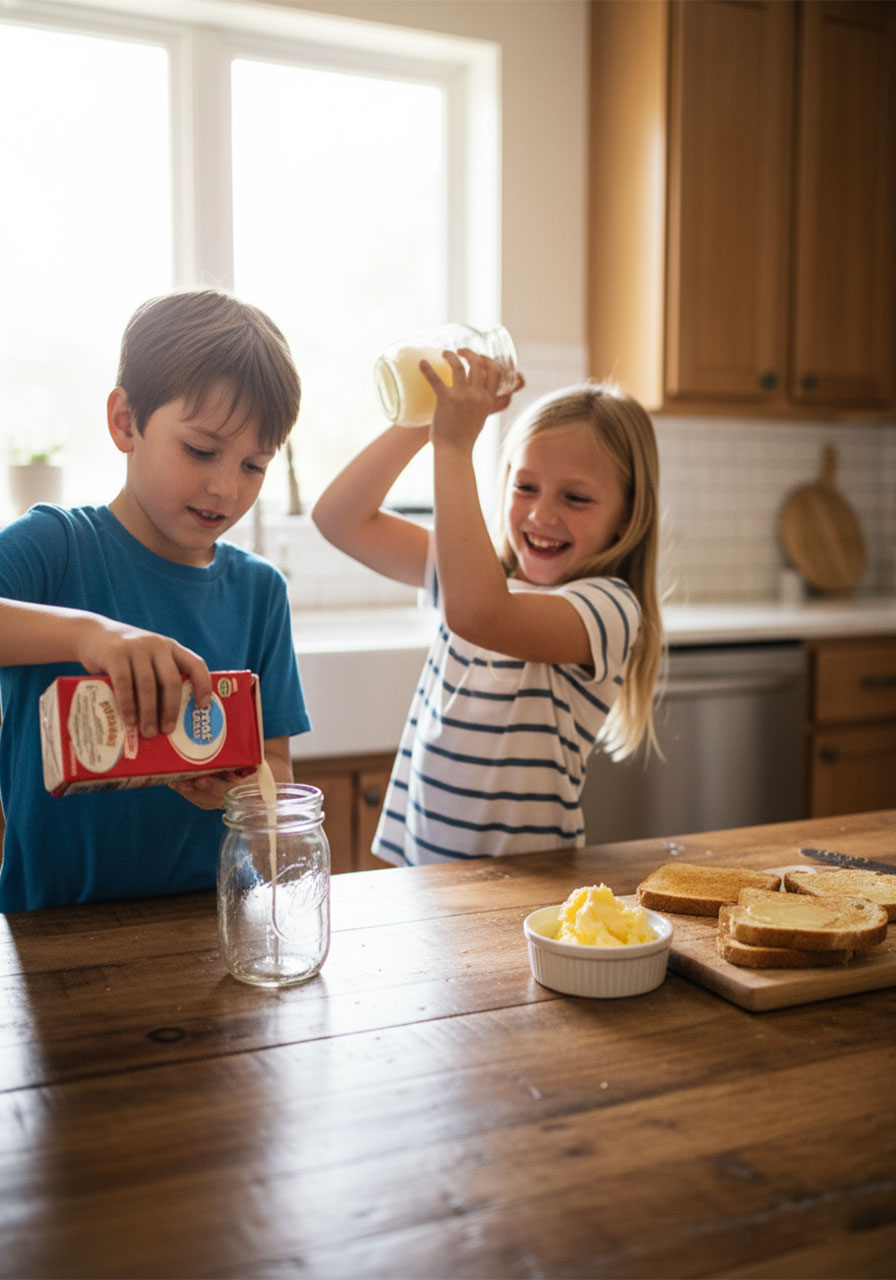
Ready to blow your kids’ minds with some kitchen magic? This butter-making experiment is part science lesson, part arm workout, and 100% delicious fun.
Picture this: Your kids are bouncing off the walls on a rainy afternoon, you’re fresh out of screen-time ideas, and someone’s asking “what’s for snack?” for the millionth time. Enter the butter experiment – the activity that turns chaos into curiosity and somehow makes your kids excited about physics.
Here’s the best part: You probably have everything you need already sitting in your fridge. No specialty ingredients, no complicated setup, just pure hands-on science that ends with homemade butter your family can actually eat. (Spoiler alert: They’re going to be ridiculously proud of themselves.)
Let’s dive into this edible STEM adventure!
Why This Experiment Is Pure Gold
Before we get shaking, here’s why this activity is an absolute winner:
It’s active. Got restless kids? Perfect. This experiment requires serious shaking – we’re talking minutes of vigorous jar-rattling that’ll burn off energy and keep little hands busy.
It’s real science. Your kids will witness a legit physical transformation right before their eyes. Liquid becomes solid, and they’re the ones making it happen. Mind = blown.
It’s instant gratification. Unlike growing crystals or waiting for plants to sprout, this experiment delivers results fast. In 15-30 minutes, you go from boring cream to spreadable butter.
You can eat the results. Science you can slather on warm bread? That’s the dream. Plus, kids are way more invested when there’s a tasty payoff.

What You’ll Need
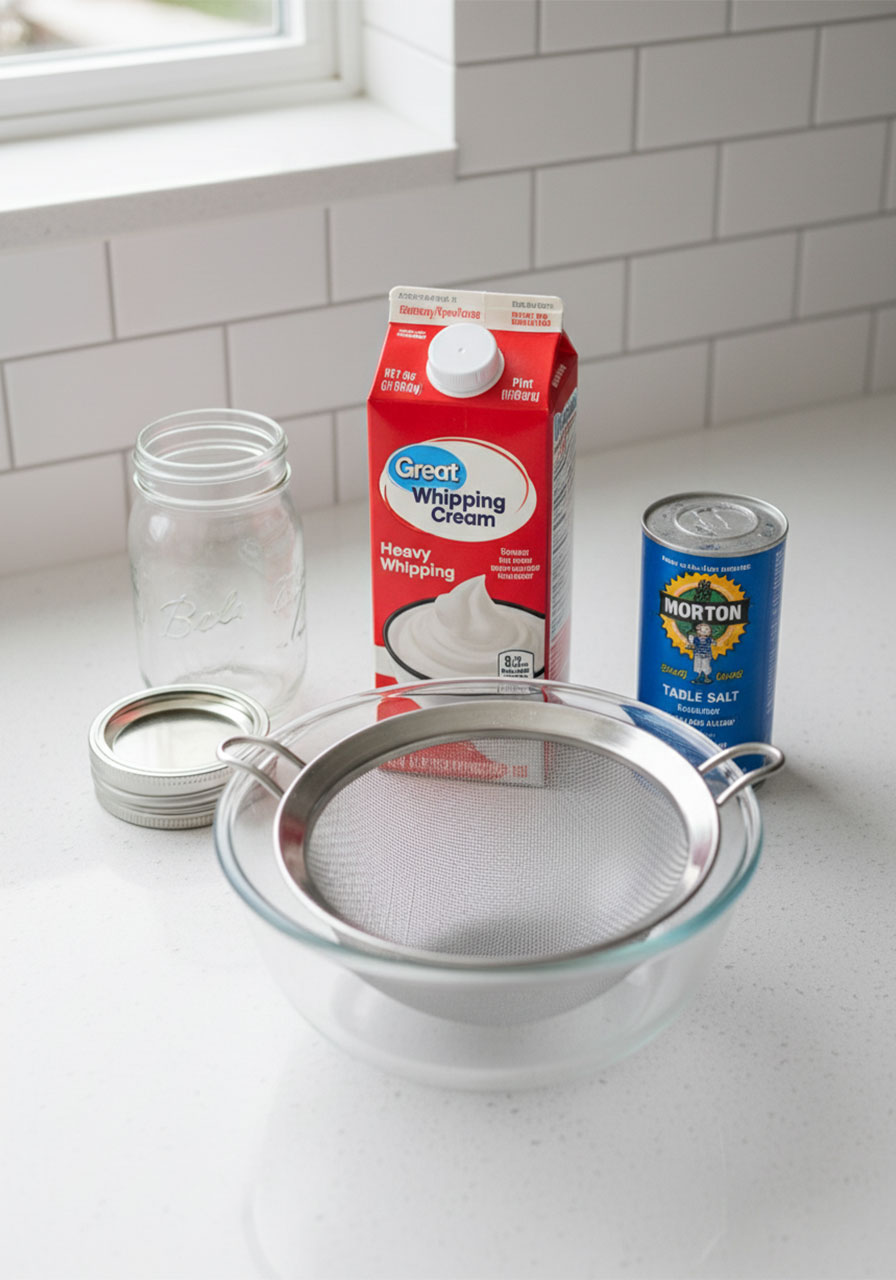
Here’s your super-short shopping list:
Heavy whipping cream (the star of our show)
Salt (optional, but highly recommended for that classic butter taste)
A jar with a tight-fitting lid (mason jars work great)
A strainer
A small bowl
That’s it. Seriously. If you can shake a jar, you can make butter.
How to Make Butter: The Step-by-Step Game Plan
Ready to transform your kitchen into a butter factory? Here’s your foolproof process:
Step 1: Fill Your Jar
Pour heavy whipping cream into your jar until it’s about one-third to half full. Don’t overfill it – you need room for all that shaking magic to happen. Screw that lid on tight. (Trust me, you do not want a cream explosion.)
Pro Tip: Let your cream sit out for 15-20 minutes to reach room temperature before starting. Warmer cream transforms into butter faster, though cold cream works too – it just takes a bit longer.
Step 2: Shake It Like You Mean It
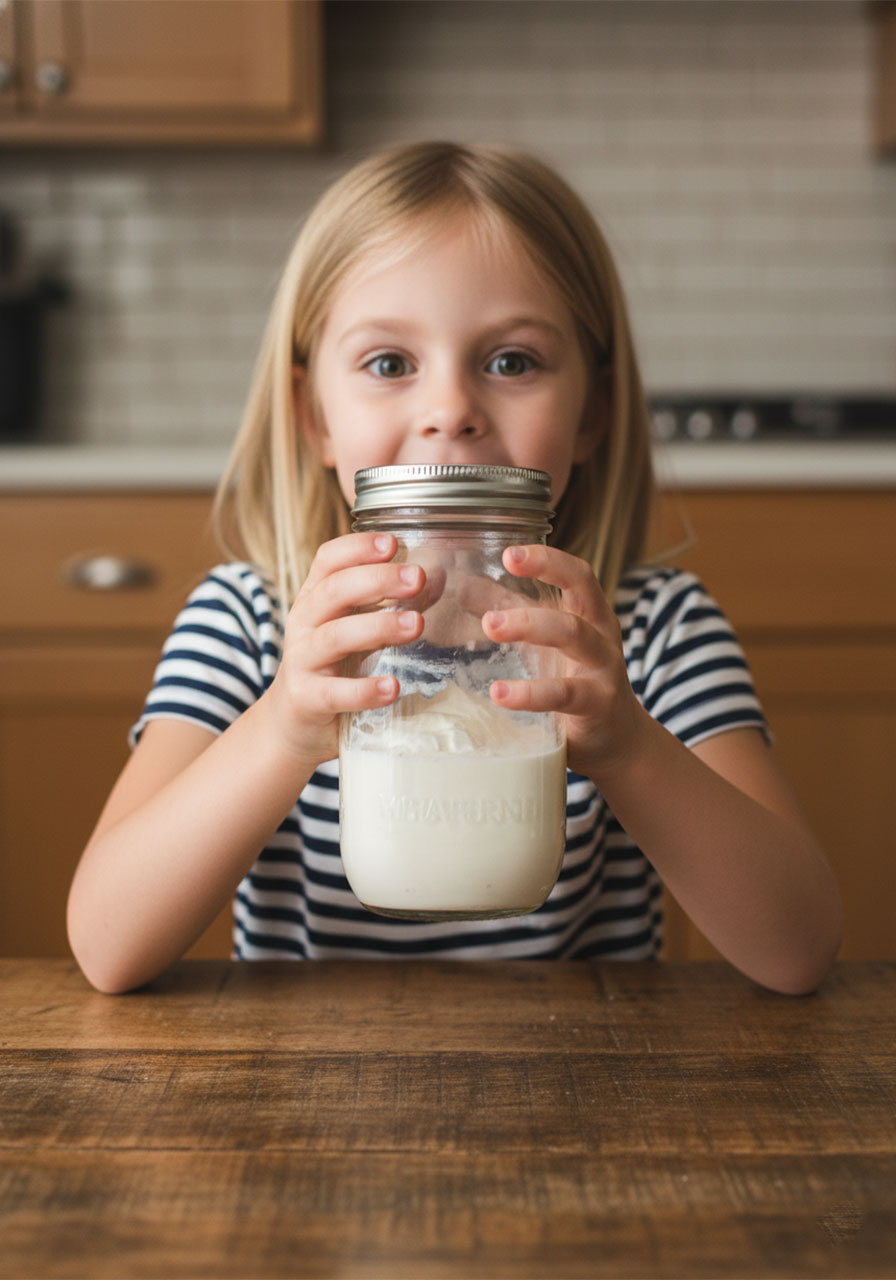
Hand that jar to your kiddo and tell them to shake it like they’re trying to wake up a sleeping giant. Hard. Fast. With gusto.
Here’s what’s going to happen on this wild ride:
Minutes 1-5: You’ll hear the cream sloshing around inside. Keep shaking! Your kids can take turns passing the jar around – this is definitely a team sport.
The Whipped Cream Stage: Suddenly, the sloshing sound stops. Peek inside and you’ll see fluffy whipped cream! (Your kids can taste a tiny bit if they want, though it won’t be sweet like store-bought whipped cream since we haven’t added sugar.)
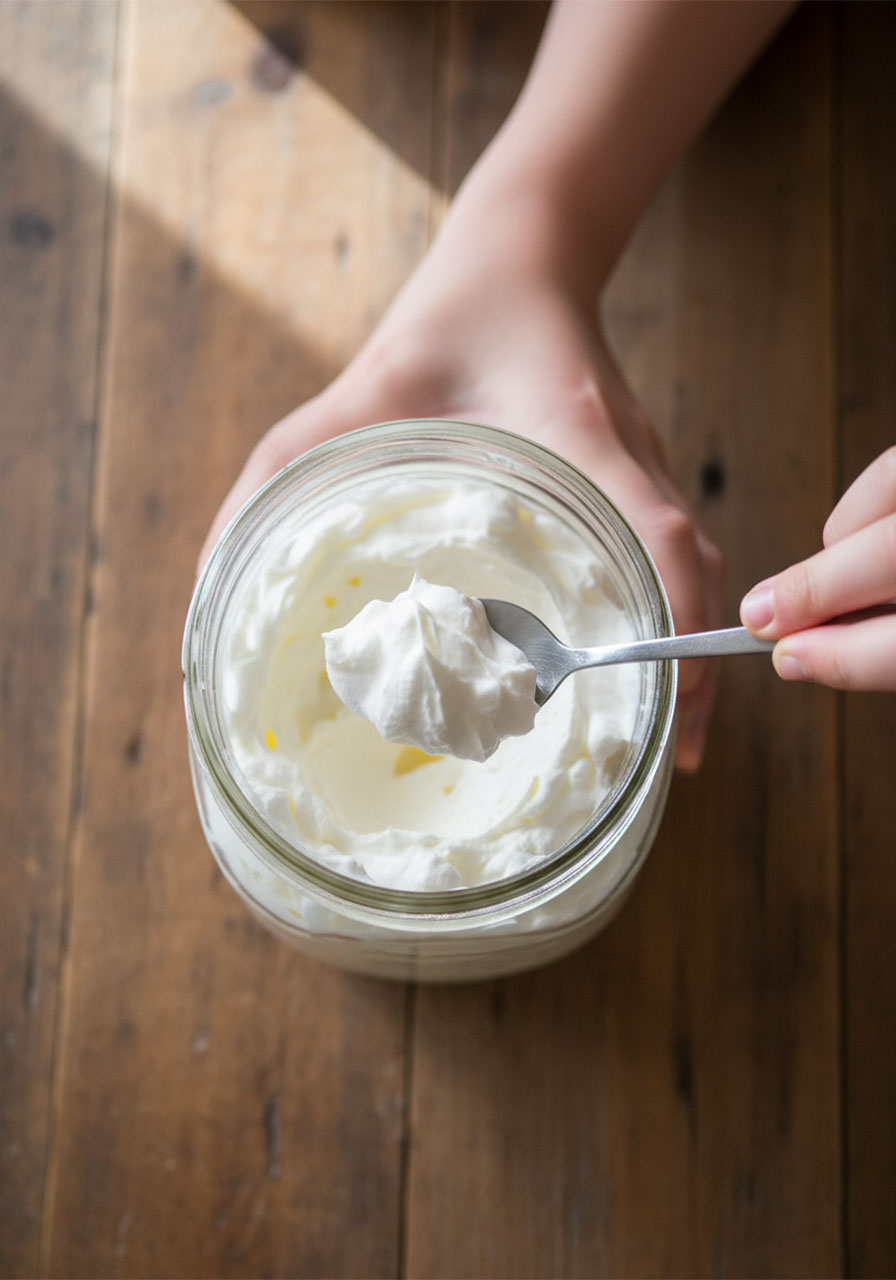
Back to Shaking: Close that jar and keep going. Don’t stop now – the magic is just beginning!
The Butter Emerges: After a few more minutes of shaking, you’ll hear liquid sounds again. Open up and you’ll see a yellow blob forming – that’s your butter! Sprinkle in a pinch or two of salt at this point if you want salted butter. (Skip it for unsalted, but fair warning: the salted version tastes way more like “real” butter.)
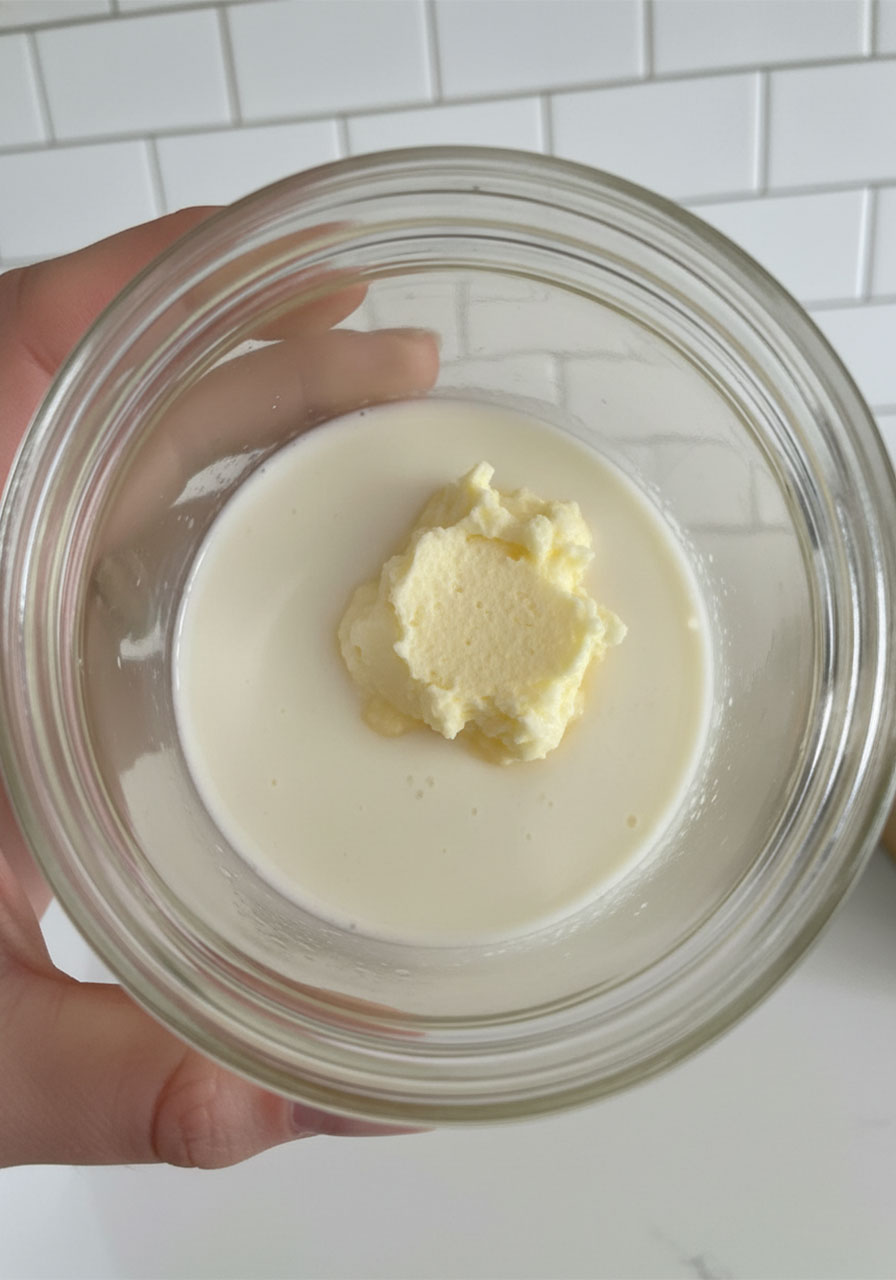
Final Shake: Give it another minute or two of shaking to really bring it all together.
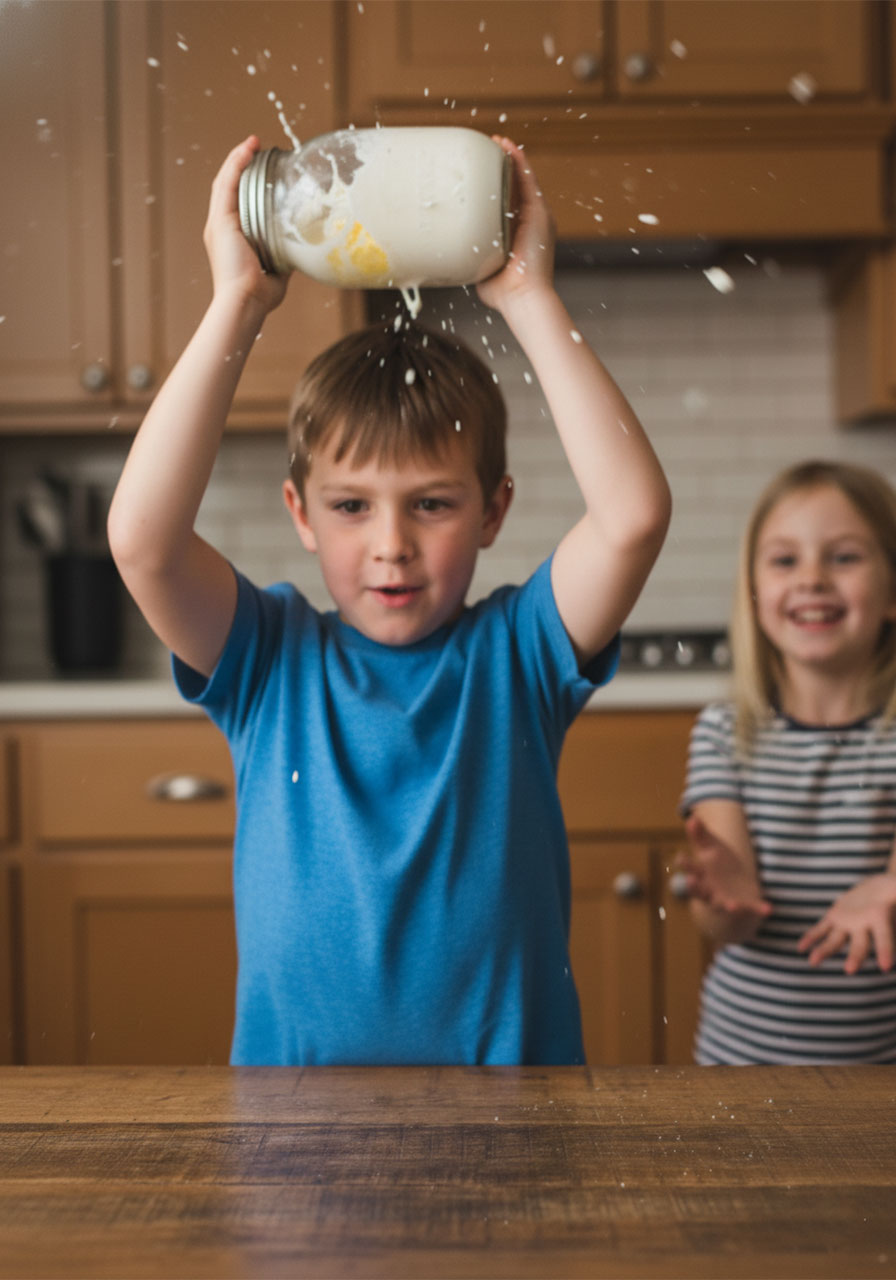
Step 3: Separate the Butter from the Buttermilk
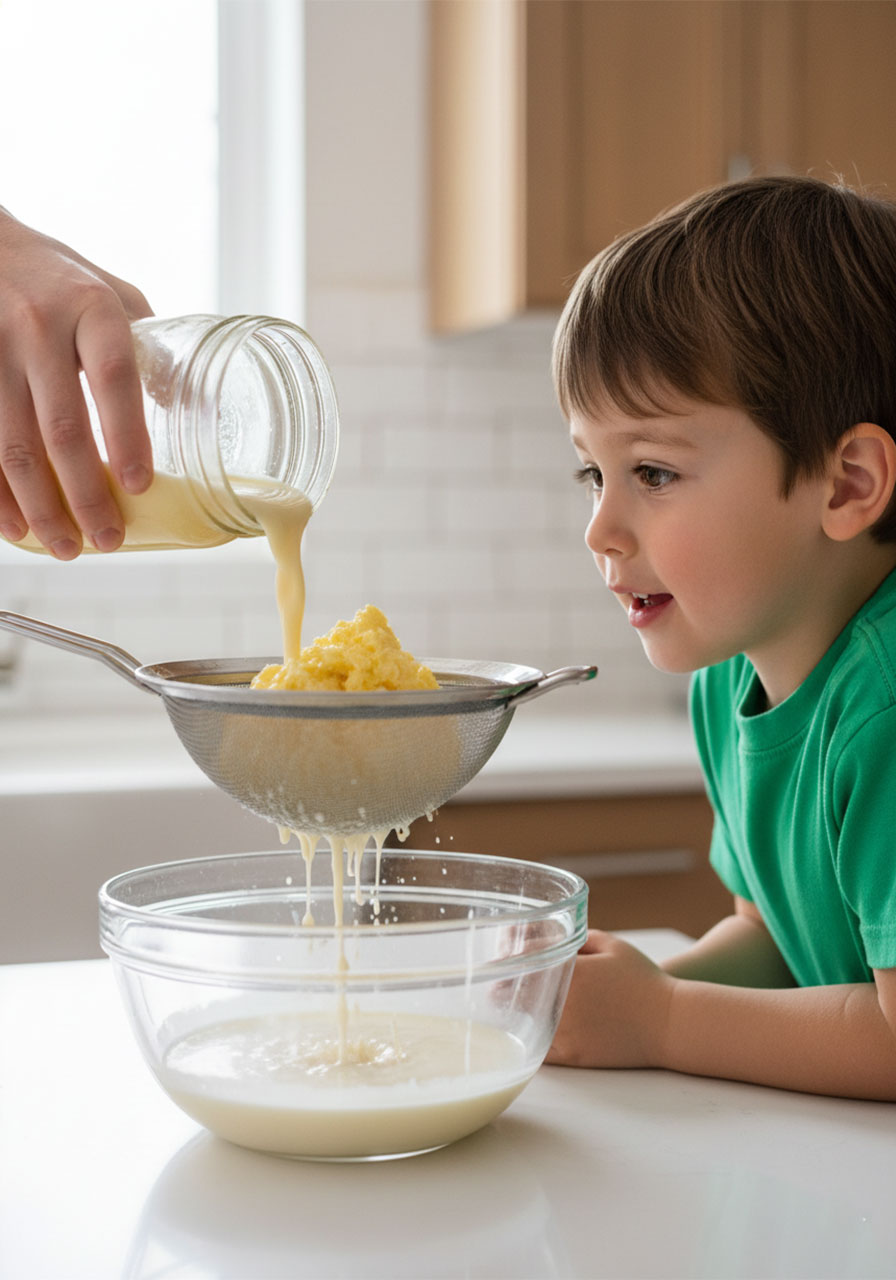
Place your strainer over a small bowl and pour the contents of the jar through it.
The liquid dripping into the bowl? That’s buttermilk! Don’t toss it – you can use it for pancakes, biscuits, or any recipe that calls for buttermilk.
The solid lump in the strainer? That’s your butter, baby! Give it a quick rinse under cold water to wash away any remaining buttermilk.
Step 4: Celebrate Your Victory
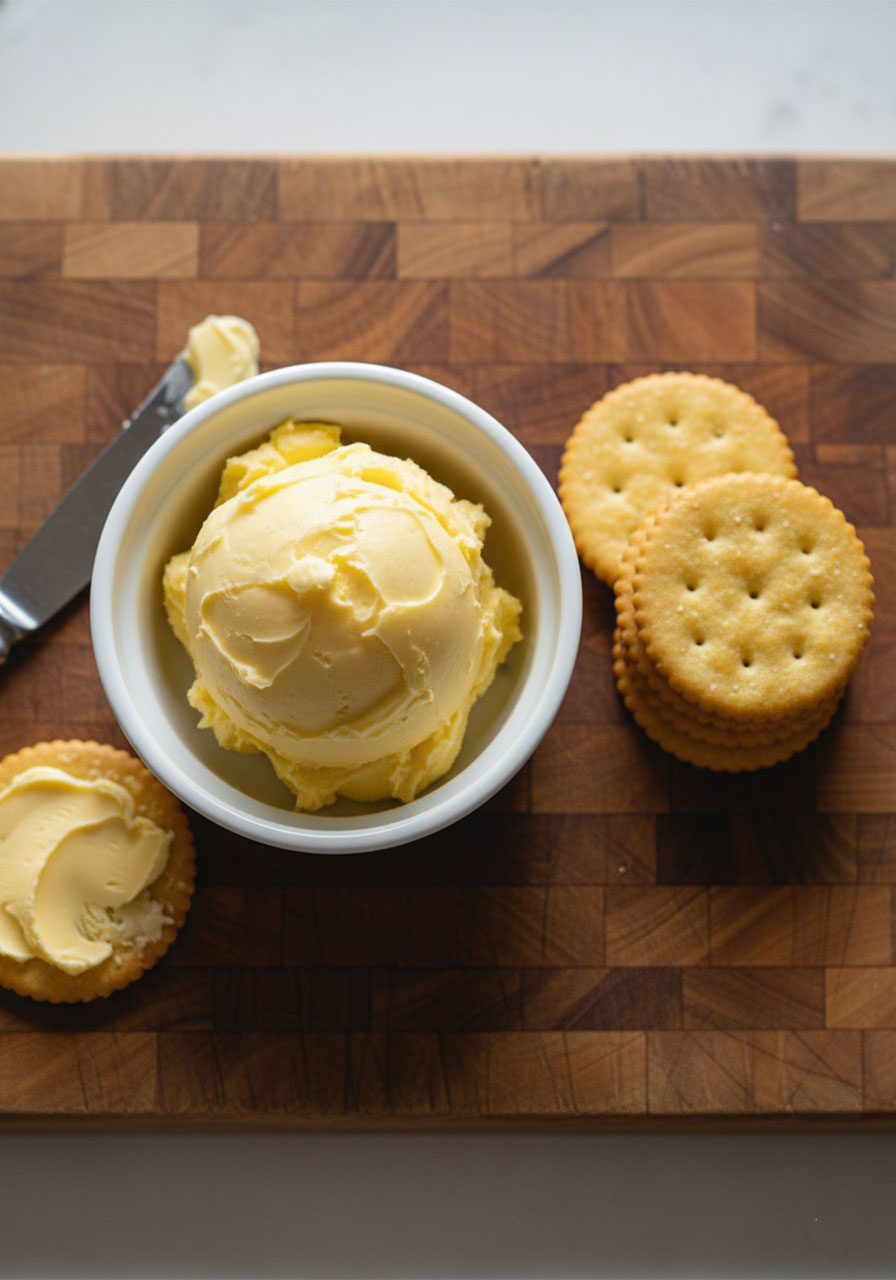
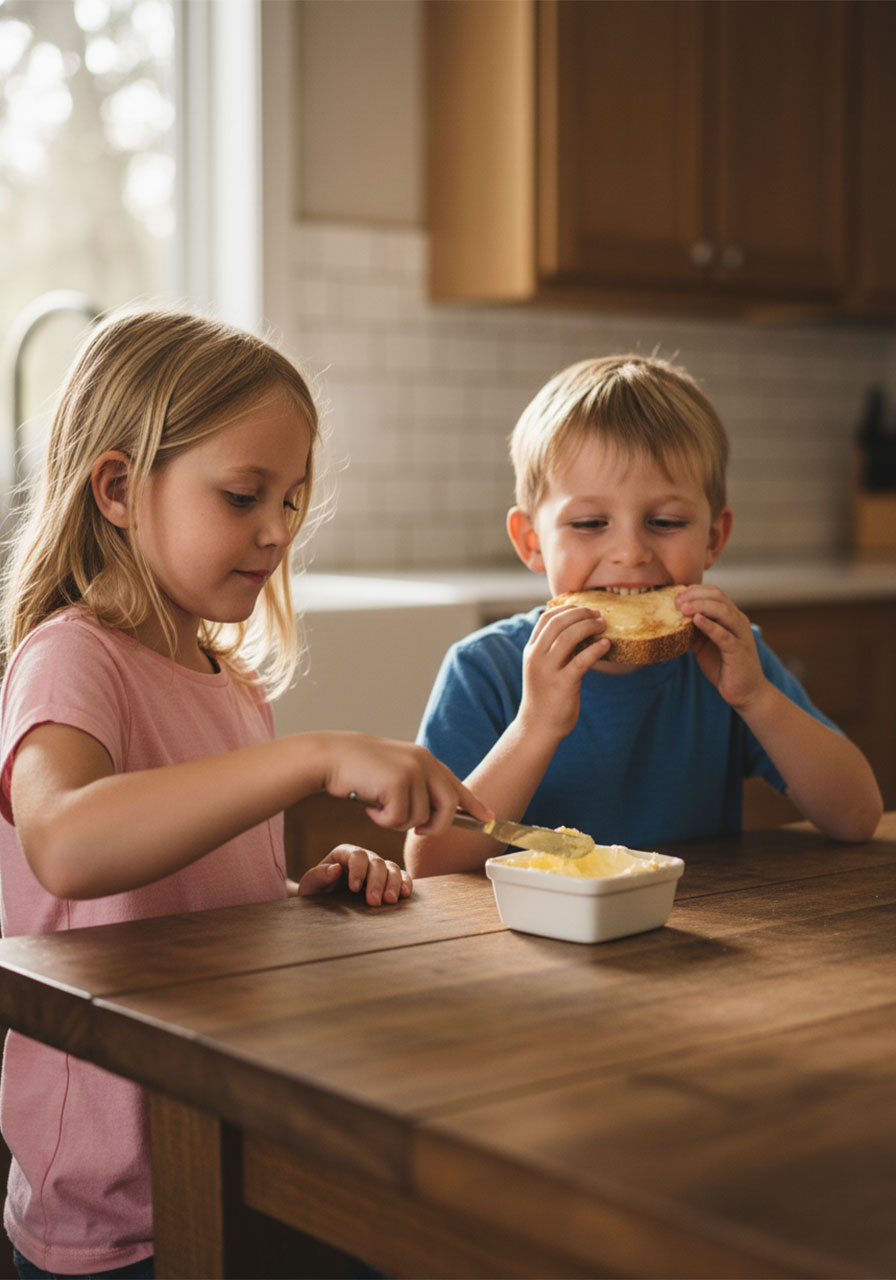
Scoop your homemade butter into a small dish or butter crock. Grab some warm bread or crackers, spread that golden goodness on top, and let your kids experience the fruits of their labor.
Watch their faces light up when they realize they literally just made butter. From scratch. With their own two hands (and a lot of shaking).
Helpful Hints to Make This Even Easier
The harder you shake, the faster it happens. Vigorous shaking speeds up the process, but gentle shaking still works – it just takes longer. Either way, you’re getting butter.
It’s totally okay to take breaks. If little arms get tired, pause for a minute and then pick it back up. The cream won’t “forget” what you were doing.
Room temperature cream = faster butter. If you’re in a hurry, let that cream warm up a bit before starting.
Don’t skip the salt. Unless you’re making unsalted butter on purpose, add that salt! It makes a huge difference in flavor. If you skip it during the shaking, just sprinkle some on top when you’re eating it.
Pass the jar around. Get everyone involved! Siblings can take turns, parents can jump in, and everyone feels like part of the butter-making squad.
The Science Behind the Magic: What’s Really Happening in That Jar?
Okay, now for the cool part – let’s talk about the why behind the butter.
It’s All About the Fat Molecules
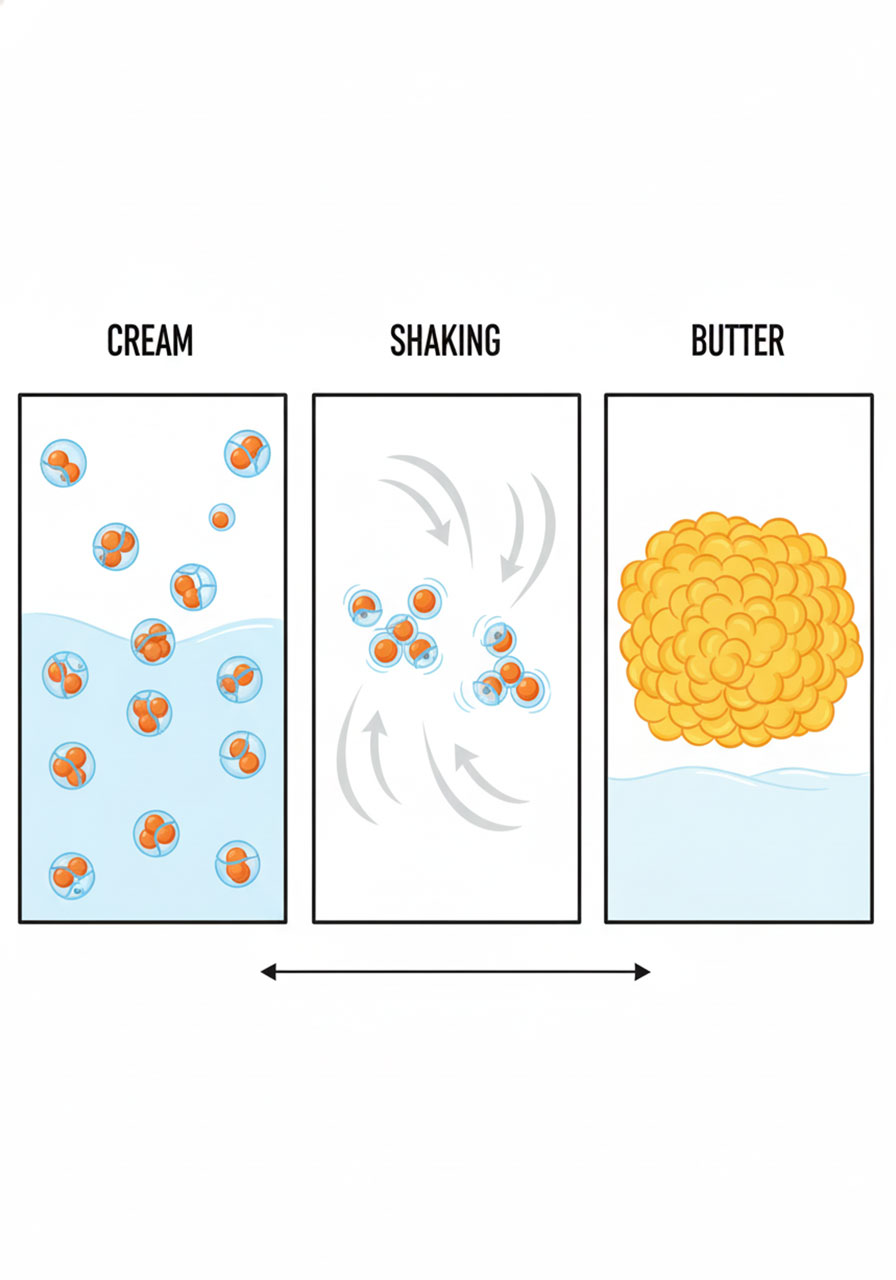
Heavy cream is packed with tiny fat molecules, all hanging out in liquid. These fat molecules are wrapped in something called lipoprotein membranes – think of them as little protective bubbles keeping the fat separate from the liquid.
When you shake that jar, you’re physically agitating the solution. All that motion breaks down those protective membranes, and the fat molecules start to clump together.
The Whipped Cream Phase
As you shake, you’re also introducing tons of air into the cream. Those fat molecules start clustering around the air bubbles, which is how you get whipped cream – light, fluffy, and full of tiny air pockets.
The Butter Breakthrough
Keep shaking, and those fat clumps get bigger and bigger. The air bubbles start popping, and the liquid (buttermilk) begins separating out. Eventually, you’re left with a solid mass of fat molecules all stuck together – and that, my friends, is butter.
The liquid that leaked out? That’s your buttermilk, which still contains some milk proteins and water.
Chemical vs. Physical Changes: A Mini Science Lesson
Here’s a nugget of science knowledge you can share with your kids while you’re shaking:
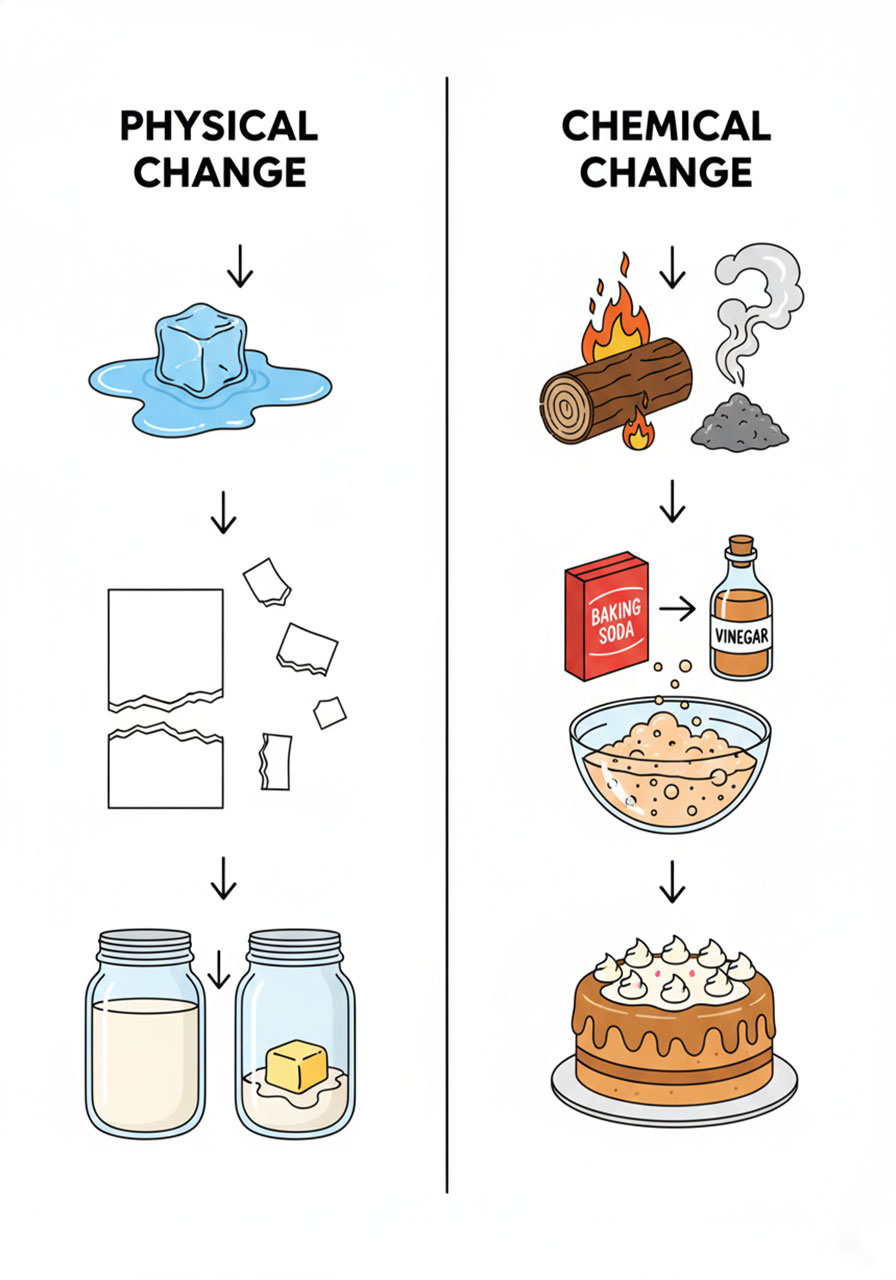
Chemical Changes
A chemical change means you’re altering something at the molecular level. You end up with a completely different substance than what you started with.
Examples:
- Burning wood turns it into ash and smoke
- Mixing baking soda and vinegar creates a bubbly reaction that produces water and carbon dioxide
- Baking a cake transforms liquid batter into solid cake
Physical Changes
A physical change doesn’t mess with the molecules themselves. You’re just rearranging or reshaping the substance.
Examples:
- Ice melting into water (same H₂O molecules, different state)
- Tearing paper into pieces (still paper, just smaller)
- Crushing a soda can (same aluminum, different shape)
So What’s Butter-Making?
Making butter is a physical change! The fat and liquid components were always there in the cream – you’re just separating them and rearranging the fat molecules into a solid clump. Nothing changes chemically; you’re literally just shaking things into a different form.
Cool, right?
Why This Experiment Is a Must-Do
Listen, not every kitchen activity ends with something you’d actually want to eat. But this one? This one’s a winner from start to finish.
Your kids get to:
- Burn energy with all that shaking
- See science in action as liquid transforms into solid
- Learn about physical changes in the most hands-on way possible
- Feel incredibly accomplished when they taste their own homemade butter
And you get a rainy-day activity that’s educational, engaging, and ends with a delicious snack. Honestly, it doesn’t get much better than that.
So grab that cream, dust off a jar, and get ready for some serious shaking. Your kitchen is about to become the coolest science lab in town – and your kids are going to love every butter-making second of it.
Happy churning!
More Kid’s Party Ideas to Keep the Fun Rolling:
25 All-Time Best Documentaries for Kids (and Parents Who Don’t Want to Fall Asleep)
11 Epic Card Games for Kids (with One Simple Card Deck) That’ll Keep Them Entertained for Hours
How to Build an Epic LEGO Plinko Board (That Actually Works!)
7 Epic Spring Minute to Win It Games That’ll Make Your Party Bloom
27 Circle Time Ideas for Toddlers and Preschoolers That Actually Work
Pom Pom Tube Drop: The 5-Minute Activity That’ll Keep Your Toddler Entertained (And Learning!)
How to Make Fluffy Pet Rocks: The Cutest DIY Craft That’ll Have Kids Obsessed
