
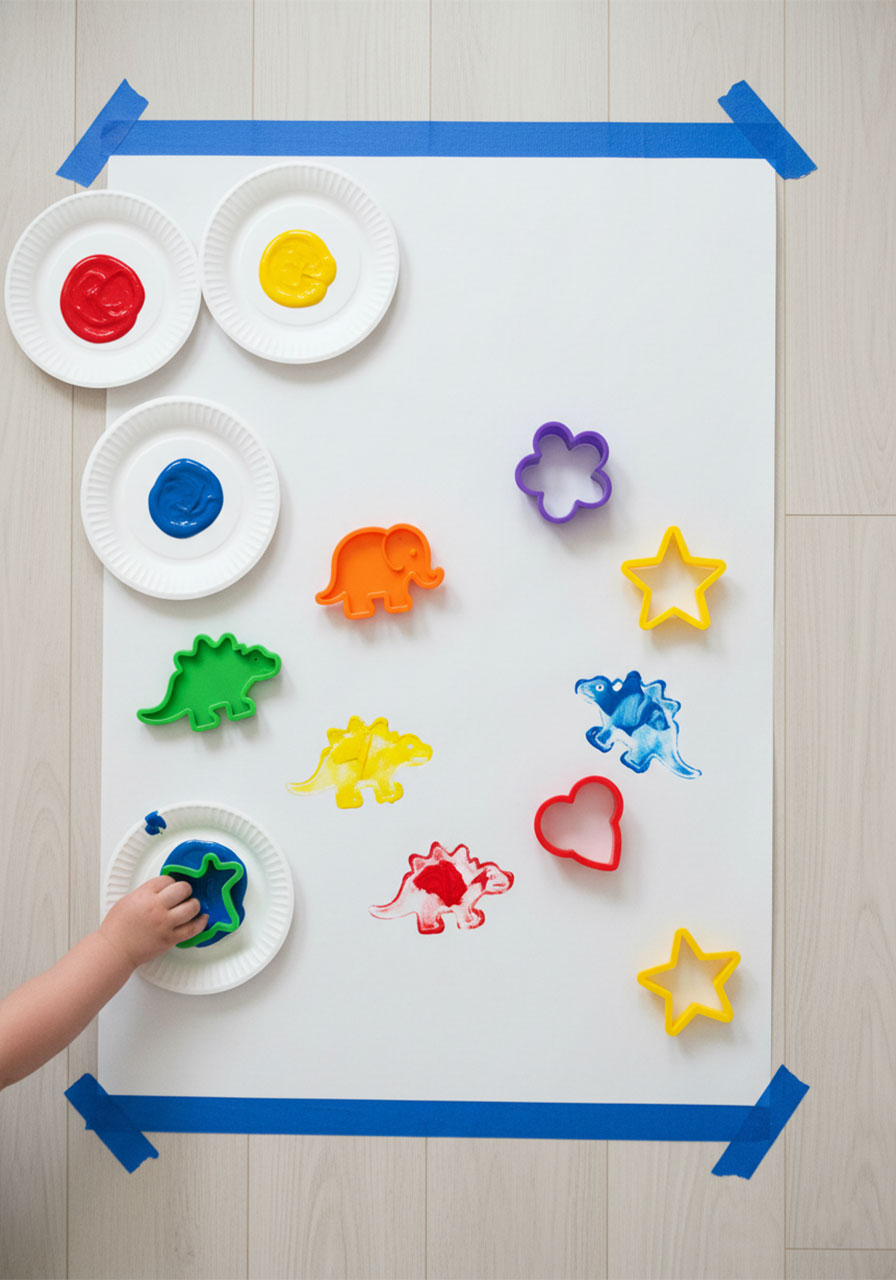
Get ready for an art activity that’s so simple, so mess-friendly, and so darn fun that even the most art-resistant toddler will want to dive in. (Yes, I’m talking about your kid – the one who usually bails after 30 seconds of painting.)
Cookie cutter painting is about to become your go-to creative activity, and here’s why: it requires basically zero artistic skill, the setup takes less time than making a sandwich, and the colorful results are frame-worthy. Plus, cleanup is a breeze when you know the tricks.
Whether you’re looking for a rainy day rescue or a holiday craft that doesn’t end in tears (yours or theirs), this activity delivers. Let’s get those little hands creating!
Why Cookie Cutter Painting Is a Total Win
Here’s the thing about toddler art projects: they need to be engaging enough to hold attention but simple enough that you’re not spending 20 minutes on setup for 2 minutes of actual painting. Cookie cutter painting hits that sweet spot perfectly.
What makes it so great:
- The cookie cutters act as built-in stamps, so there’s instant gratification with every press
- Kids can mix colors, create patterns, and make “animal friends” without any complicated instructions
- It’s a sneaky way to work on fine motor skills and color recognition
- The mess is completely contained (when you use our setup strategy below)
- You probably already have everything you need at home
Best for: Toddlers ages 2-5, preschool activities, rainy day fun, holiday crafts
Time to Play: 5-15 minutes (which, let’s be honest, is a marathon in toddler art time)

What You’ll Need
Here’s your super simple supply list:
Cookie cutters in any shapes (animals are a hit, but holiday shapes, letters, or geometric shapes work great too)
Washable paint in 2-4 colors (primary colors are perfect for color-mixing fun)
Large paper or a roll of butcher paper (the bigger, the better)
Painter’s tape or masking tape
Paper plates or a paint palette (for holding the paint)
A nearby sink or wet towels for quick cleanup
Optional: Smock or old t-shirt for your little artist
Pro Tip: Use a plastic tablecloth under your paper for double protection. When you’re done, just roll everything up together and toss it in the wash or trash. Boom – cleanup in under a minute.
How to Set Up Your Cookie Cutter Painting Station
The secret to art project success? A setup that’s toddler-proof from the start.
Step 1: Choose Your Location Wisely
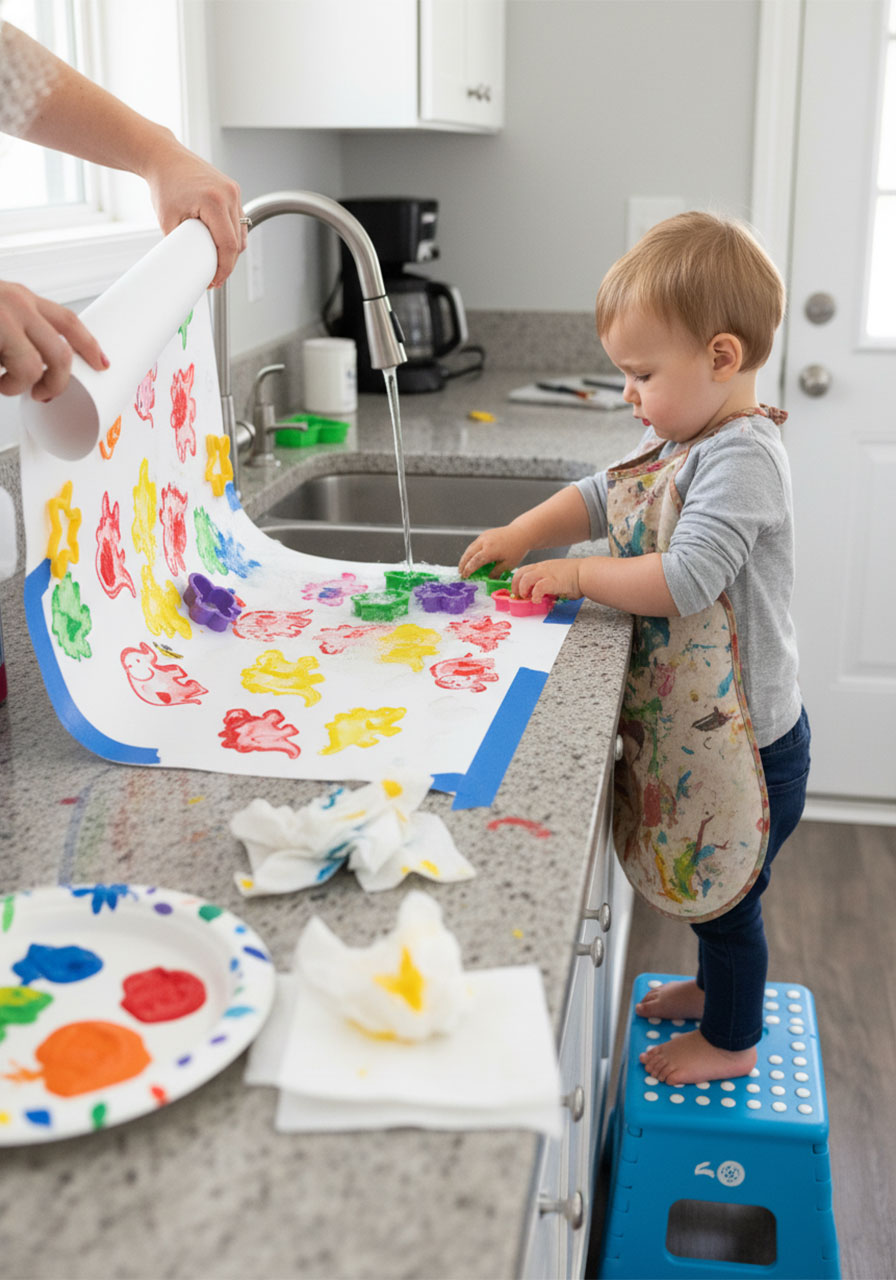
Set up in your kitchen or bathroom – anywhere with a sink nearby. This is your escape route when things get messy (and they will). Trust me, proximity to running water is a game-changer.
Step 2: Lay Down Your Canvas
Roll out a big sheet of paper on the floor or tape several sheets together to create one large canvas. The bigger the surface, the more room for creativity (and the less likely paint ends up on your actual floor).
Step 3: Tape It Down Like Your Life Depends on It
Seriously, tape all four sides of that paper to the floor. Toddlers have a magical ability to crumple, fold, and kick art projects into oblivion. Tape prevents the great paper disaster of 2025.
Step 4: Squirt Out the Paint
Add dollops of washable paint directly onto paper plates or right onto a corner of your paper canvas. Start with 2-3 primary colors (red, blue, yellow) so kids can experiment with color mixing. You don’t need much – a tablespoon of each color is plenty.
Step 5: Pick Your Cookie Cutters
Let your little one choose 3-5 cookie cutters to start with. Animal shapes are always a hit, but any shapes work. Just make sure they have a flat edge for stamping.
How to Paint (The Fun Part!)
Now for the main event – let the stamping begin!
1. Press the cookie cutter into the paint until the edge is coated. You want paint on the rim, not filled inside the cutter.
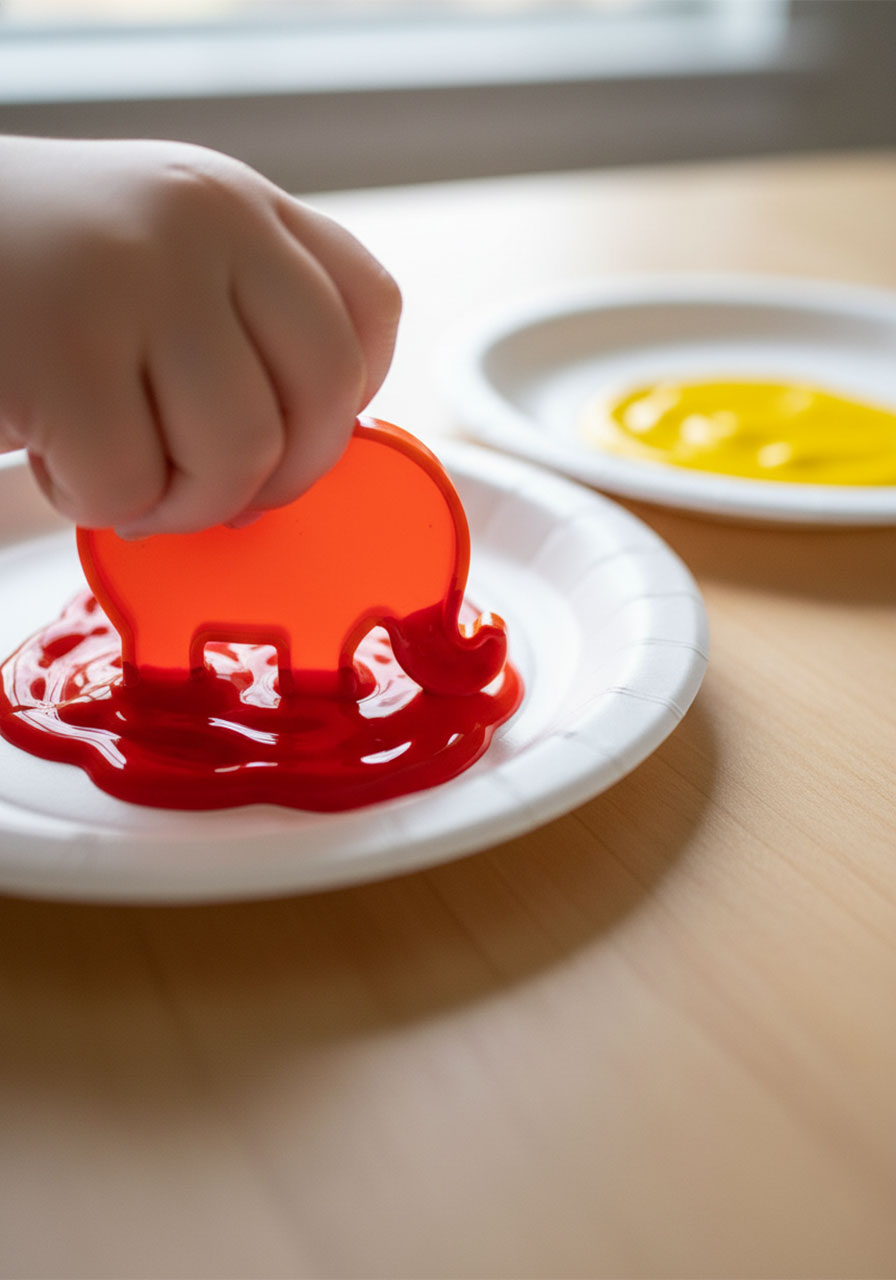
2. Stamp it onto the paper with a firm press. Encourage your toddler to push down and count to three before lifting.
3. Reveal the magic! Lift the cookie cutter straight up to see the colorful outline left behind.
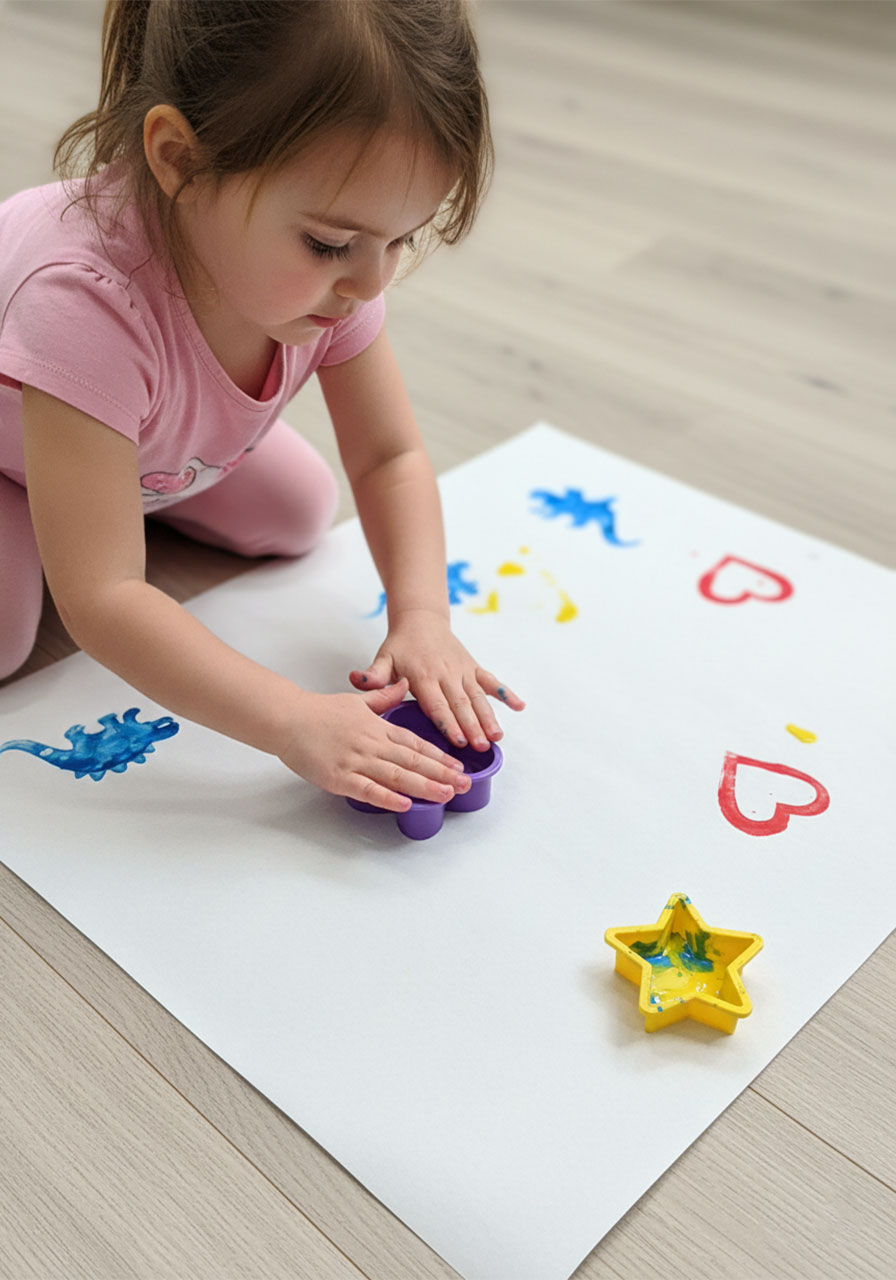
4. Repeat and experiment! Try different colors, overlap shapes, mix colors together on the cookie cutter for multi-colored prints, or create patterns.
5. Get creative with it: Make animal families, create a rainbow of the same shape, or turn prints into a scene (blue fish swimming, red hearts floating, etc.).
What usually happens: Kids start with careful stamping, then move into the glorious “let’s mix ALL the colors” phase. Embrace it. The brown-purple-green blob phase is a rite of passage.
Pro Tips for Maximum Fun (and Minimum Chaos)
Keep the stamping fresh: If paint builds up on the cookie cutters, give them a quick dip in a bowl of water between colors. Pat dry with a paper towel and you’re good to go.
Create a “dirty cookie cutter zone”: Place a paper towel or small plate next to your paint station where kids can rest used cookie cutters. This prevents paint from migrating to unexpected places (like the dog).
Make it a learning moment: Call out shapes and colors as you stamp. “Let’s make a blue circle!” or “Can you find the star?” It’s sneaky skill-building disguised as pure fun.
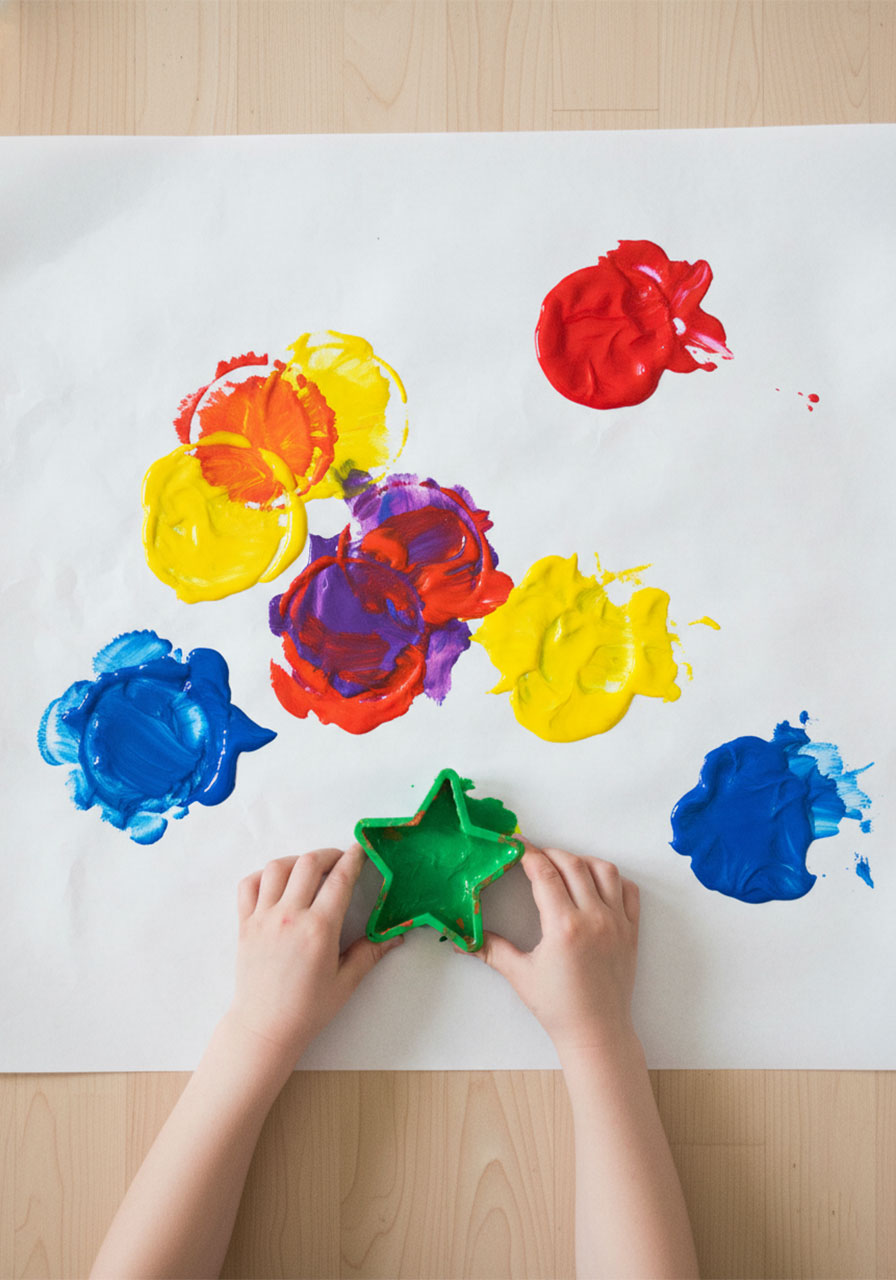
Exit strategy activated: When you sense the art session winding down (or heading south), deploy the sink. Let your toddler “wash” the cookie cutters with soap and water while you quickly fold up the art and wipe down surfaces. Turn cleanup into part of the activity and everyone wins.
Fun Variations to Try
Once you’ve mastered the basic technique, level up with these creative twists:
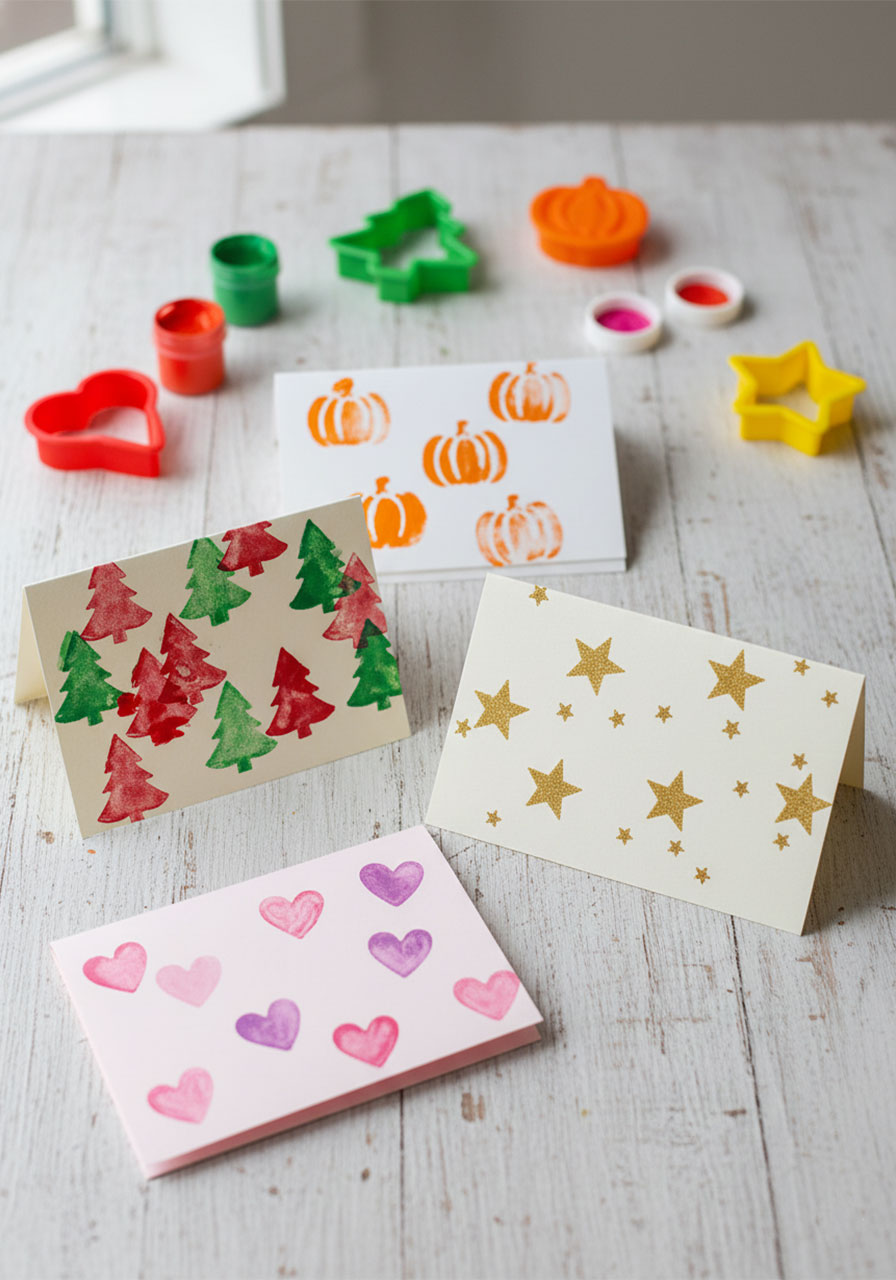
Holiday Cards: Use seasonal cookie cutters (trees, stars, hearts, pumpkins) to create custom greeting cards. Just stamp onto cardstock, let dry, and fold. Grandparents will love these.
Mixed Media Magic: After the paint dries, let kids add details with crayons or markers. Turn those animal prints into a zoo scene or add faces to simple shapes.
Texture Experiment: Try stamping on different surfaces like fabric, cardboard, or even a plain t-shirt (with fabric paint). Different textures = different results.
Color Mixing Challenge: Start with only primary colors and see what new colors you can create. “What happens when we mix blue and yellow on the dinosaur?”
Pattern Play: Challenge older kids to create repeating patterns or symmetrical designs. Can they make a rainbow using one cookie cutter?
The Beautiful Aftermath
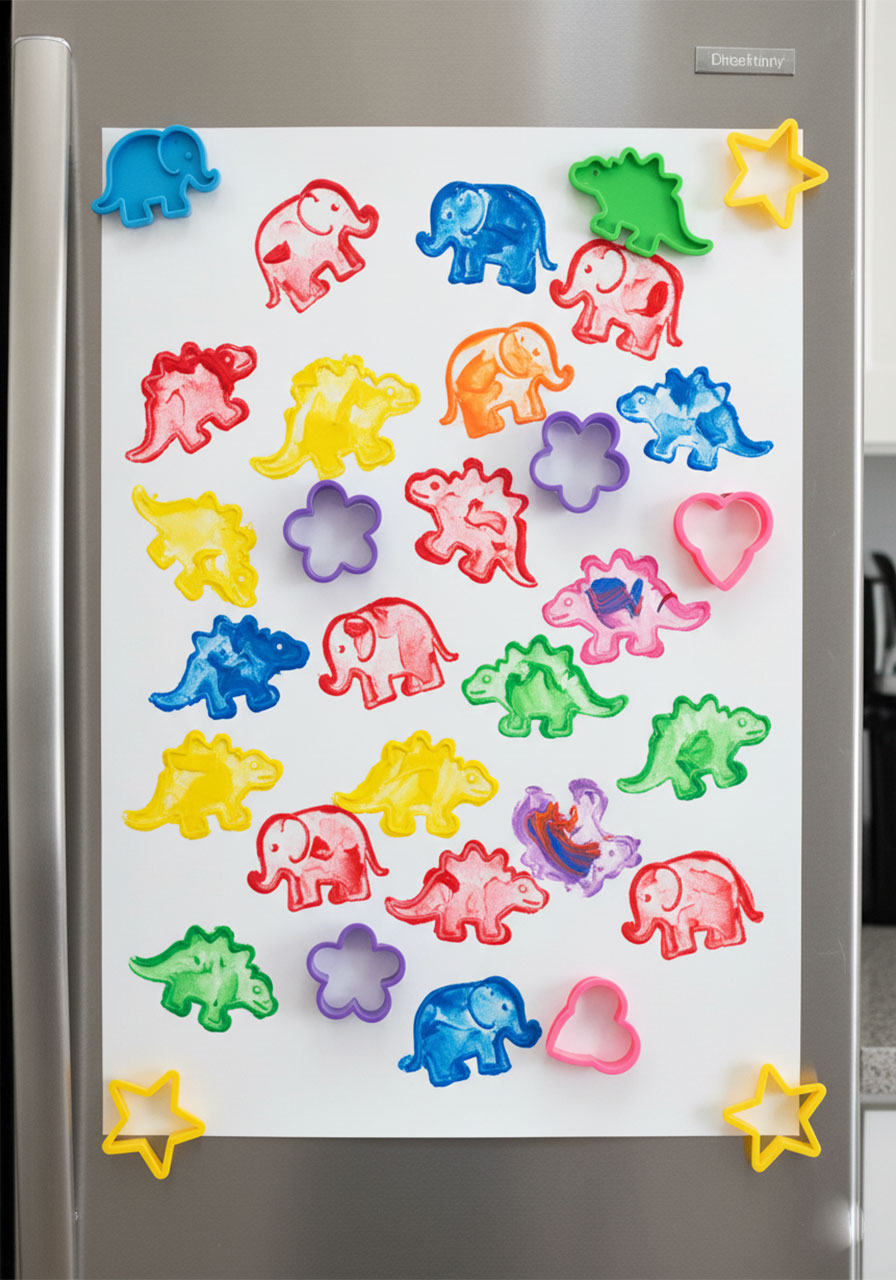
Here’s what you’ll end up with: colorful abstract art that’s uniquely theirs, a tired but happy toddler, and the satisfaction of completing an art project that didn’t end in a meltdown. Frame the best pieces, use them as wrapping paper, or turn them into greeting cards for family.
The best part? Your little one just practiced hand-eye coordination, experimented with colors, explored cause and effect, and expressed creativity – all while having a blast. And you? You survived an art project with your sanity (mostly) intact.
Bottom line: Cookie cutter painting is the low-stress, high-reward art activity every parent needs in their back pocket. Whether you’re filling a rainy afternoon or creating holiday crafts, this simple setup delivers big smiles and minimal cleanup.
Now grab those cookie cutters and get stamping – your five minutes of art fame await!
More Kid’s Party Ideas to Keep the Fun Rolling:
How To Create A LEGO Duplo Block Painting: Turn Favorite Toys Into Art Supplies
20 Fun Indoor Games For Kids That’ll Save Your Sanity (And Keep Everyone Entertained!)
Toddler Scooping Activity: The Genius Life Skill Hiding in Your Pantry
55 Minute to Win It Games for Kids, Teens, & Adults
Transform Old Yogurt Tubs Into Stunning Tissue Paper Lanterns
33+ Epic Outdoor Games That’ll Turn Your Backyard Into the Ultimate Family Fun Zone
Sticker Sorting Activity: The 5-Minute Setup That’ll Keep Your Toddler Busy (and Learning!)
