
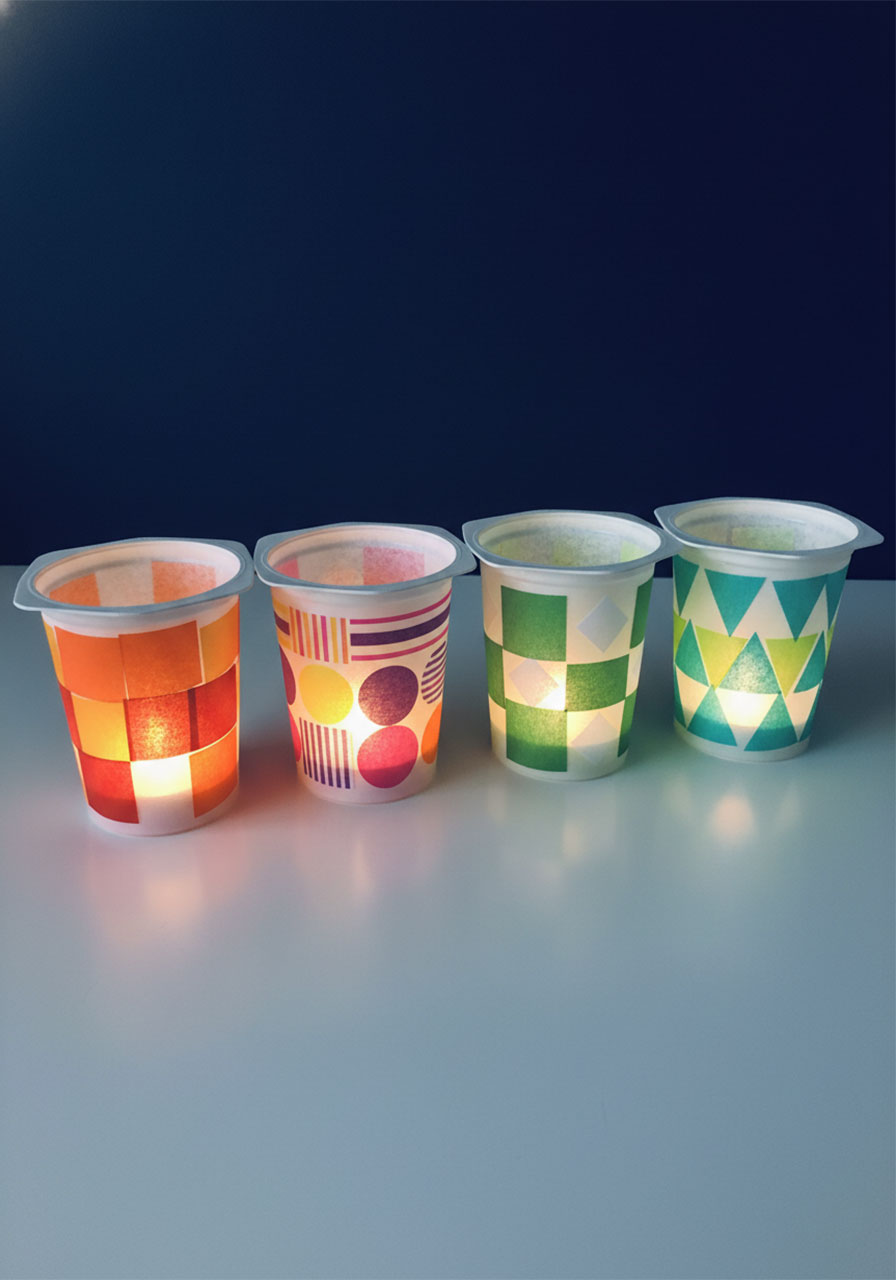
Looking for a craft activity that’s equal parts creative fun and practical home decor? These DIY tissue paper lanterns are about to become your new favorite party craft. We’re talking upcycled plastic containers transformed into glowing works of art that’ll make your guests wonder where you bought them!
Here’s the best part: this project works for literally everyone. Got restless kids who need a rainy day activity? Perfect. Planning a party and want some budget-friendly ambient lighting? Even better. These geometric beauties are so easy to make that your 5-year-old can help, yet cool enough that your teenager won’t roll their eyes at the idea.
I’ve made dozens of these lanterns over the years, and I’m not exaggerating when I say I have to hide my LED tealights from my own kids because they keep “borrowing” them for their bedroom fort. (Pro tip: buy them in bulk – you’ll thank me later.)
Best for: Family craft sessions, party decorations, rainy day activities, DIY bedroom decor
Time to Complete: 30-45 minutes (plus drying time)
Difficulty Level: Easy – perfect for ages 5+
What You’ll Need:
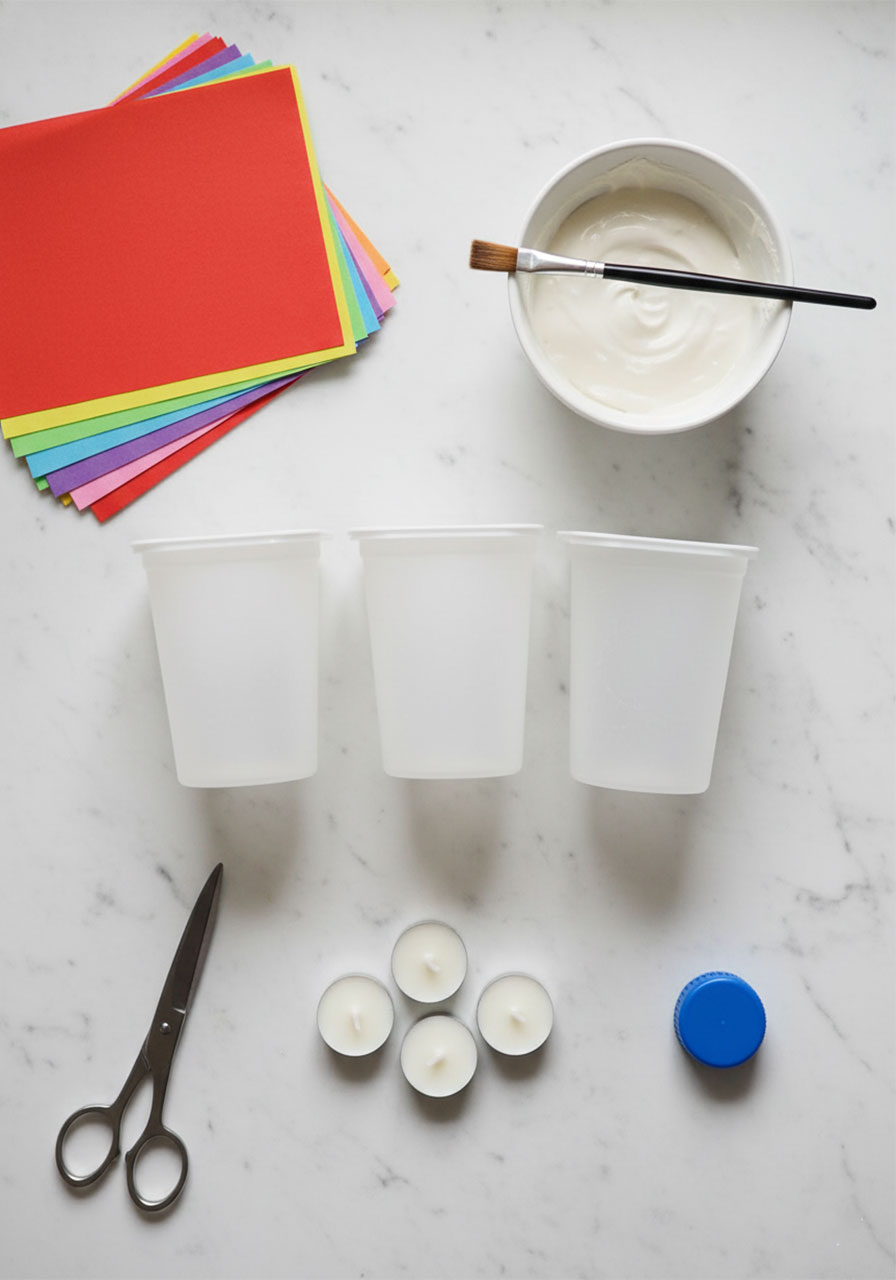
Clean, dry frosted plastic yogurt tubs (or similar containers – think 2L milk bottles with tops cut off)
Tissue paper in assorted bright colors
DIY mod podge or store-bought (we’ve got a simple recipe below!)
LED tealight candles (never real flames with plastic!)
Paint brush
Scissors
Container Hunt Tip: You want frosted or translucent plastic for the best light diffusion. Clear containers work too – just glue a layer of white tissue paper as your base first for that dreamy glow effect.

How to Make Your Lanterns:
1. Prep your container
Make sure your plastic container is squeaky clean, completely dry, and label-free. Any sticky residue will mess with your gluing, so take an extra minute here.
2. Cut your geometric shapes
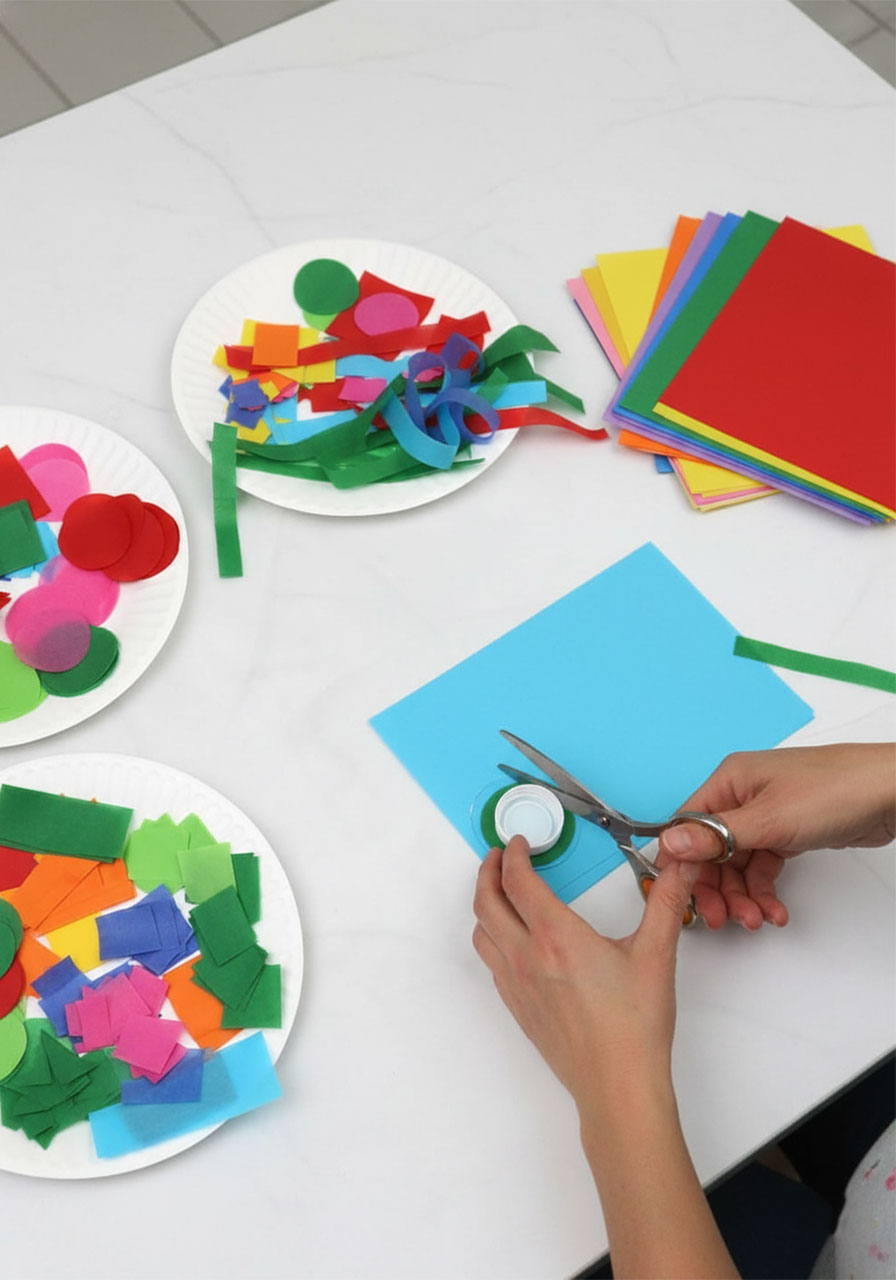
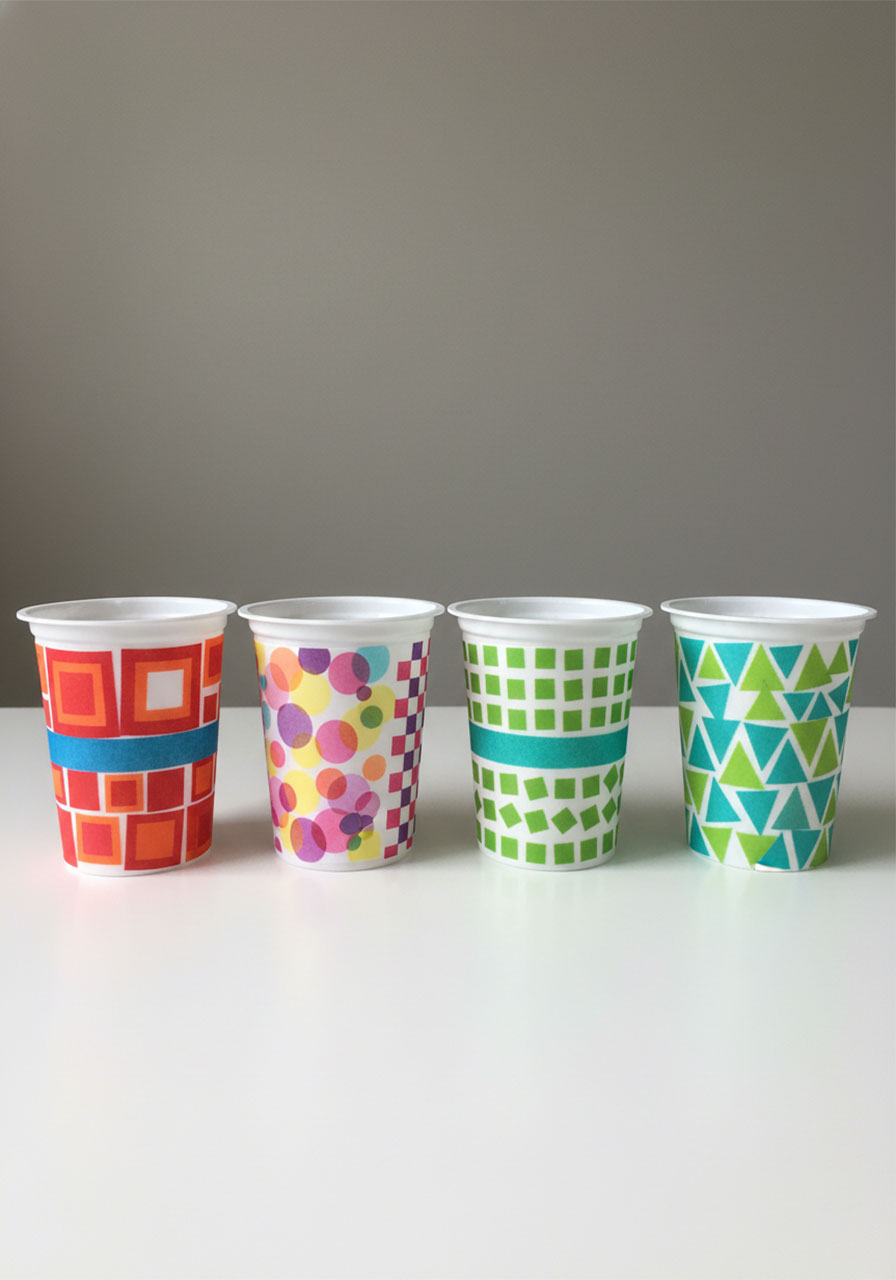
Grab your tissue paper and go wild cutting circles, squares, triangles, rectangles, and strips. Don’t stress about perfection – the beauty is in the abstract, colorful chaos! For circles, trace around a bottle cap and cut through multiple layers at once to save time.
3. Start gluing your first layer
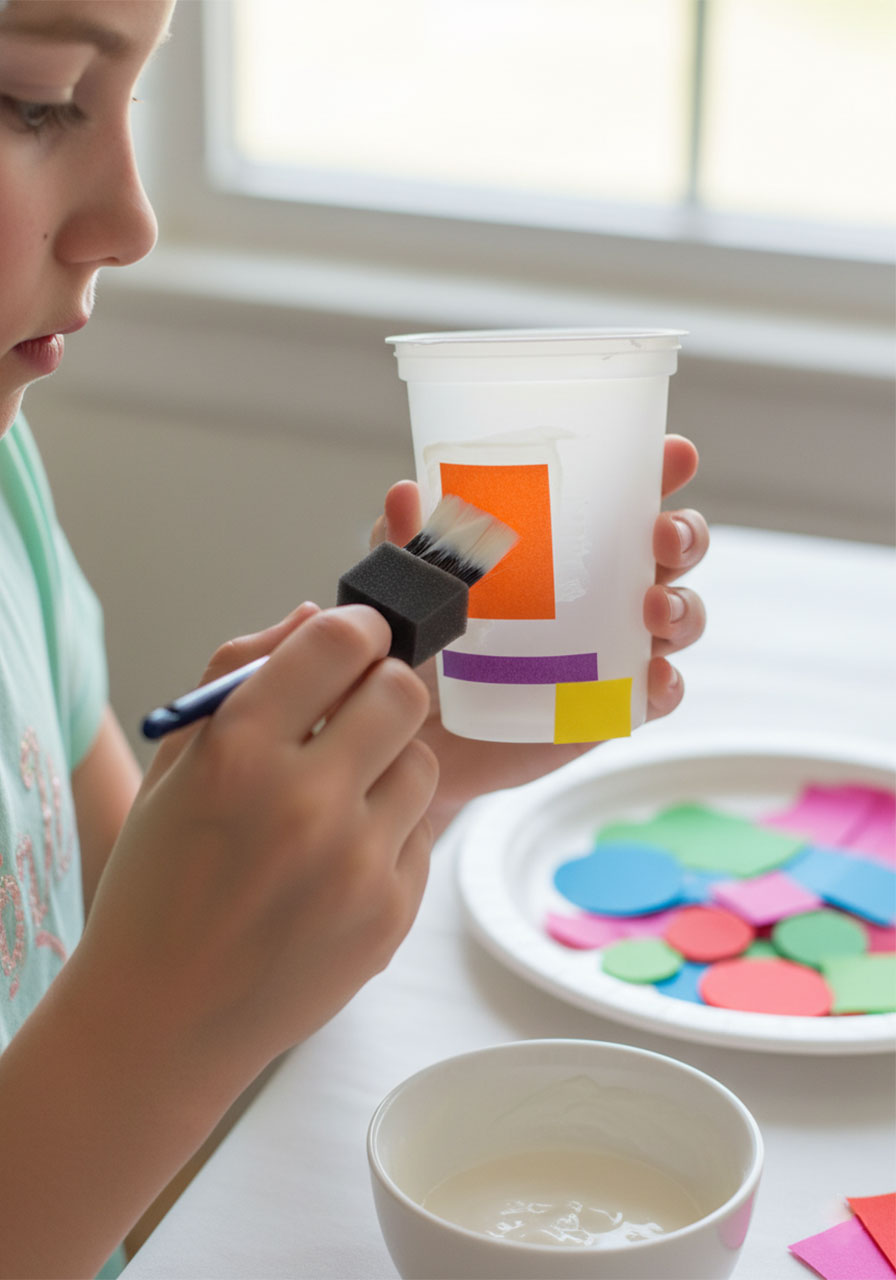
Brush a section of your container with mod podge, then press your tissue paper shapes onto it. You can create organized geometric patterns or go totally random – there’s no wrong answer here. Build your design as you go, overlapping shapes for extra color depth.
4. Let it dry (seriously, let it dry!)
Here’s where patience pays off. Wait until your first layer is completely dry before adding more glue. Trust me on this – if you rush it, the tissue paper colors will bleed together and turn muddy instead of vibrant. I’ve learned this the hard way more times than I care to admit!
5. Add dimension with a second layer
Once dry, brush on another layer of mod podge over your shapes. This seals everything and gives your lantern a nice glossy finish. Let it dry completely.
6. Light it up!
Pop an LED tealight inside, turn off the overhead lights, and prepare to be amazed by your glowing creation!
DIY Mod Podge Recipe (Budget-Friendly Magic!)
Why spend extra when you can make your own? Mix equal parts white school glue and water. Stir until smooth. Done! This works just as well as the store-bought stuff at a fraction of the cost, and you probably have both ingredients in your house right now.
Pro Tips for Perfect Lanterns:

Stock up on LED candles: Buy them in bulk online – they’re super affordable and you’ll use them for endless craft projects. They’re also the only safe option for plastic containers!
Layer strategically: Dark colors on the bottom, lighter colors on top creates an ombre effect that looks incredible when lit.
Make it a party activity: Set up a lantern-making station at birthday parties. Kids get to take home their glowing creation as a party favor!
Go bigger: Larger containers like cut-down 2L milk bottles make dramatic statement pieces for outdoor gatherings.
Why These Lanterns Are Absolute Party Perfection:
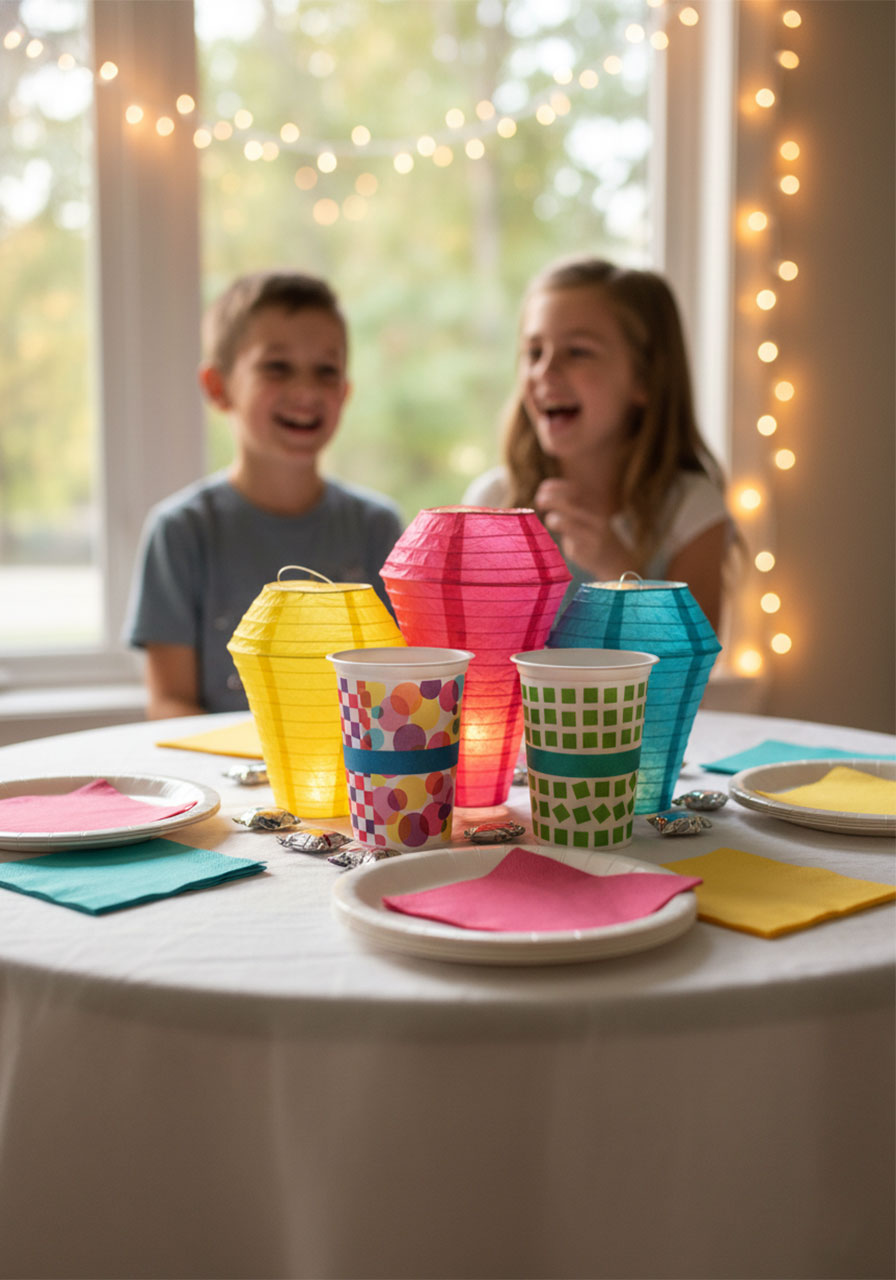
These aren’t just cute – they’re genuinely useful. Use them as:
- Mood lighting for game nights
- Centerpieces for dinner parties
- Kid-friendly nightlights (they’re much cooler than store-bought!)
- Outdoor patio ambiance (LED candles are weather-resistant)
- Party decorations that double as take-home favors
The geometric patterns create the most mesmerizing light displays, casting colorful shadows that transform any space from basic to beautiful. And because you’re upcycling containers you’d normally toss, you’re being eco-friendly while crafting – win-win!
Fun Variation: Try cutting your tissue paper into themed shapes! Hearts for Valentine’s Day, stars for space-themed parties, or autumn leaves for fall gatherings. The possibilities are endless.
Ready to turn your recycling bin into party decor? Grab those yogurt tubs and let’s get crafting! Your next gathering just got a whole lot more illuminating.
More Kid’s Party Ideas to Keep the Fun Rolling:
Cookie Cutter Painting: The 5-Minute Art Project That Actually Holds Their Attention
20 Fun Indoor Games For Kids That’ll Save Your Sanity (And Keep Everyone Entertained!)
Toddler Scooping Activity: The Genius Life Skill Hiding in Your Pantry
55 Minute to Win It Games for Kids, Teens, & Adults
How To Create A LEGO Duplo Block Painting: Turn Favorite Toys Into Art Supplies
33+ Epic Outdoor Games That’ll Turn Your Backyard Into the Ultimate Family Fun Zone
Sticker Sorting Activity: The 5-Minute Setup That’ll Keep Your Toddler Busy (and Learning!)
