
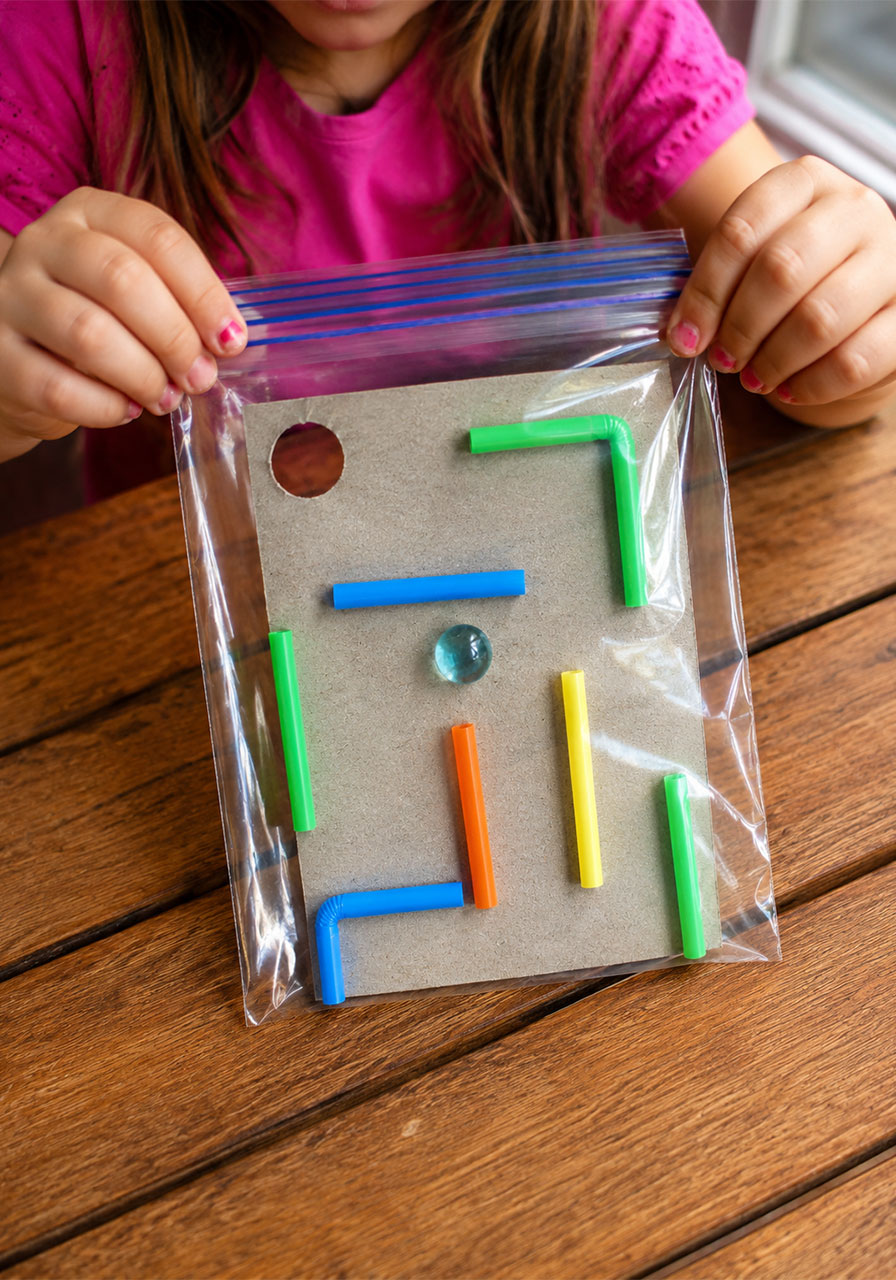
Looking for a STEM activity that keeps little hands busy and little brains thinking? This DIY Maze in a Baggie is exactly what you need.
It’s simple. It’s cheap. And it teaches real problem-solving skills without a single worksheet in sight.
Best of all, everything stays sealed inside a plastic baggie. That means no lost marbles rolling under the couch, and no tiny pieces scattered across your classroom floor.
Whether you’re a teacher planning a rainy-day STEM station or a parent hunting for a screen-free afternoon activity, this one checks every box.
Why This Craft Is a Win for Both Teachers and Parents
This isn’t just a cute craft. It’s a genuine STEM activity disguised as playtime.
Kids practice fine motor skills while cutting and placing straws. They practice spatial reasoning while planning a path. And they practice problem-solving and engineering thinking as they figure out how to guide a marble from start to finish.
It also works beautifully for a range of ages and skill levels. Younger kids can build a simple maze with just a few turns. Older kids can go all in with dead ends, tight corners, and tricky detours.
And because it’s budget-friendly and uses supplies you likely already have on hand, it’s an easy win for classrooms working with limited supply budgets.

What You’ll Need
Scissors
A piece of cardboard (cereal boxes work great)
Plastic straws (bendy straws are a bonus for corners)
Craft glue or a hot glue gun
A sandwich-size baggie
One small marble
How to Build Your Straw Maze
Step 1: Cut your cardboard to size.
Trim your cardboard so it fits comfortably inside your sandwich baggie, with a little room to spare around the edges. This will be the base of your maze.
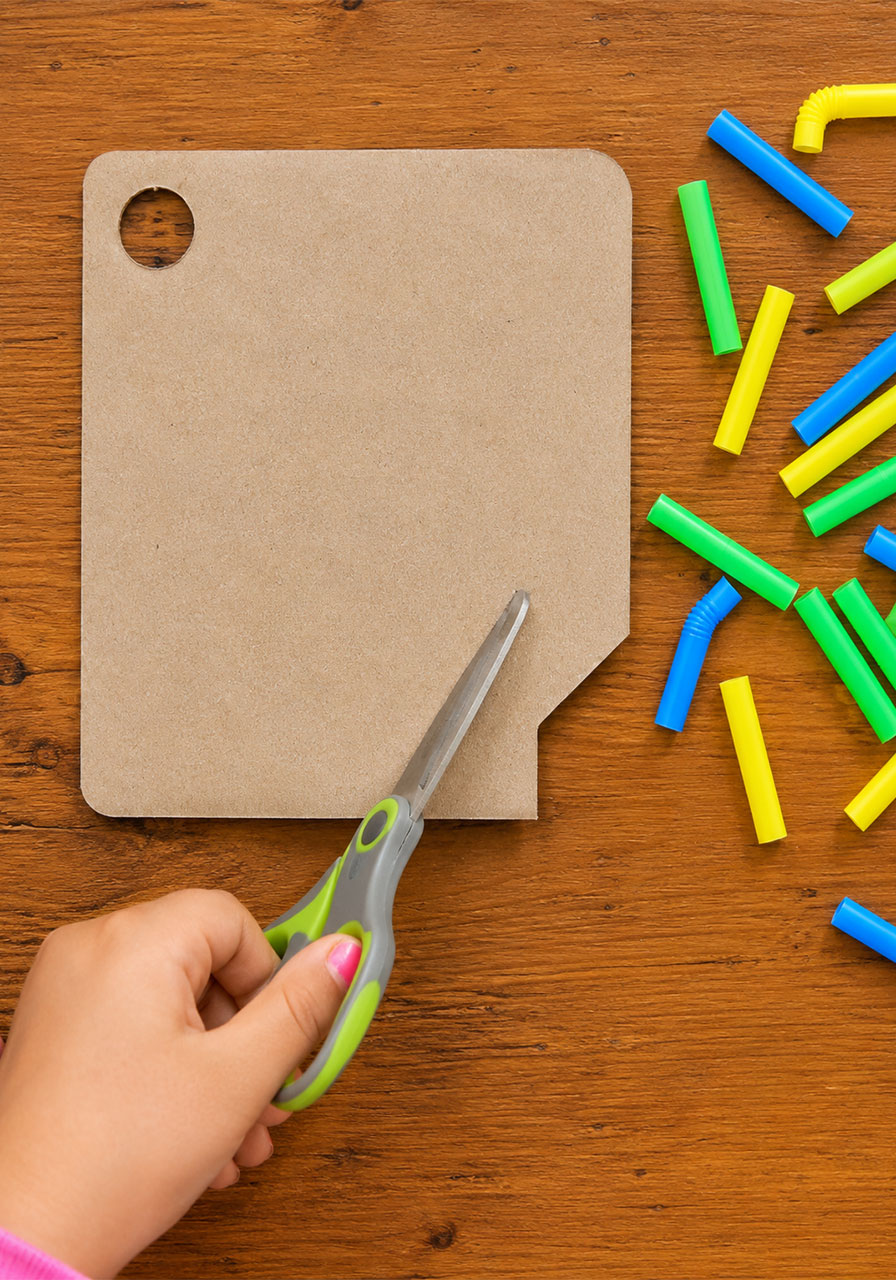
Step 2: Cut a small exit hole.
Near one corner of the cardboard, cut a small hole just big enough for the marble to reach and “escape” into. This is your maze’s finish line, so make sure it’s clearly reachable from your planned path.
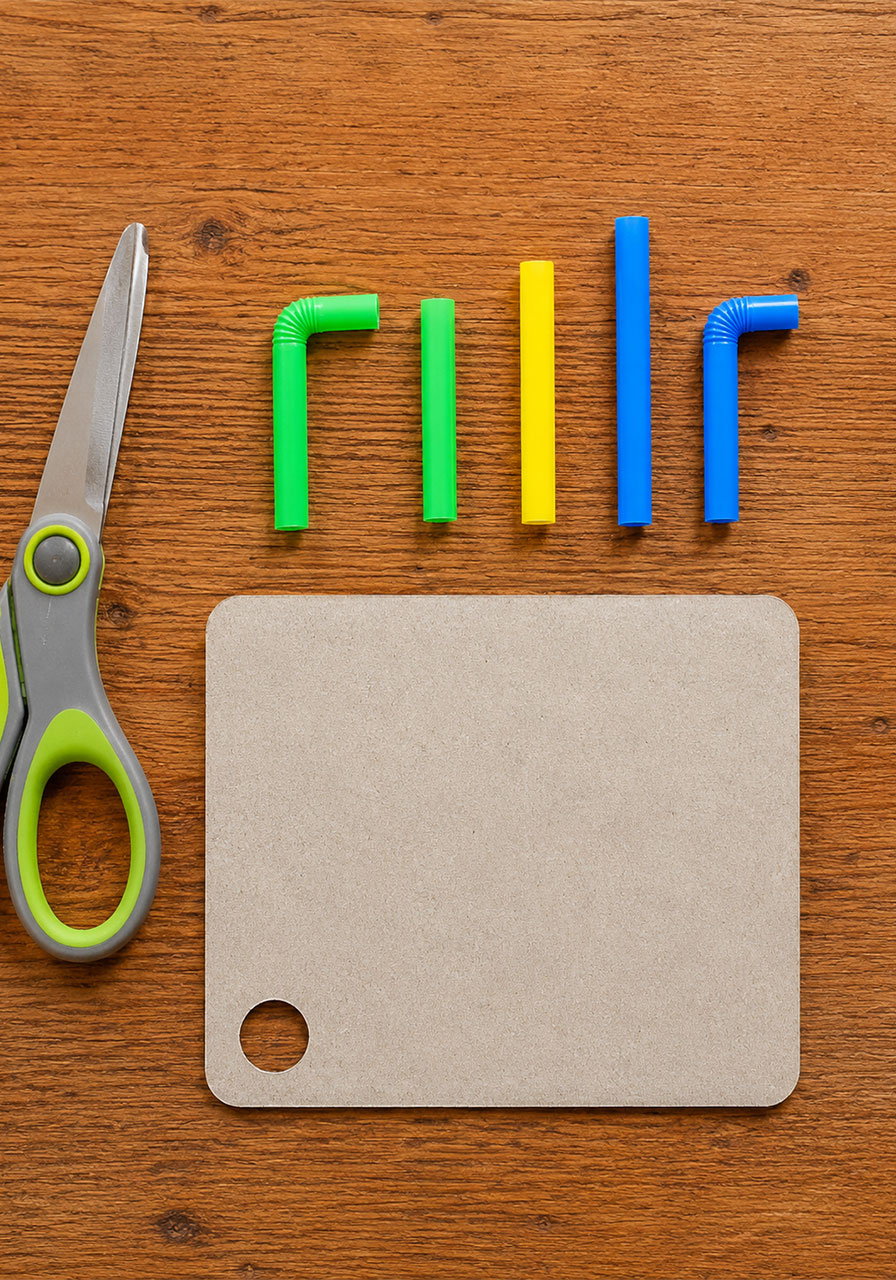
Step 3: Cut your straws into maze pieces.
Cut your straws into a mix of short and long pieces. If you have bendy straws, save a few bent sections. These make perfect corner pieces for tight turns.
For a simpler maze, cut fewer straws. For a more challenging maze, cut more pieces in varying lengths.
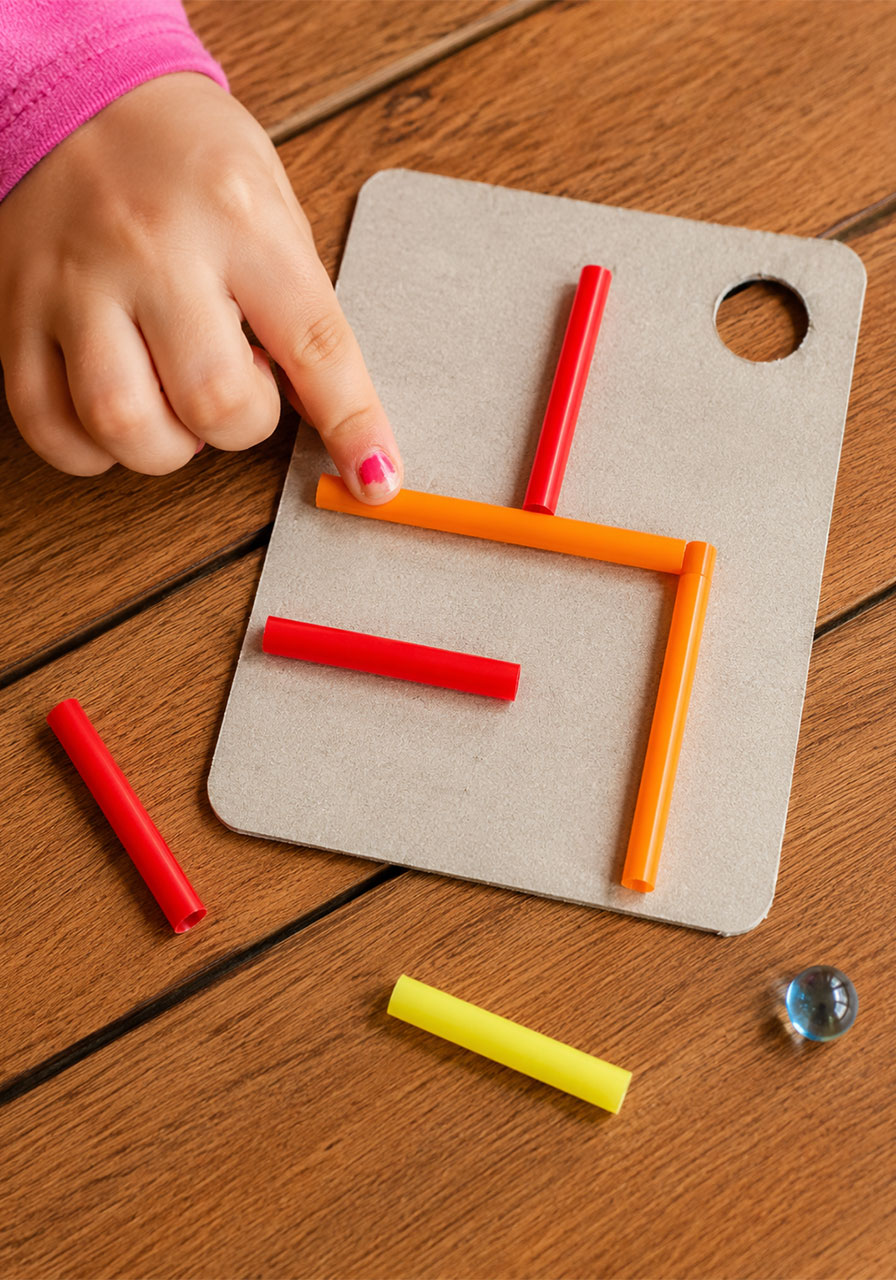
Step 4: Glue your straws onto the cardboard to build the path.
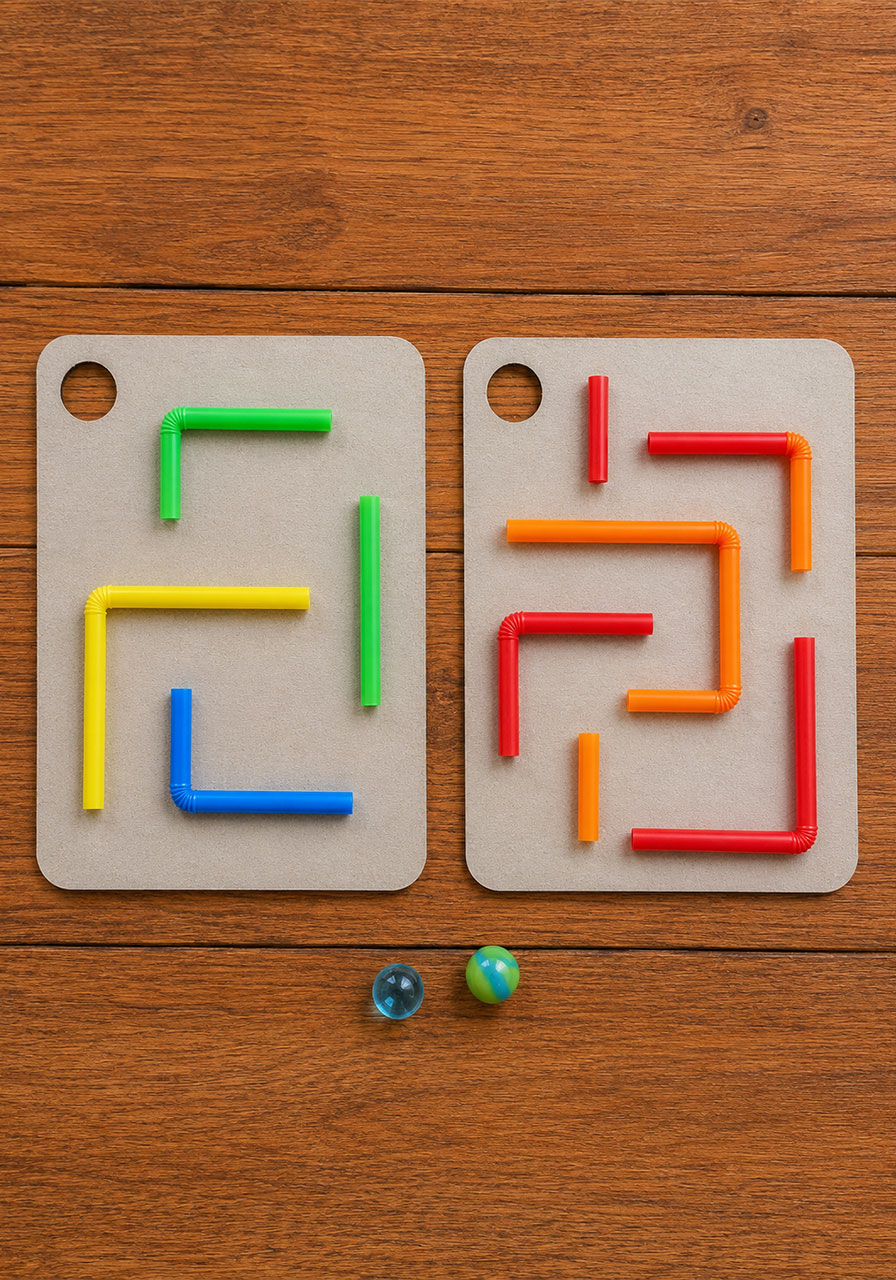
Arrange your straw pieces on the cardboard to create walls, turns, and dead ends. Leave a clear starting point on one side and make sure there’s an actual path leading to your exit hole.
Glue each straw piece down and let everything dry completely before moving on.
Pro Tip: Building your maze on both sides of the cardboard doubles the fun. Kids can flip the board over and try a brand-new challenge without you making a second maze from scratch.
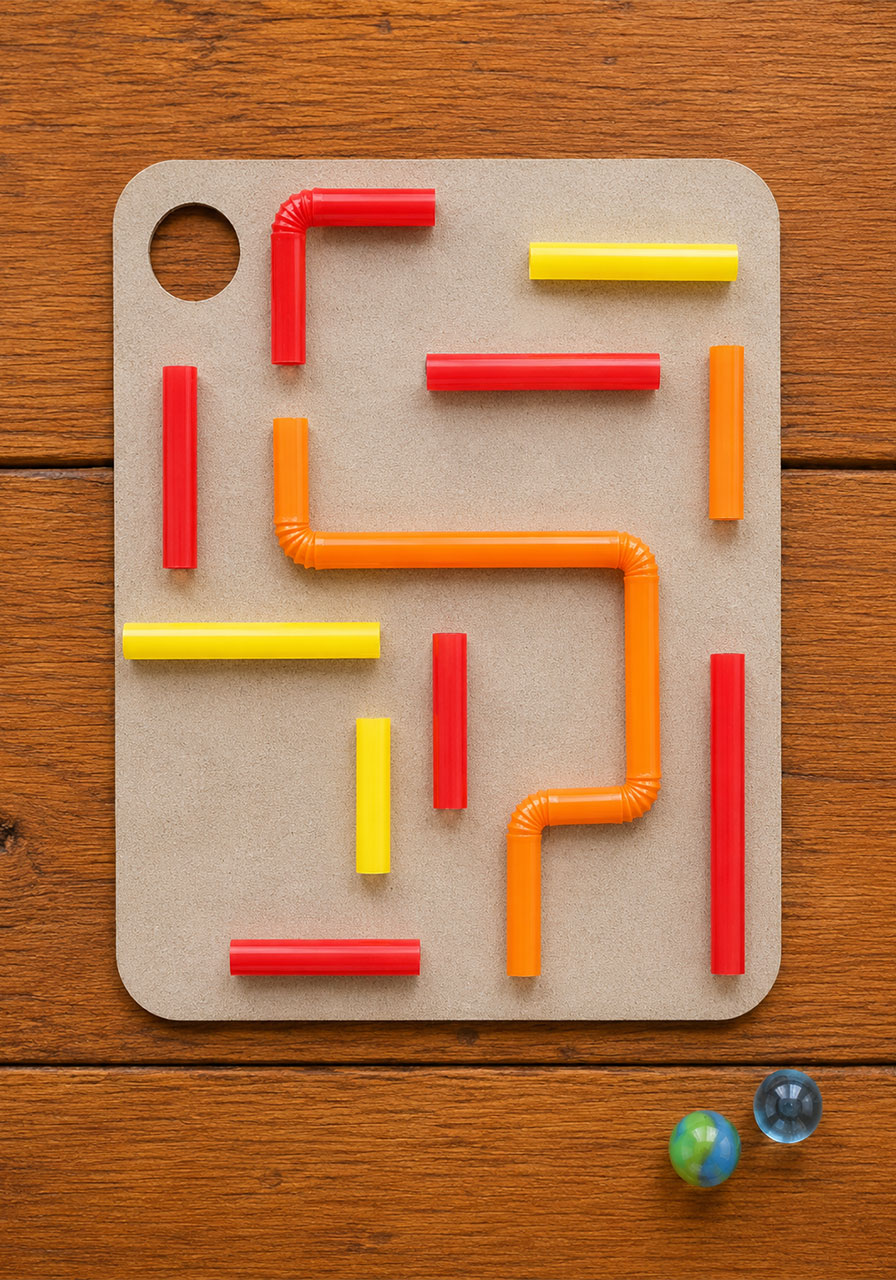
Step 5: Slide your maze and marble into the baggie.
Once the glue has fully dried, slip the cardboard maze into your sandwich baggie. Drop in the marble, positioning it near your starting point.
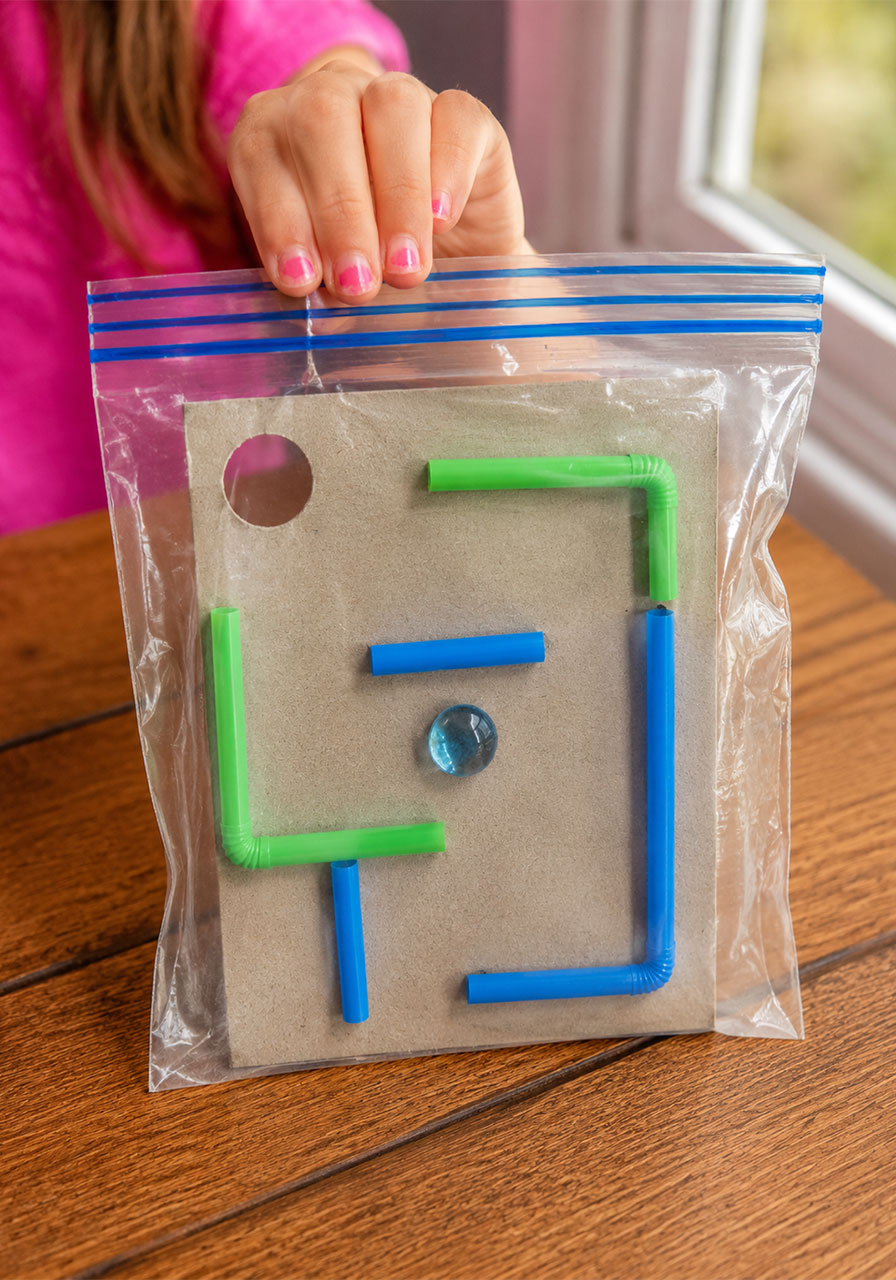
Step 6: Seal the bag and start playing.
Zip the baggie closed, and you’re ready to go. Tilt, turn, and gently shake the bag to guide the marble through the twists and turns toward that exit hole.
Why We Love This Activity
There’s something genuinely satisfying about watching a child focus intently on tilting a baggie, brow furrowed, determined to get that marble past one more corner.
We’ve watched siblings take turns building mazes for each other, each one trying to out-tricky the last. The dead ends always get the biggest laughs, especially when someone confidently rolls the marble straight into one.
It’s a small activity, but it holds attention far longer than you’d expect from a few straws and a sandwich bag.
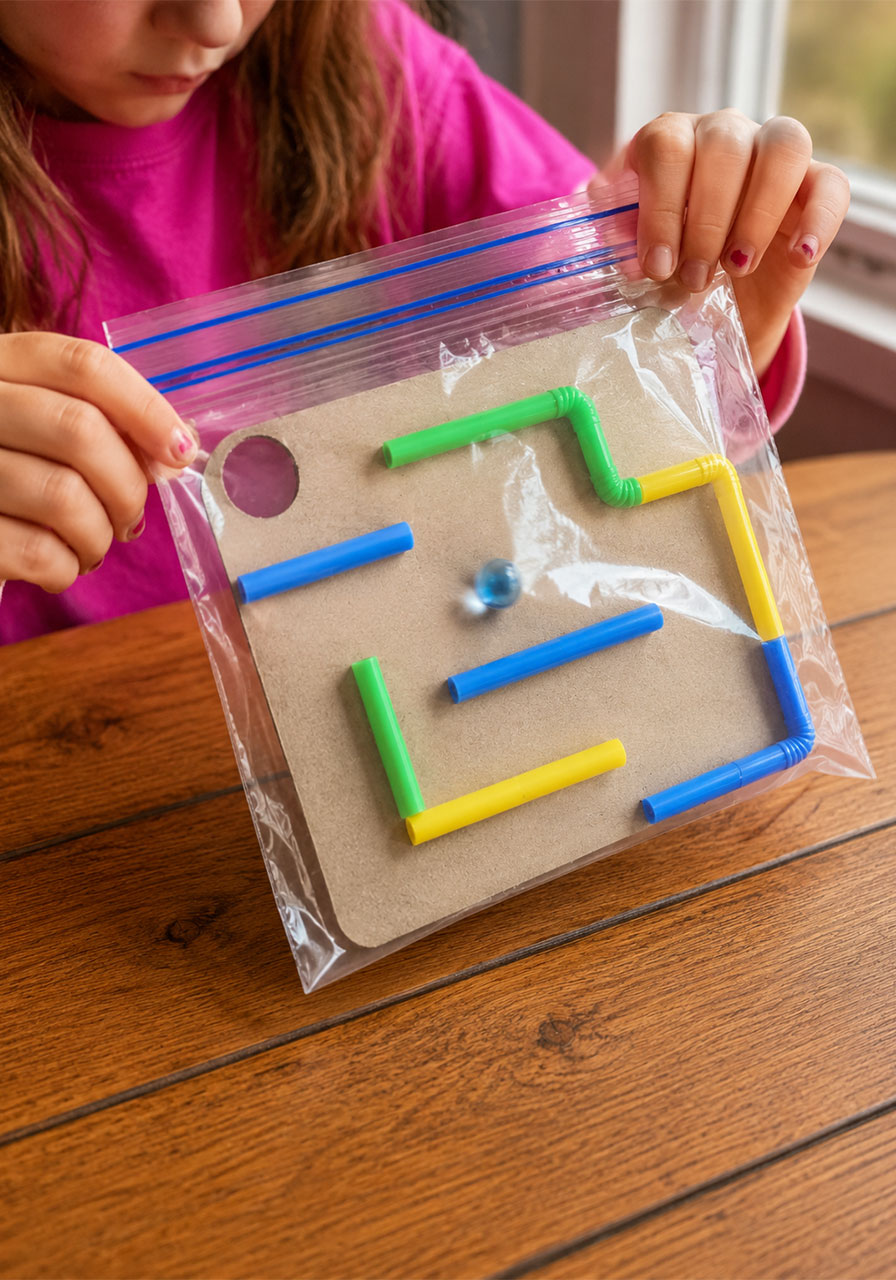
Ways to Use This in the Classroom
This activity works well as an independent station, a partner challenge, or even a quick brain-break between lessons.
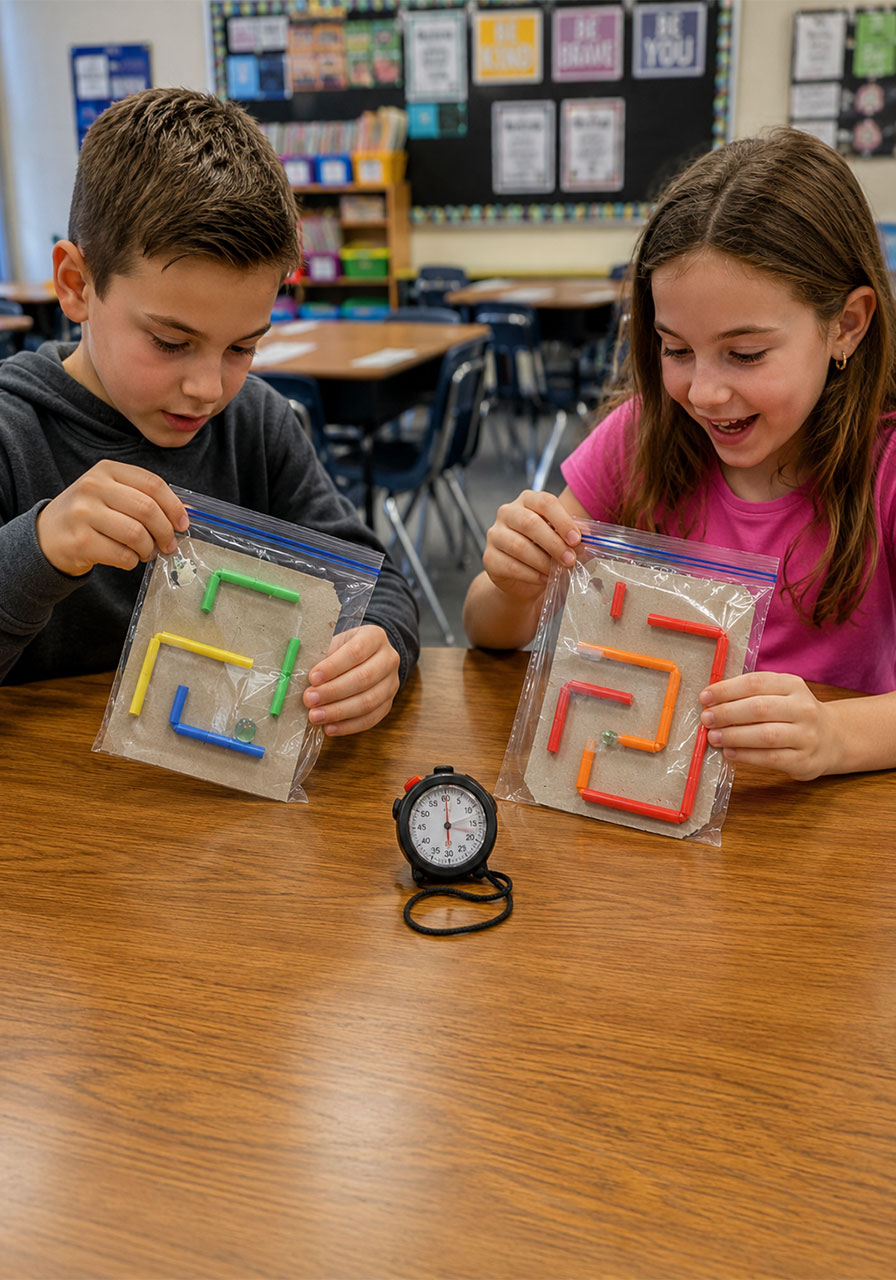
Have students trade completed mazes with a partner and time how long it takes to solve someone else’s design. This adds a friendly challenge element and gets kids thinking about difficulty from a designer’s perspective, not just a player’s.
You can also tie this into a lesson on simple engineering concepts like gravity, angles, and cause and effect. Ask students to predict which path the marble will take before they test it.
Fun Variations to Try
Difficulty levels: Make an “easy” maze with just a few straight paths, then challenge advanced students with a maze full of dead ends and sharp turns.
Timed challenges: Have kids race against a stopwatch to solve their own maze, then try to beat their best time.
Themed mazes: Tie the activity into a classroom theme, like a “escape the maze” story, a seasonal design, or a favorite book character’s journey.
Double-sided mazes: Build one maze on each side of the cardboard for two challenges in a single craft.
Frequently Asked Questions
What age group is this best for?
This activity works well for elementary-aged kids, roughly ages 5 through 11. Younger kids may need help cutting straws, while older kids can design and build most of it independently.
Do I need special supplies?
No. This craft uses basic supplies you likely already have at home or in a classroom supply closet: cardboard, straws, glue, a baggie, and a marble.
How long does this activity take?
Building the maze typically takes 15 to 25 minutes, depending on the complexity of the design. Playing with it can last as long as kids want to keep challenging themselves.
Can this be reused?
Yes. Since everything stays sealed inside the baggie, the maze holds up well for repeated play and can be stored flat until next time.
Ready to Build Your Own?
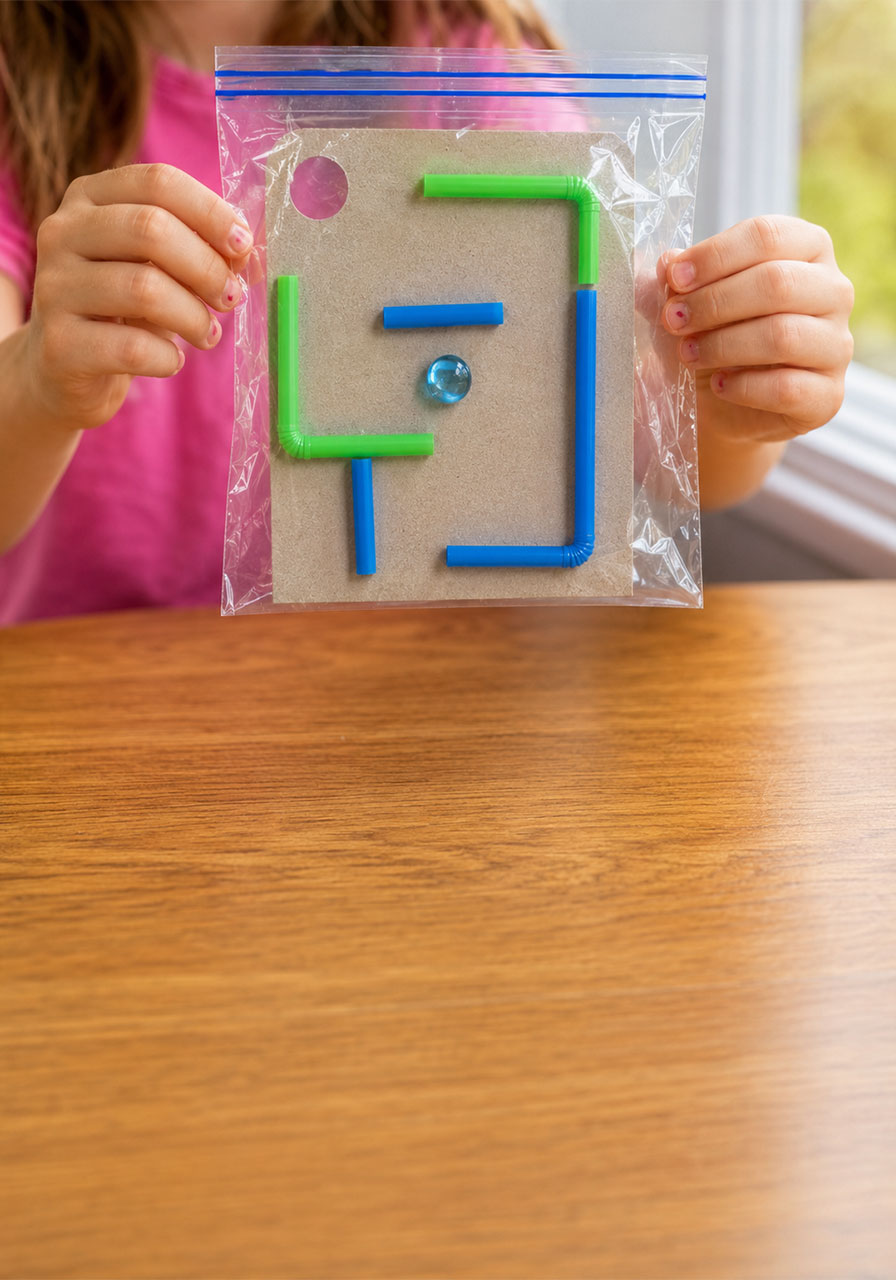
This simple straw maze proves that some of the best STEM activities don’t need a big budget or a complicated setup.
Grab a handful of straws, a piece of cardboard, and a baggie, and you’ve got an activity that keeps kids engaged, thinking, and having genuine fun.
With a few of these in your back pocket, you’re always ready for that “I’m bored” moment, whether you’re at home or in the classroom.
