
If you’re looking for a STEM activity that gets kids genuinely excited to learn, the egg drop project is about as close to a guaranteed win as it gets.
The challenge is simple to explain but surprisingly deep in what it teaches: kids design and build a contraption to protect a raw egg from a high fall, using everyday materials.
No two contraptions ever turn out the same. Some kids go for cushioning, some go for structure, and some try to slow the fall entirely. That’s exactly what makes this activity so valuable.
Below, we’re walking through exactly how to run an egg drop challenge with your students or kids at home, step by step, plus real design ideas that have worked (and some that haven’t).
What Is the Egg Drop Project?
The egg drop project is a classic STEM (or STEAM) engineering challenge. Kids are given a raw egg and asked to build a container or contraption that will keep it from cracking when dropped from a significant height.
It’s traditionally used in high school physics classes to teach concepts like gravity, force, and impact. But it works beautifully with elementary-aged kids too, and can even be adapted for preschoolers with a lower drop height and simpler materials.
The best part is that there’s no single “correct” answer. Kids have to think through the problem, test their own reasoning, and often revise their thinking after watching what happens to everyone else’s designs.

Why This Activity Is Worth the Mess
Egg drop projects check almost every box teachers and parents look for in a hands-on learning activity.
Kids practice real engineering thinking: they form a hypothesis, build a prototype, test it, and then explain why it succeeded or failed. That’s the actual scientific method, just with more broken eggs.
It also naturally builds problem-solving skills. Kids quickly learn that more materials don’t always mean more protection, and that a good design often comes down to a few smart choices rather than piling on everything they brought.
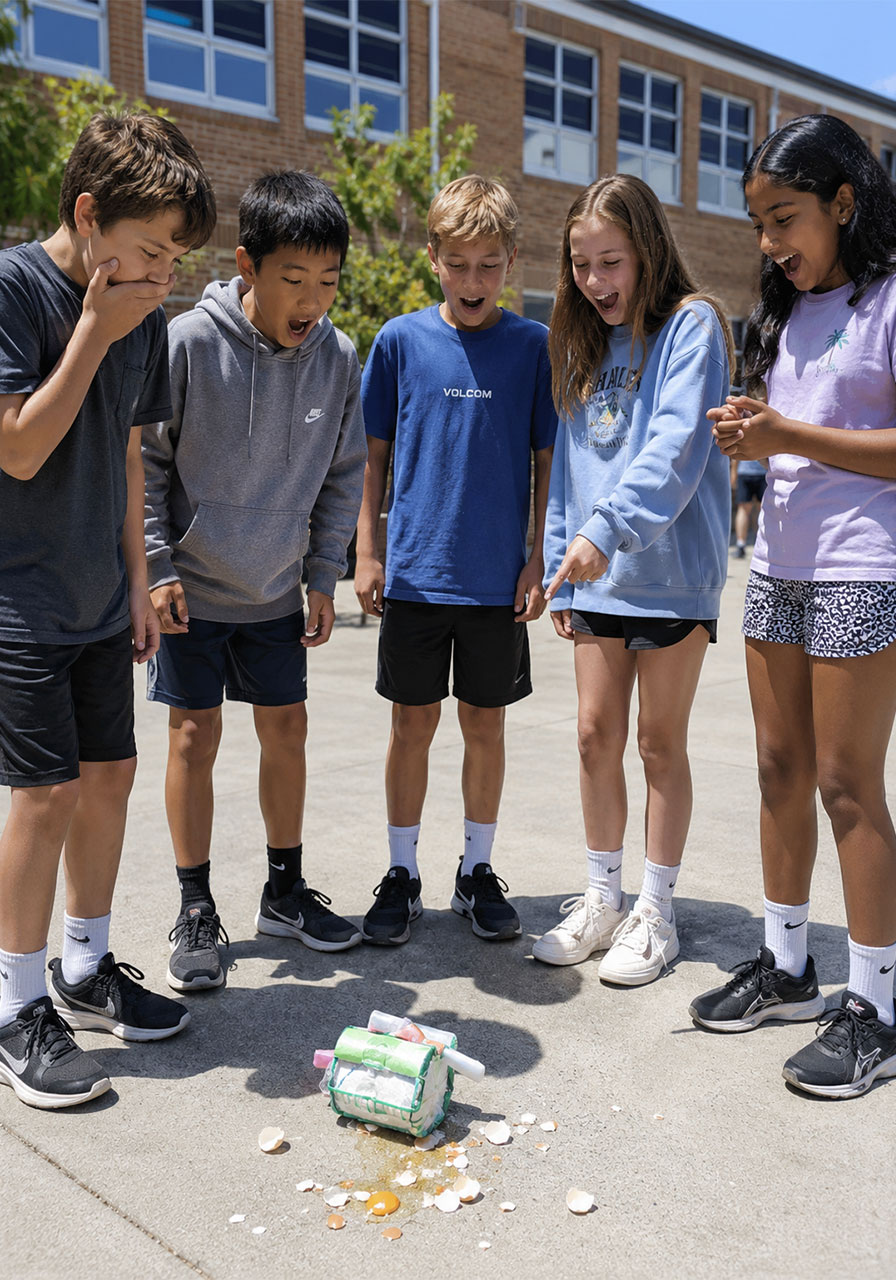
And because the challenge ends in a dramatic drop test, kids stay invested the entire time. Nobody wanted to leave the room before “their” contraption got tested.
Egg Drop Project at a Glance
Best for: Preschool through upper elementary (easily adapted for middle school or homeschool groups)
Time to plan and build: 30-60 minutes, plus a few days if kids are collecting materials from home
Time to test: 15-30 minutes, depending on group size
Group size: Works independently, in pairs, or in small groups of 3-4
What You’ll Need
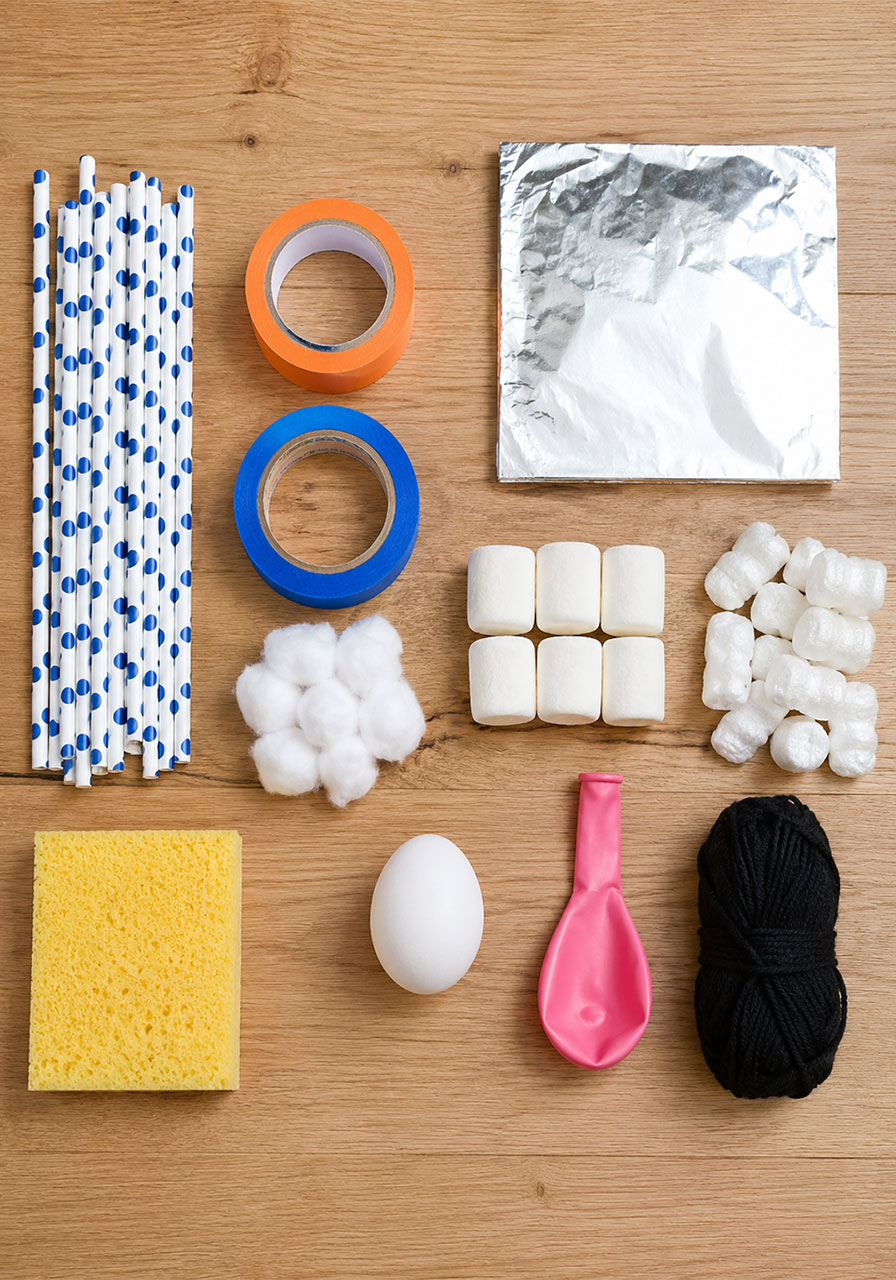
Part of what makes this project so accessible is that it doesn’t require any special supplies. Most materials are things families already have at home or things you can pull straight from the recycling bin.
- Raw eggs (one per contraption, plus a few extras for retesting)
- Drinking straws
- Cardboard tubes or scrap cardboard
- Tape (masking tape and packing tape both work well)
- Rubber bands
- Plastic bags
- Cotton balls or cotton batting
- Marshmallows
- Packing peanuts
- Aluminum foil
- Sponges
- Balloons
- Yarn or string
- A simple sheet of paper for sketching designs
One tip worth passing along: set some limits ahead of time. Boxes and anything battery-powered can make the challenge too easy or shift the focus away from actual engineering thinking, so many teachers choose to leave those off the materials list.
How to Run the Egg Drop Challenge, Step by Step
Here’s the full process broken down, from planning day to drop day.
1. Send Home a Materials Call
A few days before the challenge, ask kids to start collecting materials from home. This is a great way to get families involved, and kids tend to feel more ownership over a contraption built from things they personally chose.
2. Have Kids Sketch and Plan Their Design First
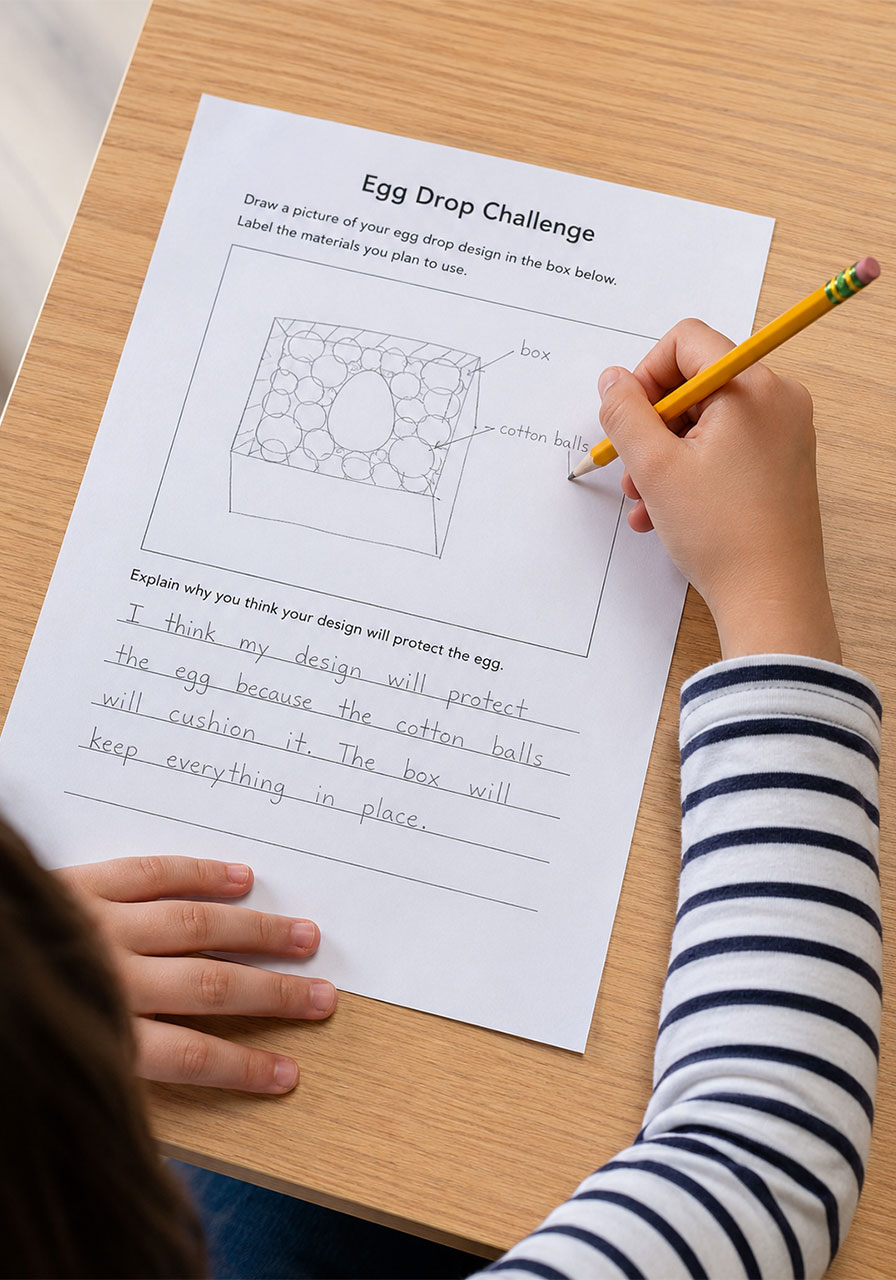
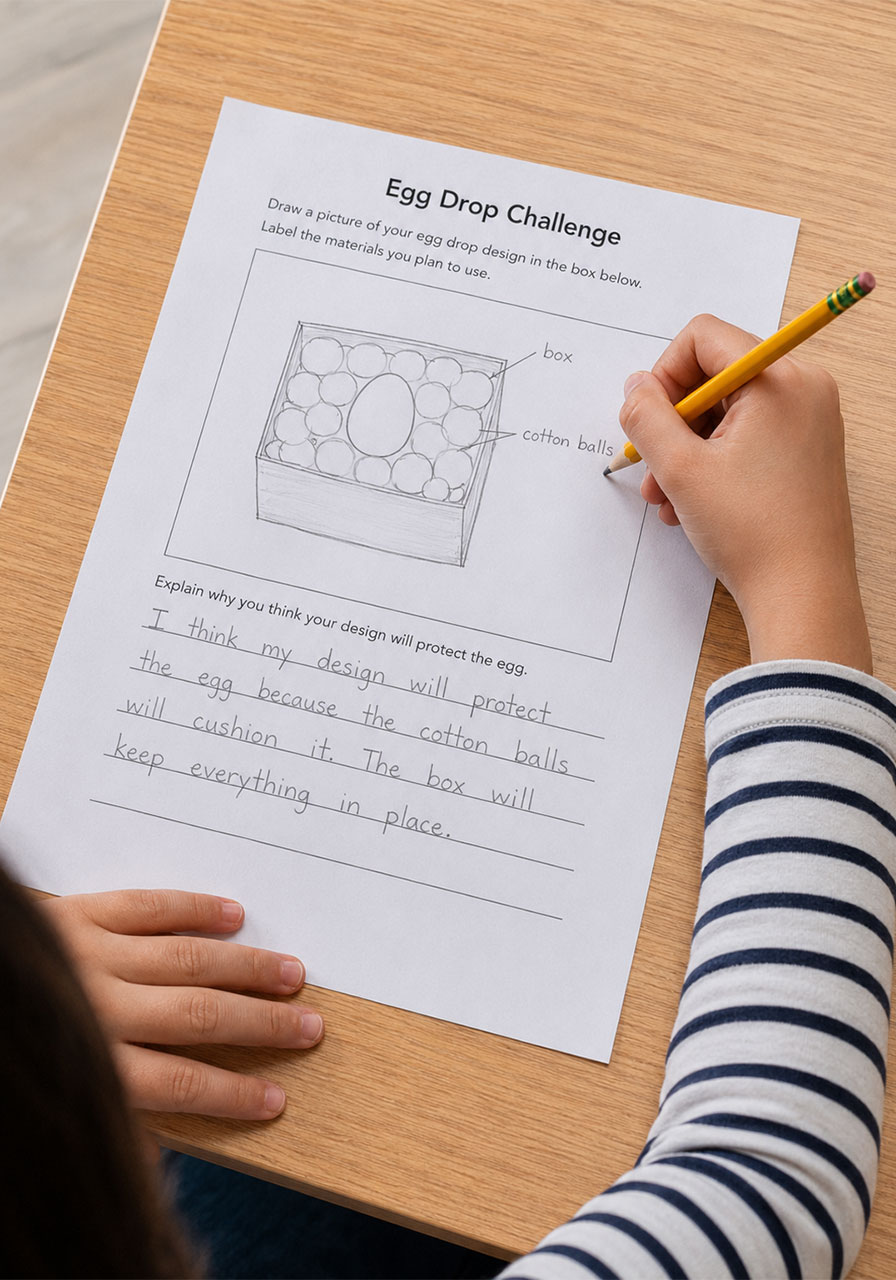
Before anyone touches tape or straws, have kids draw their design idea on paper. A simple box outline works fine: have them sketch where the egg will sit and what materials will surround it.
Underneath the sketch, have them write a sentence or two explaining why they think their design will protect the egg. This step matters more than it seems. It forces kids to reason through their design before they build it, instead of just grabbing materials and hoping for the best.
3. Build Time
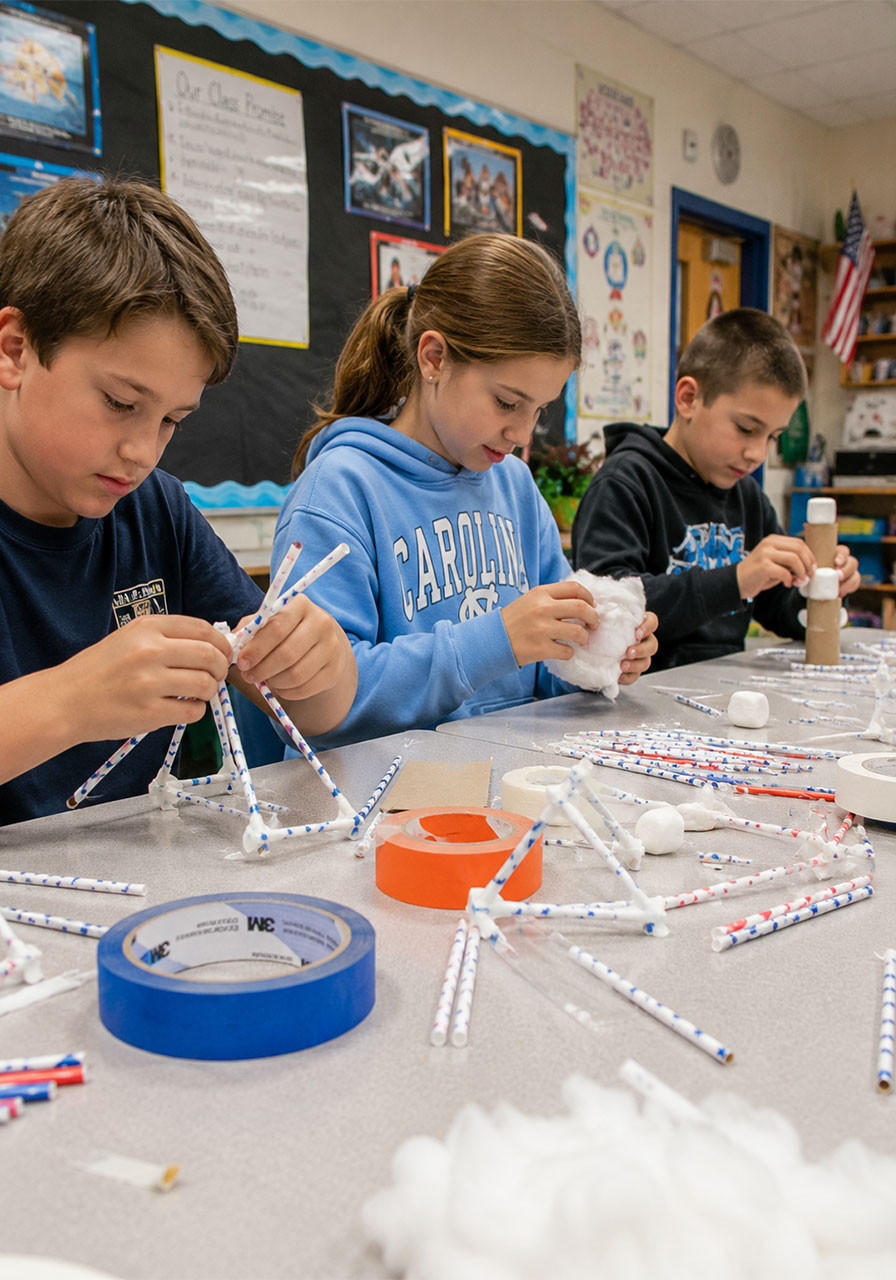
Give kids time to work independently, in pairs, or in small groups. Some kids will want to build alone so they have full creative control; others do better bouncing ideas off a partner. Both approaches work well for this activity.
4. Let Kids Examine Everyone’s Contraptions
Before the actual drop test, have the whole group walk around and look at every finished design. This step is often the most educational part of the entire project.
Kids naturally start comparing designs and noticing patterns: “that one looks really padded” or “I don’t think that’s going to stay closed.” That kind of peer analysis builds critical thinking in a way that’s hard to replicate any other way.
5. Record Predictions Before Testing
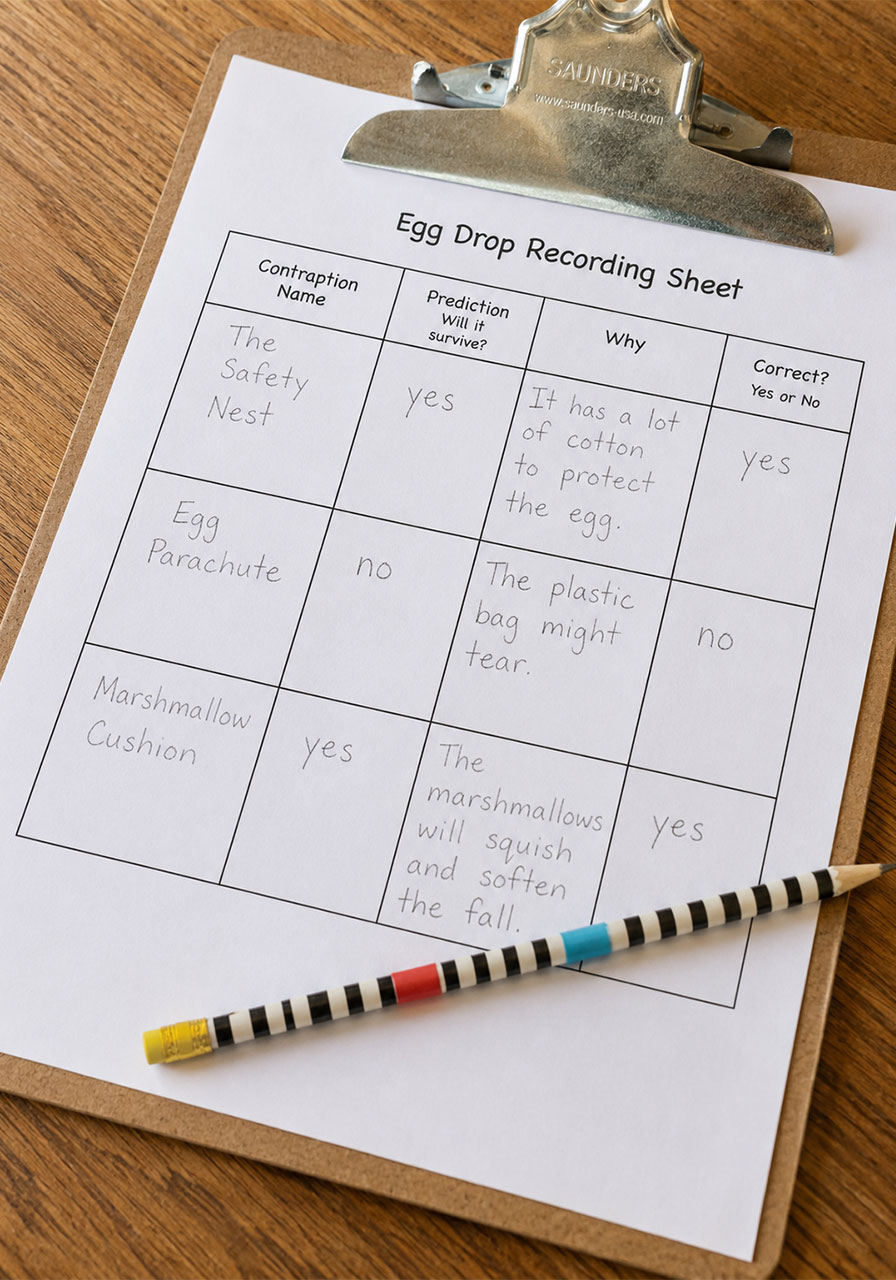
Have kids record a quick prediction for each contraption before it gets dropped. A simple table works well, with columns for the contraption’s name, a yes/no/not sure prediction, a short reason why, and a final column to check afterward for whether the prediction was correct.
Fun tip: let kids name their contraptions. Names like “Bubbly” or “Meplife” showed up in one of our classes, and it made the whole recording process a lot more entertaining for everyone involved.
6. Drop Test Day
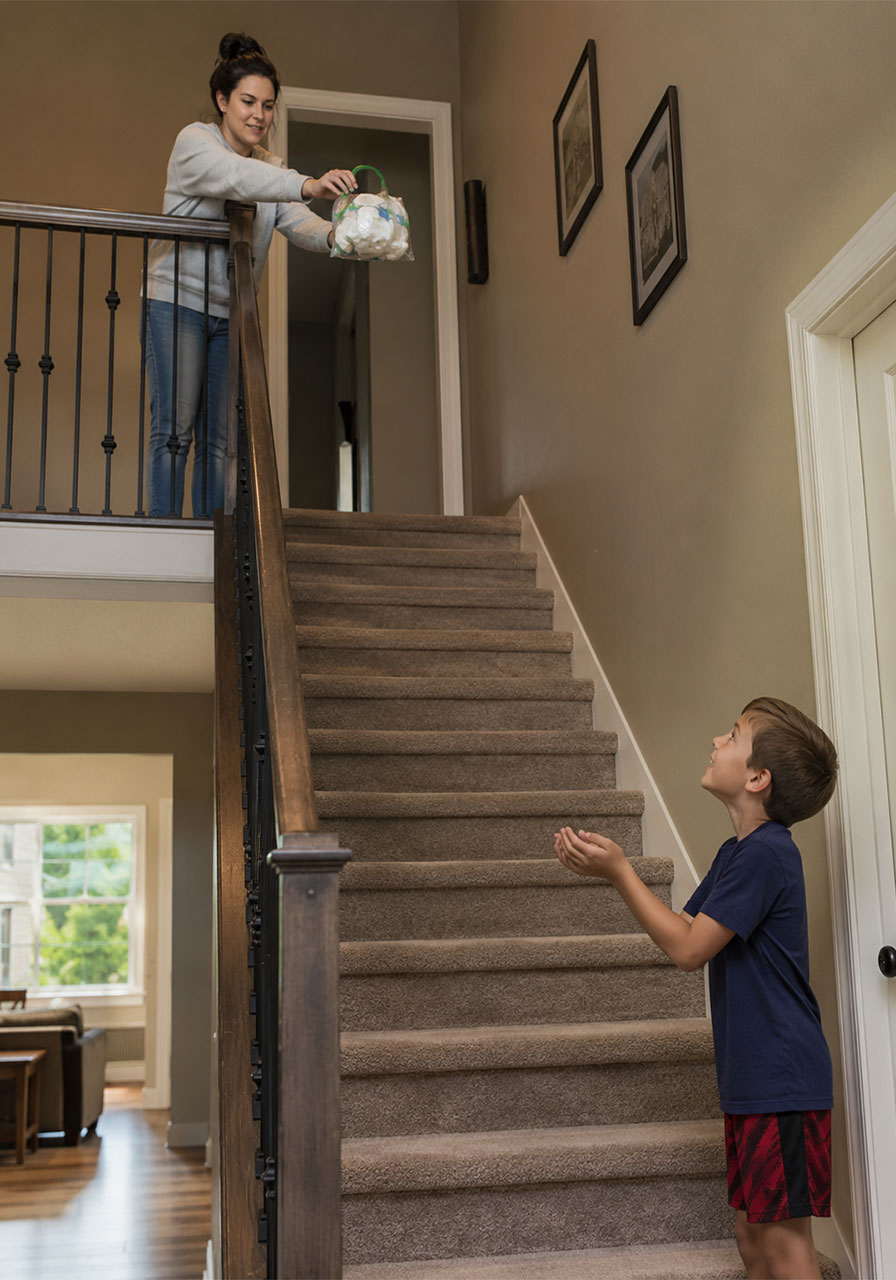
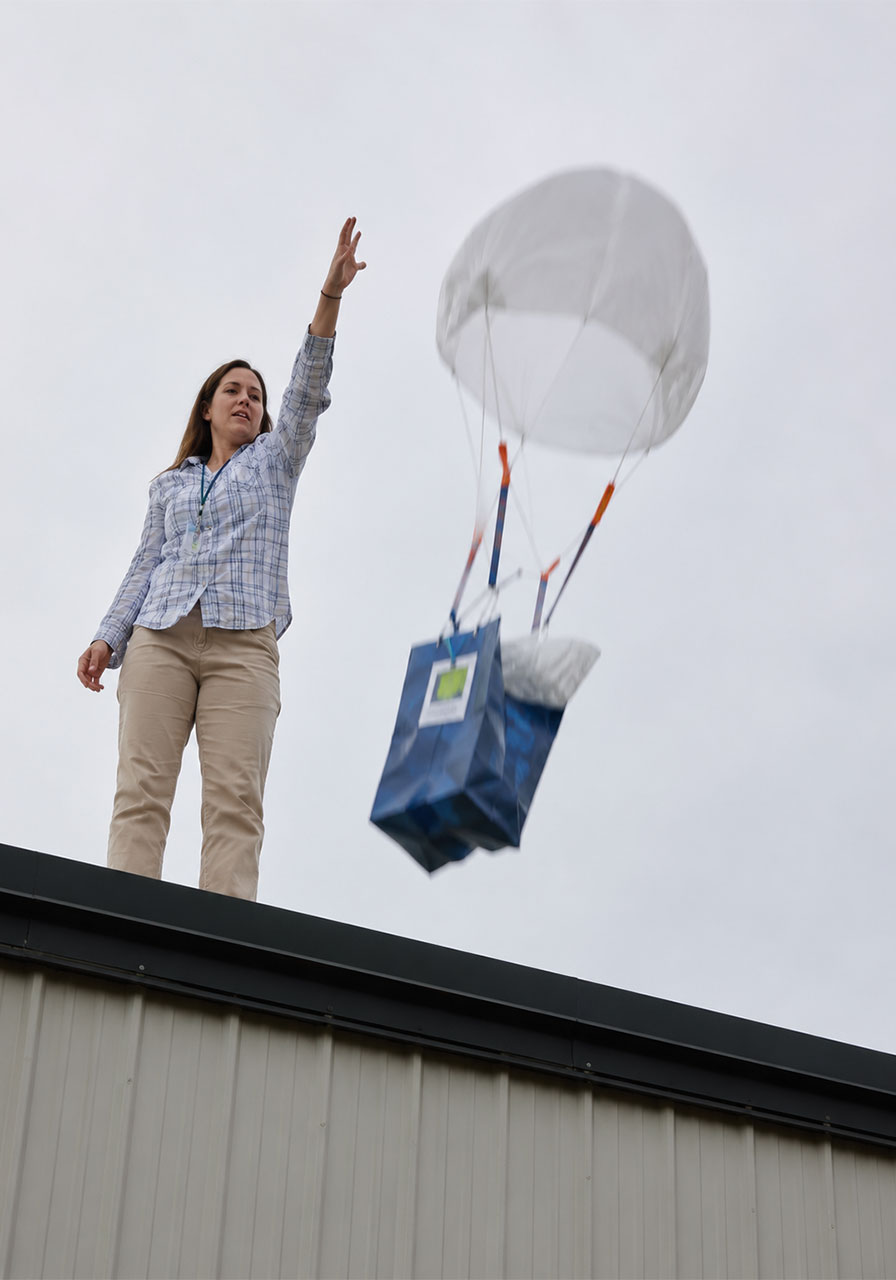
This is the moment everyone’s been waiting for. Choose a height appropriate for your group and setup, whether that’s a step stool, a balcony, or a rooftop with adult supervision.
Drop one contraption at a time so kids can watch and react individually. Higher drops create more dramatic (and more educational) results, since a taller fall means more force hits the egg on landing.
Always have an adult in charge of any elevated drop, and make sure the landing area is clear before each drop.
7. Discuss What Worked and Why
After the drops, gather the group and talk through the results together. Ask kids why they think certain designs held up and others didn’t. This closing discussion is where a lot of the real learning locks in, so don’t skip it even if everyone’s eager to move on.
Real Contraption Designs That Actually Worked (and Some That Didn’t)
Seeing real examples makes this challenge much easier to picture, so here’s a breakdown of contraptions we’ve seen kids build over the years.
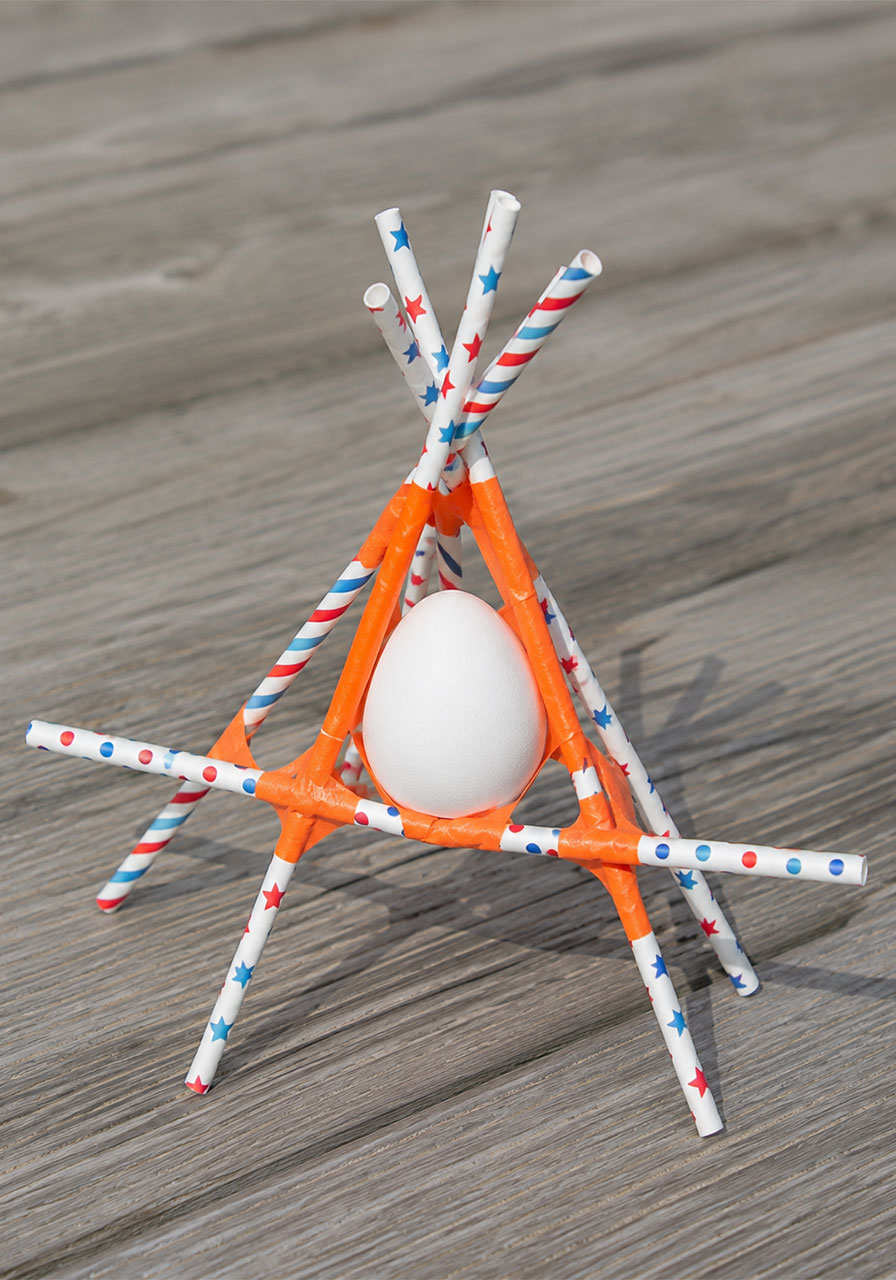
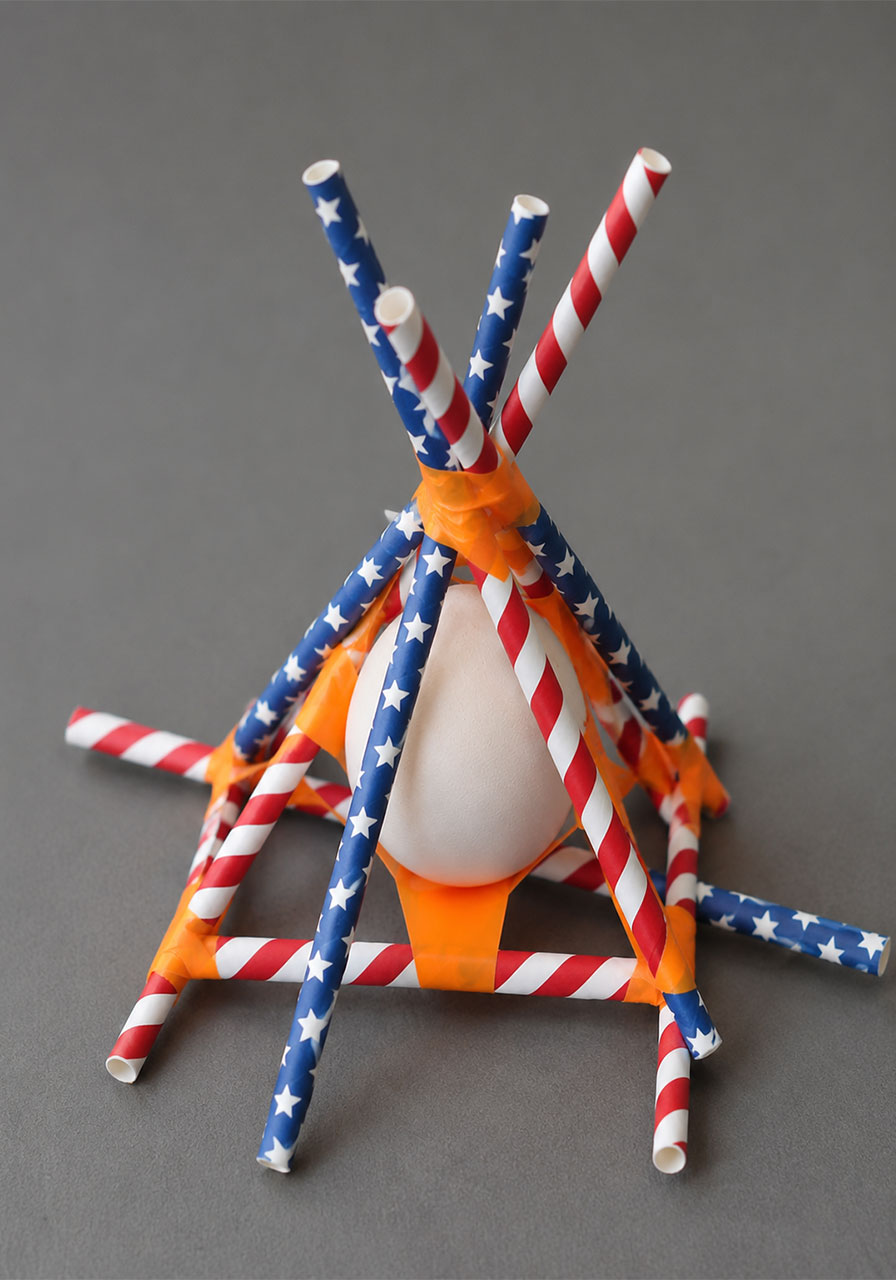
The Straw Pyramid Cage
Straws are crossed and taped together to form a triangular, pyramid-shaped frame that holds the egg suspended in the middle, never touching the ground directly.
This design works well because the structure absorbs and spreads out the force of impact instead of letting it all hit one spot. Keeping the egg elevated off the ground also gives it a small buffer of protection, even on a hard landing.
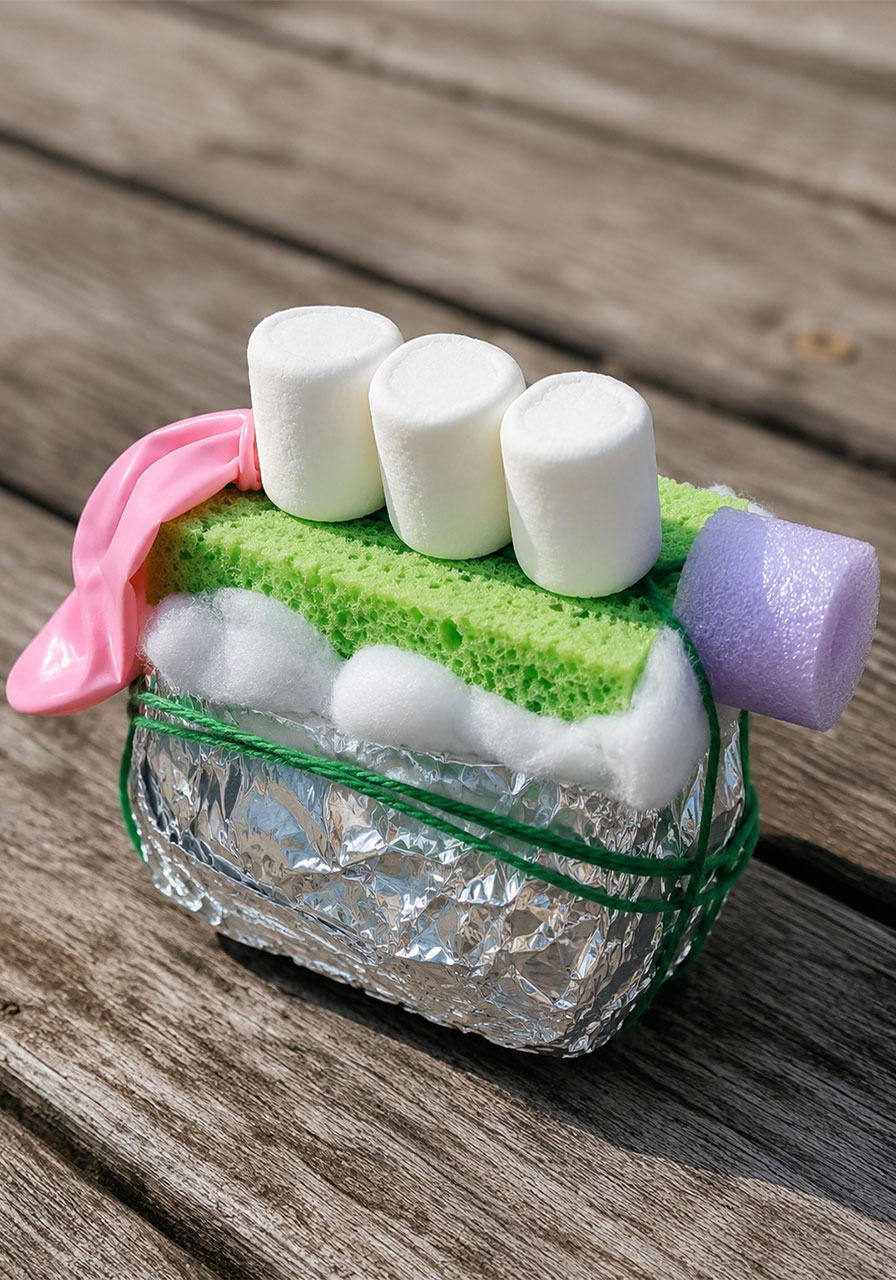
The Padded Sponge Base
This design layers a sponge, cotton, marshmallows, and aluminum foil into a soft nest, sometimes with a balloon or pool noodle piece attached as an extra cushion or bumper.
Padding-heavy designs like this rely on absorbing shock rather than deflecting it. They tend to work best when the padding is thick and snug enough that the egg can’t shift around and knock against a hard surface inside.
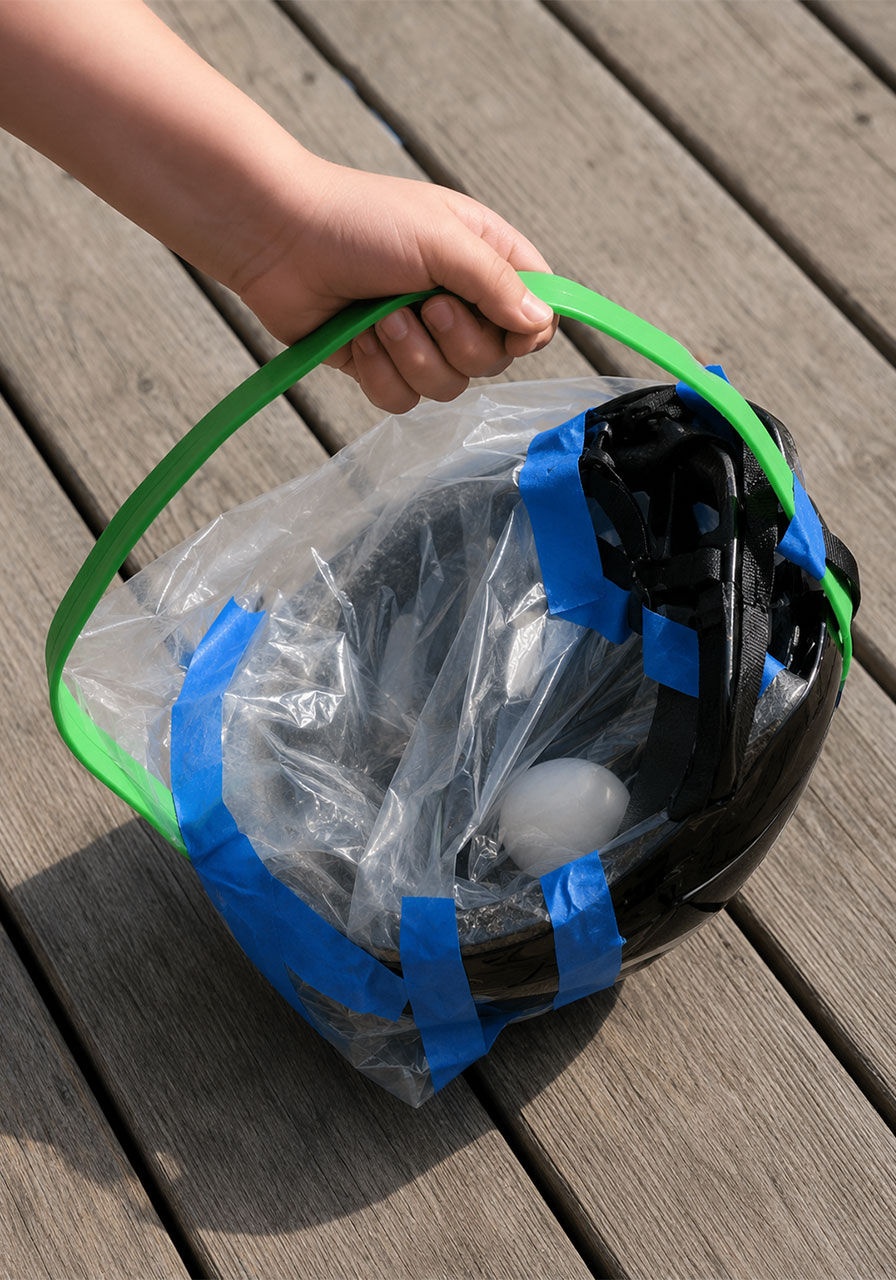
The Repurposed Helmet
One clever design used an actual bike helmet, taped into a plastic bag, to hold the egg. It’s a great reminder to kids that “materials” don’t have to mean craft supplies. Anything designed to absorb impact in real life can usually be repurposed for this challenge too.
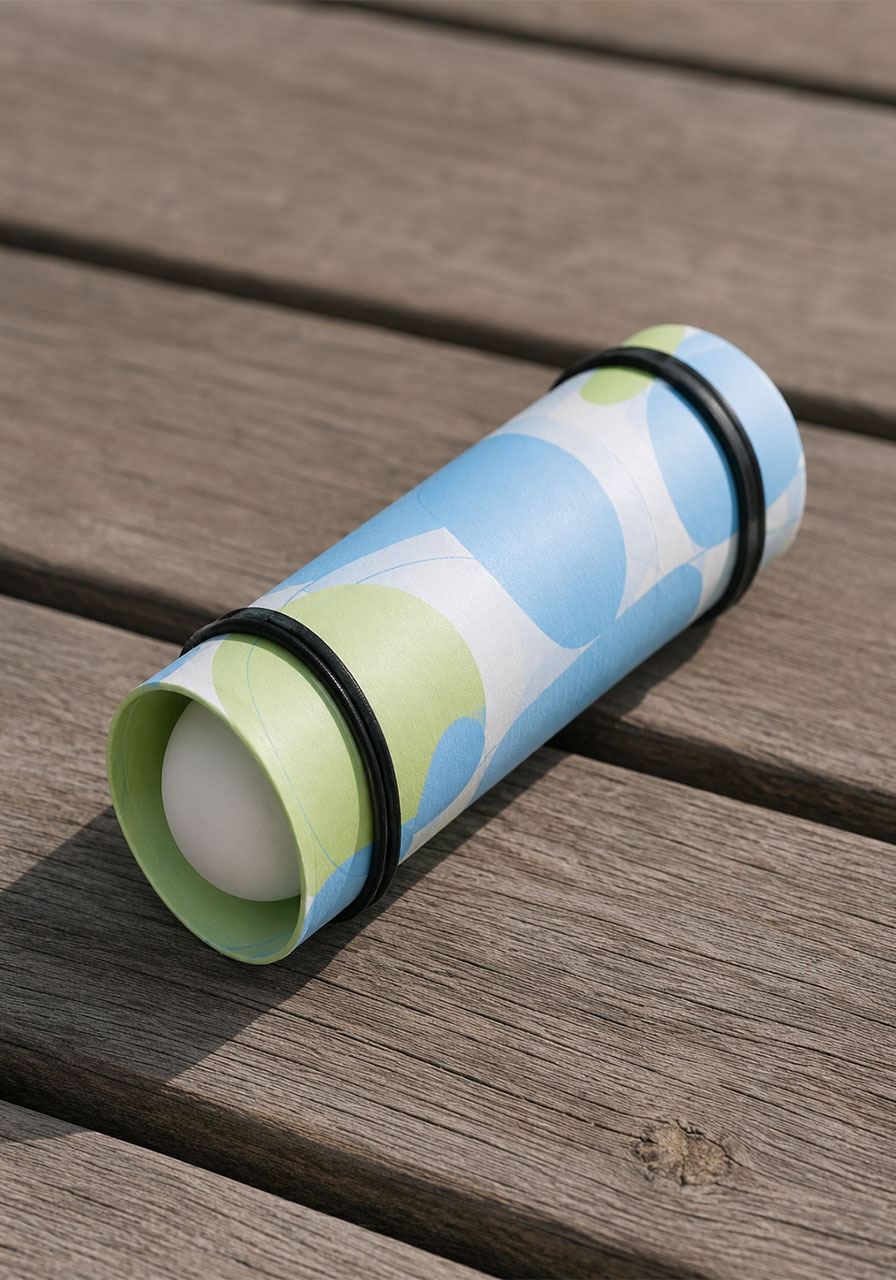
The Rolled Tube
A simple design wraps the egg inside a cardboard or paper tube, secured on both ends with rubber bands. This is an easy, low-material option, but it depends heavily on how well the egg is cushioned inside the tube itself. Without enough padding, this design tends to be one of the more fragile options.
The Mesh Bag
Another version uses a plastic bag filled with soft netting or mesh material, tied closed with yarn. Loose, flexible cushioning like this can work well, but it also runs the risk of the egg shifting or slipping out if the bag isn’t secured tightly enough.
The Parachute Drop
For an extra challenge, try a parachute-style design: the egg sits in a small bag or box, attached by string to a
