
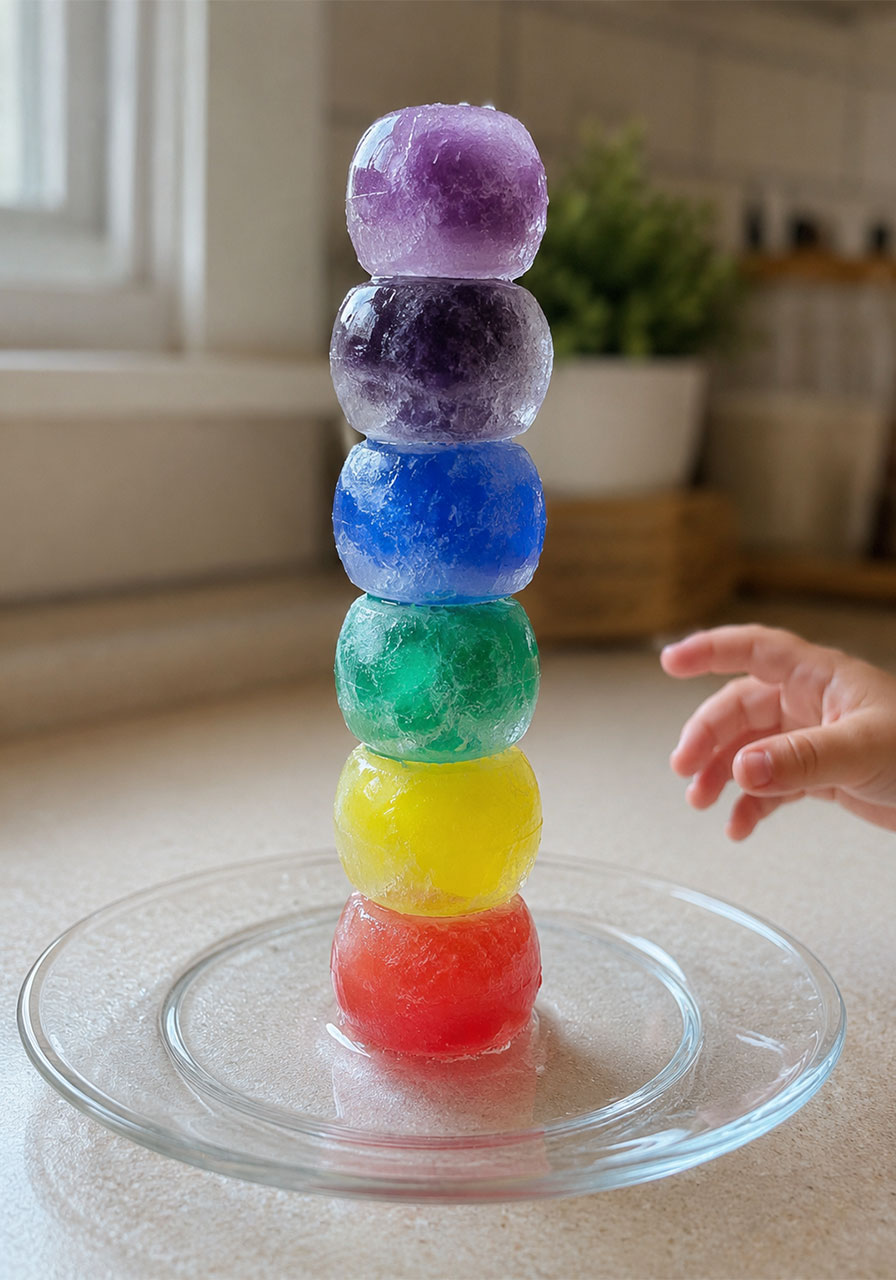
Picture this: a tower of colorful ice cubes, stacked five, six, seven cubes high, standing tall like a mini ice sculpture. No glue. No tape. No toothpicks holding it together. Just ice, a pinch of salt, and a few seconds of patience.
The first time you try this, it genuinely looks like a magic trick. Kids press two ice cubes together, wait a moment, and suddenly they will not budge. They are frozen solid to each other, as if by invisible glue.
But here is the best part for you as a teacher or a parent: this is not magic at all. It is real, honest-to-goodness chemistry happening right on your kitchen counter, and it is one of the easiest, cheapest, most jaw-dropping STEM activities you will ever set up.
If you have been searching for a hands-on science experiment that is simple enough for toddlers but fascinating enough to hold a classroom full of eight-year-olds, this is it. Let’s dive in.
Why This Activity Is a Must-Try for Classrooms and Playrooms
Every great STEM activity has to check three boxes: it has to be safe, it has to be simple, and it has to genuinely wow the kids. This one checks all three.
There is no cooking, no sharp tools, and no complicated setup. You likely already have everything you need sitting in your kitchen right now. That means you can go from “I have an idea” to “the kids are amazed” in about ten minutes.
It is also wonderfully flexible. A toddler can help drop in the salt and watch the cubes stick. A six-year-old can start asking why it works. An eight-year-old can run their own mini experiment, testing different amounts of salt to see what changes. One activity, endless levels of engagement.
And because the ice cubes come out colorful (we used a fun mix of red, yellow, green, blue, and purple), this doubles as a sensory and color-recognition activity for your younger learners, while still delivering real chemistry for your older ones.

The Science Behind It: Freezing Point Depression
Here is the concept in plain English, no chemistry degree required.
Ice melts at 32°F (0°C). That is its freezing point. But when you sprinkle salt onto ice, something interesting happens. The salt dissolves into the thin layer of water sitting on the surface of the ice, and that salty water has a lower freezing point than plain water.
Because the salty water can no longer freeze at 32°F, it stays liquid even though it is sitting on ice. This is called freezing point depression, and it is the same reason road crews spread salt on icy roads in the winter.
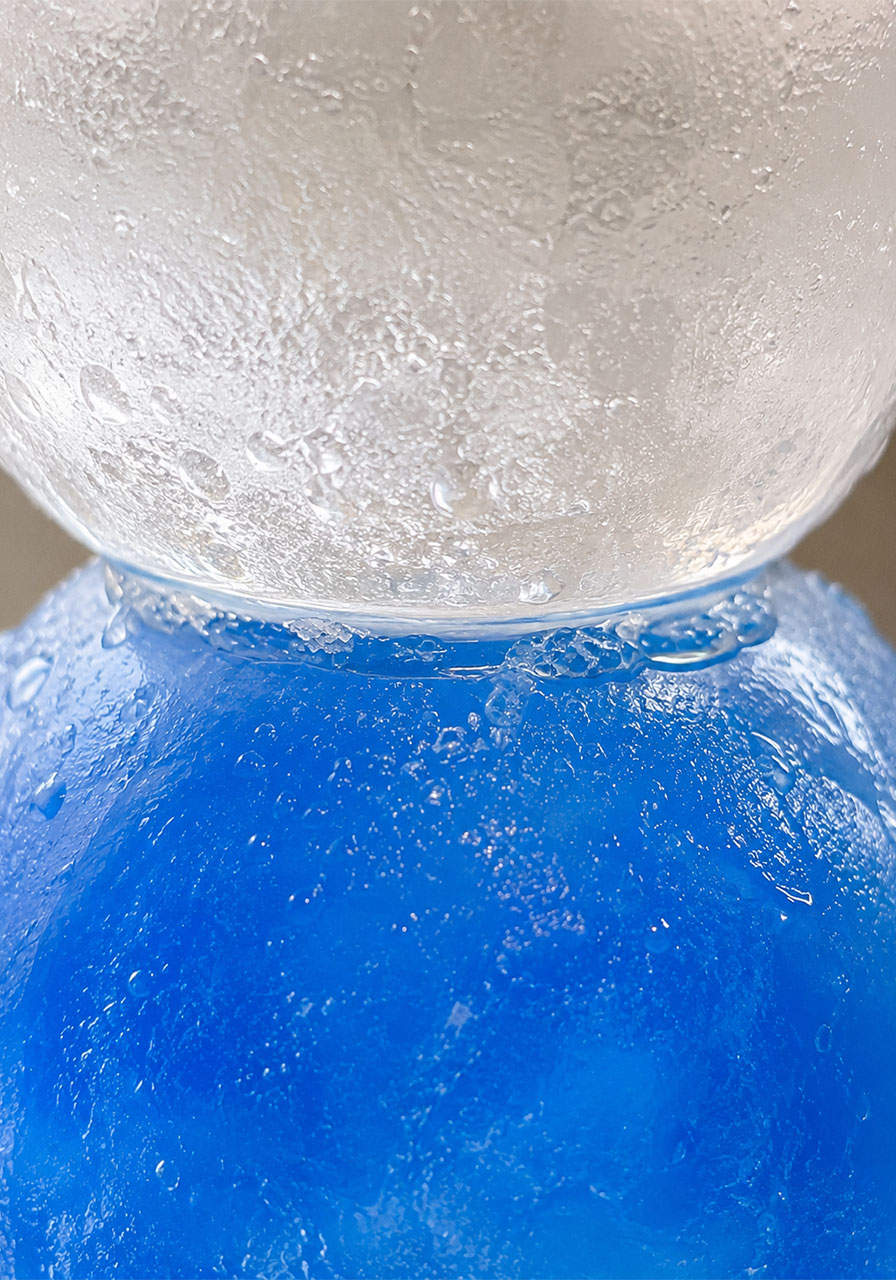
Now here is the trick that makes this experiment so fun. That thin layer of salty water is very cold, but it has not fully refrozen. When you press a second ice cube on top of it, the salty water gets squeezed between the two cubes. Within a few seconds, it refreezes, this time locking both ice cubes together as one solid piece.
In other words, the salt does not glue the ice cubes together directly. It temporarily melts a tiny bit of ice, and then that meltwater refreezes around the new cube, welding the two together. It is a two-step process: melt, then refreeze.
This is a fantastic real-world entry point for teaching kids about states of matter, melting points, and how substances dissolved in water change its properties. If you are a teacher, this ties in beautifully with lessons on solids, liquids, and chemical reactions.
Activity Overview
Best for: Ages 2 to 8, plus curious older kids and adults
Time to Play: 15 to 20 minutes of active play, plus freezing time the night before
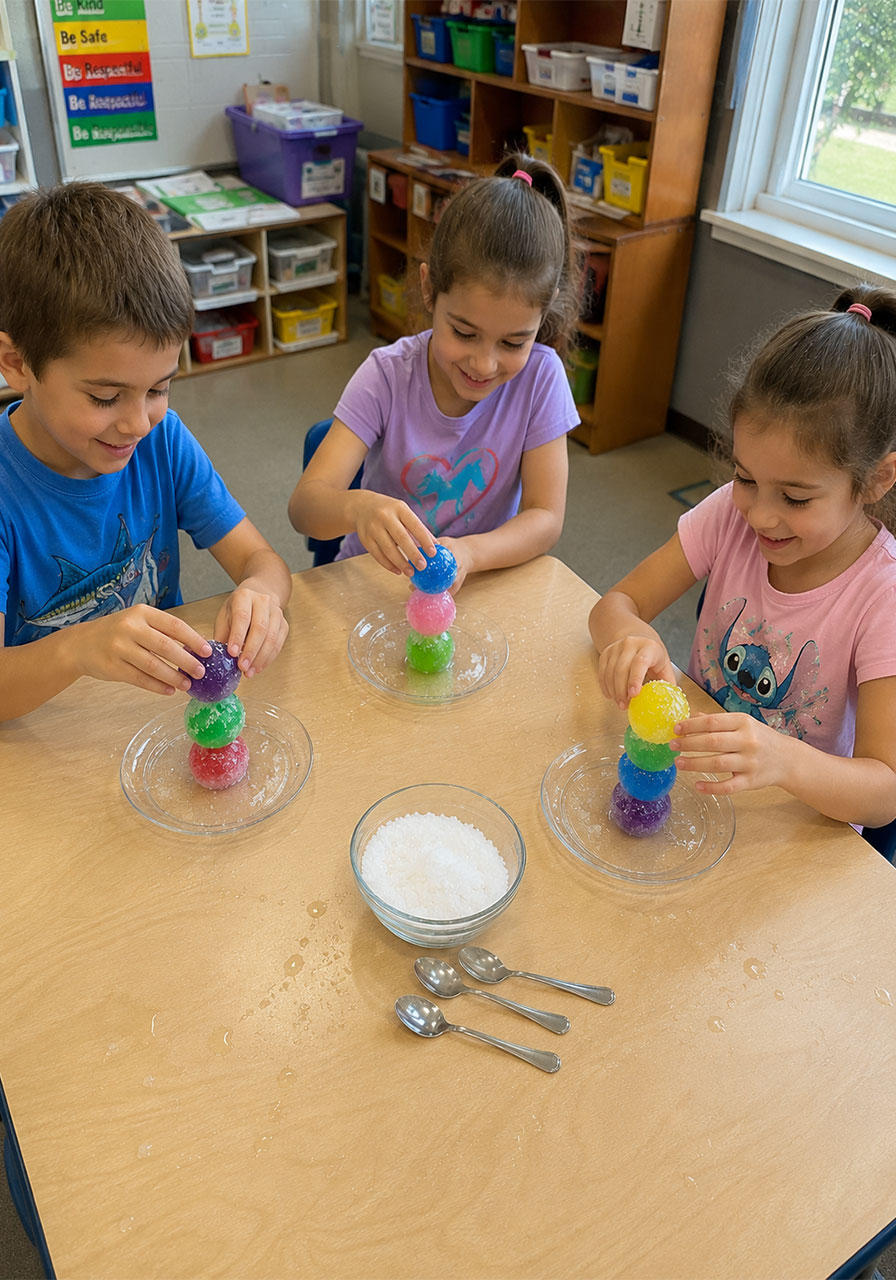
Group Size: Works for one child at home or a full classroom, since each child can build their own small tower
Mess Level: Low. A little water dripping as the ice melts, easily wiped up
What You’ll Need
Ice cube tray or, for the colorful round look shown in our photos, a silicone ice ball mold
Water
Food coloring in a few different colors (optional, but highly recommended for the wow factor)
Table salt
A small spoon
A plate, tray, or shallow bowl to build on top of (this catches drips and keeps the table dry)
How to Play: Step-by-Step Instructions
This experiment happens in two parts. First, you prep the colorful ice the night before. Then, the actual “sticking” experiment happens the day of your activity.
Part 1: Prep the Ice (Do This the Night Before)
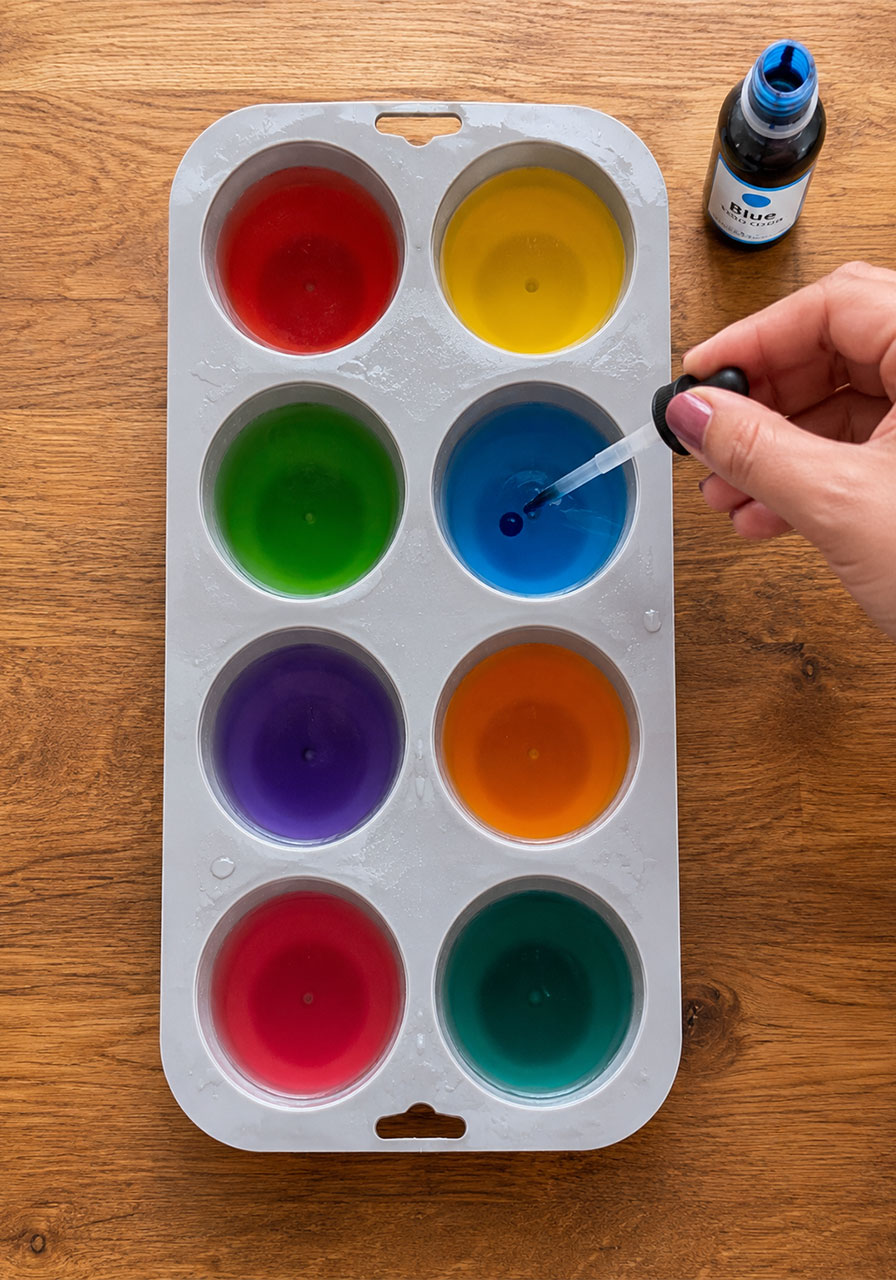
1. Fill your ice cube tray or ice ball mold with water.
2. Add a few drops of food coloring to each section. Use a different color for each cube so your tower turns out bright and rainbow-like.
3. Place the tray in the freezer and let it freeze completely overnight, or for at least six to eight hours.
Part 2: The Sticking Experiment
1. Pop all your frozen, colorful ice cubes out of the tray and set them on a plate or tray.
2. Pick one ice cube and place it upright on your building surface. This will be the base of your tower.
3. Using your spoon, sprinkle a small pinch of salt directly on top of the ice cube.
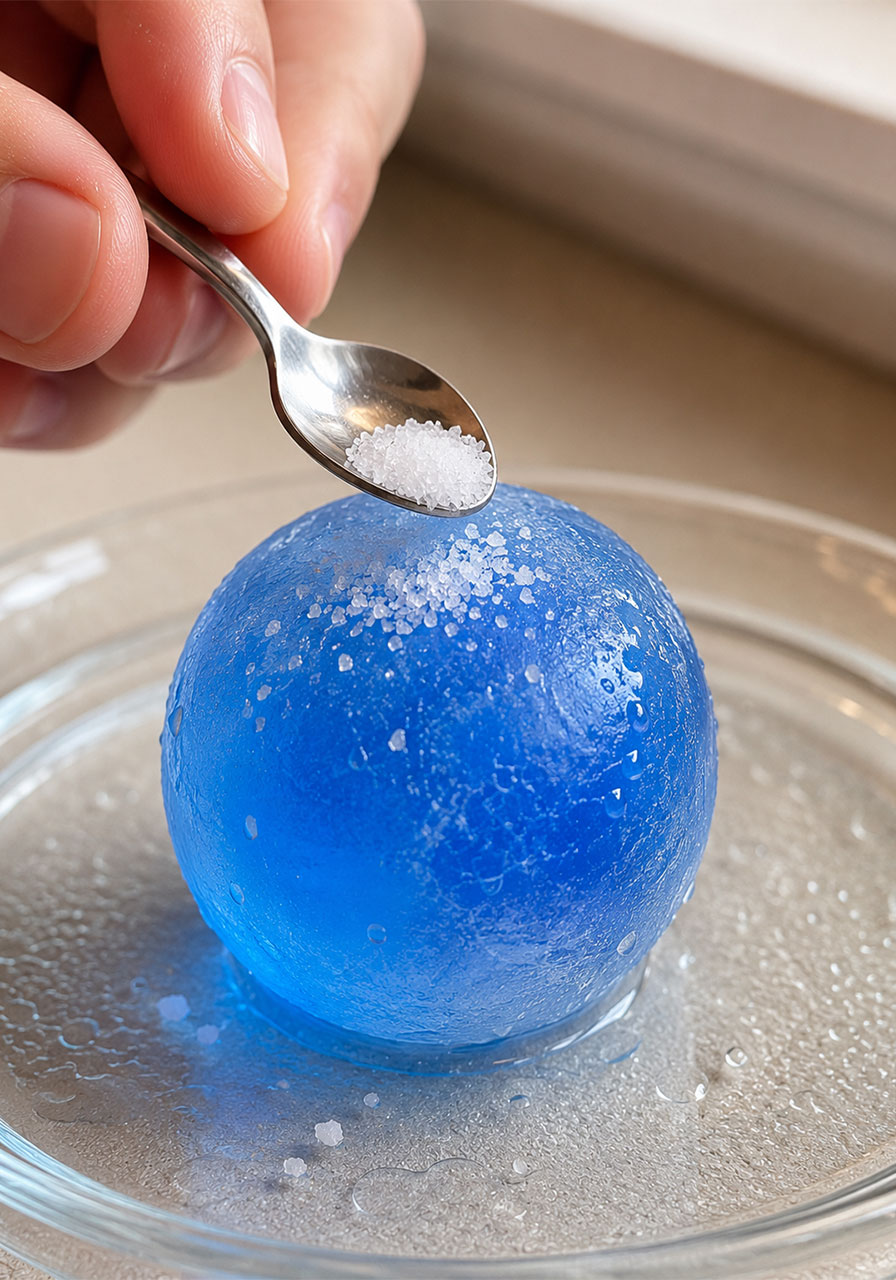
4. Take a second ice cube and press it firmly on top of the salted cube. Hold it in place for about 10 to 15 seconds.
5. Let go slowly. The two cubes should now be stuck together as one piece. If they slide apart, simply add a touch more salt and press again, holding a little longer this time.
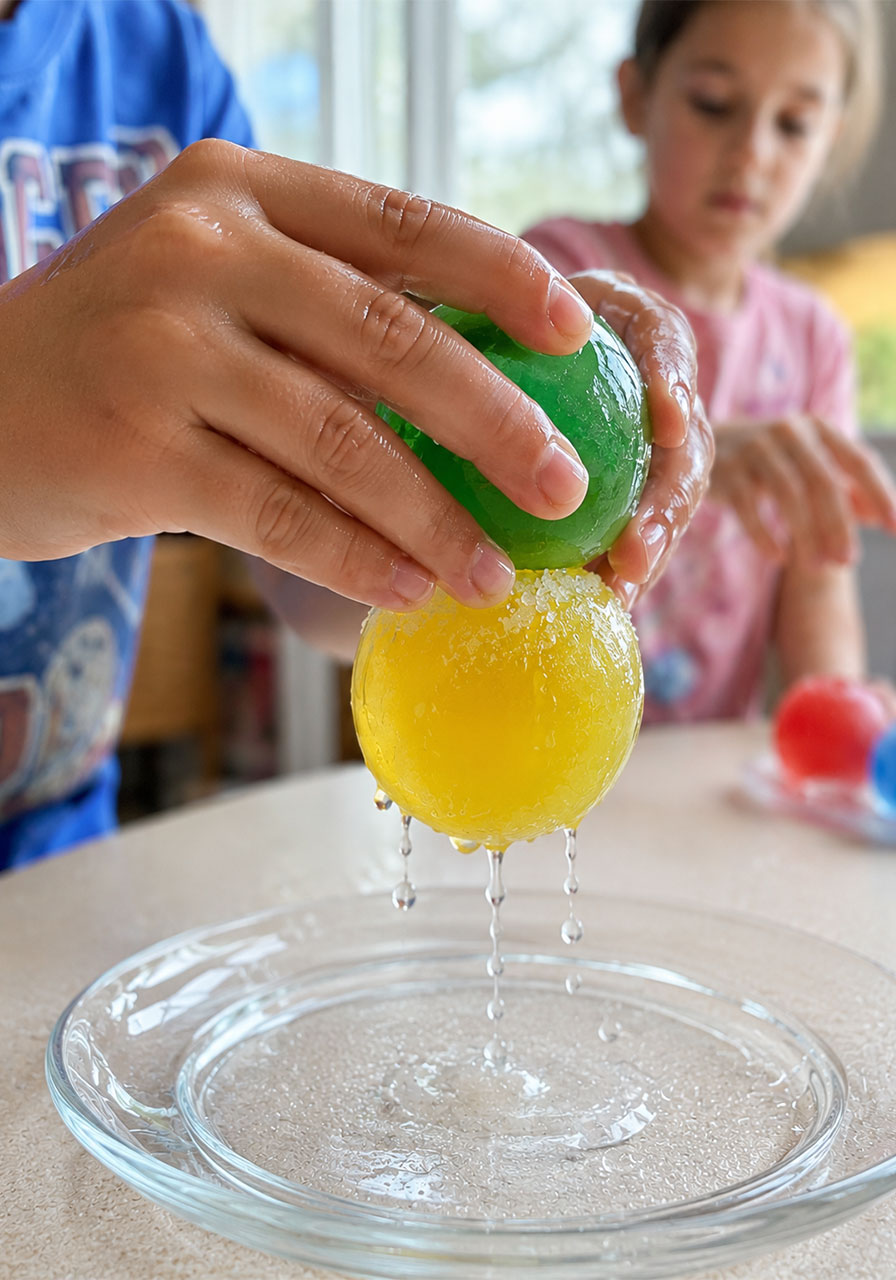
6. Repeat the process: sprinkle salt on top of the newly stacked cube, add another cube, and hold. Keep building, one cube at a time, and watch your tower grow taller with every layer.
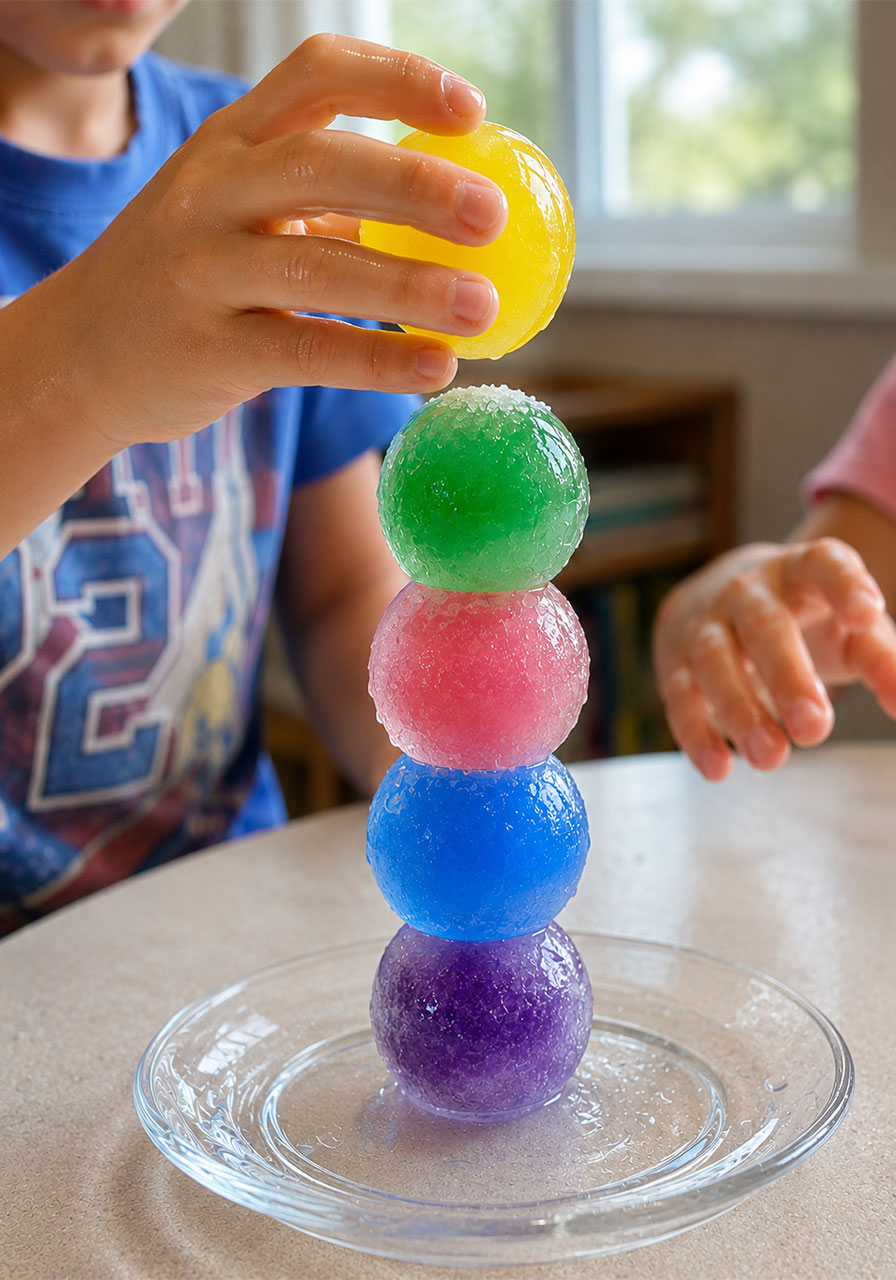
7. Continue until you run out of ice cubes or your tower reaches the height you want. Ours held steady at six cubes tall.
That is truly it. There is no trick to memorize and no ratio to measure out. A pinch of salt and a firm ten-second press is all it takes.
Pro Tips for a Successful First Try
A few small details make a big difference in how well this experiment works, so keep these in mind.
Use a light pinch, not a heavy pour. A small amount of salt is all you need to trigger the melting and refreezing process. Dumping on too much salt can actually cause too much melting, which makes the cubes slippery and harder to stack.
Hold each cube firmly for a slow count of ten. The bond needs a few seconds to refreeze. If you let go too quickly, the cubes have not had time to weld together yet.
Work quickly, but not rushed. Ice cubes will naturally start melting the moment they leave the freezer, especially in a warm classroom or kitchen. If your cubes get too slippery to grip, pop them back in the freezer for five minutes to firm back up.
Build on a plate, not directly on the table. This experiment does drip a little as the ice melts, so a plate or tray keeps cleanup simple and quick.
Fun Variations to Try Next
Once your group has mastered the basic tower, there are several easy ways to extend the learning and keep the fun going.
Run a mini experiment. Have older kids test what happens with no salt at all, compared to a little salt, compared to a lot of salt. Ask them to predict which will stick fastest, then time each attempt with a stopwatch.
Try different shapes. Square ice cube trays, round ice ball molds, and novelty-shaped trays all work. Compare how tower stability changes with different shapes.
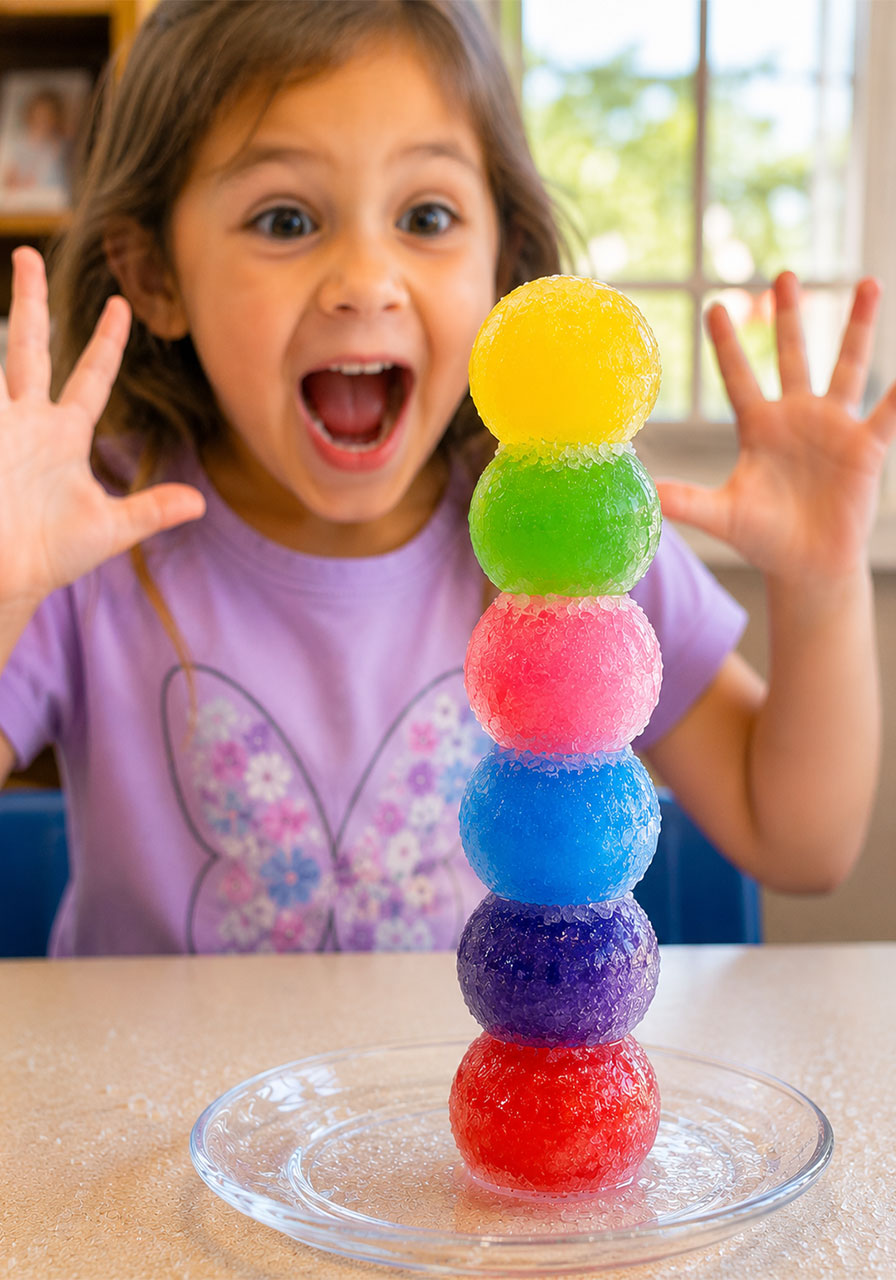
Turn it into a color-sorting activity. For toddlers and preschoolers, ask them to stack the cubes in rainbow order, red to purple, as an added color-recognition challenge layered on top of the science.
Make it a friendly competition. In a classroom setting, split kids into small teams and see whose ice tower can stand the tallest before it starts to topple or melt.
Why Kids (and Grown-Ups) Love This One
There is something genuinely delightful about watching a child’s face the moment they realize the ice cubes will not come apart. It looks like they have discovered a magic trick, and in a way, they have. They just used real chemistry to do it.
Teachers love this activity because it requires almost no prep beyond freezing ice the night before, and it naturally opens the door to bigger conversations about weather, road safety, states of matter, and how ingredients we use every day, like salt, actually change the world around us.
Parents love it because it turns an ordinary afternoon into a memorable “wow, look what we made” moment, using ingredients that are almost certainly already in the kitchen.
Frequently Asked Questions
Does this work with any type of salt?
Yes. Regular table salt works perfectly well. Rock salt or coarse salt will also work, though it may take a few extra seconds to melt the ice surface since the granules are larger.
Why did my ice cubes not stick together?
This usually means one of two things: not enough salt was used, or the cubes were not held together long enough for the water to refreeze. Try adding a touch more salt and holding the cubes together for a slower count of fifteen.
Is this experiment safe for toddlers?
Yes, with adult supervision. The main things to watch for are little ones putting salt in their mouths and making sure the ice does not sit out so long that it becomes a slipping hazard on the floor.
How long will the ice tower last before it melts?
This depends on room temperature, but most towers hold their shape for a good 20 to 30 minutes at typical room temperature, giving you plenty of time to admire your work and snap a few photos before it starts to melt down.
What is the science concept called, in case I want to look it up further?
This is known as freezing point depression, the same principle behind why salt is spread on icy roads and sidewalks in winter.
Final Thoughts
This little experiment proves that some of the best STEM activities do not need a science kit, a trip to the craft store, or a complicated setup. Sometimes all it takes is water, food coloring, and a pinch of salt sitting in your pantry right now.
Freeze your ice the night before, gather your kids or your class the next day, and get ready for a chorus of “wait, how did that happen?” That single moment of genuine curiosity is exactly what makes hands-on science so powerful for young learners.
Save this activity for your next rainy afternoon, classroom science block, or anytime you need a fast, low-mess way to turn “I’m bored” into “let’s do an experiment.”
