
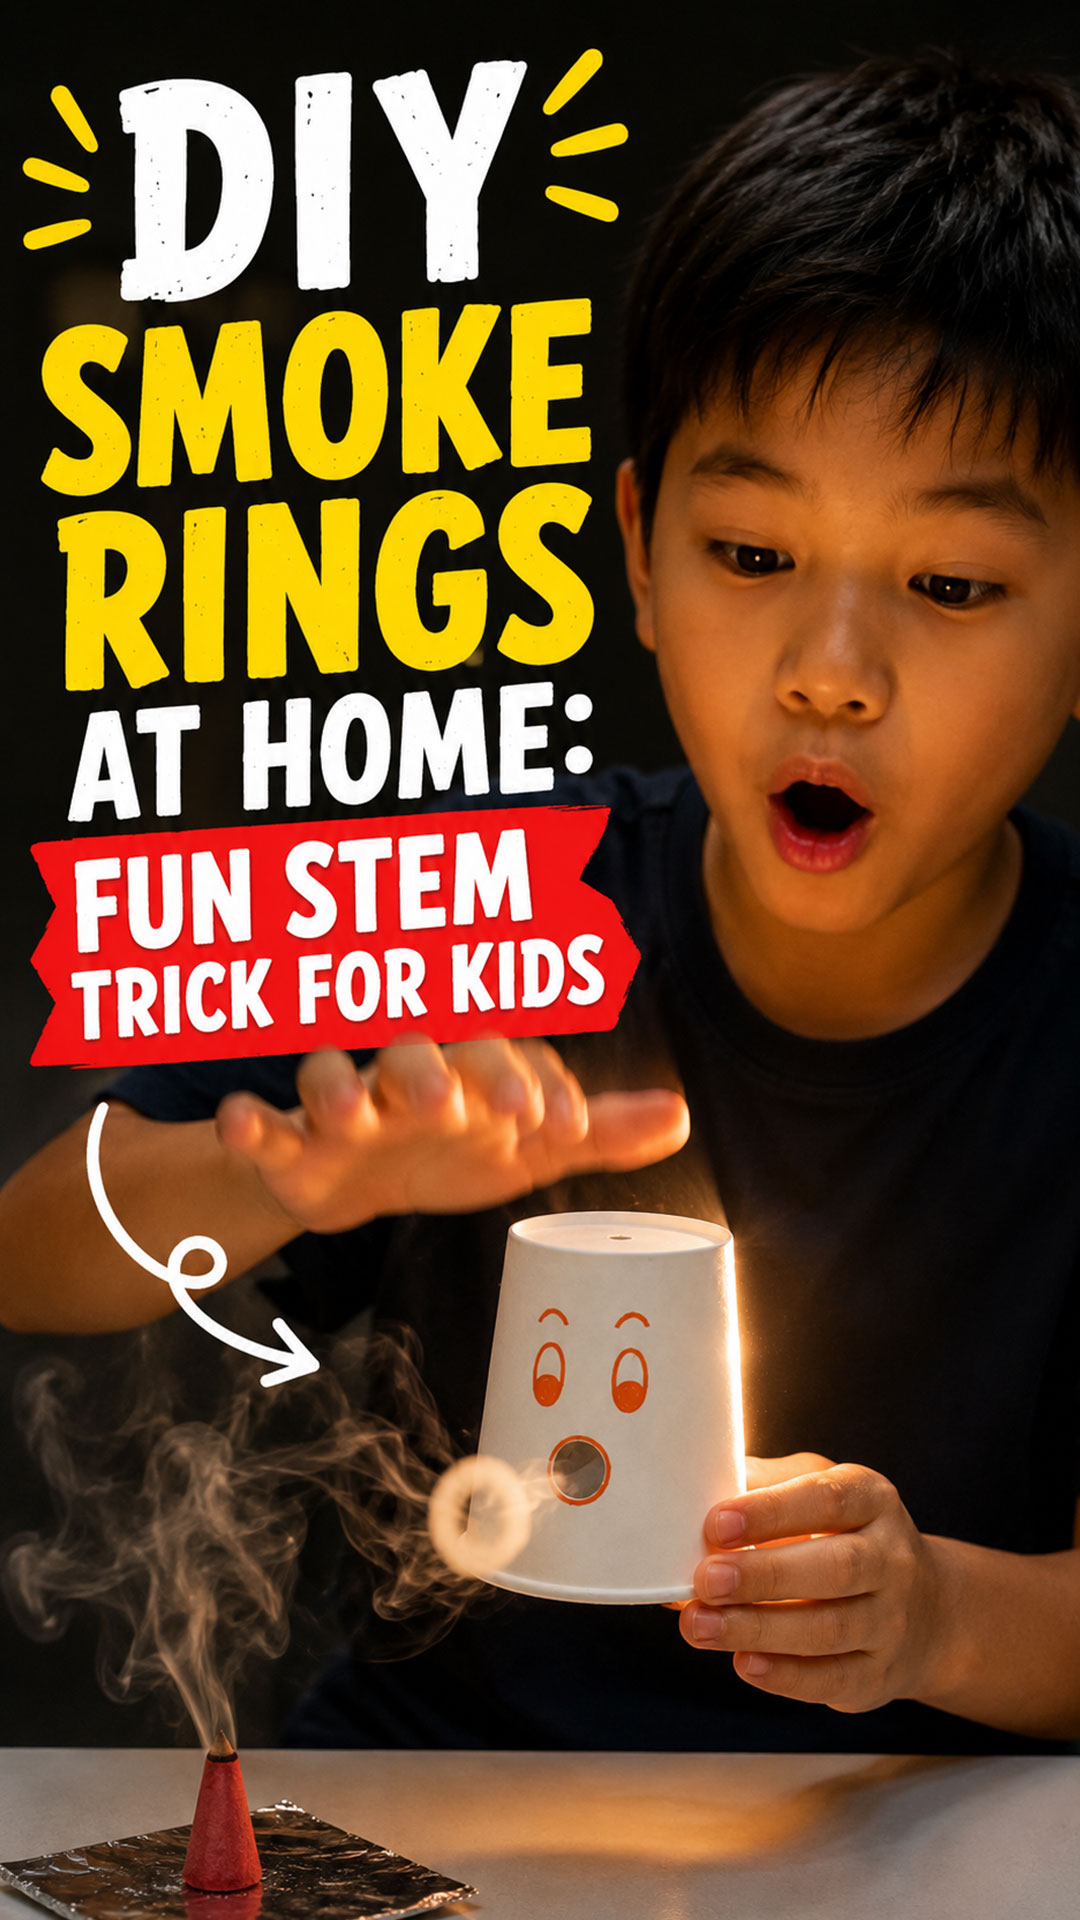
Have you ever watched a perfect ring of smoke float silently across a room and wondered how it’s done? You’re about to learn the secret, and all it takes is a paper cup, a marker, and one lit incense cone.
This little experiment looks like magic. It is actually real physics, hiding in plain sight inside a party cup.
Kids get to watch, ask questions, and try it themselves. Teachers get a five-minute science lesson that nobody forgets. Parents get a rainy-day activity that costs less than a dollar.
Here’s exactly how to build it, step by step, with no guesswork.
Why This Activity Belongs in Every STEM Toolkit
Smoke rings are a real phenomenon in fluid dynamics, the same science that explains how dolphins blow bubble rings underwater and how volcanoes sometimes send rings of ash into the sky.
Watching one form in front of them gives kids an instant, visual hook into a concept that usually only shows up in a textbook diagram.
It also builds observation skills. Kids have to watch closely, adjust their technique, and figure out why one tap works better than another.
That trial-and-error process is exactly what real scientists do. This activity just makes it fun.

Quick Facts
Best for: Kids ages 6 and up, always with adult supervision
Prep time: 5 to 10 minutes
Activity time: 15 to 20 minutes, or longer once the rings start flying
Group size: Works for one child or a full classroom demo
Setting: Best done indoors in a room with still air, or outdoors on a calm day
Safety First, Every Time
This activity involves an open flame and smoke, so a few ground rules matter.
An adult should always be the one lighting the incense and handling any cutting tools. Kids can decorate the cup and fire the smoke rings, but the flame and the sharp tools stay in adult hands.
Do this on a heatproof, non-flammable surface, like a ceramic plate, a metal tray, or foil. Keep the burning incense away from curtains, paper, and anything else that catches fire easily.
Work in a room with mild air circulation, but avoid strong drafts or fans blowing directly on your setup. Too much air movement will scatter the smoke before it ever forms a ring.
Never leave a lit incense cone unattended, even for a moment.
What You’ll Need
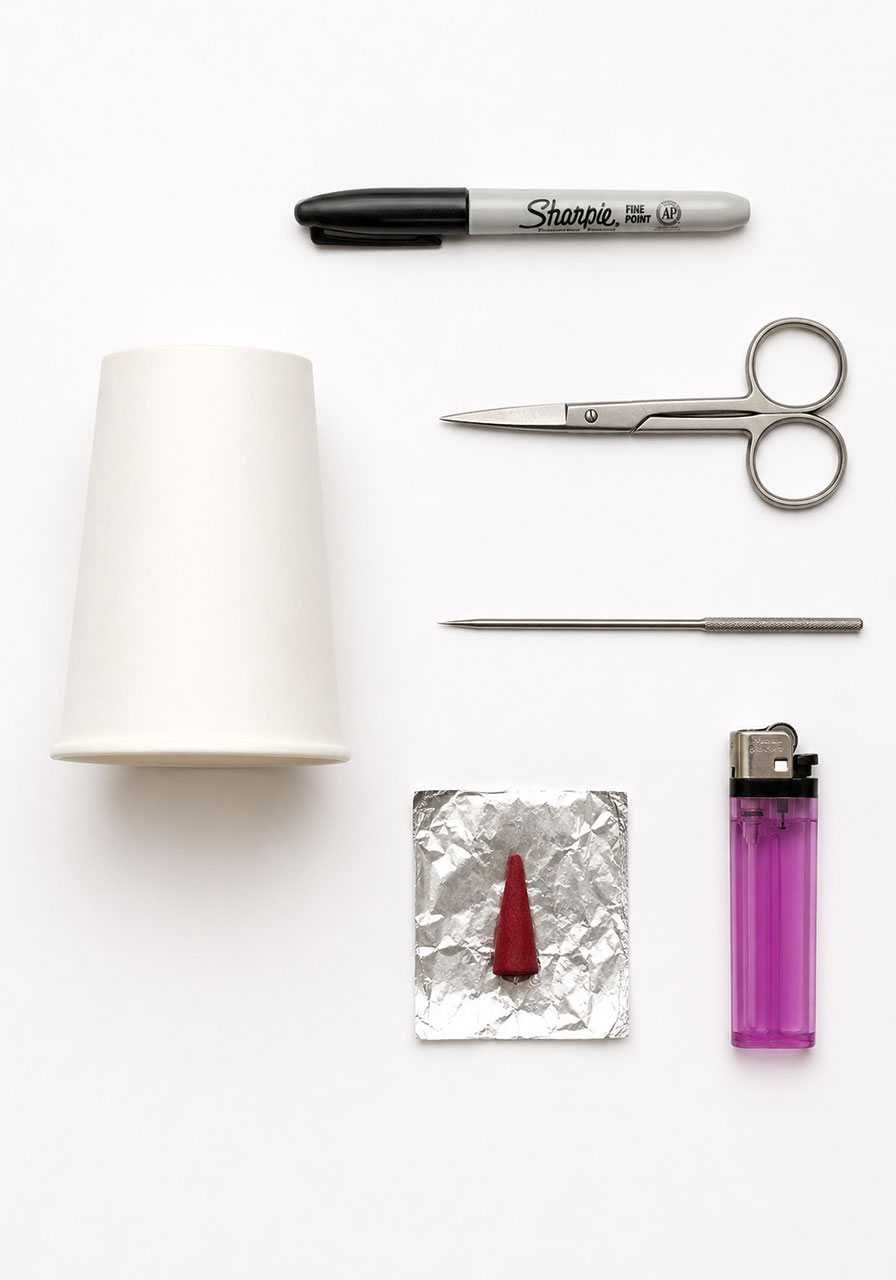
1 sturdy paper cup (a standard party cup works well)
A dark-colored marker
Scissors
A sharp pointed tool for poking a clean hole, such as an awl, a thick needle, or a heated skewer (adult use only)
1 incense cone or dhoop batti (the kind that produces thick, visible smoke)
A lighter or matches
A heatproof plate, tray, or piece of foil to set the incense on
A flashlight or phone light (optional, but it makes the rings much easier to see)
Step 1: Draw the Face
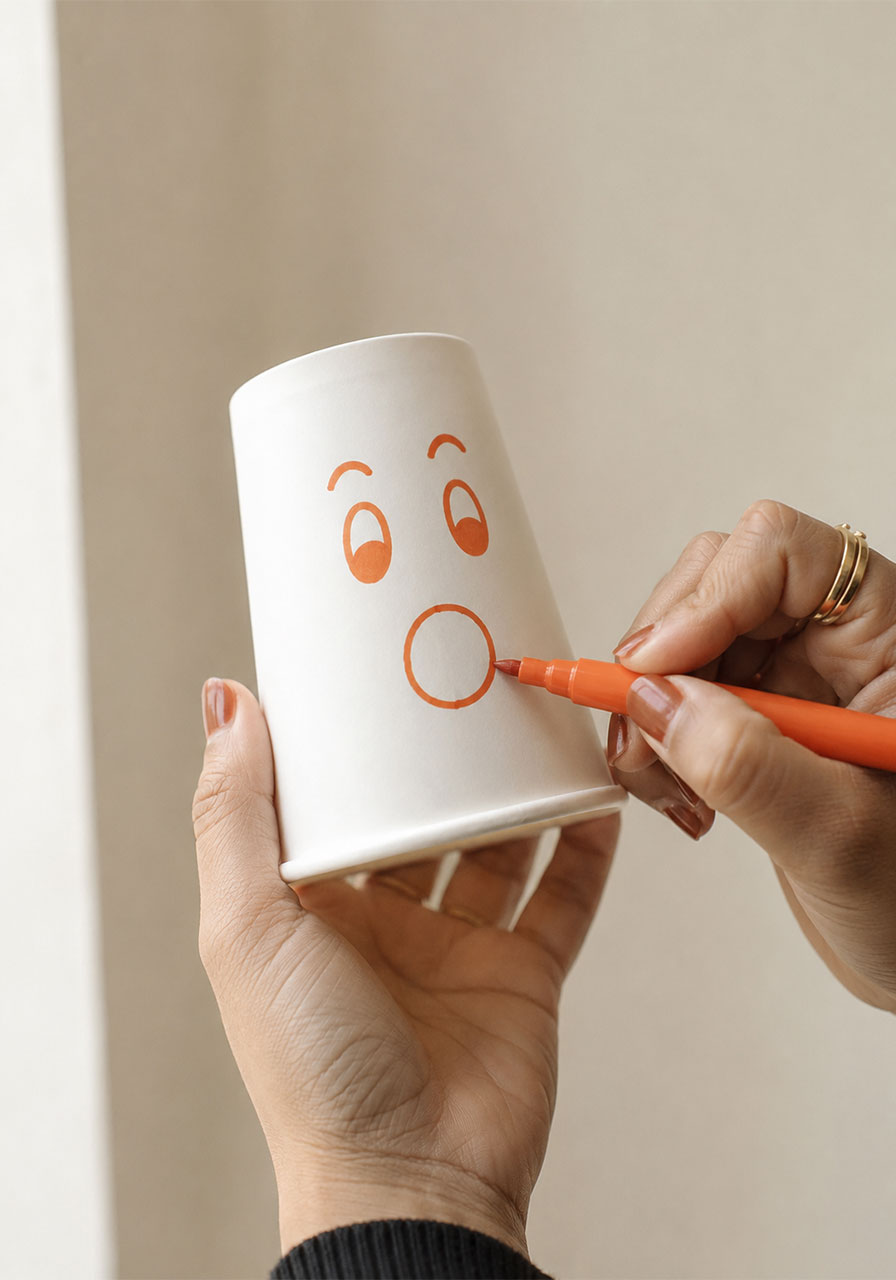
Take your paper cup and turn it so the closed bottom is facing up. This end will become the “top” of your smoke ring cup once everything is set up.
A few inches down from the base, draw two curved eyebrows and two eyes with your marker, just like a simple cartoon face.
Below the eyes, in the center of the cup, draw a circle. This circle is not just decoration. It marks exactly where the smoke ring will shoot out from, so take a moment to center it.
Step 2: Cut the Mouth Hole
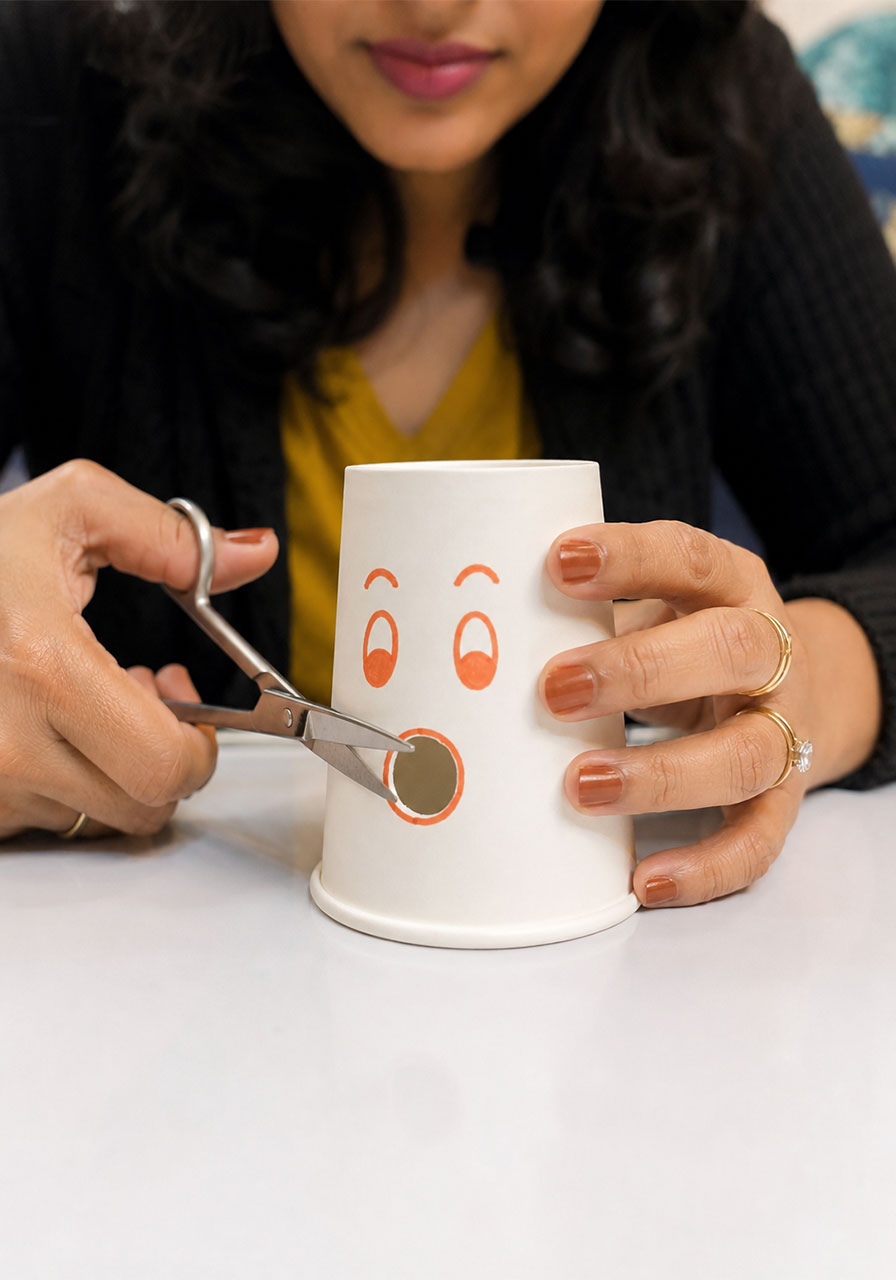
Using scissors, carefully cut out the circle you just drew. Aim for a hole roughly one inch across.
Try to keep the edges as smooth and round as possible. A clean, even hole helps the smoke form a tight, well-shaped ring instead of a shapeless puff.
Step 3: Poke the Top Hole
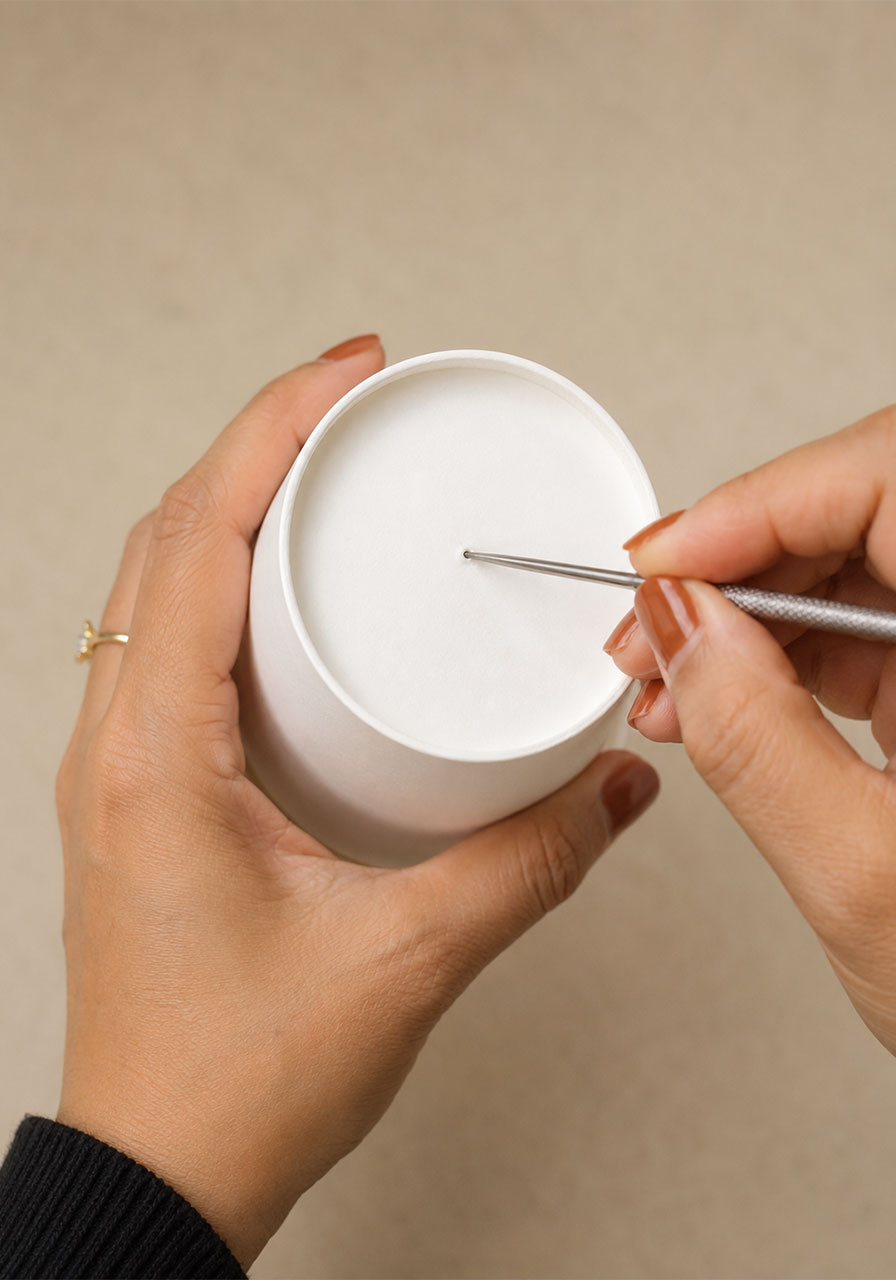
Now look at the closed bottom of the cup, the part that is currently facing up.
Using the pointed tool, poke a small hole directly in the center of this closed end. It only needs to be about the width of a pencil.
This hole is where you will tap the air down into the cup, so keep it small and centered.
Step 4: Light the Incense
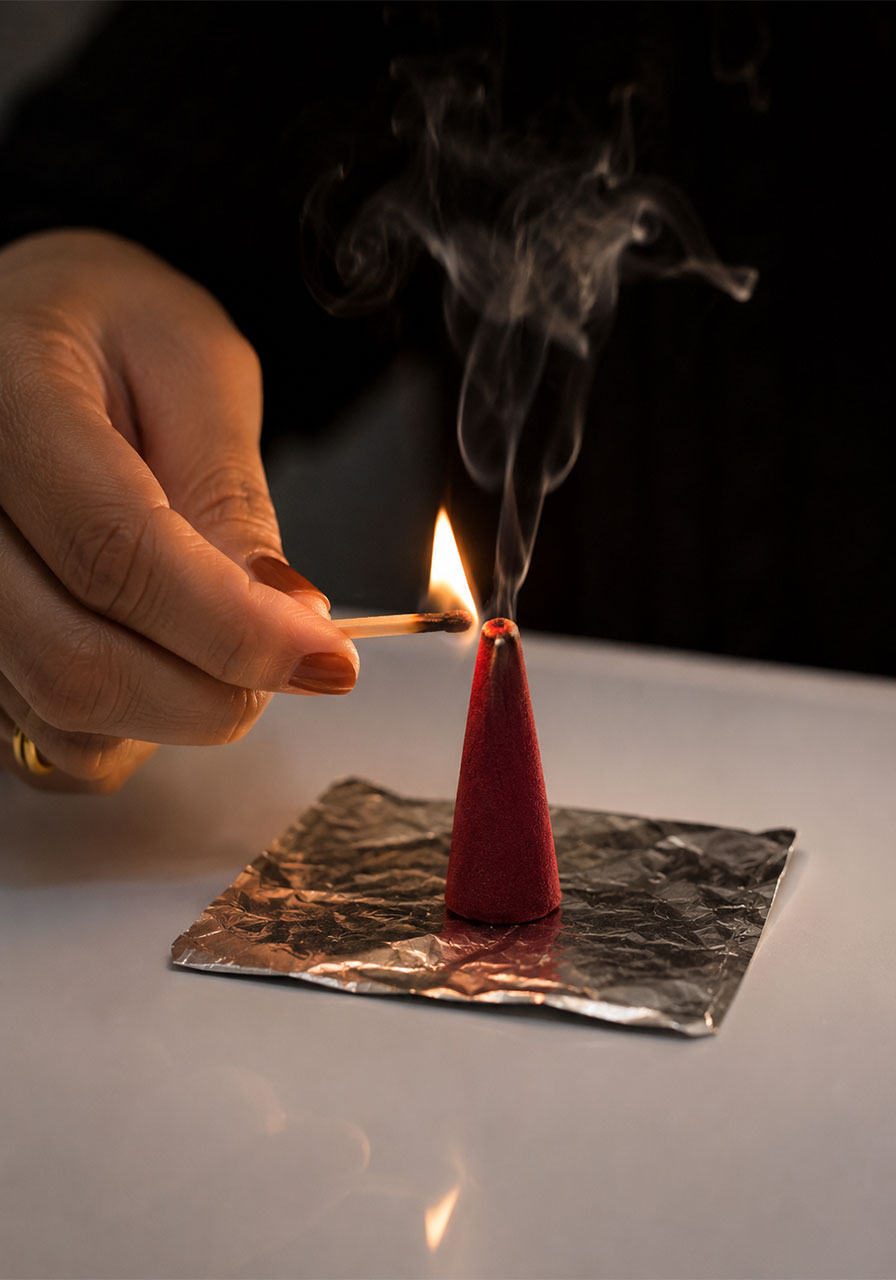
Place your incense cone on the heatproof plate and light it. Let it burn for a moment until it is producing a steady stream of visible smoke.
This is the only step that should be handled by an adult from start to finish.
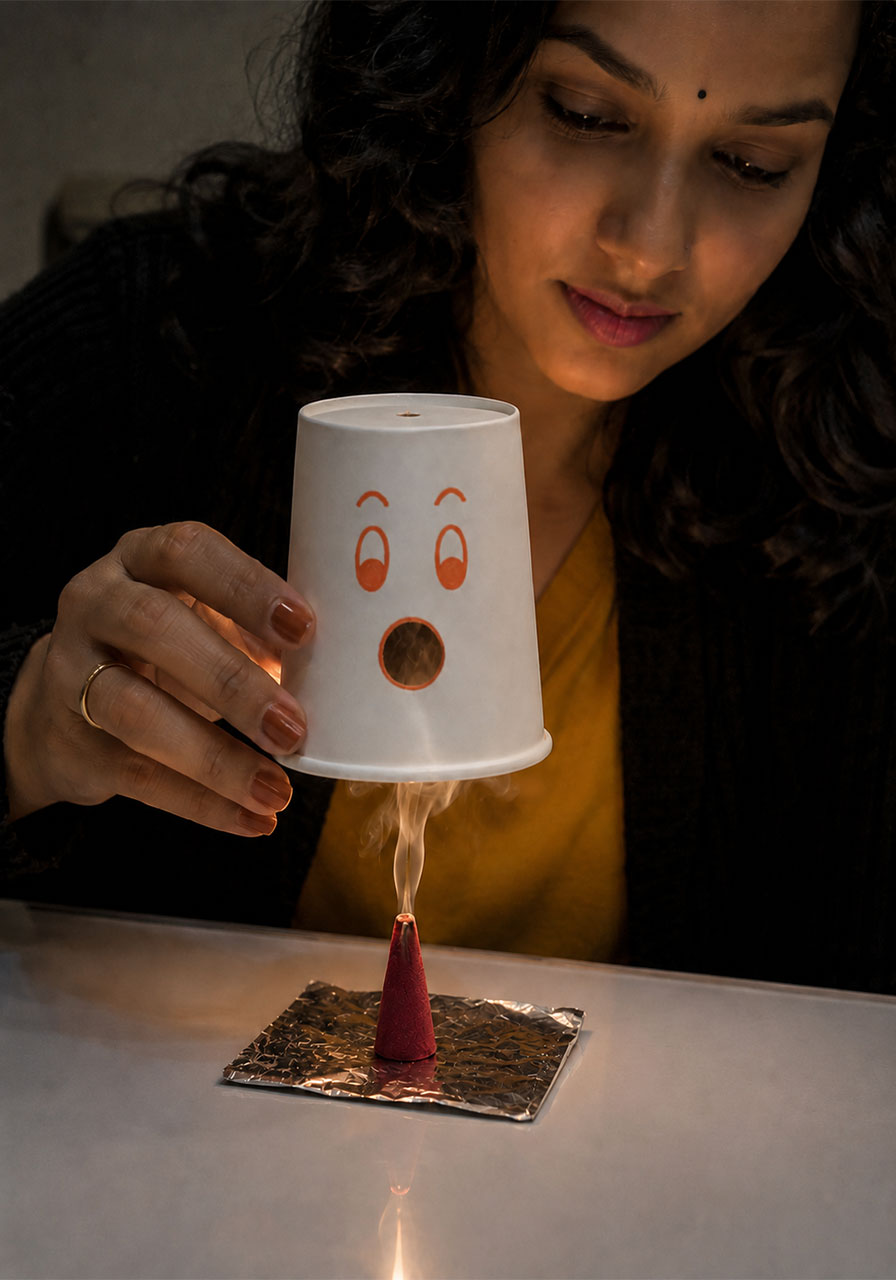
Step 5: Trap the Smoke Inside the Cup
Once the smoke is flowing well, gently lower the cup upside down over the incense.
Line things up so the burning tip sits directly under the small hole you poked in the top. Smoke will rise up through that hole and start filling the inside of the cup.
Hold the cup in place for a few seconds. You will start to see a light haze drifting out through the front mouth hole. That is your sign the cup is ready to fire.
Step 6: Fire the Smoke Ring
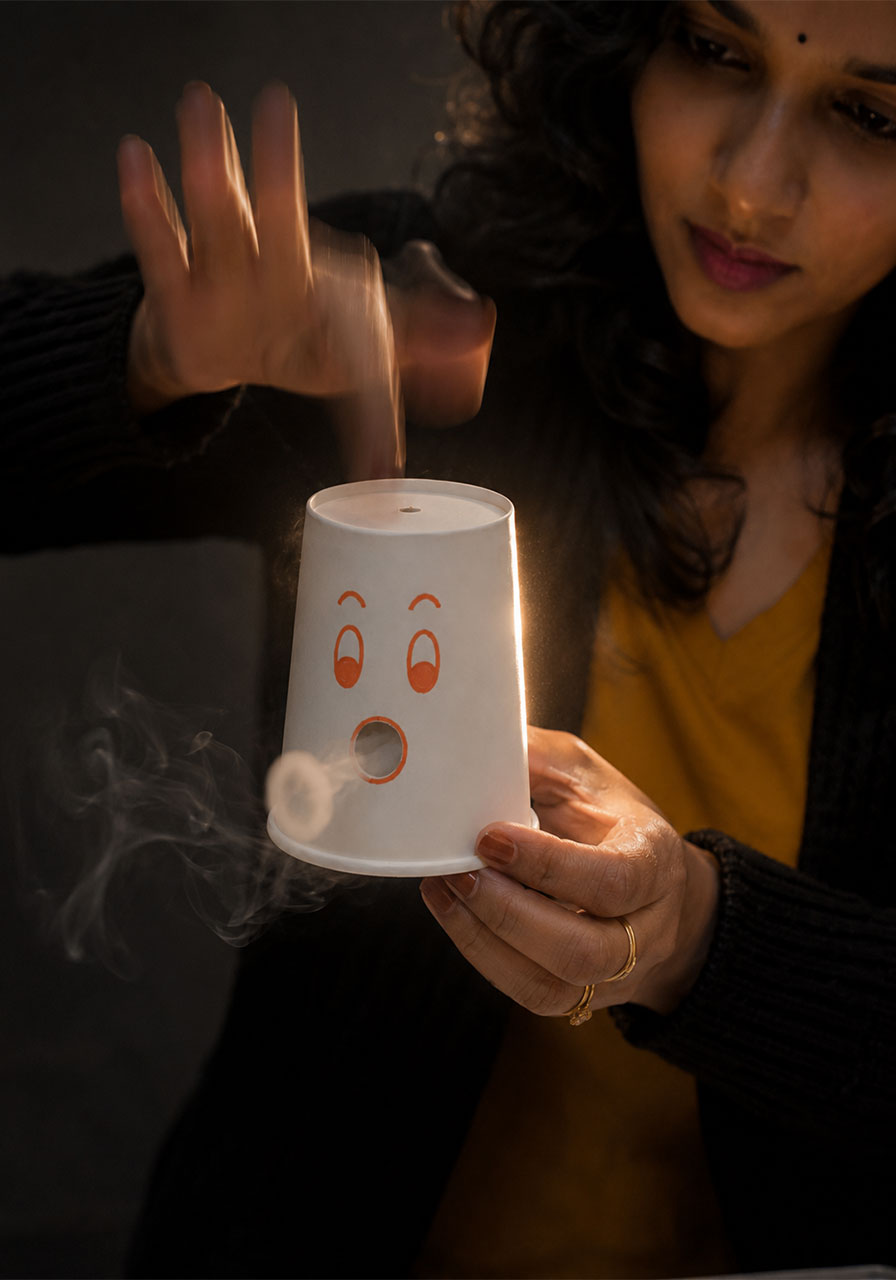
Lift the cup slightly away from the incense, keeping the mouth hole pointed away from anyone’s face.
With your free hand, give the top hole one quick, sharp tap, almost like tapping a small drum.
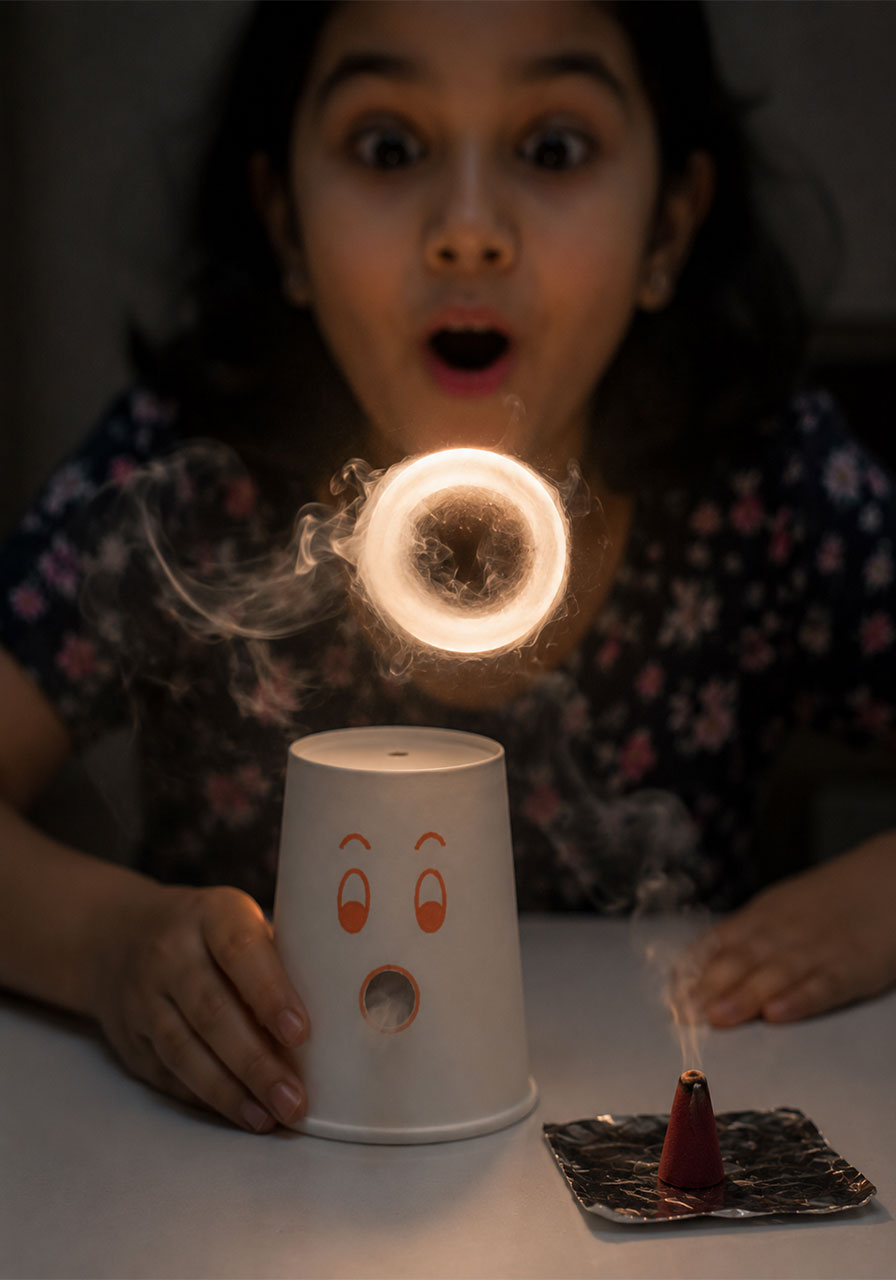
That sudden push of air forces a puff of smoke out through the front hole, and it will curl into a spinning ring right in front of your eyes.
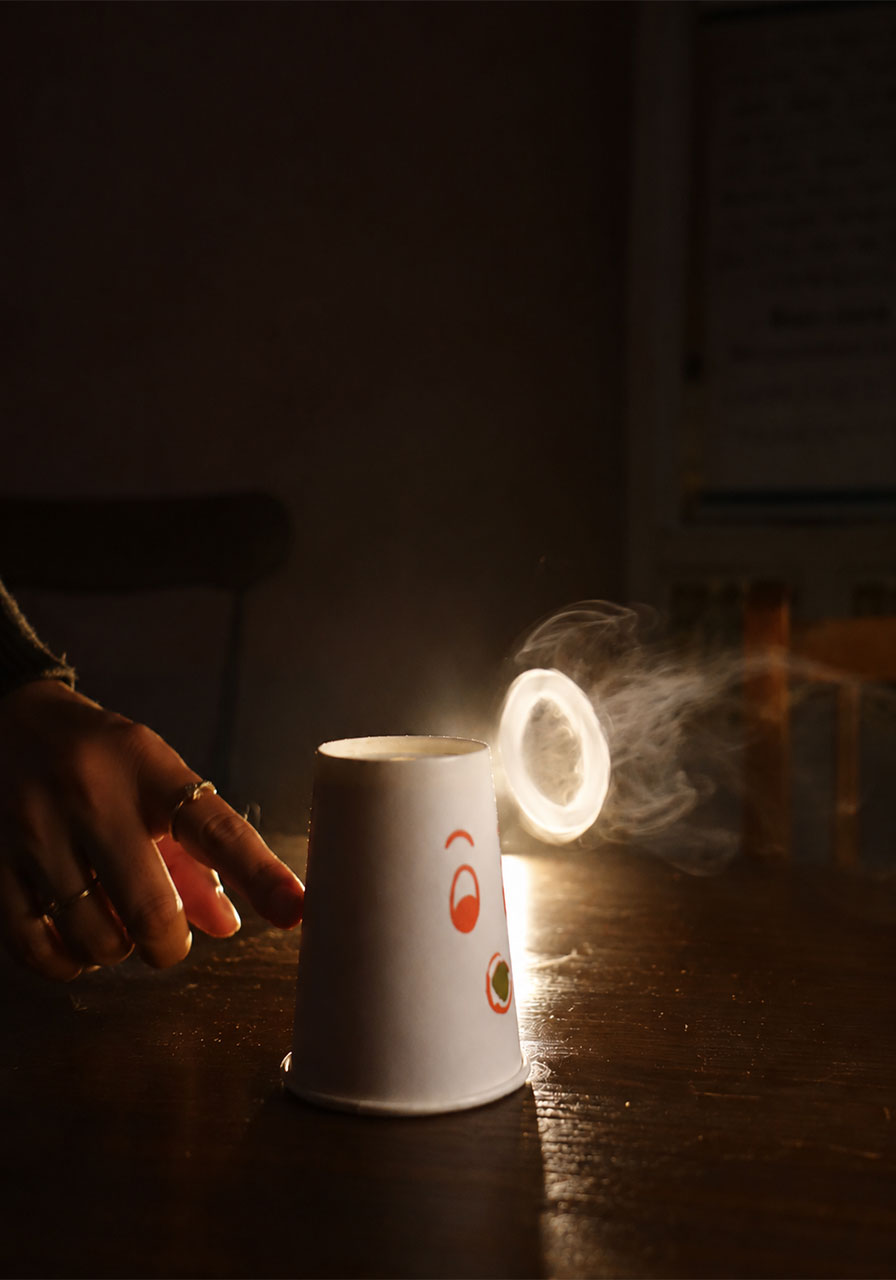
For the best view, dim the lights and shine a flashlight or phone light from behind the cup. This backlighting makes the rings glow instead of disappearing into the dark.
Step 7: Reload and Repeat
To fire another ring, simply lower the cup back over the incense for a few seconds to refill it with smoke, then lift and tap again.
Each cup can produce dozens of rings before the incense burns down, so there is plenty of time for everyone to take a turn.
Pro Tip
A sharper, quicker tap produces a tighter, faster-moving ring. A slower, gentler tap produces a bigger, slower ring that is easier for younger kids to track with their eyes.
Let your child experiment with both styles and ask them which one they like better and why. That simple question turns playtime into real scientific observation.
Fun Variation
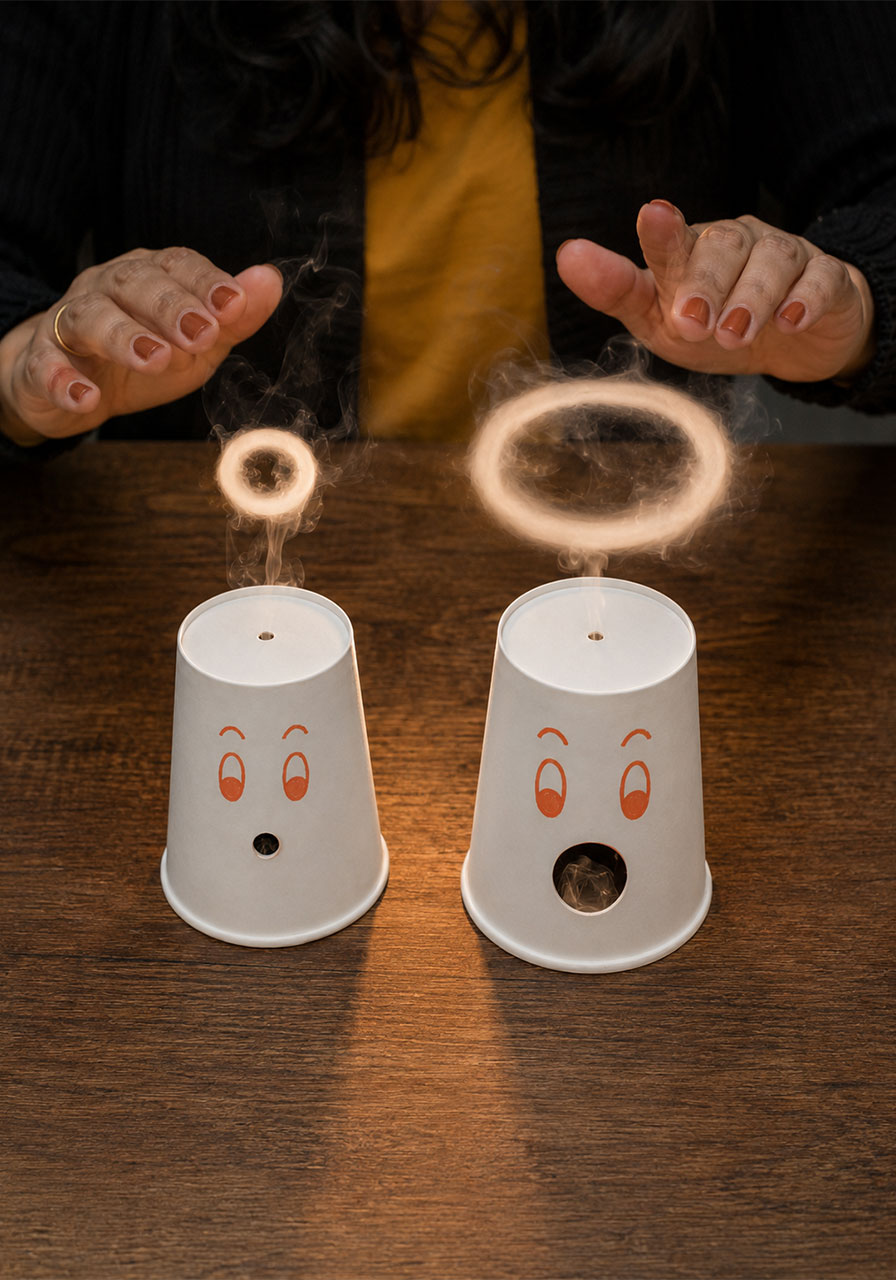
Once your family or classroom has the basic version down, try cutting a slightly larger mouth hole on a second cup and compare the size of the rings side by side.
You can also turn it into a friendly challenge: whose ring travels the farthest across the room before it disappears? Keep score and let kids test different tapping techniques to improve their results.
The Science Behind It, Explained Simply
When you tap the top hole, you are pushing a fast burst of air toward the mouth hole. As that air squeezes through the round opening, the edges of the air move slower than the center.
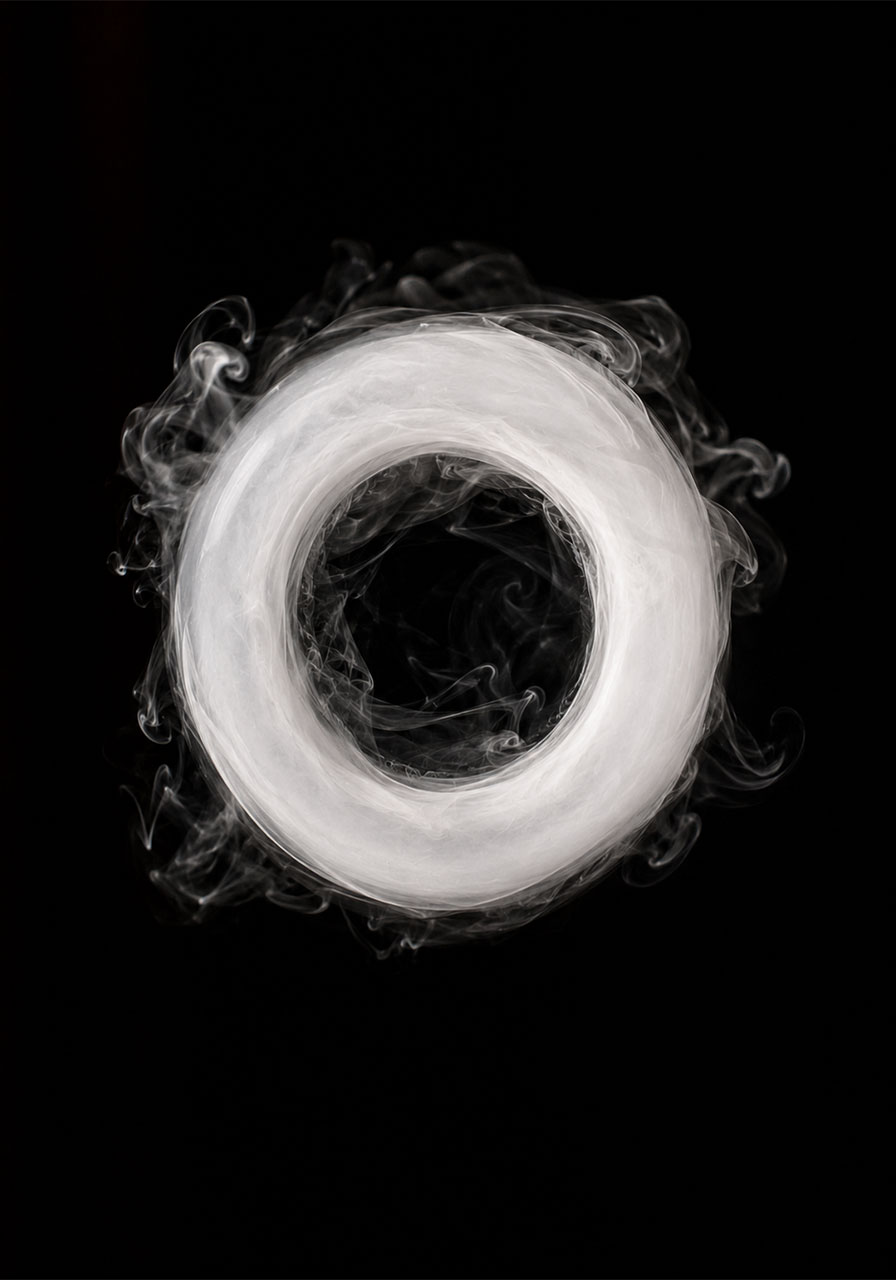
That difference in speed causes the air to curl over itself, rolling into a spinning, doughnut-shaped loop called a vortex ring. The smoke does not create the ring. It simply makes an invisible ring of moving air visible to the eye.
This is the exact same principle behind bubble rings blown by dolphins and whales, the round shockwave rings sometimes seen in volcanic eruptions, and even the vortex cannon toys sold in science museum gift shops.
For a classroom, this is a perfect jumping-off point to talk about air pressure, fluid dynamics, and how invisible forces can still be observed indirectly.
Frequently Asked Questions
Do I have to use incense specifically?
Incense cones or dhoop batti work well because they produce thick, steady, visible smoke. Avoid anything that produces a strong or unpleasant odor, and always burn it in a well-ventilated space.
My cup isn’t producing rings. What went wrong?
Check three things first: is the mouth hole smooth and round, is there enough smoke built up inside the cup, and is your tap quick and sharp rather than slow and soft. Adjusting any one of these usually fixes it.
Is this safe for young children to do on their own?
No. An adult should always handle the lighting of the incense and any cutting of the cup. Kids can decorate the cup and take turns tapping it to fire the rings once everything is safely set up.
Can I do this without a flame at all?
The visible ring effect depends on real smoke, so a flame or incense source is needed. Keep supervision, ventilation, and a heatproof surface in place at all times.
Bring the Fun Home
This is one of those rare activities that feels like a magic trick and teaches real science at the same time. It costs almost nothing, takes only a few minutes to set up, and keeps kids curious long after the last ring floats away.
Grab a paper cup, a marker, and a little patience, and get ready for a lot of wide eyes and repeat requests.
