
If your kids (or your students) are obsessed with the beach, bath time splashes, or anything involving water, this one’s about to become your new favorite go-to activity.
The Making Waves experiment is a hands-on way to show kids exactly how ocean waves move – no lecture required. All it takes is a jar, some oil, water, and a few minutes of shaking, and suddenly the abstract idea of “wave energy” becomes something they can watch happen right in front of them.
This is one of those rare STEM activities that’s genuinely low-prep but high-impact. You’re not just making something pretty to look at (though it is very pretty). You’re giving kids a real, physical model of ocean science – the kind that sticks with them longer than any textbook diagram ever could.
Whether you’re planning a classroom science center, a rainy-day activity at home, or a themed unit on oceans and weather, this experiment checks every box: minimal supplies, big “wow” factor, and real learning built right in.
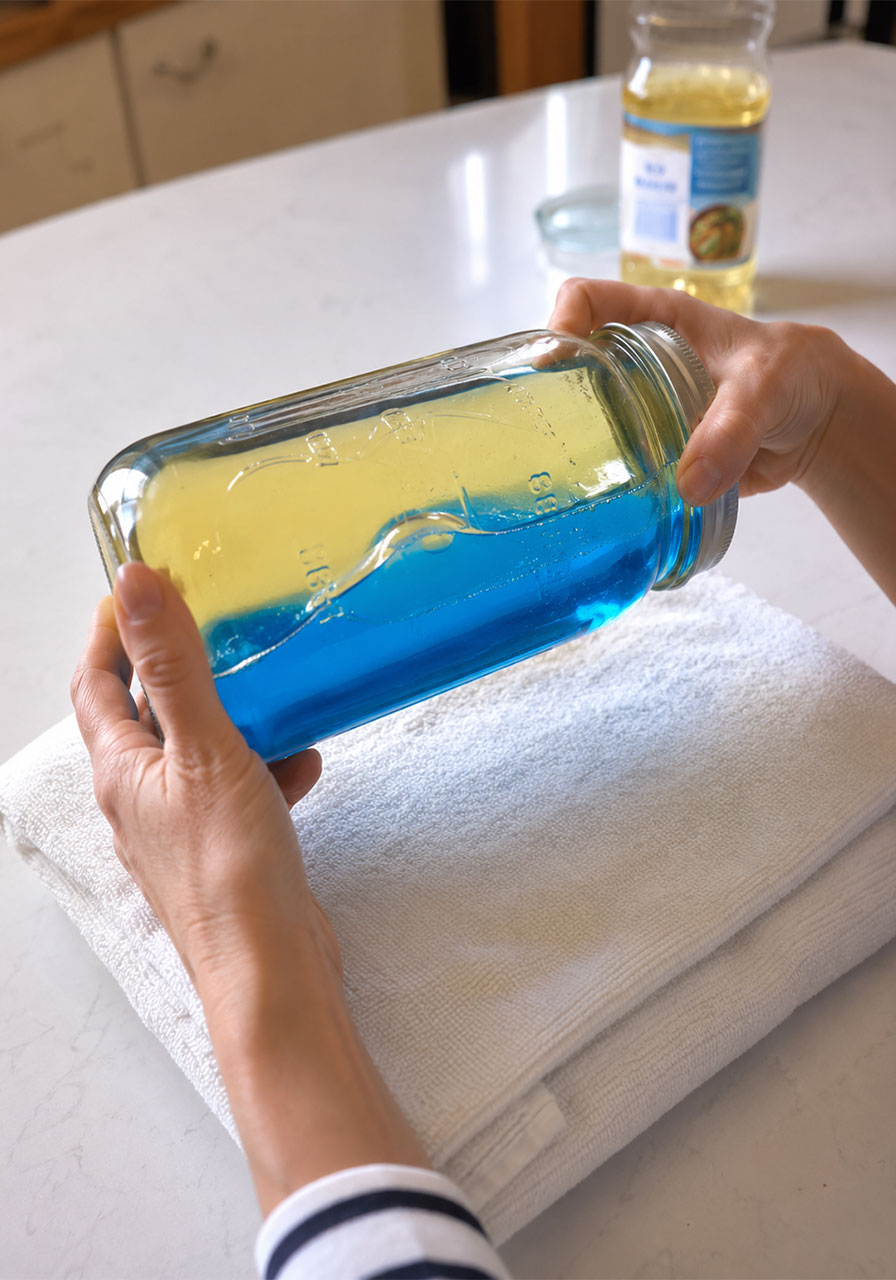
Why This Experiment Works So Well for Kids
Ocean waves are one of those topics that sound simple but are actually pretty tricky to explain out loud. Kids assume water travels across the ocean the same way a wave rolls toward shore. It doesn’t – and that’s exactly the surprise that makes this experiment so effective.
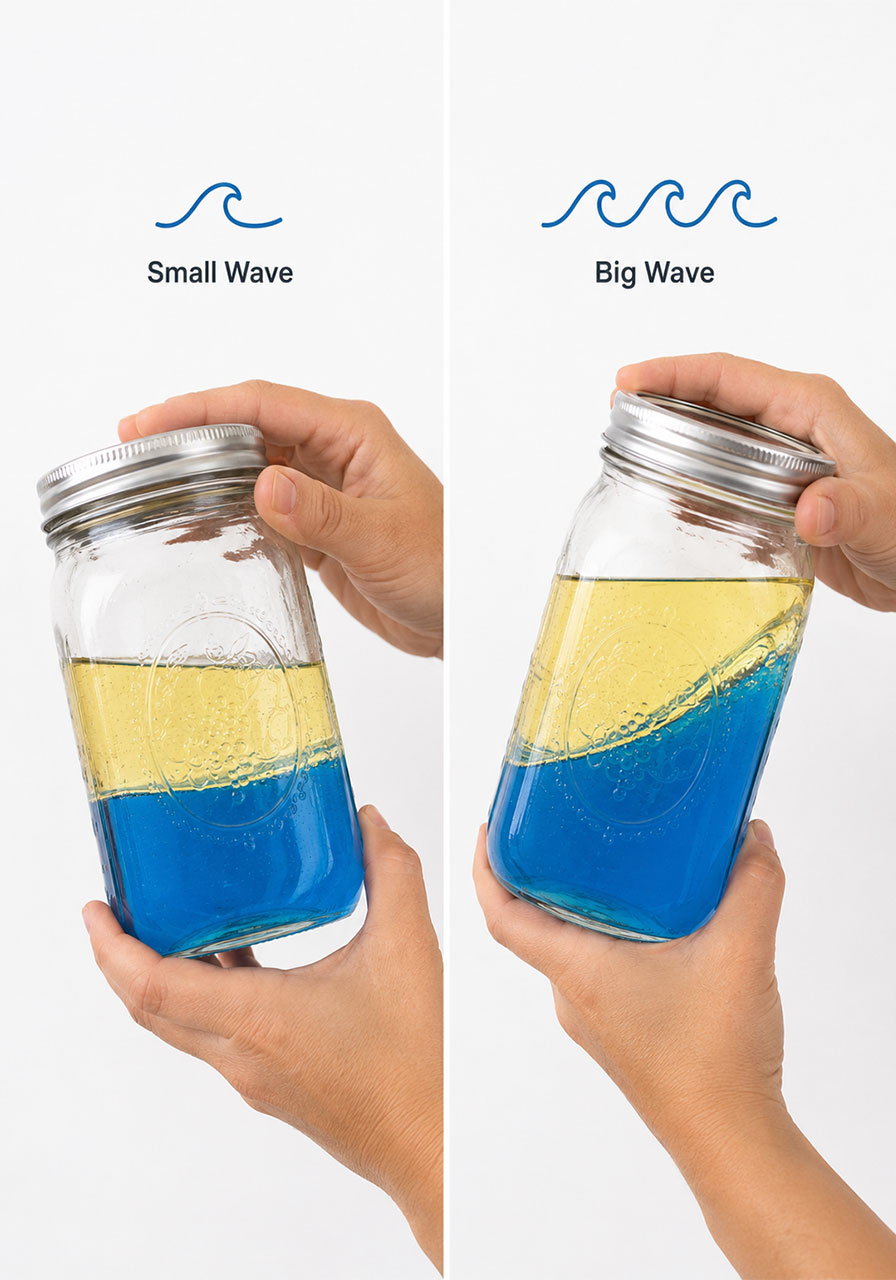
Watching the wave move up and down inside a sealed jar, instead of sliding side to side, gives kids a lightbulb moment they can see with their own eyes. That’s the kind of visual learning that turns a confusing science concept into something they’ll actually remember.
It’s also a great excuse to talk about density, energy, and even a little bit of ocean geography – all from one simple jar.

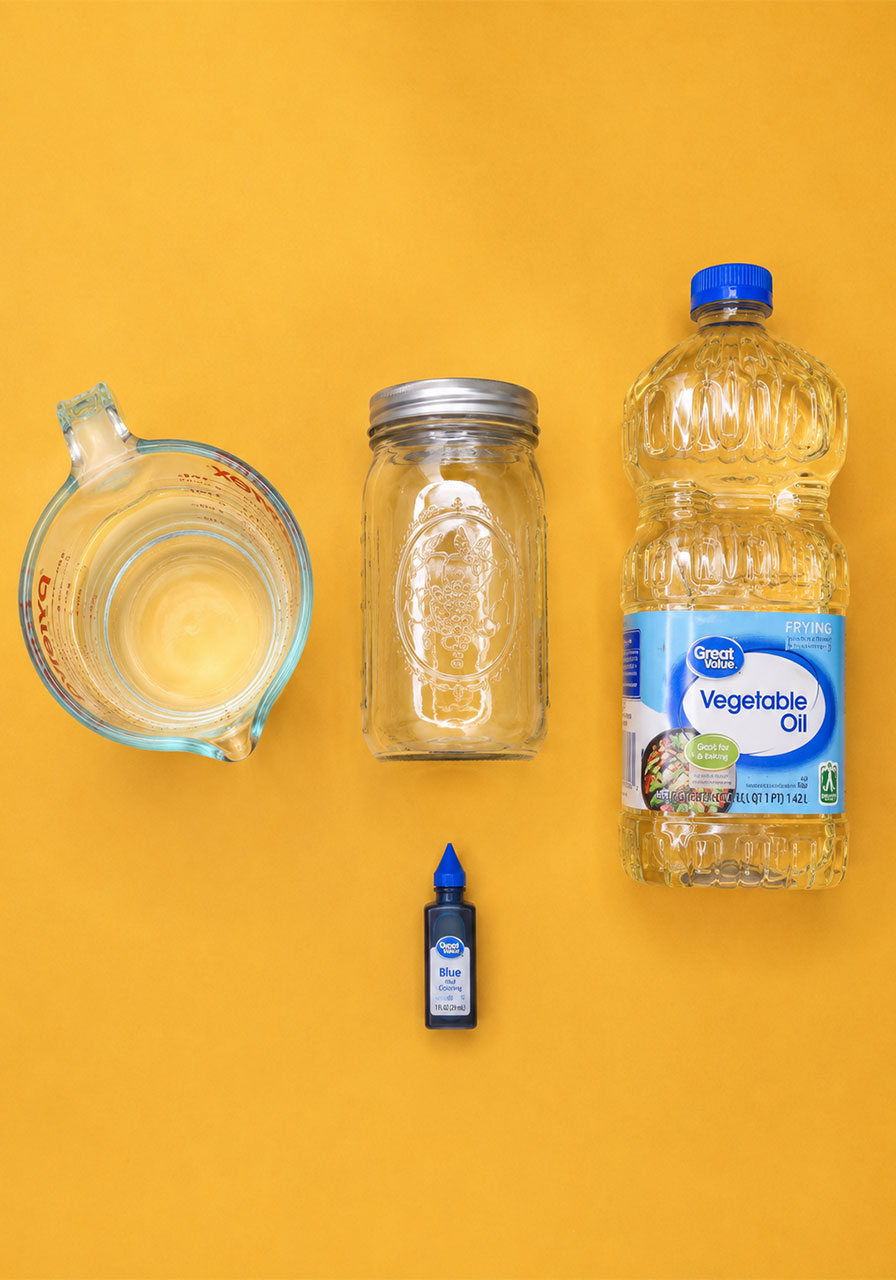
What You’ll Need
A tall container with a spill-proof, secure lid (a wide-mouth mason jar works great)
Water
Food coloring (blue is the classic “ocean” choice)
Cooking oil (vegetable or baby oil both work well)
A towel to protect your table or counter
That’s it. No special science kit, no trip to a craft store – you likely already have everything you need sitting in your kitchen right now.
Before You Start
Lay a towel down on your work surface first. You’re going to be filling a container with liquid and shaking it around, and even a well-sealed lid can surprise you with a drip or two.
It’s also worth doing a quick leak test before you hand the jar over to little hands. Fill it, seal it, and gently tip it sideways over the sink first. Better to catch a leak now than mid-experiment.
How to Make Your Own Ocean Wave
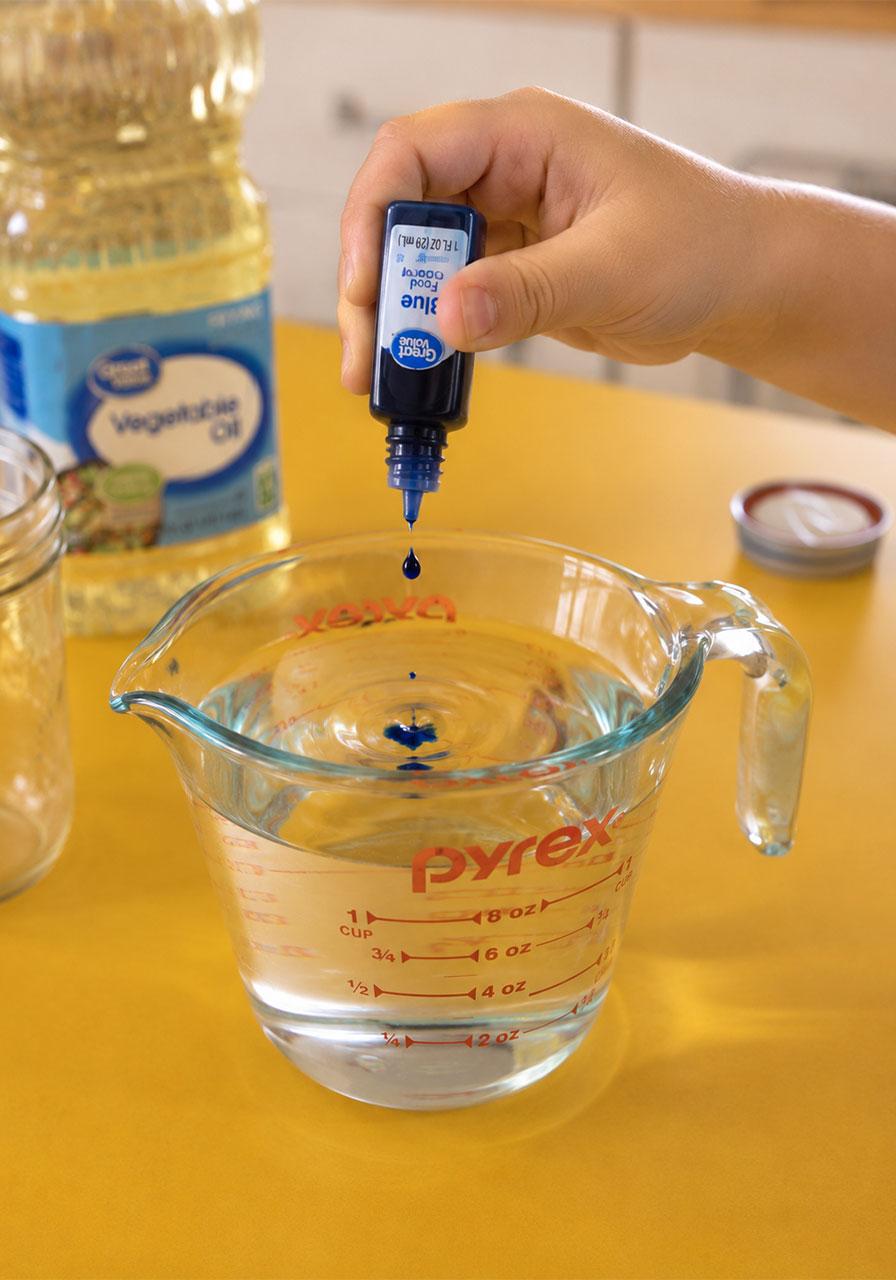
1. Fill your container about halfway with water.
Add a few drops of food coloring and give it a good swirl until the color is fully mixed in. This colored water is going to be your “ocean,” so blue is the classic choice – but let your child pick their own color if they’d like to.
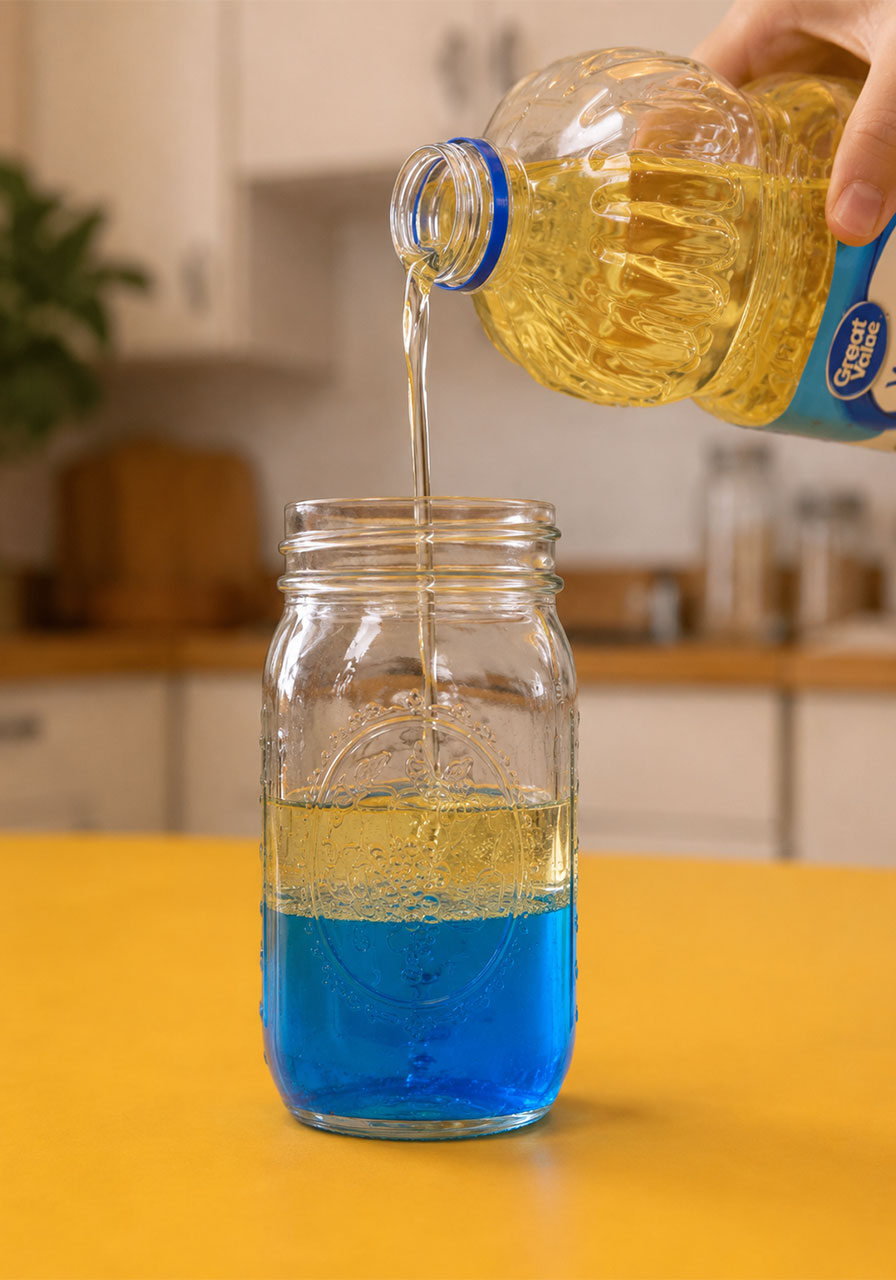
2. Fill the rest of the container with oil.
Pour slowly, right up to the very top, leaving as little air space as possible. The less air you leave behind, the fewer bubbles you’ll deal with once you start shaking things up.
3. Seal the lid tightly.
Double-check that it’s screwed on all the way and give it a gentle test tilt over the sink to rule out any leaks before you get started.
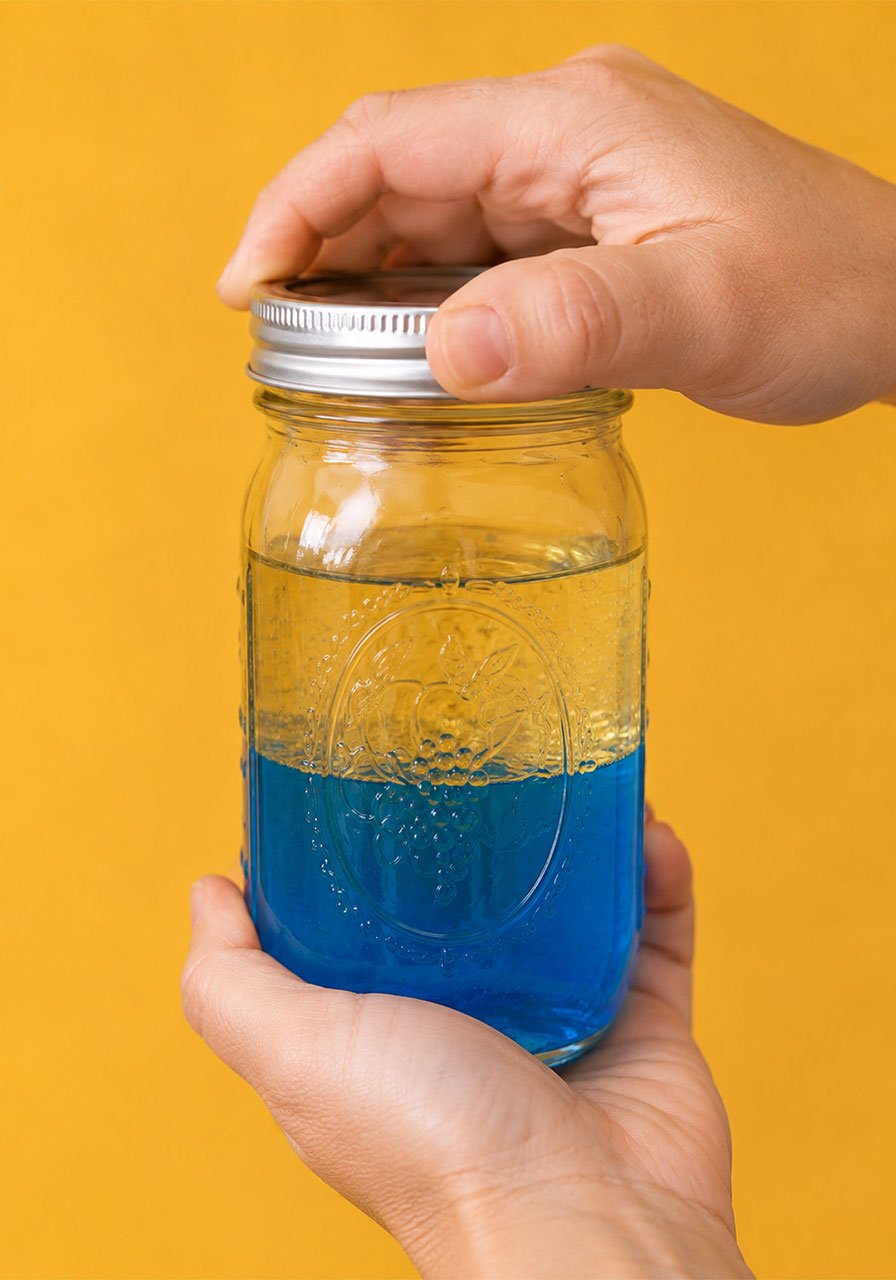
4. Gently tilt the container from side to side.
Tip the lid end down toward the table, then back up again, in slow, smooth movements. Watch as a wave rolls across the surface between the oil and the water.
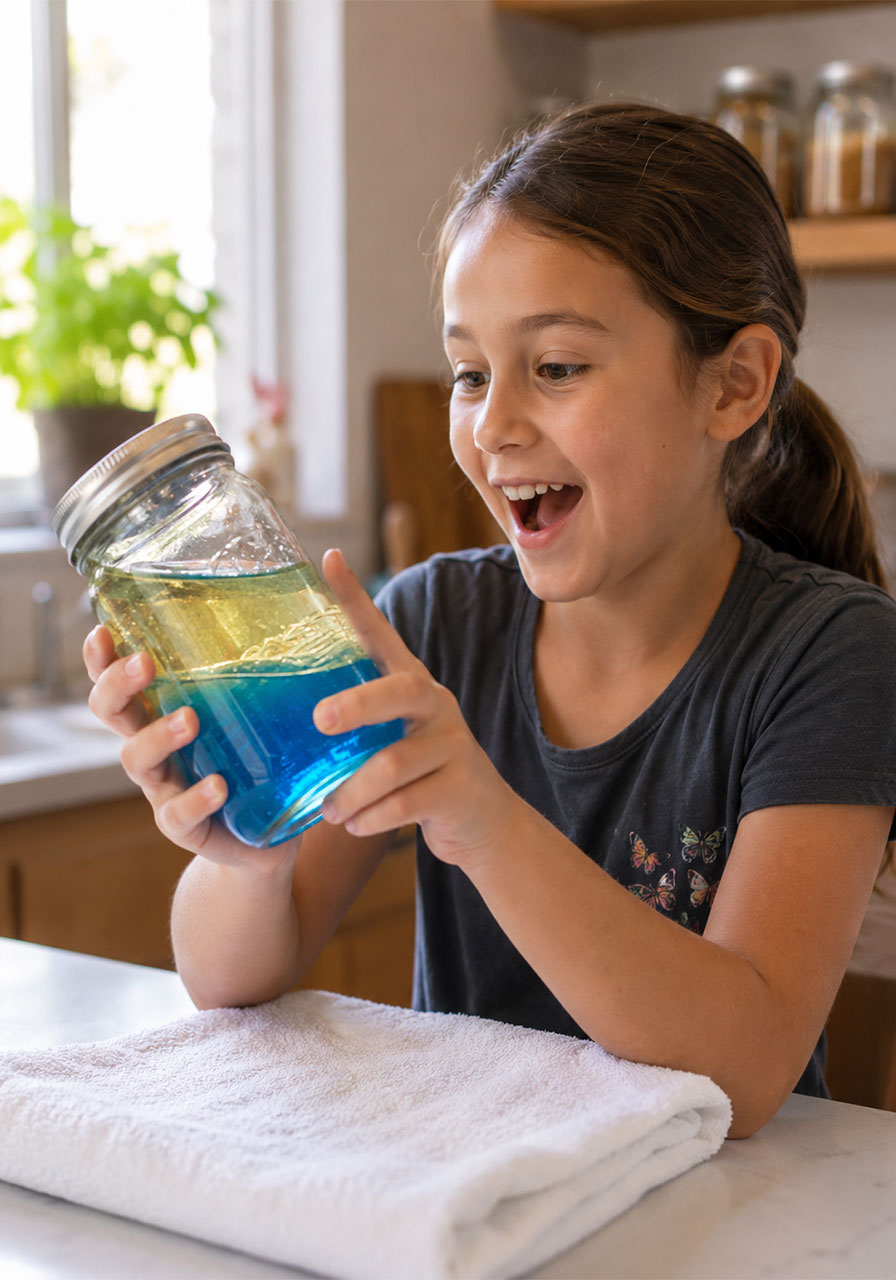
5. Let it settle if bubbles form.
If your wave gets a little cloudy from bubbles, just set the jar down and let it rest for 5 to 10 minutes. It’ll clear right back up, ready for round two.
Pro Tip: The gentler your movements, the cleaner and more dramatic your wave will look. Aggressive shaking creates a mess of bubbles instead of that satisfying rolling wave – so slow and steady really does win here.
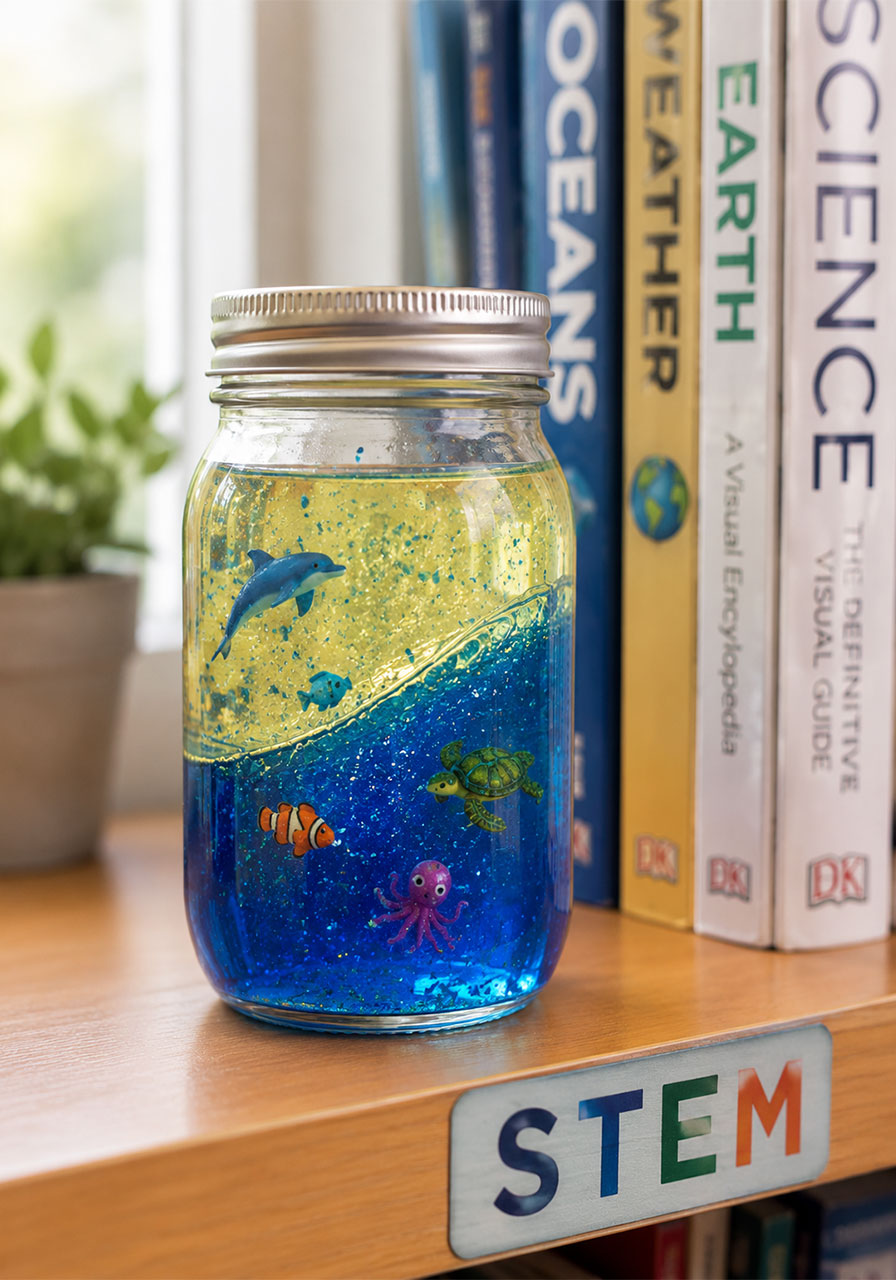
Fun Variation: Try adding a few plastic sea creatures, glitter, or tiny seashell beads to the jar before sealing it up. It turns your science experiment into a sensory bottle you can keep around for calm-down time or imaginative play long after the lesson is over.
The Science Behind the Wave (Explained Simply)
Here’s where this experiment really earns its place in your STEM lineup. Once the wow-factor settles, you’ve got a perfect opening to talk through three big ocean science concepts – all using the jar you just made.
How a Wave Actually Moves
Most kids assume that when a wave travels across the ocean, the water itself is being carried along with it. It isn’t.
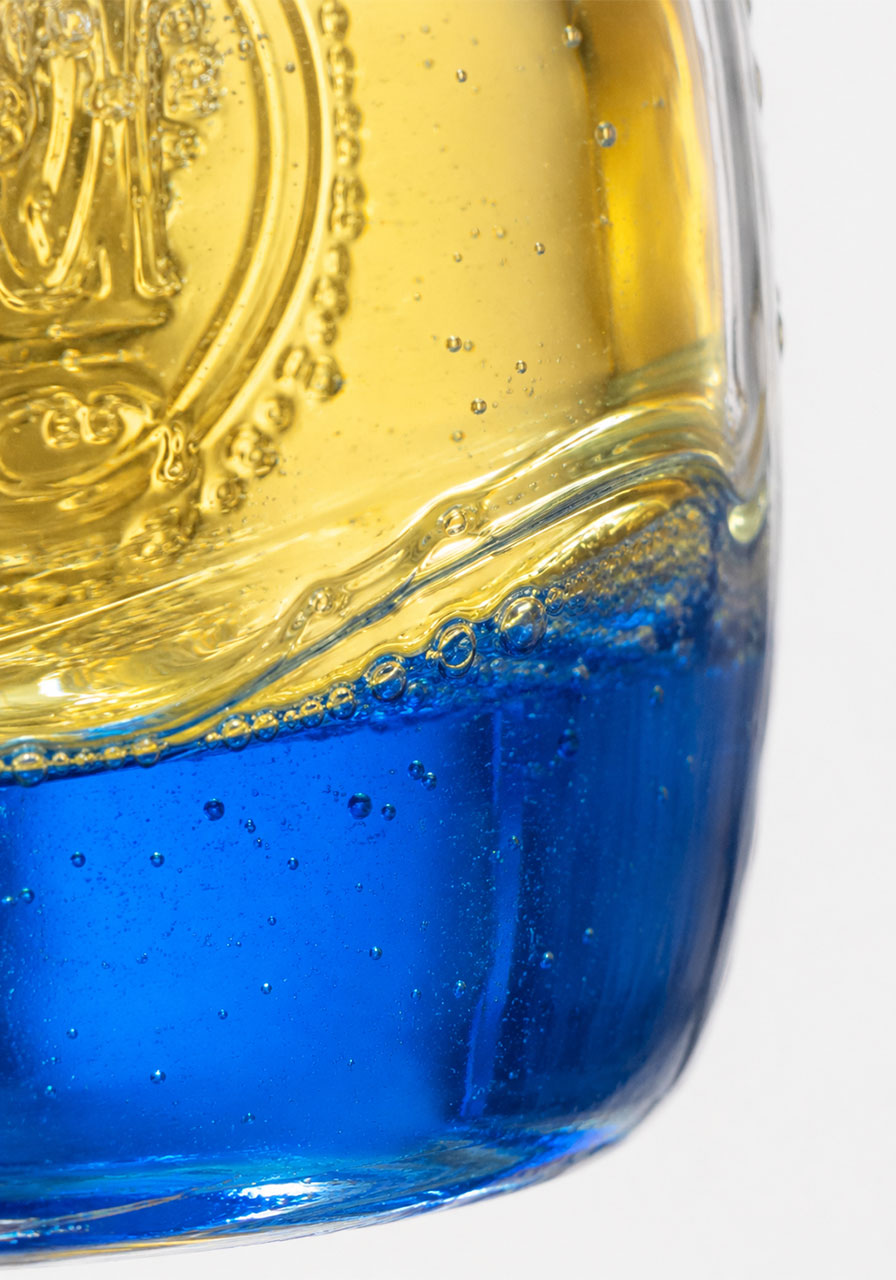
A wave is really just energy passing through water, not the water physically moving from one place to another. As the wave moves through, individual water particles travel in small circular orbits – up and over, then down and back – rather than shooting straight across the ocean.
That’s exactly what your jar shows you. The wave rolls up and down as you tilt the container, but the liquid itself stays contained the whole time. No matter how far the wave seems to travel, the water isn’t actually going anywhere.
A simple way to explain this to kids: think of a seabird floating on the ocean’s surface. As waves pass underneath it, the bird bobs up and down in place. It doesn’t get swept forward with each wave – because the wave is energy moving through the water, not the water moving the bird along with it.
The Type of Energy a Wave Carries
If you’ve already tried a catapult experiment with your class or kids, this is a great way to build on what they already know about energy.
When you tilt the jar, you’re putting energy into the system, and that energy turns into motion – which is kinetic energy. The bigger and further your wave travels across the jar, the more kinetic energy it’s carrying.
This is a simple, visual way to reinforce a concept that can otherwise feel pretty abstract on a worksheet.
Why Ocean Waves “Crash” on the Beach
This part doesn’t show up directly in the jar, but it’s a natural follow-up question once kids see how waves move.
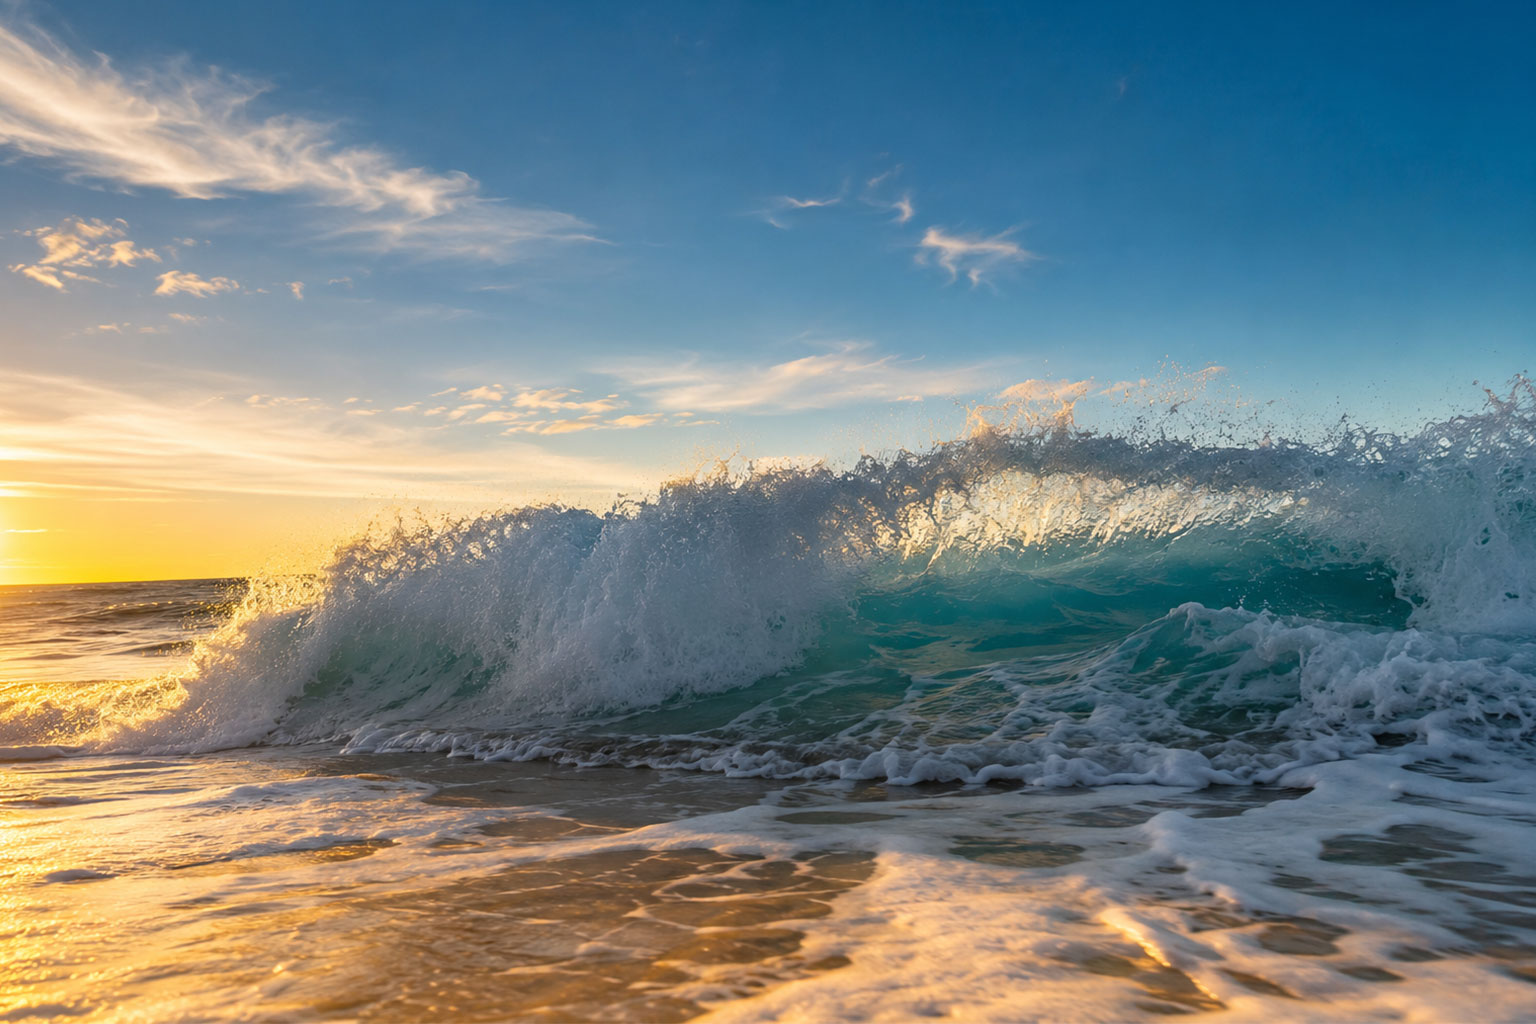
Out in open water, waves travel fairly smoothly. But as a wave gets closer to shore, the bottom of it starts dragging against the rising ocean floor. That friction slows the base of the wave down while the top keeps moving at full speed.
Eventually the top of the wave outruns the bottom, tips forward, and comes crashing down – which is exactly what you see (and hear) every time you’re standing on the beach watching the surf roll in.
Frequently Asked Questions
Why does the container create a wave-like motion?
In the real ocean, wind is what generates most waves. In this experiment, you’re playing the role of the wind every time you tilt the jar. As the crest, or top of the wave, forms and pushes water downward, more liquid gets pushed up from the trough, or the bottom of the wave. That back-and-forth motion is what creates the rolling wave pattern you see inside the jar.
What age group is this experiment best for?
This one works beautifully for a wide range of ages. Toddlers and preschoolers will love simply watching the colors move, while elementary and middle school kids can dig into the actual physics behind it. It’s flexible enough to fit a classroom science station or a one-on-one activity at home.
How long does the wave jar last?
As long as your lid stays sealed, your wave jar can be reused again and again. Many teachers and parents keep one on hand as a calming sensory tool long after the original science lesson wraps up.
Is this experiment messy?
As long as the lid is secure, it’s a fairly low-mess activity. Just keep a towel underneath in case of any small drips while you’re filling or sealing the container.
With a wave jar like this one in your STEM toolkit, you’ve got a ready-made activity you can pull out anytime curiosity strikes – no last-minute planning required. Because the best science lessons are the ones kids actually want to touch, shake, and watch again and again.
