
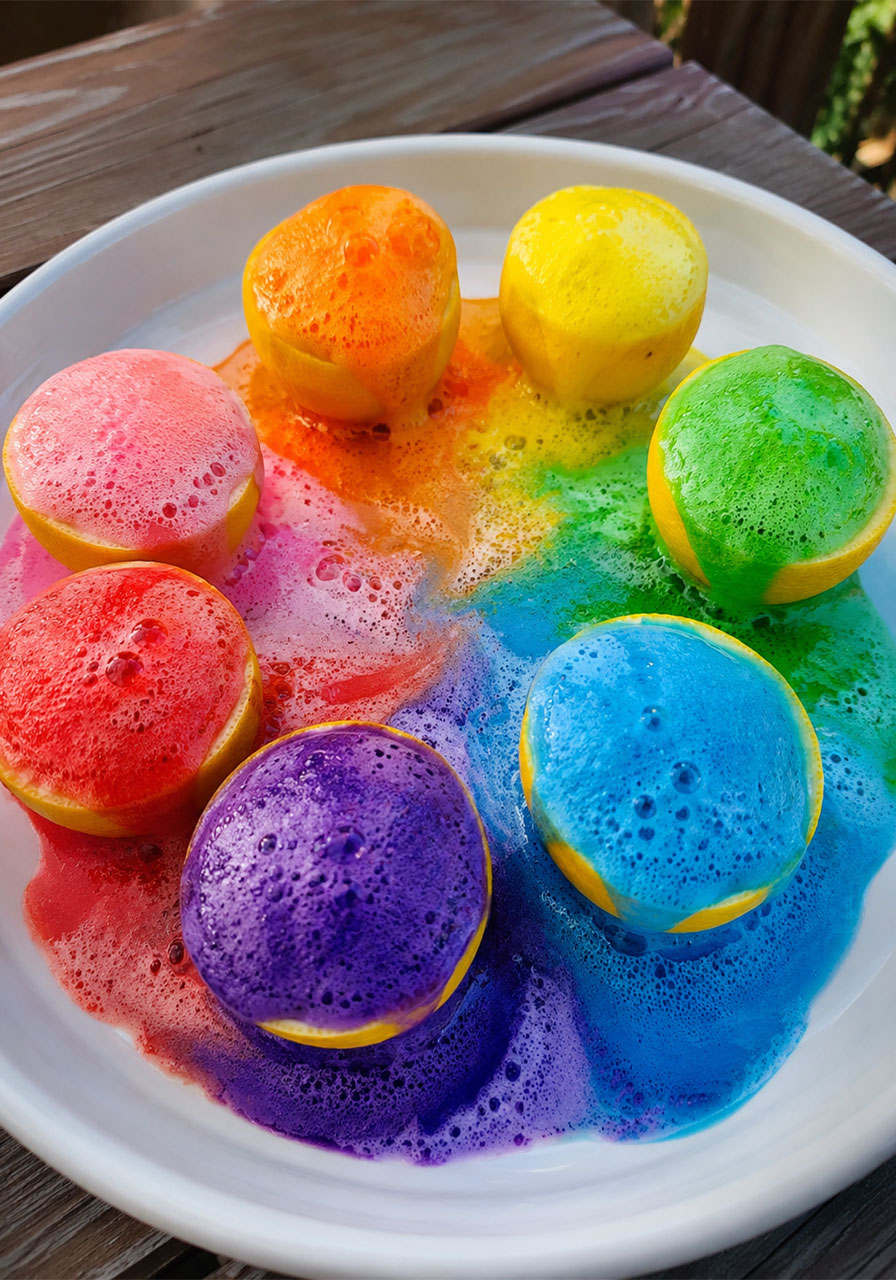
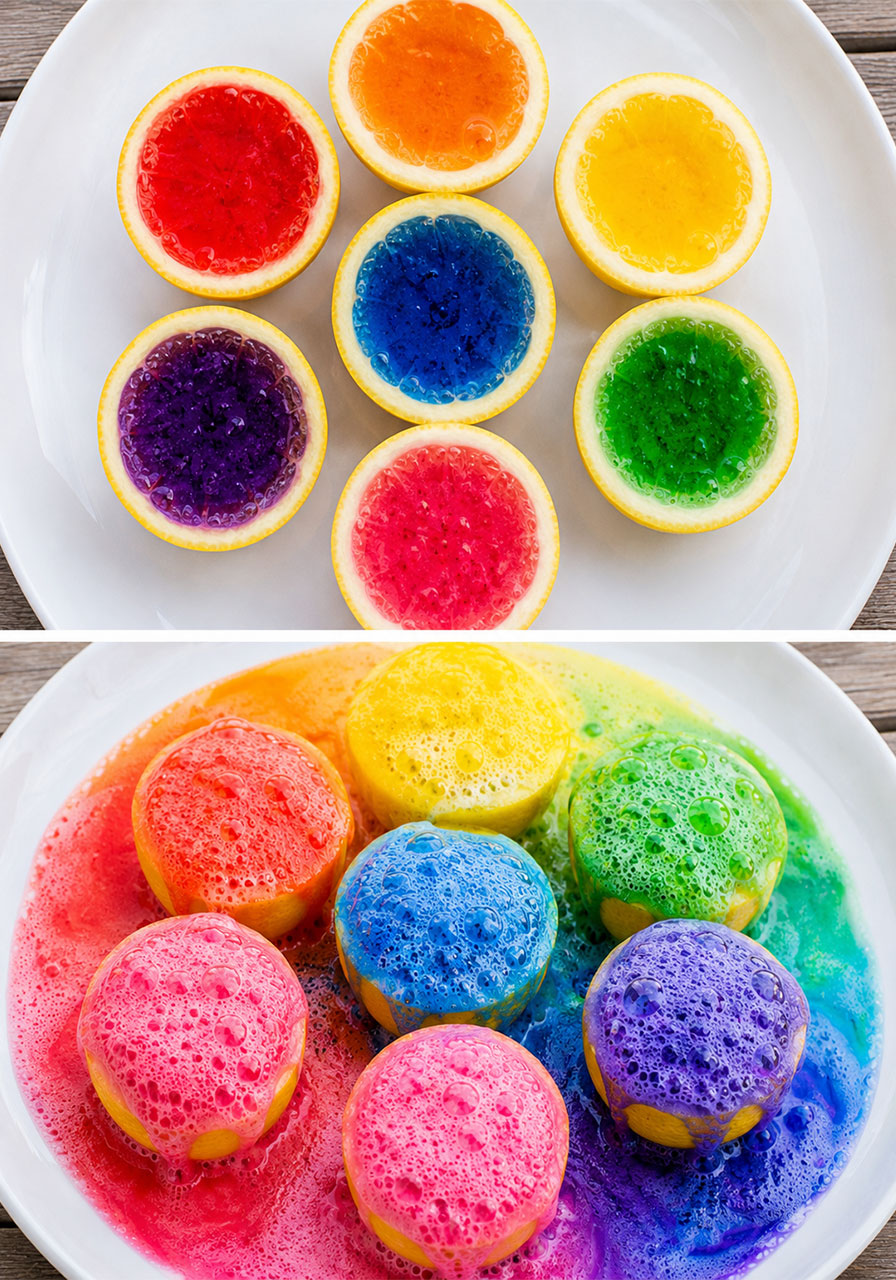
Picture this: seven lemons lined up like tiny rainbow bombs, each one fizzing, foaming, and bubbling over in a different color. No fancy equipment. No expensive kit. Just lemons, baking soda, and a whole lot of “whoa!” from your kids or students.
That’s the erupting lemon volcano – and it might just become your new favorite go-to STEM activity.
Whether you’re a teacher looking for a foolproof science station or a parent trying to fill a rainy afternoon (or a hot summer one), this hands-on chemistry experiment checks every box. It’s cheap, it’s fast, it’s genuinely educational, and it’s the kind of mess that’s actually worth making.
Let’s dive in.
Why This Activity Works So Well for Kids
A great STEM activity does two things at once: it teaches real science, and it keeps kids fully engaged. The lemon volcano nails both.
Kids get to see an acid-base reaction happen right in front of them, in real time, with their own hands. There’s no worksheet standing between them and the learning. They poke the lemon. They squeeze it. They watch the colors swirl and the foam rise. That’s the science sinking in, whether they realize it or not.
It also hits multiple senses at once. They feel the sticky juice and the soft foam. They smell the fresh citrus. They see a rainbow explosion happening in slow motion. They hear the fizz kick in the second the baking soda hits the juice.
That combination is exactly why this one sticks in kids’ memories long after the mess is cleaned up.

Best For:
Classrooms, homeschool science time, summer break, birthday party STEM stations, and any afternoon that needs a little more “wow.”
Ages:
Great for preschool through elementary, with easy adjustments to make it simpler for little hands or more advanced for older kids (more on that below).
Time to Complete:
15 to 20 minutes, plus a few extra minutes if your group wants to keep the eruptions going (and they will).
What You’ll Need
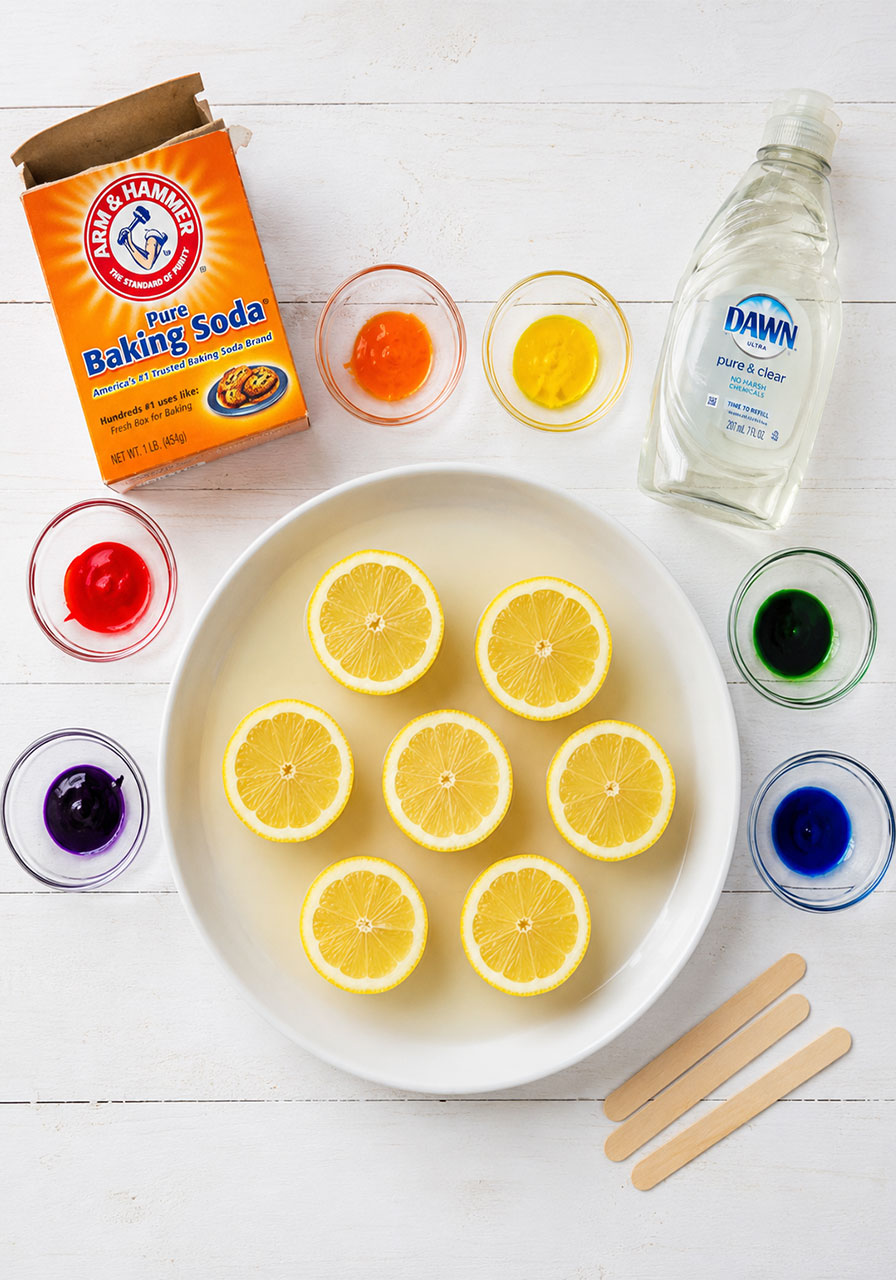
Lemons – grab a few extra, because everyone will want a second turn
Baking soda
Food coloring – gel food coloring gives you a more vibrant, dramatic eruption than the liquid kind
Dish soap (optional, but highly recommended for extra foam)
Craft sticks or popsicle sticks, one per lemon
A sensory bin, shallow baking dish, or large tray to catch the overflow
That’s it. No trip to a specialty store required. Chances are you already have most of this sitting in your kitchen right now.
How to Make Your Erupting Lemon Volcano
Follow these steps for one lemon volcano. Simply repeat for every lemon half you want to set up – we recommend doing several at once so nobody has to wait their turn.
Step 1: Prep the Lemon
Start by rolling the lemon firmly on the counter. This softens it up and gets the juice flowing, which is exactly what you need for a big reaction later.
Cut the lemon in half and place it on your tray or sensory bin. Trim a thin slice off the bottom so each half sits flat instead of rolling around.
Save the other lemon half. You’ll juice it and use it later to restart the eruption once things start to slow down.
Step 2: Mash It Up
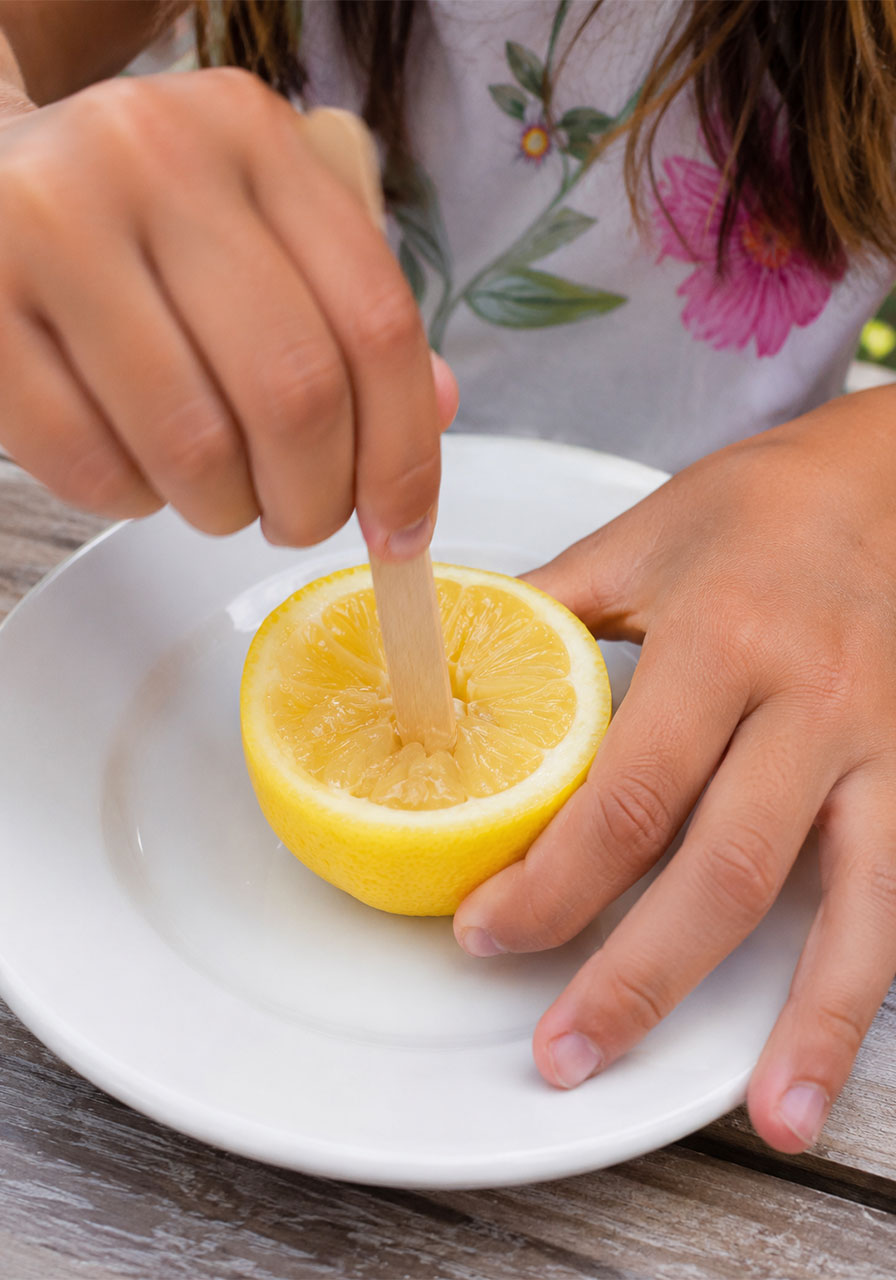
Hand your child a craft stick and let them poke and mash the exposed lemon flesh. The more they break it up, the more juice releases, and the bigger the eruption will be.
This is usually everyone’s favorite part. It’s hands-on, it’s a little destructive in the best way, and it gets kids invested before the real reaction even starts.
Step 3: Add the Color
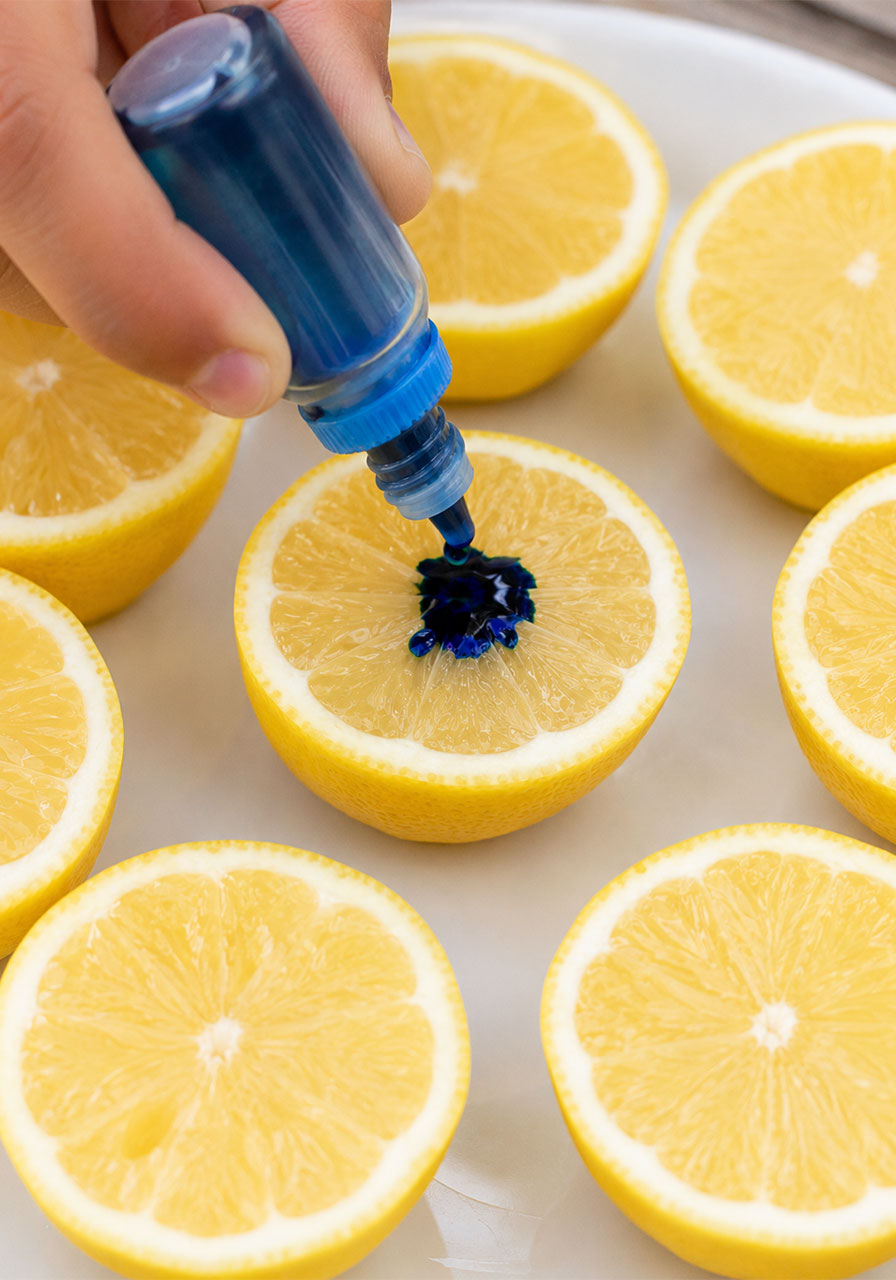
Drop food coloring directly onto the top of the lemon. Stick with one color per lemon if you want a clean rainbow effect across your whole tray, or let kids mix colors on a single lemon to see what happens.
This step doubles as a mini lesson in color mixing, so don’t rush past it.
Step 4: Drizzle in Dish Soap
Add a small squeeze of dish soap on top of the lemon. This isn’t required, but it makes a huge difference. The soap traps the gas from the reaction, which means bigger bubbles, more foam, and a much more dramatic eruption.
Step 5: Trigger the Eruption
Sprinkle about a tablespoon of baking soda over the top of the lemon. Using the craft stick, push the baking soda down into the juicy flesh, mixing it in as deeply as possible.
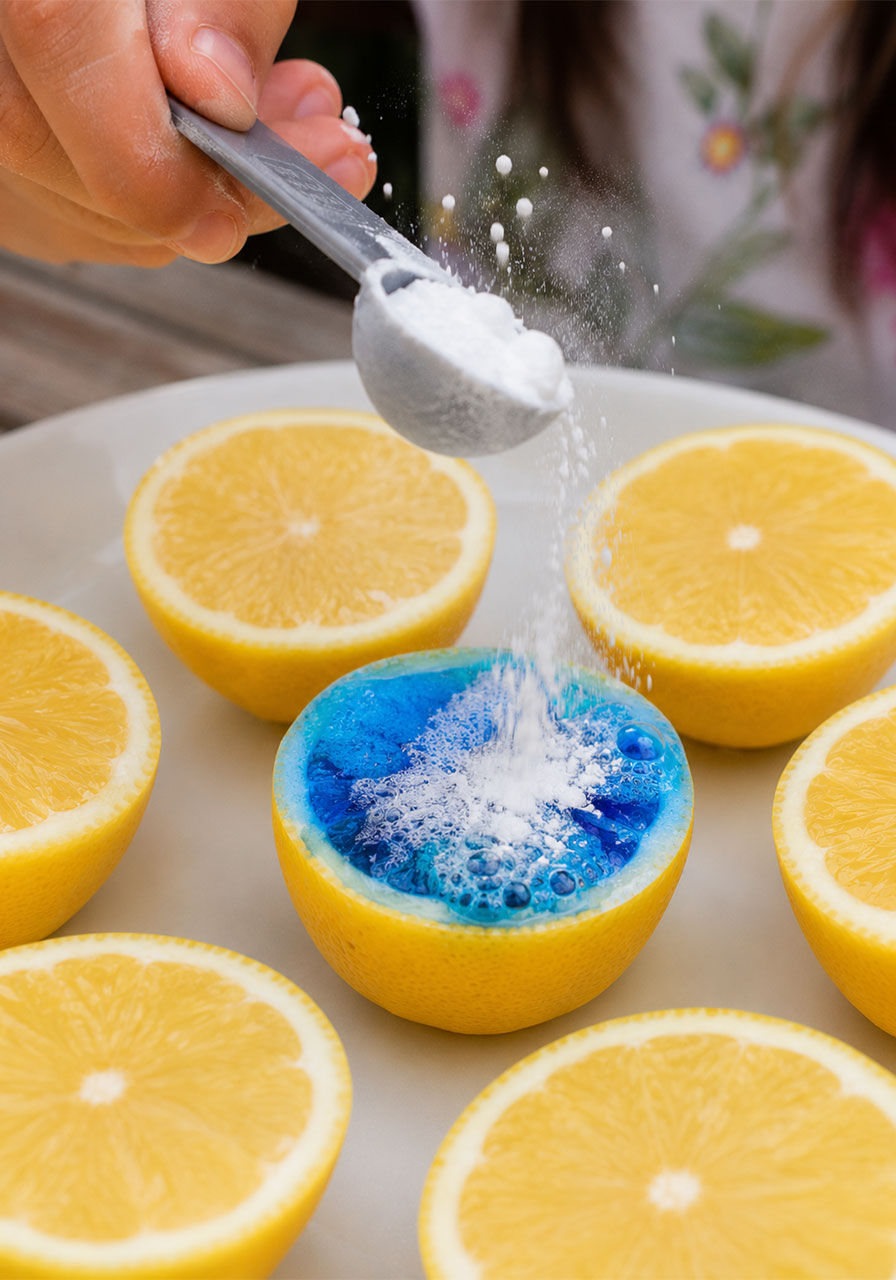
Watch closely, because this is where the magic happens. The lemon will start fizzing almost instantly, and the foam will keep climbing and spilling over the sides.
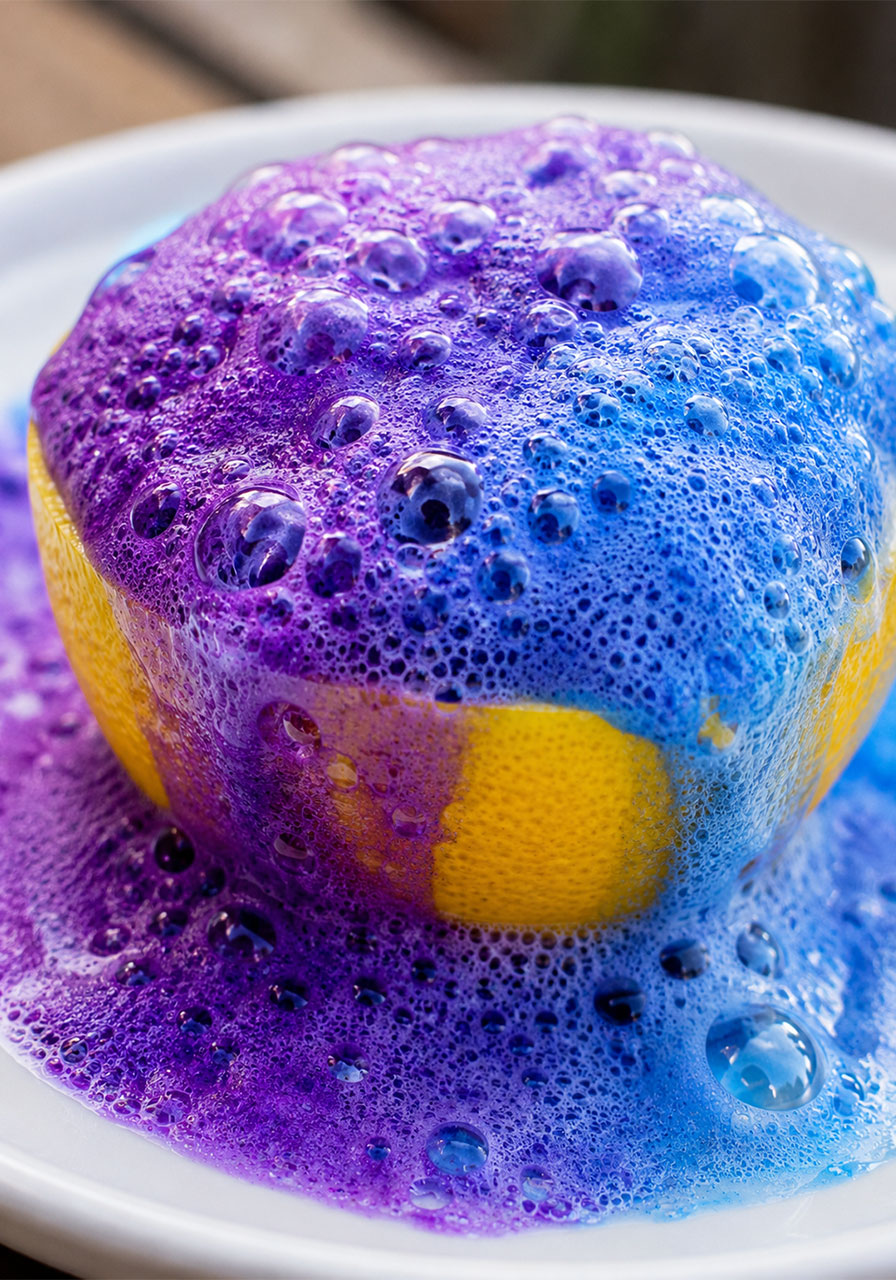
Step 6: Keep It Going
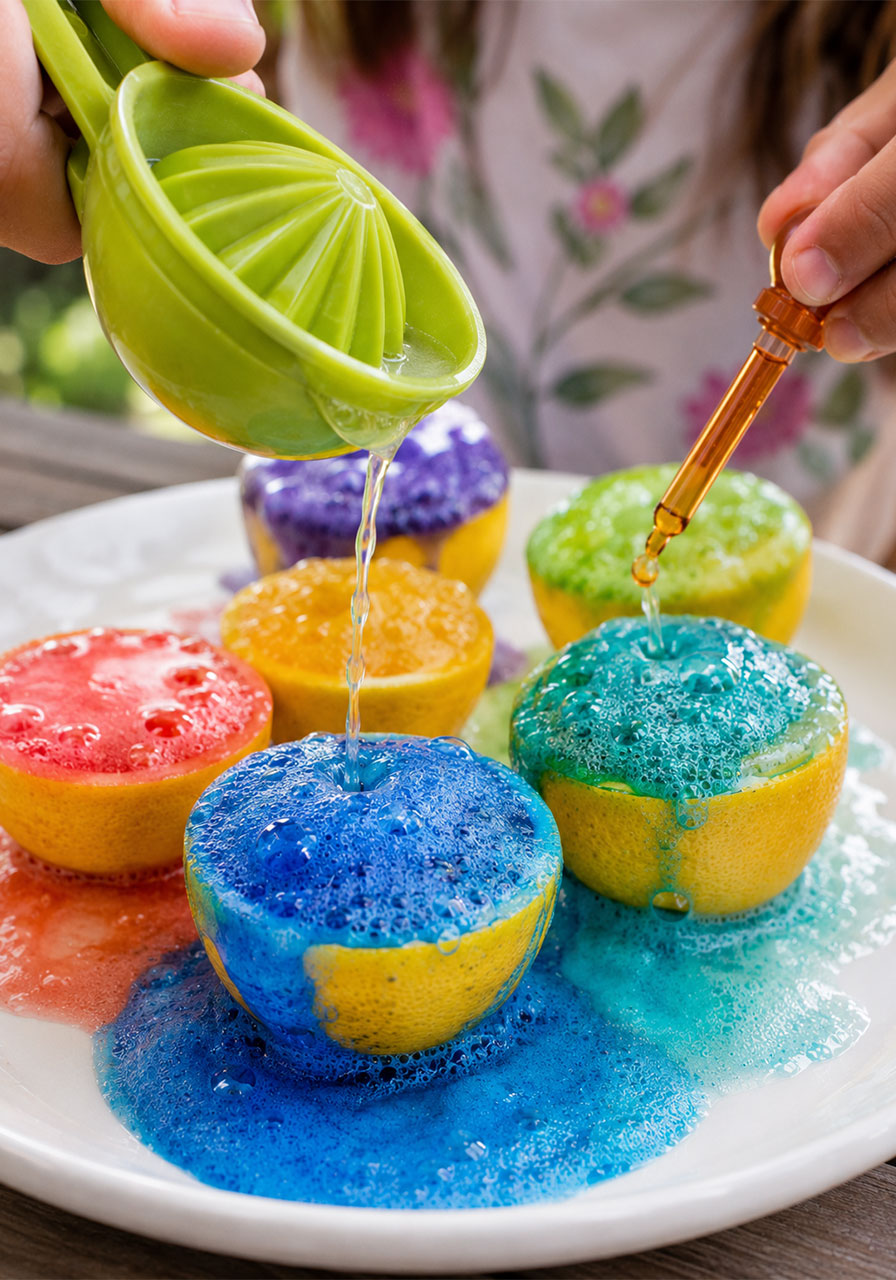
Once the fizzing slows down, don’t stop there. Add a little more baking soda, plus a squeeze of the extra lemon juice you saved earlier (or a splash of store-bought lemon juice or vinegar).
The reaction kicks right back into gear, and honestly, this second wave is often even more exciting than the first.
The Science Behind the Eruption (Explained for Kids)
Here’s a simple way to break down the chemistry for your students or your own kids, no science degree required.
Lemons contain citric acid, which is what makes them taste so sour. Baking soda is a base. When an acid and a base meet, they react.
That reaction produces a gas called carbon dioxide. Those bubbles you see rushing to the surface? That’s the carbon dioxide trying to escape, and it pushes all that colorful, foamy juice right up and out of the lemon.
Add dish soap into the mix, and it traps that gas inside soap bubbles, which is why the foam gets so much bigger and lasts so much longer.
For older students, this is a perfect entry point into talking about chemical reactions, pH levels, and how gases behave. For younger kids, “the sour juice and the powder don’t get along, so they make bubbles to escape” works just fine.
Pro Tips for a Bigger, Better Eruption
A few small tweaks can take this from a fun activity to an unforgettable one.
Use gel food coloring. It’s more concentrated than liquid food coloring, so your colors show up brighter and stronger against the yellow lemon.
Tear the wrap-style mess barrier if needed. If you’re doing this indoors, line your tray or table with a towel first. Food coloring stains, and you’ll want to catch any splashes before they hit your countertop.
Set up more lemons than you think you need. Kids almost always want a second or third round, and having extras ready means the fun doesn’t stall out while you’re slicing more lemons mid-activity.
Keep vinegar or extra lemon juice on hand. This is your secret weapon for restarting a slowing reaction without any real prep work.
Fun Variation: Rainbow Volcano Tray
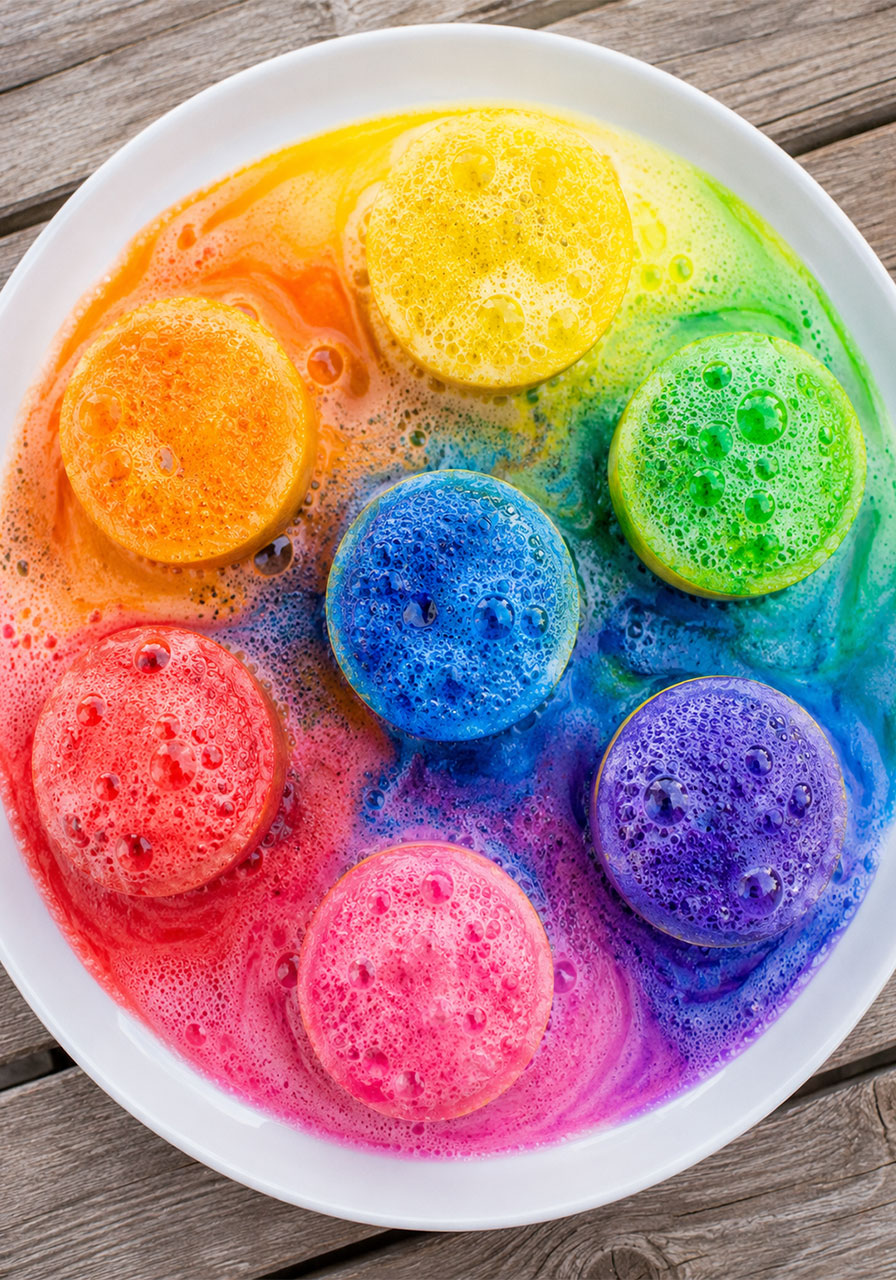
Instead of doing one lemon at a time, set up six or seven lemon halves together on one large tray, each with a different color. As the reactions overlap and spill into each other, the colors blend and swirl together into a genuine rainbow eruption.
This version is especially great for classrooms or group settings, since everyone gets to watch (and eventually poke at) the whole rainbow at once.
Cleanup Made Easy
One of the best parts of this activity is how little cleanup it actually requires.
The foam is completely safe to rinse straight down the drain. The lemons themselves can go into the compost or trash once you’re done. A quick wipe-down of your tray or table, and you’re finished.
The one thing to watch for is food coloring stains, especially on light-colored countertops or clothing. A towel underneath your tray before you start will save you that extra worry.
Why Teachers and Parents Keep Coming Back to This One
STEM activities can be hit or miss. Some need too much prep. Some need materials you don’t have on hand. Some sound exciting on paper but fall flat in practice.
The erupting lemon volcano avoids all of that. It uses ingredients you likely already own, it takes under 20 minutes start to finish, and it delivers a genuinely impressive payoff every single time.
It also scales beautifully. Doing it one-on-one with your own child at the kitchen table works just as well as running it as a full classroom science station with a tray of lemons for every small group.
And because the “why” behind the eruption is so easy to explain, kids walk away having actually learned something, not just having made a mess (even though the mess is half the fun).
Frequently Asked Questions
Can I use limes or oranges instead of lemons?
Yes. Any citrus fruit with enough acidity will work, though lemons tend to give the most reliable, vigorous reaction because of their high acid content.
Do I need gel food coloring, or will regular work?
Regular liquid food coloring will still work, but gel food coloring produces much more vibrant, saturated colors, which makes for a more impressive-looking eruption.
Is this safe for young kids?
Yes, with adult supervision. Always supervise children during sensory play, especially with cutting the lemons and handling craft sticks.
How many times can I restart one lemon?
As many times as you have extra lemon juice or vinegar on hand. Most lemons can handle two or three rounds of baking soda before the reaction really slows down for good.
Ready to Give It a Try?
Grab a few lemons, a box of baking soda, and your kids or students, and turn your next science lesson (or lazy afternoon) into an unforgettable, hands-on experiment. With this one in your back pocket, you’ve got a STEM activity you can pull out again and again, and it never gets old.
Because the best learning happens when kids don’t even realize they’re learning.
