
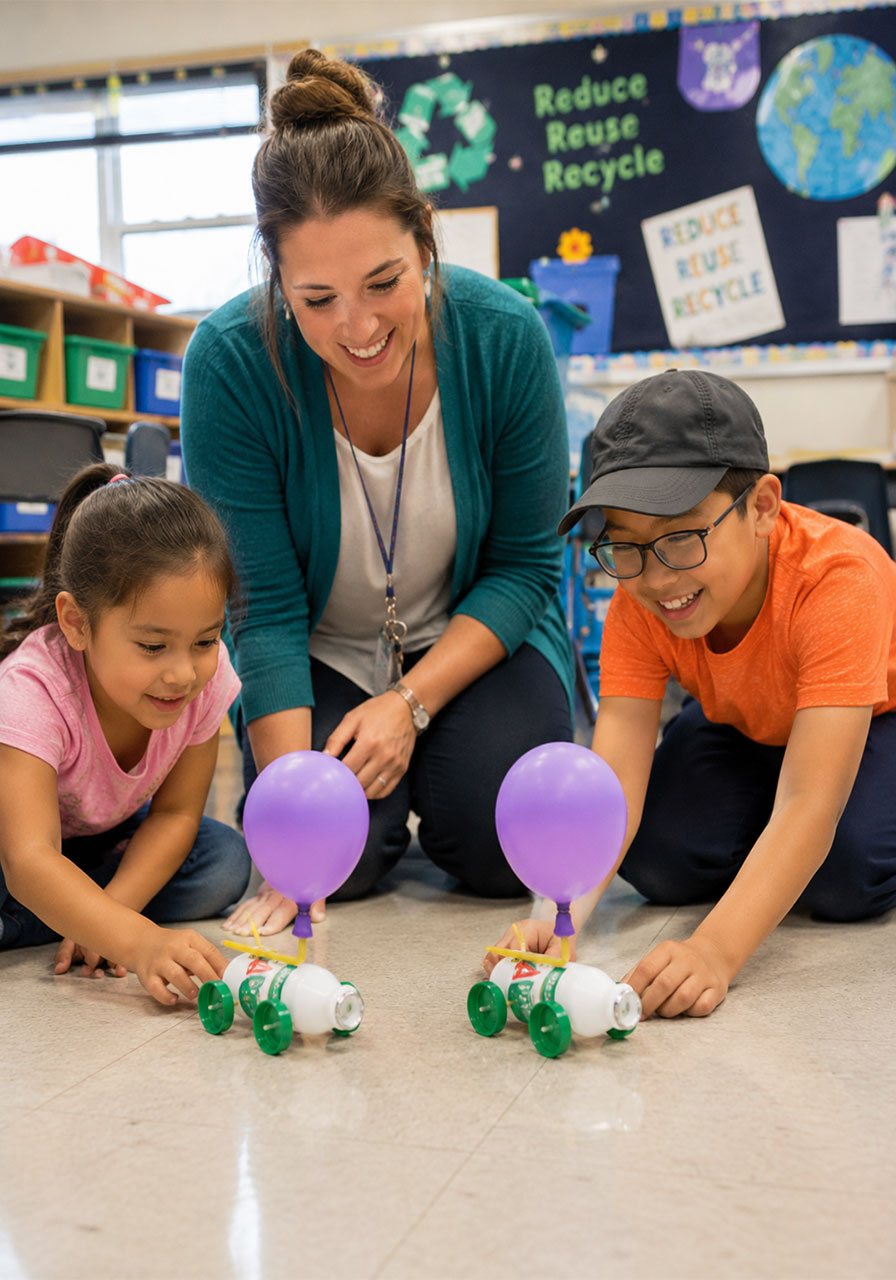
If you’ve ever typed “easy STEM activity” into a search bar at 9pm the night before a lesson, you know the struggle. You want something hands-on, something that actually teaches a real concept, and something that won’t require a trip to the craft store. This recycled balloon car checks every box.
It’s built from things you probably already have in your recycling bin. It takes about 15 minutes to put together. And the payoff, watching that little car zoom across the table on nothing but balloon power, gets a genuine gasp out of kids every single time.
Whether you’re a teacher planning a science center, a homeschool parent looking for a rainy-day project, or a mom trying to survive summer break, this one’s a keeper. Let’s build it.
Why This Activity Works So Well
This isn’t just a cute craft. It’s a real physics lesson disguised as a toy.
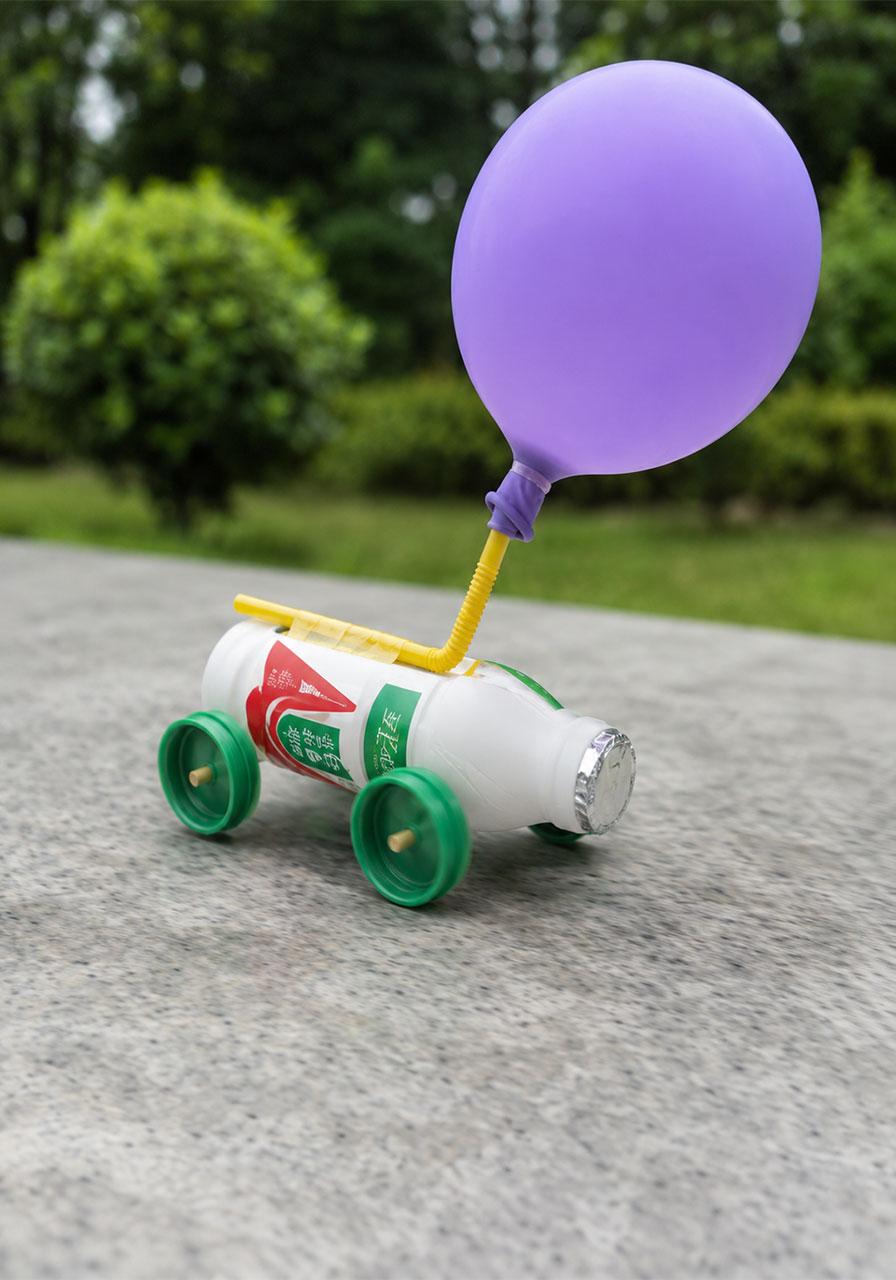
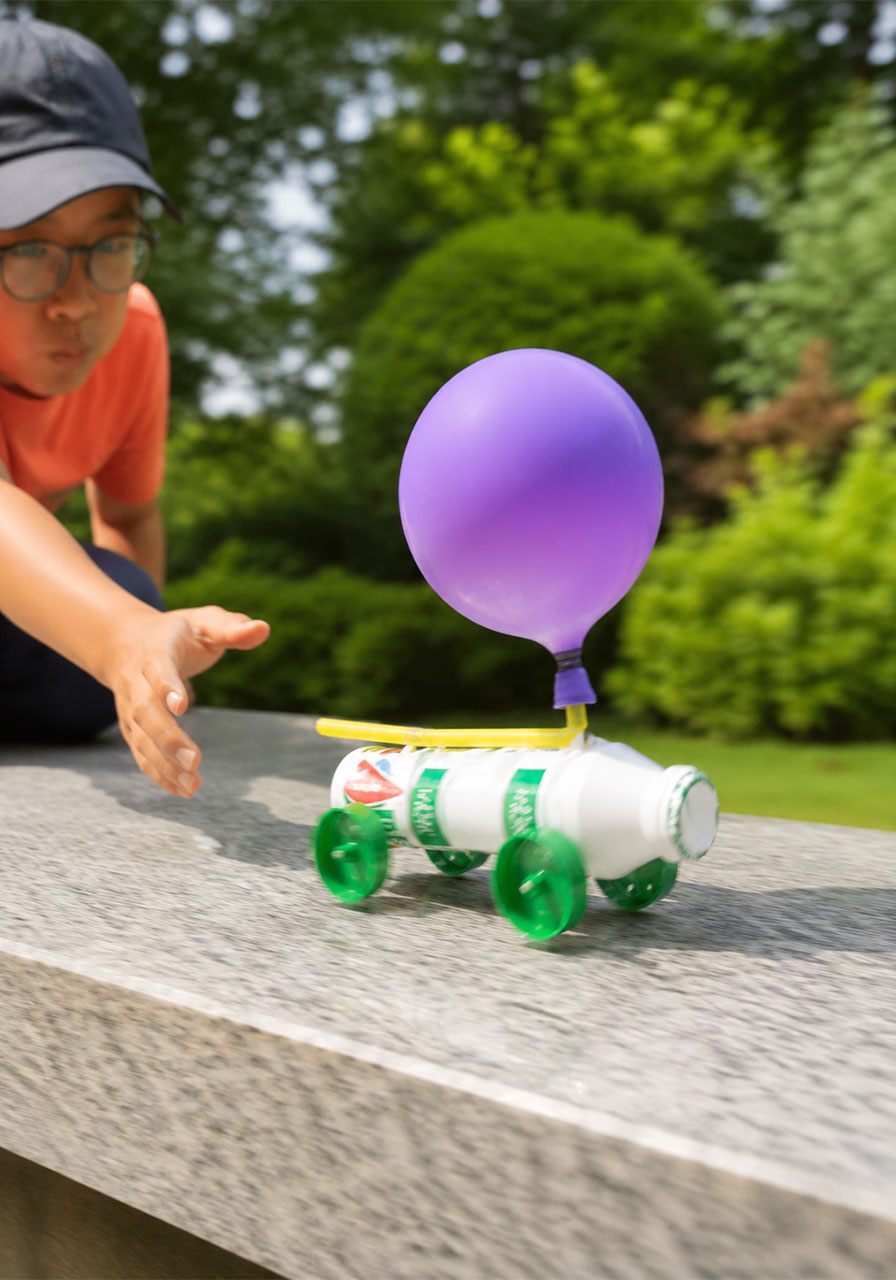
When the balloon deflates, it pushes air out one direction. That push sends the car flying in the opposite direction. That’s Newton’s Third Law in action: for every action, there’s an equal and opposite reaction. Kids don’t need to know the term to feel the concept. They just need to watch the car go.
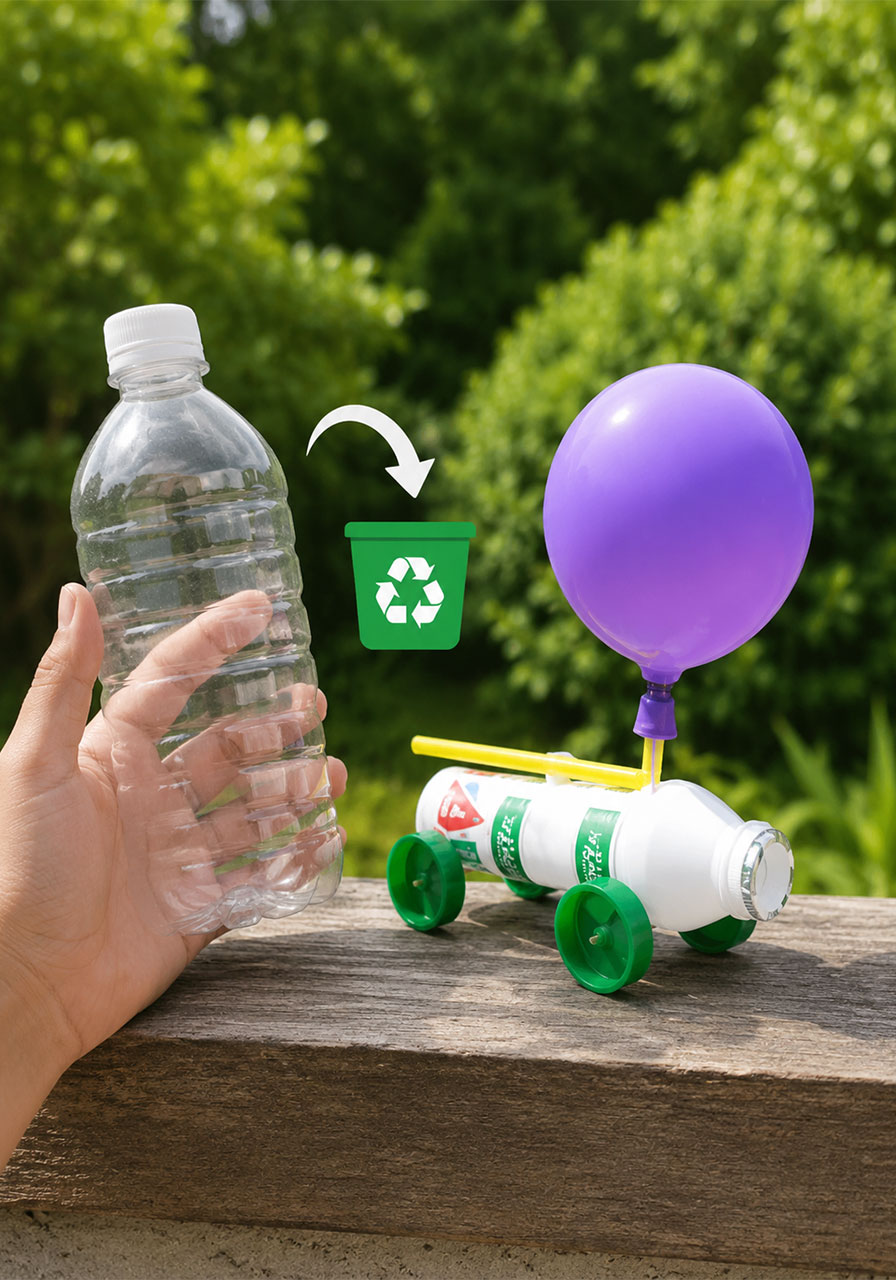
It’s also a fantastic recycling lesson. An empty bottle that was headed for the trash becomes the star of the show. That’s a message worth repeating for young kids, that “trash” often has a second life if you get creative.

Best For
Ages 5 and up, with adult help for younger kids. Great for classrooms, homeschool science time, birthday party activity stations, or a rainy afternoon at home.
Time to Build
About 15 to 20 minutes, plus test-driving time (which, fair warning, could go on for hours).
What You’ll Need
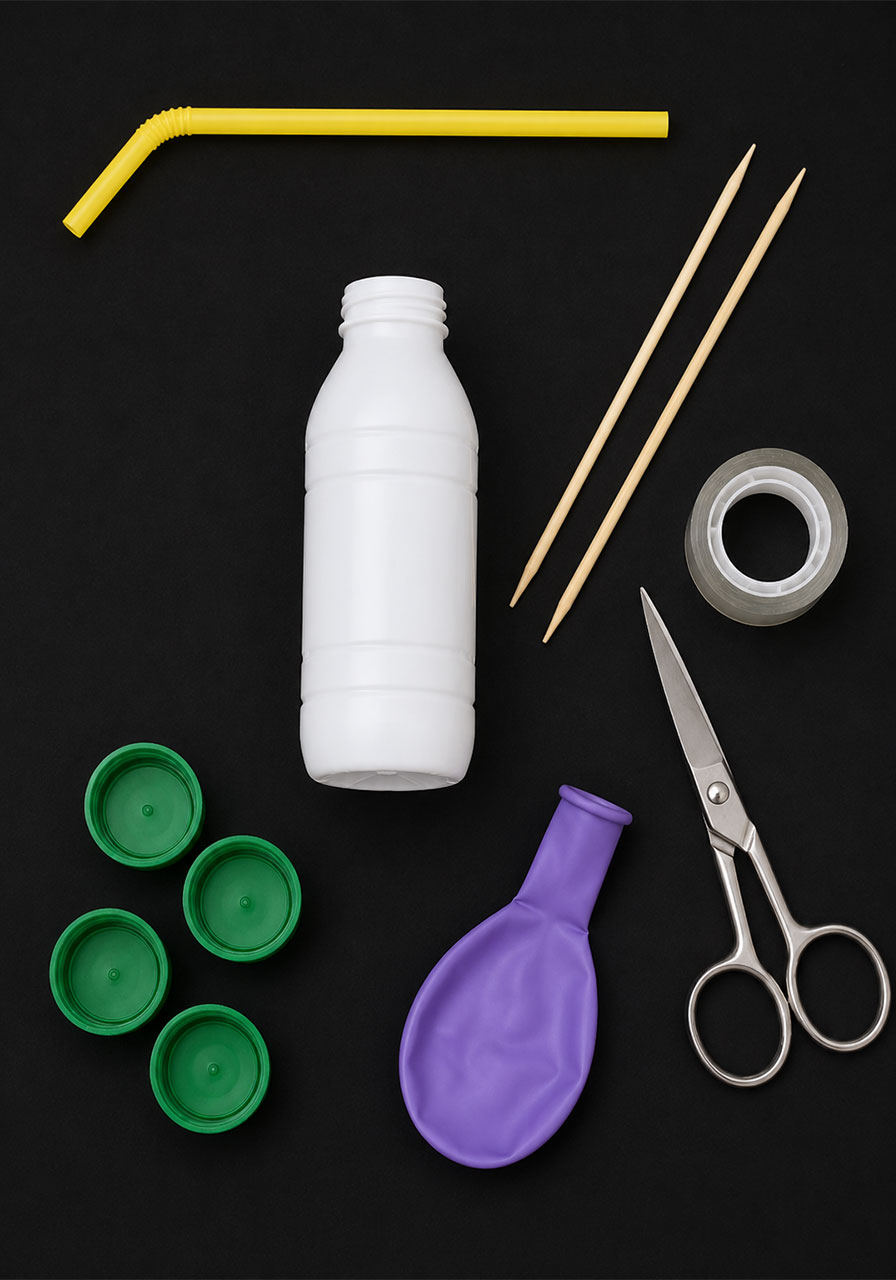
1 empty plastic bottle (a small yogurt drink bottle or similar cylinder-shaped bottle works best)
2 wooden skewers
4 bottle caps (these become your wheels)
1 bendy straw
1 balloon
Tape
Scissors
That’s it. No glue gun, no special tools, no last-minute Target run.
How to Build Your Balloon Car
Step 1: Prep your bottle.
Rinse out an empty plastic bottle and make sure it’s completely dry. A smaller, cylinder-shaped bottle works best because it’s easier for little hands to poke skewers through and easier for the finished car to balance.
Step 2: Add the axles.
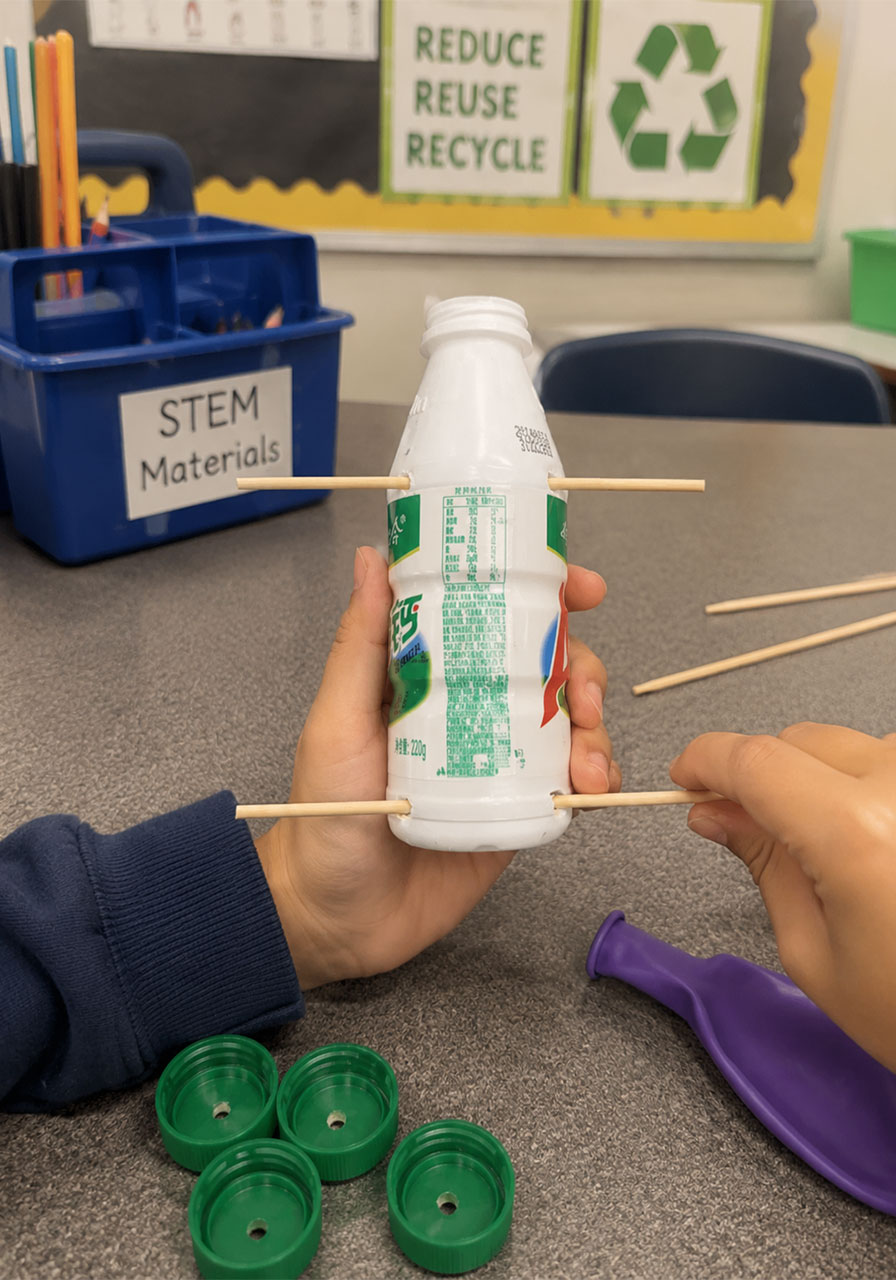
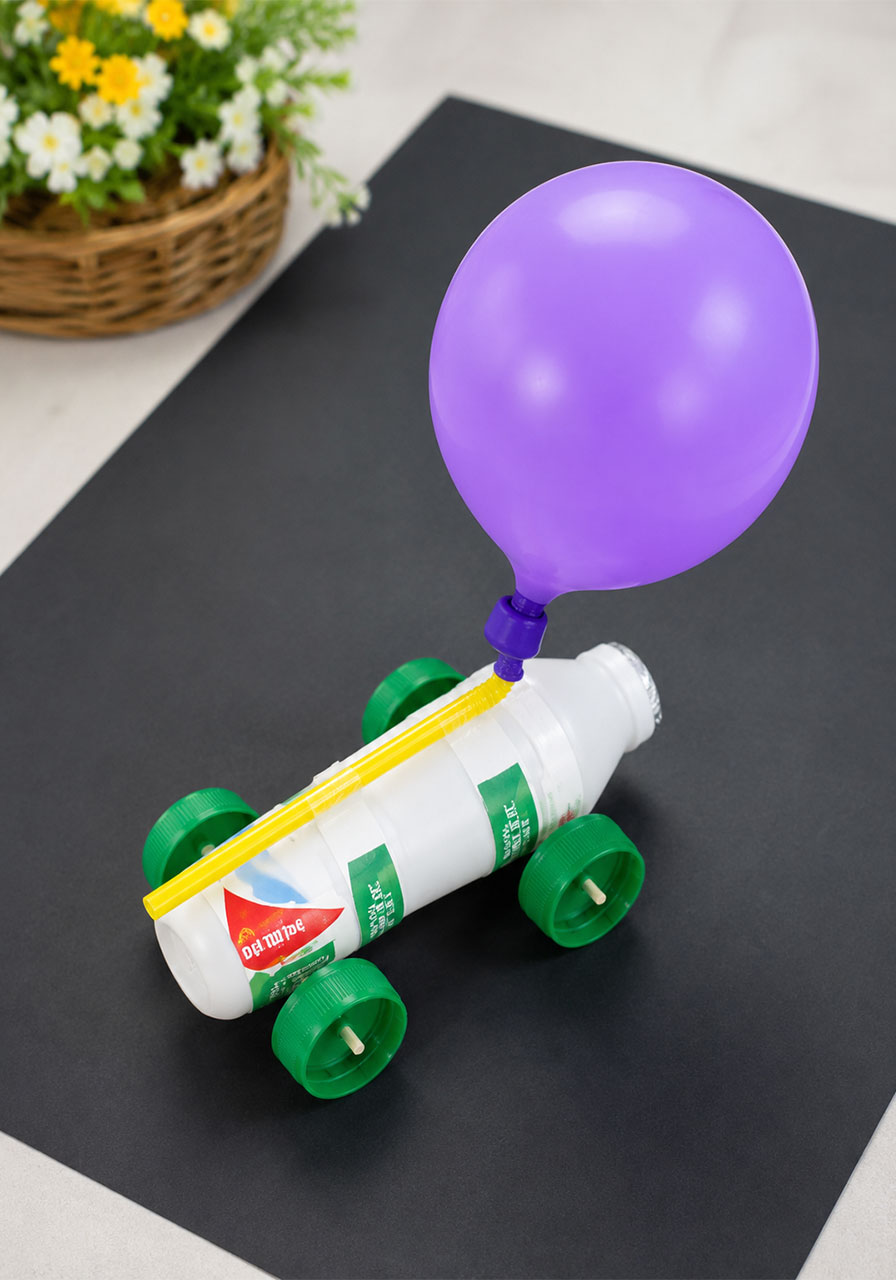
Carefully poke one wooden skewer straight through the bottle near the front, so it pokes out evenly on both sides. Repeat with the second skewer near the back of the bottle. These two skewers are your car’s axles, so take a moment to make sure they’re level and parallel to each other.
Step 3: Attach the wheels.
Push a bottle cap onto each end of both skewers. You should end up with four caps total, one on each end, forming your wheels. Give the car a gentle push on a table to make sure the wheels spin freely.
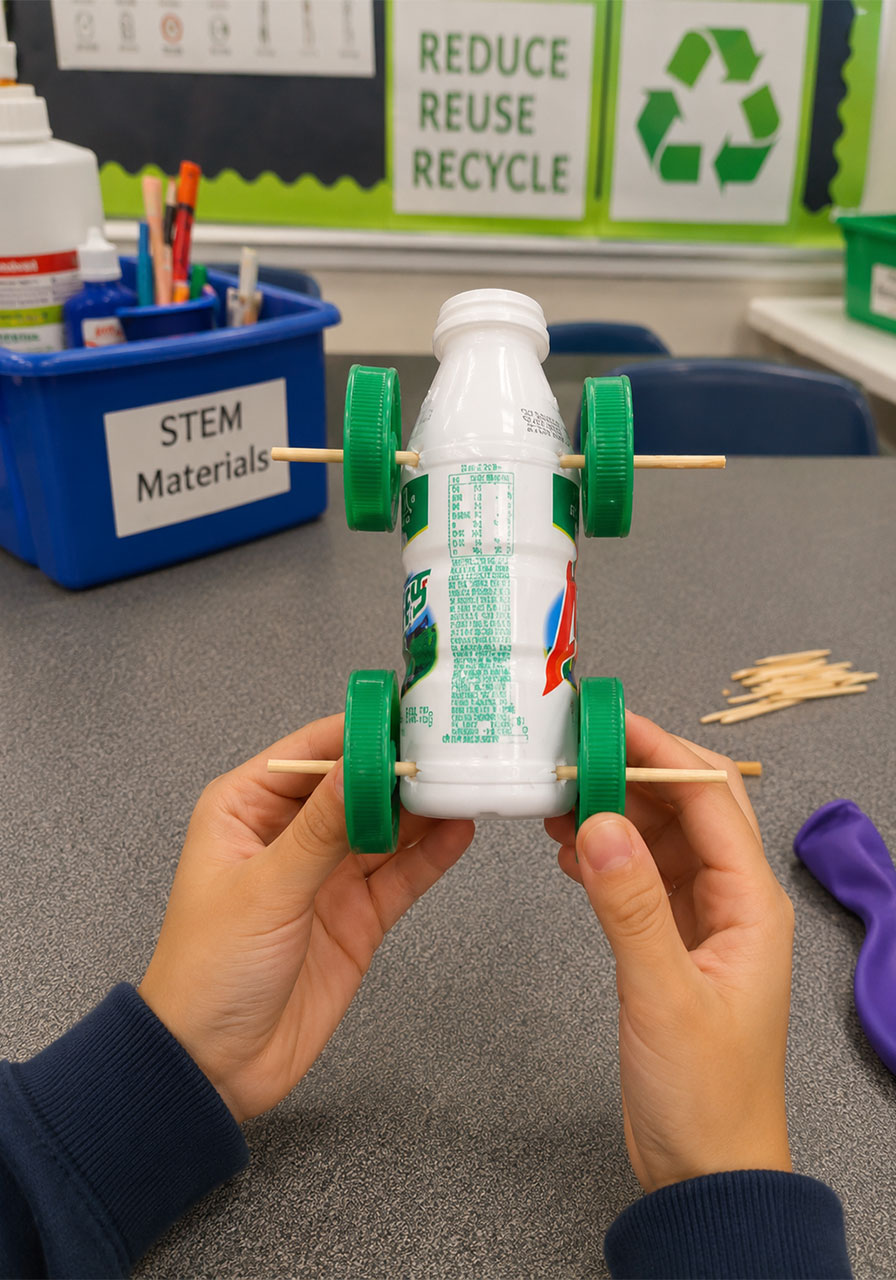
Step 4: Trim the excess.
Use scissors to snip off any skewer sticking out past the bottle caps. This keeps little fingers safe and keeps your car looking sharp.
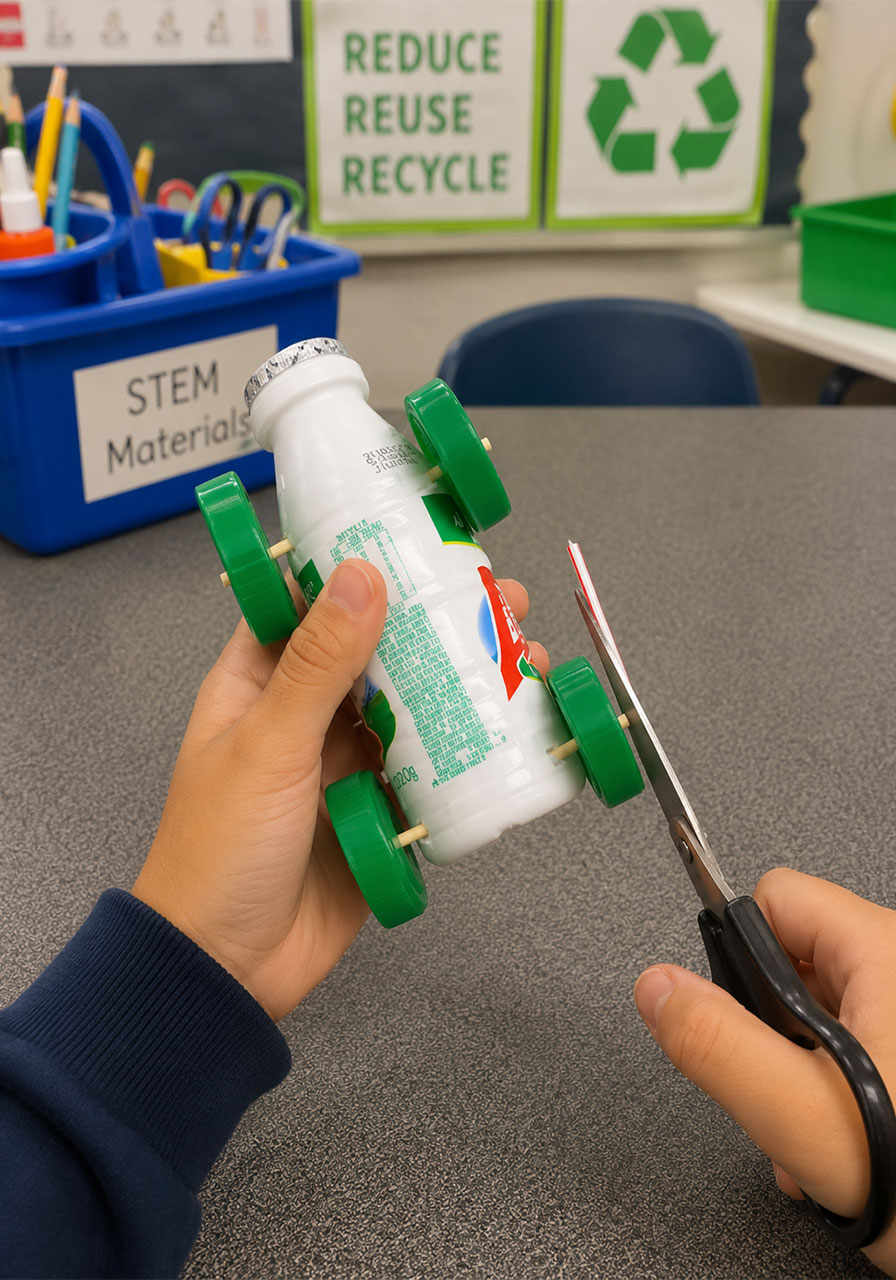
Step 5: Build your balloon engine.
Take your bendy straw and slide one end into the opening of the balloon. Secure it tightly with a piece of tape so no air can sneak out around the edges. This is the part that turns your little car into an actual machine.
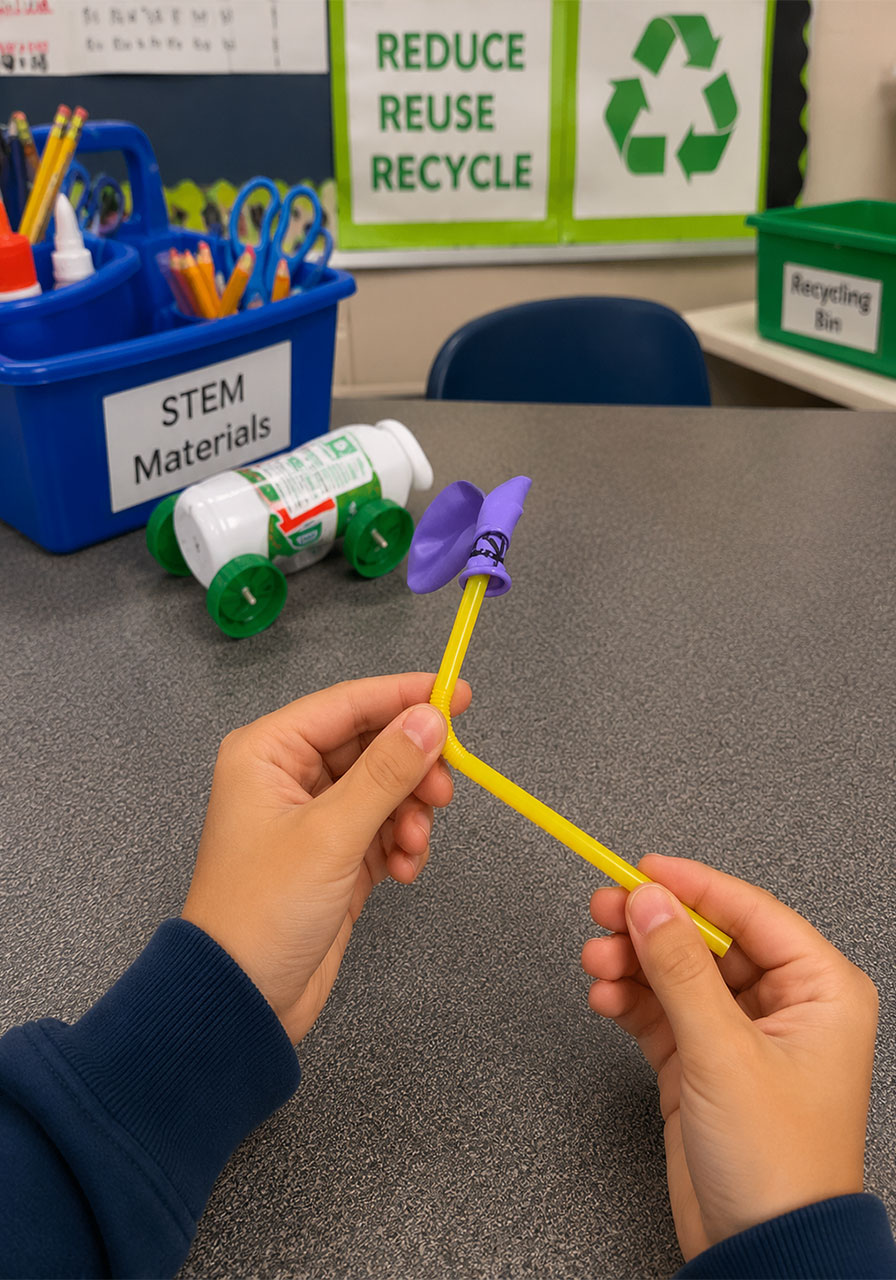
Step 6: Attach the engine to the car.
Tape the straw along the top of the bottle, running from front to back, with the bendable part hanging off the rear of the car. The balloon should end up sitting behind the car, ready to fill with air.
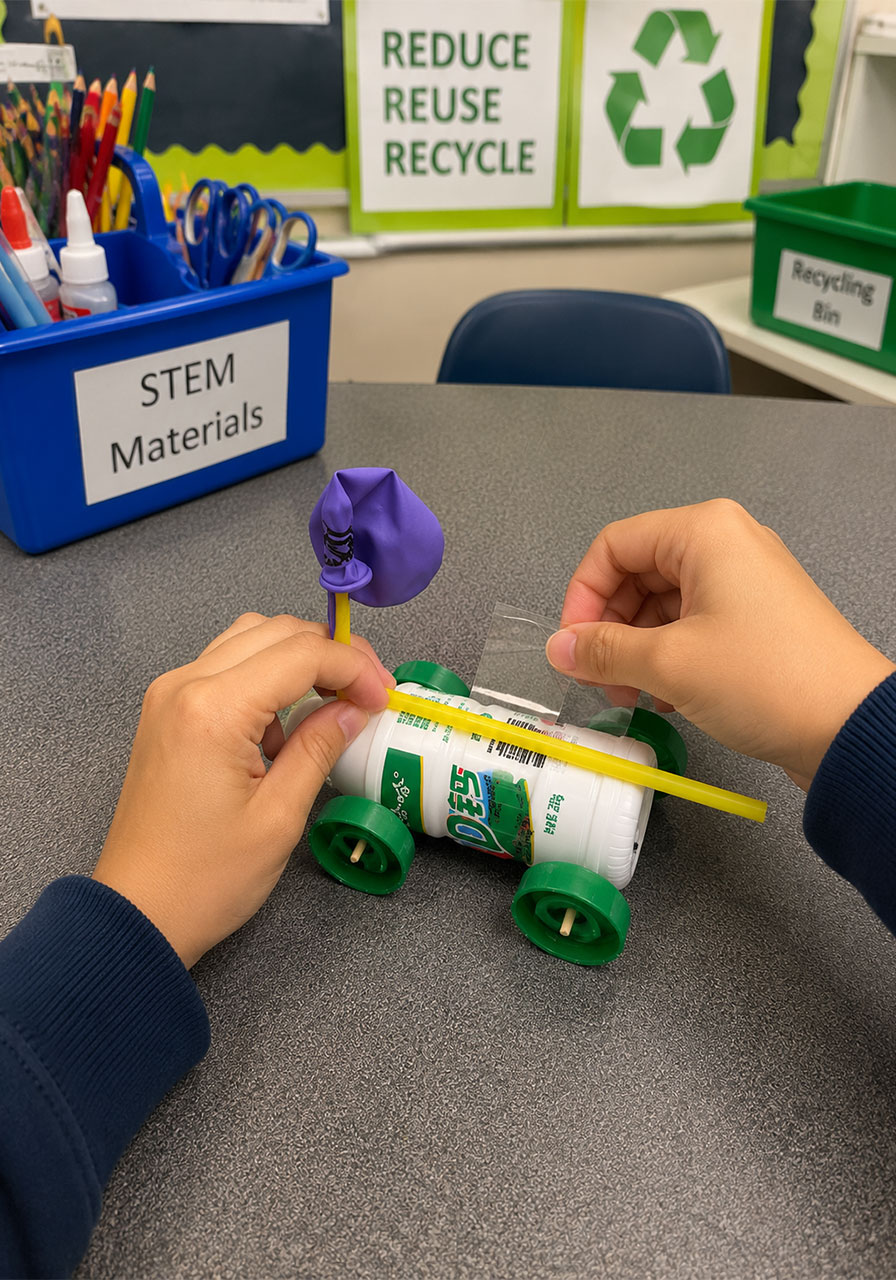
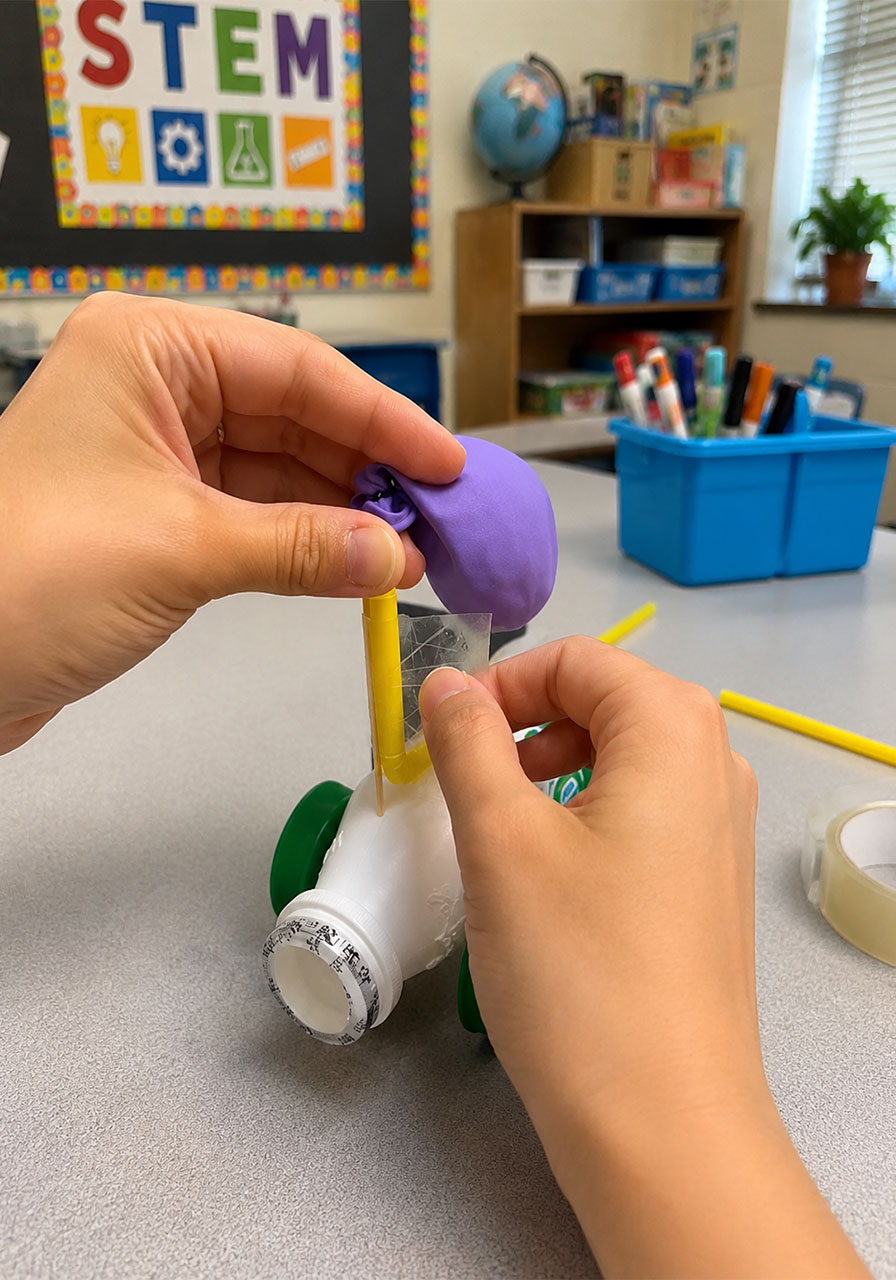
Step 7: Power it up.
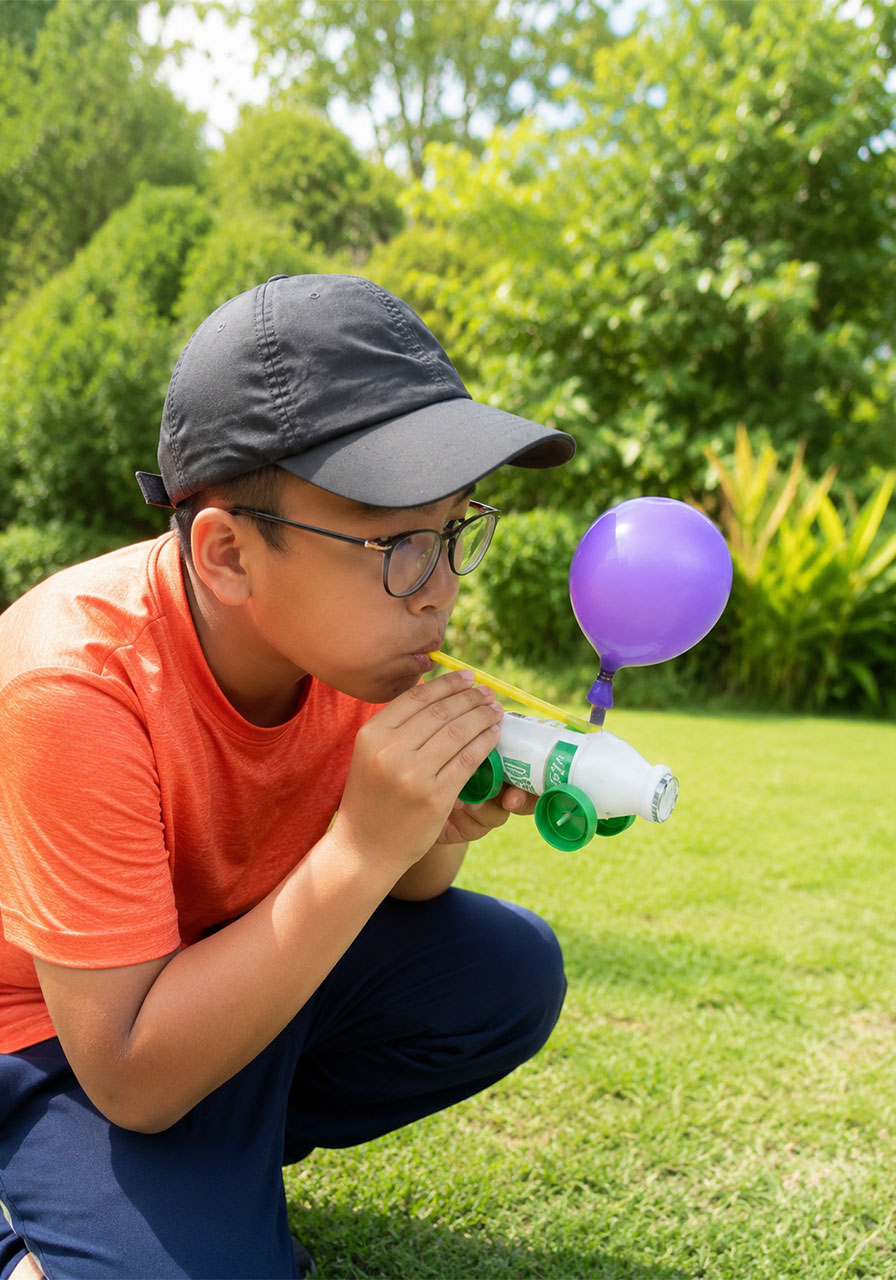
Blow into the straw to inflate the balloon. Once it’s nice and full, pinch the straw or hold the balloon shut for a second, set the car down on a smooth surface, and let go. Watch it fly.
Pro Tip
The straighter your axles and the more evenly your wheels are attached, the farther and straighter your car will drive. If your car keeps veering to one side, check that both skewers are level before you troubleshoot anything else. That one adjustment fixes 90% of “why won’t it go straight” problems.
Fun Variation
Try building two or three cars with different bottle sizes or wheel sizes, then race them side by side. It turns a simple activity into a full experiment, and it’s a great excuse to let kids design their own version.
STEM Extension Ideas to Stretch the Learning
Once the first car is built and zooming across the floor, don’t stop there. These simple extensions turn one fun afternoon into a full week of learning, and they cost nothing extra.
Science
Ask kids what they think will happen if you use a bigger balloon. Then actually try it. Test the car on different surfaces, like carpet, sidewalk, and grass, and talk about why some surfaces slow the car down more than others. This is a natural, low-pressure way to introduce air pressure and motion in language kids already understand.
Math
Grab a tape measure and see how far the car travels on one balloon of air. Count how many “pushes” of air it takes to get the car across a mat or a hallway. If you build more than one car, compare which version goes farther or faster and talk about why.
Engineering
Let kids swap in a longer or shorter straw and see what changes. Try bigger or smaller wheels. Test tape versus glue and ask which one holds up better, and why. Every tweak is a tiny engineering experiment.
Real-World Learning
Use this as a jumping-off point to talk about recycling and reusing materials instead of tossing them out. Ask kids what else around the house could become a “car” with a little imagination. Then let them redesign and rebuild their own version from scratch.
Language and Critical Thinking
Ask open-ended questions before, during, and after the activity. Try “What do you think will happen if we do this differently?” or “Why do you think this one moved faster?” or “What should we change next time?” These questions turn a simple craft into real critical thinking practice.
Troubleshooting: My Car Won’t Move
If the car isn’t budging, check these three things first.
Make sure the straw connection to the balloon is airtight. If air is leaking out around the tape instead of shooting out the straw, the car won’t get enough push to move.
Check that the wheels spin freely and aren’t rubbing against the bottle. A little wiggle room on the skewer makes a big difference.
Try a smoother surface. A bumpy rug or thick carpet can stop even a well-built car in its tracks, so a table, tile floor, or sidewalk will usually work better for a strong first test run.
Why This Belongs in Your STEM Rotation
Kids don’t need a worksheet to learn something real. They need curiosity, a reason to ask “what if,” and the freedom to test their own ideas. This balloon car gives them all three, wrapped up in something they’ll want to build again and again.
Save this one, because it’s the kind of activity you’ll pull out for the next rainy day, the next classroom science block, or the next time someone says “I’m bored” and you need a fast, satisfying answer.
