
Tornadoes are one of the most fascinating (and terrifying) forces of nature. Kids ask about them constantly. But actually seeing one up close? That’s obviously not an option, and it definitely shouldn’t be!
Good news: you can bring the tornado to your kitchen table or classroom instead. This tornado in a bottle experiment lets kids watch a real, swirling vortex form right before their eyes. It’s safe, it’s mess-free (mostly), and it takes just a couple of minutes to set up.
Whether you’re a teacher planning a weather unit, or a parent looking for a rainy-day activity that actually teaches something, this one’s a winner. Let’s dive in.
Why Kids (and Teachers) Love This Experiment
This activity is a classroom and homeschool favorite for a reason. It’s hands-on, it’s visual, and it turns an abstract weather concept into something kids can actually watch happen.
You don’t need a science degree to explain it, either. Once you swirl the bottle and see that funnel shape form, the “why” almost explains itself.
It’s also endlessly repeatable. Kids will want to flip that bottle over and over again, and every single time, they’re reinforcing what they just learned about air, water, and motion.
Best for: Kids ages 4 and up, classroom science units, homeschool weather lessons, rainy day activities.
Time to Play: 10 minutes to set up, then endless minutes of swirling fun.
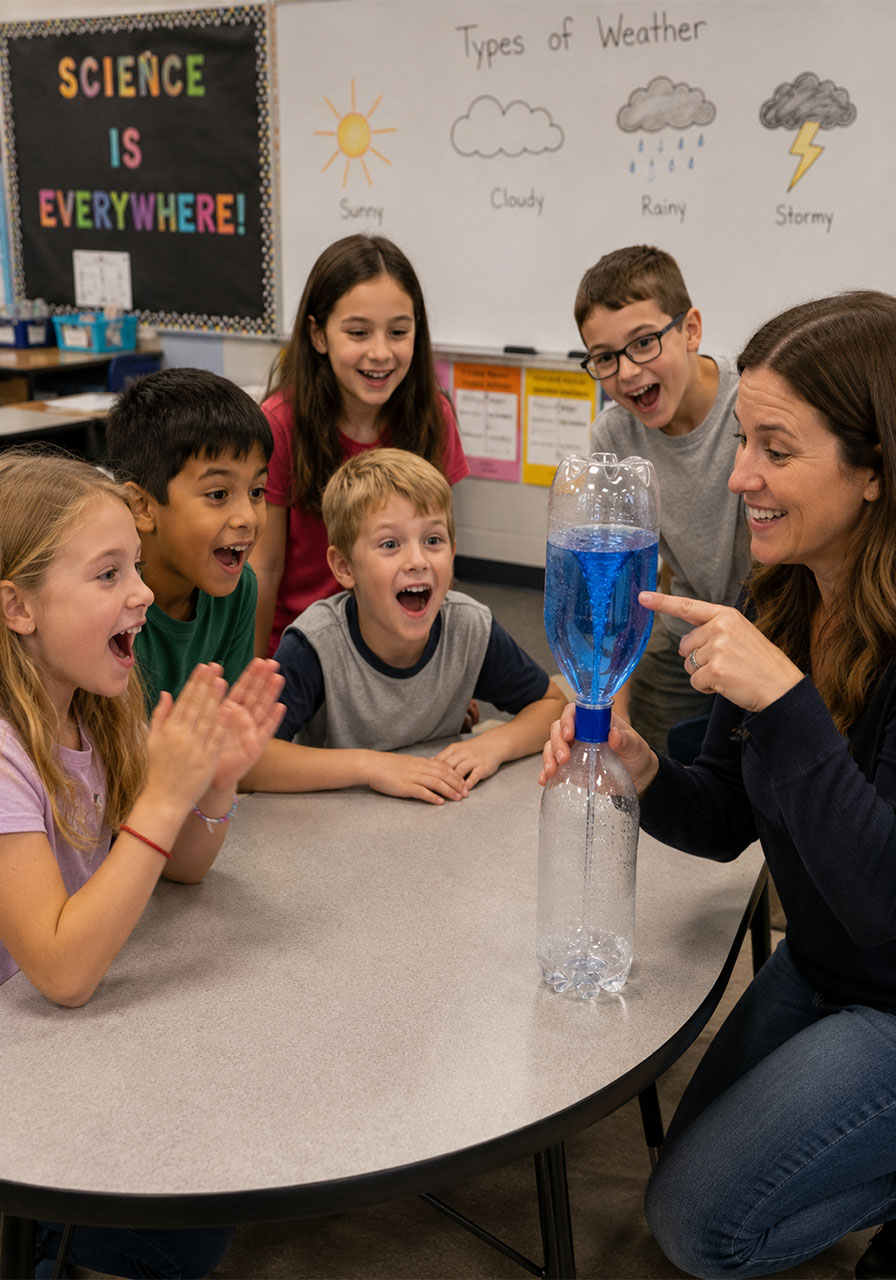
Group Size: Works for one curious kid or a whole classroom taking turns.

Supplies You’ll Need
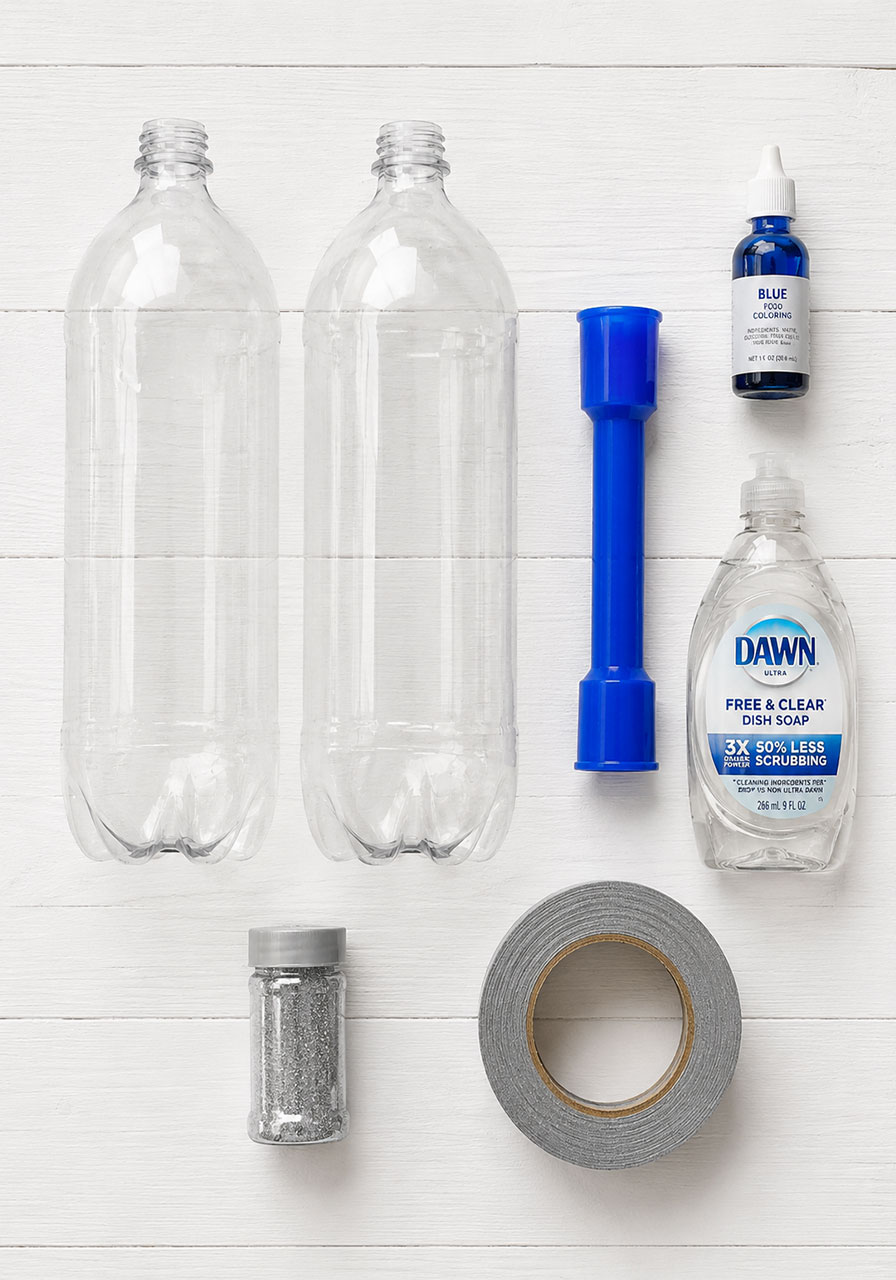
2 empty plastic bottles (2-liter soda bottles work great, and so do smaller water bottles for little hands)
A bottle tornado tube connector (these are inexpensive and reusable) OR strong duct tape
Water
A few drops of dish soap
Blue food coloring (optional, but it makes the “storm” look incredibly realistic)
Glitter (optional, for a little extra sparkle and shimmer inside your vortex)
A quick note on supplies: if you don’t have a tornado tube connector on hand, duct tape works just fine. It just means you’ll need to tape carefully so no water leaks out mid-swirl.
Step-by-Step: How to Make a Tornado in a Bottle
Follow these steps in order, and you’ll have a swirling tornado in minutes.
Step 1: Fill your first bottle.
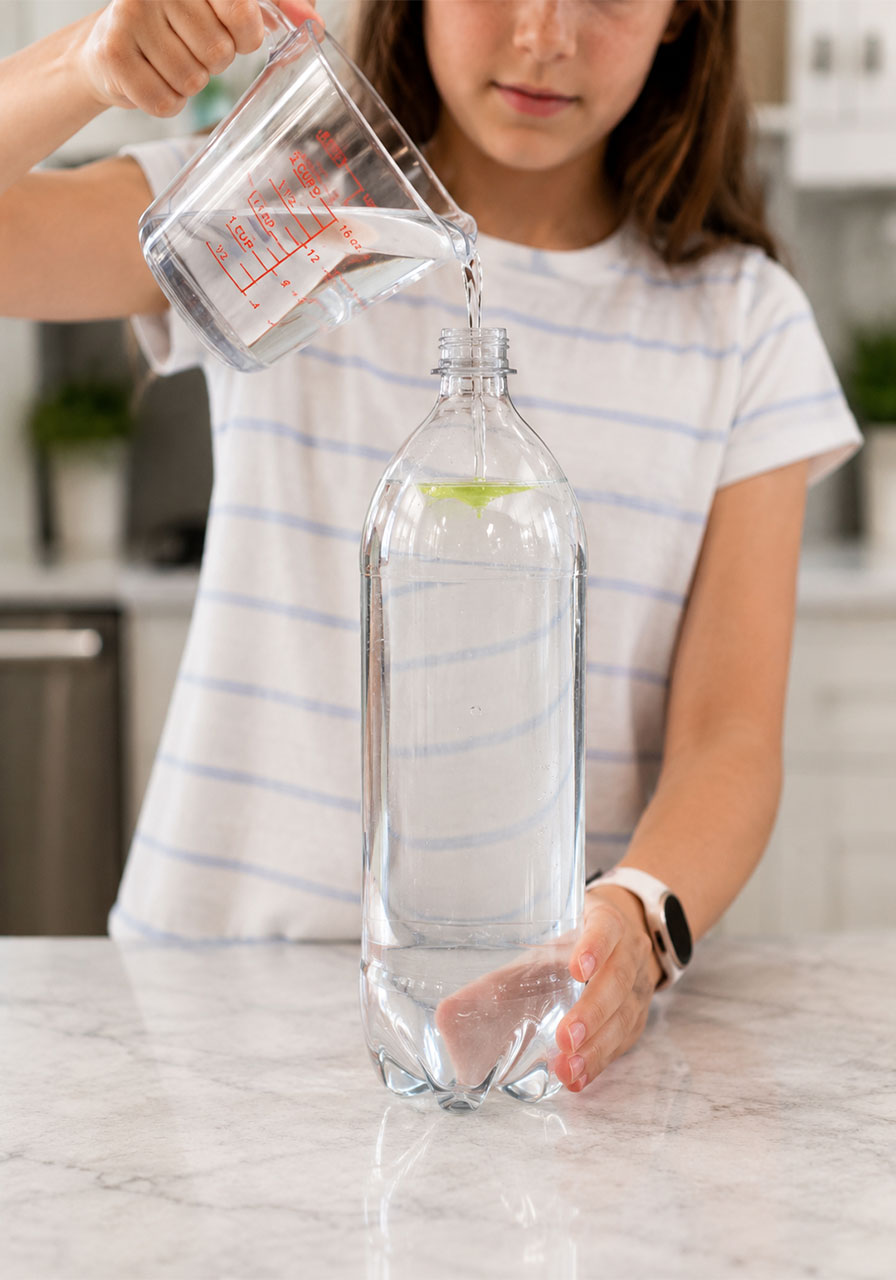
Fill one bottle about three-quarters full with water. Leave some air space at the top. That empty space is what gives your water room to spin.
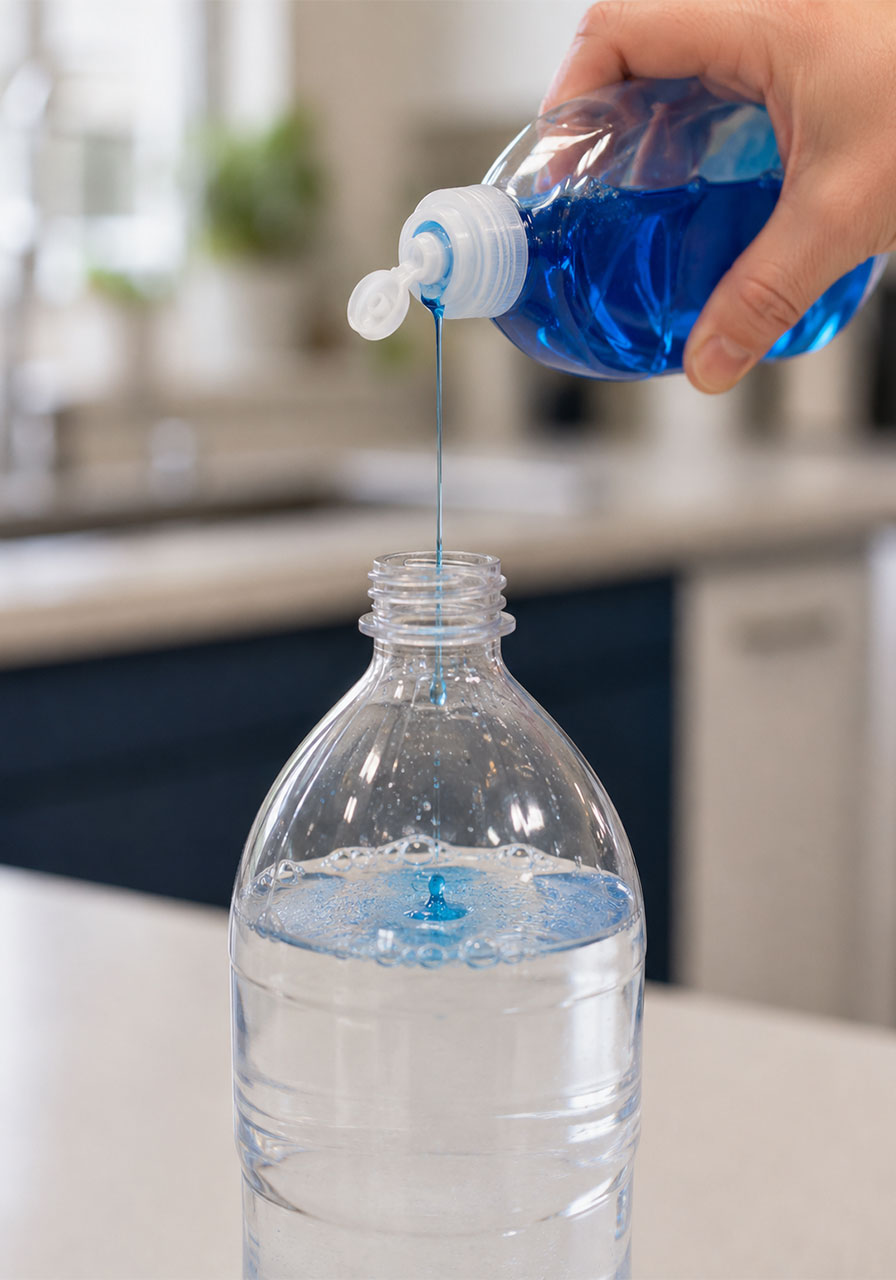
Step 2: Add your dish soap.
Add just a small squirt of dish soap to the water. This helps the vortex form a cleaner, longer-lasting funnel shape once you start swirling.
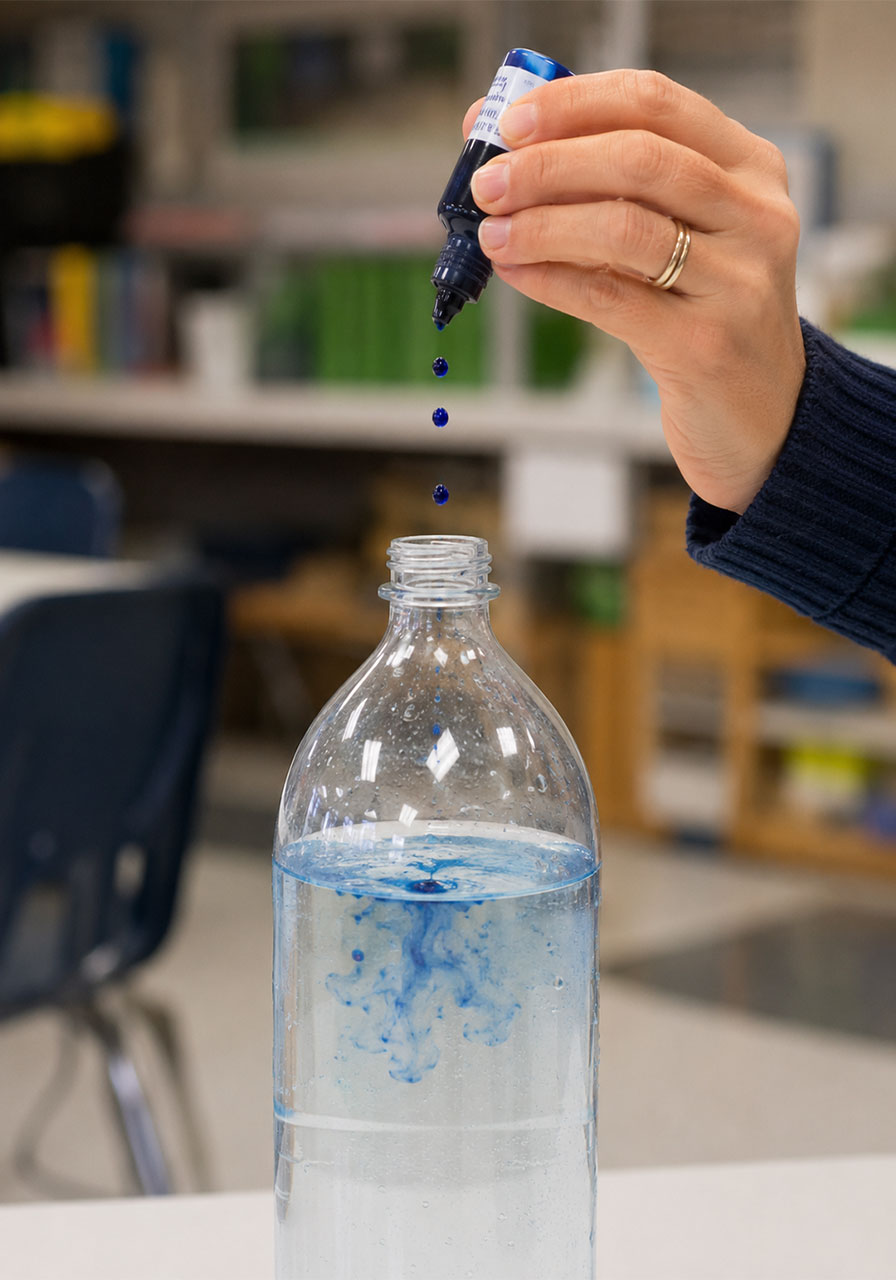
Step 3: Add color and sparkle.
Drop in a few drops of blue food coloring. Add a pinch of glitter too if you’re using it. Give it a light swirl so the color spreads through the water. This step is where kids get genuinely excited, so let them help.
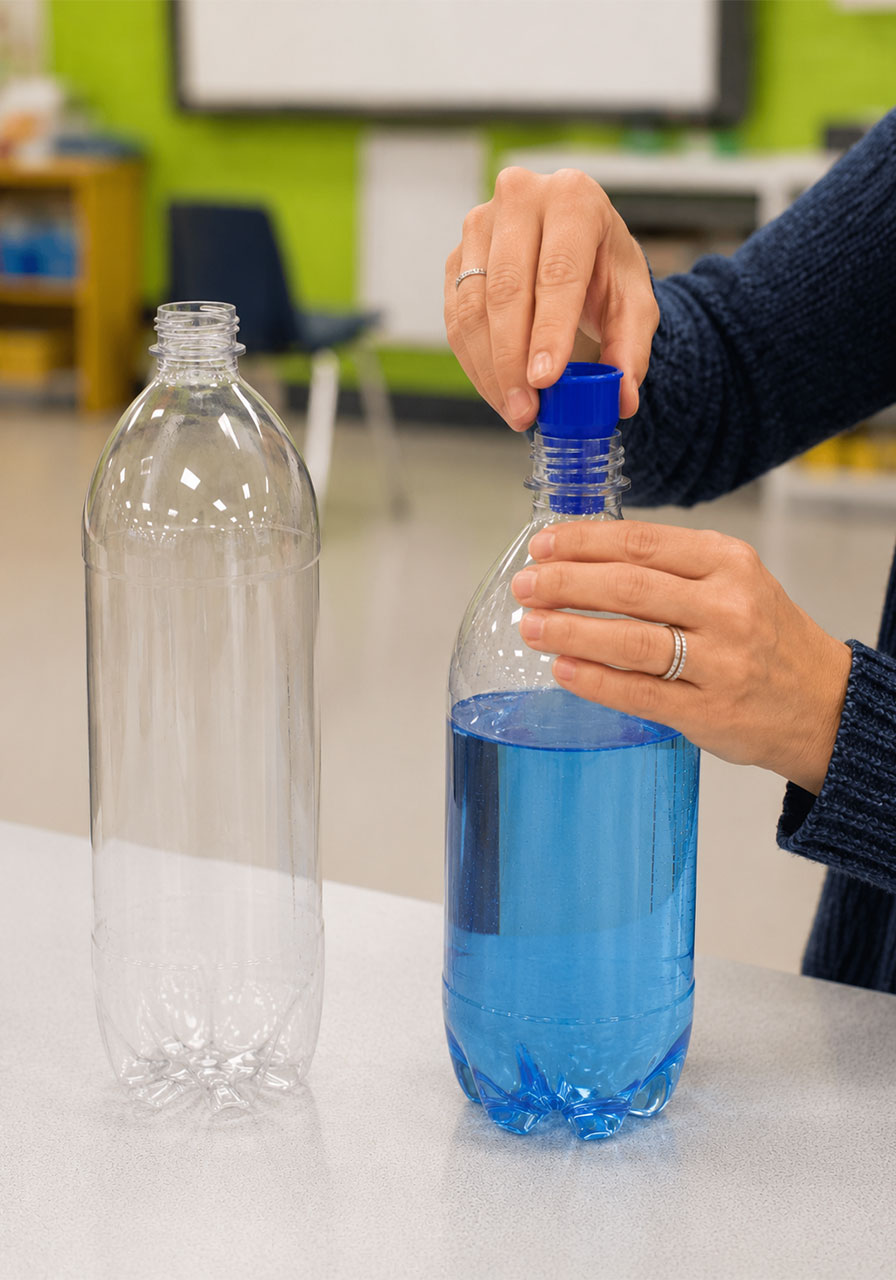
Step 4: Connect your two bottles.
Take your empty bottle and attach it directly on top of the full one, opening to opening. If you’re using a tornado tube connector, twist it into place until it’s snug and secure.
If you’re using duct tape, wrap it tightly and evenly around the connection point so there are no gaps for water to escape.
Step 5: Flip it over.
Turn the connected bottles upside down so the full bottle is now on top and the empty bottle is on the bottom. Hold it steady over a sink or outside, just in case a few drops sneak out.
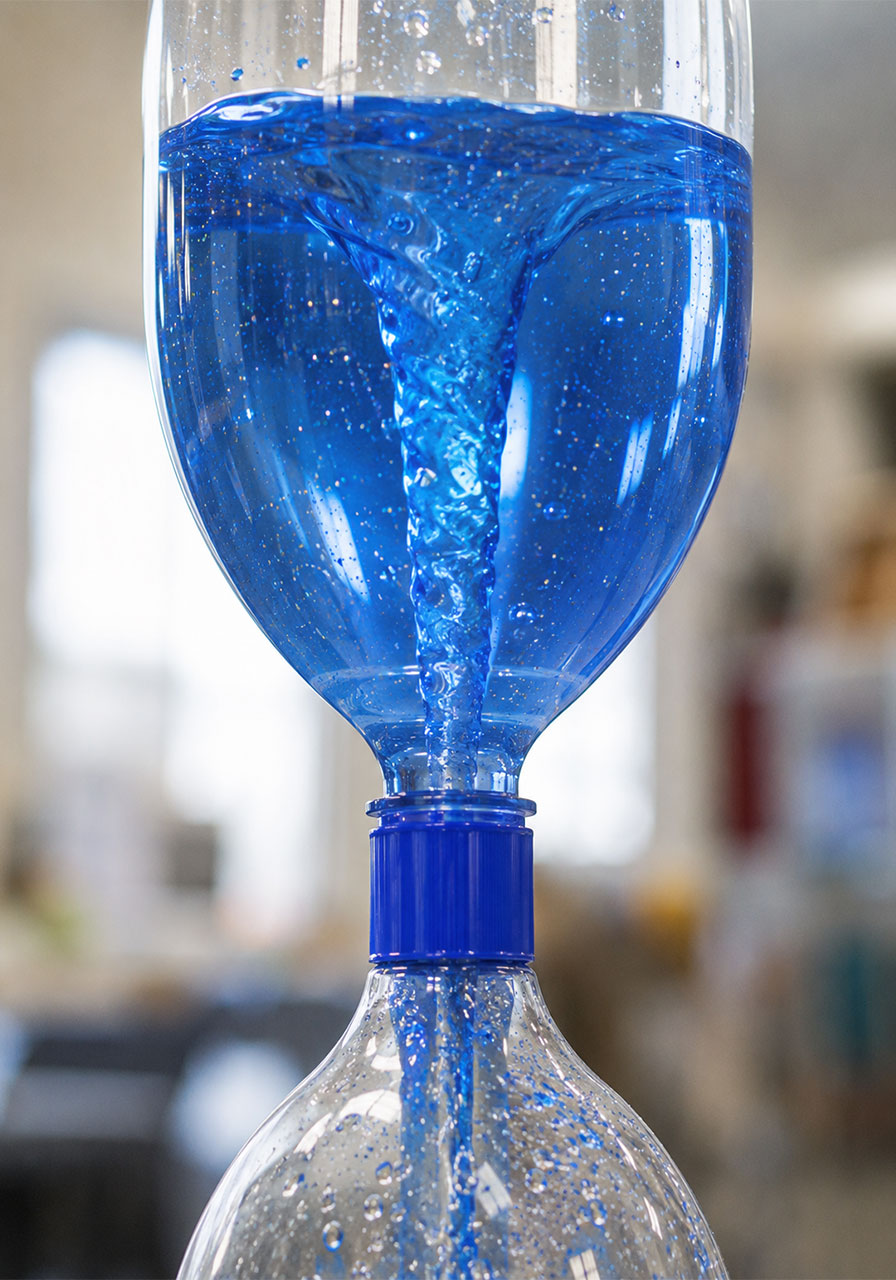
Step 6: Give it a swirl.
With one hand steadying the bottom bottle, use your other hand to swirl the top bottle in a quick circular motion, three or four times. Then hold it still and watch.
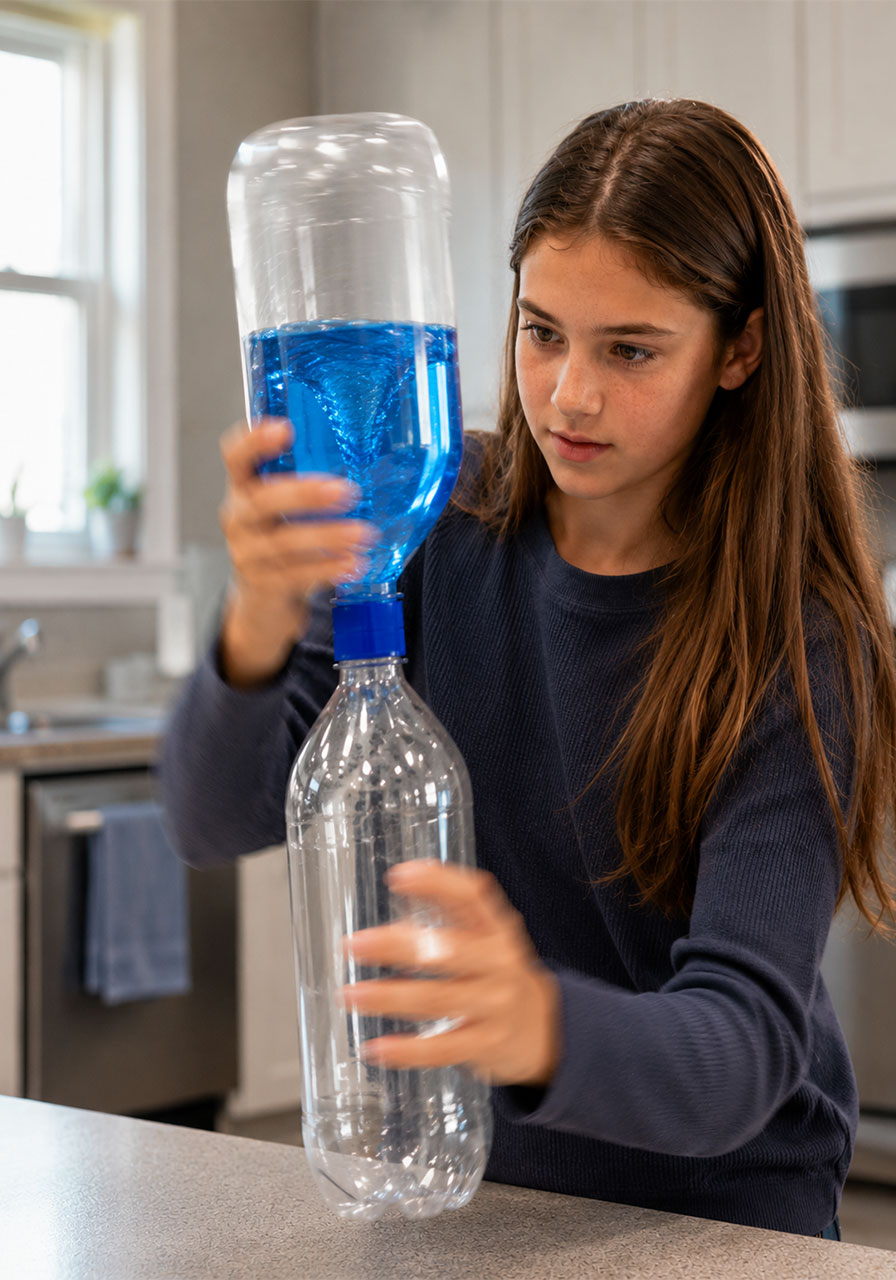
Step 7: Watch your tornado form!
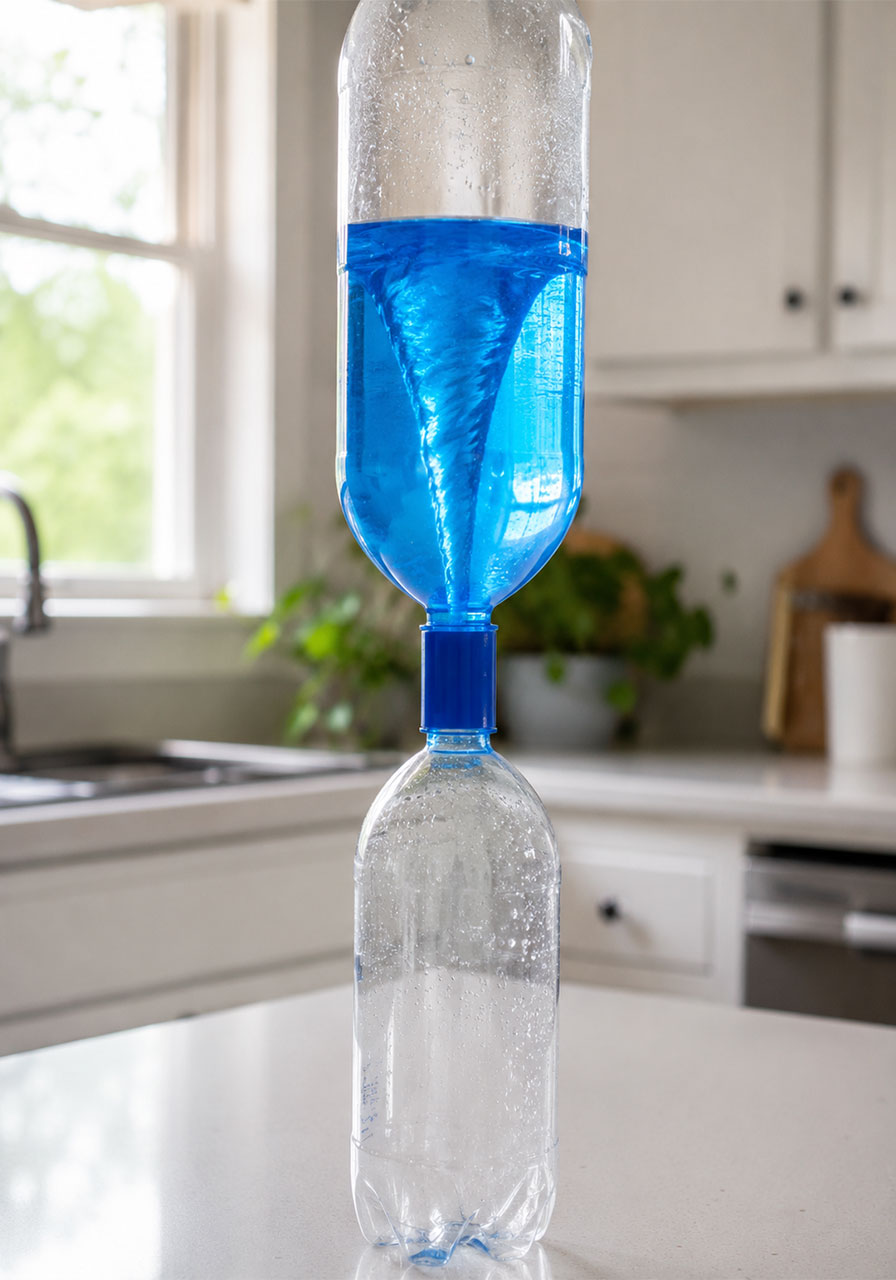
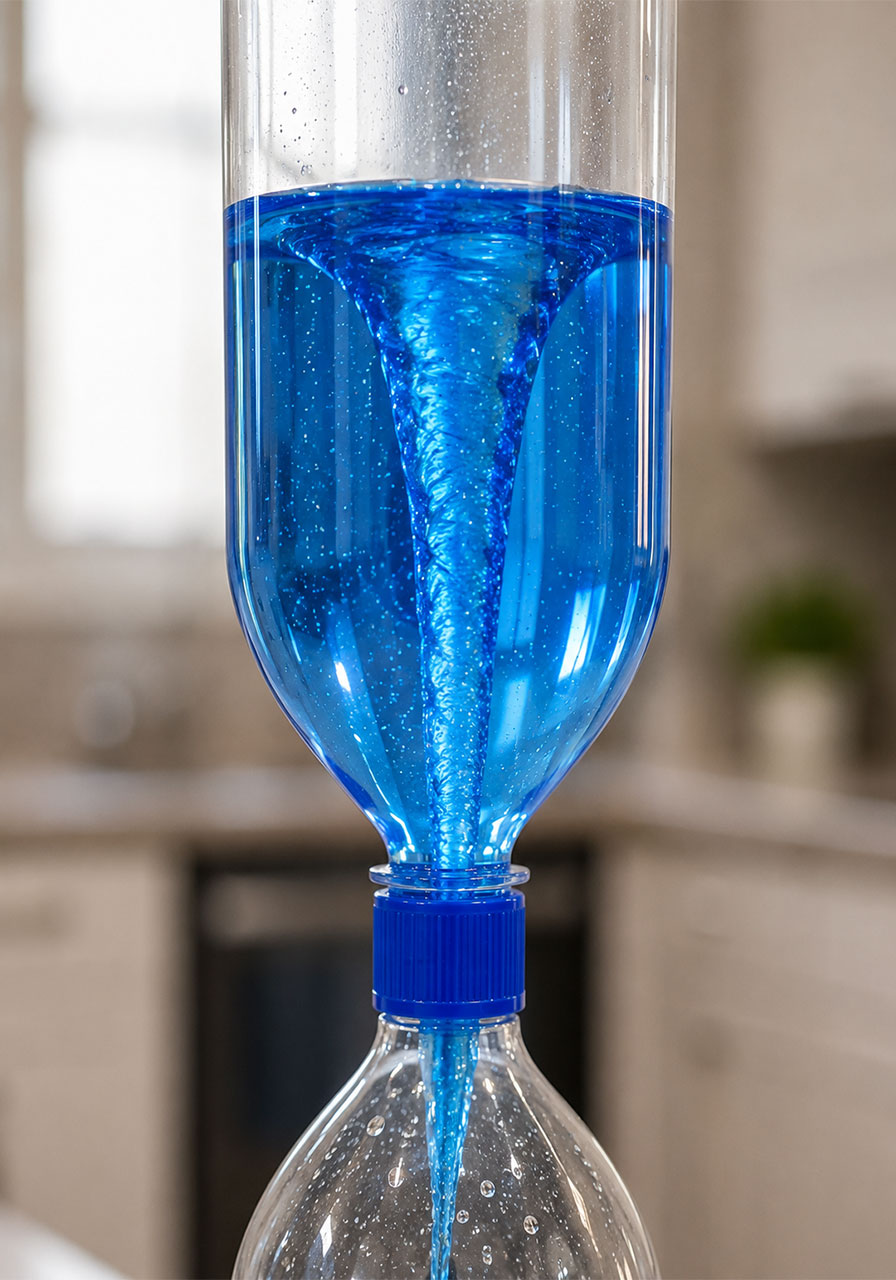
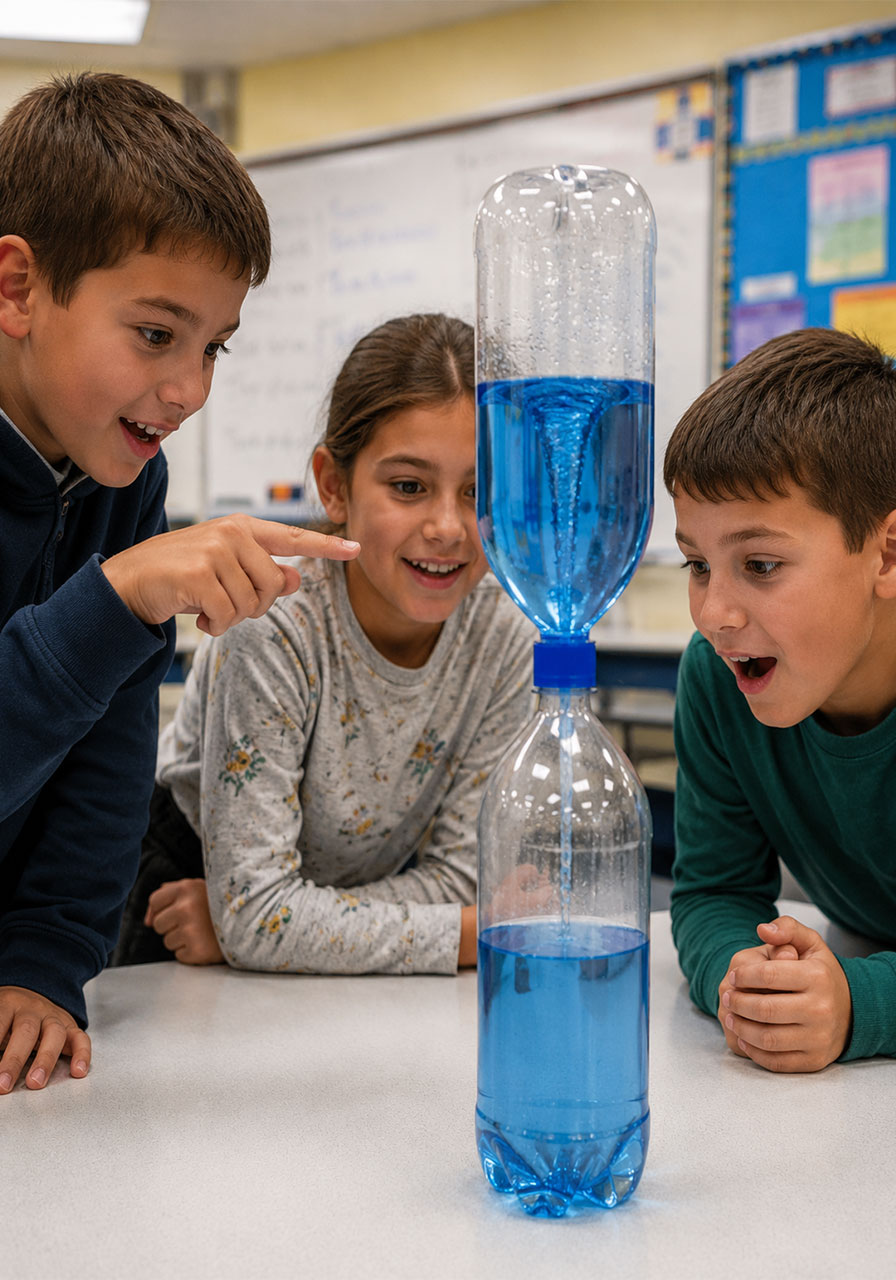
A spinning funnel of blue water will form in the top bottle and drain down into the bottom one, just like a real tornado touching down. Once all the water has drained, flip it back over and do it again.
Pro Tip: The faster and smoother your swirl, the more defined your funnel shape will be. A few practice tries usually get everyone the perfect tornado swirl.
A Few Safety Notes
This is a genuinely low-risk activity, but a couple of reminders make it go smoothly.
Make sure the connection between your two bottles is completely secure before flipping. A loose connection means a soggy table instead of a tornado.
If younger kids are doing the swirling, it helps to do this activity over a sink, a towel, or outside. A little water may escape, especially on the first few tries.
The Science Behind Your Bottle Tornado
Now for the best part: explaining what’s actually happening inside that bottle, and how it connects to real tornadoes.
A real tornado is a violently spinning column of air that stretches from a thunderstorm cloud all the way down to the ground. The strongest ones can reach wind speeds of up to 300 miles per hour, which is powerful enough to level buildings and toss cars.
Tornadoes form when warm, moist air (often coming up from the Gulf of Mexico) collides with cooler, drier air. When those two very different air masses meet, they create instability in the atmosphere. Changing wind speeds and directions at different heights cause the air to start spinning horizontally. Rising air within the storm then tilts that spin from horizontal to vertical, creating the funnel shape we recognize as a tornado.
Your bottle version works on a similar principle, just with water instead of air. When you swirl the bottle, you create a spinning motion called a vortex. As the water spins, it forms a funnel shape with a hollow center, very similar to the shape of a real tornado’s funnel cloud.
That hollow center is key. It allows air from the bottom bottle to rush up through the middle of the funnel while the water drains down around it. This is exactly why the water empties so much faster when it’s spinning than it would if you just flipped the bottle without swirling it. Without a vortex, the water and air fight for the same narrow opening, and everything glugs out slowly instead.
The dish soap plays a helpful supporting role too. It reduces the surface tension of the water, which helps the funnel hold its shape a little longer so kids get a clearer, more dramatic view of the vortex.
Fun Variations to Try
Once you’ve mastered the basic bottle tornado, try mixing things up to keep the learning going.
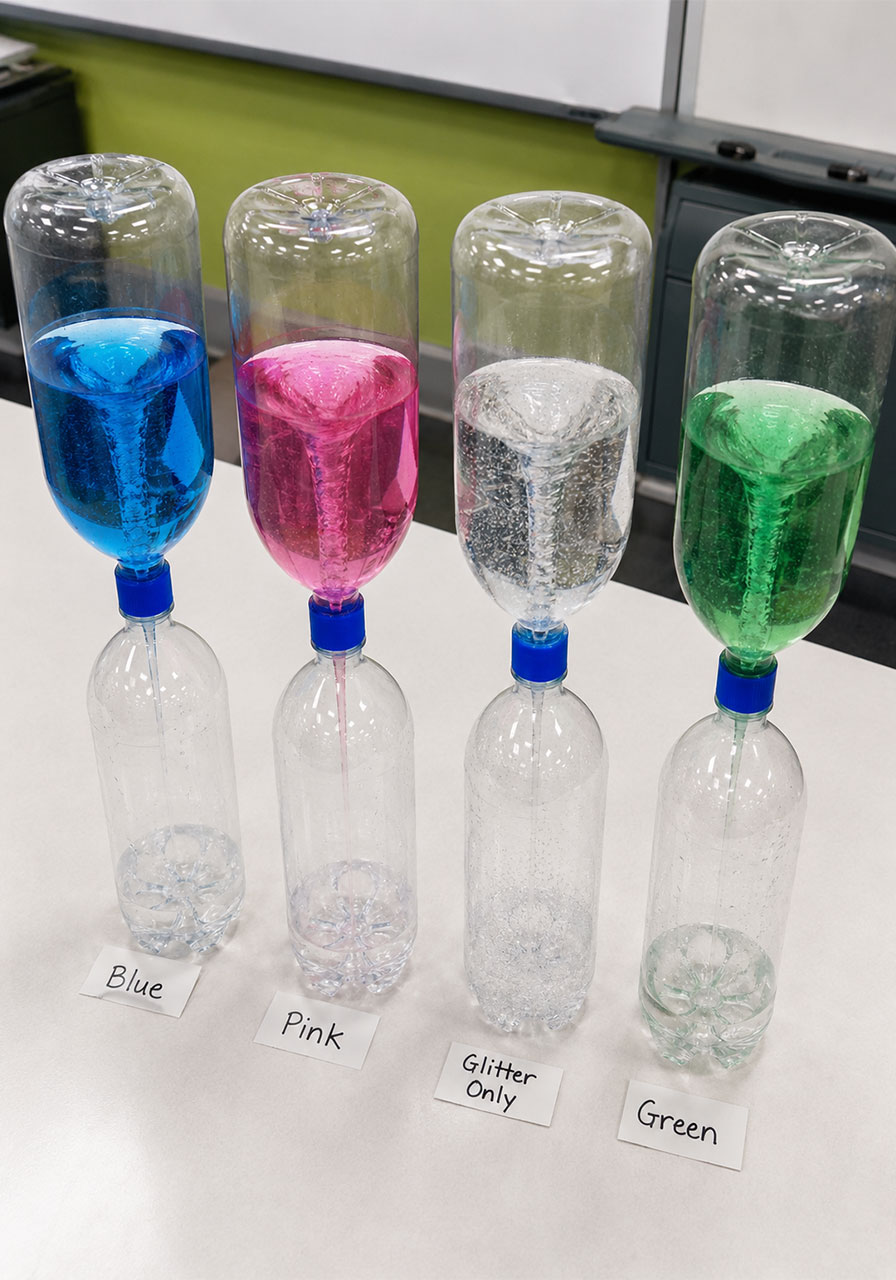
Color race: Set up two bottle tornadoes side by side with different colors of water. Have kids swirl both at the same time and see whose tornado drains first.
Glitter storm: Add different colors and amounts of glitter to see how it moves differently through the vortex compared to plain water.
No-soap comparison: Make one bottle with dish soap and one without. Let kids compare how the funnel shape looks different between the two, and talk about why.
Timed trials: Time how long it takes the water to fully drain with a strong swirl versus no swirl at all. This is a great way to sneak in a simple data collection lesson for older kids.
Tips for Using This in the Classroom
If you’re planning to use this as a group activity, a little prep goes a long way.
Pre-fill and pre-connect bottles ahead of time if you’re working with a large group or younger students. That way, class time can focus on swirling, observing, and discussing rather than setup.
Pair this activity with a short discussion or worksheet about tornado safety and the difference between a tornado watch and a tornado warning. It’s a natural way to connect the fun demo to real severe weather preparedness.
Consider letting kids take turns being the “swirler” while others narrate what they observe out loud. This keeps everyone engaged even while they’re waiting for their turn.
Frequently Asked Questions
Do I need a special connector, or will tape work?
Tape works just fine. A tornado tube connector is a little more convenient and reusable, but it isn’t required to make this activity a success.
Can I skip the food coloring?
Absolutely. The vortex will still form clearly with plain water. The food coloring just makes it easier to see and adds a fun visual for younger kids.
How many times can I reuse the same bottles?
As many times as you’d like. As long as your connection stays secure, you can swirl this tornado again and again.
What age is this appropriate for?
This works well for preschoolers through upper elementary kids, with adult help for the setup. Older kids can handle the full setup and swirling on their own.
Wrapping Up
A tornado in a bottle is proof that some of the best science lessons don’t need a lab, a budget, or a complicated setup. Just a couple of bottles, some water, and a few minutes of swirling turn into a hands-on lesson kids will want to repeat again and again.
Keep this one in your back pocket for your next weather unit, rainy afternoon, or “I’m bored” moment. It’s simple, it’s satisfying, and it makes learning about tornadoes something kids genuinely look forward to.
