
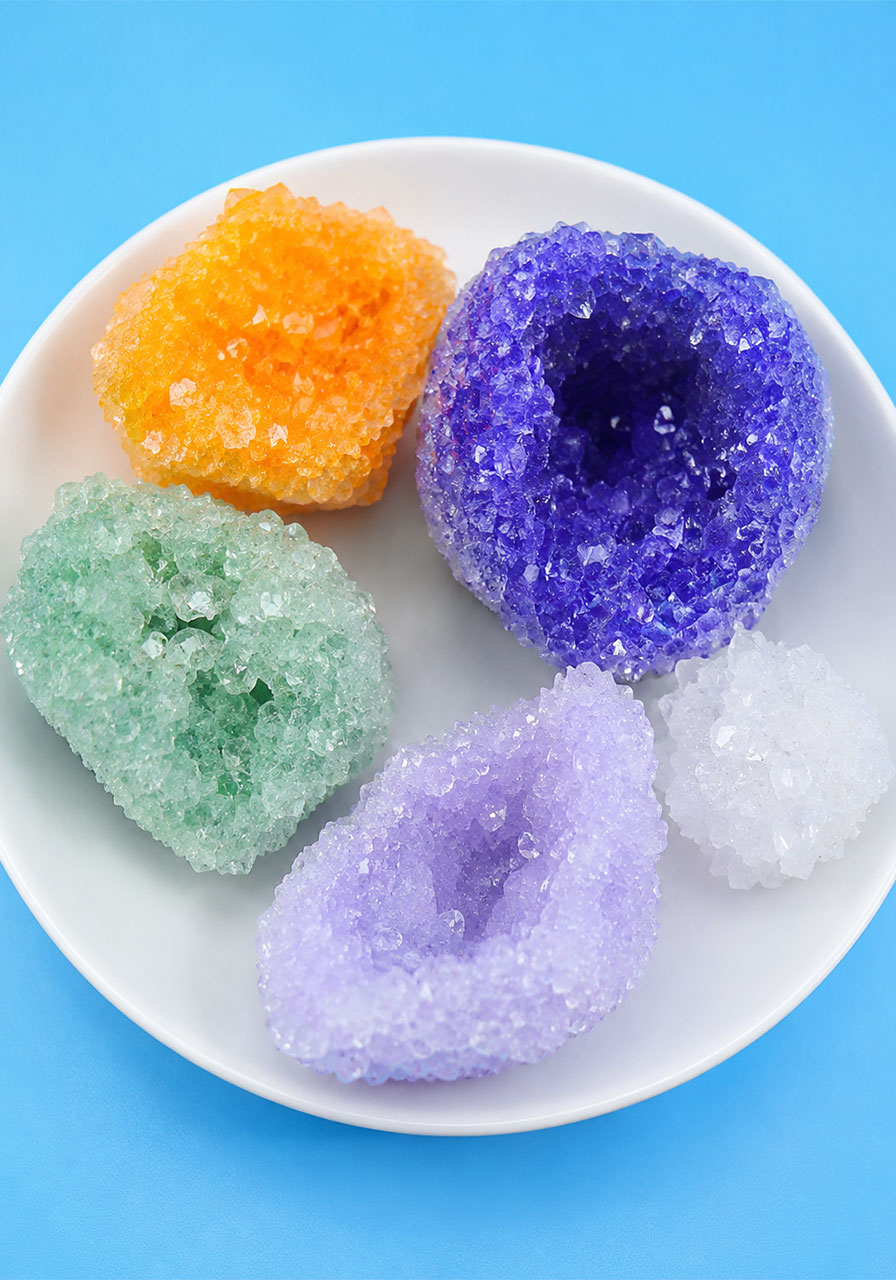
If you’ve ever needed a science activity that keeps kids glued to a jar for hours (in the best way), this is it. Borax crystals are hands-down one of the most satisfying STEM projects you can do at home or in the classroom, and the best part? You only need three ingredients and a little patience.
We’ve made dozens of batches of these sparkly, geode-like crystals, and we’re walking you through every single step, plus the science behind why they work, so your first batch turns out picture-perfect.
Whether you’re a teacher planning a chemistry unit, a homeschool parent looking for a hands-on lesson, or a mom trying to survive a rainy Saturday, this project checks every box: it’s cheap, it’s easy to prep, and it teaches real science while it entertains.
Why This Is Such a Great STEM Activity
Borax crystals aren’t just pretty. They’re a genuine, textbook example of recrystallization, which is the same process used in real chemistry labs.
Kids get to watch a compound dissolve, then reform into a completely different structure right in front of their eyes. That’s a powerful, memorable way to introduce concepts like solubility, saturation, and molecular bonding, even to kids as young as five or six.
It also teaches patience and observation. The magic doesn’t happen instantly. Kids have to wait, check back, and notice gradual change, which is a skill that’s honestly good for all of us.
Best for: Classrooms, homeschool science units, rainy day activities, kids ages 5 and up (with adult supervision for the hot water step).
Total time: 20 minutes of hands-on prep, plus 8 to 24 hours of waiting time for the crystals to grow.
Difficulty: Beginner-friendly. No special equipment or chemistry background needed.

What You’ll Need
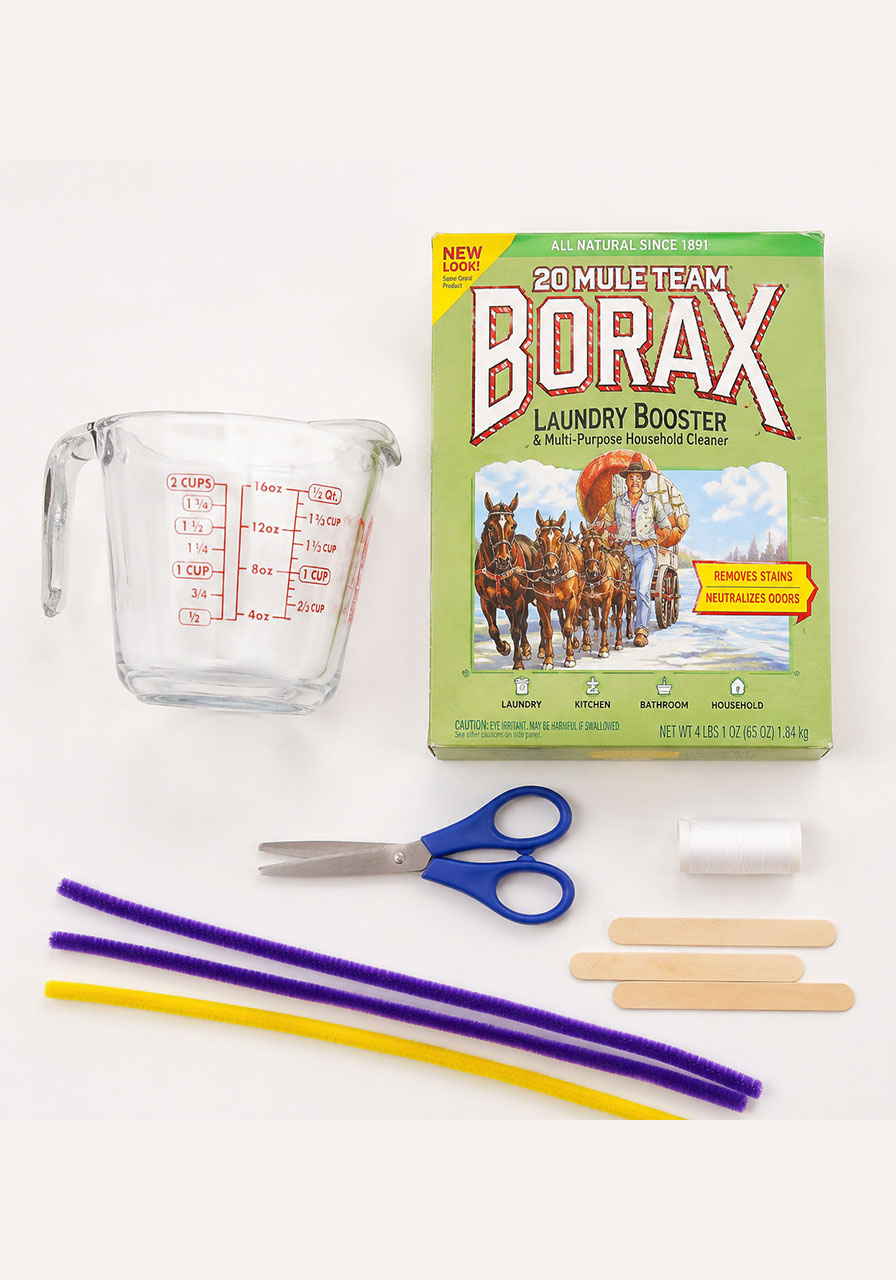
3 pipe cleaners (any color)
3/4 cup borax powder
2 cups boiling water
1 mason jar (16 ounce)
8 inches of thread (white or clear works best so it doesn’t distract from the crystal)
1 popsicle stick
Scissors
A 2-cup measuring cup
A quick note on the borax itself: you’ll find it in the laundry aisle at Walmart or your local grocery store, usually near the detergent. Hardware stores carry it too, in the cleaning supplies section. It’s also available online if you’d rather have it shipped straight to your classroom or kitchen.
A Quick Science Lesson Before You Start
Borax is a natural mineral compound made of boron, sodium, and oxygen. It’s soluble, meaning it dissolves in water, but only up to a point.
When you stir borax into boiling water, you’re creating what chemists call a supersaturated solution. That means the water is holding more dissolved borax than it normally could at room temperature.
As the solution cools down, it can no longer hold onto all that dissolved borax. So the borax molecules start separating back out of the water, and they attach themselves to any rough surface they can find, like your pipe cleaners. That’s exactly how the crystals form.
This is a great moment to pause and ask kids: what do you think will happen if we use less borax? Or colder water? It’s a simple way to turn this into a real experiment with a hypothesis, not just a craft.
How to Make Borax Crystals: Step-by-Step Instructions
Step 1: Shape Your Pipe Cleaner Base
Bend 2 to 3 pipe cleaners together to form whatever shape you’d like your crystal to grow around. A simple heart, star, or spiral works beautifully, and kids love picking their own shape.
Make sure there aren’t big gaps or open spaces between the pipe cleaners. The tighter and more textured the shape, the more surface area the crystals have to grow on.
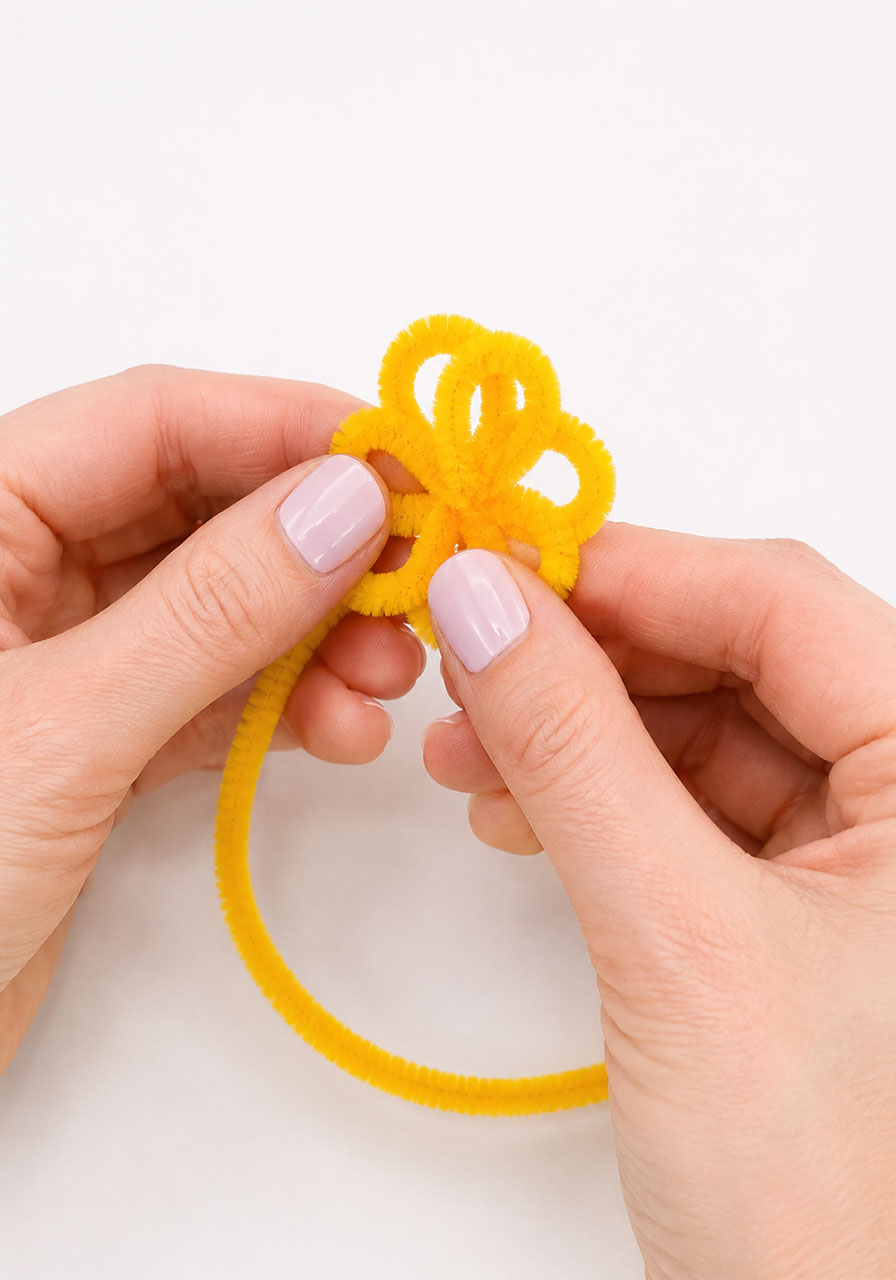
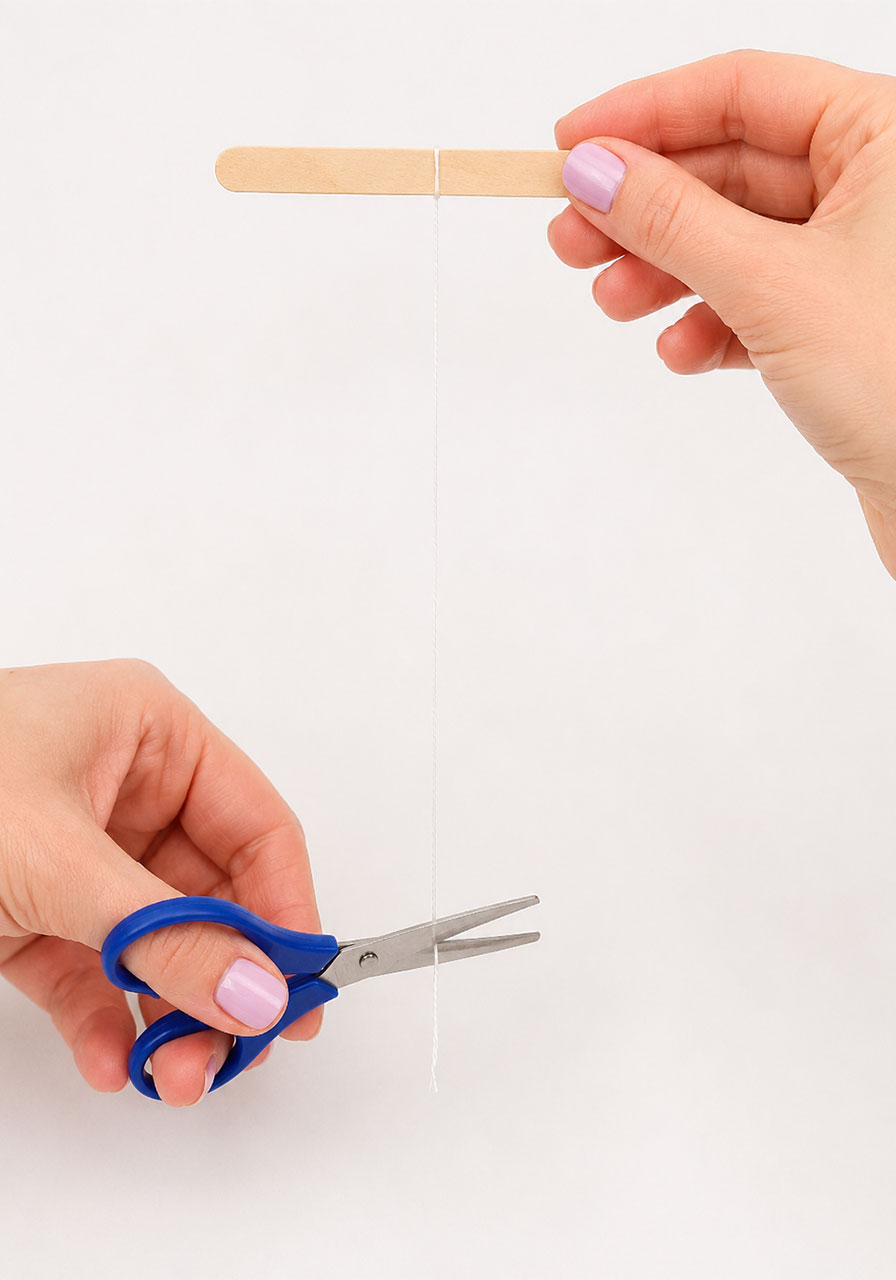
Cut an 8 inch piece of thread and tie one end onto your pipe cleaner shape.
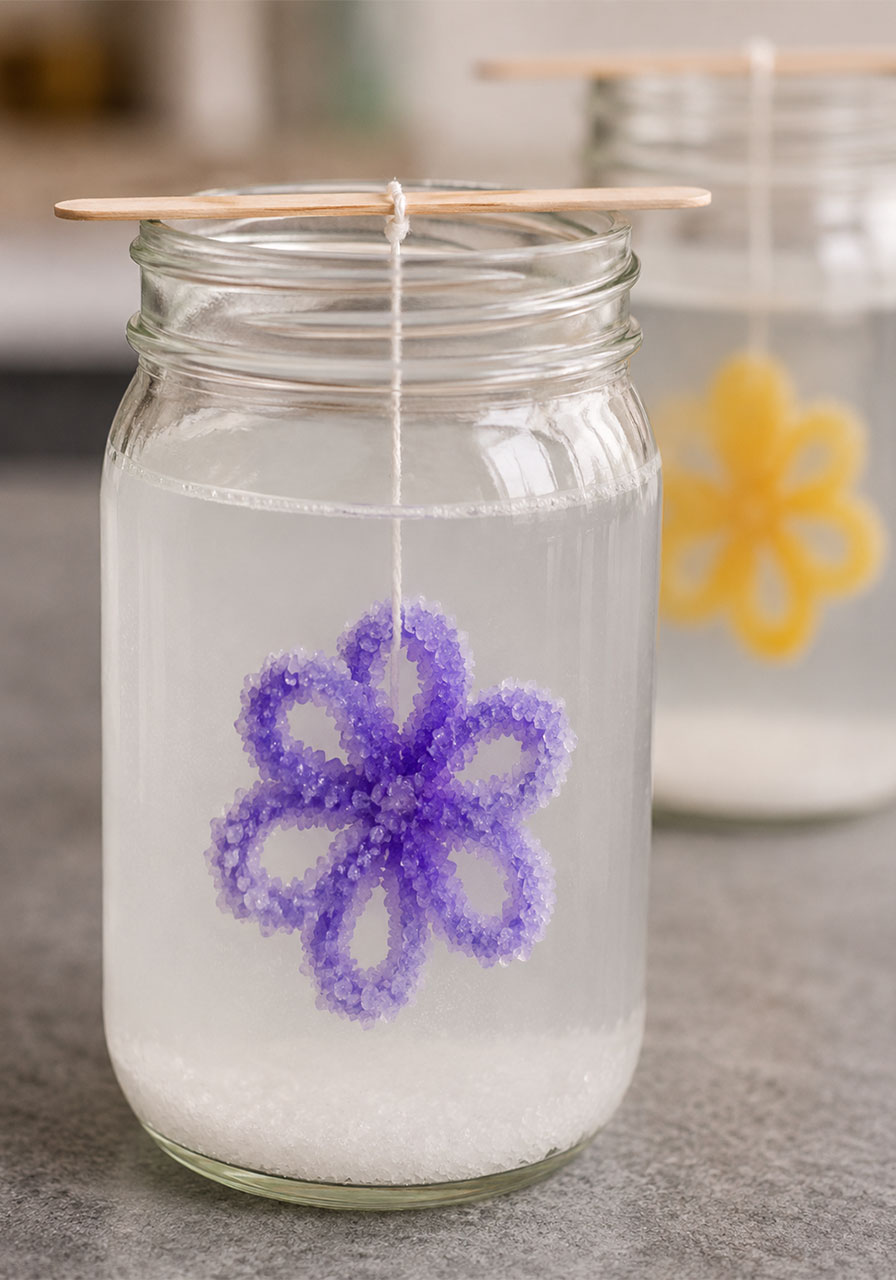
Tie the other end of the thread to your popsicle stick. This is how you’ll suspend the shape in the jar without it touching the bottom or sides, which is important for even crystal growth.
Step 2: Mix the Borax Solution
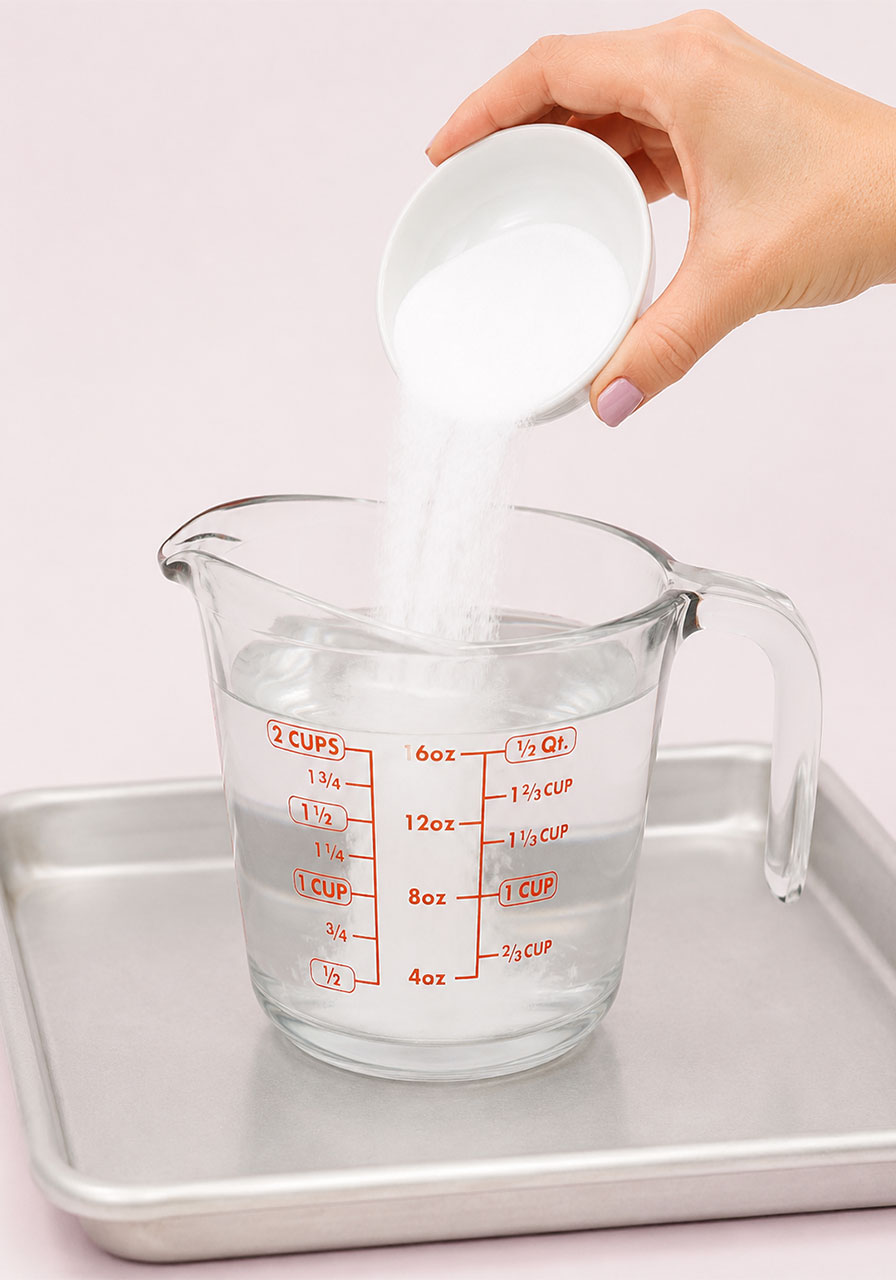
Pour 3/4 cup of borax into 2 cups of boiling water. Adult hands only for this part, since the water needs to be very hot.
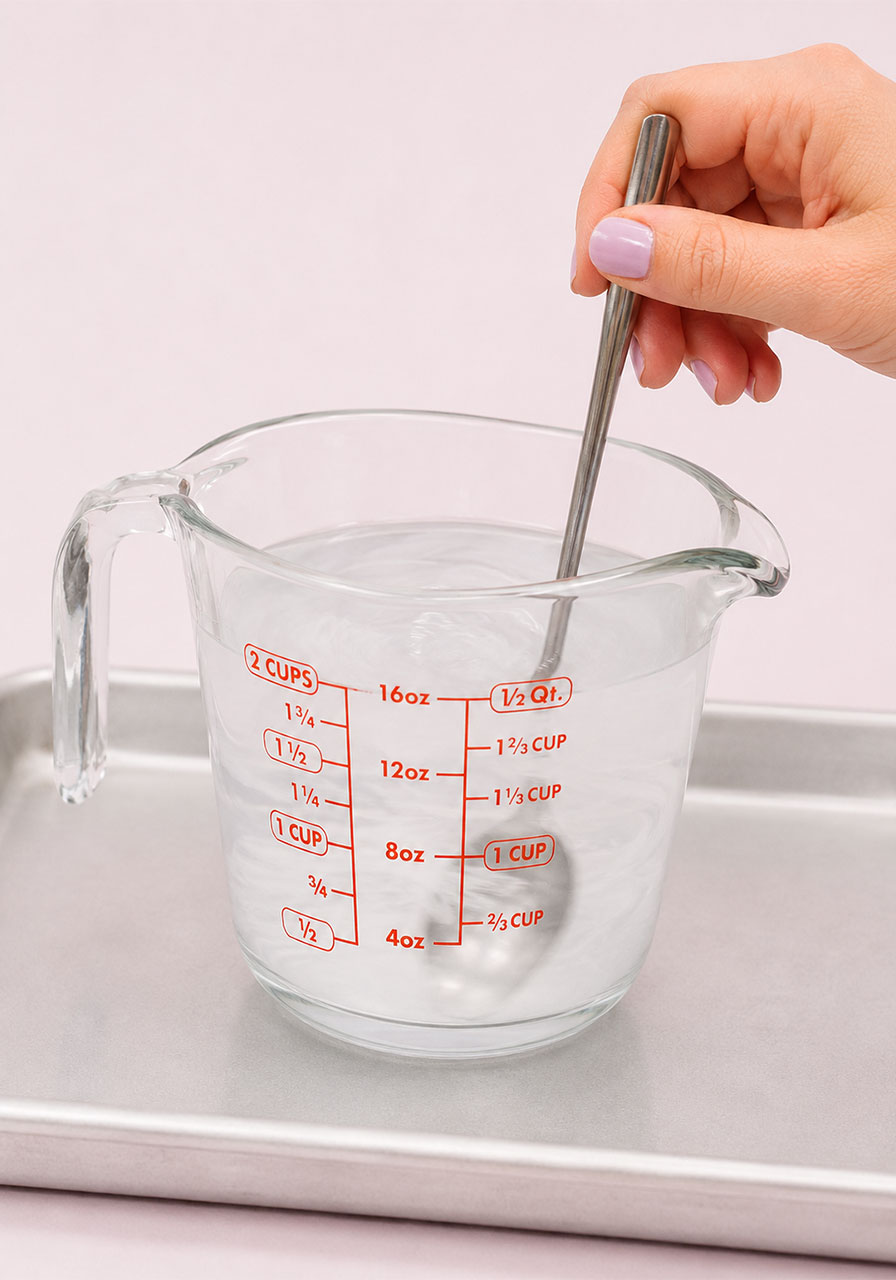
Stir until the borax is completely dissolved. If you still see grains sitting at the bottom after a minute or two of stirring, microwave the mixture in 30-second bursts until it fully dissolves.
Pour the borax solution into your empty mason jar.
Step 3: Suspend Your Shape and Wait
Lower your pipe cleaner shape into the jar, resting the popsicle stick across the top of the jar’s opening so the shape hangs freely in the solution without touching the glass.
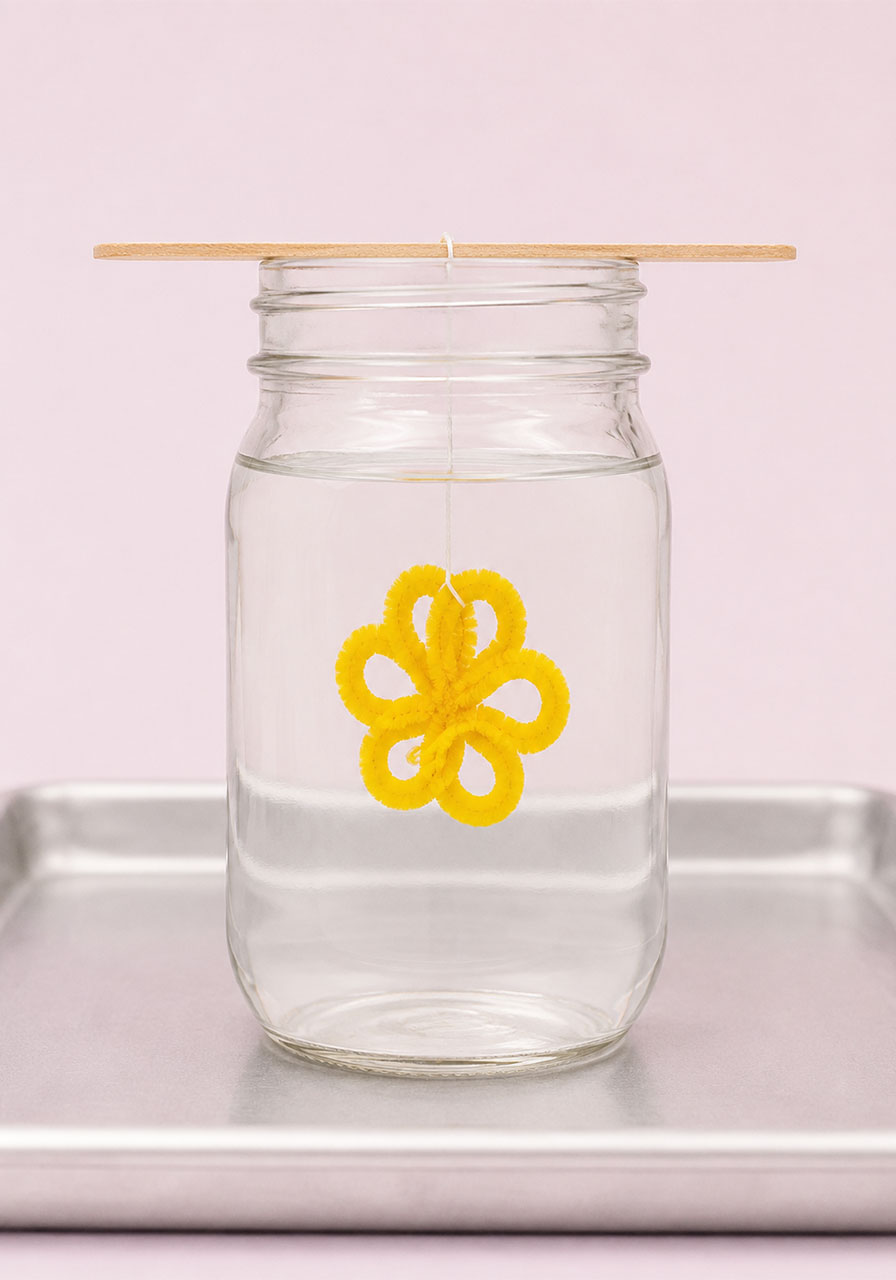
Now comes the hardest part for kids: waiting. Let the jar sit undisturbed for 8 to 24 hours. The longer you wait, the thicker and more impressive the crystal coverage will be.
This is a great spot to have kids check in every few hours and sketch or photograph what they’re seeing. It turns waiting time into observation time, which is exactly what real scientists do.
Step 4: Remove and Dry Your Crystal
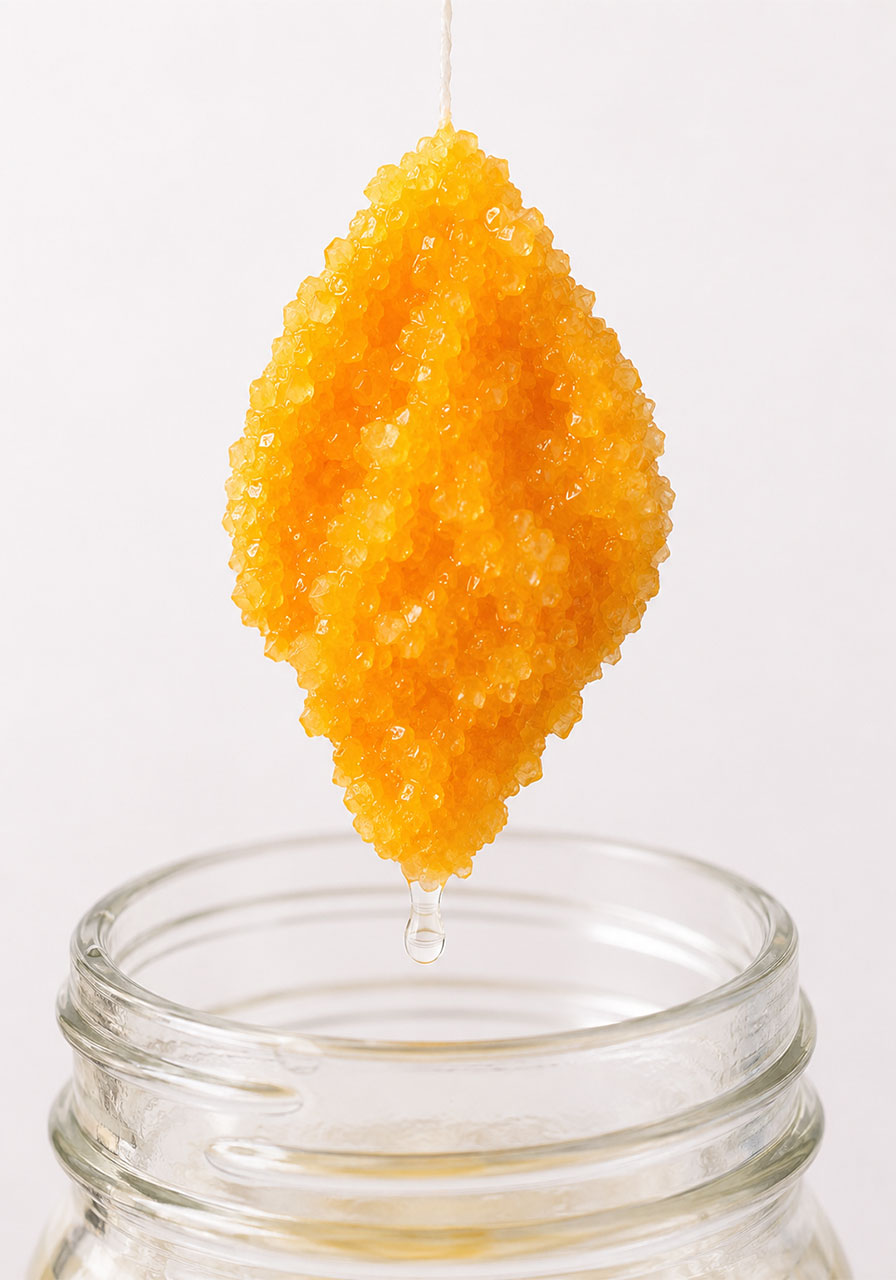
Once you’re happy with the crystal growth, lift the popsicle stick straight up and out of the jar.
Snip the thread as close to the crystal as you can. Set your finished crystal on a paper towel to dry completely before handling it too much.
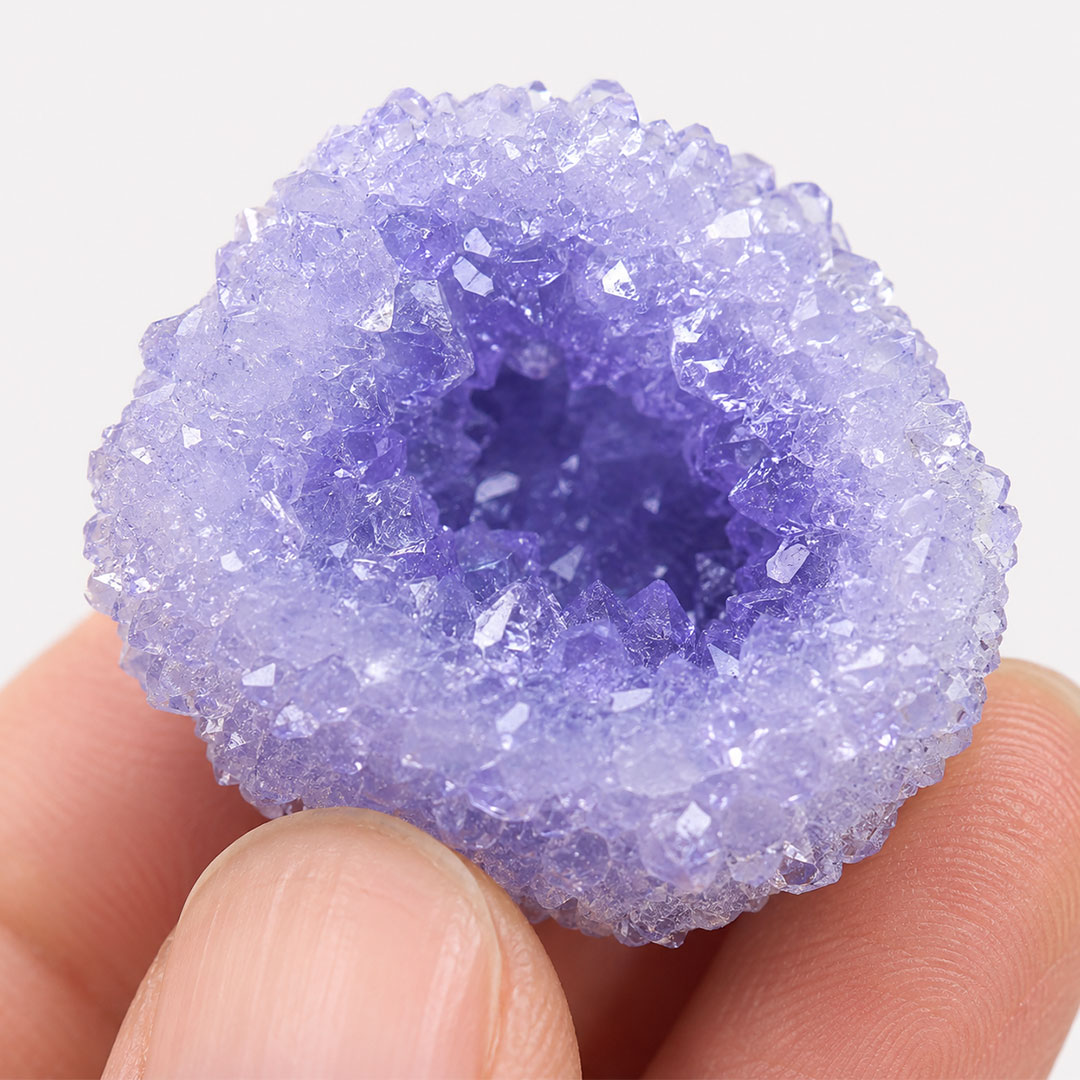
And that’s it. You now have a genuine, science-backed crystal geode that started as a pipe cleaner and a jar of hot water.
Troubleshooting: Why Didn’t My Crystals Grow Right?
If your crystal looks patchy or thin in spots, it almost always means there wasn’t enough borax fully dissolved in your water. The solution needs to be as saturated as possible for full, even coverage.
If you’re making a shape out of more than 3 pipe cleaners twisted together, plan on using more borax than the recipe calls for. More surface area needs more dissolved mineral to cover it.
If your jar cooled down too fast, that can also lead to smaller or sparser crystals. A warm spot in the kitchen, away from drafts, tends to give the best results.
Frequently Asked Questions
Can I make colored crystals?
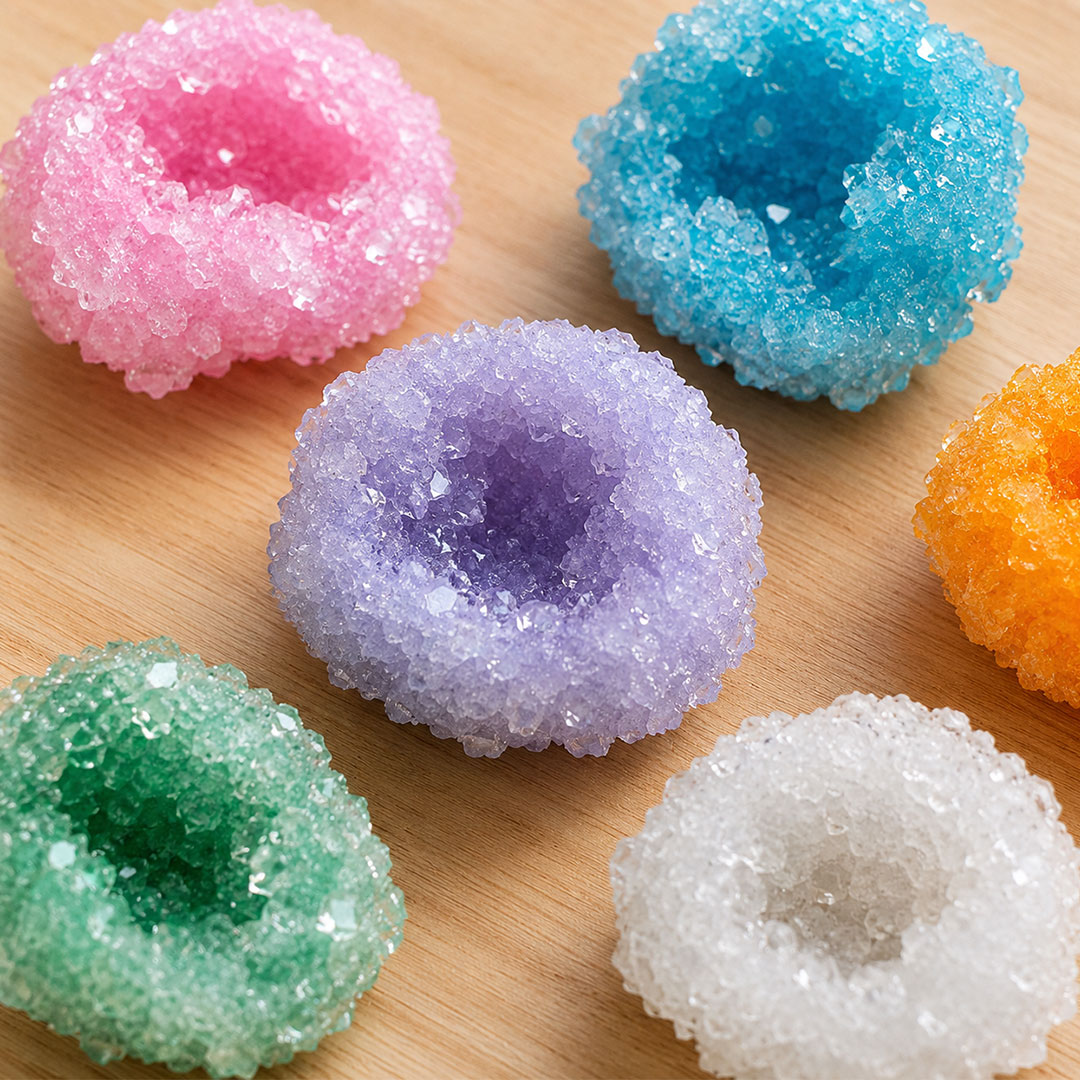
Your crystals will actually form clear or translucent. What gives them color is the pipe cleaner underneath showing through. So a purple pipe cleaner makes a purple-looking crystal. You can add food coloring to the water for a more saturated look, but most classrooms find it isn’t necessary since pipe cleaner colors are already vivid.
Do I have to use pipe cleaners?
No. Anything with texture that’s dense enough to sink works well. Artificial flowers, pine cones, and even egg shells make interesting bases if you want to mix things up for older students.
Is this safe for kids to do themselves?
The mixing, shaping, and waiting parts are perfect for kids of all ages. The boiling water step should always be handled by an adult, and younger kids should wash their hands after touching the borax powder or solution.
How do I clean up afterward?
Leftover borax solution can be poured straight into a load of laundry as a natural detergent booster, or flushed down the drain with extra hot water to dilute it.
Can I preserve my finished crystal?
Yes. A light coat of clear acrylic spray, available at any craft store, will give it a protective, glossy finish that holds up better over time.
Tips for Using This in a Classroom
If you’re running this as a group activity, prep the borax solution ahead of time in one large batch and portion it into individual jars right before class. This saves a huge amount of time and keeps the hot water step fully in adult hands.
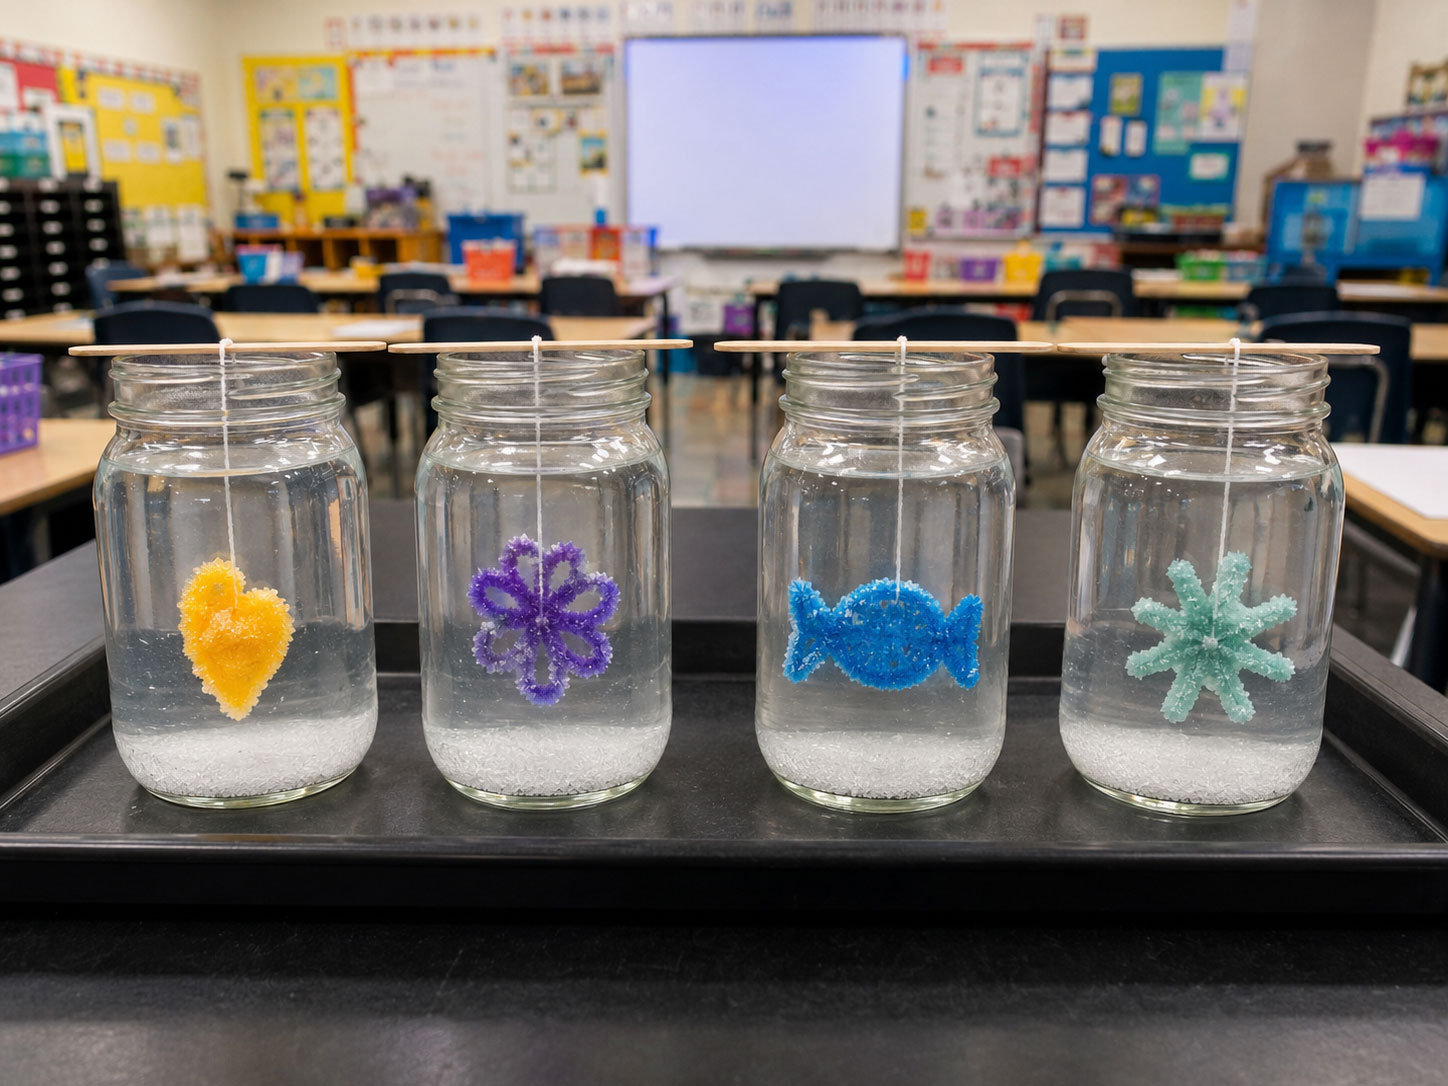
Assign each student or table a different shape or a different amount of borax, then compare results the next day. This turns a simple craft into a real side-by-side experiment with a built-in class discussion.
Pair this activity with a short worksheet where kids record their predictions before the jar sits overnight, then compare what actually happened. It’s a small addition that makes the science stick.
Final Thoughts
Borax crystals are proof that some of the best science lessons don’t need a lab, a budget, or a background in chemistry to pull off. Just hot water, a cheap box of borax, and a little bit of patience.
Once your students or kids see that first sparkly geode come out of the jar, don’t be surprised if they ask to make five more. Keep extra pipe cleaners on hand, because you’re going to need them.
