
There’s something magical about watching a paper windmill spin in the breeze – and the best part? You can make one at home in under 15 minutes with supplies you probably already have!
This DIY paper windmill craft has been a favorite in our house for years. The kids beg for one every single summer before a beach trip, and honestly, I don’t blame them.
Whether you’re a parent looking for a quick afternoon activity or a teacher planning a fun classroom project, this step-by-step tutorial will walk you through everything. No special skills needed. No expensive supplies. Just pure, spinning fun.
Let’s make it!

Why Kids (and Parents!) Love This Paper Windmill Craft
This isn’t just another paper craft that sits on a shelf collecting dust. Once your child has their own spinning windmill, they’ll want to take it everywhere – outside, to the park, to the beach.
It’s also a sneaky great activity for kids who are full of energy and need something to focus on. Decorating the paper, folding it carefully, watching it come together – it genuinely holds their attention.
And for teachers? This is a fantastic STEM tie-in. You can use it to spark a conversation about wind energy, how windmills work in the real world, and even basic engineering concepts. All from a single piece of paper!

What Age Is This Craft For?
This paper windmill project is great for kids ages 5 and up.
Younger children (ages 3–4) will need help with the cutting and folding steps, but they can absolutely do the decorating part on their own. That’s half the fun anyway!
Kids ages 6 and up can handle most of the steps independently with just a little supervision for the push pin step.
And honestly? Adults love making these too. Don’t be surprised if you end up making your own.
What You’ll Need to Make a Paper Windmill
The beauty of this craft is how simple the supply list is. Here’s everything you need:
1 sheet of square paper or cardstock (cardstock works best for outdoor use)
Crayons, markers, or colored pencils for decorating
Scissors
A pencil or straw (this becomes the handle/stick)
A push pin or thumbtack
A ruler (optional but helpful for younger kids)
Pro Tip: If you want your windmill to last longer outside, use cardstock instead of regular printer paper. It holds up much better in the wind!

How to Make a Paper Windmill – Step by Step
Follow these steps carefully, and your windmill will spin beautifully every time. Trust the process!
Step 1: Cut Your Paper Into a Perfect Square
Start with a sheet of paper and cut it into a square if it isn’t already.
The easiest way to do this: fold one corner of the paper diagonally until it lines up with the opposite edge. This creates a triangle shape with a leftover strip on one side. Cut off that strip – and voilà, you’ve got a perfect square!
Any size square works, but somewhere between 6 inches and 8 inches is the sweet spot for a great spinning windmill.

Step 2: Decorate Both Sides of Your Paper
This is the fun part – and don’t skip it! Decorating both sides matters because as the windmill spins, you’ll catch glimpses of each side.
Go wild with colors, patterns, and designs. Hearts, stars, swirls, rainbow stripes – anything goes. The more colorful, the more eye-catching it’ll look when it’s spinning.
Classroom tip: Give each student a theme – their favorite animal, their favorite season, or a color of the rainbow – and display them all together. The results are always amazing.

Step 3: Fold the Paper Diagonally to Make an “X” Crease
Once your artwork is dry, fold your square diagonally from corner to corner to make a triangle. Press down the fold to create a nice crease, then unfold.
Now repeat in the opposite direction – fold the other two corners together to make another triangle crease. Unfold again.
When you lay the paper flat, you should see an “X” shape creased right across the center of your square. That’s exactly what you want!

Step 4: Cut Along the Creases – But Stop at the Middle!
This step is critical, so take it slow. Using your scissors, cut along each of the four crease lines – but only go about halfway to the center.
Do NOT cut all the way to the middle. Stop when you’re about an inch from the center point. If you cut all the way through, the windmill won’t hold together.
You should now have four triangular “flaps” that are still connected in the middle. It’ll look like a star or a pinwheel outline at this stage – you’re on the right track!

Step 5: Bend (Don’t Fold!) Every Other Corner to the Center
Here’s the step that transforms it from paper into a windmill. Take one corner of each of the four sections and gently bend it toward the center.
Important: you want to bend, not fold. Folding flattens the blade and ruins the spin. Bending keeps a gentle curve that catches the wind beautifully.
Work your way around the windmill, bringing every other corner tip to the center point. Hold them in place lightly with your finger – the push pin will lock them all in the next step.

Step 6: Push the Pin Through the Center and Attach to Your Pencil
Now for the final – and most exciting – step! Carefully push your push pin through all four bent corners at the center, then push it into the eraser end of your pencil (or through a straw).
Make sure it’s secure but not too tight. The windmill needs to spin freely! If it feels stiff, gently wiggle it a little to loosen it up.
Safety note for teachers and parents: This step should always be done by an adult, or closely supervised for older kids. Push pins are sharp!
That’s it – your paper windmill is complete and ready to spin!

Let’s Test It Out!
Take your windmill outside and hold it up to the breeze. Watch those blades start spinning and hear the kids cheer.
No wind? No problem. Just blow on it or run with it – kids figure this out within about three seconds!
I still remember the first time my daughter ran across the yard holding hers up, absolutely beaming. That’s the moment that makes this craft worth every minute.
Fun Variations to Try
Once you’ve mastered the basic paper windmill, there are so many ways to mix it up and keep the creativity going.
Holiday-Themed Windmills
This craft isn’t just for summer! Make it festive for any time of year:
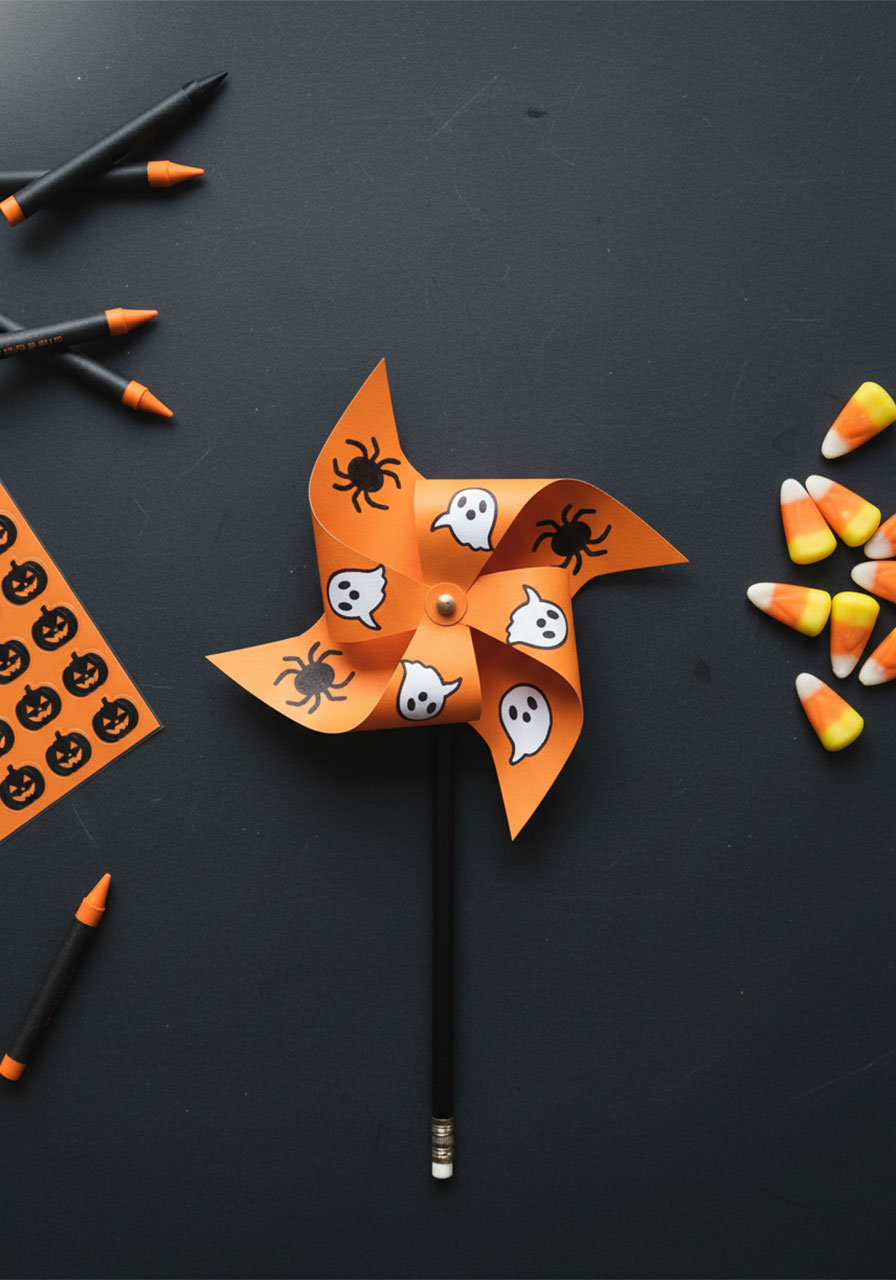
Halloween: Use orange and black paper with ghost and spider drawings
Christmas: Go red and green, or cut from gift wrap for a sparkly effect
Valentine’s Day: Pink and red hearts (just like the example in our photos!)
Fourth of July: Red, white, and blue stripes make a stunning spin
Use Magazine Pages or Wrapping Paper
Instead of plain paper, cut your square from a colorful magazine page or patterned wrapping paper. The patterns look absolutely gorgeous when the windmill is spinning!
Make a Mini Windmill Bouquet
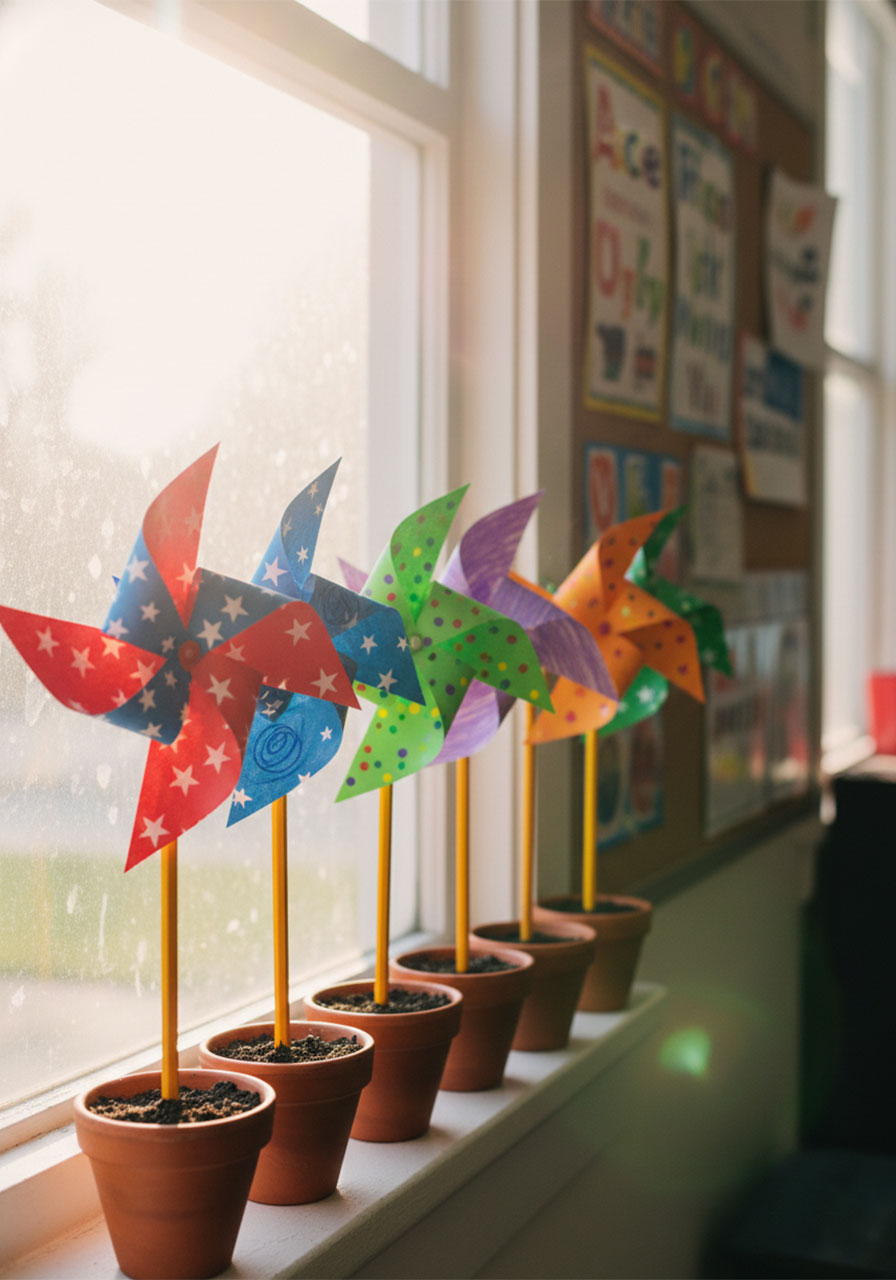
Make five or six windmills in different sizes and colors, then stick them all into a pot of soil or a flower vase. Instant outdoor decoration that moves in the breeze!
Glow-in-the-Dark Version
Use glow-in-the-dark paint or markers to decorate your windmill. Take it outside at dusk and watch it glow as it spins. Kids absolutely go wild for this one.
Tips for Making Your Windmill Spin Better
If your windmill isn’t spinning as freely as you’d like, here are a few quick fixes:
Loosen the push pin slightly. If it’s pushed in too deep, the blades won’t have room to move. Back it out just a tiny bit.
Use stiffer paper. Thin printer paper can droop in the wind. Cardstock gives much better, more satisfying spins.
Make sure the bends are even. If some blades are bent more than others, the spin will be lopsided. Aim for consistency.
Check for tears. A small tear near the center can cause it to collapse. If that happens, just make a fresh one – it only takes 15 minutes!
Using This Craft in the Classroom
Teachers, this one is a winner for so many reasons. It takes about 15–20 minutes, requires minimal supplies, and the results are something every kid is proud of.
Here are a few ways to use it as part of your lesson plans:
Science: Discuss how wind energy works and how real windmills generate power
Art: Focus on color theory, patterns, and symmetry during the decorating step
Math: Explore shapes, angles, and fractions when cutting and folding
Fine Motor Skills: The folding and bending steps are excellent for hand strength and coordination
You can even set up a “windmill gallery” and have students explain the design they chose and why. It turns into a wonderful little presentation activity!
Quick Reference: Paper Windmill at a Glance
Best for: Kids ages 5+, classrooms, summer activities, party favors
Time to Make: 15 minutes
Difficulty: Easy
Estimated Cost: Free (or very close to it!)
What You’ll Need:
Square paper or cardstock
Crayons or markers
Scissors
Pencil or straw
Push pin
Frequently Asked Questions
Can I use regular printer paper?
Yes, absolutely! Regular printer paper works fine, especially for indoor play. If you plan to take your windmill outside or to the beach, cardstock is a much better choice since it holds up in the wind without flopping.
My windmill won’t spin – what am I doing wrong?
The most common issue is that the push pin is pushed in too tightly. Back it out just a hair and try again. Also make sure you bent (not folded) the corners – folded corners won’t catch the wind properly.
Can I use a wooden dowel instead of a pencil?
Absolutely! A wooden dowel, a chopstick, or even a craft stick all work great. Just make sure the push pin can go through it securely.
How long will a paper windmill last?
A cardstock windmill can last weeks with normal outdoor use. Paper windmills are more fragile and might last a few days. If it gets wet, let it dry fully before spinning again.
Can I make this as a party favor?
This is such a great party favor idea! Make a batch in advance, or set up a craft station where kids make their own as part of the party activity. They double as a take-home toy – win, win!
Ready to Make Your Paper Windmill?
There you have it – everything you need to make a gorgeous, spinning paper windmill from scratch. From the first fold to the final spin, this is one of those crafts that never gets old.
Whether you’re making it on a lazy summer afternoon at home or as part of a classroom activity, your kids are going to love it. And honestly? So will you.
When you’re done, take your windmill outside, feel the breeze, and enjoy the simple joy of something handmade spinning in the sun.
Happy crafting! 🌀
More Summer Craft & Activity Ideas to Keep the Fun Rolling:
Adorable Ocean Friends Craft Sticks Kids Will Beg to Make All Summer
How to Make Paper Plate Frisbees Kids Will Actually Want to Throw
Summer Crafts for Kids That Are Easy, Fun, and Mess-Approved
15 Best Fun-Filled Kids Summer Activities to Try Now
How to Make Paper Umbrellas: A Super Fun Craft for Kids (With or Without the Raindrop Extras!)
