
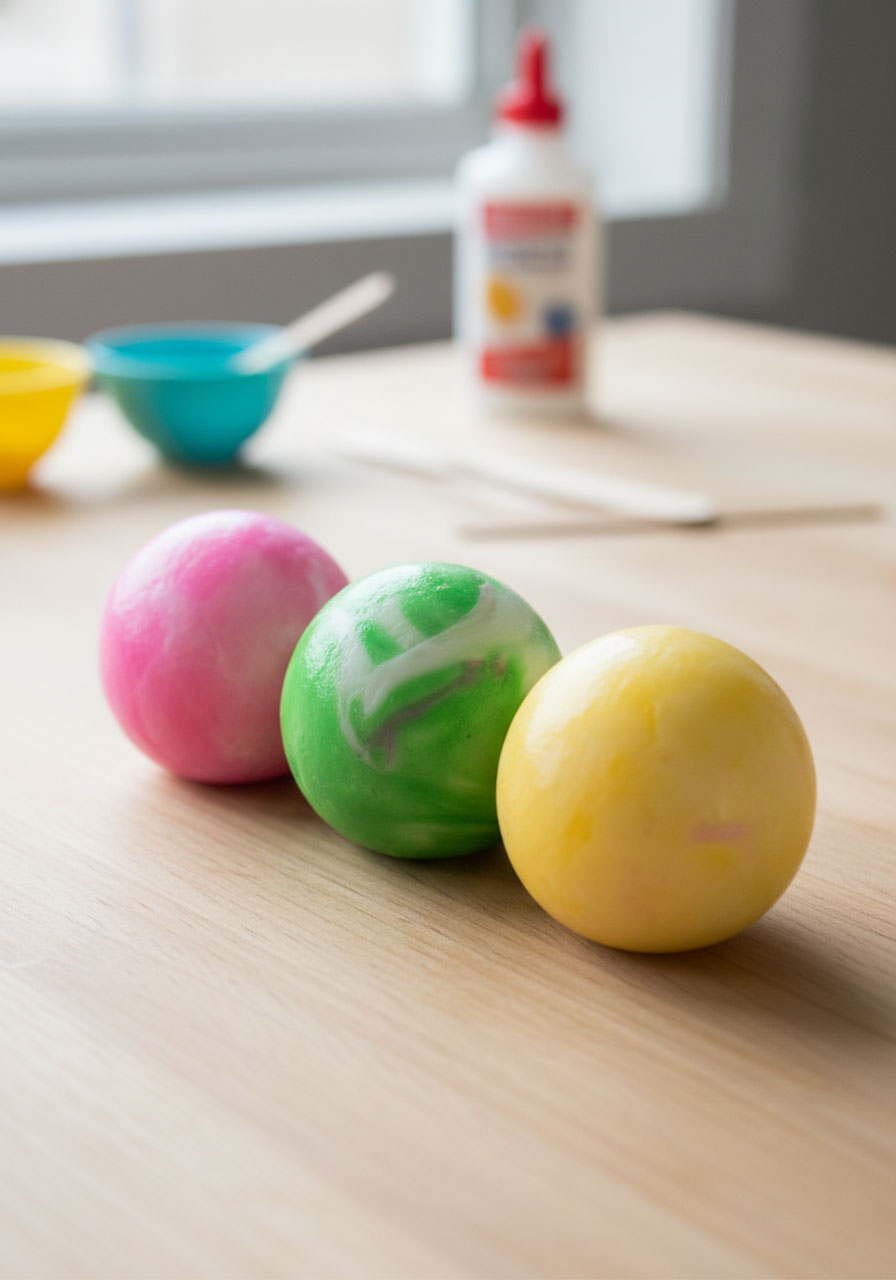
Ready to become the coolest parent, teacher, or party host on the block?
This simple DIY bouncy ball experiment is about to blow some young minds – and it only takes five minutes from start to finish.
We’re talking real, functional bouncy balls that kids make with their own hands.
The best part? You probably have most of the supplies already sitting in your kitchen and laundry room.
Trust me, the look on a kid’s face when they realize they just created their own bouncy ball from scratch is pure magic. Let’s dive in!
Why This DIY Activity Is an Absolute Winner
This isn’t just a fun craft – it’s science in action! Kids get to watch a gooey mixture transform into a solid, bouncy ball right before their eyes.
It’s hands-on, it’s messy (in the best way), and it teaches them about polymers and chemical reactions without feeling like a boring lesson.
Plus, they walk away with a toy they actually want to play with. Win-win-win!
Best for: Kids ages 4-10 (with adult supervision), rainy day activities, birthday party entertainment, classroom science demos, backyard hangouts
Time to Complete: 5 minutes per ball
Mess Level: Moderate (totally manageable and worth it!)

What You’ll Need
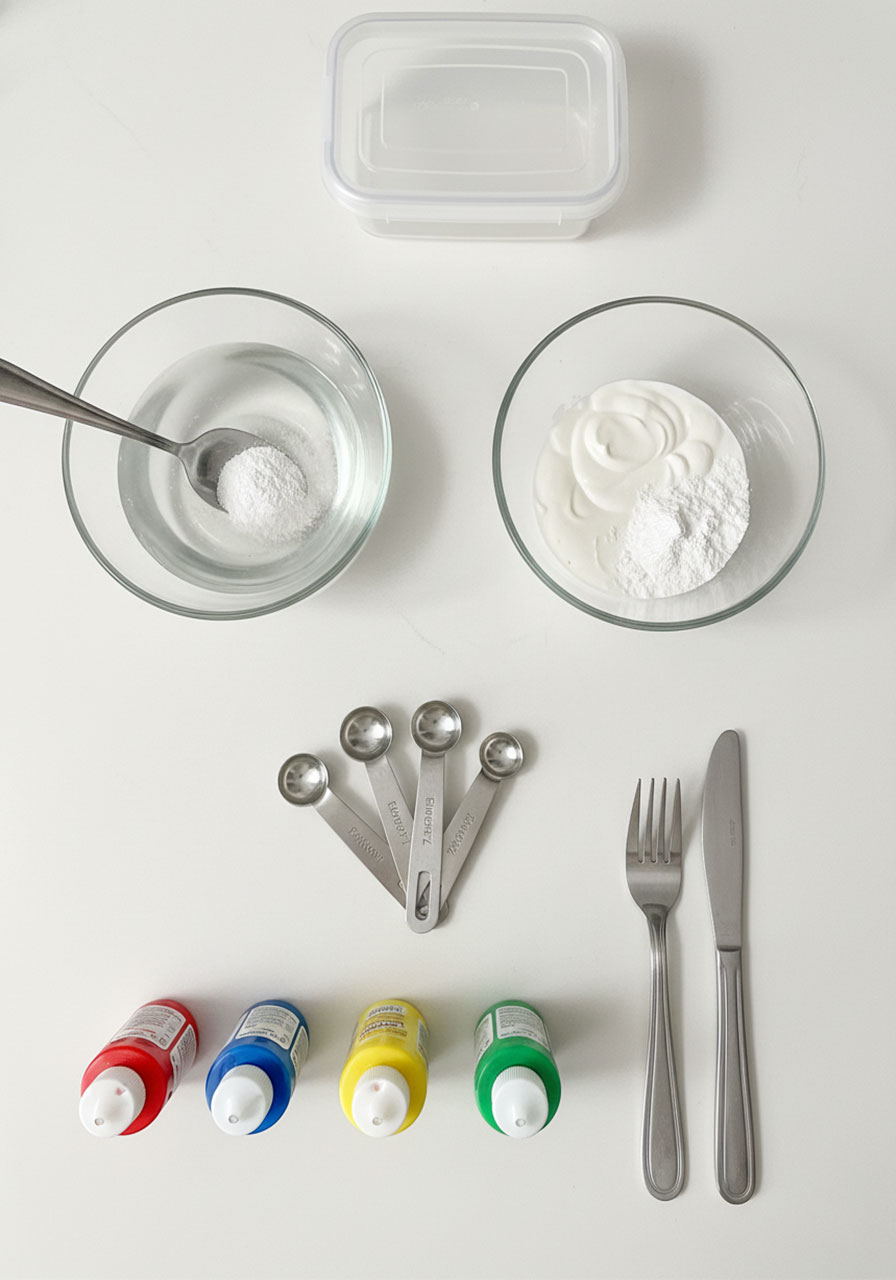
Grab these simple supplies and you’re ready to roll:
1 tablespoon of borax (find it in the laundry aisle at any grocery store)
1/2 cup of warm water
2 tablespoons of white glue (Elmer’s school glue works like a charm)
1 tablespoon of cornstarch
Food coloring (optional, but highly recommended for maximum fun!)
Measuring cups and spoons
2 small bowls or cups
A fork or butter knife for stirring
An airtight container for storage (if you want your balls to last)
Pro Tip: Set up a little “science station” with all your supplies laid out. It makes kids feel like real chemists and keeps everything organized!
How to Make Your Bouncy Balls: Step-by-Step
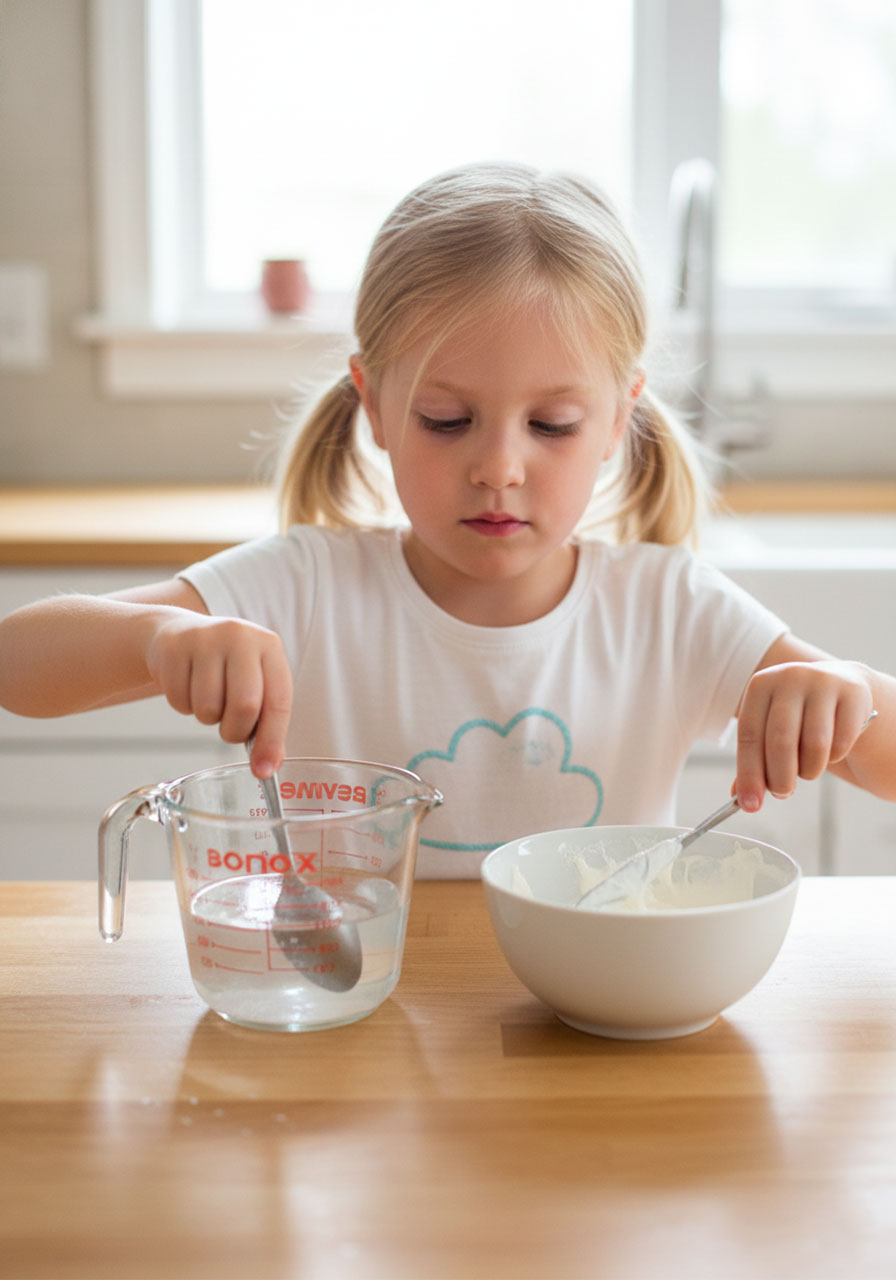
Step 1: Mix Your Magic Borax Solution
In your first bowl, combine 1/2 cup of warm water and 1 tablespoon of borax.
Let the kids stir it up until the borax dissolves completely.
This is your secret ingredient that’s going to transform liquid glue into a bouncy wonder!
Step 2: Create the Glue Mixture
In your second bowl, measure out 2 tablespoons of white glue and 1 tablespoon of cornstarch.
Here’s a little shortcut: use a 1/4 cup measuring cup and fill it halfway with glue – it’s way less messy than wrestling with tablespoons of sticky glue!
Have the kids stir the glue and cornstarch together with a butter knife or fork until they’re fully combined.
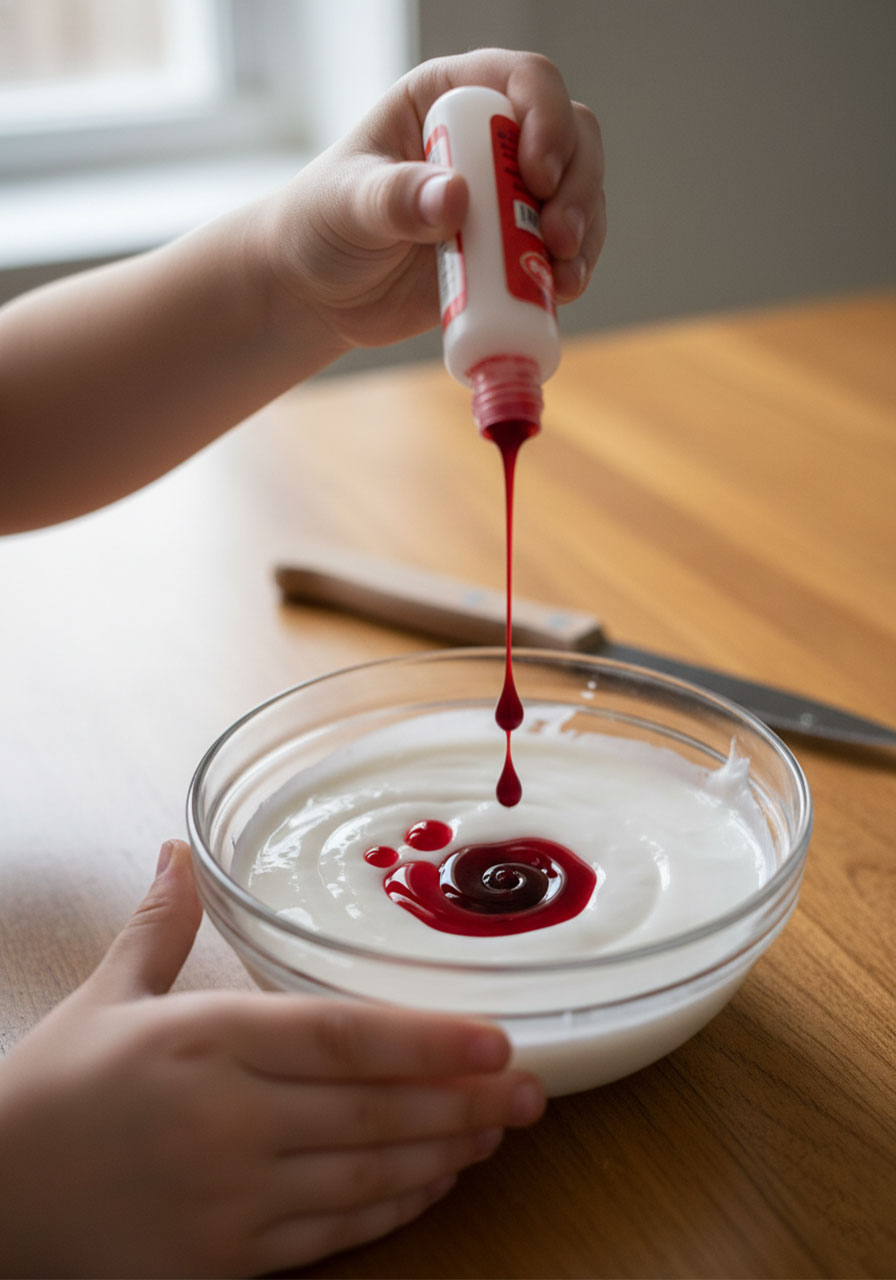
Step 3: Add the Color (The Fun Part!)
Time to get creative! Add a few drops of food coloring to your glue mixture and give it a stir.
Want a swirled, multi-colored ball?
Here’s the trick: divide your glue mixture into separate portions, add different colors to each, then add them to the borax water separately.
When they start to firm up, combine them and roll into one epic rainbow ball!
Color Warning: If you mix complementary colors (like red and green or blue and orange), you might end up with a muddy brown ball. Stick to colors from the same family for the prettiest results!
Step 4: The Transformation Begins
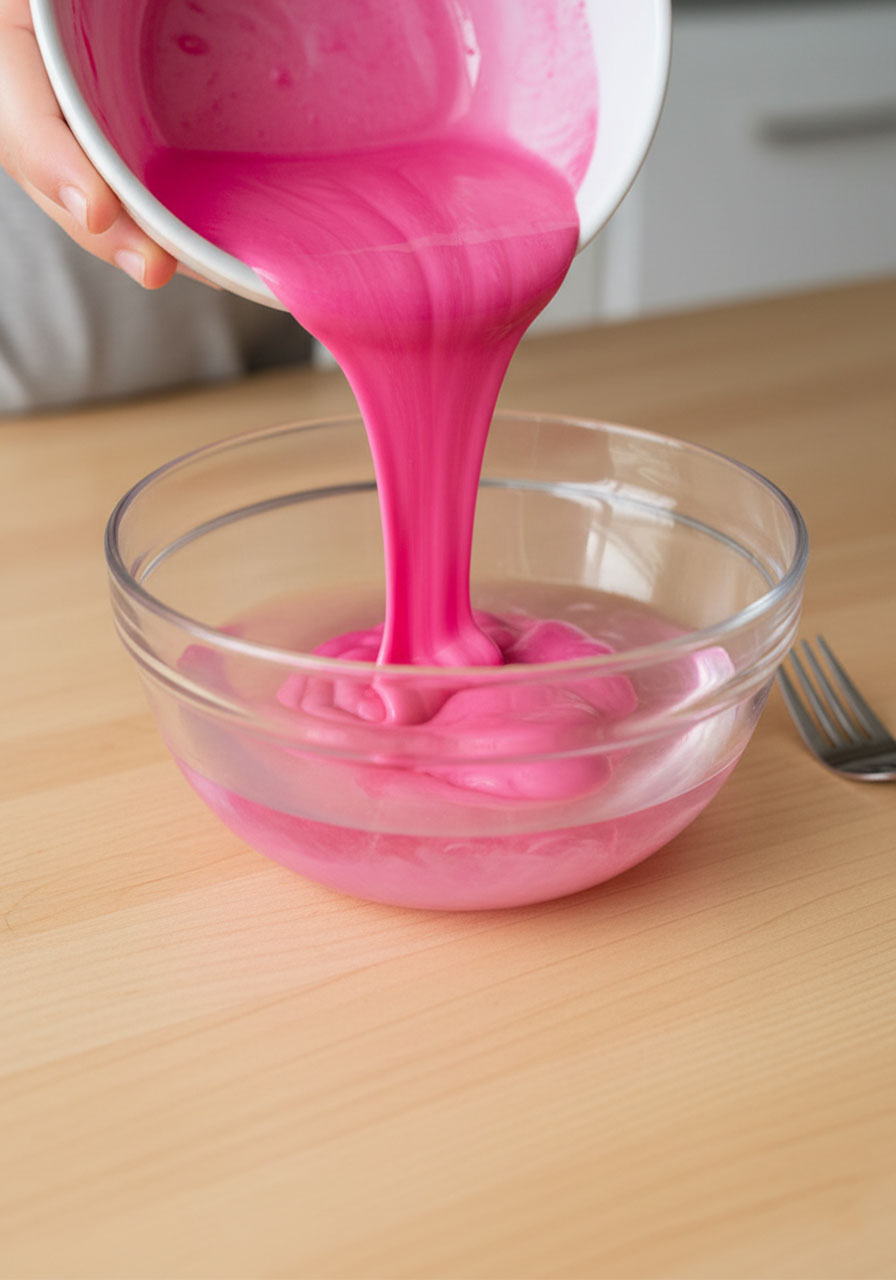
Here’s where the magic happens! Pour your colored glue mixture into the bowl with the borax water and just let it sit for 10-15 seconds.
Watch as the mixture starts to harden and transform right before your eyes.
The kids will be mesmerized!
Step 5: Get Squishing!
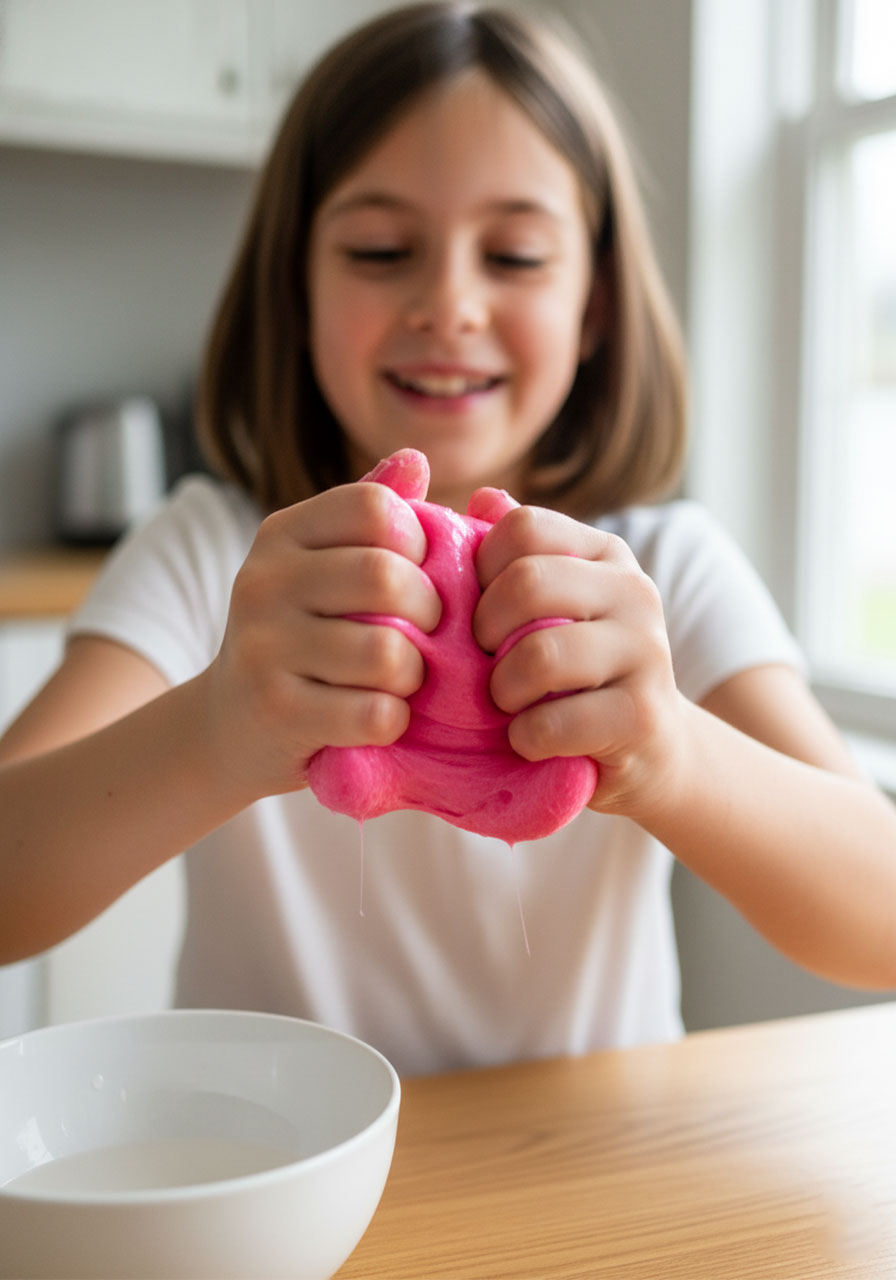
Use a fork to fish out the gooey blob (it should lift out easily).
Now comes the best part – hand it to the kids and let them squish, squeeze, and roll it between their hands!
The blob will feel sticky at first, but keep rolling and it’ll smooth out into a perfect bouncy ball.
Still Sticky? Give your ball a quick dunk back in the borax water and keep rolling. Problem solved!
Step 6: Bounce Away!
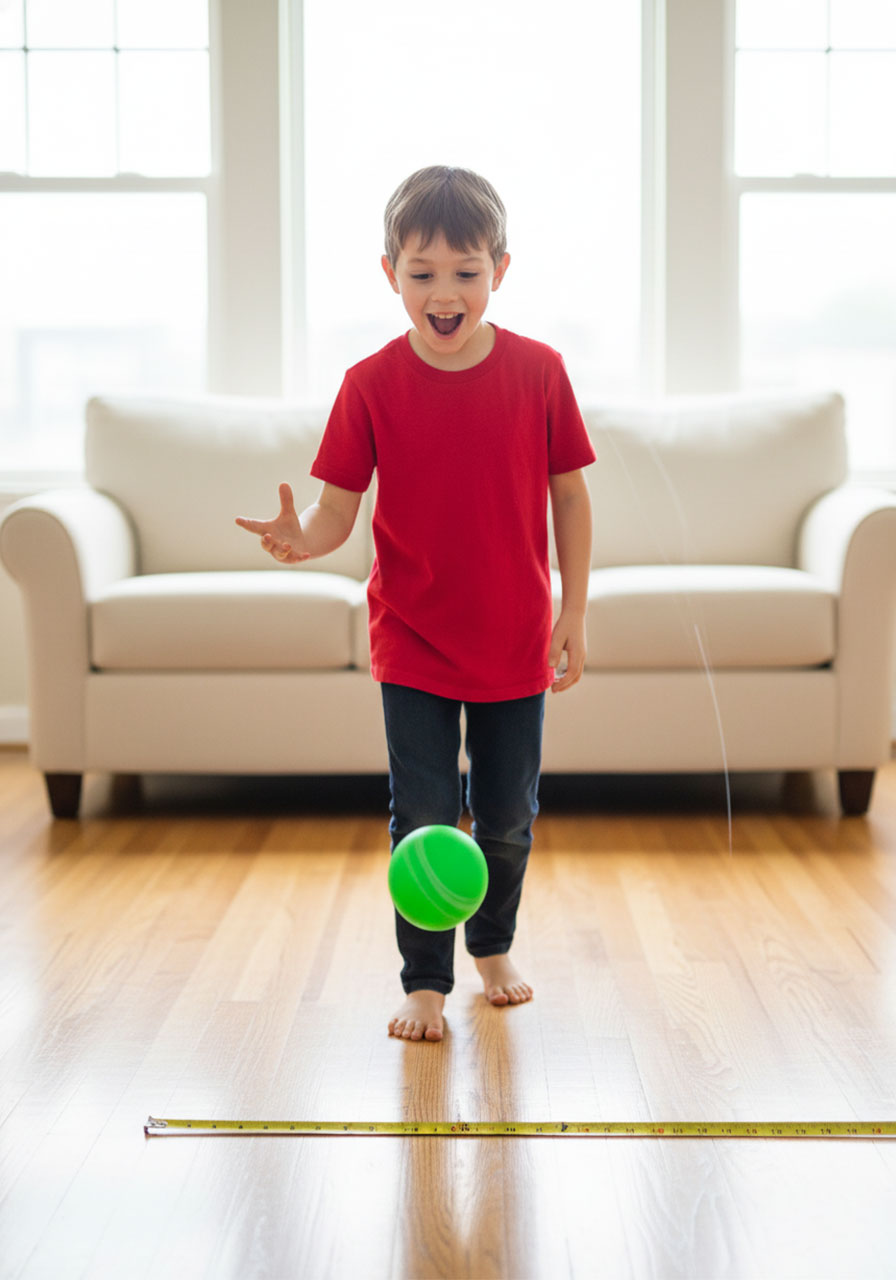
Your homemade bouncy ball is ready for action!
It won’t bounce quite as high as those super bouncy balls from the toy store, but it’s surprisingly springy and way more satisfying because the kids made it themselves.
Pro Tips for Bouncy Ball Success
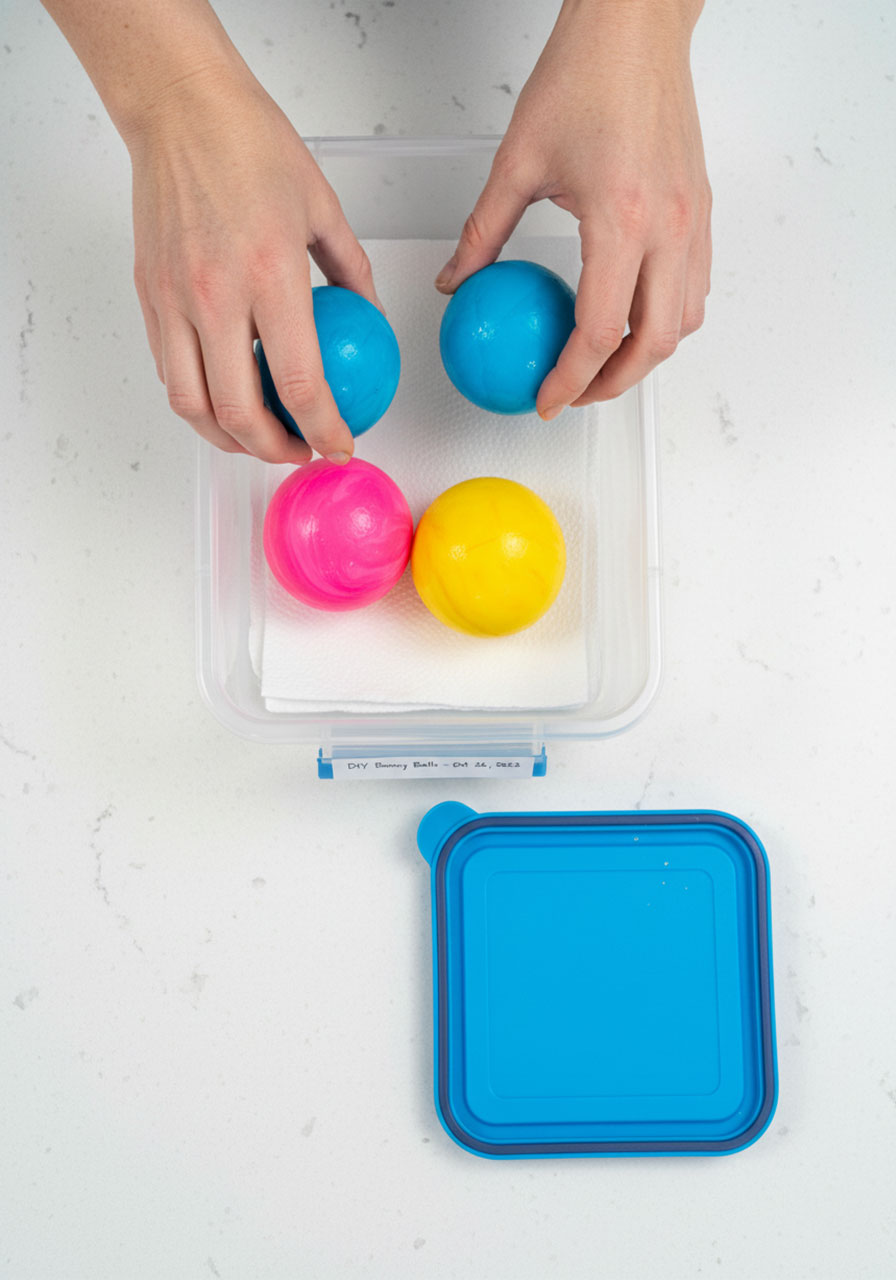
Storage Matters: If you want your bouncy balls to last, store them in an airtight container.
Otherwise, they’ll dry out and crack within a day or two.
Think of them like Play-Doh – seal them up when playtime’s over!
The Flat Ball Fix: If your ball sits for a while, it might develop a flat spot.
No worries! Just roll it between your hands for a few seconds and it’ll round right back out.
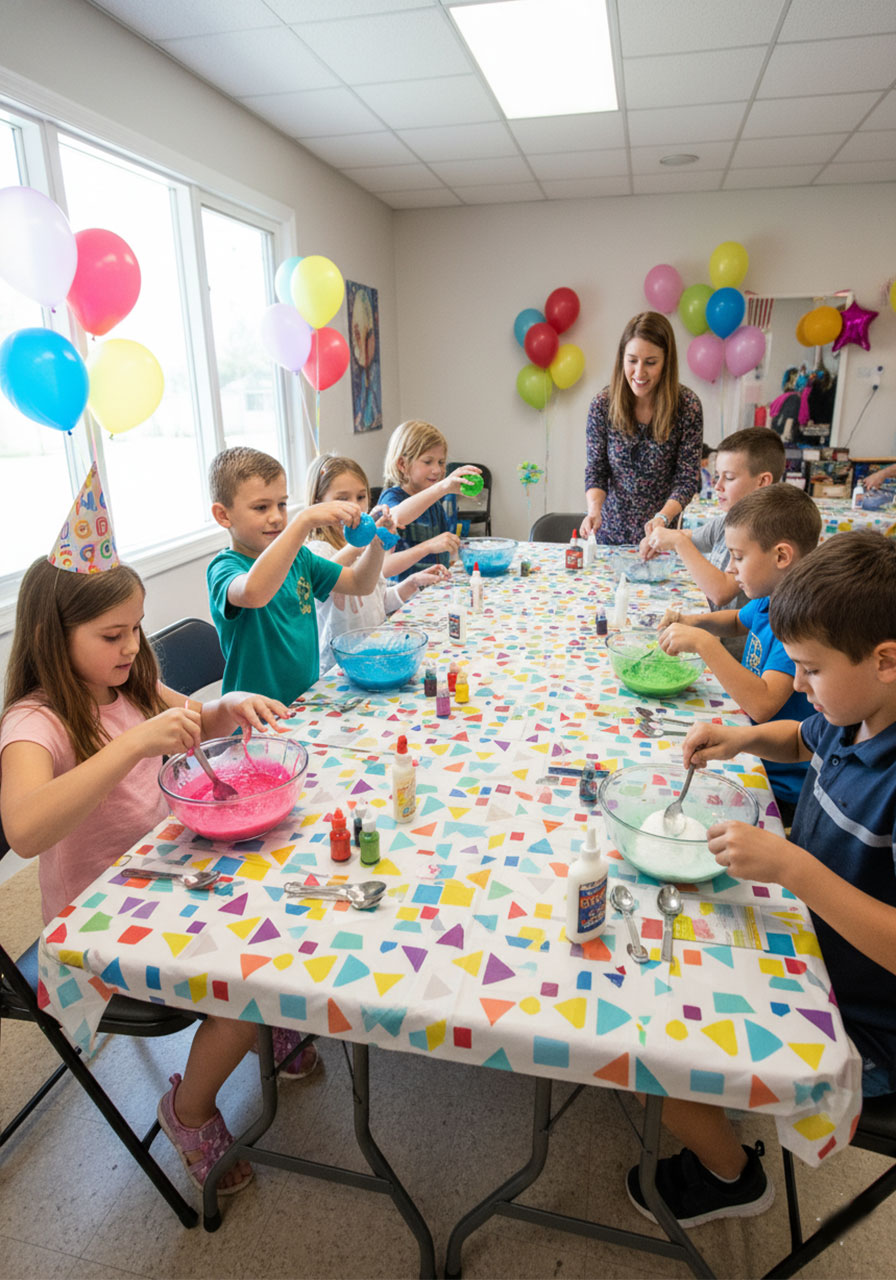
Make It a Party Activity: Set up a bouncy ball-making station at your next kids’ party!
Give each child their own set of supplies and let them create custom-colored balls to take home as party favors. It’s entertainment AND a goody bag in one!
Safety First: Borax is generally safe for this activity, but it’s not edible and can irritate skin if you’re sensitive.
Make sure little ones wash their hands after making their balls, and keep borax away from mouths. Adult supervision is key, especially for the younger scientists!
The Cool Science Behind the Bounce
Want to impress the kids with some science talk? Here’s what’s happening:
When you mix the glue with the borax water, you’re creating a chemical reaction that makes the glue molecules stick together in long chains called polymers.
Think of it like cooked spaghetti – when it’s freshly cooked, it flows like liquid. But as it sits and the noodles stick together, it becomes rubbery and bouncy!
The borax acts as a cross-linker, connecting all those glue molecules together to form a solid, flexible material. The cornstarch helps bind everything so your ball holds its shape.
And when your ball hits the ground, those flexible polymer chains squish down and then snap back to their original shape – that’s what creates the bounce!
Pretty cool, right? You just turned liquid glue into a working toy using kitchen chemistry!
Make It Even More Fun
Glow-in-the-Dark Balls
Use glow-in-the-dark paint instead of food coloring for bouncy balls that light up in the dark. Game-changer for nighttime backyard fun!
Glitter Bombs
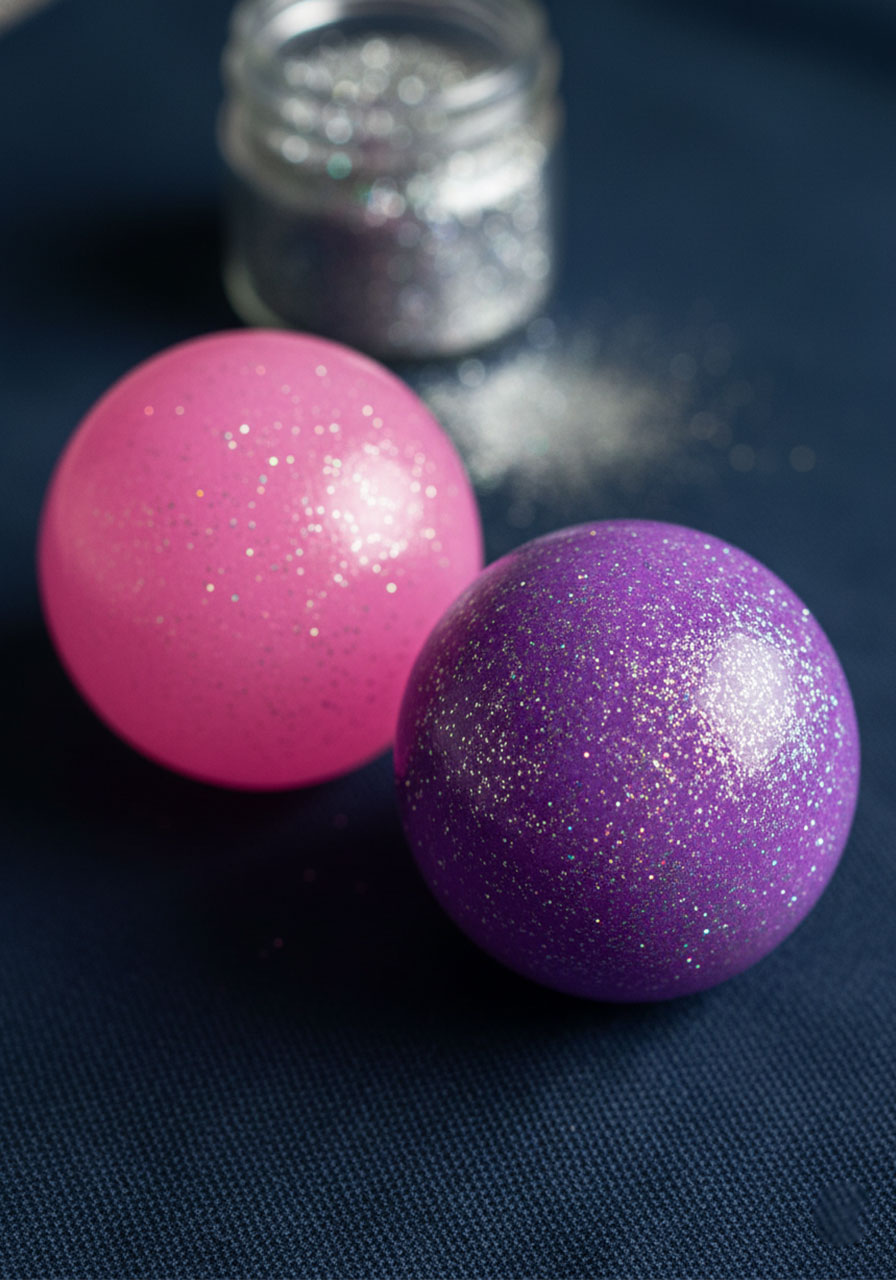
Add a pinch of glitter to your glue mixture before adding it to the borax water. You’ll get sparkly bouncy balls that look absolutely magical.
Bouncy Ball Olympics
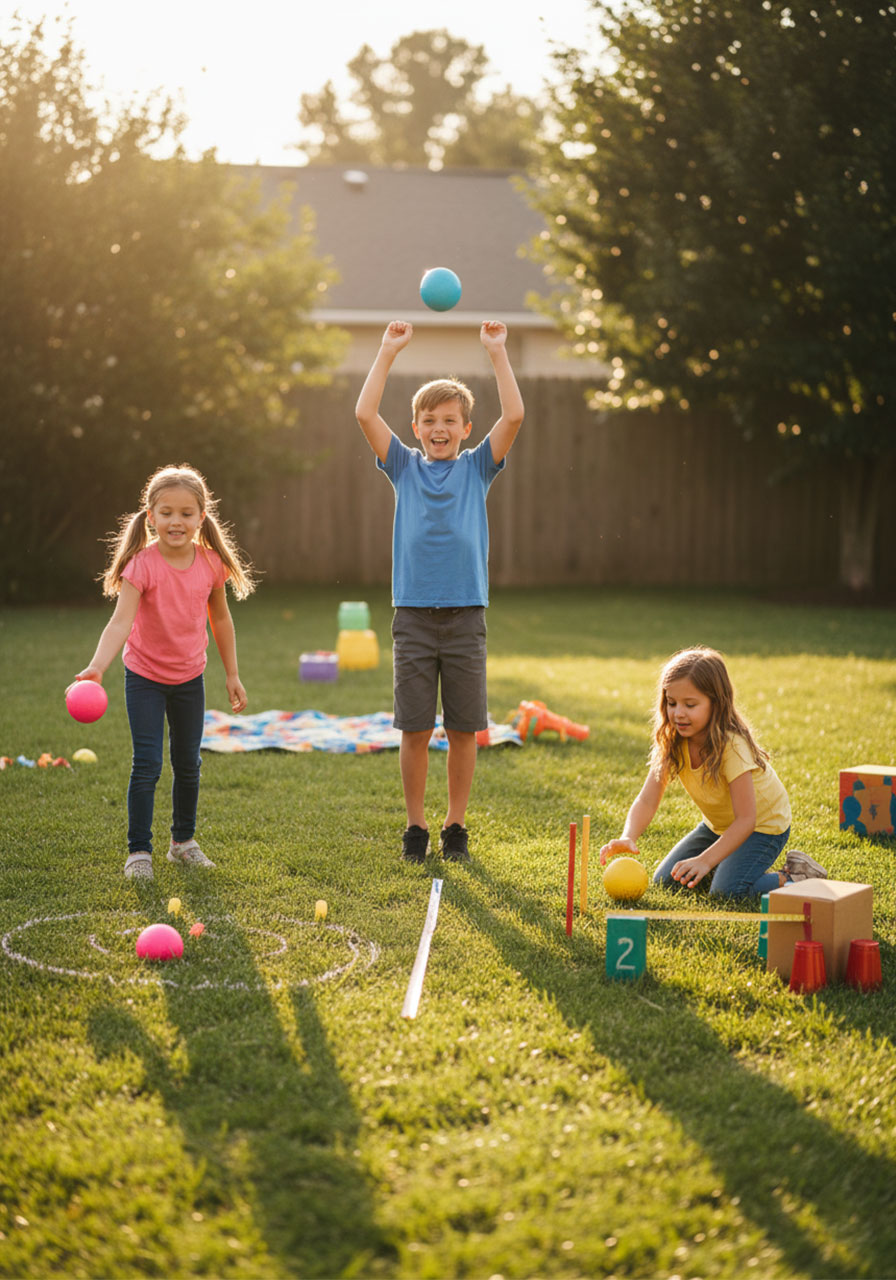
Once everyone’s made their balls, set up challenges! Who can bounce their ball the highest? Whose ball can bounce the most times in a row? Create a mini obstacle course and see whose ball can navigate it best.
Size Variations
Try making mini bouncy balls with half the measurements, or go big with double the recipe. Experiment and see what works best!
Final Thoughts: Why This Activity Is a Total Home Run
Making bouncy balls checks every box for an awesome DIY activity. It’s quick enough to hold kids’ attention, hands-on enough to keep them engaged, and educational enough to make you feel good about screen-free time.
Plus, they get a toy they actually want to play with when it’s all done!
Whether you’re looking for a rainy day activity, a birthday party showstopper, or just a fun way to spend an afternoon, this bouncy ball experiment delivers.
So grab that borax, round up the kids, and get ready for some seriously satisfying science fun. Your only problem will be convincing them to stop making bouncy balls long enough to actually bounce them!
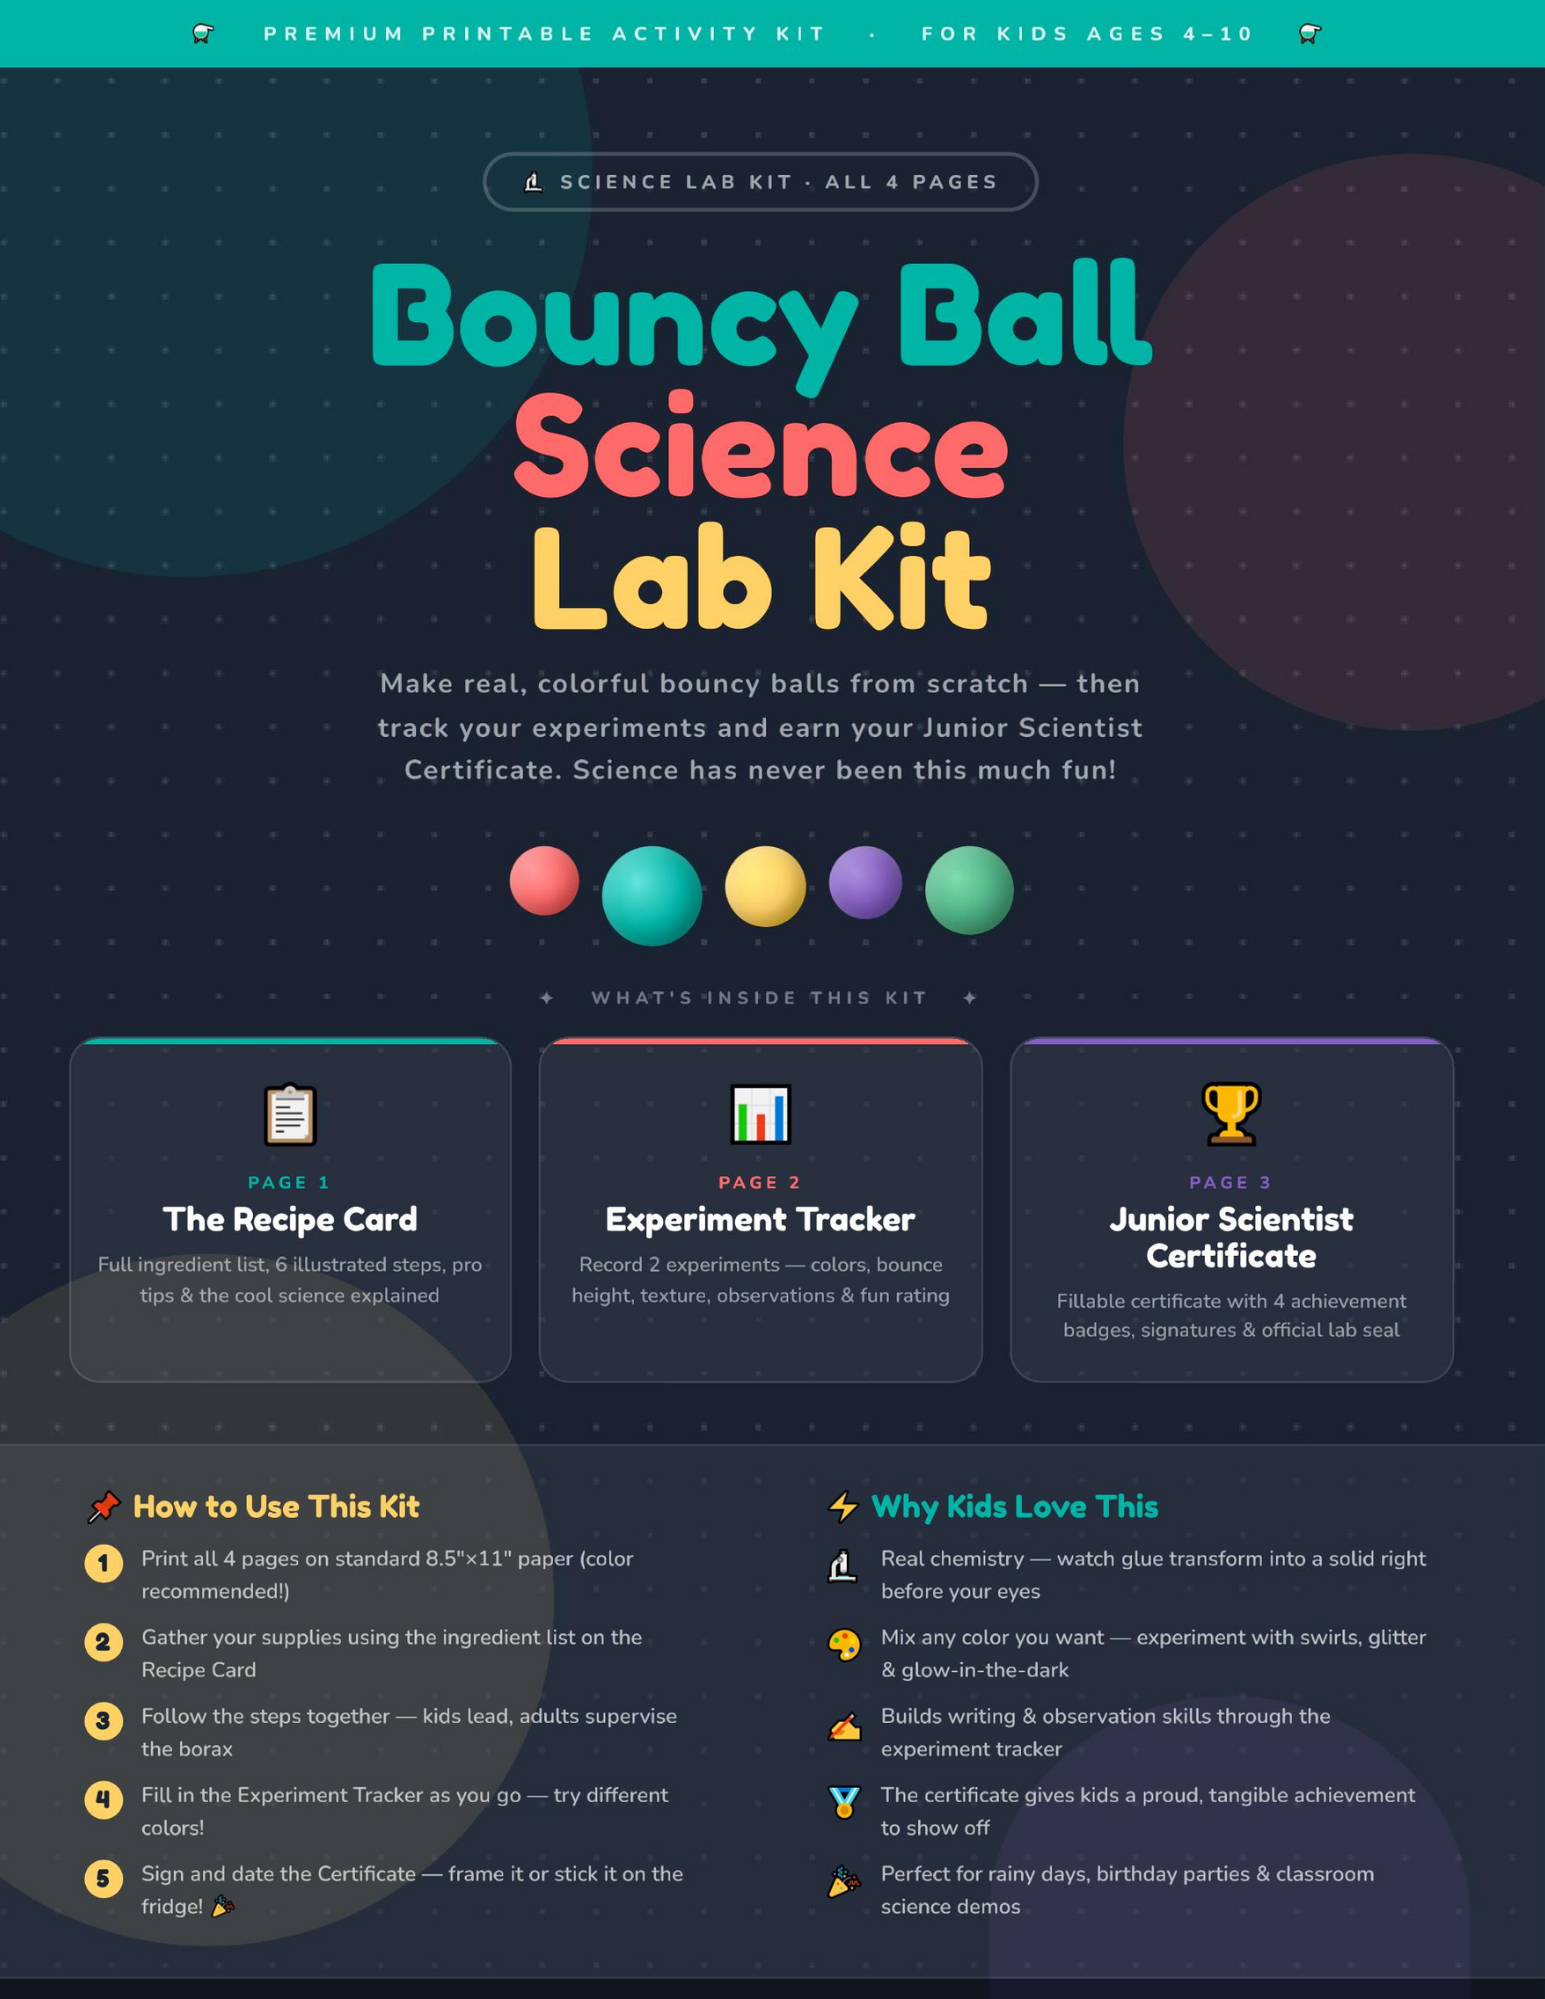
Download The Bouncy Ball Science Lab Kit
The premium 4-page printable that turns kitchen chemistry into pure kid magic – in just 5 minutes. No mess, no stress, no boring lessons.
More Kid’s Party Ideas to Keep the Fun Rolling:
25 All-Time Best Documentaries for Kids (and Parents Who Don’t Want to Fall Asleep)
11 Epic Card Games for Kids (with One Simple Card Deck) That’ll Keep Them Entertained for Hours
How to Build an Epic LEGO Plinko Board (That Actually Works!)
7 Epic Spring Minute to Win It Games That’ll Make Your Party Bloom
27 Circle Time Ideas for Toddlers and Preschoolers That Actually Work
27 Epic Camping Activities That’ll Make Your Kids Forget About Their Screens
