Ready to turn your backyard into NASA headquarters? If you’re looking for a summer activity that combines explosive fun with actual learning (yes, it’s possible!), bottle rockets are about to become your secret weapon against the dreaded “I’m bored” whine.
This isn’t just another mess-in-the-backyard project – it’s engineering, chemistry, and physics all rolled into one spectacular blast-off. And the best part? Your kids will be so pumped about the explosions (the safe kind, we promise!) that they won’t even realize they’re doing science.
Best for: Kids ages 8+, outdoor summer activities, STEM learning, family bonding
Time to Complete: 30-45 minutes (including build and multiple launches)
Adult Supervision Required: Absolutely – this one’s hands-on for grown-ups!
What You’ll Need:
For the Launch Pad:
- LEGO bricks, Tinker Toys, or craft sticks
- Creativity and engineering skills!
For the Rocket:
- Empty 2-liter soda bottle (rinsed and dry)
- 1-2 cups white vinegar
- 1-2 tablespoons baking soda (go heaping if you want serious altitude!)
- Paper towels
- Wine cork or pool noodle piece (cork = more power!)
- Markers or stickers to decorate your rocket (optional but fun)
For Safety:
- Old clothes you don’t mind getting sprayed with vinegar
- A wide-open outdoor space (think 50+ feet clear)
- Adult supervision at all times


How to Build Your Bottle Rocket Launch System:
Step 1: Engineer Your Launch Pad
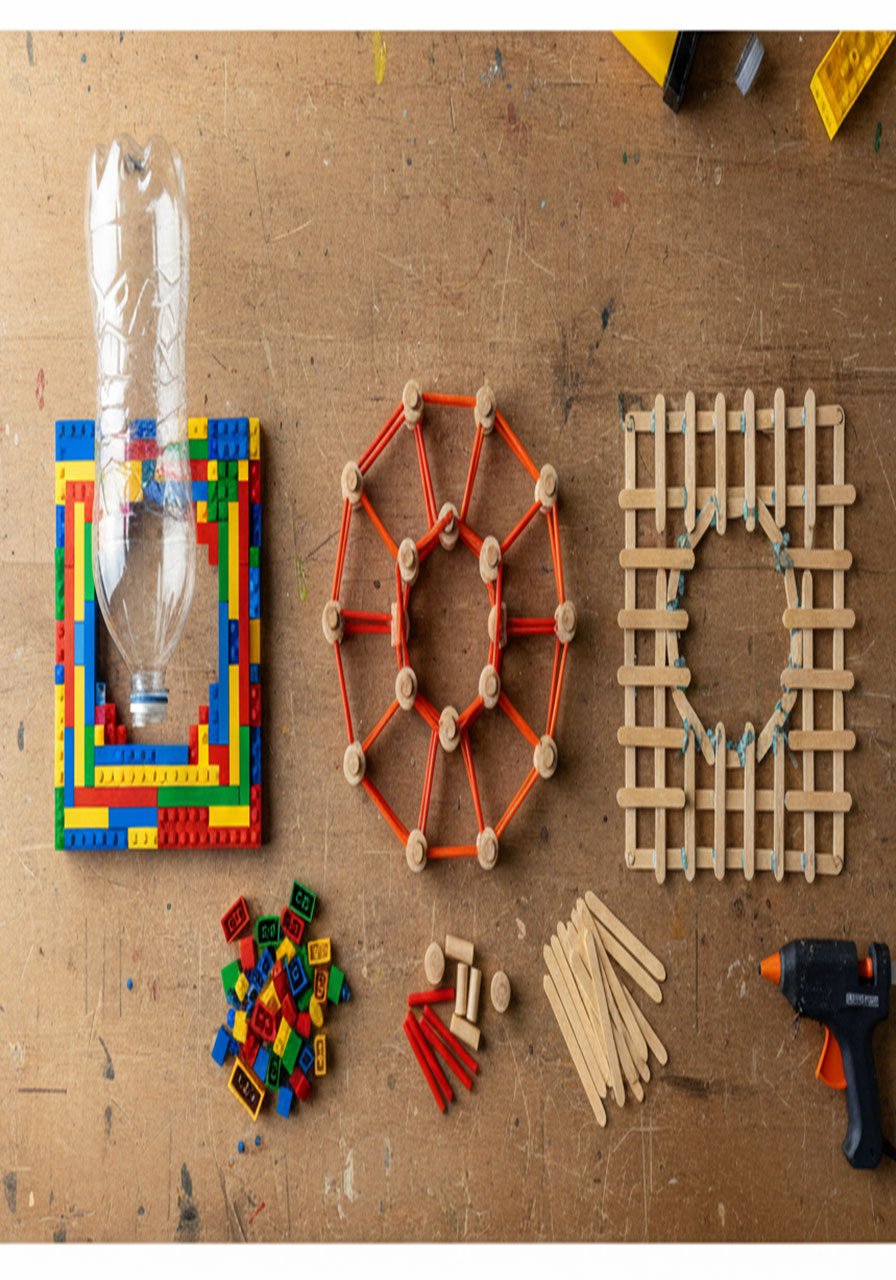
Here’s where the real fun begins – your kids get to build the foundation that’ll hold your rocket steady for liftoff.
Your mission: Create a stable platform that can hold an upside-down 2-liter bottle without it falling through. Sounds simple, right? Here’s the engineering challenge: it needs to be sturdy enough to withstand the blast, but open enough in the center to let your rocket fly free.
Build it with:
- LEGO: The fan favorite! Build a square frame with an open center. Pro tip: make it heavy and wide at the base for stability. Bonus: watching it explode into pieces after a powerful launch is half the fun.
- Tinker Toys: Classic and effective. Create a circular or square base with cross-supports.
- Craft Sticks: Budget-friendly option. Hot glue them into a sturdy frame.
This step sneaks in serious math skills (measurements, spatial reasoning, fitting a round object in a square hole) and engineering principles (stability, weight distribution, structural integrity). But all your kids will know is they’re building a rocket launcher, and that’s pretty awesome.
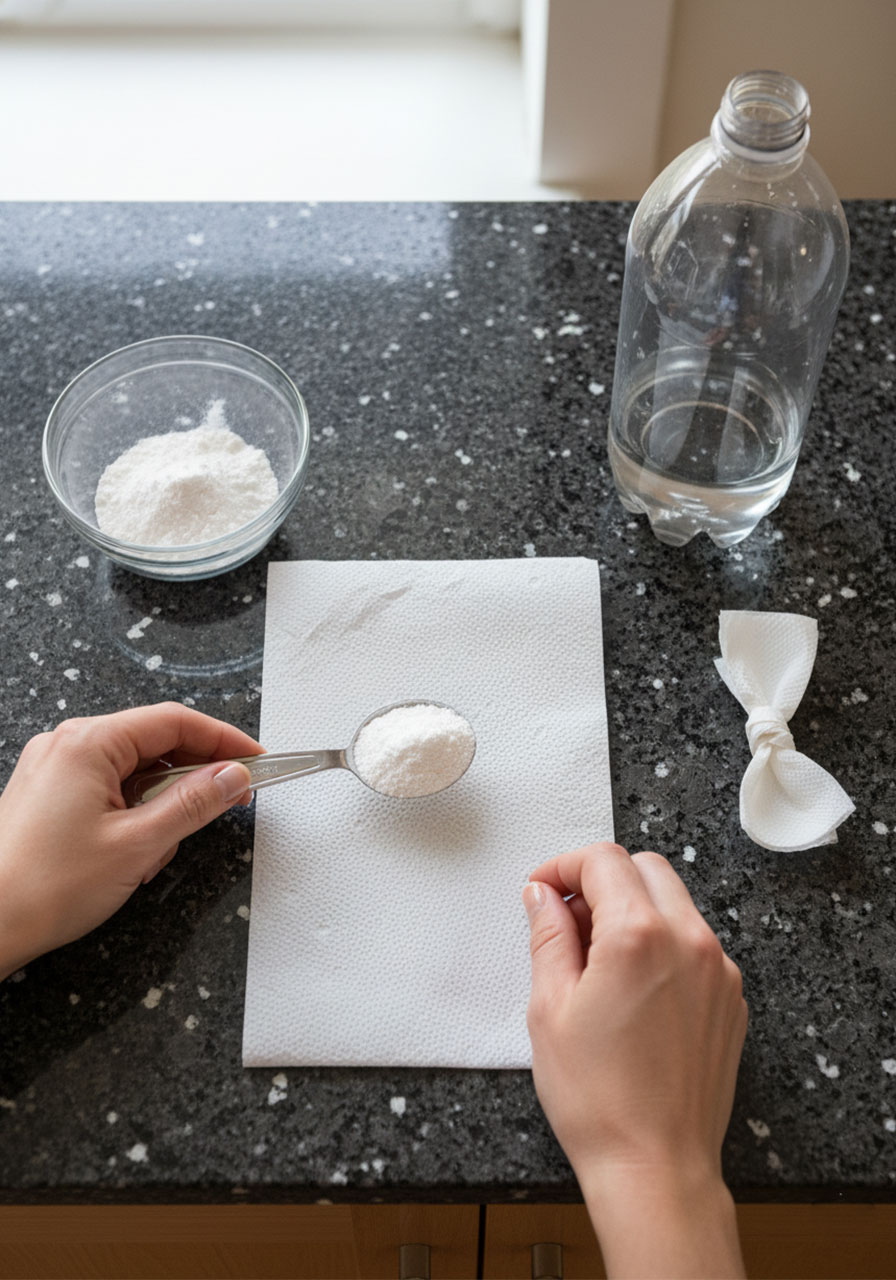
Step 2: Build and Fuel Your Rocket
Decorate first (optional): Let your kids transform that boring soda bottle into a proper rocket ship with markers, stickers, or construction paper fins. This is your rocket’s moment to shine before it shoots skyward!
Now for the chemistry magic:
1. Pour 1-2 cups of vinegar into your bottle. More vinegar = bigger reaction, but start with 1 cup for your first launch to see what happens.
2. Cut a paper towel into a 4-inch square. This is your baking soda delivery system.
3. Place 1 heaping tablespoon of baking soda in the center of the paper towel. (Want to go big? Add a little more – but be ready for serious liftoff!)
4. Fold the paper towel around the baking soda so it’s wrapped up snugly and will fit inside the bottle opening. Think of it like a little package.
5. Drop the wrapped baking soda into the vinegar bottle. Don’t shake it yet – just drop it in!
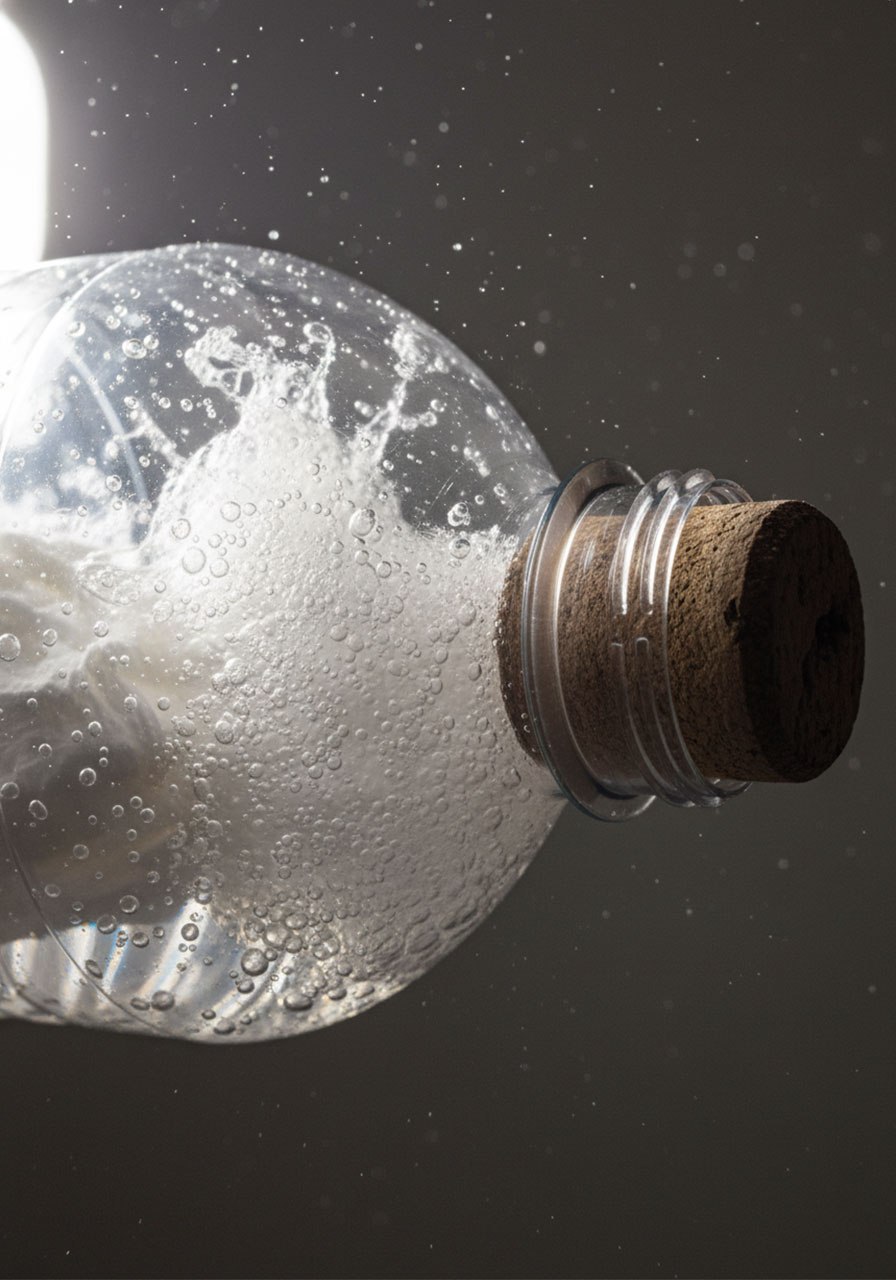
6. Immediately push the cork firmly into the bottle opening. Make sure it’s tight! This is what holds the pressure in until… BOOM!
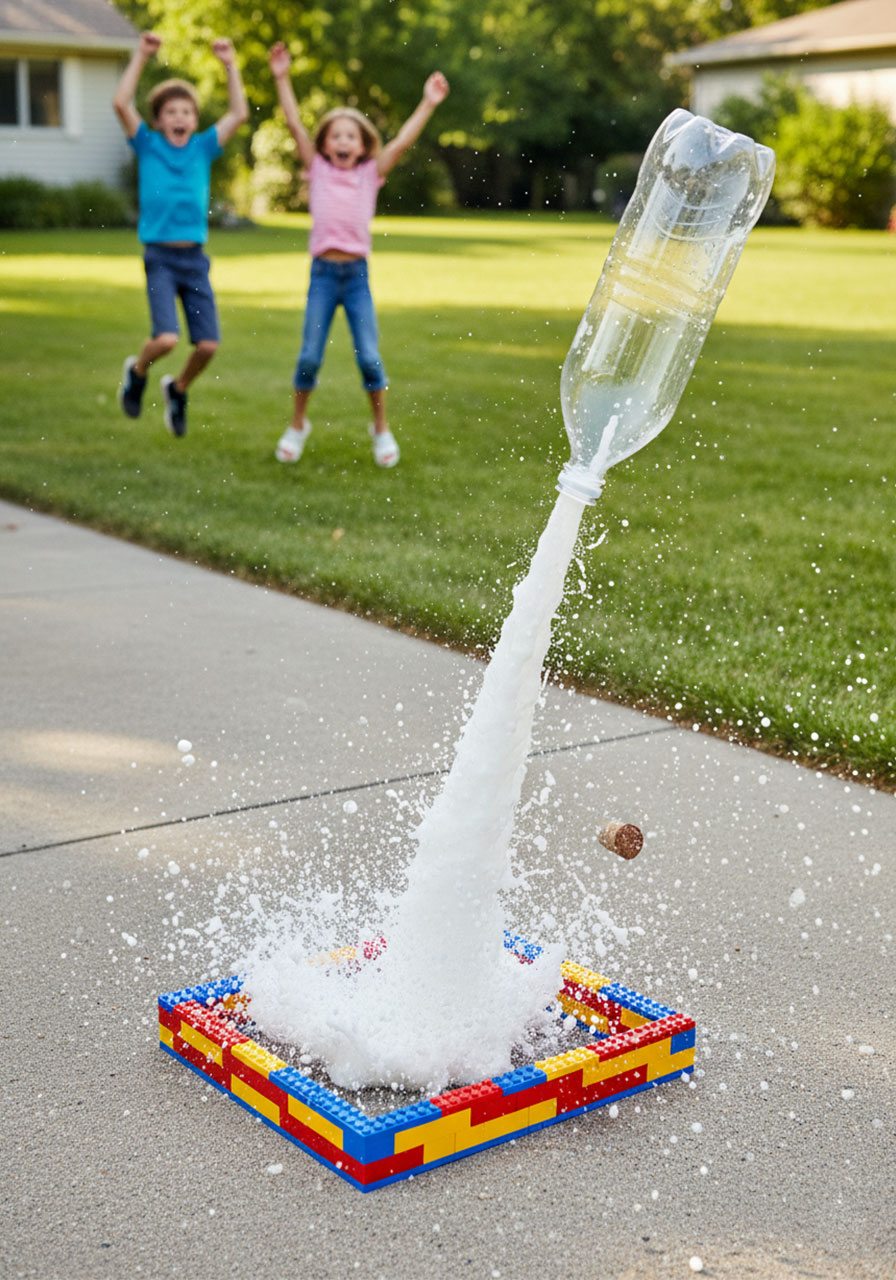
Step 3: 3… 2… 1… BLAST OFF!
Okay, this is where you need to move FAST. We’re talking Olympic-speed fast.
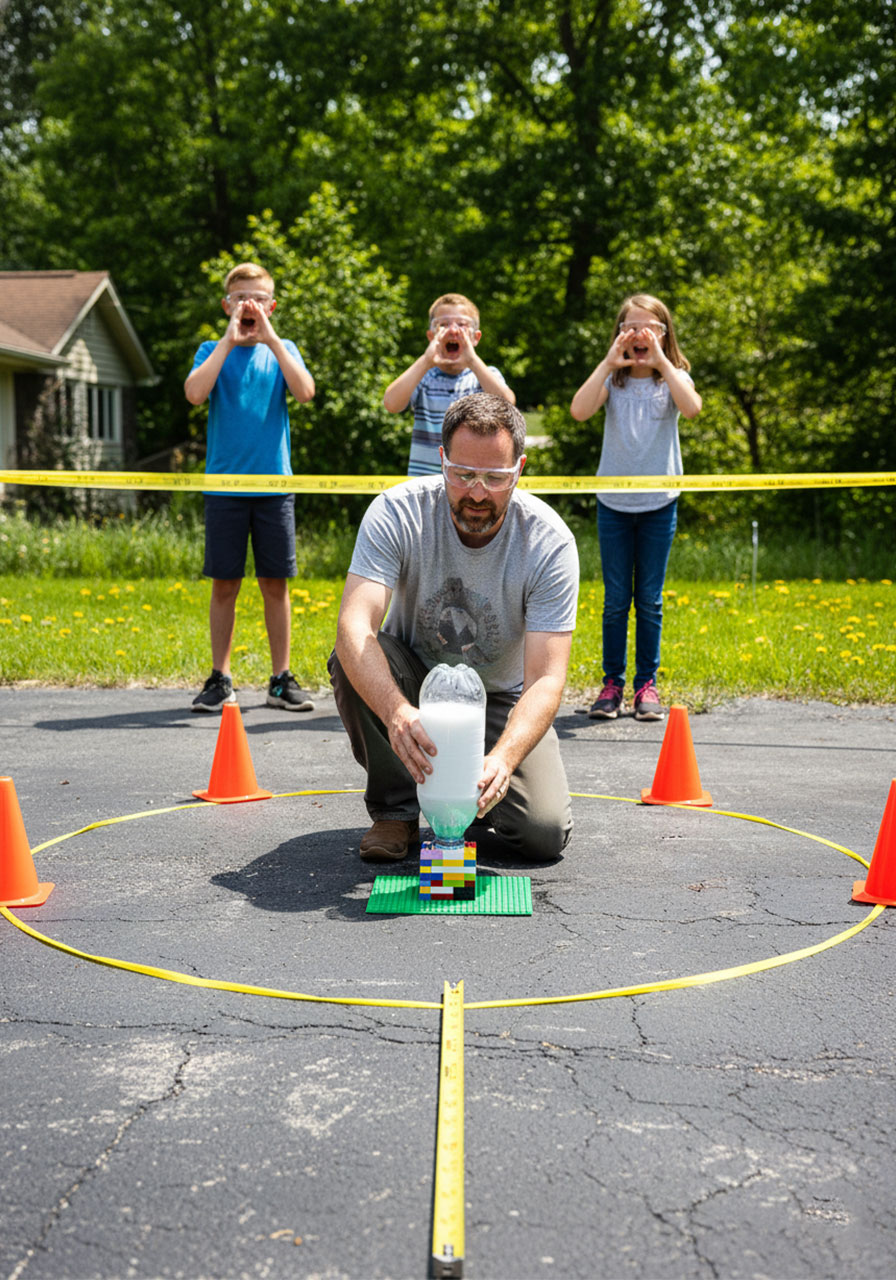
1. Flip the bottle upside down (cork-side down).
2. Place it securely in your launch pad.
3. RUN BACK at least 10-15 feet!
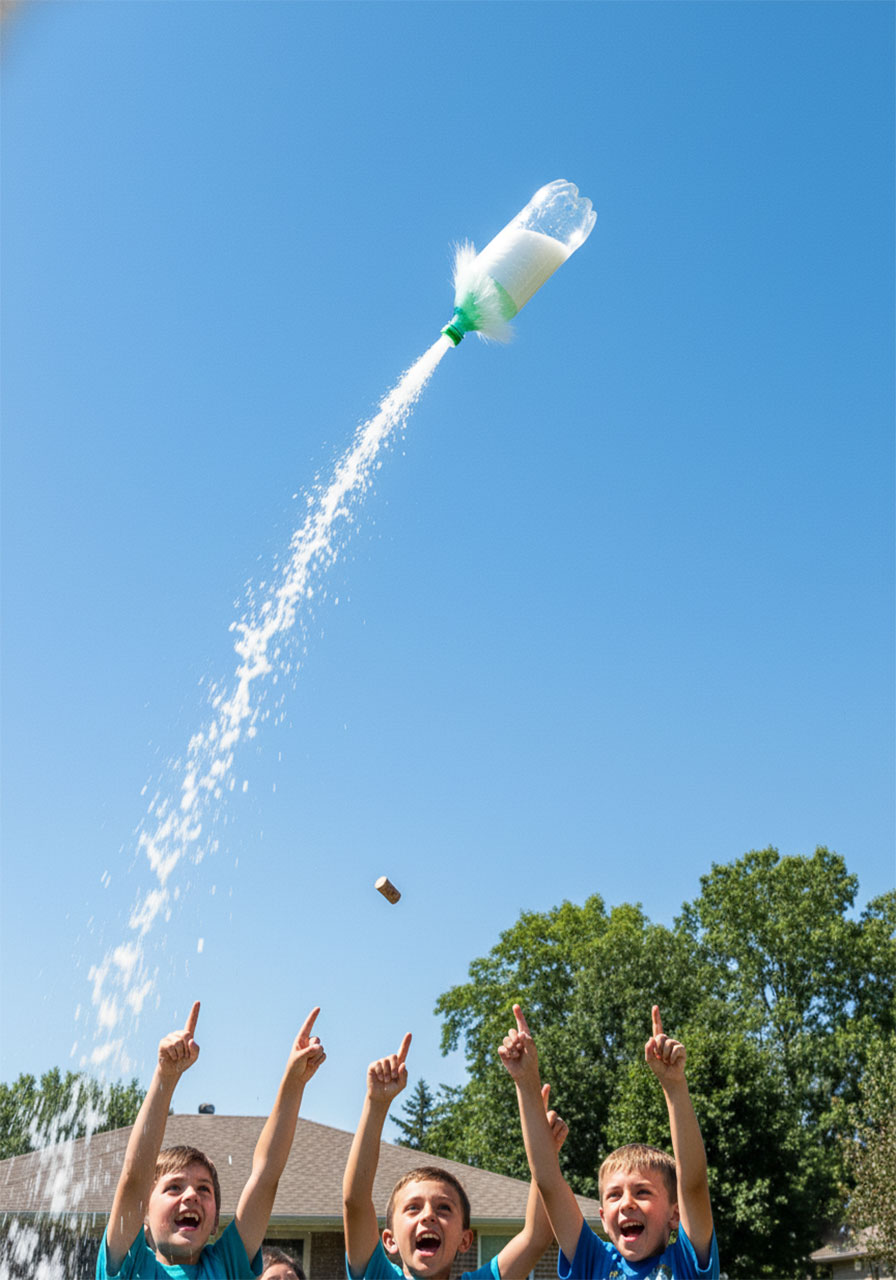
Now watch the magic happen. Inside that bottle, the vinegar (an acid) is reacting with the baking soda (a base) to create carbon dioxide gas. As more and more gas builds up, the pressure increases until – POP! – the cork shoots out and your rocket launches up to 30-50 feet in the air!
Pro Tip: The chemical reaction starts the moment the baking soda hits the vinegar, so you’ve only got about 5-10 seconds before liftoff. That’s why speed is your friend here!
The Science Behind the Spectacle
This is where you get to blow your kids’ minds with actual chemistry and physics (but make it sound cool).
The Chemical Reaction: When vinegar (acetic acid: CH₃COOH) meets baking soda (sodium bicarbonate: NaHCO₃), they create three things: sodium acetate, water, and – here’s the star of the show – carbon dioxide gas (CO₂). That CO₂ is what creates all those bubbles you see.
The Physics: As the CO₂ gas builds up inside your sealed bottle, it creates pressure. When that pressure becomes too much for the cork to hold, it releases in one explosive burst. Newton’s Third Law kicks in: for every action (gas shooting down), there’s an equal and opposite reaction (rocket shooting up). And that, my friends, is thrust!
The Engineering: Your launch pad had to solve a real engineering problem: create a structure stable enough to hold the rocket in place during the pressure build-up, but not so tight that it prevents the launch. That’s the same principle engineers use for real rocket launch systems!
Level Up Your Launches: Fun Variations
Once you’ve mastered the basic blast-off, try these tweaks:
The Distance Challenge: Angle your launch pad slightly to see how far (not just how high) your rocket can travel. Welcome to projectile motion!
The Mega-Reactor: Use 2 tablespoons of baking soda and 2 cups of vinegar for maximum altitude. Stand back!
The Decoration Competition: Award prizes for the coolest-looking rocket before launch. (Fair warning: your masterpiece might come back soggy.)
The Variables Experiment: Try different vinegar-to-baking-soda ratios and track your results. Which combination gives you the highest launch?
Safety First (Because Wet Vinegar Isn’t Fun for Everyone)
Important safety notes:
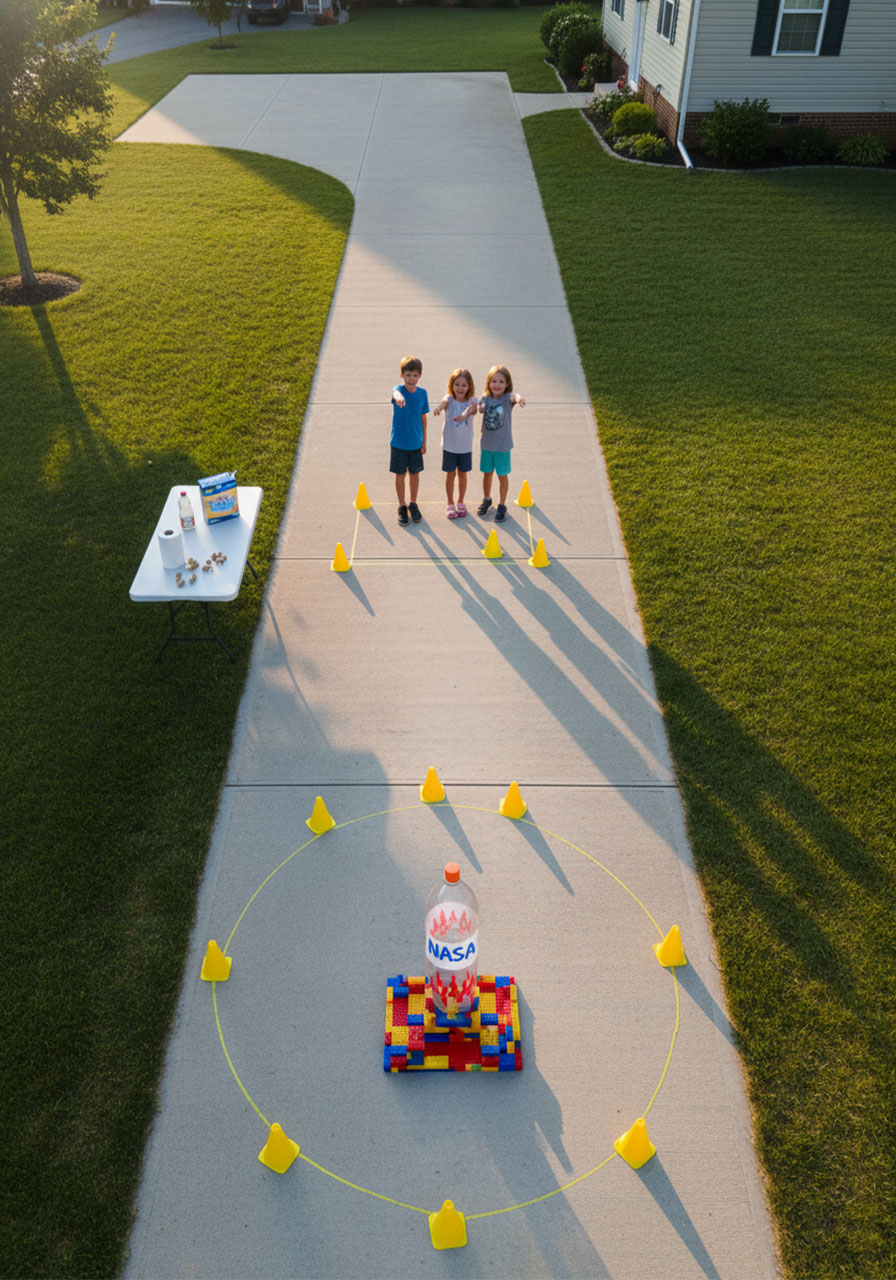
Always have an adult handle the loading and launching. Kids can build, decorate, and cheer from a safe distance (at least 10 feet back).
Wear clothes you don’t mind getting sprayed. Vinegar will fly, and it smells… interesting.
Never lean over an armed rocket. Load it, place it, and GET BACK immediately.
Choose your location wisely. You need at least 50 feet of clear space in all directions – these rockets can really fly!
Never aim at people, animals, or property. Rockets go up, not sideways!
Clean-Up (The Boring But Necessary Part)
Here’s the deal: vinegar is an acid, and while it’s safe for this project, you don’t want it sitting on your lawn, LEGO bricks, or driveway.
After your launch party:
1. Rinse everything thoroughly with water. This means your bottle, cork, launch pad pieces (LEGO, Tinker Toys, whatever you used), and the launch area.
2. Spray down the grass or pavement where you launched to dilute any leftover vinegar.
3. Let your launch pad pieces dry completely before storing them away for your next mission.
The vinegar that reacted with the baking soda is already neutralized, but any excess needs to be washed away. A quick rinse takes care of everything!
Why This Activity Is Pure Gold
Look, we could tell you this teaches chemistry, engineering, physics, and math – and it absolutely does. But the real reason bottle rockets are amazing? Because the second you mention “rockets” and “explosions” in the same sentence, kids who were dragging their feet five minutes ago are suddenly NASA engineers in training.
They’ll learn about acid-base reactions without realizing it’s chemistry. They’ll practice engineering principles while building a launch pad out of toys. They’ll witness physics in action as their rocket soars skyward. And the whole time, they’ll just think they’re playing.
That’s the sweet spot of backyard science: maximum learning disguised as maximum fun.
Ready for Liftoff?
With just a few household supplies and a bit of open space, you’ve got yourself a summer activity that never gets old. We’ve launched bottle rockets dozens of times over the years, and you know what? The excitement never fades. Whether your kids are 8 or 18, watching a homemade rocket shoot 50 feet into the air never stops being absolutely epic.
So grab that empty soda bottle, rally the troops, and get ready to hear the best words a parent can hear: “Can we do that again?!”
Because the best summer memories? They’re the ones that end with everyone laughing, learning, and maybe a little bit soggy from vinegar spray.
More Kid’s Party Ideas to Keep the Fun Rolling:
How to Make Bouncy Balls: A 5-Minute DIY That’ll Have Kids Begging for More
Easy Baking Soda & Vinegar Fireworks: A Science Experiment That’ll Make You the Coolest Parent Ever
How to Make Puffy Paint: The 3-Ingredient Recipe That’ll Blow Your Mind
7 Epic Spring Minute to Win It Games That’ll Make Your Party Bloom
27 Circle Time Ideas for Toddlers and Preschoolers That Actually Work
27 Epic Camping Activities That’ll Make Your Kids Forget About Their Screens