
Get ready for the easiest, most satisfying craft project you’ll ever try! This DIY puffy paint creates the coolest 3D texture that literally pops off the page – and you only need 3 simple ingredients you probably already have at home.
If you’re looking for a fun activity to keep the kids entertained (or let’s be honest, to satisfy your own creative itch), homemade puffy paint is about to become your new obsession. The foamy, squishy texture is ridiculously fun to work with, and the results? Absolutely show-stopping.
Why You’ll Love This Puffy Paint Recipe
This isn’t your average paint project. Here’s why this craft is a total winner:
It’s ridiculously easy. Three ingredients, five minutes of prep, and you’re ready to create. No complicated steps, no fancy supplies – just pure, simple fun.
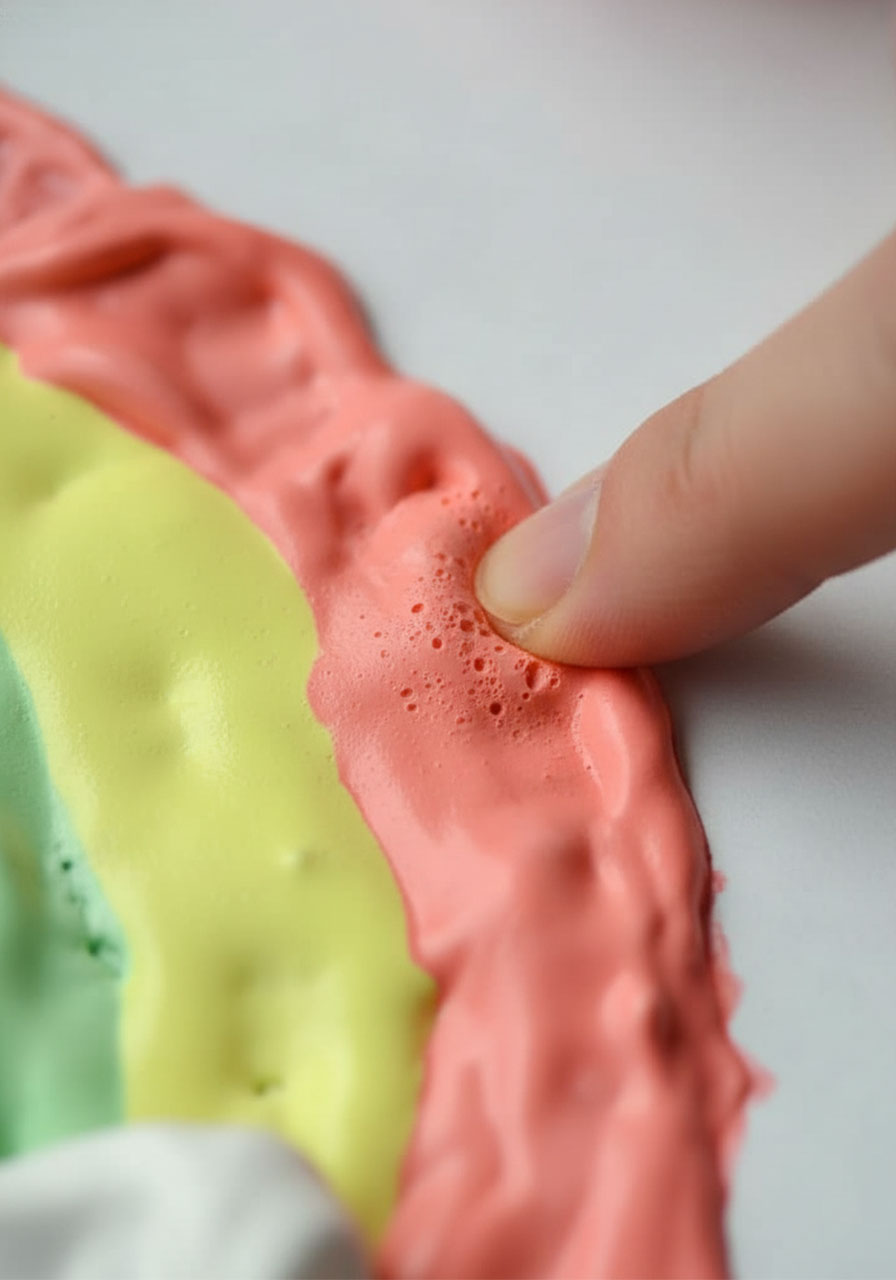
The texture is unreal. We’re talking fluffy, 3D, cloud-like perfection that stays puffy even after it dries. Your kids won’t be able to stop poking it (and neither will you).
Perfect for rainy days. Need to fill a few hours? This craft delivers. It’s engaging enough to hold their attention but simple enough that you won’t lose your mind supervising.
Budget-friendly magic. A can of shaving cream, some white glue, and food coloring – that’s it. No need to drop cash on expensive craft supplies.

What You’ll Need to Make Puffy Paint

Here’s your shopping list (spoiler alert: it’s super short):
Shaving cream (any brand works – we grabbed ours from the dollar store!)
White school glue (the cheap stuff works perfectly)
Food coloring (pick your favorite colors or go rainbow!)
Small bowls or containers (one for each color)
Straws, popsicle sticks, or stir sticks (for mixing)
Paint brushes (for applying your masterpiece)
Paper or cardstock (printer paper works great!)
Pro Tip: Skip the measuring cups to save on cleanup! Eyeballing the measurements works just fine for this forgiving recipe.
How to Make Puffy Paint (Step-by-Step)
Ready to whip up some magic? Here’s how to do it:
1. Pour about ¼ cup of white glue into a small bowl. Don’t stress about exact measurements – this recipe is super forgiving.
2. Add an equal amount of shaving cream to the bowl. Just eyeball it! Roughly equal parts is all you need. The mixture should look fluffy and thick.
3. Squeeze in your food coloring. Add 10-15 drops for vibrant colors. Remember: the colors will get darker as they dry, so don’t worry if they look a little light at first!
4. Mix it up! Use a straw, popsicle stick, or stir stick to blend everything together. (Save your good spoons for dinner – you don’t want shaving cream all over those.)
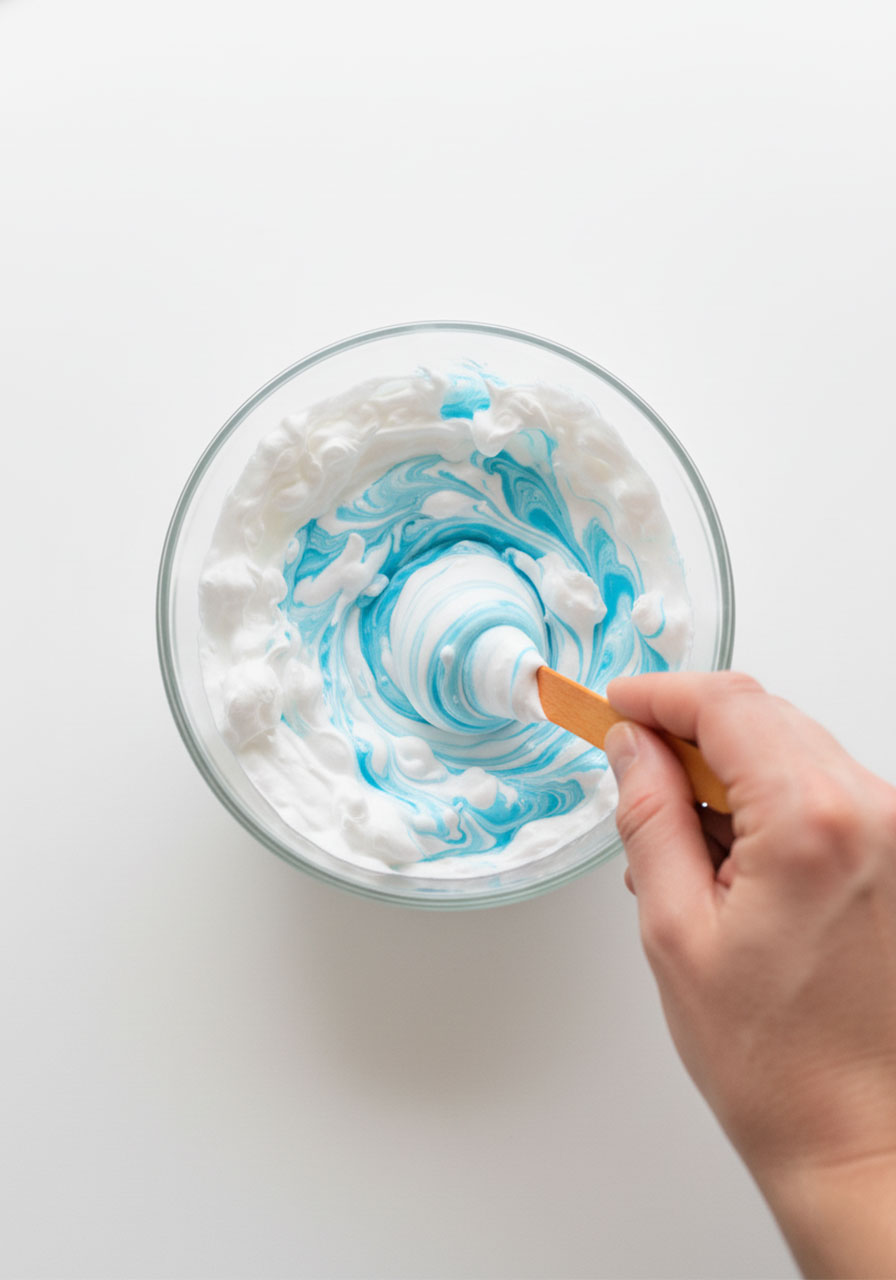
5. Repeat for as many colors as you want. Making a rainbow? You’ll need red, orange, yellow, green, blue, and purple. Want puffy clouds? Leave one bowl white!
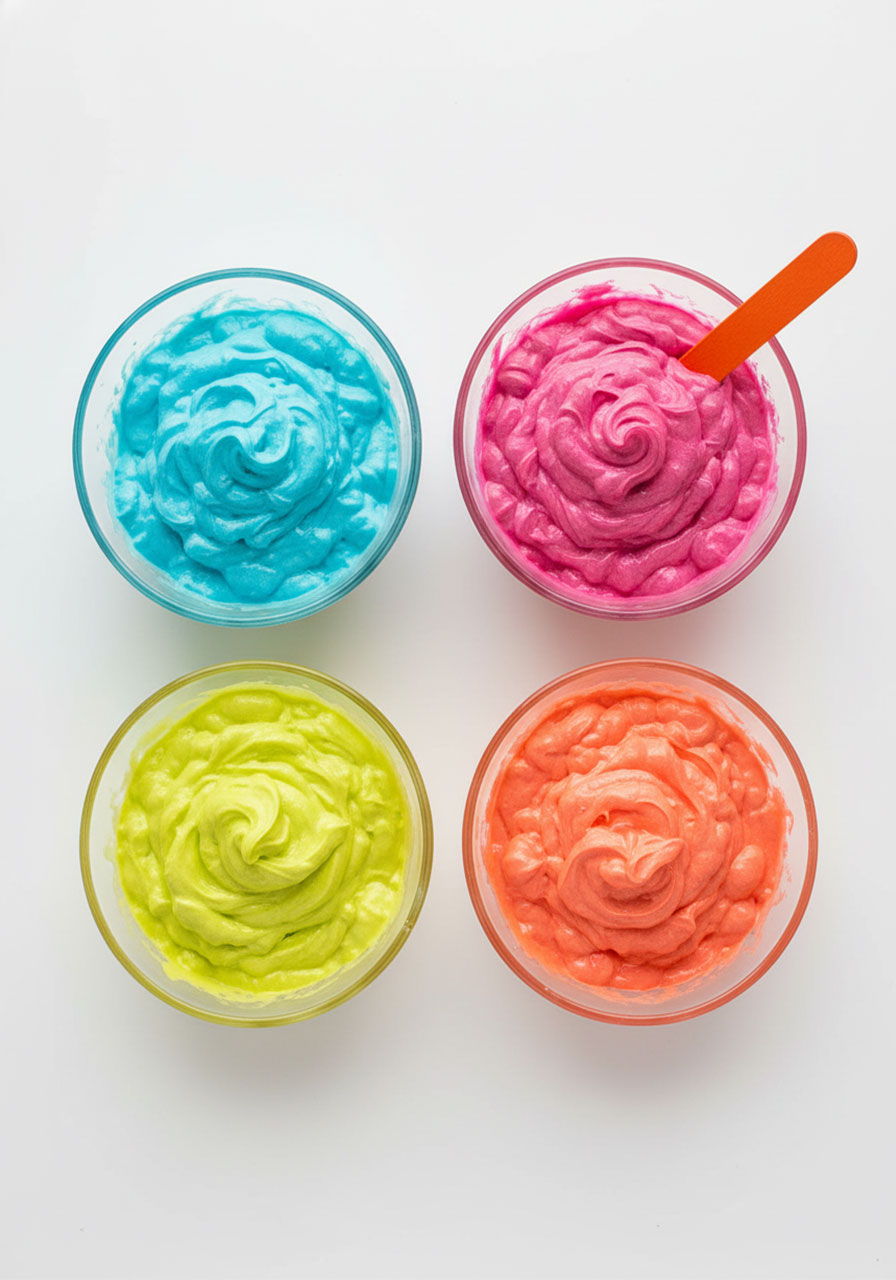
6. Start painting! Load up your brush with a generous amount of puffy paint and dab (don’t spread) it onto your paper. The thicker you apply it, the puffier your final result will be.

Fun Variation: Want an even thicker texture? Add a bit more glue to your mixture. The extra glue gives you an even more dramatic 3D effect!
Amazing Puffy Paint Project Ideas
Not sure what to create with your new favorite craft supply? Try these crowd-pleasers:
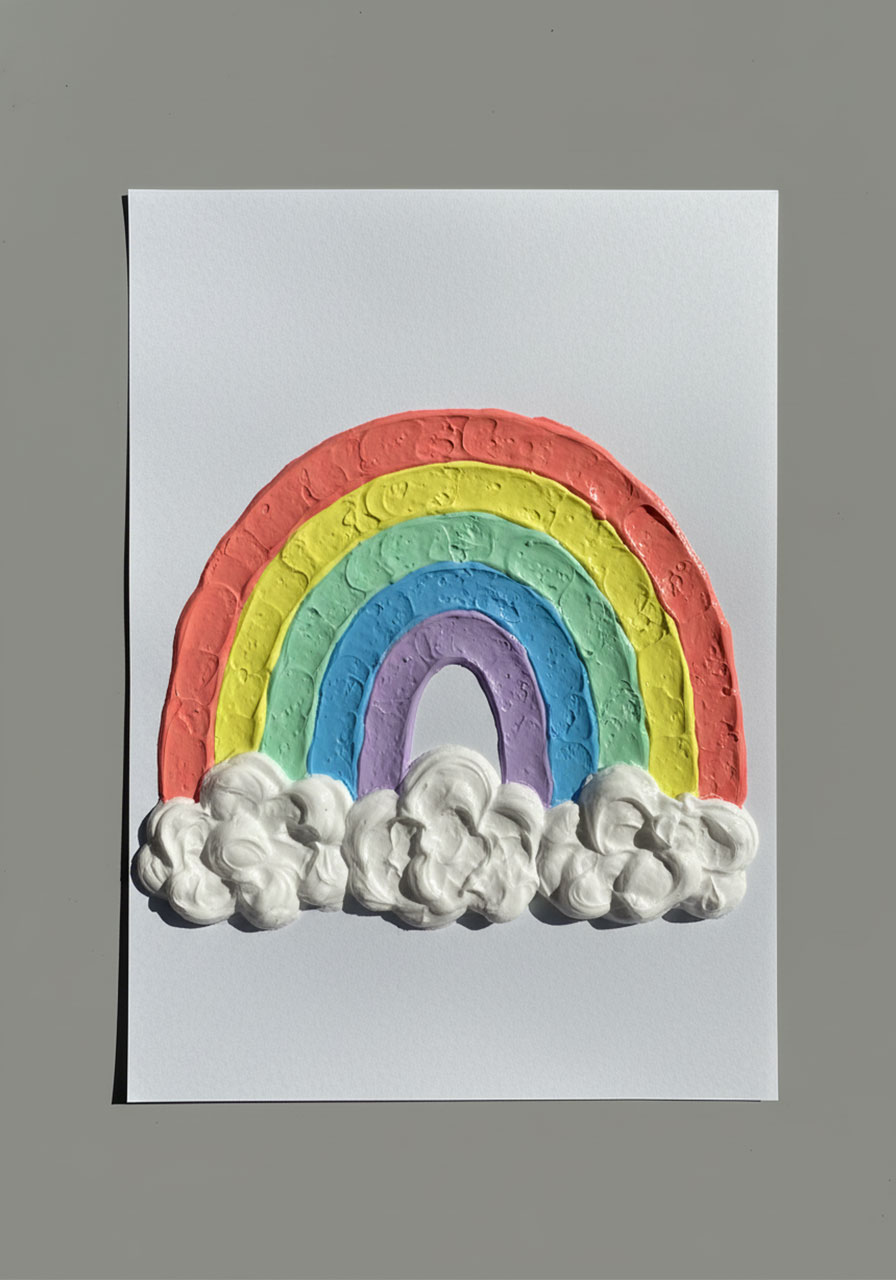
Puffy Paint Rainbow: Paint those classic rainbow arcs with fluffy white clouds at the bottom. The cloud texture is chef’s kiss perfect with this paint!
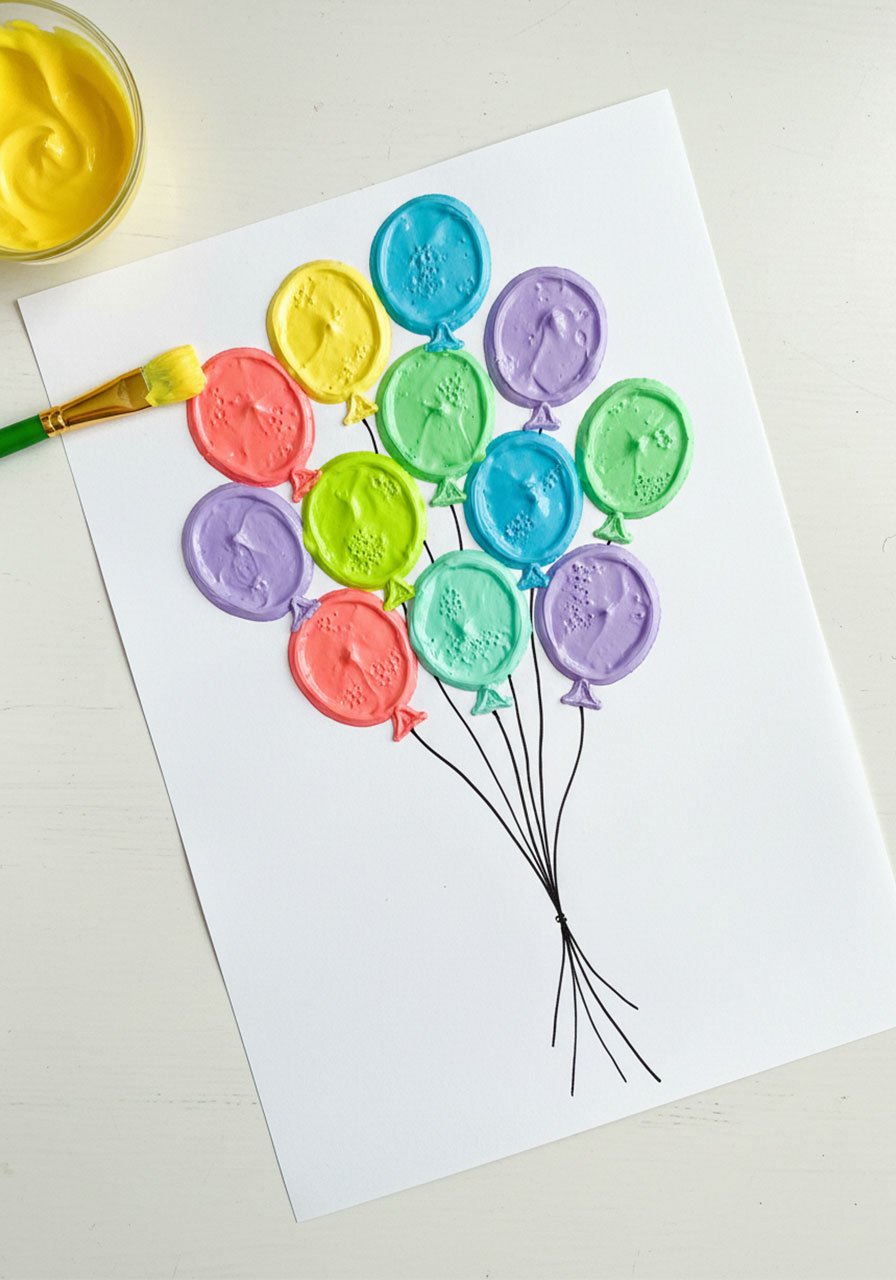
Balloon Bouquet: Draw balloon strings with a black marker, then dollop big circles of colorful puffy paint at the end of each string. When it dries, they look like actual inflated balloons.
3D Letters: Let kids paint their names or initials in bold, puffy letters. Once dry, the raised texture makes them look almost good enough to touch (and they will touch them – constantly).
Seasonal Art: Create puffy snowmen for winter, fluffy sheep for spring, or textured pumpkins for fall. The possibilities are endless!
What Happens When Puffy Paint Dries?
Here’s what to expect as your masterpiece sets:
The colors intensify. What started as pastel will transform into bold, vibrant hues. It’s like watching your art come alive!
The texture stays (mostly). Yes, the paint will flatten out a little as it dries, but you’ll still have that amazing 3D, squishy texture that makes this craft so addictive. Even three days later, your paintings will still have serious dimension.
It becomes touchably soft. Once dry, the surface has this cool, spongy feel that’s weirdly satisfying. Fair warning: everyone will want to poke it with their fingers!
Drying time: Give it a few hours to set completely. The thicker your paint application, the longer it’ll take to dry.
How Long Does Homemade Puffy Paint Last?
The paint mixture: Use it the same day you make it! Shaving cream loses its fluffy magic overnight, so you’ll be left with runny glue if you try to store it. Mix up fresh batches for each craft session.
Your finished artwork: The paintings stay beautifully puffy for about a day and maintain great texture for several days after. While they’ll flatten slightly over time, you’ll still have way more dimension than regular paint gives you!
Pro Tips for Puffy Paint Success
Want to level up your puffy paint game? Here’s what we learned:
Dab, don’t spread. Load your brush with plenty of paint and gently dab it onto the paper. Spreading it thin defeats the purpose – you want that glorious puffiness!
Try different paper colors. The paint looks amazing on black construction paper! The bright colors really pop against the dark background.

Experiment with the ratio. More glue = firmer texture and possibly more height. More shaving cream = fluffier, cloudier effect. Play around to find your perfect formula.
Make extra white. If you’re doing clouds, snow, or anything white, mix up a big batch. That fluffy white texture is absolute perfection for cloud paintings.
Apply it thick. Don’t be shy! The more generous you are with your paint application, the more dramatic your 3D effect will be.
Why This Craft Is a Total Winner
Look, we’ve tried a lot of kids’ crafts. Some are duds, some are messy nightmares, but this one? This one’s a keeper. It’s simple enough that you won’t want to pull your hair out, fun enough that the kids actually stay engaged, and impressive enough that you’ll want to show off the results.
Plus, there’s something seriously satisfying about creating art that has actual texture and dimension. It’s not just painting – it’s sculpting with color. And when those vibrant hues deepen as they dry? Pure magic.
So grab that can of shaving cream from the bathroom, raid your craft drawer for some glue and food coloring, and get ready to create something awesome. Your kids will love it, you’ll love it, and you’ll definitely be making this again.
Pro Tip: Take pictures of your puffy paint creations on day one when they’re at their absolute puffiest! The texture photographs beautifully and you’ll want to capture that peak fluffiness for the memories.
More Kid’s Party Ideas to Keep the Fun Rolling:
How to Make Bouncy Balls: A 5-Minute DIY That’ll Have Kids Begging for More
Easy Baking Soda & Vinegar Fireworks: A Science Experiment That’ll Make You the Coolest Parent Ever
How to Build an Epic LEGO Plinko Board (That Actually Works!)
7 Epic Spring Minute to Win It Games That’ll Make Your Party Bloom
27 Circle Time Ideas for Toddlers and Preschoolers That Actually Work
27 Epic Camping Activities That’ll Make Your Kids Forget About Their Screens
