
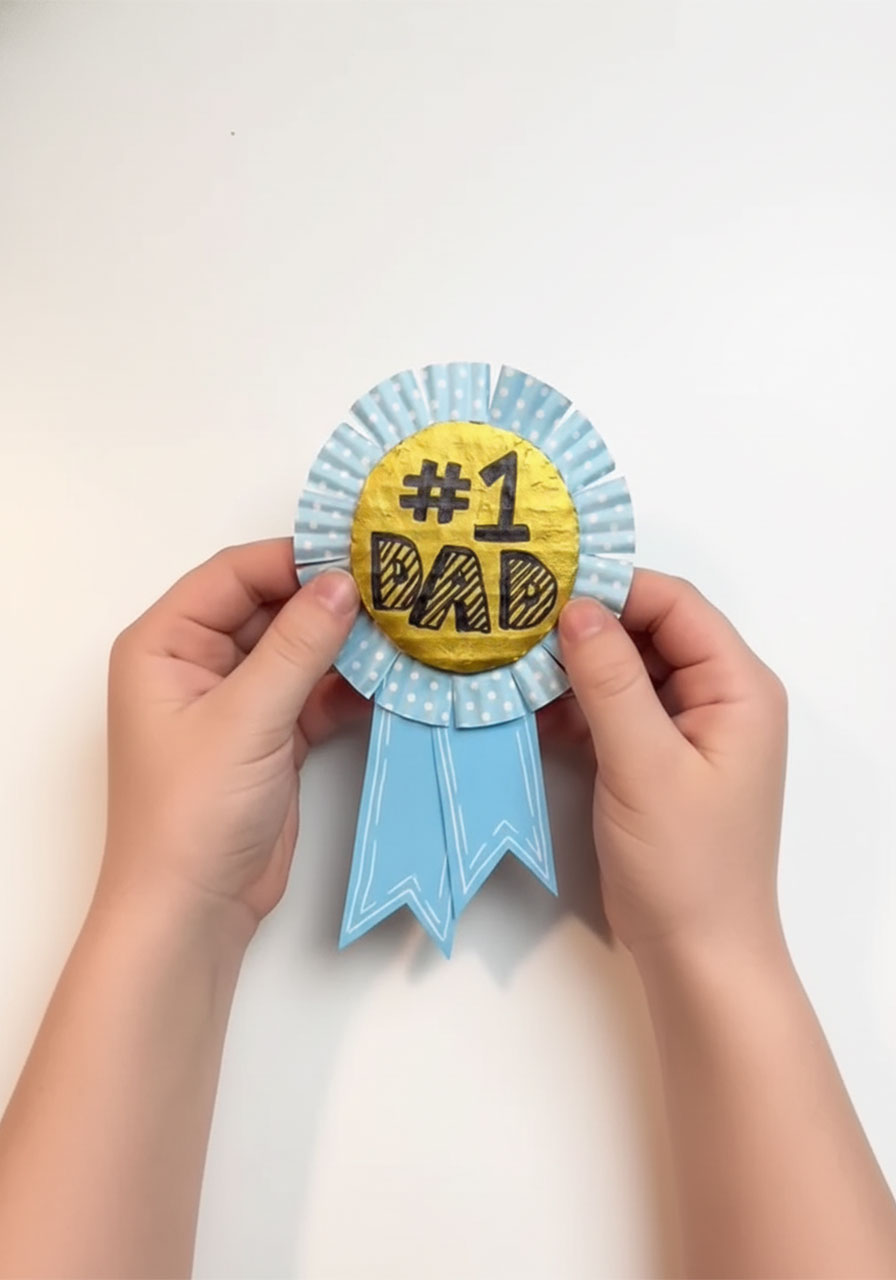
Looking for a Father’s Day craft that’s genuinely adorable, takes less than 20 minutes, and costs almost nothing? This DIY Dad Award Ribbon is exactly that. It looks like a real medal – gold center, ruffled frame, blue ribbon tails and all – and it’s 100% handmade by the kids in your life.
Whether you’re a parent putting together a quick Father’s Day activity or a teacher planning a classroom craft before the holiday weekend, this one is a total winner. Kids get to personalize it, it’s low-mess, and the end result is something Dad (or Grandpa!) will actually want to keep.
Here’s everything you need to make it happen.
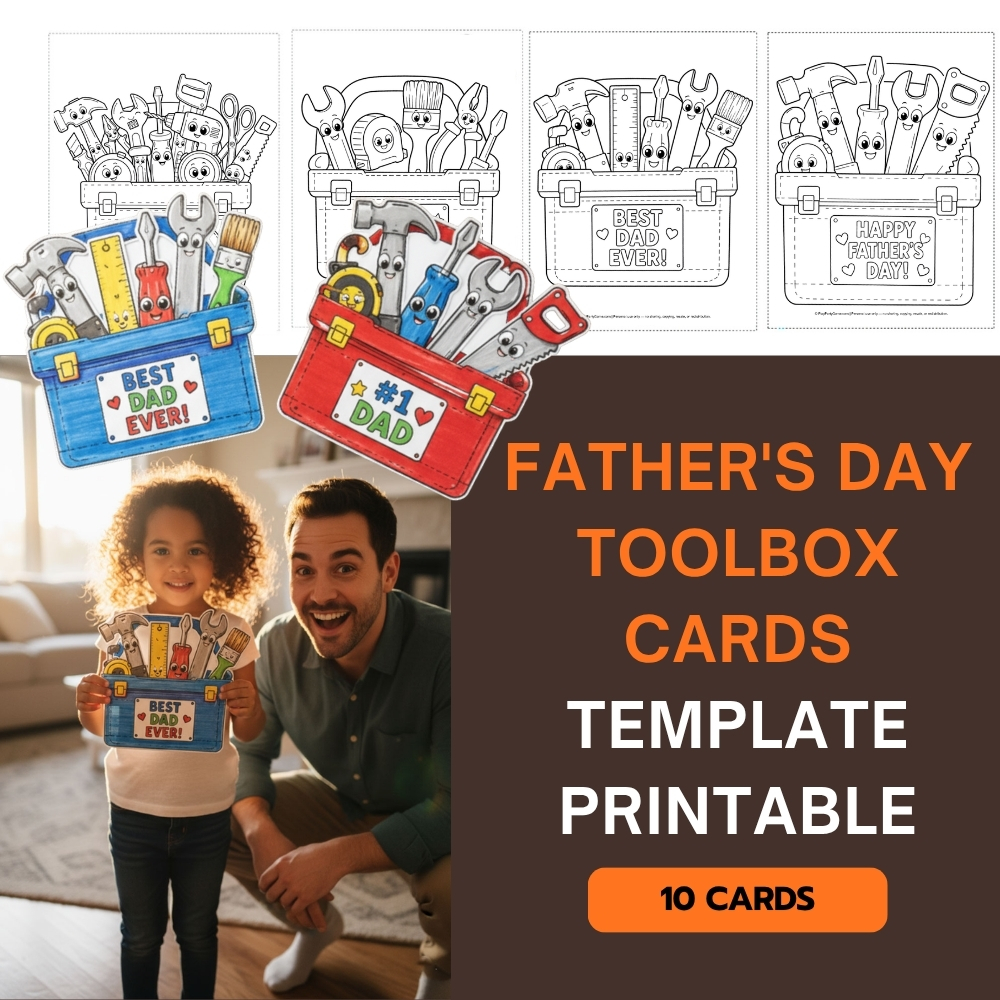
What You’ll Need
Cardboard – a small piece from any cereal box or shipping box works perfectly
Gold craft paint – the metallic kind gives it that real “award” look
A thick black permanent marker – like a Sharpie
1 cupcake liner – blue polka dot or any fun pattern works great
Light blue construction paper – for the hanging ribbon tails
Scissors
Craft glue or a glue stick
Optional: A safety pin (if Dad’s going to wear it!), a white pen for detail work
That’s it! No special tools, no trips to the craft store. Chances are you already have most of this at home or in your classroom supply cabinet.

How to Make It: Step-by-Step
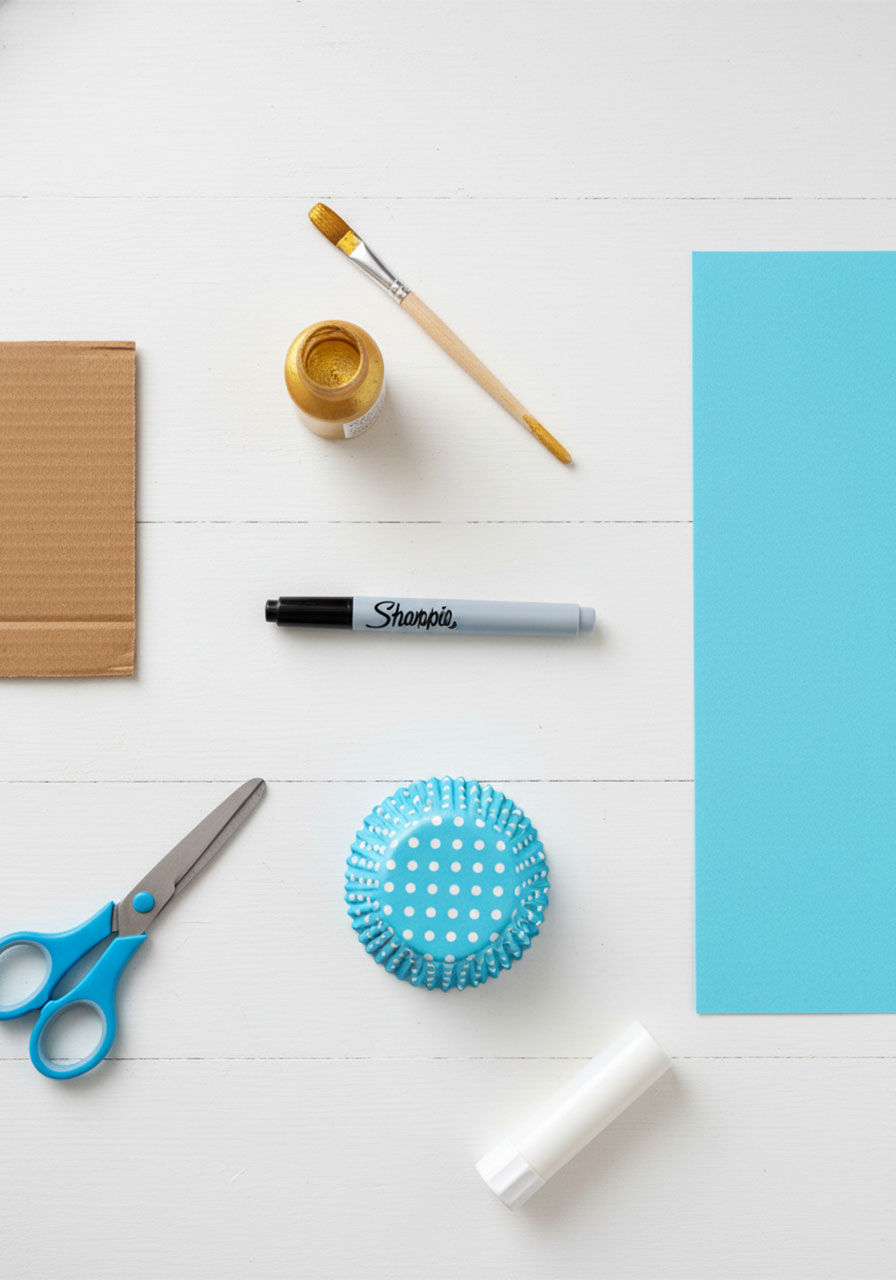
Step 1: Cut Out Your Cardboard Circle
Grab your cardboard and draw a circle roughly the size of a large cookie – about 2.5 to 3 inches across. You can trace around a cup or jar lid to get a nice even shape. Then cut it out carefully. Don’t stress about perfection here; a slightly imperfect circle actually adds to the handmade charm.
If you’re doing this with younger kids, pre-cut the circles ahead of time so they can jump straight to the fun decorating part.
Step 2: Paint It Gold
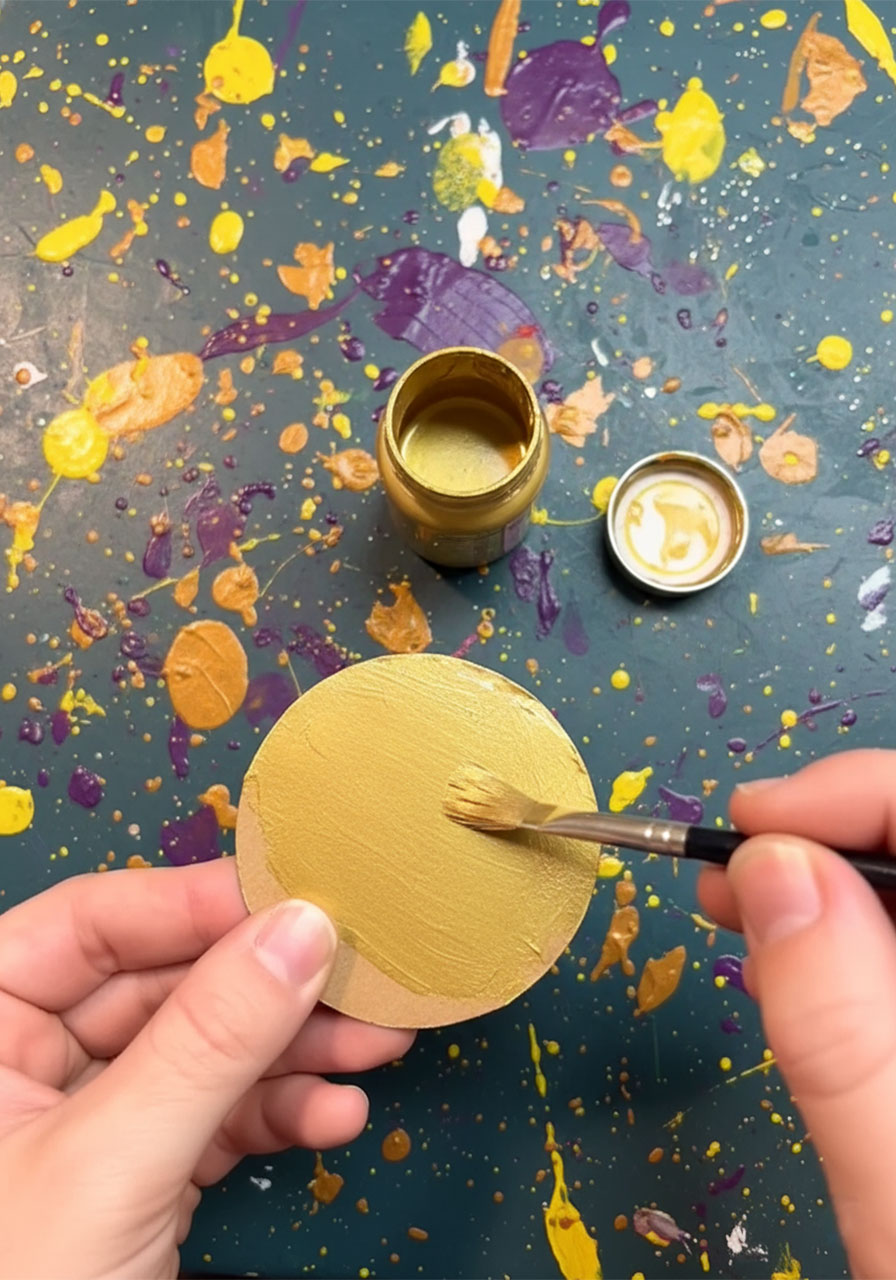
Give your cardboard circle a solid coat of gold paint on one side. Use a brush or even a foam dauber – anything that gets even coverage. Set it aside and let it dry completely before moving on. (Patience here saves you from smudgy marker in the next step!)
If you only have one coat and it looks a little thin, do a second pass. The more opaque and metallic it looks, the more it’ll pop against the blue ribbon pieces later.
Step 3: Write the Message
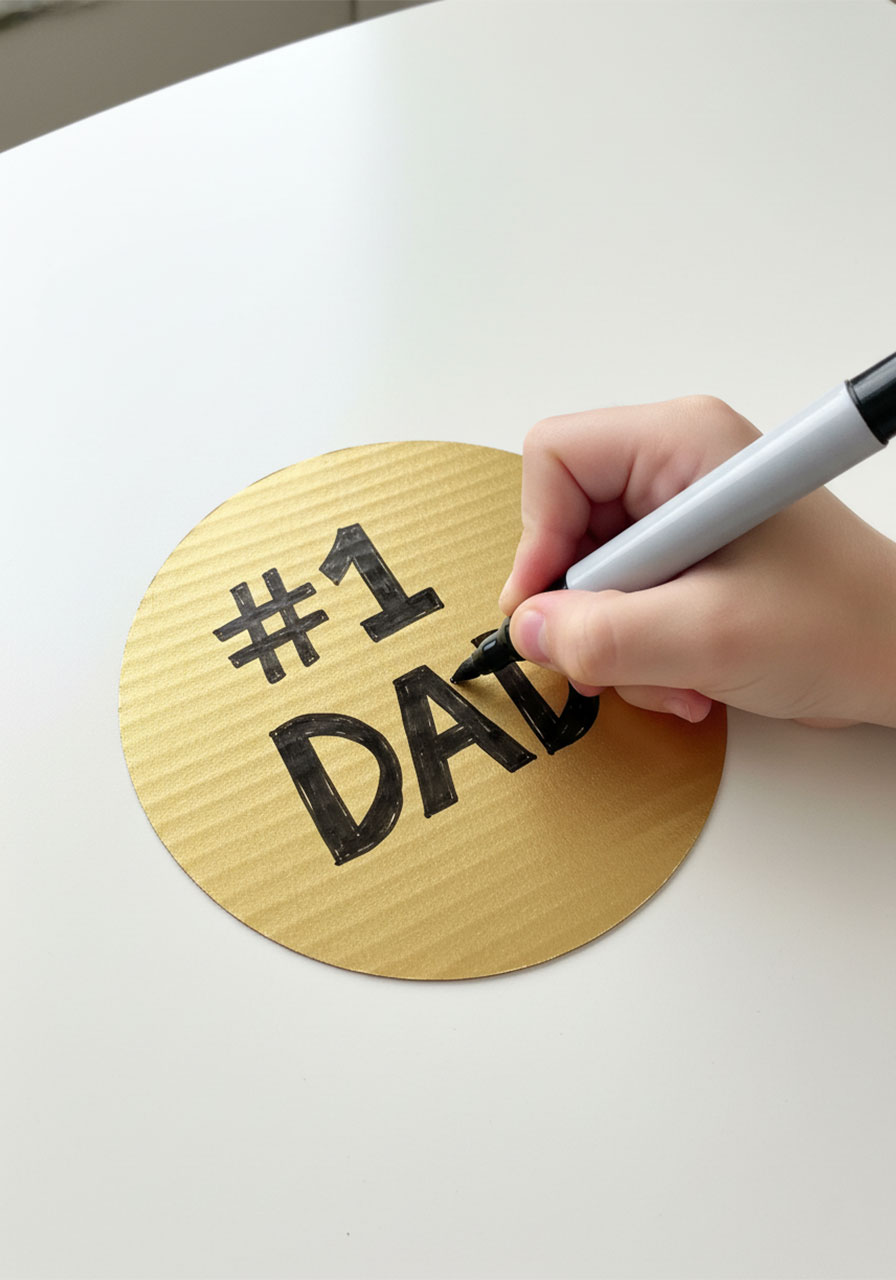
Once the paint is fully dry, grab your thick black Sharpie and write “#1 DAD” right in the center of the gold circle. Write it big and bold so it reads easily. You can also swap in “Best Dad,” “World’s Greatest Dad,” or even “Best Grandpa” – this is totally customizable!
Want to add extra personality? Have kids sketch little stars, a border, or tiny stripes inside the letters. The messier and more “kid-made,” the better – that’s the whole charm of it.
Step 4: Flatten and Prep Your Cupcake Liner
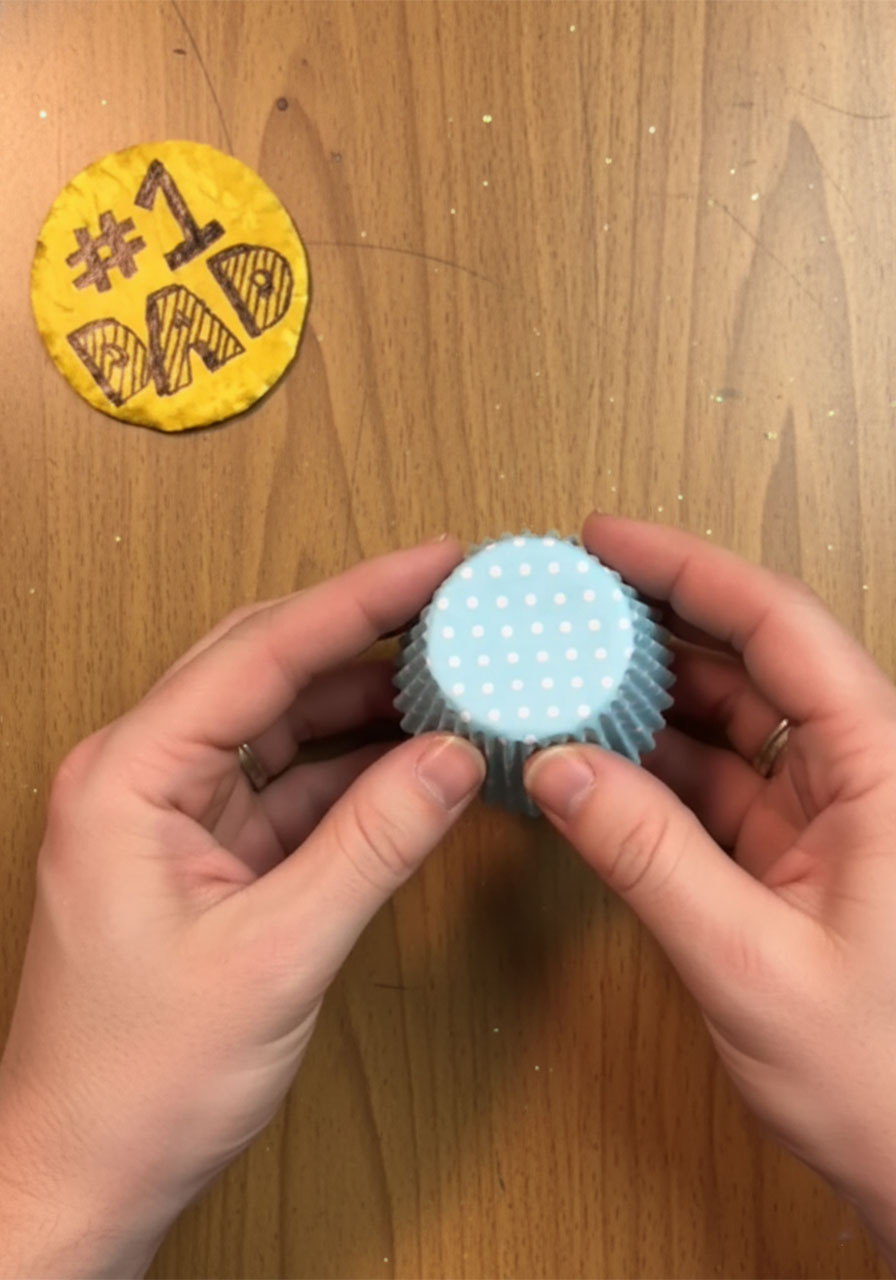
Take your cupcake liner and gently press it flat with your fingers. You’re not trying to make it perfectly flat – you actually want it to keep a little of its natural ripple and ruffle. That’s what gives the ribbon its classic award-rosette look.
Blue polka dot liners are especially cute for Father’s Day, but any fun pattern works. This step takes about 10 seconds and makes the whole thing look so much more polished.
Step 5: Glue the Gold Circle to the Center
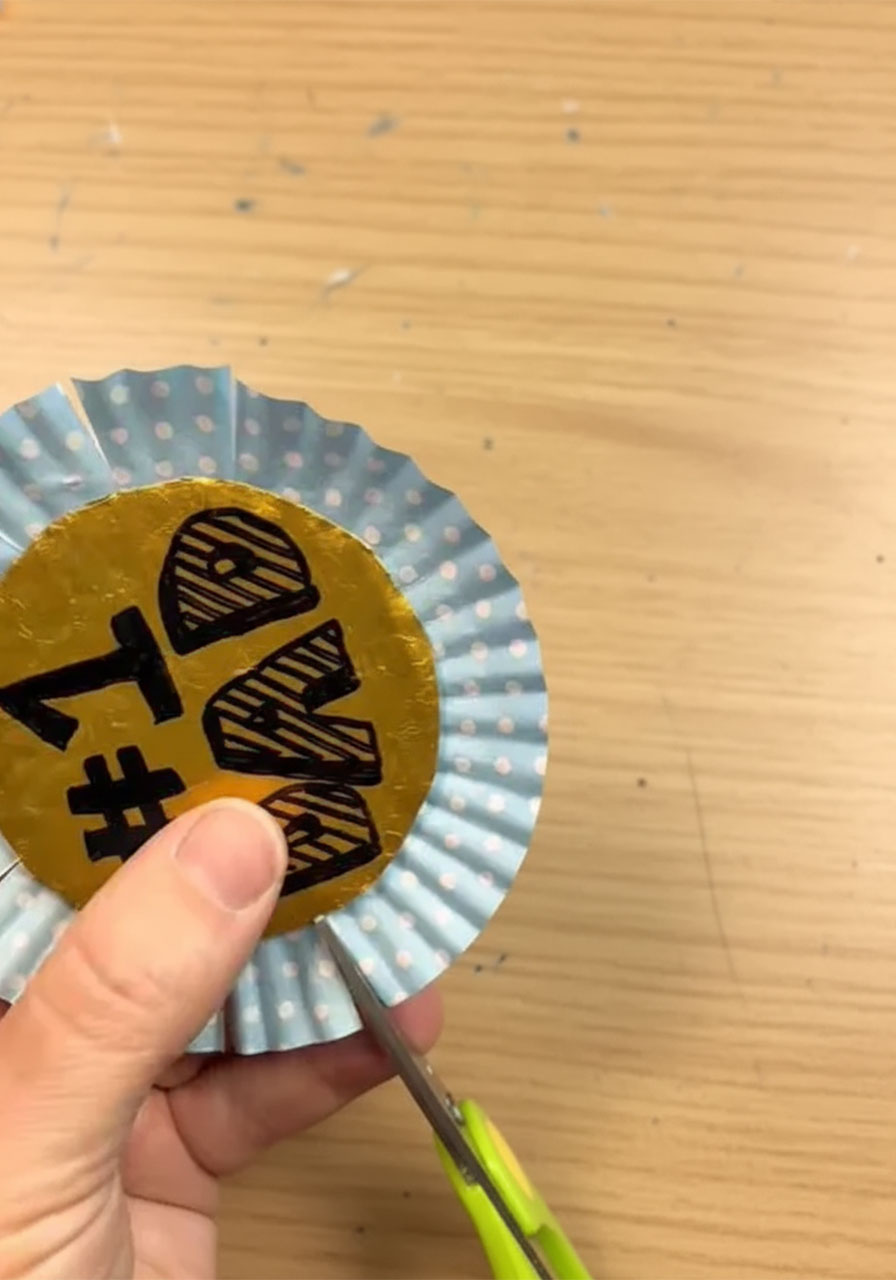
Apply a generous amount of glue to the back of your gold cardboard circle and press it firmly right into the center of the flattened cupcake liner. Hold it in place for about 30 seconds, then set it aside to dry.
Make sure the circle is centered so the ruffle frames it evenly on all sides – that’s what gives it that real “award ribbon” look.
Step 6: Cut and Attach the Ribbon Tails
Cut two long strips of light blue construction paper – each about 1 inch wide and 4–5 inches long. Cut a small “V” notch at the bottom of each strip (like a classic ribbon tail). This tiny detail makes a huge difference in how finished it looks.
Want to add even more detail? Use a white pen or marker to draw little “stitching” lines along the edges of each ribbon tail. It’s a small touch that makes it look surprisingly professional.
Glue the two ribbon tails to the back of the cupcake liner at the bottom, side by side, so they hang down below the medal. Let everything dry before handling.
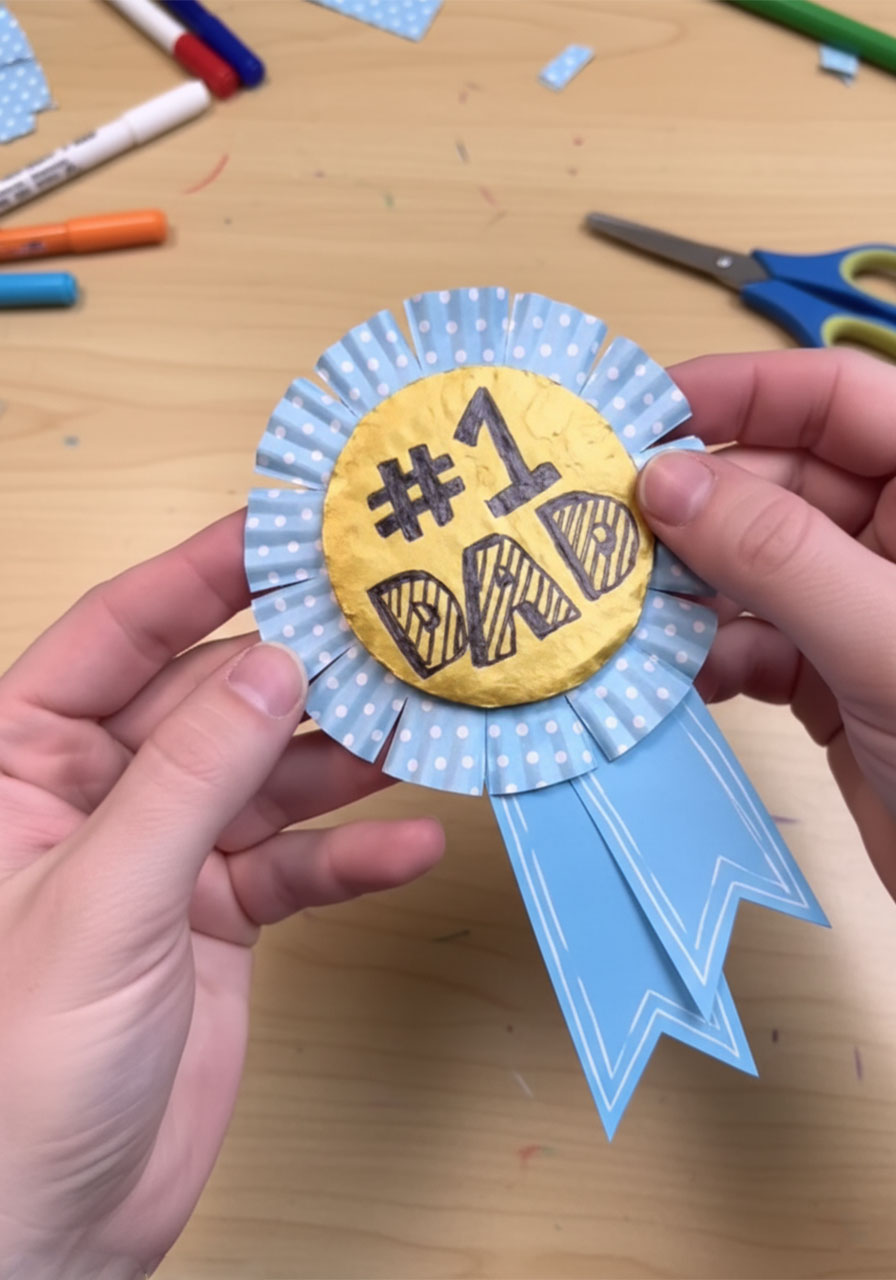
Step 7: Add the Finishing Touch (Optional but Awesome)
If Dad is actually going to wear this on Father’s Day – and he absolutely should – tape or glue a safety pin to the back of the cardboard circle. Now it’s a real wearable award. Bonus: it’s hysterical to see Dad proudly wearing his handmade medal at brunch.
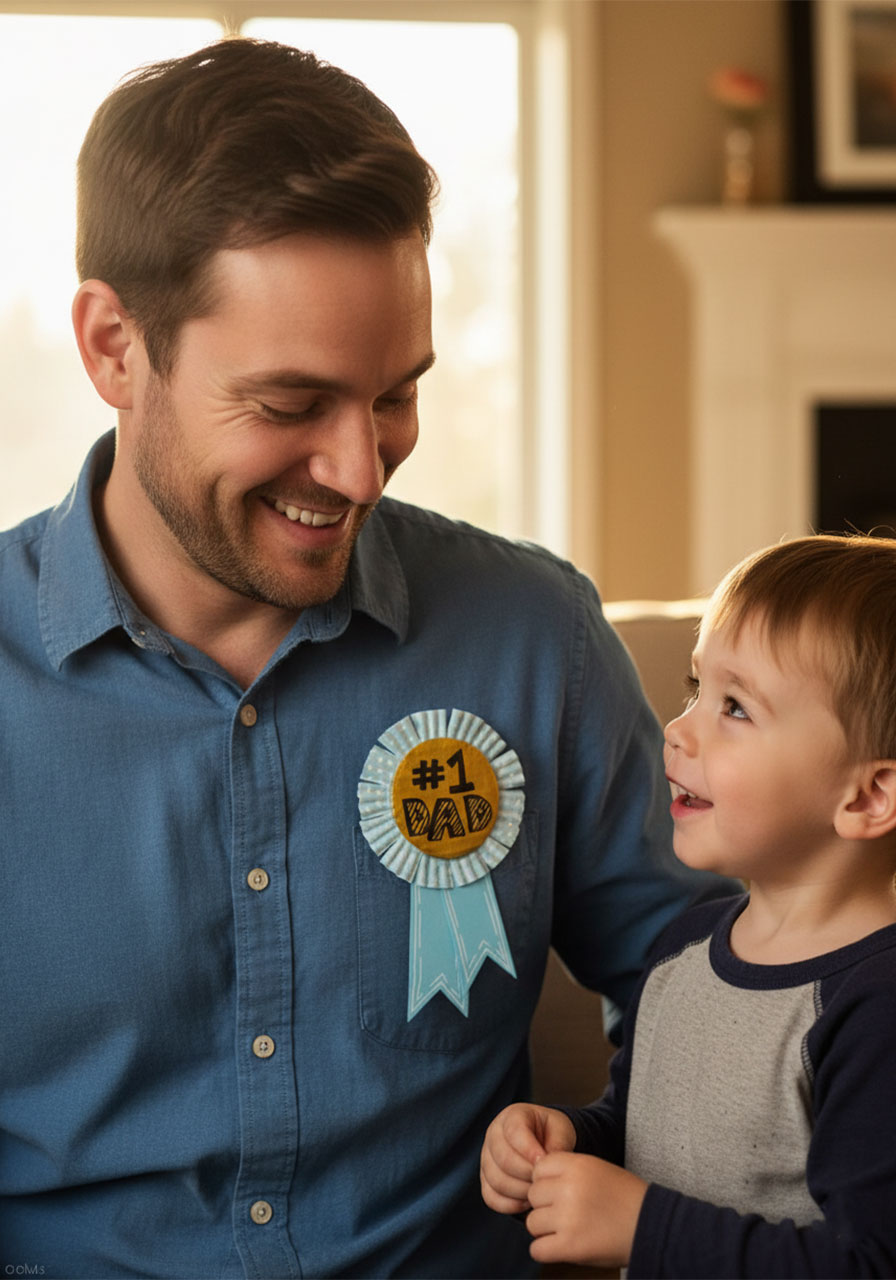
Why This Craft Is Such a Hit
Kids can make it mostly independently. With a little prep from a grown-up (pre-cutting the circles for younger kids), this is a craft kids in kindergarten through 5th grade can genuinely do themselves. That independence makes the gift feel even more special to Dad.
It’s almost zero mess. A tiny bit of paint, a marker, and some glue. That’s it. No glitter explosions, no fabric dye, no chaos.
It’s completely personalizable. Different messages, different cupcake liner patterns, different ribbon colors – every kid’s version will look unique.
It’s genuinely keepable. It’s small enough to tuck in a memory box, hang on a bulletin board, or pin to Dad’s shirt every Father’s Day for years. (Yes, some dads really do this. It’s the best.)
Pro Tips for Parents & Teachers
Doing this as a classroom craft? Pre-cut the cardboard circles and pre-paint them gold the day before so they’re ready to go. Kids can jump straight to writing and decorating, which is the most fun part anyway. This makes the whole project doable in a single 20–30 minute session.
Want to make it extra special at home? Have your child write a short message on the back of the ribbon tails – something like “Because you always cheer me on” or “Best joke-teller ever.” Dad will flip it over and find a little love note. Guaranteed tears. The happy kind.
No gold paint on hand? Yellow paint works! Or let kids color the circle yellow with a marker or crayon and it’ll still look great. Don’t let a missing supply stop you from making this.
This #1 Dad Award Ribbon is one of those crafts that looks impressive, costs almost nothing, and takes so little time that you could realistically make it the morning of Father’s Day and still have it ready before brunch. And trust us – Dad is going to wear that thing all day long.
Happy crafting, and happy Father’s Day to all the amazing dads out there! 🏅
More Father’s Day Ideas to Keep the Fun Rolling:
10 Reasons to Make This Colorful Father’s Day Popsicle Stick Wall Hanging With Your Kids
A “Corny” Father’s Day: How to Make a Pop-Up “Pop-Corn” Card for Dad
Make Dad Feel Like Royalty: The “Dad, You Are My King!” DIY Pull-String Father’s Day Card
The Cutest 5-Minute Father’s Day Gift Wrap Trick (That Looks Like You Tried Super Hard)
Grand Slam Pop-Up: The 3D Baseball Father’s Day Card Your Kids Can Actually Make
The Cutest Father’s Day Craft Kids Can Make: A Handprint Trophy
