

If there’s one fish that was basically made for arts and crafts, it’s the pufferfish. Round, wide-eyed, and permanently surprised – they’re impossible not to love.
And this Paper Loop Pufferfish Craft captures every bit of that adorable, chubby charm.
Here’s the really great news: this craft requires almost nothing. A few sheets of cardstock, a stapler, some circle punches, and a white marker – and your kids are about to create the most delightful little fish you’ve ever seen swimming across a blue paper ocean.
It puffs right up off the page. It’s three-dimensional. And it looks like it took way more effort than it actually did. (Our favorite kind of craft!)
This is the perfect summer activity for a lazy afternoon, a classroom ocean unit, or an under-the-sea birthday party craft station.
Kids from preschool age through elementary school will love making their own colorful pufferfish – and parents and teachers will love how easy the setup is.
Why Kids (and Adults!) Love This Craft
What makes this project so satisfying is the 3D loop effect.
When you roll the cardstock strip and staple it to the background, it pops right off the page like a little stuffed fish. Kids absolutely beam when they see their flat paper suddenly turn into something that looks so alive and round.
It’s also wonderfully low-stakes. There’s no complicated cutting, no messy paint to wait for, and no tricky folds.
If something looks a little wonky? That just gives the pufferfish more personality. Every single one turns out charming.
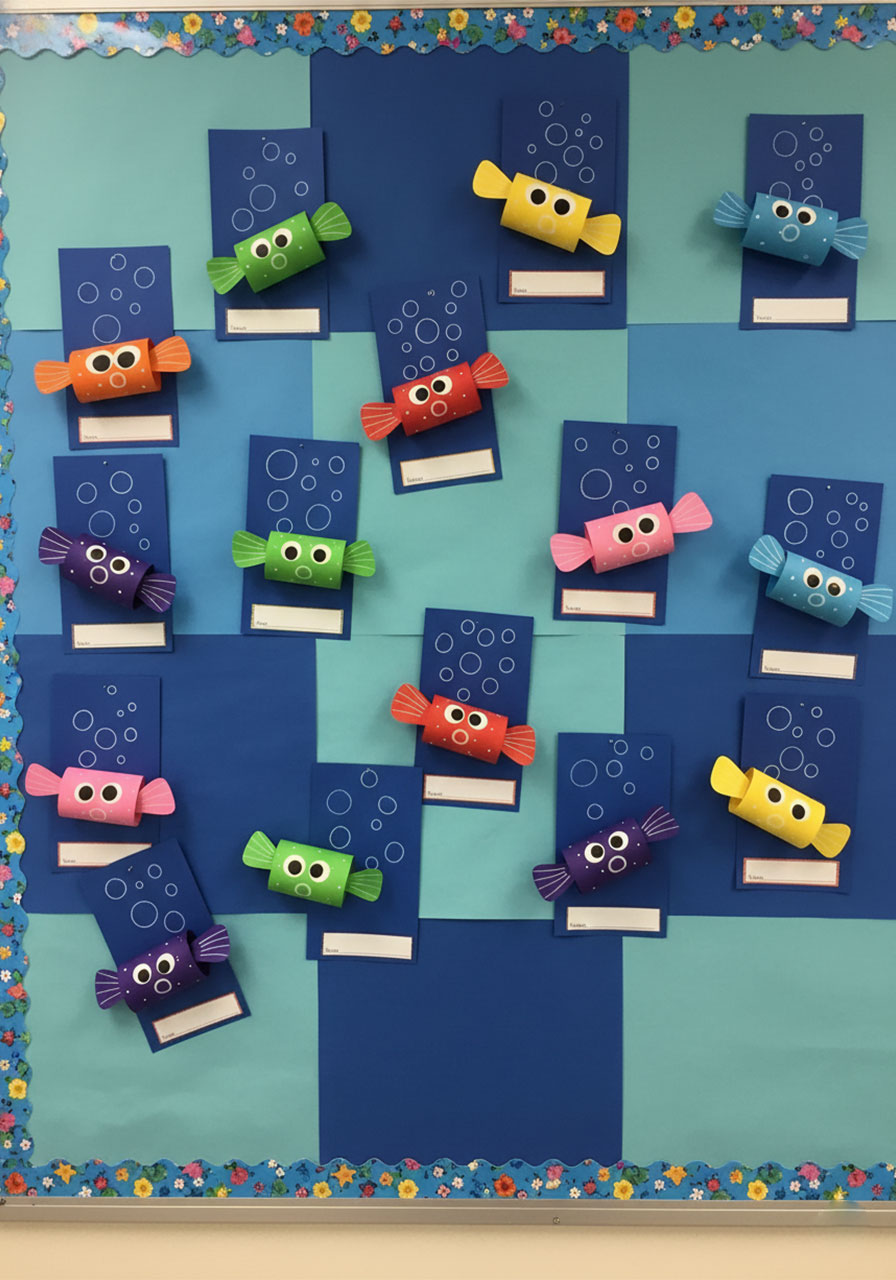
And the best part – you can make a whole school of them in every color of the rainbow. Orange, purple, green, yellow – the more the merrier!
🐡 What You’ll Need
Blue cardstock (for the ocean background)
Assorted colored cardstock (for the fish body and fins)
White regular paper (for the eyes)
Black regular paper (for the eye pupils)
2″, 1.5″, and 1″ circle hole punches
White marker or white paint pen
Stapler
Glue stick
Scissors
Best for: Kids ages 4 and up (with adult help on the stapling)
Time to Make: About 20–30 minutes per fish
Group Size: Perfect for 1 kid or a whole classroom!


How to Make Your Paper Loop Pufferfish – Step by Step
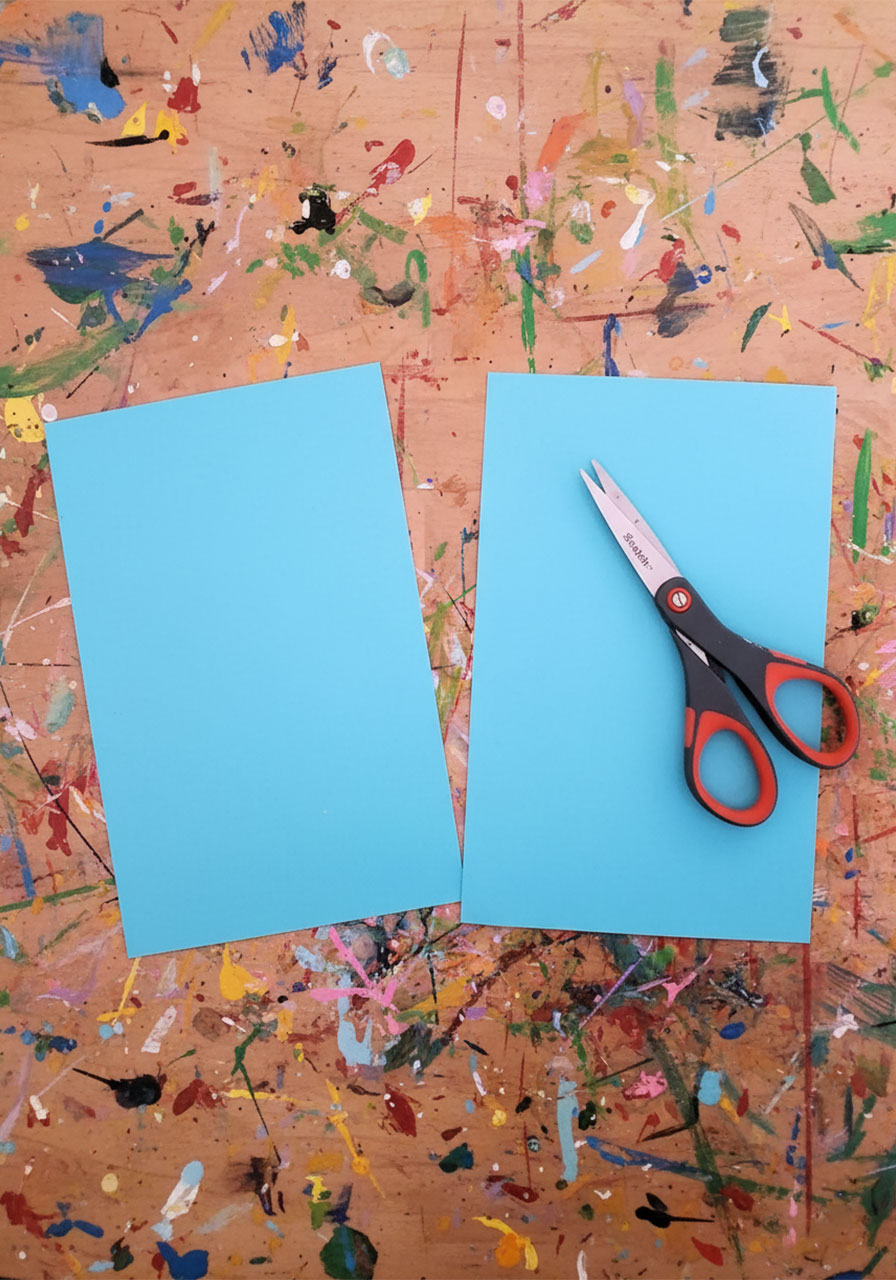
Step 1: Cut your ocean background.
Take a full sheet of blue cardstock and cut it in half. This becomes your underwater scene – the perfect little ocean for your pufferfish to call home.
Step 2: Cut the fish body strip.
From your colored cardstock (pick your favorite fish color!), cut a strip that’s about 3 inches wide.
It should be just slightly shorter than the width of your blue background so it fits nicely when you attach it.

Step 3: Decorate the strip.
Before you roll anything, grab your white marker or paint pen.
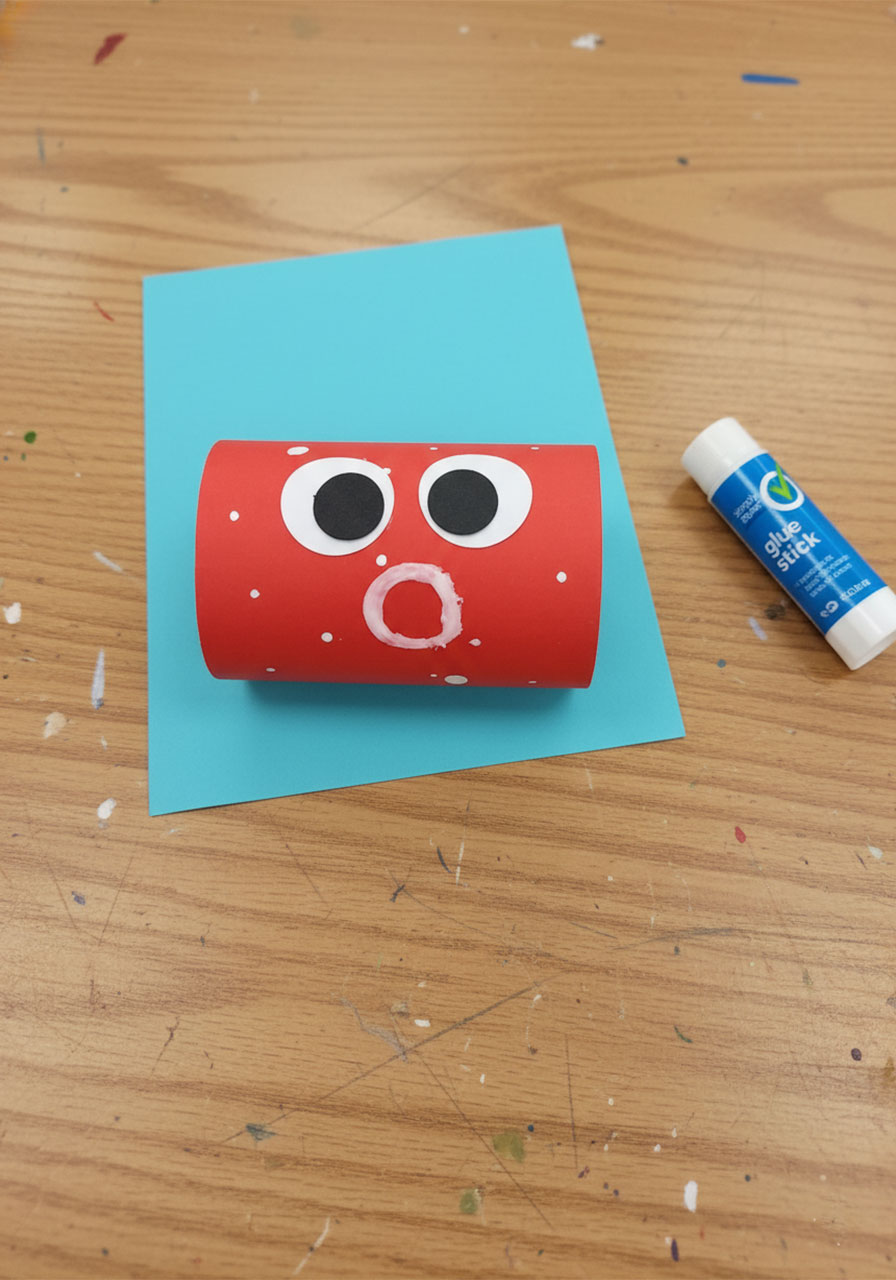
Draw a small circular mouth roughly in the center of the strip – this is what gives the pufferfish that classic wide-eyed, startled expression everyone loves.
Then scatter white dots of varying sizes all over the strip. These dots mimic the spotted texture of a real pufferfish. The more dots, the better!

Step 4: Roll it into a loop and staple.
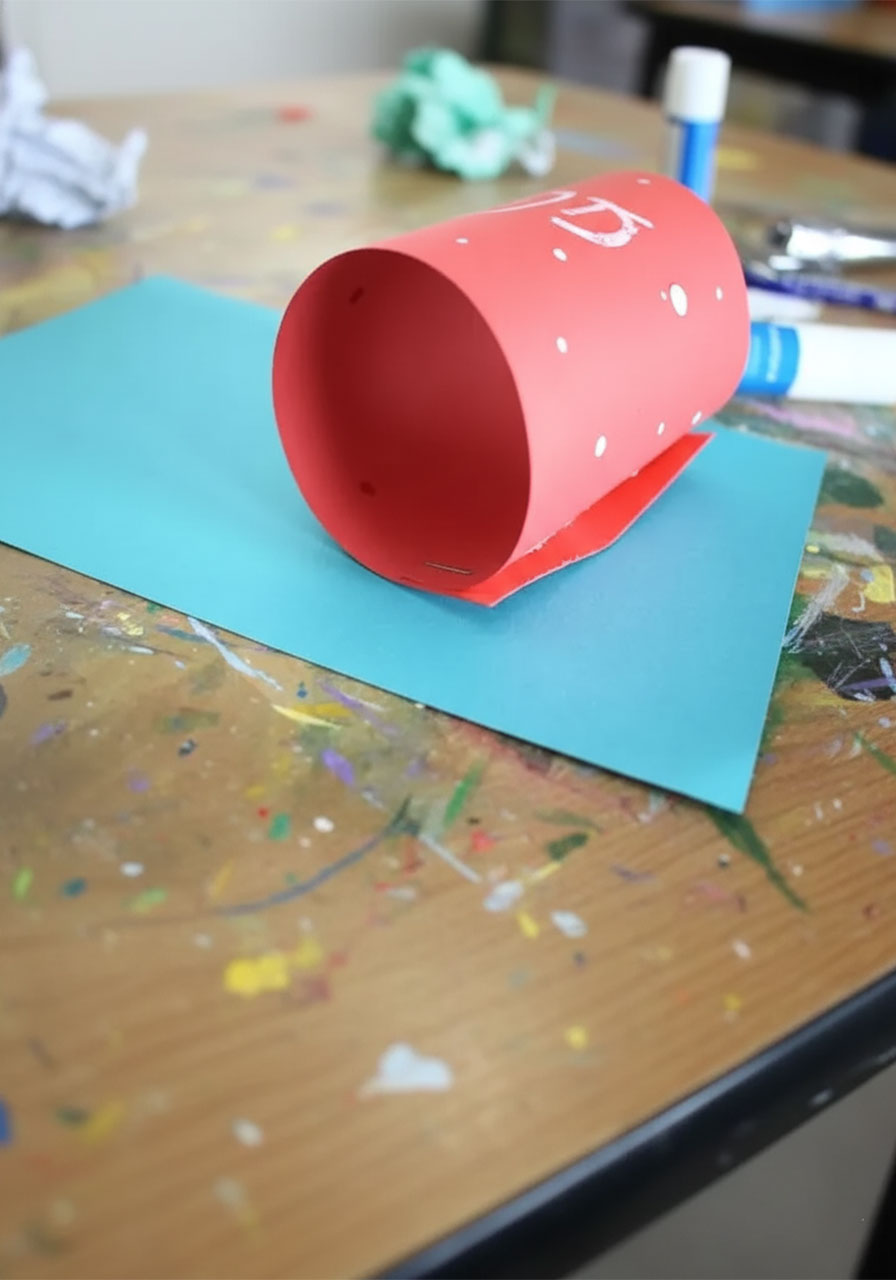
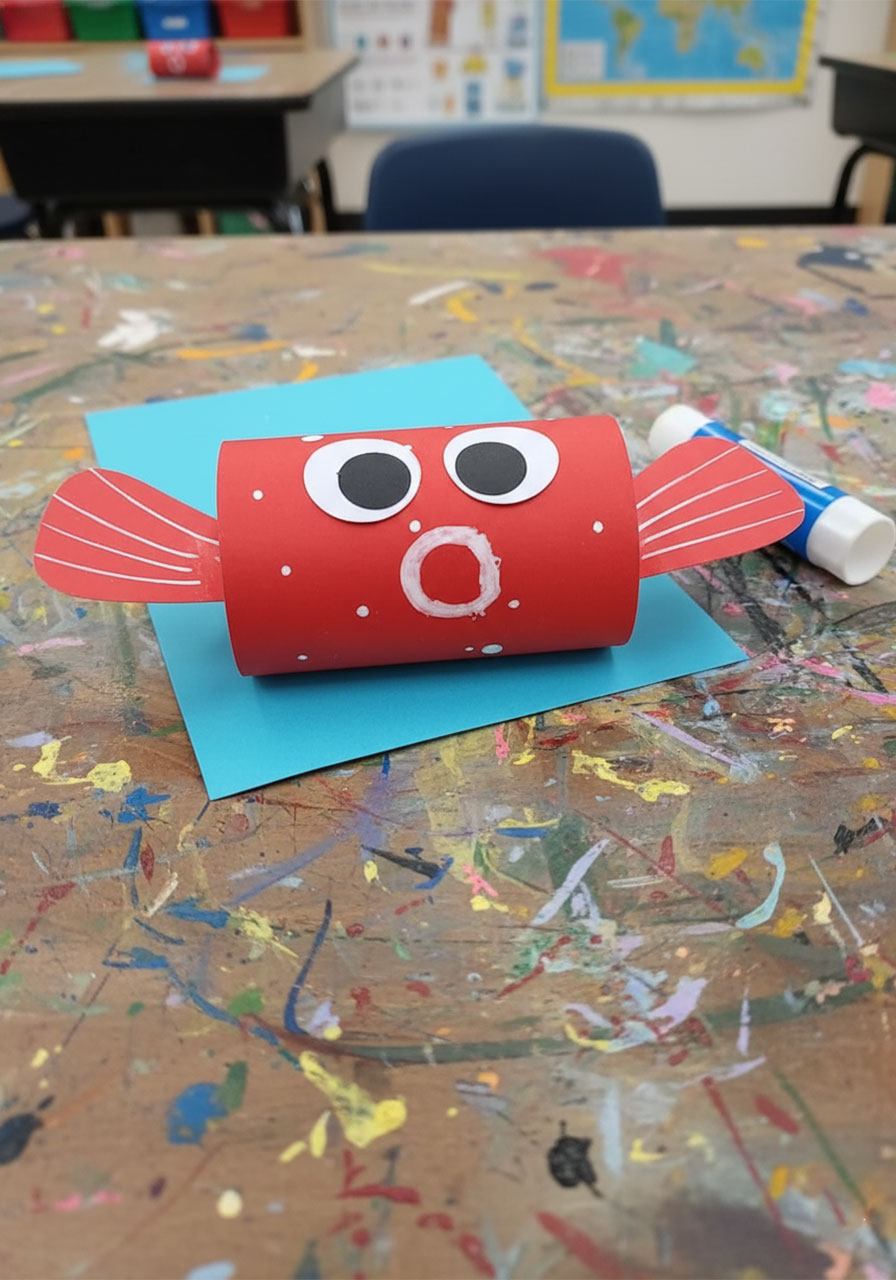
Now for the magic moment – roll your decorated strip into a tube shape and staple the ends together so it holds its round form.
Don’t flatten it! You want it to stay nice and plump and round.

Step 5: Staple the fish onto the background.
Position your fish loop in the center of the blue background and staple it in place.
Just a couple of staples through the bottom of the loop and into the cardstock will do. Stand back and admire the instant 3D effect – it’s already so cute!
Step 6: Punch and assemble the eyes.
This is where the pufferfish personality really comes to life.
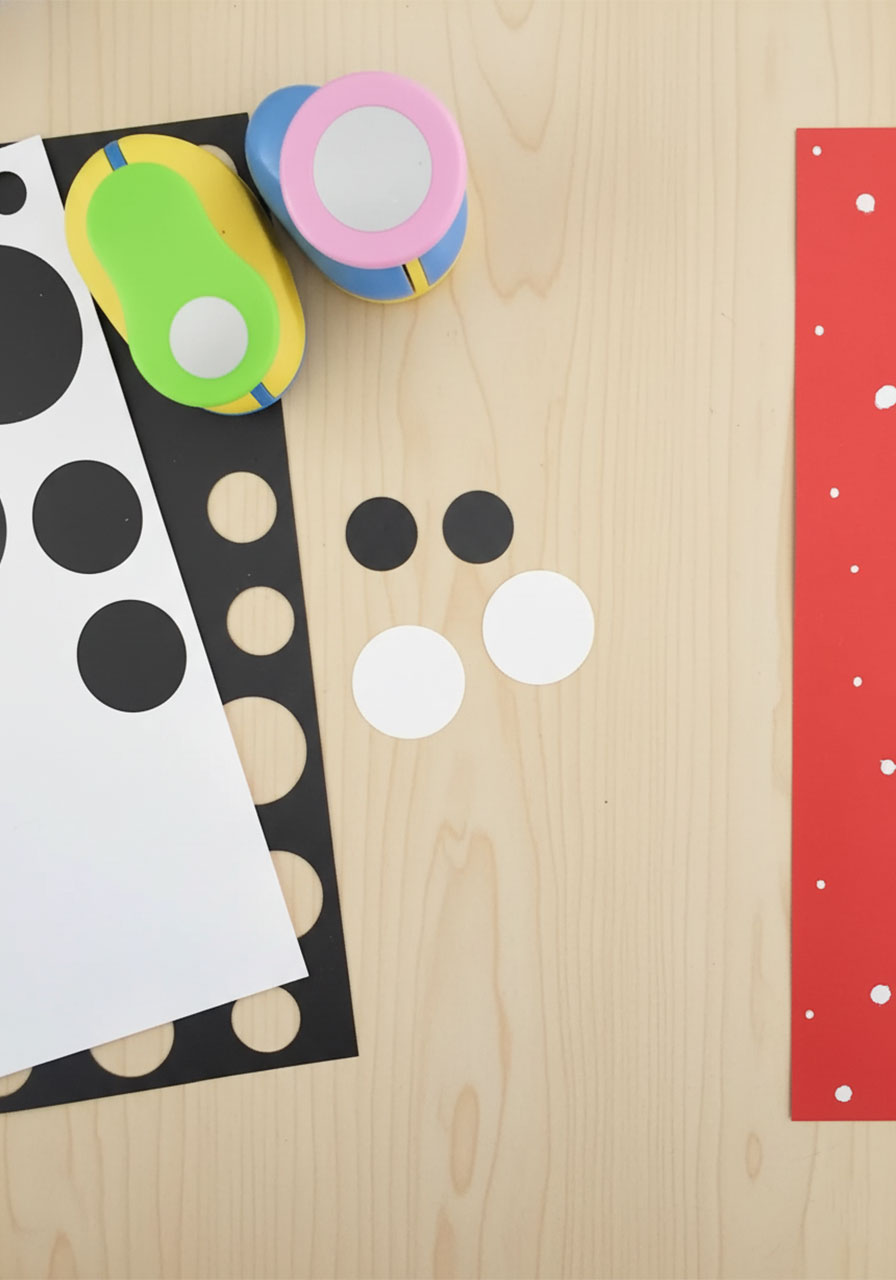
Use your 2″ or 1.5″ hole punch on the white paper to create the outer eye circles. Then use a smaller punch on the black paper for the pupils.
Glue the black circles onto the white circles, then glue the whole eye onto your fish. Go big – oversized googly eyes are part of what makes pufferfish so irresistible!
Step 7: Cut and add the fins.
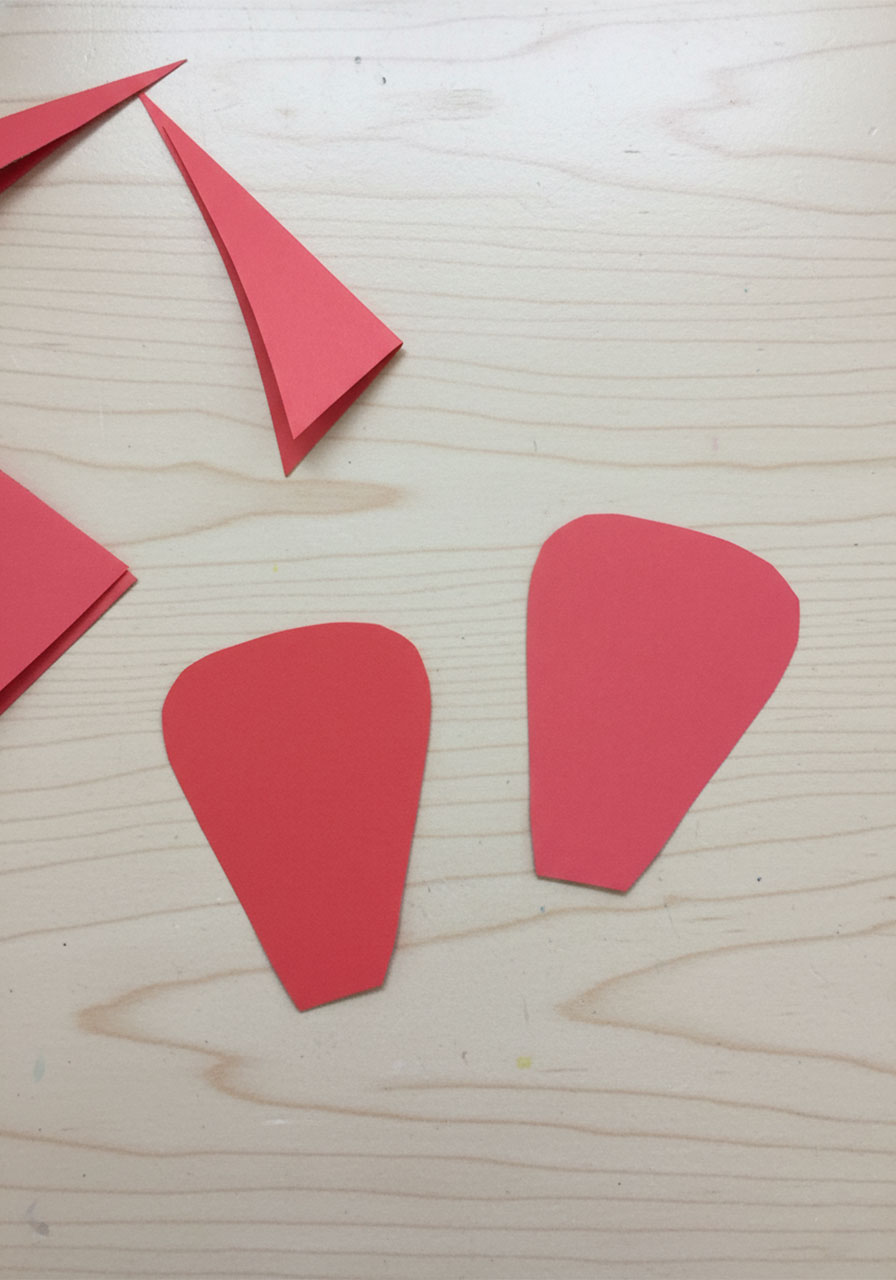
From your leftover colored cardstock, cut two fin shapes – they look like slightly rounded triangles or small paddle shapes.
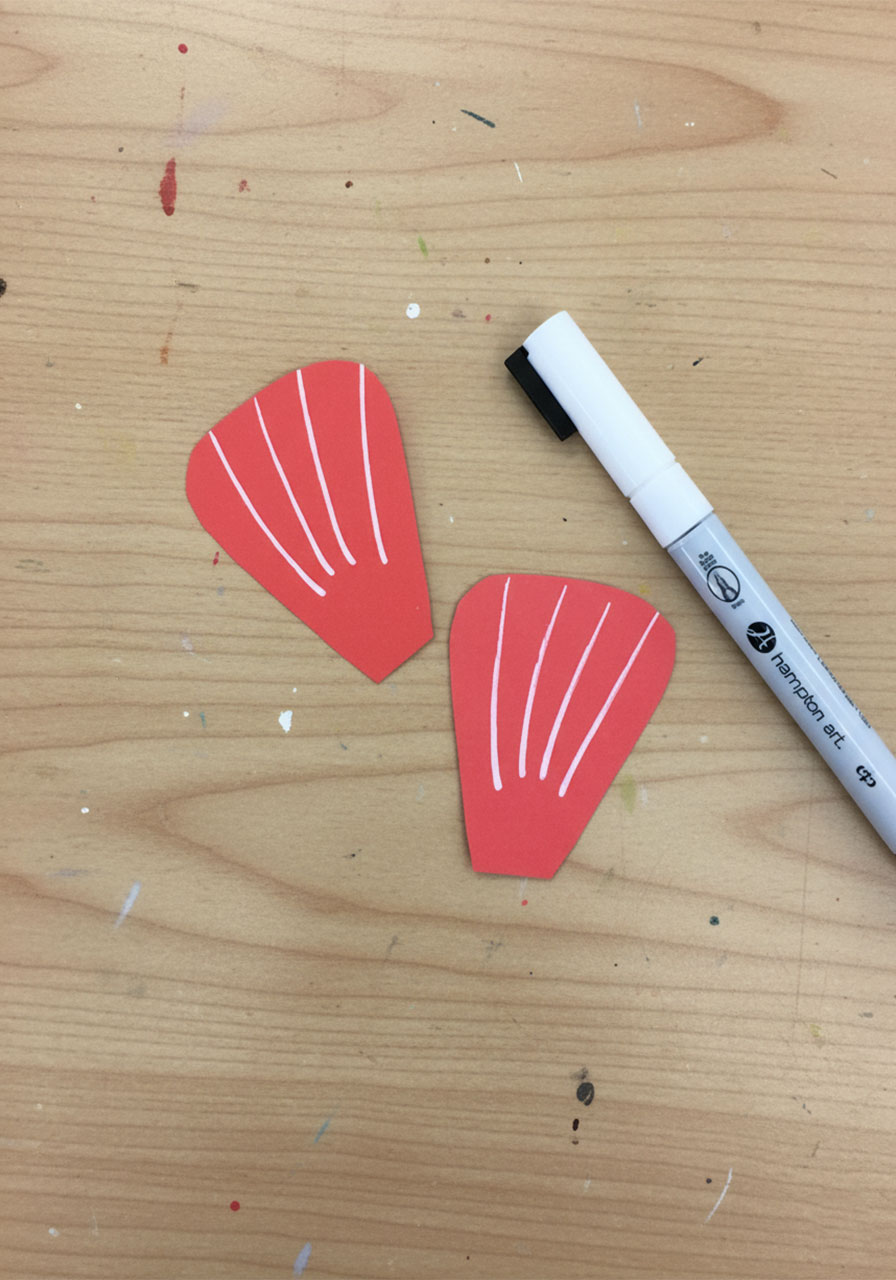
Use your white marker to draw a few curved lines radiating outward on each fin. These lines give the fins that classic fish fin look.
Glue one fin on each side of the loop, and your fish is nearly complete!
Step 8: Add bubbles to the background.
Your pufferfish needs a proper underwater world!
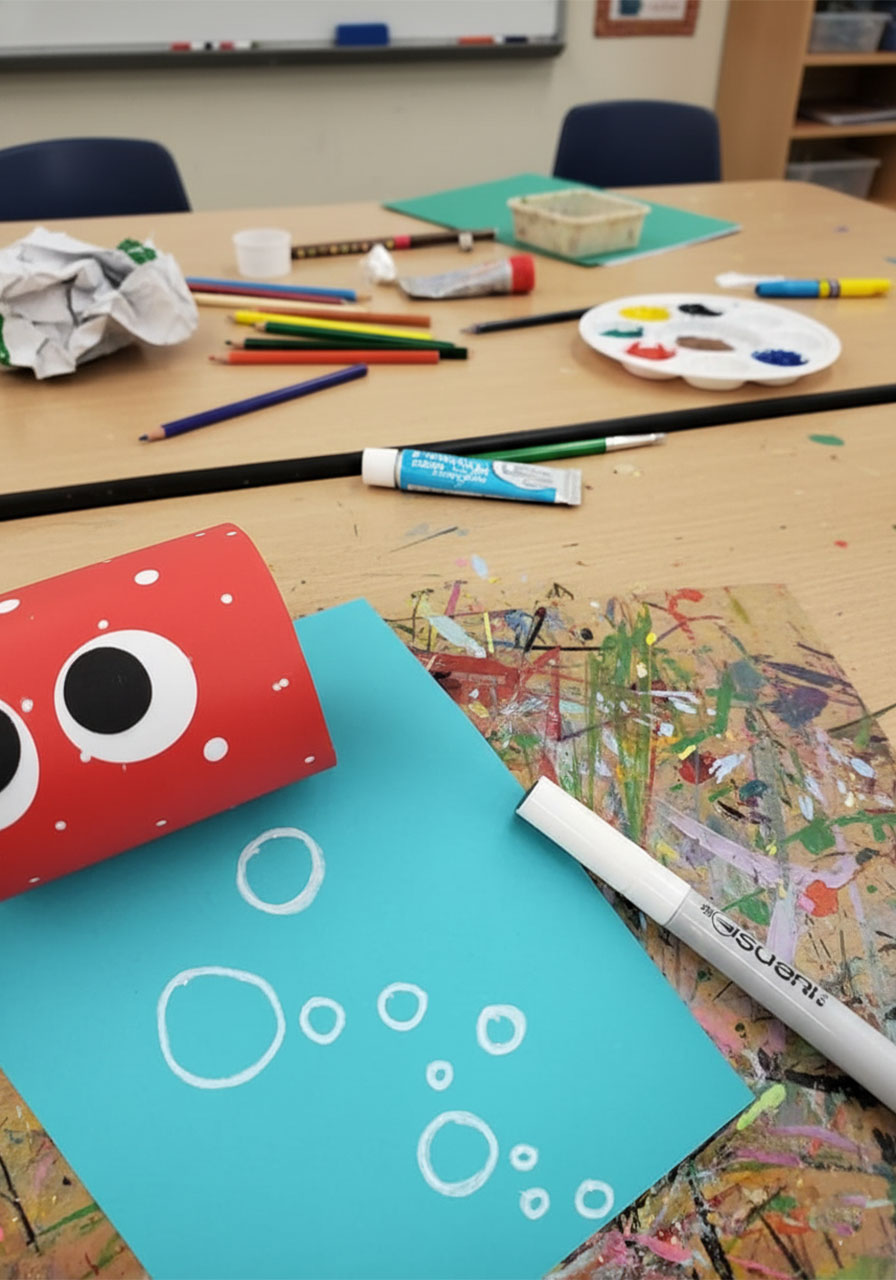
Using the white marker, draw a cluster of bubbles floating up from around your fish. Vary the sizes – big circles, medium circles, tiny little dots.
The bubbles are the finishing touch that transforms your blue cardstock into a real ocean scene. And just like that – you have a puffed-up pufferfish! 🐡
Pro Tip: Encourage kids to make an entire school of pufferfish in different colors and sizes! Lay out multiple sheets of blue cardstock and let each child make 2–3 fish. At the end, arrange them all together on a bulletin board or wall for the most incredible under-the-sea display. It’s seriously stunning – and every fish will have its own unique personality.

Fun Variations to Try
Once you’ve nailed the basic version, it’s so easy to mix things up and make each fish totally unique.
Make them sparkly! Swap regular cardstock for glitter cardstock in gold, silver, or holographic colors for a magical deep-sea effect.
Try different eye sizes. Mix and match the 2″ and 1.5″ punches to create fish with different expressions – some surprised, some sleepy, some super alert. No two pufferfish will look alike!
Add a name tag. Write each child’s name on their fish for a personalized classroom display or birthday party keepsake.
Use patterned cardstock. Polka dot or striped cardstock creates instantly eye-catching pufferfish with zero extra effort.
Go big! Use a full (uncut) sheet of cardstock for the background and make an extra-wide fish body strip. Giant pufferfish are even more fun to display.

Perfect Occasions for This Craft
This craft is incredibly versatile – here are just a few great reasons to pull it out:
Summer camp or daycare activities – easy to prep for large groups with minimal supplies
Ocean or under-the-sea classroom units – makes a gorgeous bulletin board display
Under-the-sea birthday party craft station – kids take their fish home as a party favor!
Rainy day activity at home – keeps kids happily busy and the results are display-worthy
Summer reading program crafts – pair with any ocean-themed book for a themed activity
End-of-year classroom projects – let every student make one for a colorful class mural
Tips for Teachers Running This as a Group Activity
Planning to do this with a full classroom? Here’s how to make it run smoothly.
Pre-cut the strips. Save time by cutting all the fish body strips to size before the activity begins. Kids can jump straight to the decorating step, which is the most fun part anyway.
Set up a stapling station. Younger kids will need help with the stapler. Designate one spot where you (or a helper) handles all the stapling so the activity flows without interruption.
Put out the supplies in small bins. Divide cardstock, punches, glue sticks, and markers into table sets so kids aren’t reaching across each other. Less chaos, more crafting.
Have a sample to show. Making one finished pufferfish to display at the front of the room makes a huge difference. Kids immediately understand what they’re working toward – and get even more excited to make their own.

With these pufferfish crafts in your back pocket, you’ve got a whole summer’s worth of ocean-themed fun ready to go.
And trust us – once you make one, everyone’s going to want to make ten more.
Because the best crafts are the ones that leave kids grinning from ear to ear – and leave adults secretly wanting to make one too. 🐡
More Summer Craft & Activity Ideas to Keep the Fun Rolling:
How to Make Moon Sand With Only 2 Ingredients (Kids Go Absolutely Wild for This!)
Easy Jellyfish Suncatcher Craft for Kids (That Looks Stunning in a Window!)
Egg Carton Ladybug Craft Ideas Kids (and Teachers!) Will Absolutely Love
Pool Noodle Boats: The Easiest DIY Water Toy Kids Will Absolutely Love
Paper Plate Ice Cream Cone Craft: The Cutest Summer Activity for Kids
How to Make Beaded Pipe Cleaner Flowers (A Fun Kids Craft That Takes Under 10 Minutes!)
