
If you’ve ever stood in the grocery store aisle, flipped over a protein bar, and felt personally attacked by the ingredient list – this recipe is for you.
Corn syrup solids. Maltodextrin. Sucralose. Sugar alcohols. It’s like a chemistry exam, not a snack.
These homemade no bake protein bars are everything a store-bought bar wishes it could be: clean ingredients, real food, no chalky texture, no weird aftertaste – and honestly? They taste like a treat you’d actually want to eat.
Just four ingredients. No oven. No fuss. And you can meal prep a whole batch in under 10 minutes.
Whether you’re fueling your workouts, keeping your energy steady through a long day, or just trying to eat a little more intentionally – this recipe is about to become your new best friend.
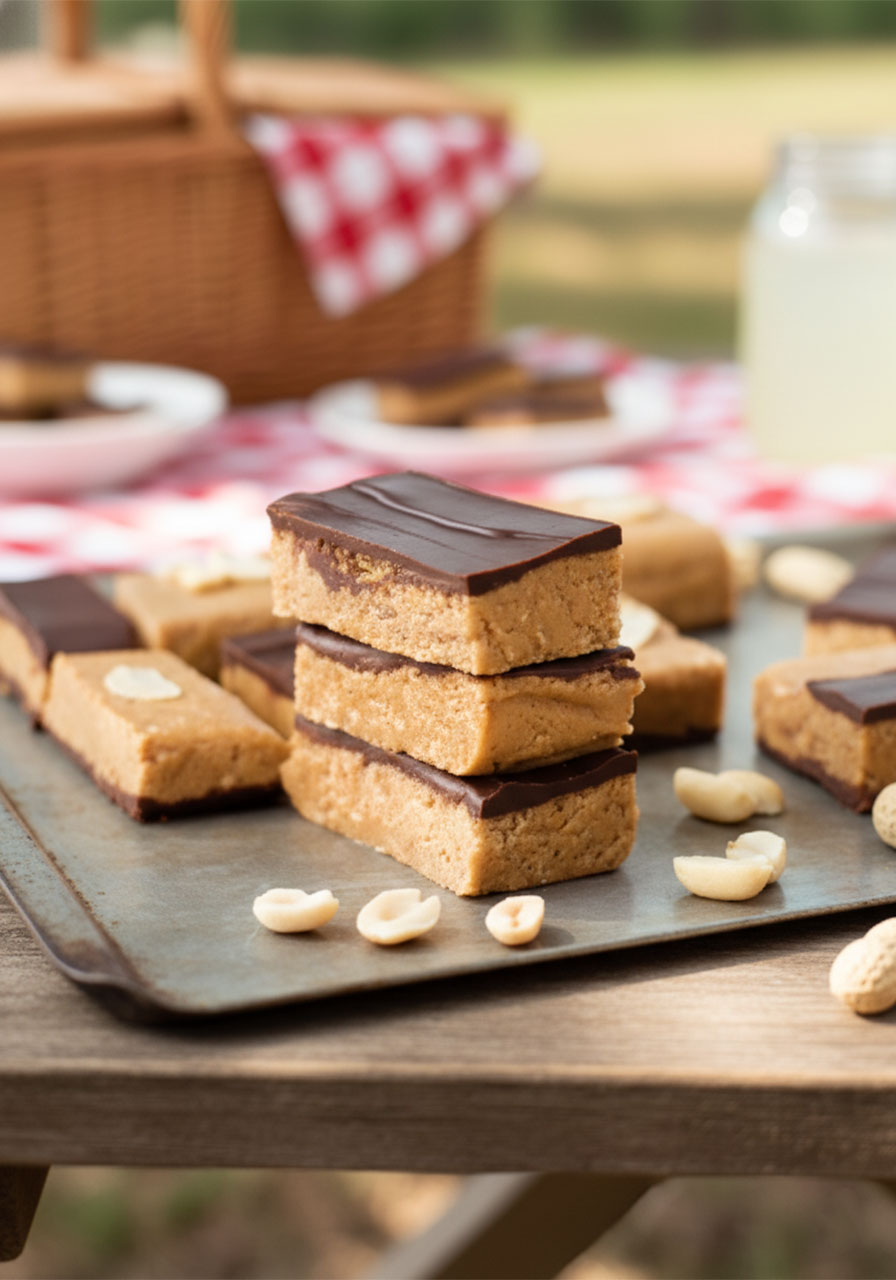
Why You’ll Never Buy a Protein Bar Again After Making These
I know that’s a big claim. But hear me out.
Most “healthy” protein bars on the market – even the ones from health food stores – are packed with ingredients that have no business being in a wellness snack. We’re talking added sugars, mystery oils, artificial sweeteners, and GMO soy isolates.
When I started paying attention to what I was putting in my body, protein bars were one of the first things I re-evaluated. I wanted something that supported my body and my energy without all the junk.
These homemade bars changed everything for me. And once you make your first batch, I think they’ll do the same for you.
Here’s why they’re worth making:
You control every single ingredient. No hidden sugars, no fillers, no anything you can’t pronounce.
They’re genuinely customizable. Keto? Gluten free? Nut free? Dairy free? Paleo? This recipe can flex to fit your lifestyle.
They’re budget-friendly. One batch costs roughly what you’d pay for a single bar at Whole Foods – except you get 10 to 16 bars.
They’re better for the planet. No more plastic wrappers piling up every week.
They taste incredible. This is honestly the most important one. No chalky texture. No weird aftertaste. Just real, satisfying flavor.

What You’ll Need (Just 4 Ingredients!)
Yes, really – four ingredients is all it takes to make a protein bar that actually tastes good and fuels your body the right way.
1½ cups peanut butter (or any allergy-friendly nut or seed butter)
¾ cup protein powder (about 90g – unsweetened works best)
¼ cup pure maple syrup or honey
½ tsp salt
4 oz melted chocolate chips (optional, but highly recommended!)
That’s it. Seriously.
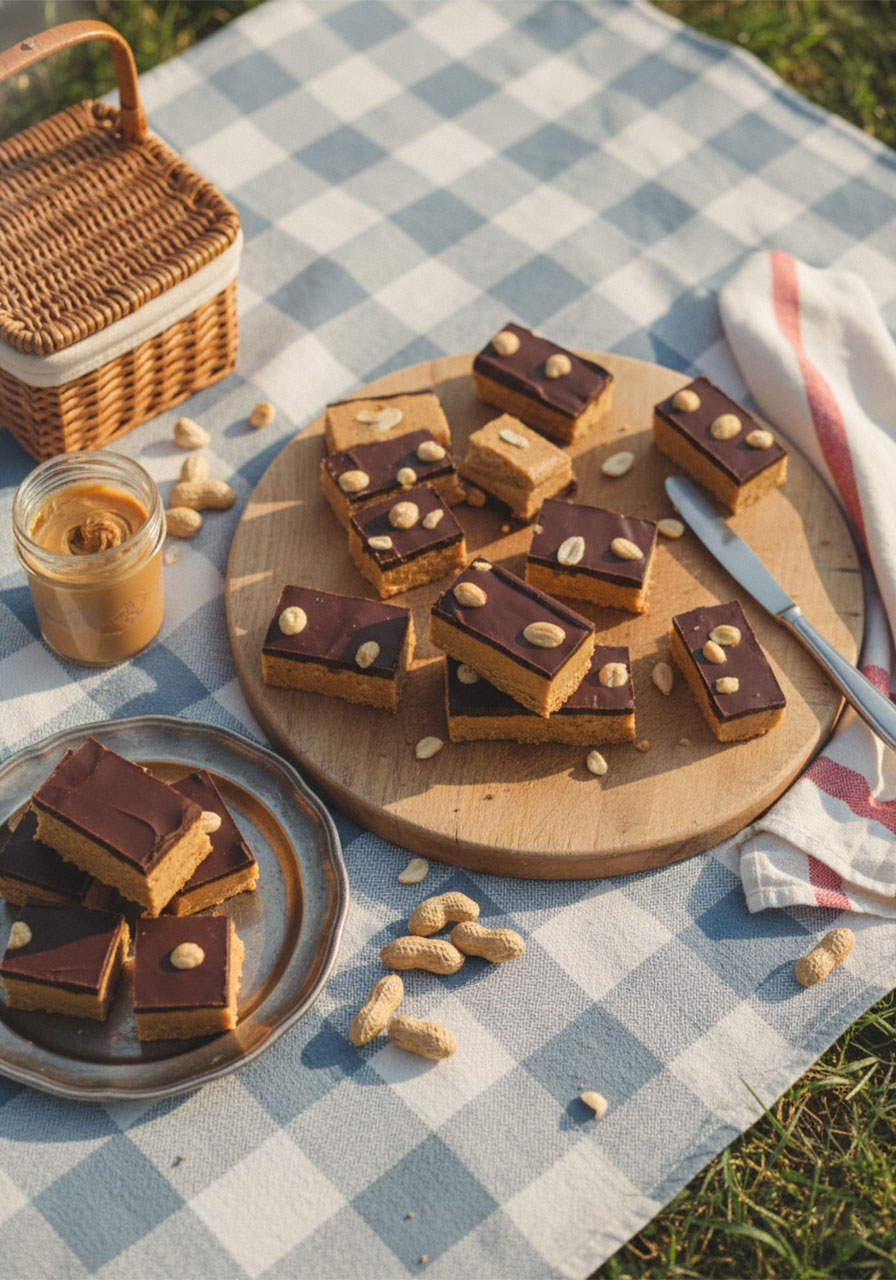
What Kind of Protein Powder Should You Use?
This is probably the most common question, and the short answer is: use what you love and what agrees with your body.
The recipe works beautifully with pea protein, brown rice protein, whey protein, hemp protein, or pumpkin seed protein. You can even use a blend.
One important tip: make sure you actually like the taste of the protein powder you’re using before mixing it into the bars. Since there’s no baking involved, the flavor of your powder will come through directly.
I personally recommend unsweetened protein powder because the maple syrup already adds just the right amount of sweetness. If you use a flavored or sweetened powder, your bars may turn out overly sweet – so taste as you go.
Depending on the powder you choose, each bar will pack in 10 to 12 grams of protein. If you cut them into larger 60-gram bars, you’re looking at over 20 grams of protein per bar. That’s seriously impressive for a no-bake snack!
How to Make No Bake Protein Bars (Step by Step)
Ready to make your new favorite snack? Here’s how simple this is:
1. Mix your dough.
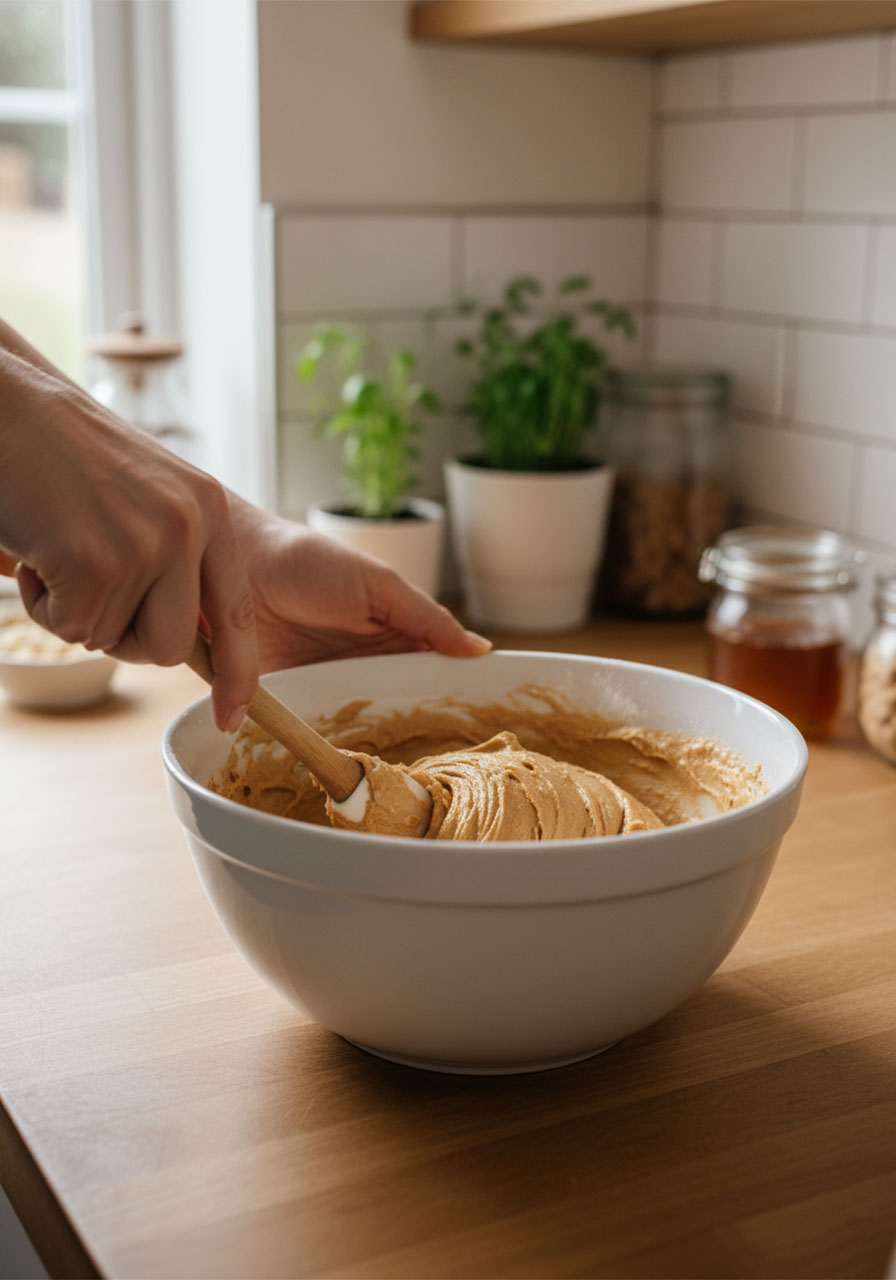
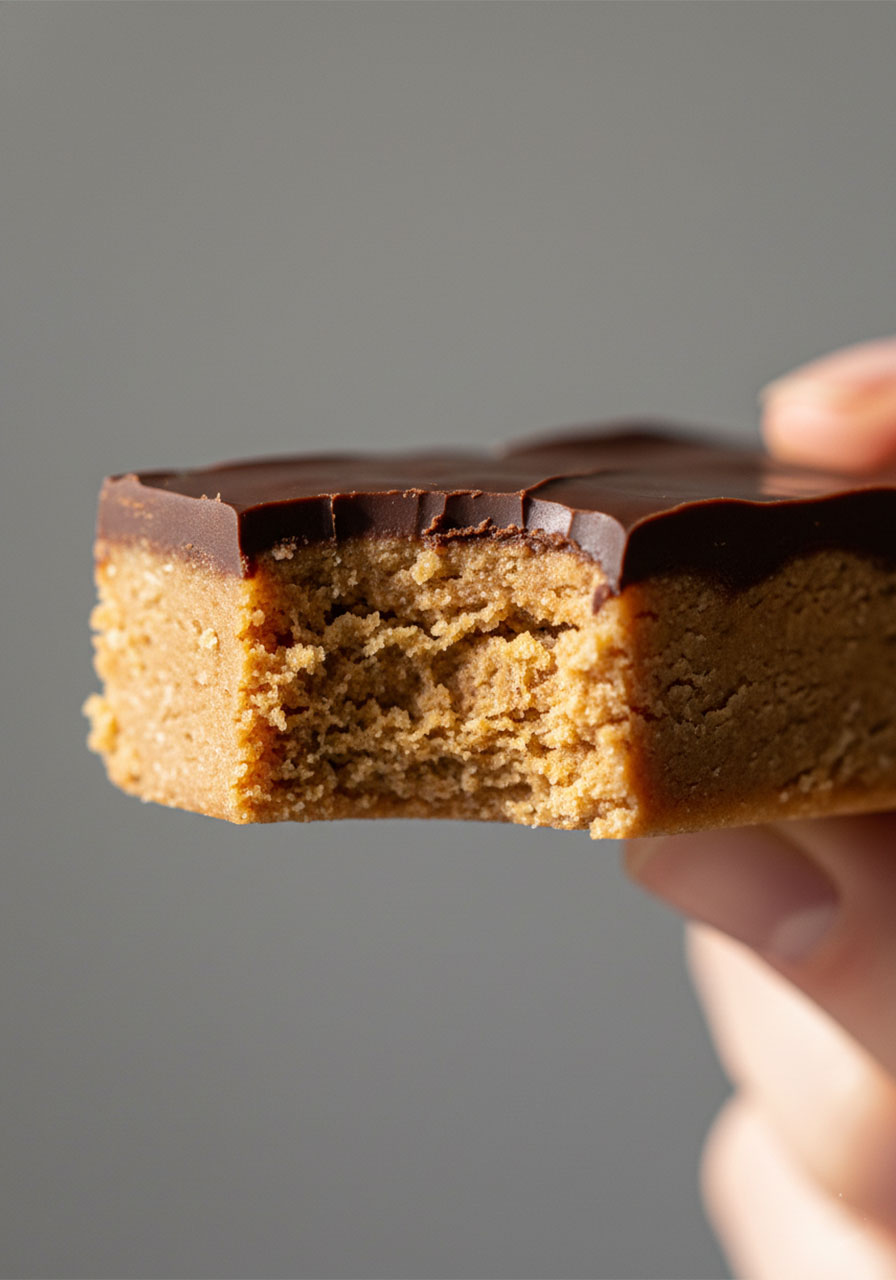
In a large bowl, stir together the peanut butter, protein powder, maple syrup, and salt until a thick dough forms. It should be firm but pliable – like cookie dough.
2. Shape your bars.
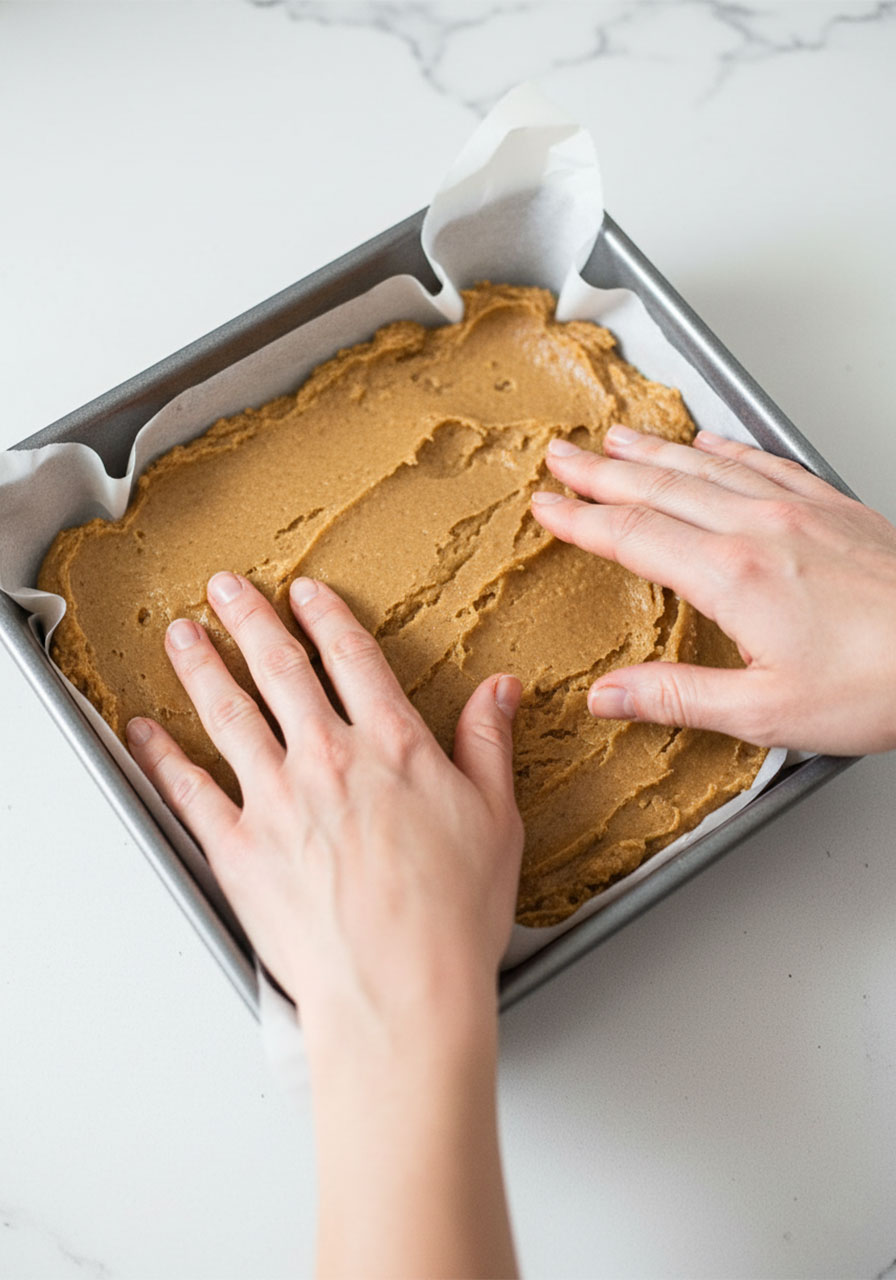
You have two options here. You can either roll and press the dough into individual bar shapes with your hands, or you can press the entire dough evenly into a parchment-lined 8×8 inch pan.
3. Add the chocolate topping (optional but amazing).
If you’re going for the chocolate-dipped version (and I really, really think you should), melt your chocolate chips and spread the chocolate evenly over the top of the pan. Pro tip: stir 2 teaspoons of coconut oil into the melted chocolate for a silkier, smoother coating.
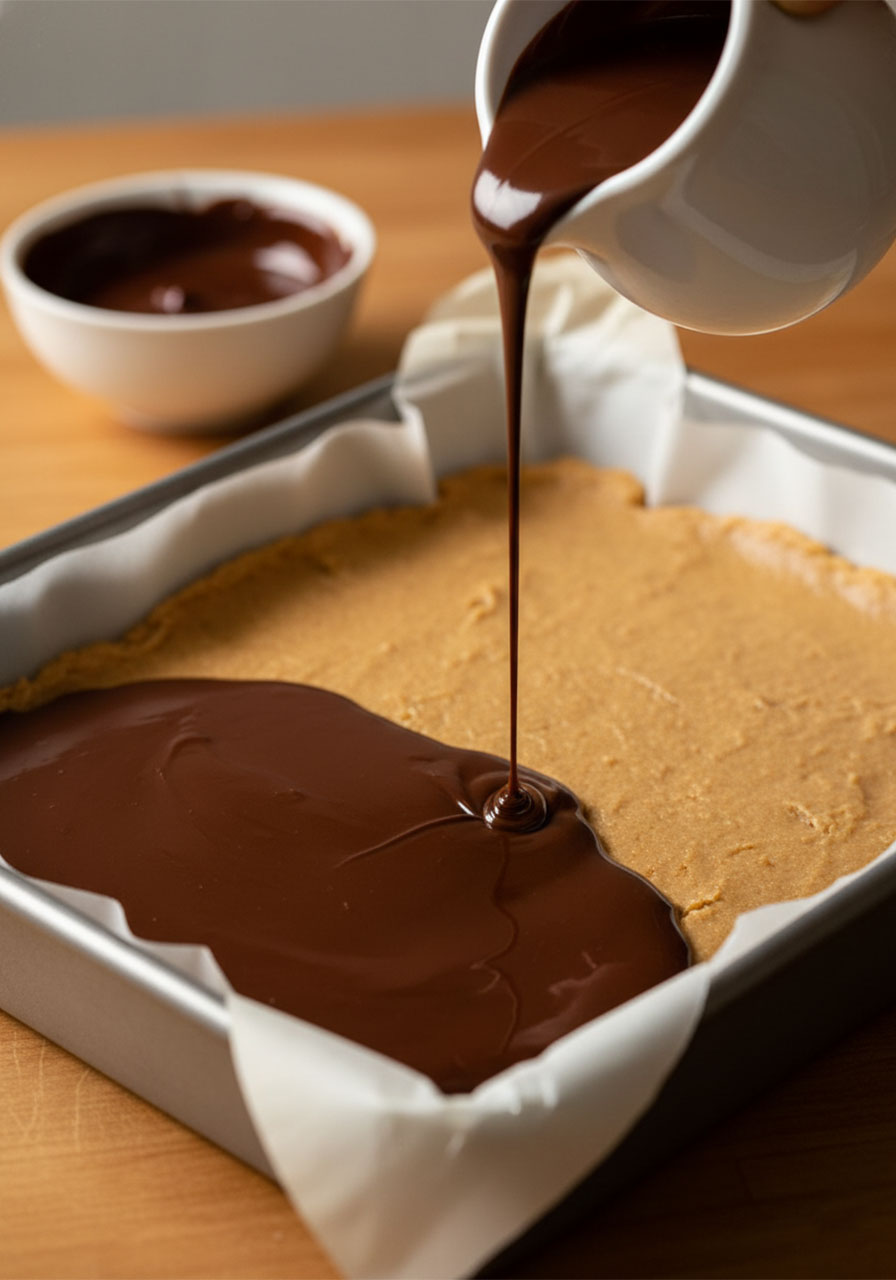
4. Chill.
Pop the pan into the refrigerator and chill until firm – about 1 to 2 hours.
5. Slice and enjoy.
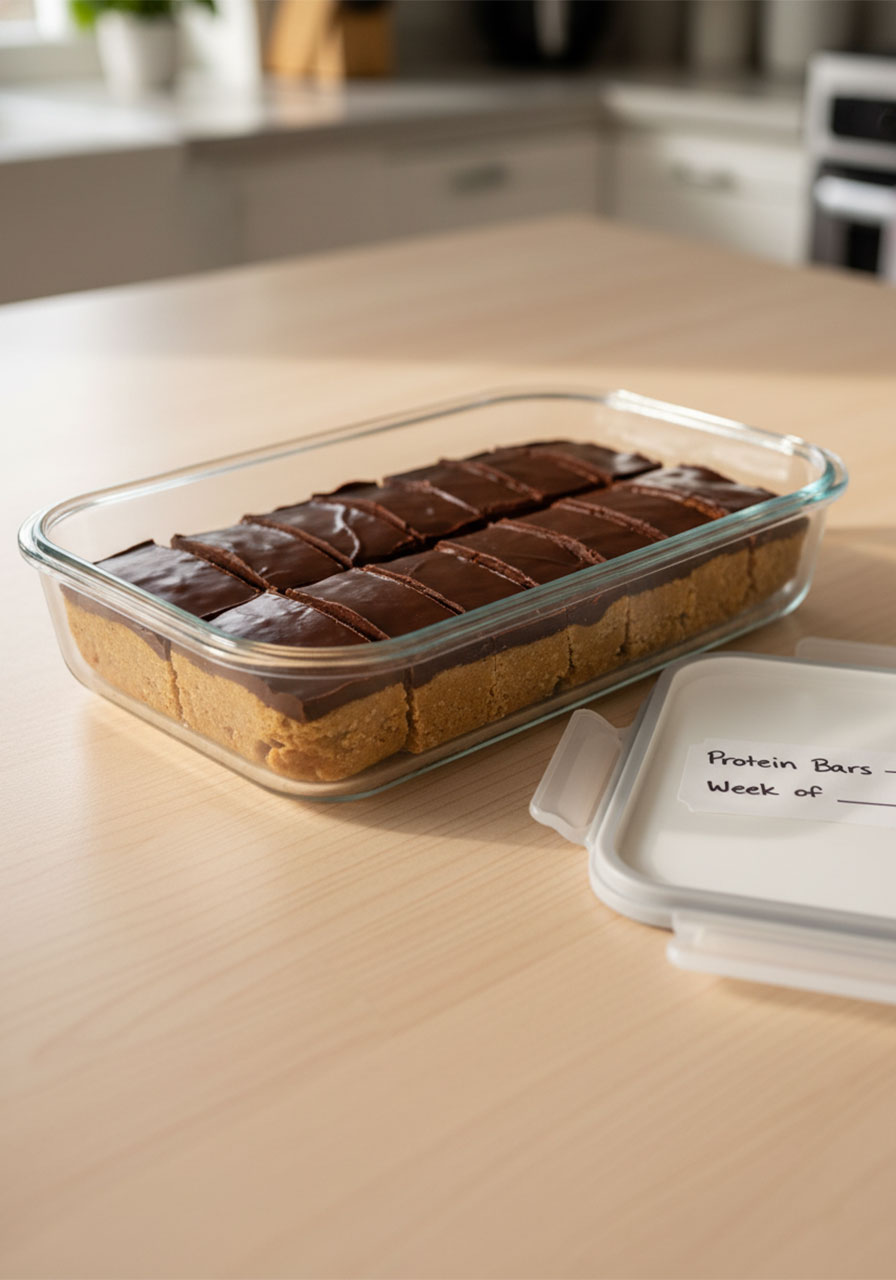
Once chilled, cut into bars or squares. Store in the fridge for up to two weeks, or freeze for up to three months.
That’s genuinely it. Ten minutes of active time, a couple hours of patience, and you’ve got a full week of snacks ready to go.
5 Protein Bar Flavors You’ll Absolutely Love
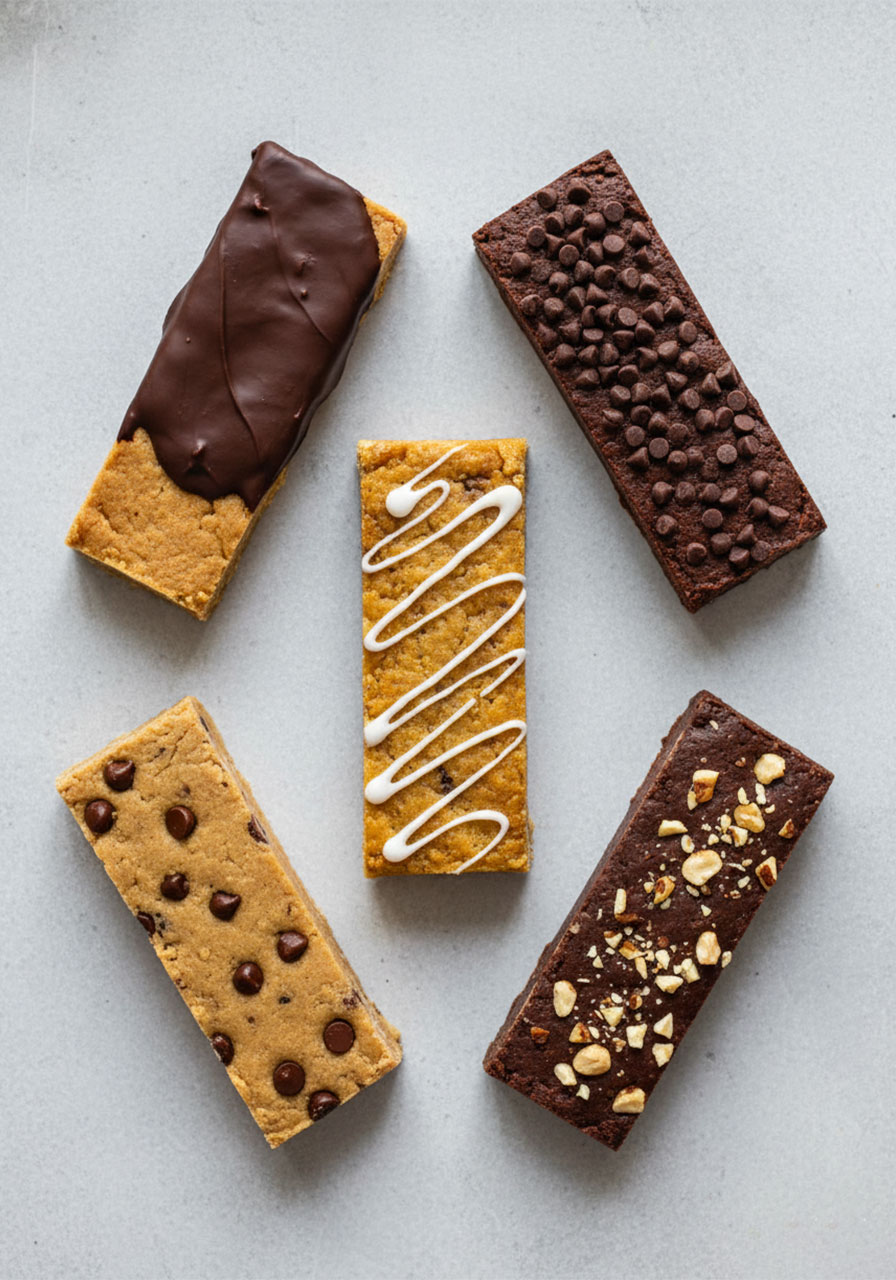
This is where things get really fun. The base recipe is incredibly versatile, and once you’ve mastered it, the flavor possibilities are basically endless. Here are five tried-and-true favorites to get you started.
1. Classic Peanut Butter Chocolate Protein Bars
This is the one that started it all – and for good reason. Use creamy peanut butter in the base, top with melted dark chocolate, and chill until set. The result tastes exactly like a Reese’s peanut butter cup, except it’s packed with protein and made with real ingredients.
If you love the classic peanut butter and chocolate combo, this flavor will be your go-to forever.
2. Chocolate Protein Bars
Swap two tablespoons of your protein powder for unsweetened cocoa powder. Stir a small handful of mini chocolate chips into the dough for extra chocolatey goodness. You can also use a chocolate-flavored nut butter to double down on that rich, fudgy flavor.
These taste like a brownie in bar form. You’re welcome.
3. Banana Bread Protein Bars
Skip the maple syrup and use ¼ cup of mashed overripe banana instead. Add a generous pinch of cinnamon to the dough, and if you really want to go all out, frost the finished bars with a drizzle of melted coconut butter.
Warm, comforting, and full of natural sweetness – these feel like a cozy hug in snack form.
4. Cookie Dough Protein Bars
This one is a crowd-pleaser every single time. Stir mini chocolate chips into the base dough, add ¼ teaspoon of pure vanilla extract, and for that authentic cookie dough flavor, toss in ⅛ teaspoon of baking soda. Cashew butter or macadamia nut butter works especially well here for a buttery, rich base.
These taste like the raw cookie dough you sneak from the bowl – except guilt-free and packed with protein.
5. Chocolate Hazelnut (Nutella) Protein Bars
Replace the peanut butter with a chocolate hazelnut butter – homemade Nutella or a store-bought version both work beautifully. Sprinkle finely chopped hazelnuts on top before chilling for a little crunch and elegance.
Rich, decadent, and absolutely dreamy. These would not look out of place on a fancy dessert plate.
What If You Don’t Have Protein Powder?
No protein powder? No problem at all.
Simply swap the ¾ cup of protein powder for 1 cup of oat flour and increase your sweetener to ⅓ cup. Even without protein powder, a small bar made with peanut butter will still deliver around 7 grams of protein.
These are perfect for kids, for anyone who prefers to skip supplements, or for those days when you’ve run out of powder but still want a satisfying homemade snack.
Tips for Making the Best Protein Bars Every Time
After making these more times than I can count, here are a few things I’ve learned that make a real difference:
Use natural nut butter. Natural peanut butter (the kind where the oil separates) gives you the best texture. Stir it well before measuring.
Taste your dough before chilling. This is your chance to adjust sweetness or add a pinch more salt. Do it while the dough is still soft and workable.
Don’t skip the salt. It sounds small, but salt balances the sweetness and makes every flavor pop. Don’t leave it out.
Use parchment paper. Line your pan with parchment and leave an overhang on the sides so you can lift the whole slab out cleanly before slicing.
Chill fully before slicing. If you try to cut them too soon, they’ll crumble. Give them at least an hour – two is even better.
Add a tiny bit of oil to your chocolate. Stirring 2 teaspoons of coconut oil or a neutral oil into your melted chocolate gives it a smoother, silkier finish that sets up beautifully.
How to Store Your Homemade Protein Bars
These bars keep really well, which makes them absolutely perfect for meal prep.
Store them in an airtight container in the refrigerator for up to two weeks. They’ll firm up a bit in the fridge, which actually makes them even more satisfying to bite into.
If you want to stock up, they freeze beautifully for up to three months. Just wrap individual bars in parchment paper, place them in a freezer bag, and pull one out whenever you need a quick snack. They thaw in just a few minutes at room temperature.
Who Are These Bars Perfect For?
Honestly? Almost everyone. But let’s get specific.
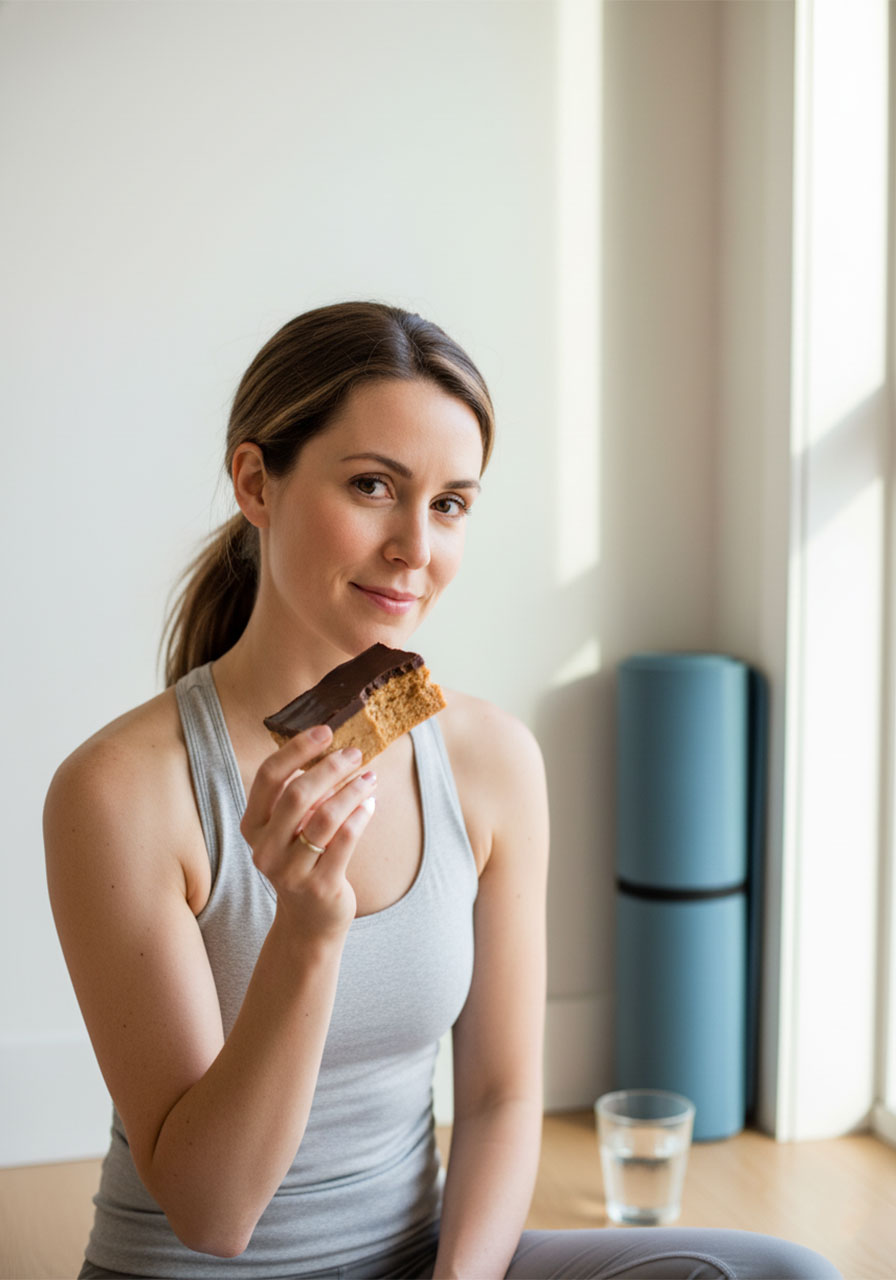
These bars are a game-changer if you’re someone who works out regularly and wants a clean, convenient post-workout snack without artificial ingredients.
They’re wonderful if you’re a busy woman trying to eat more intentionally without spending hours in the kitchen every week. Ten minutes on Sunday afternoon and your snacks are handled.
They’re also deeply satisfying for those of us who believe that nourishing your body is an act of self-care – a small, daily choice to treat yourself with intention and love. What you put into your body matters, and these bars are a way of saying: I’m worth the good stuff.
There’s something almost meditative about the simplicity of this recipe. Four ingredients. Your own two hands. A little patience. And out comes something genuinely nourishing.
Frequently Asked Questions
Can I make these nut-free? Absolutely! Swap the peanut butter for sunflower seed butter or tahini for a completely nut-free version. They taste wonderful.
Are these bars keto-friendly? They can be! Use a sugar-free sweetener like allulose or monk fruit syrup instead of maple syrup, and make sure your protein powder is low-carb. Check out the keto protein bars variation linked in the recipe for more guidance.
Can I use flavored protein powder? Yes, but taste as you go. Flavored powders vary widely in sweetness, so you may need to reduce or skip the maple syrup to avoid overly sweet bars.
Do I need to refrigerate these? Yes – because of the natural nut butter, these bars are best kept cold. They’ll soften at room temperature, especially in warm weather.
Can kids eat these? Definitely! They make a wonderful after-school snack. Just be mindful of any nut allergies and adjust accordingly.
More Flavors We Can’t Wait to Try
The flavor ideas for these bars are genuinely endless, and here are a few on the dream list:
Cinnamon roll. Cake batter. Lemon cookie. Fudge brownie. Salted caramel. White chocolate peppermint. Pumpkin pie. Cookies and cream. Coffee. Vanilla bean. Maple walnut. S’mores. Blueberry lemon.
Which one would you make first? Drop it in the comments – I’d love to know!
Final Thoughts: A Snack Worth Making
At the end of the day, this recipe is about more than just saving money on grocery store protein bars (although that’s a very real bonus).
It’s about choosing to nourish yourself with real, wholesome ingredients. It’s about taking ten minutes out of your week to do something good for your body. It’s about knowing exactly what you’re eating and feeling good about it.
Whether you’re meal prepping for a busy week ahead, refueling after a workout, or just craving something sweet and satisfying that won’t derail your goals – these bars have you covered.
Make a batch this weekend. Try a new flavor. Share them with someone you love. And enjoy every single bite.
Because you deserve snacks that are as good for you as they taste.
No Bake Protein Bars (Vegan + Gluten Free)
Ingredients
- 1½ cups peanut butter (or allergy-friendly nut or seed butter substitute)
- ¾ cup (90g) protein powder, unsweetened recommended
- ¼ cup pure maple syrup or honey (or sugar-free sweetener for keto version)
- ½ tsp salt
- 4 oz chocolate chips, melted (optional, for topping)
- 2 tsp coconut oil or neutral oil (optional, stir into melted chocolate for smoother coating)
Instructions
- In a large mixing bowl, stir together the peanut butter, protein powder, maple syrup, and salt until a thick, uniform dough forms. The dough should be firm and hold its shape.
- Choose your shaping method: either press the dough evenly into a parchment-lined 8×8 inch baking pan, or shape individual bars by hand on a parchment-lined tray.
- If using the optional chocolate topping: melt the chocolate chips (with coconut oil if desired) and spread evenly over the surface of the bars or pan.
- Refrigerate for 1 to 2 hours, or until fully chilled and firm.
- If using a pan, lift out using the parchment paper overhang and slice into 10 to 16 bars depending on your preferred size.
- Store in an airtight container in the refrigerator for up to 2 weeks, or freeze for up to 3 months.
