
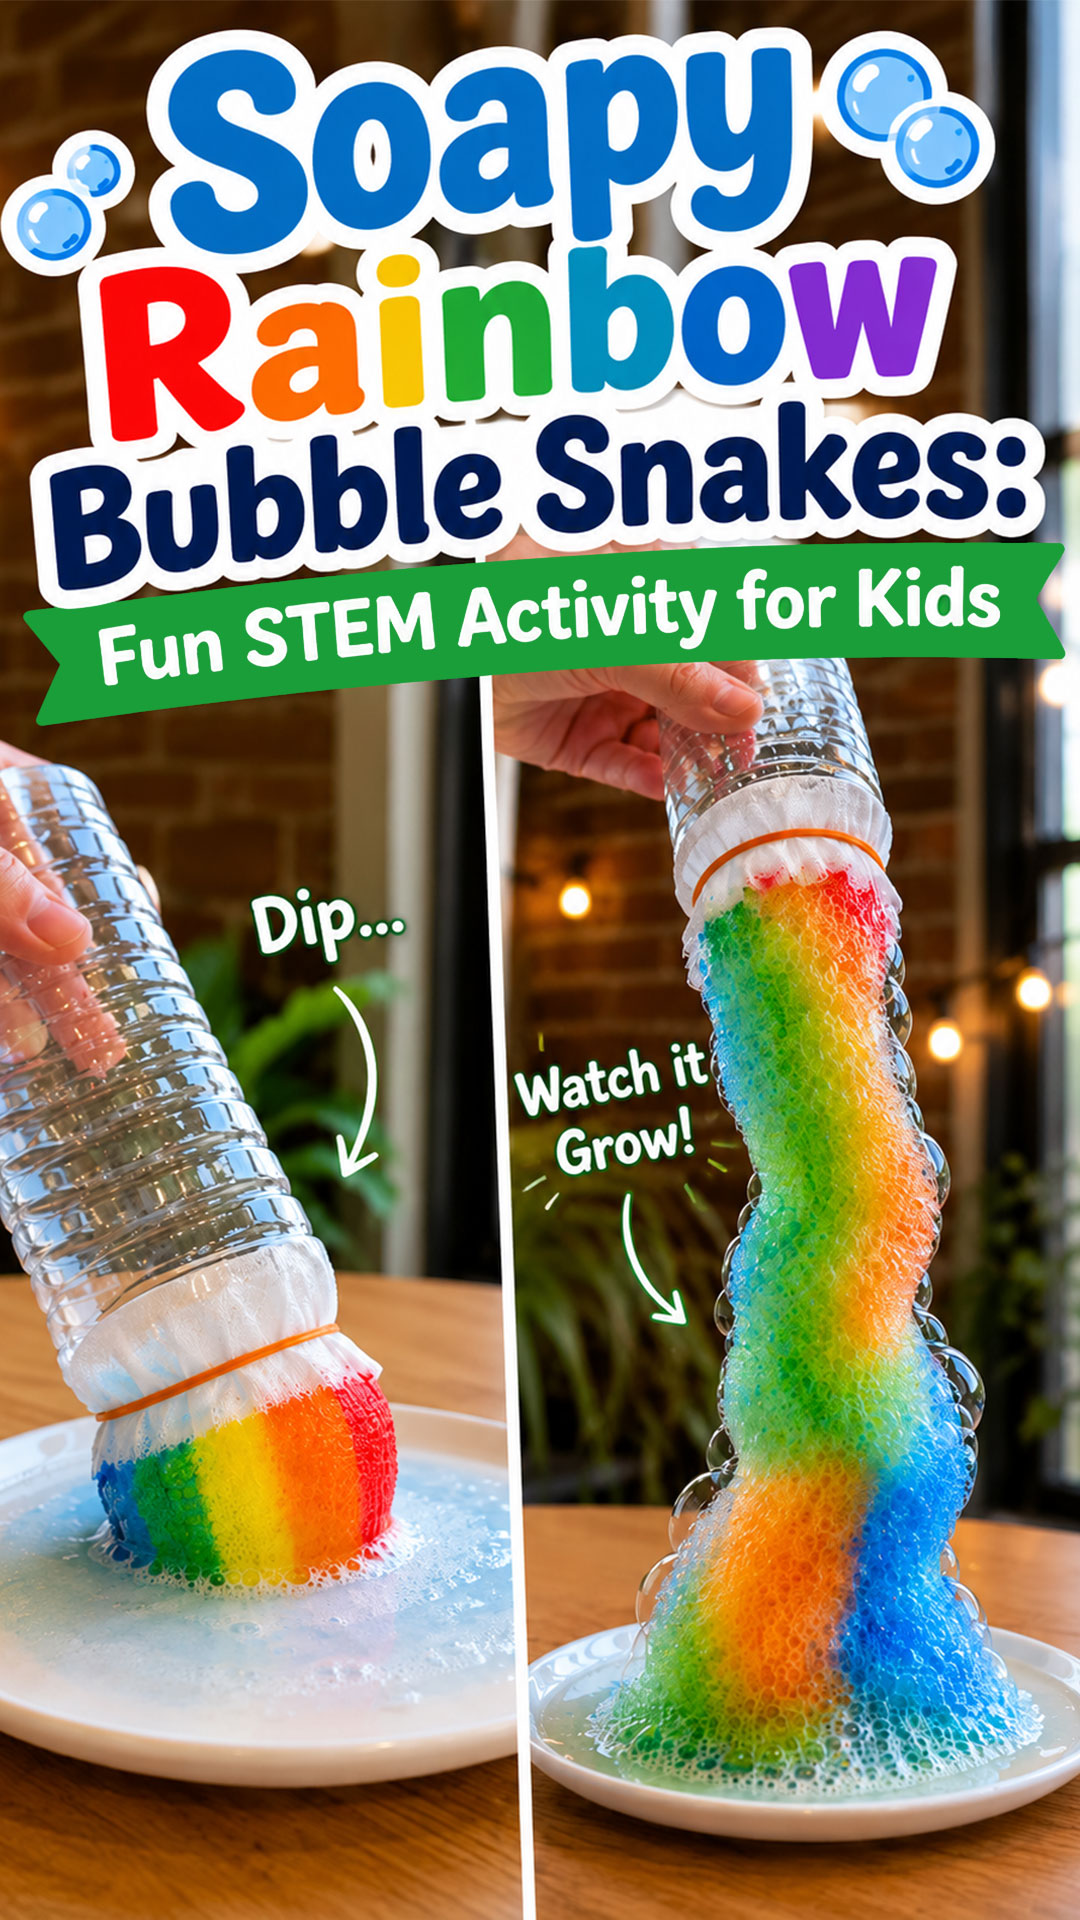
If you have ever needed a science activity that stops a room full of wiggly kids in their tracks, this is it. The Soapy Rainbow Bubble Snake turns a plastic water bottle, a splash of dish soap, and a few drops of food coloring into a foamy, rainbow-colored bubble tower that kids can literally blow into existence.
It looks like magic. It is actually chemistry, physics, and a little bit of art all rolled into one five-minute setup.
Whether you are a teacher looking for a low-cost STEM station, a parent hunting for a screen-free afternoon activity, or a homeschool group planning a hands-on science week, this project checks every box. It is cheap, it is fast, and the payoff is genuinely impressive.
Below, you will find the exact step-by-step method, the science explanation behind why it works, and pro tips to help your first try go smoothly.
Why This Activity Works So Well for Kids
Kids do not just watch this experiment. They build it, decorate it, and physically power it with their own breath.
That hands-on involvement is what makes it stick. When a child blows into the bottle and watches a rainbow bubble snake grow right in front of them, they are not just seeing a cool trick. They are experiencing air pressure, surface tension, and color diffusion in real time.
It also happens to be one of those rare activities that works for a wide age range. Preschoolers love the colors and the bubbles. Elementary-age kids get excited about the “why” behind it. Even older kids enjoy experimenting with different soap ratios and blowing techniques to make a longer snake.

The Science Behind the Bubble Snake
This activity is a fantastic, low-pressure way to introduce a few real scientific concepts, which makes it especially great for classroom use.
Surface tension: Water molecules naturally cling together tightly, which is why plain water does not make great bubbles. Dish soap reduces that surface tension, allowing the water to stretch into thin, flexible films instead of just beading up.
Air pressure: When a child blows into the bottle, they are pushing air through the soapy fabric at the other end. That air has to escape somewhere, so it pushes through hundreds of tiny holes in the fabric at once, creating a chain of connected bubbles instead of one single bubble.
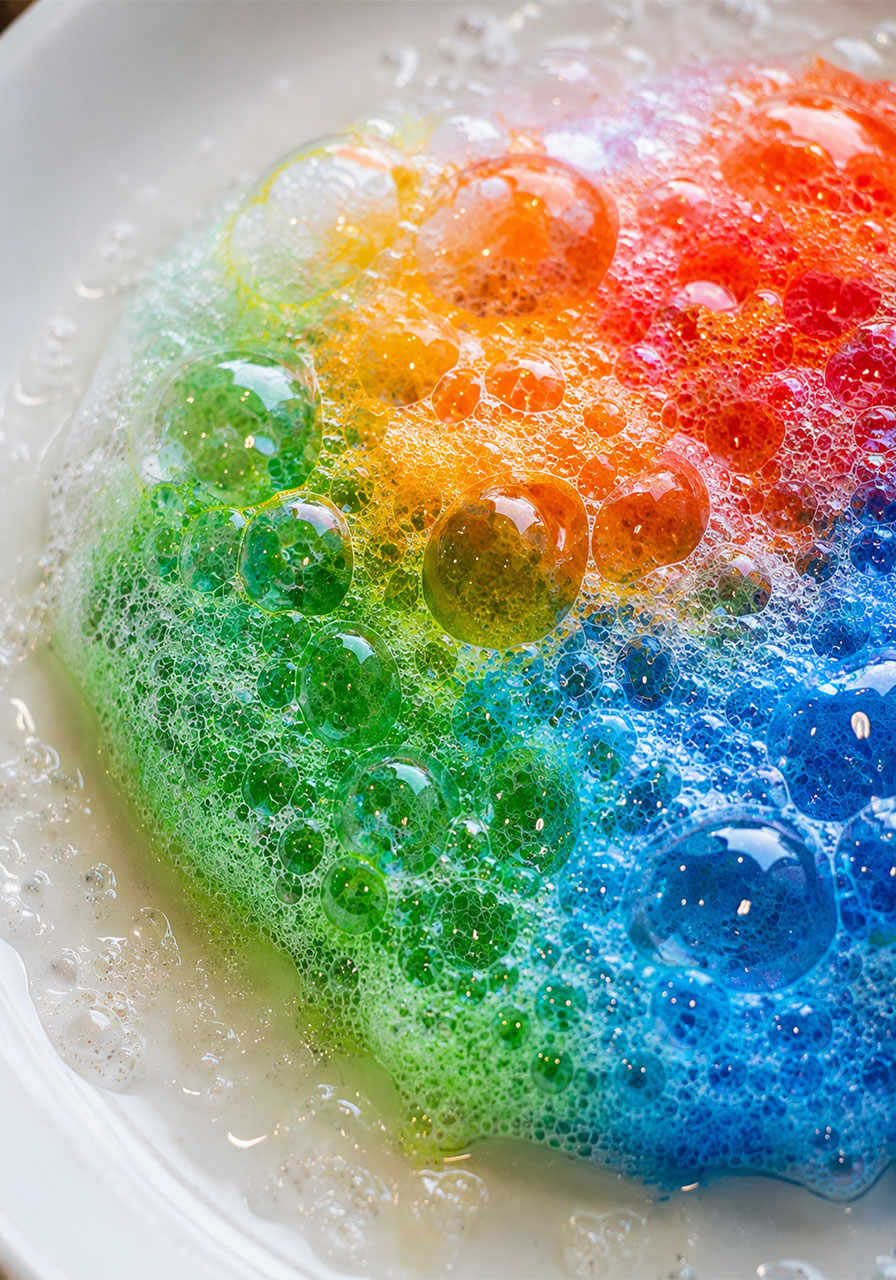
Color diffusion: The rainbow pattern does not stay perfectly separated. As the soapy water moves through the fabric, the food coloring blends and travels along with it, similar to the way colored water moves through a paper towel in a classic chromatography experiment.
You do not need to turn this into a lecture. Even mentioning one of these ideas while kids are mid-experiment is usually enough to spark a great question or two.
Activity Snapshot
Best for: Preschool through elementary age, STEM stations, homeschool science, outdoor play days
Group size: Works for one child or a full classroom rotation
Prep time: 5 minutes
Activity time: 10 to 20 minutes, longer if kids want to keep blowing new snakes
Mess level: Moderate. Best done outdoors, over a tray, or on an easy-to-wipe table
What You’ll Need
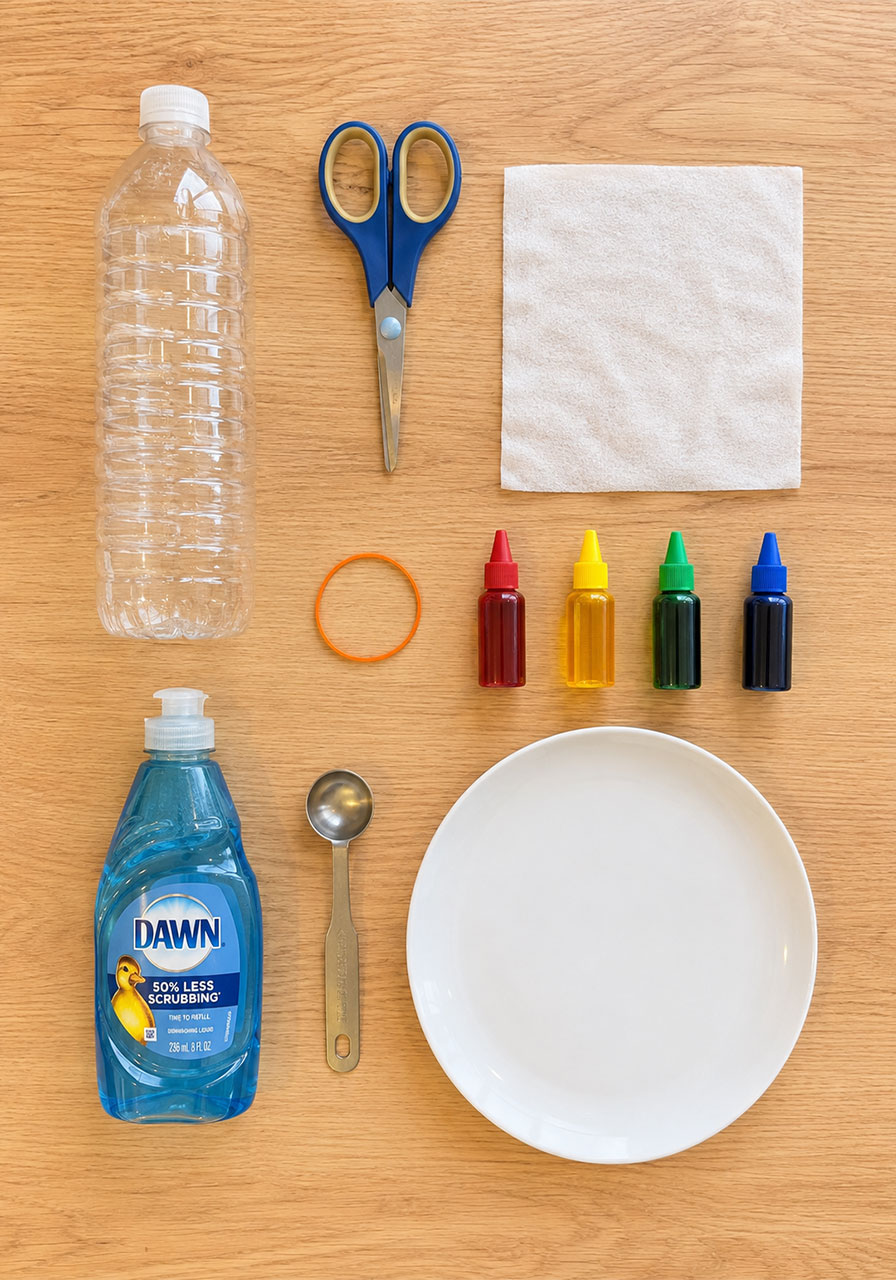
1 empty plastic water bottle per bubble snake
Scissors (adult use only)
1 makeup wipe or a thin, stretchy piece of cloth per bottle
1 rubber band per bottle
Liquid food coloring in a few different colors
Dish soap
Water
A shallow plate or tray
A quick note on the fabric: a makeup wipe works because it is thin enough to let air through while still holding soapy water. A thin sock, cheesecloth, or a soft cotton cloth will also work if you do not have wipes on hand.
How to Make a Soapy Rainbow Bubble Snake
Step 1: Cut the Bottle
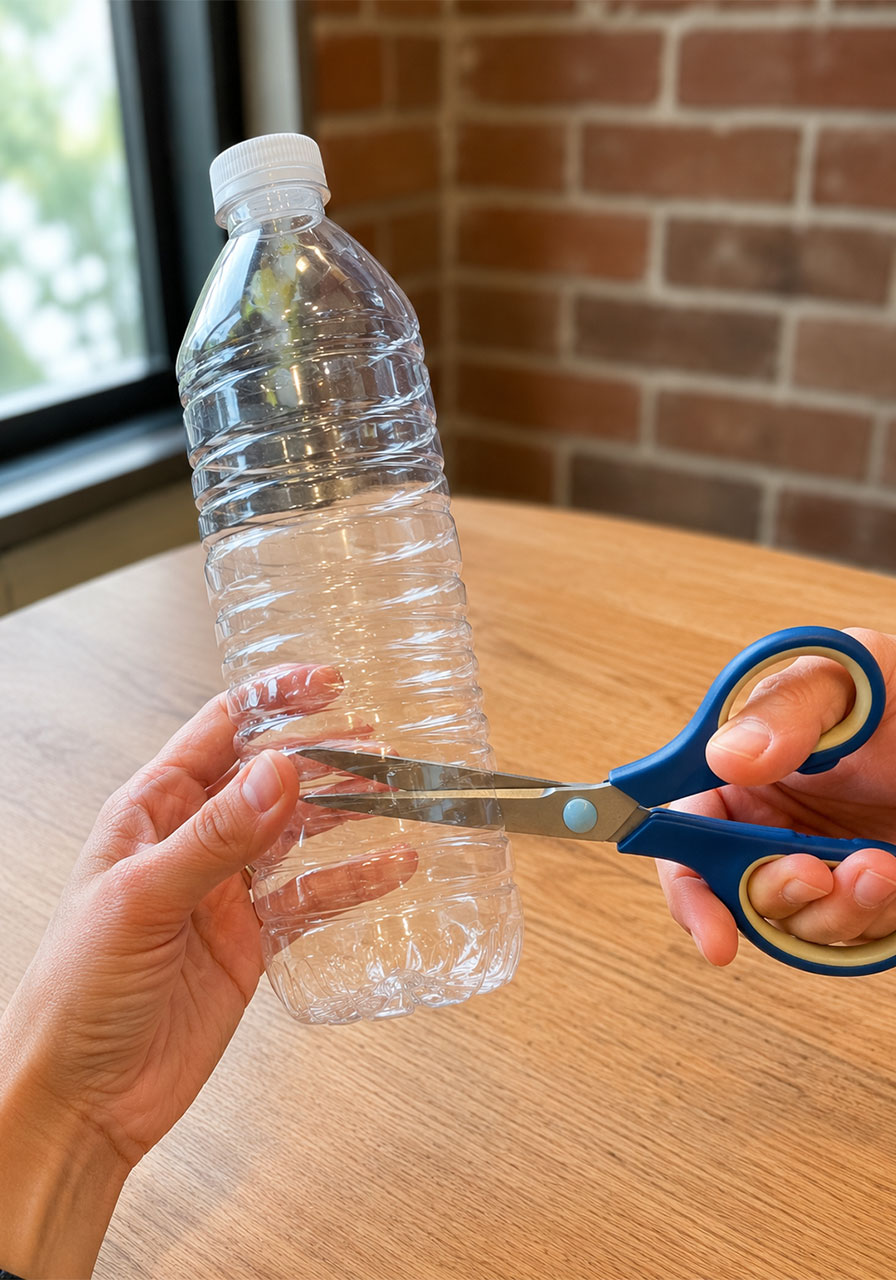
Have an adult cut the bottom one to two inches off the plastic water bottle. You will be working with the top portion, the part that still has the neck and cap attached.
Once the bottom is removed, unscrew and set aside the cap. You want that opening free so air can flow through it later.
Step 2: Cover the Cut End with Fabric
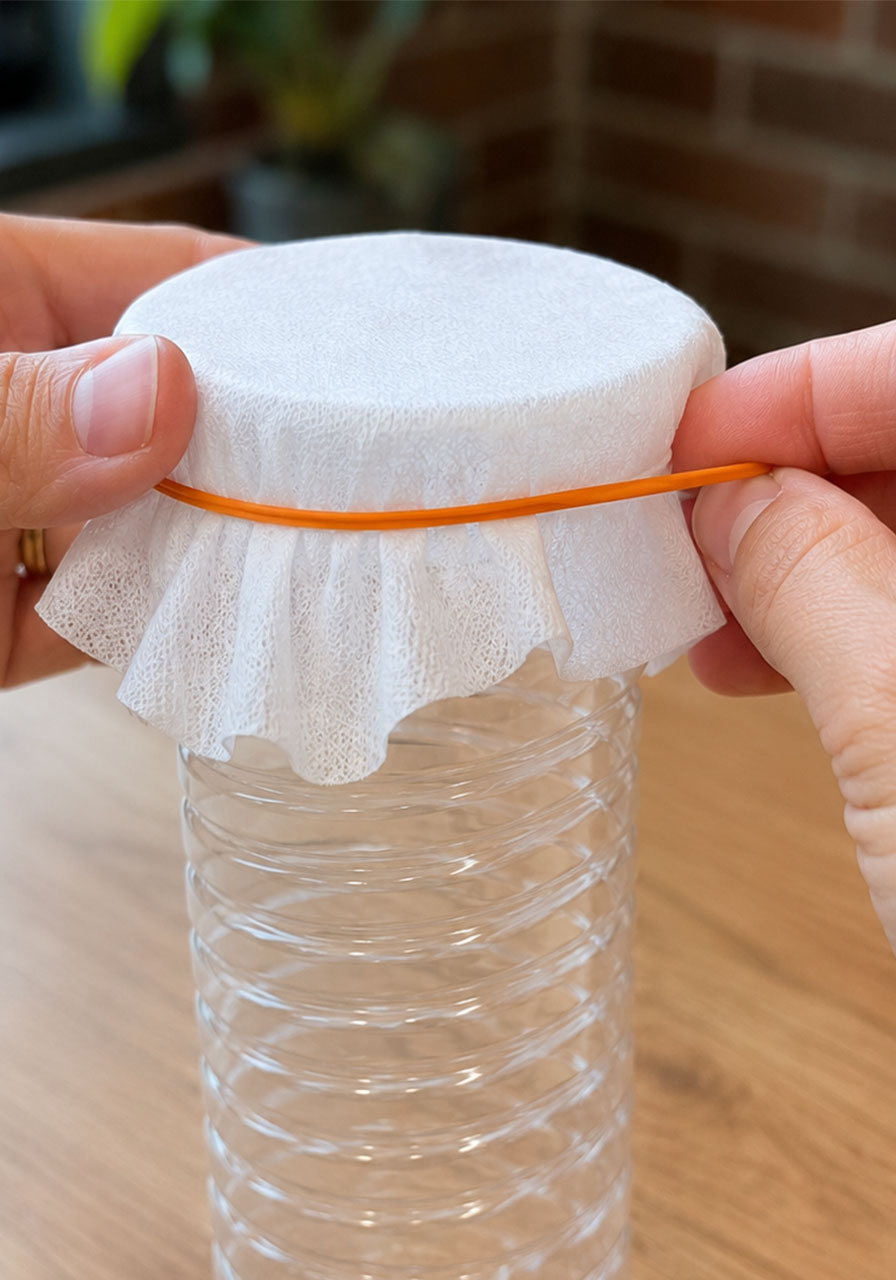
Stretch a makeup wipe tightly over the cut, open end of the bottle. This is the wide end, not the narrow spout.
Secure the fabric in place by wrapping a rubber band snugly around it, just below the rim. The fabric should be pulled taut, almost like a little drum, with no loose, floppy sections.
Step 3: Add the Rainbow
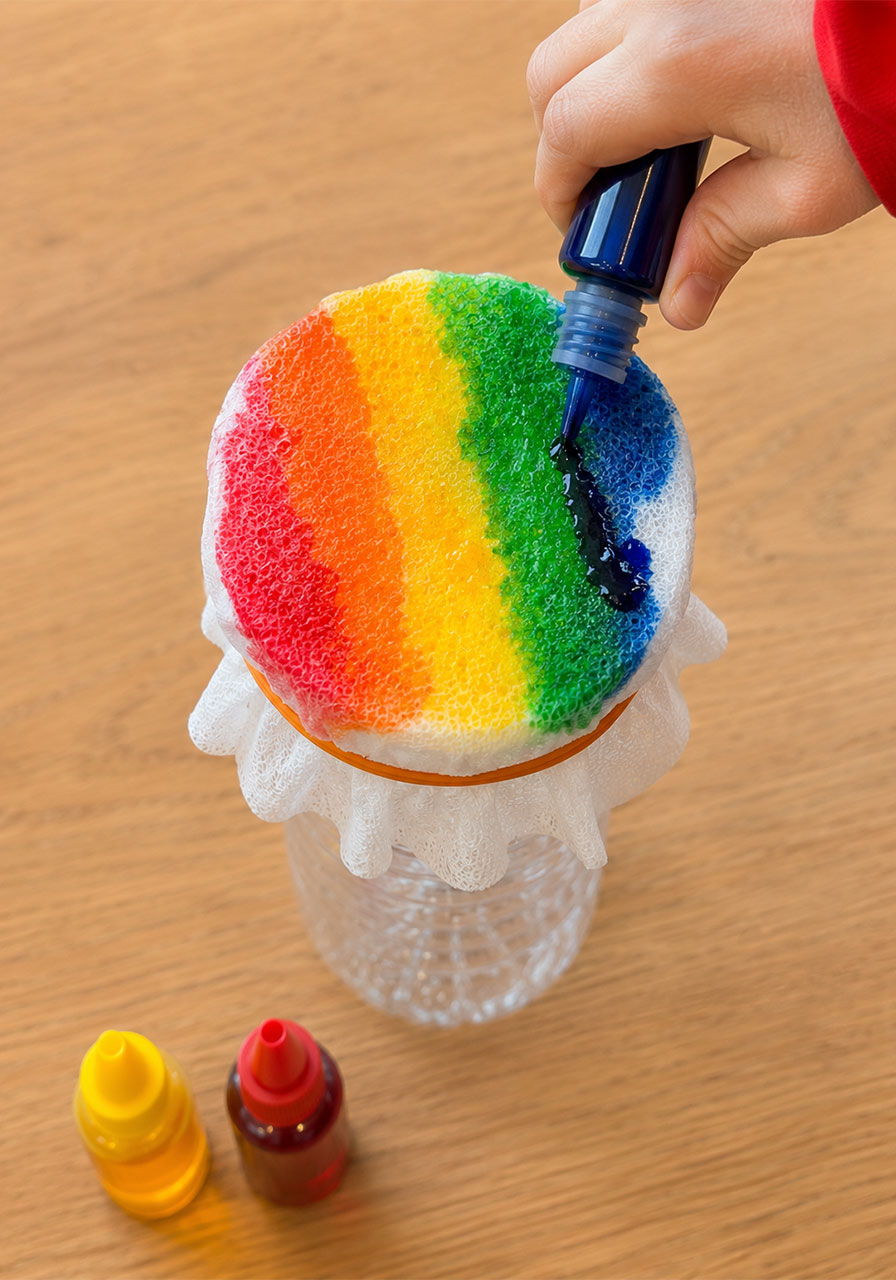
Now for the fun part. Drip several colors of liquid food coloring directly onto the fabric in stripes or sections, working your way around the top.
Do not worry about being perfectly neat here. The colors will shift and blend once they get wet, which is part of what makes the finished bubble snake so colorful.
Step 4: Mix the Bubble Solution
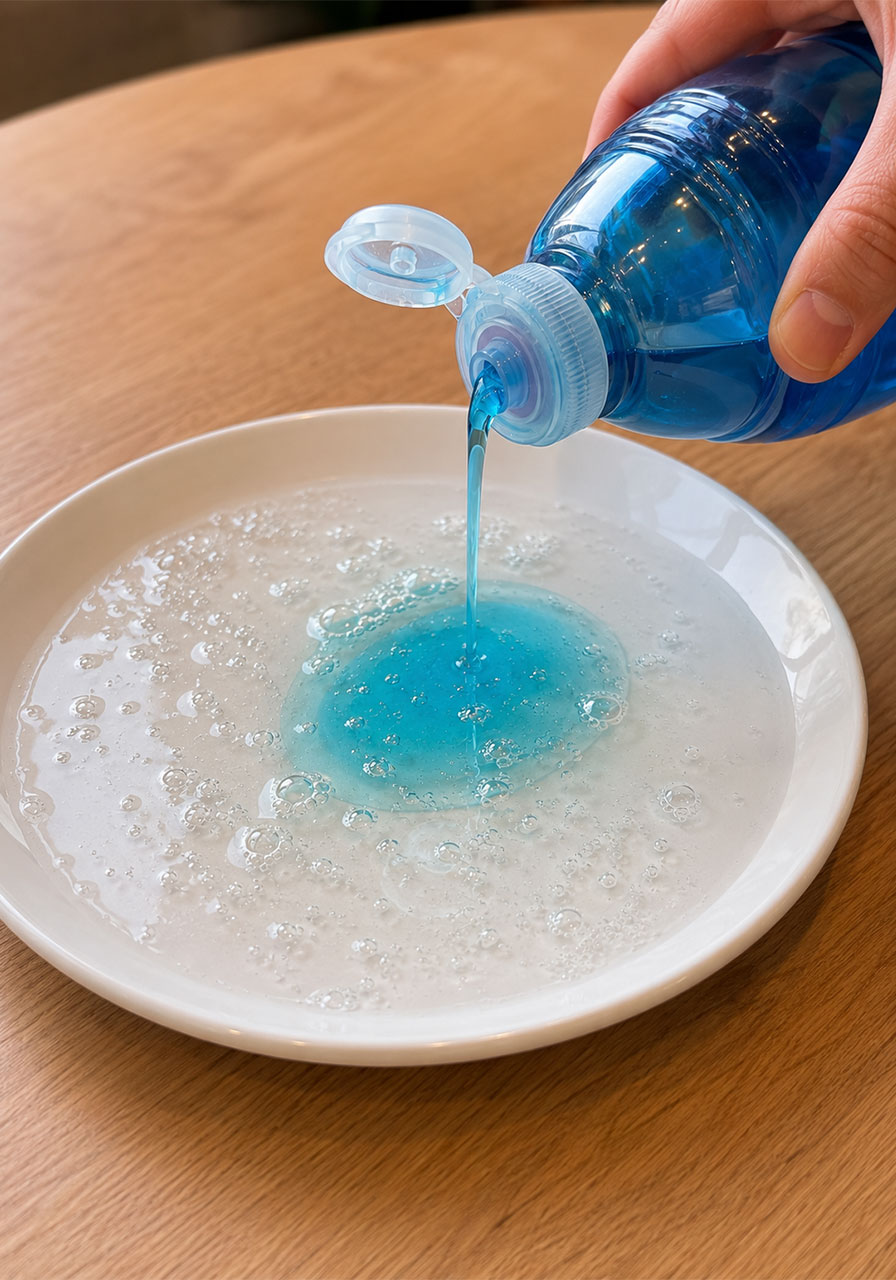
On a shallow plate, squirt about 2 tablespoons of dish soap and pour in about 4 tablespoons of water.
Gently swirl the plate to combine the two, but try not to create too many suds yet. You want a thin, even layer of soapy liquid across the plate, not a foamy pile.
Step 5: Dip and Blow
Turn the bottle so the fabric-covered end dips down into the soapy mixture on the plate. Hold it there for a few seconds so the fabric soaks up plenty of the soapy solution.
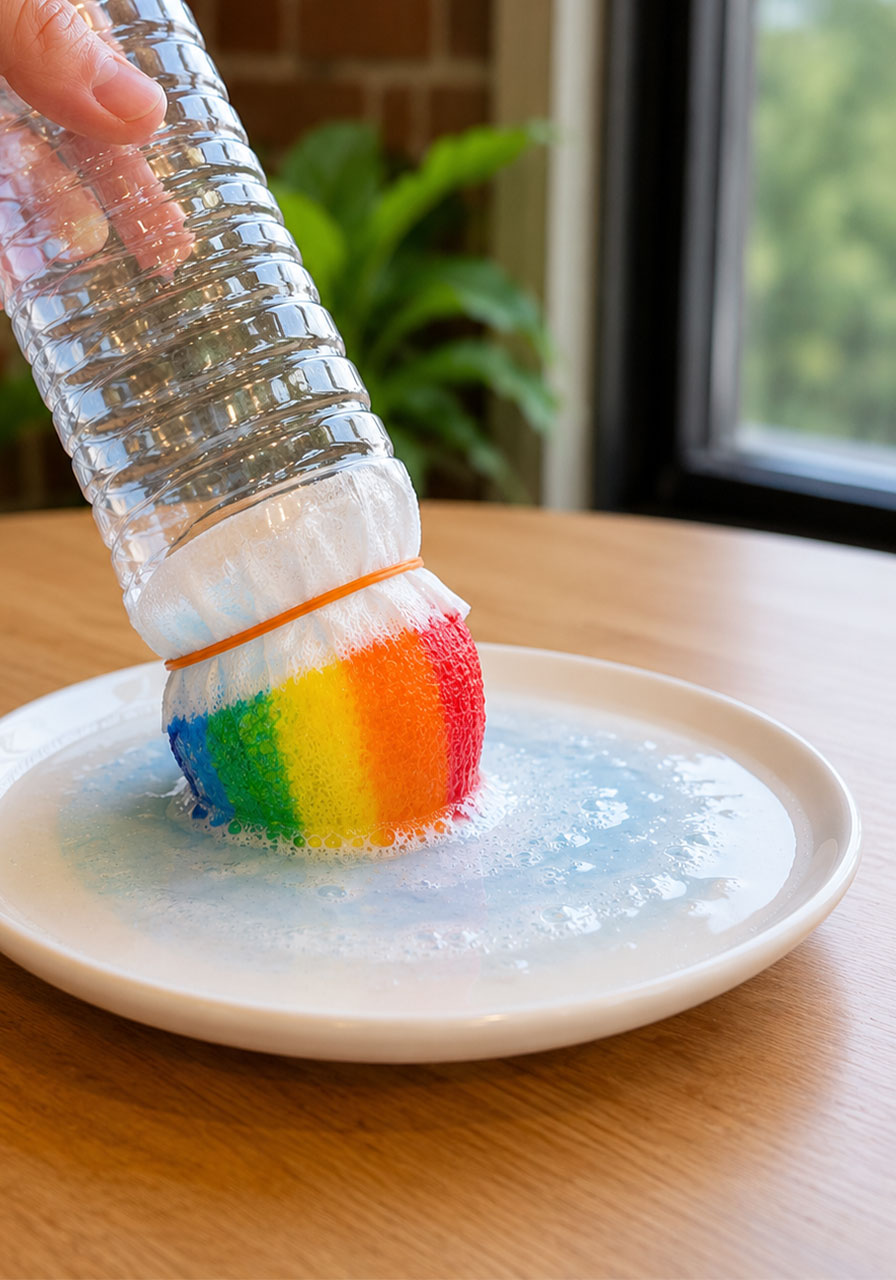
Lift the bottle back up, keeping the fabric side facing down over the plate. Now have your child blow steadily into the open spout at the other end of the bottle.
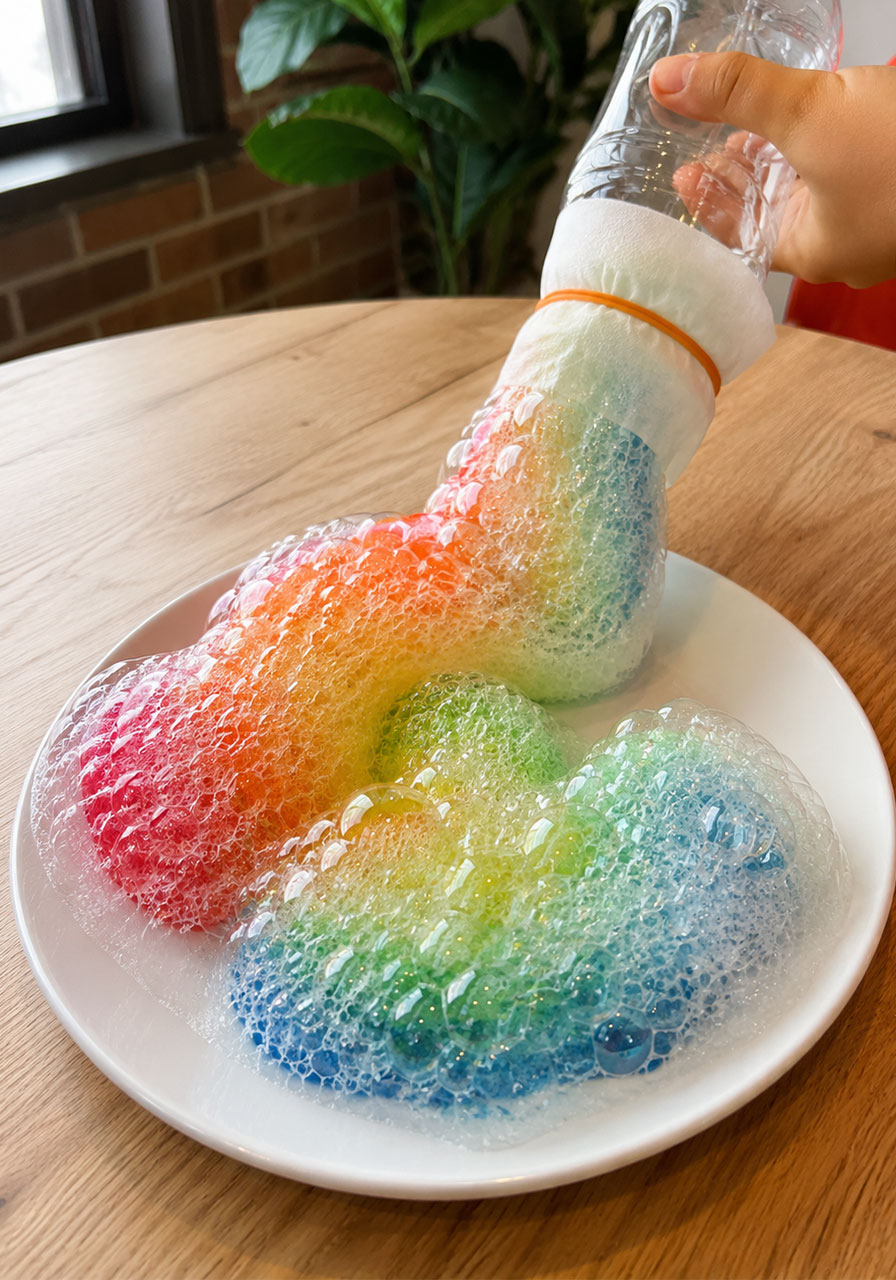
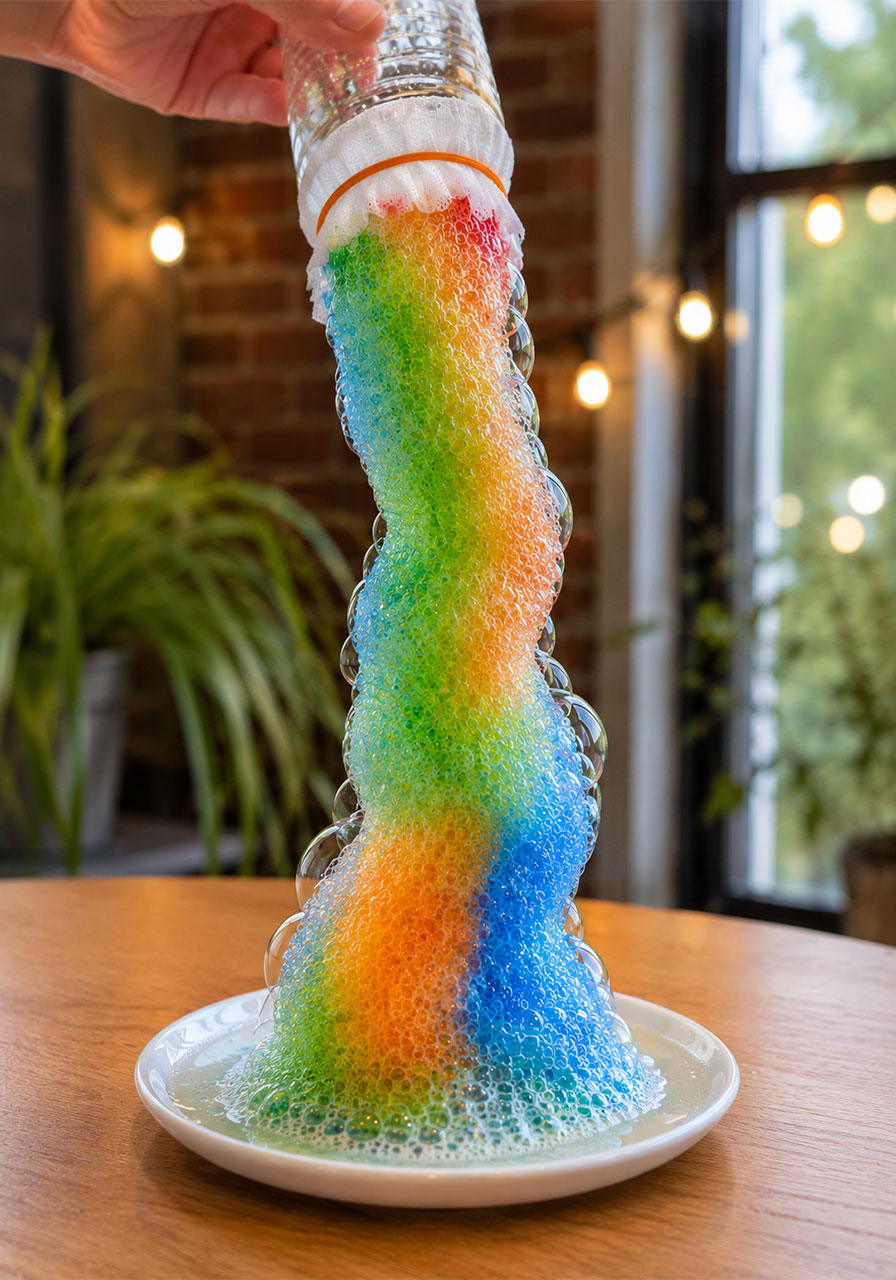
Watch closely. Air pushed through the wet fabric will start forming a foamy, rainbow-colored bubble snake that grows longer with every breath.
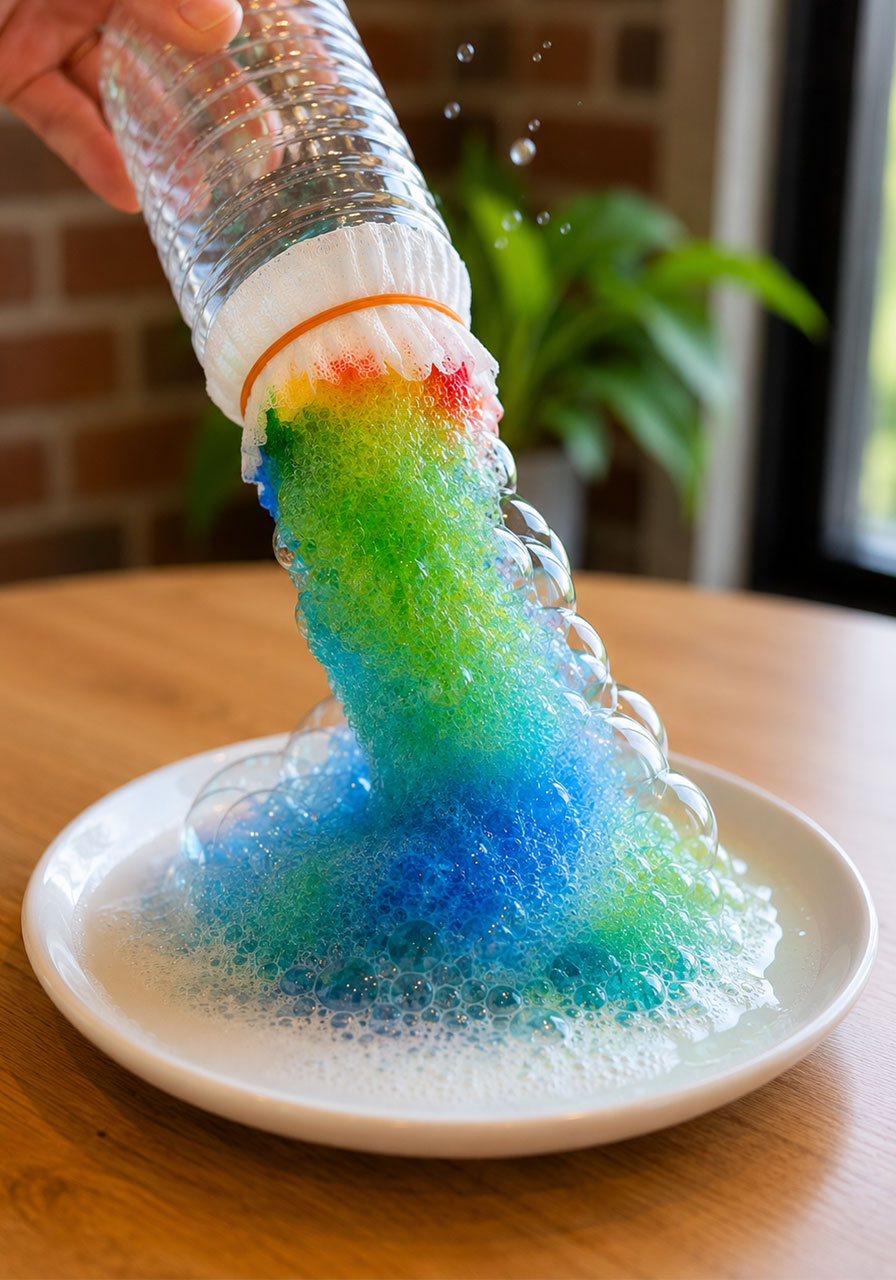
Step 6: Repeat and Refill
Once the fabric dries out, the bubbles will slow down or stop. Simply dip the fabric end back into the soapy solution on the plate and blow again.
Kids can repeat this over and over, and the bubble snake keeps building on the plate, layering more colorful foam each time.
Pro Tips for the Best Bubble Snake
Do not over-soak the fabric. Dip it just enough to get it wet, not dripping. Too much liquid can make the fabric heavy and harder to blow through.
Blow steadily, not forcefully. A slow, steady breath produces a longer, more even bubble snake than one big forceful puff.
Use a fresh wipe if colors get muddy. After a few uses, the fabric colors will blend into a brownish tone. Swap in a new wipe and reapply fresh food coloring for a crisp rainbow look again.
Add a splash of glycerin. If you have it on hand, a small amount of glycerin mixed into the soap solution makes bubbles that last longer and hold their shape better, which is a nice bonus for a classroom demonstration.
Troubleshooting: What to Do If It Is Not Working
No bubbles are forming. The fabric is likely too dry or too tightly stretched. Re-dip it in the soapy plate and make sure there is a little give in the fabric.
The bubbles pop instantly. Your soap-to-water ratio may need adjusting. Add a touch more dish soap to the plate mixture and try again.
The colors are not showing up. Use fresh, undiluted liquid food coloring and apply it generously right before dipping. Gel food coloring tends to be too thick and will not diffuse well.
Classroom and Group Variations
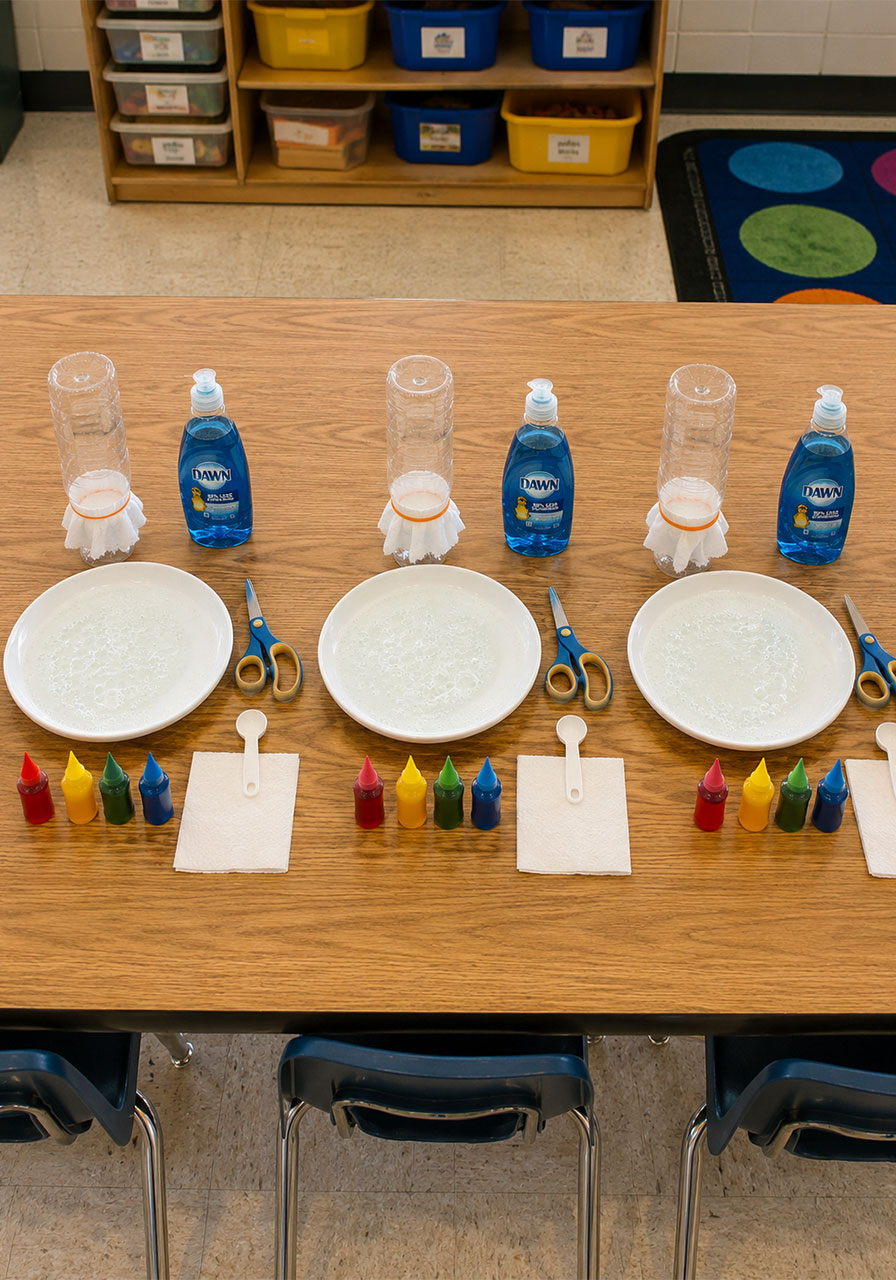
For a classroom setting, set up several bottle stations ahead of time so multiple kids can build bubble snakes at once. This turns it into a rotating STEM station rather than a single demonstration.
Try a “longest bubble snake” challenge, where small groups compete to see whose foam tower grows the tallest or longest on their plate within a set time limit.
For younger kids, focus the lesson on color mixing and let them predict what new colors will appear where two food coloring stripes meet.
For older kids, turn it into a real experiment by testing different soap brands or soap-to-water ratios and recording which combination produces the longest-lasting bubble snake.
Safety and Cleanup Notes
Bottle cutting should always be done by an adult ahead of time, especially for younger groups.
This activity is soap-based, so remind kids to blow gently and to avoid getting the solution near their eyes.
Set up on a tray, a covered table, or outdoors if possible. The bubble foam is fun but does spread, and a little prep now saves a lot of cleanup later.
Why It’s Worth the Five Minutes of Setup
Between the science, the sensory fun, and the genuinely impressive visual payoff, the Soapy Rainbow Bubble Snake earns its spot as a go-to activity for classrooms, homeschool days, and rainy afternoons at home.
It requires almost nothing you do not already have, takes only minutes to prep, and keeps kids engaged far longer than most quick craft ideas. Once you make one, you will likely have kids asking to do it again the very next day.
With this simple setup in your back pocket, you have an activity ready to go anytime you need a burst of hands-on STEM fun.
