
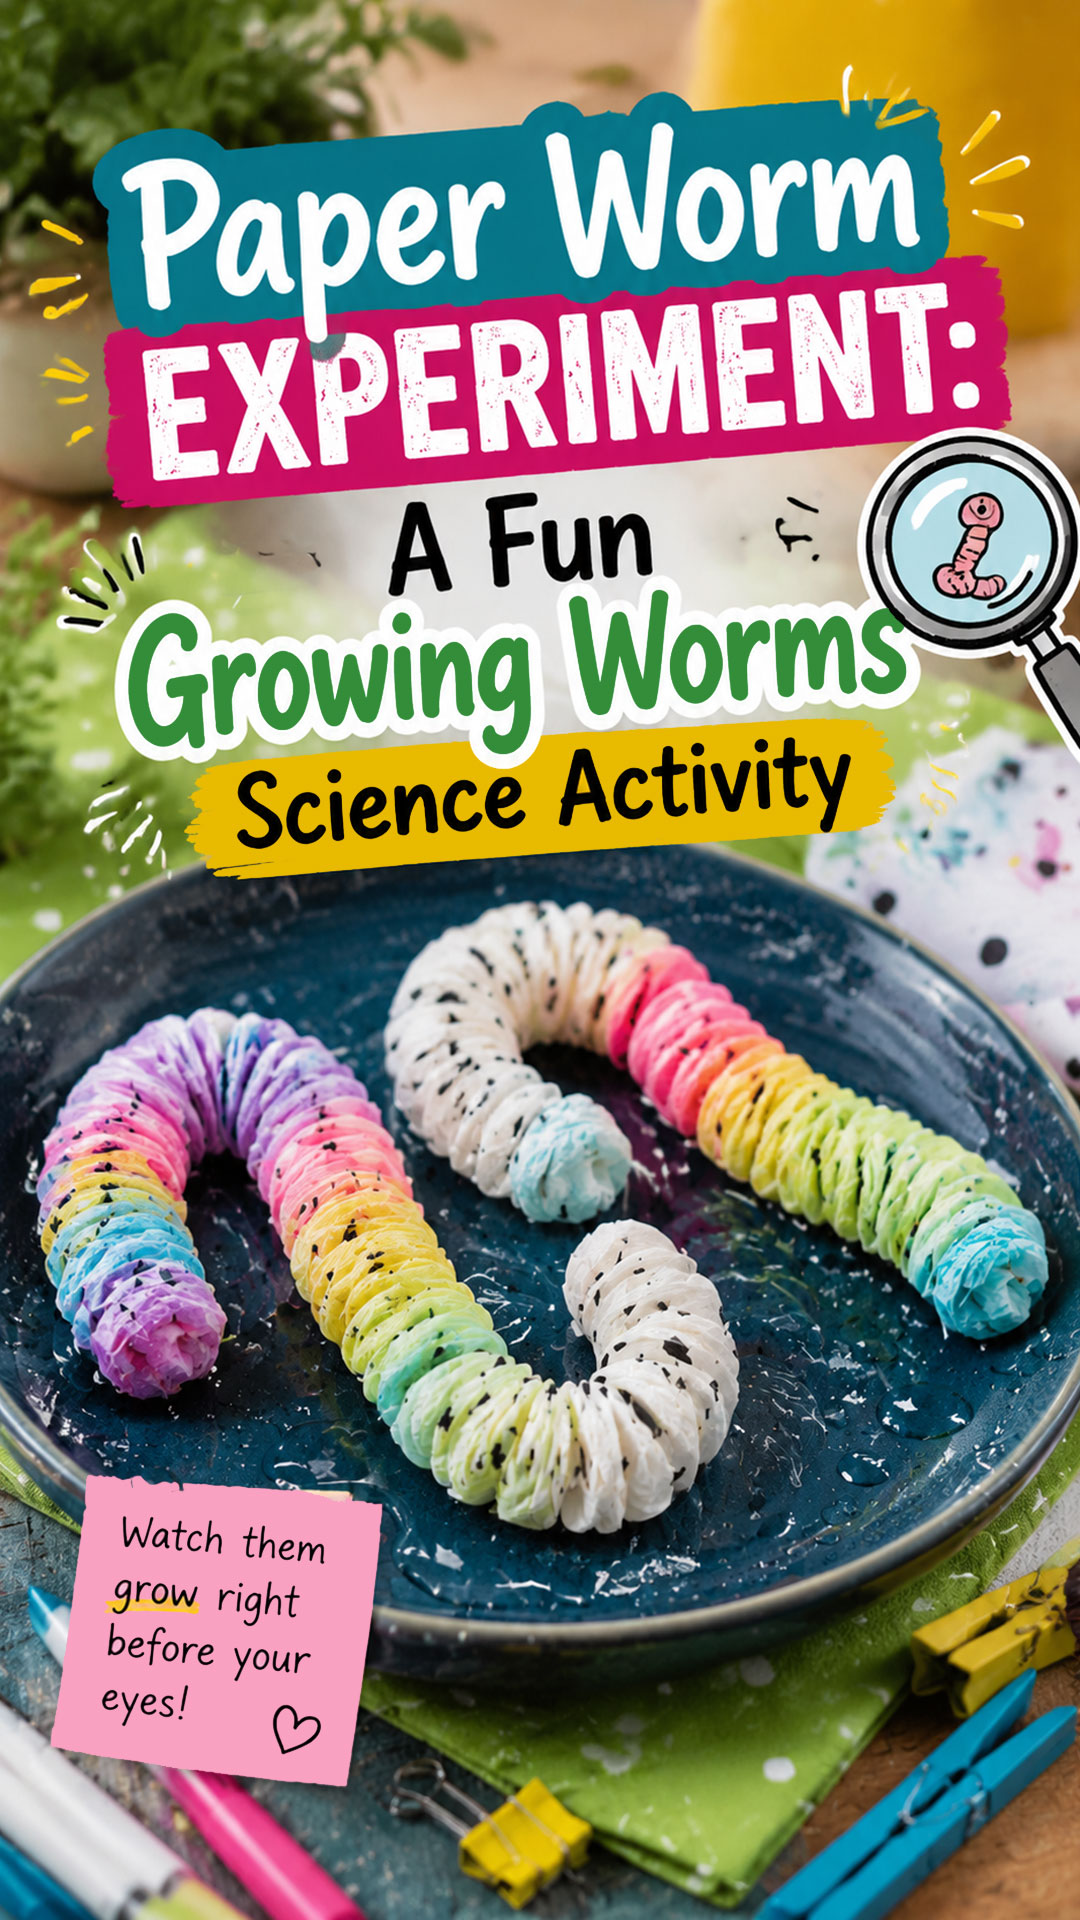
If you’ve ever needed a science activity that stops kids in their tracks, this is it. The Paper Worm Experiment turns a plain paper towel into a squiggly, colorful “worm” that seems to grow and wiggle right before your eyes.
All it takes is a splash of water. No microwave, no chemicals, no mess you can’t wipe up with a paper towel of its own.
This is one of those rare science experiments that’s genuinely magical to watch, yet 100% explainable with real science. That combination is exactly what makes it such a hit in classrooms, homeschool pods, and rainy-day living rooms across the country.
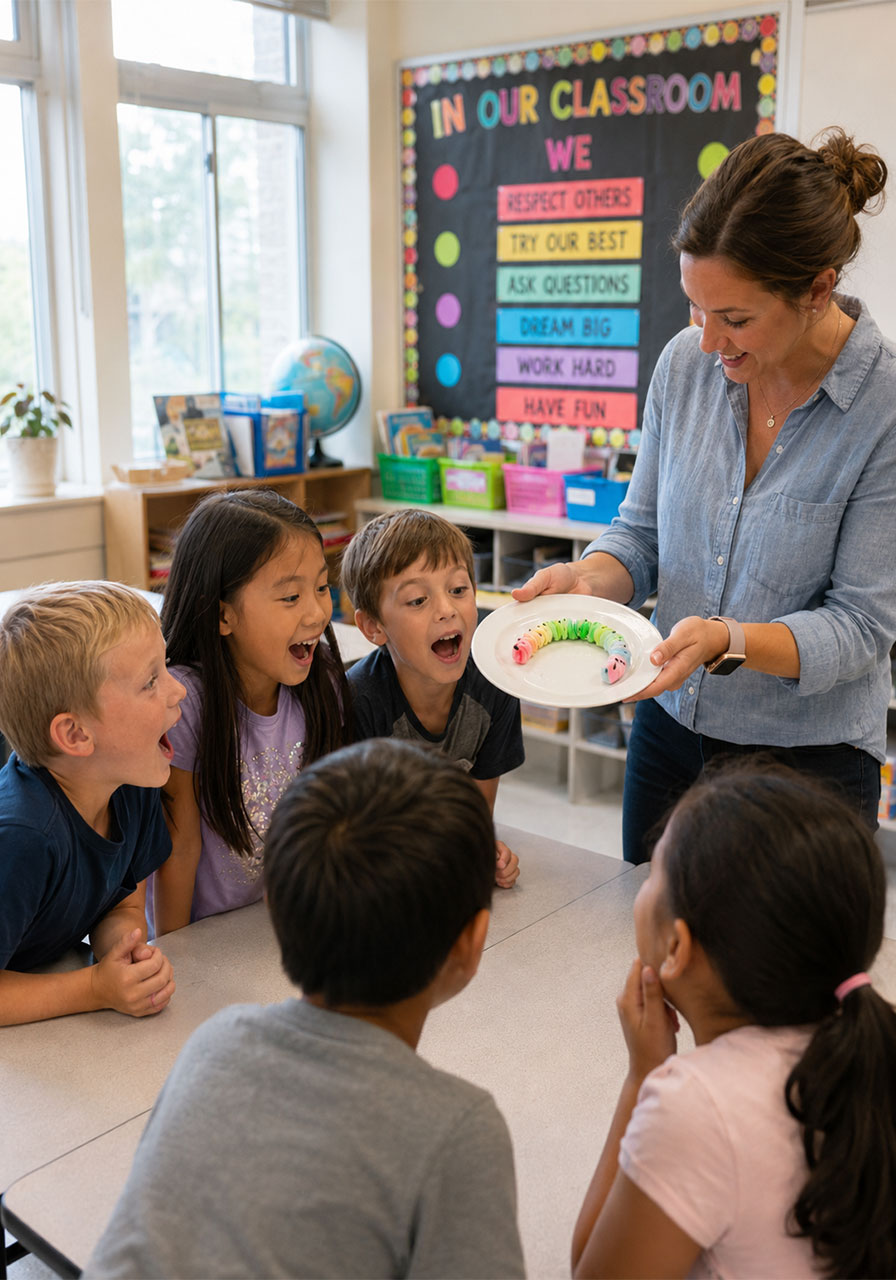
Teachers, this one is a fantastic addition to your capillary action unit, your five senses week, or simply your “we have ten minutes before the bell rings” back pocket. Parents, this is your new go-to for a screen-free afternoon that still feels like an event.
Let’s get wiggling.
Why This Experiment Works So Well for Kids
Before we dive into the steps, here’s why this project earns a permanent spot in our top STEM activities.
It’s visual. The worm genuinely appears to grow and move, which taps straight into a kid’s sense of wonder.
It’s hands-on. Kids get to draw, roll, scrunch, and pour, which means multiple types of learners stay engaged the whole time.
It’s fast. From setup to soggy, wiggly payoff, you’re looking at 15 to 20 minutes total.
And it’s genuinely educational. This isn’t busywork dressed up as science. Real capillary action is happening in that paper towel, and we’ll break down exactly how later in this post.

Best For:
Elementary classrooms, homeschool science lessons, rainy day activities, birthday party stations, and any parent or teacher looking for a low-mess, high-wow science experiment.
Time to Complete:
About 15 to 20 minutes, plus a few extra minutes of pure delighted staring once the worm starts to grow.
Age Range:
Great for ages 4 and up with adult help for the marker and glue steps. Kids ages 7 and older can typically handle the entire project independently.
What You’ll Need
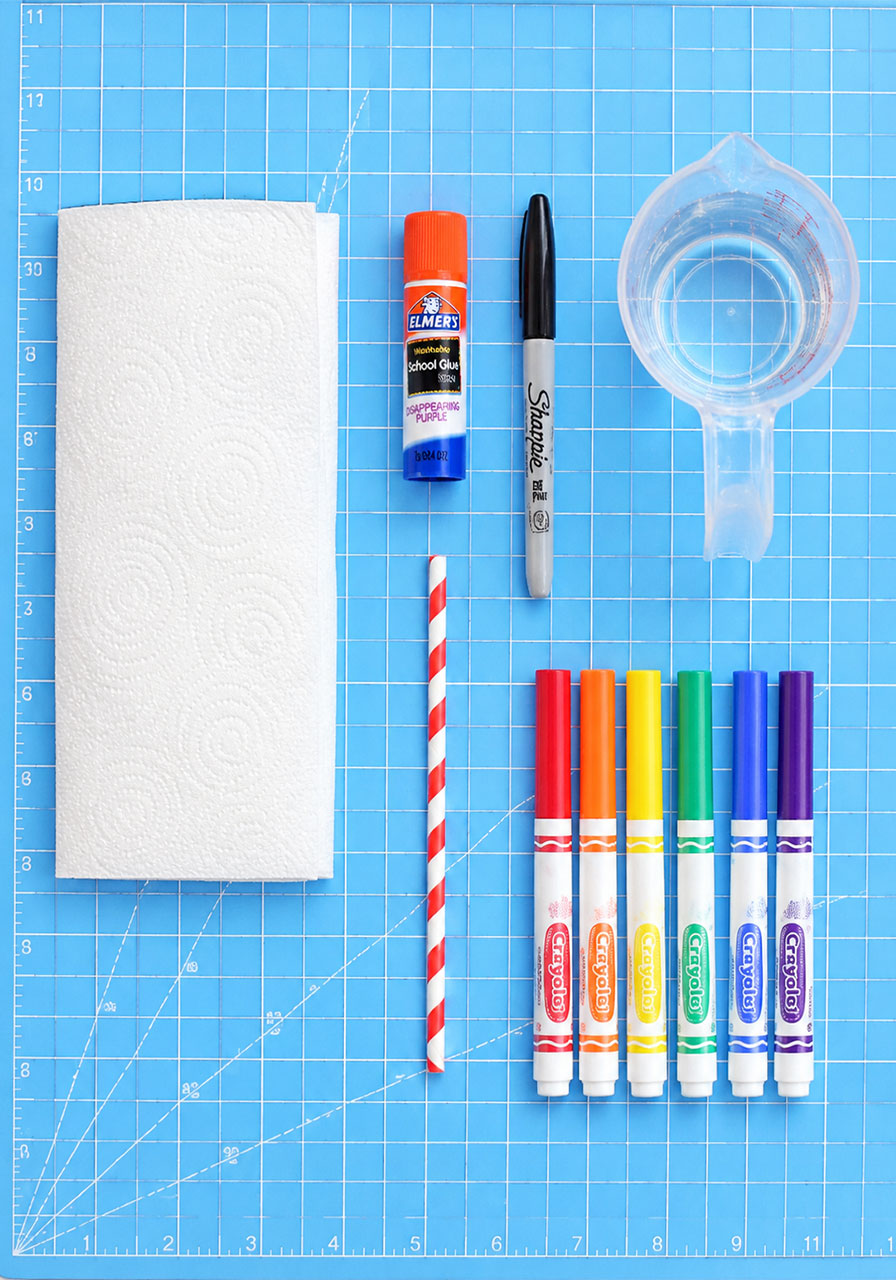
Paper towel (regular, not the “select-a-size” thick kind)
Washable markers in a few different colors
A glue stick
A black Sharpie or other permanent marker
Water
A drinking straw, pencil, chopstick, or skewer to roll around
Every single one of these items is likely already sitting in a kitchen drawer or classroom supply closet. No special trip to the craft store required.
How to Play, Step-by-Step
Follow these steps in order, and your worm will turn out perfectly on the first try.
Step 1: Set Up Your Workspace
Lay your paper towel down on a placemat, cutting mat, or spare piece of paper. This keeps your table safe from stray marker lines.
Position the paper towel so the long side is facing you.
Step 2: Draw the Hidden Colors
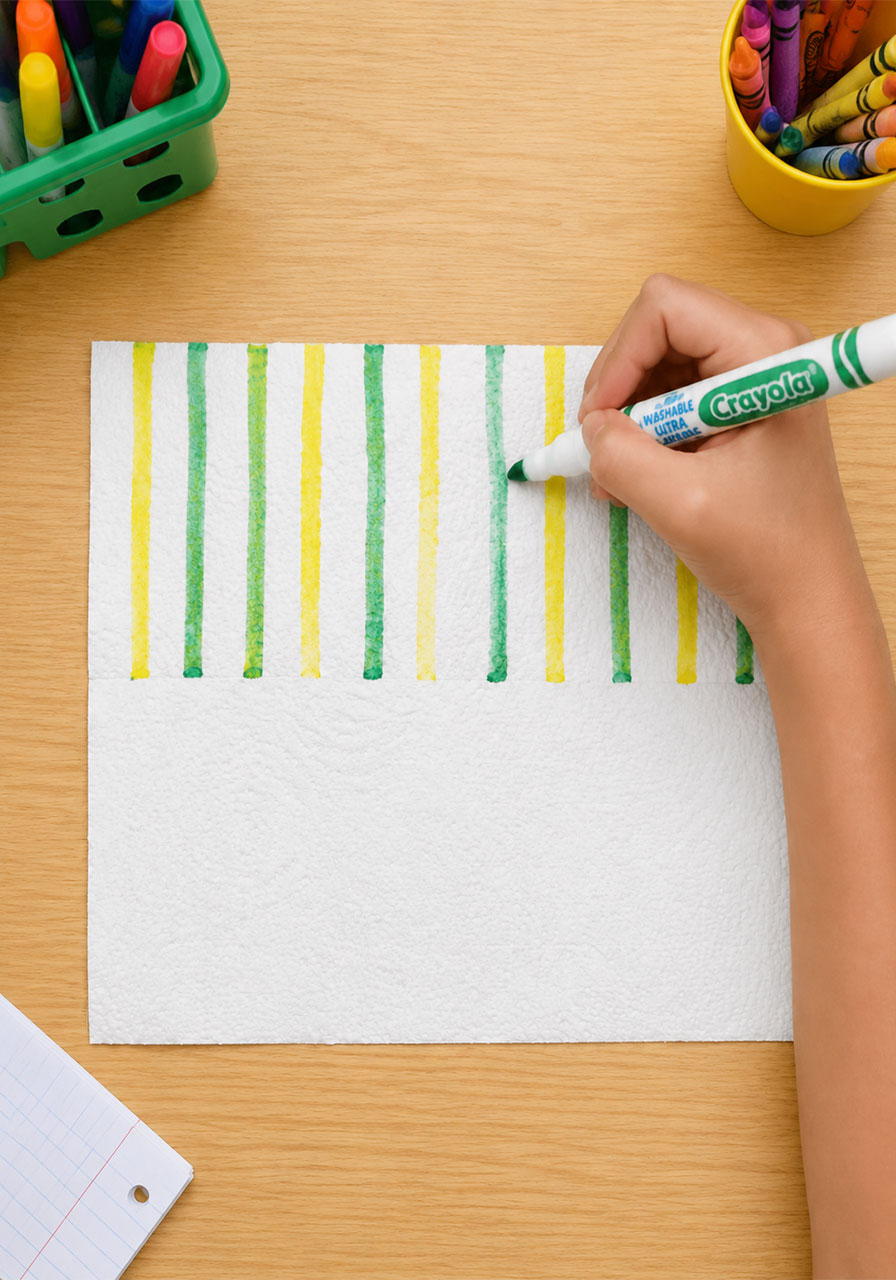
Using a washable marker, draw vertical lines from the top edge of the paper towel down to the middle. Space each line about an inch apart.
Now grab a second, complementary color. Draw new lines in the gaps between your first set of lines.
This is the color payoff that will reveal itself later, so feel free to get playful here. Bright, contrasting colors make for the most dramatic reveal.
Step 3: Flip and Roll
Flip the paper towel over so the marker lines now face down toward your table.
Place your straw, pencil, or skewer along the bottom edge, centered.
Begin rolling the paper towel around the straw. Roll with a bit of tension, but not too tight, since you’ll need to slide the straw back out later.
Stop rolling when you have about an inch of paper towel left unrolled.
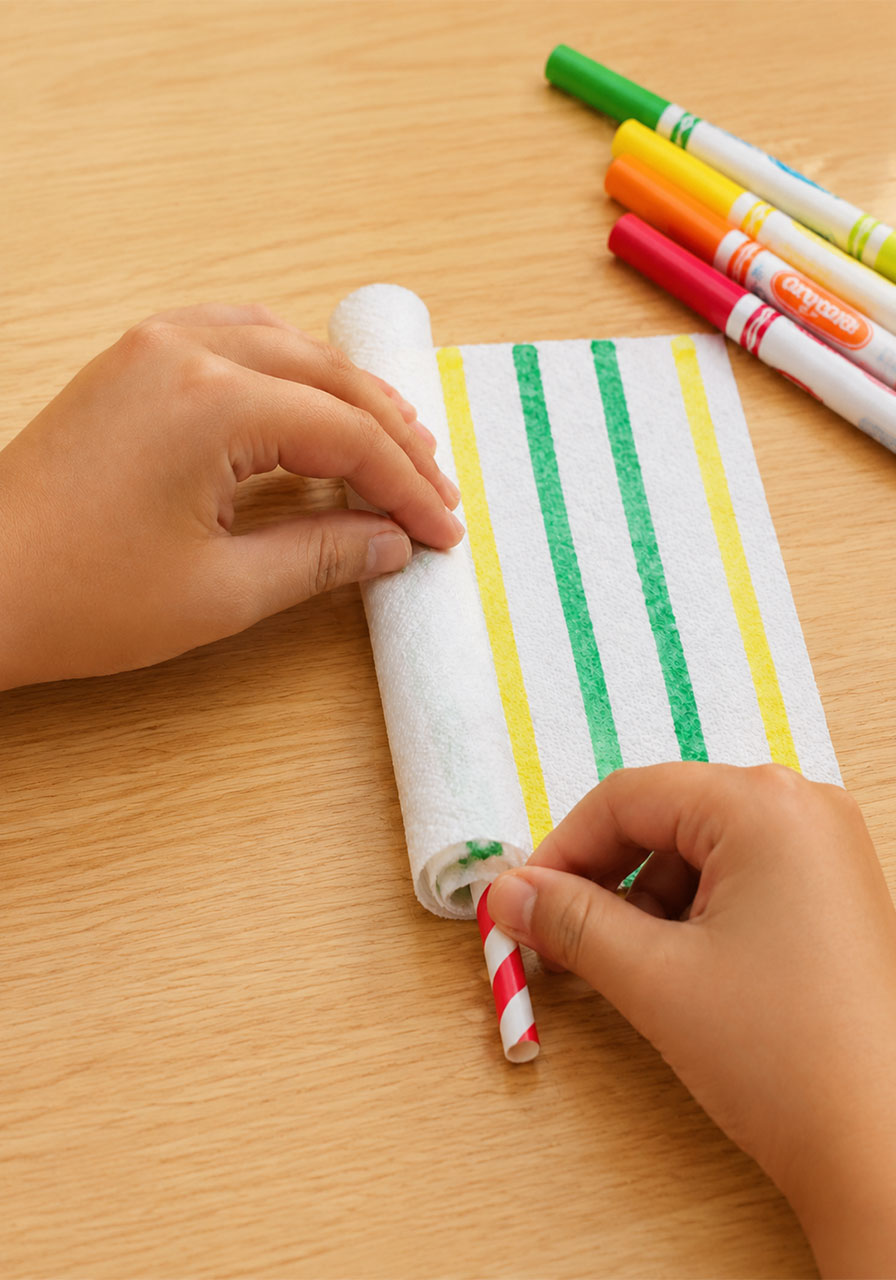
Step 4: Seal It Shut
Run your glue stick along that last unrolled inch of paper towel.
Finish rolling it up and press firmly so the glue sets and the roll stays closed.
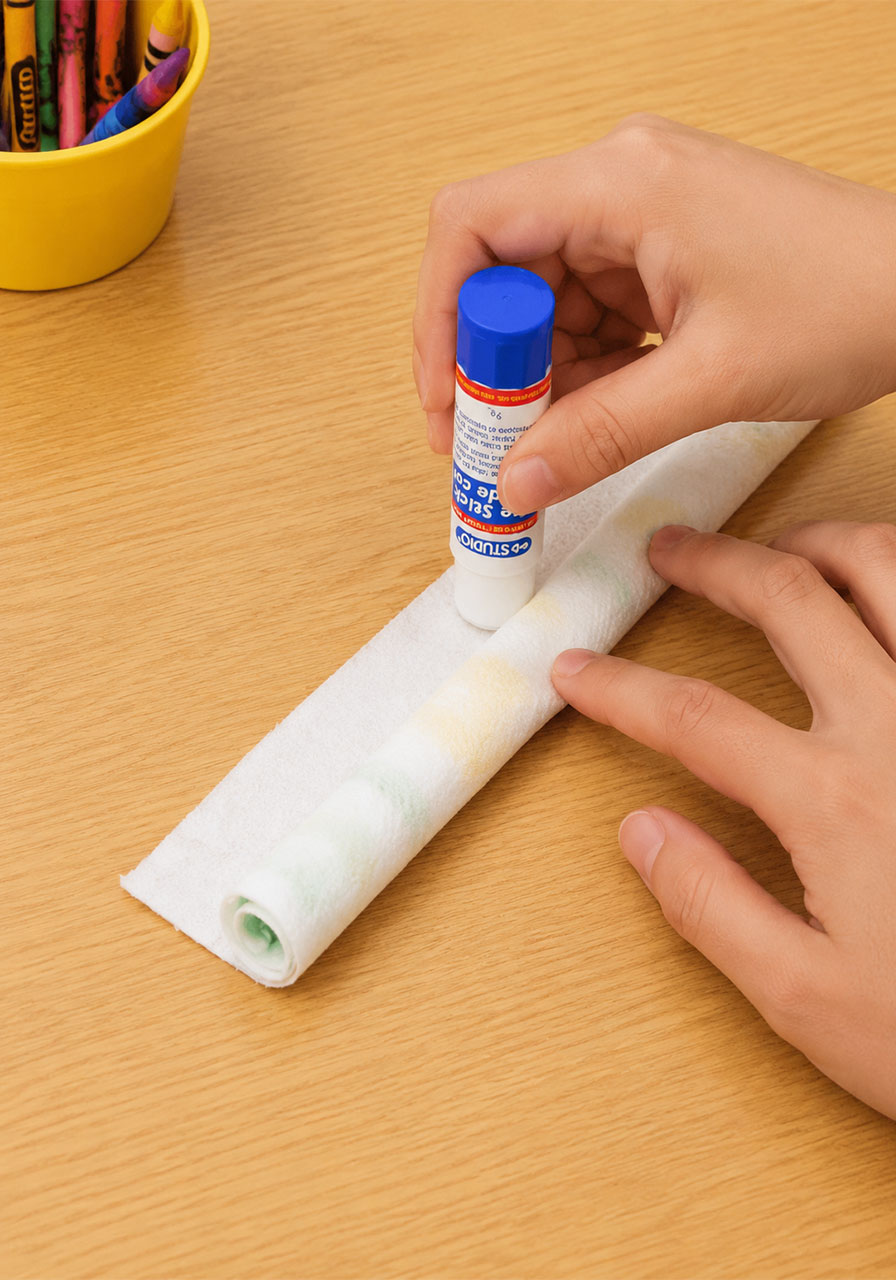
Step 5: Draw the Worm’s Skin
Grab your black Sharpie or permanent marker. Draw a pattern of dots, dashes, or squiggly lines across the outside of your rolled-up tube.
This permanent marker layer is what gives your finished worm its speckled, worm-like texture, since permanent marker won’t spread the way washable marker does.
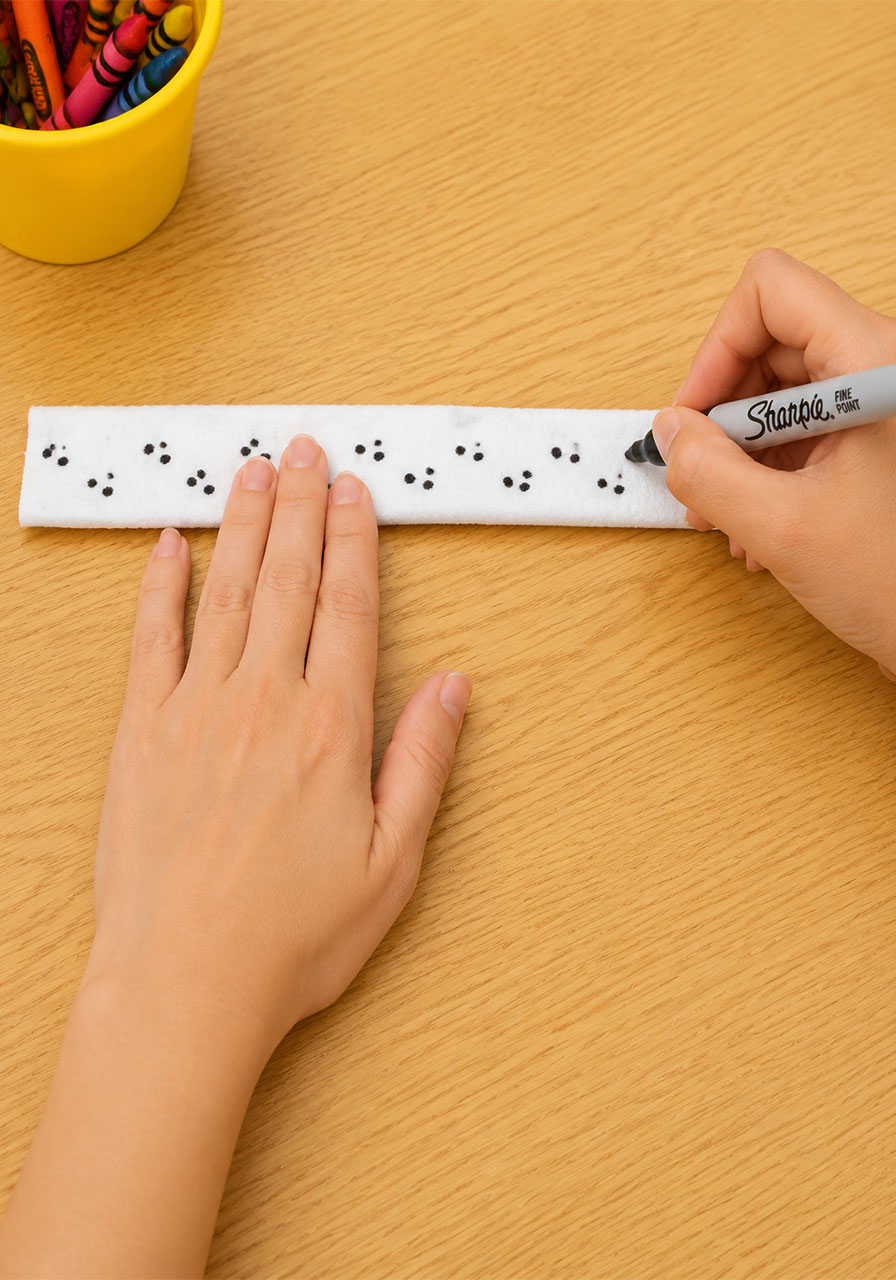
Step 6: Scrunch It Down
Hold the center of the tube steady with one hand. With your other hand, gently scrunch one side inward, accordion-style, bringing it toward the middle.
Repeat on the opposite side until your worm is scrunched as small and compact as possible.
Carefully slide the straw or pencil out from the center, keeping the scrunched shape intact as you go.
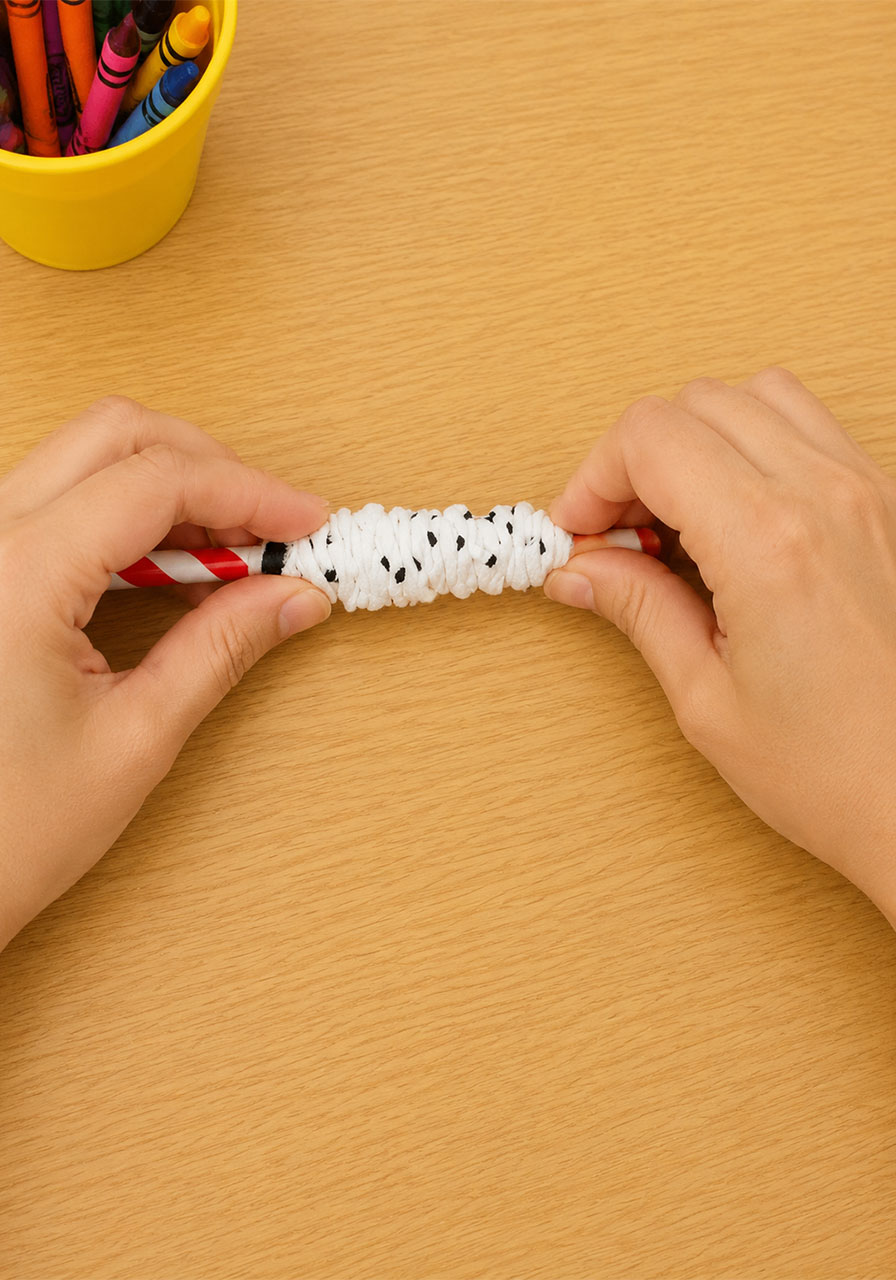
Step 7: Add Water and Watch the Magic
Place your dry, scrunched-up worm on a plate, rimmed baking sheet, or shallow dish.
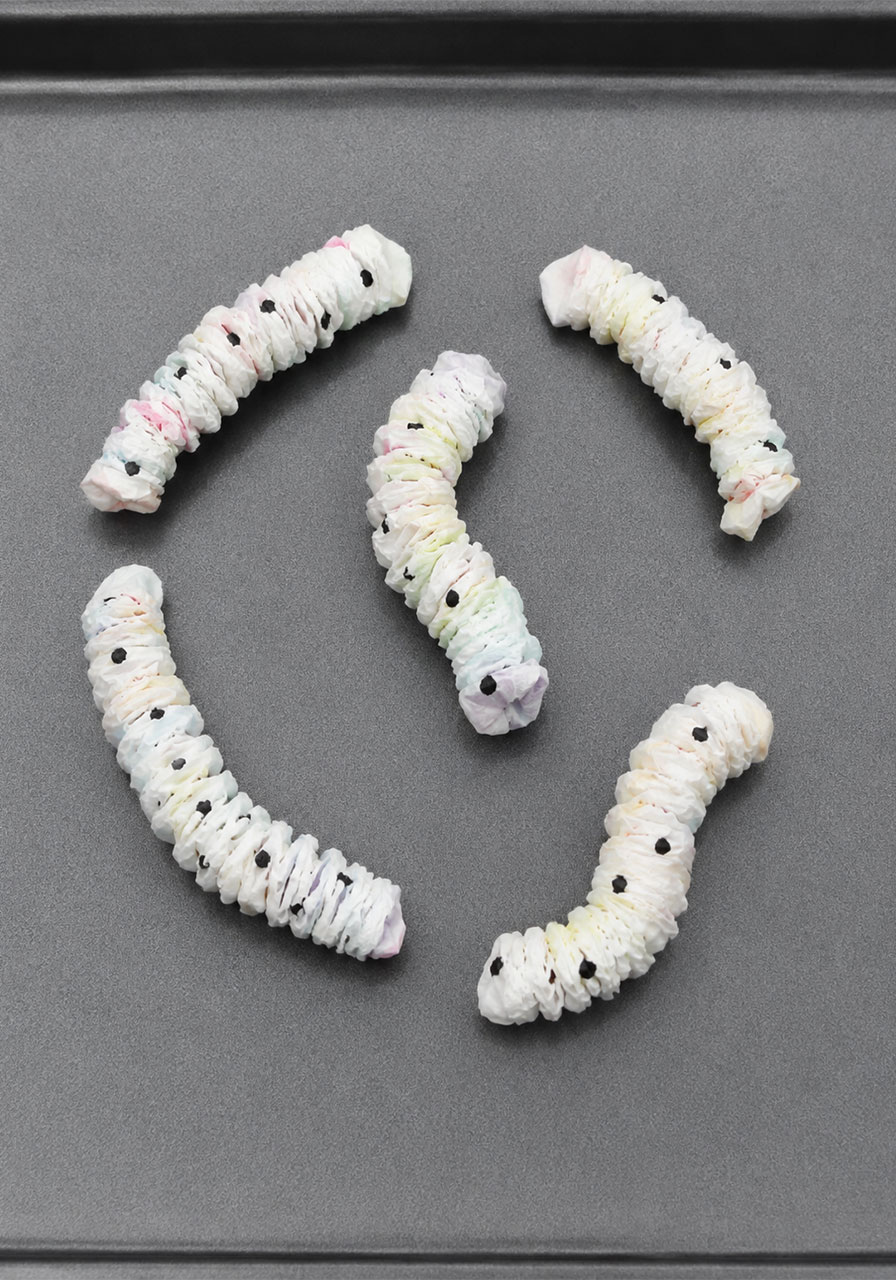
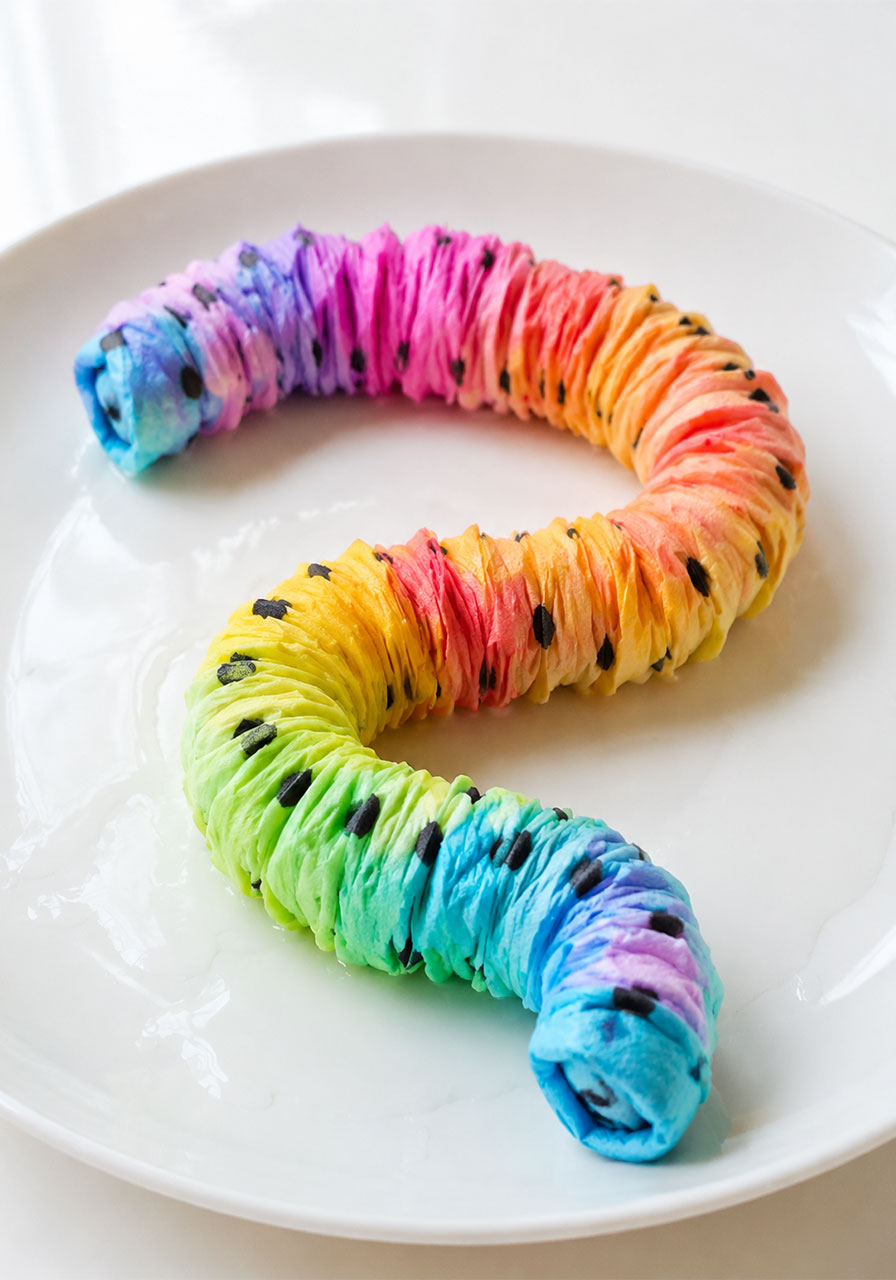
Pour a small amount of water directly over the worm. Within seconds, you’ll see it start to expand and unfurl.
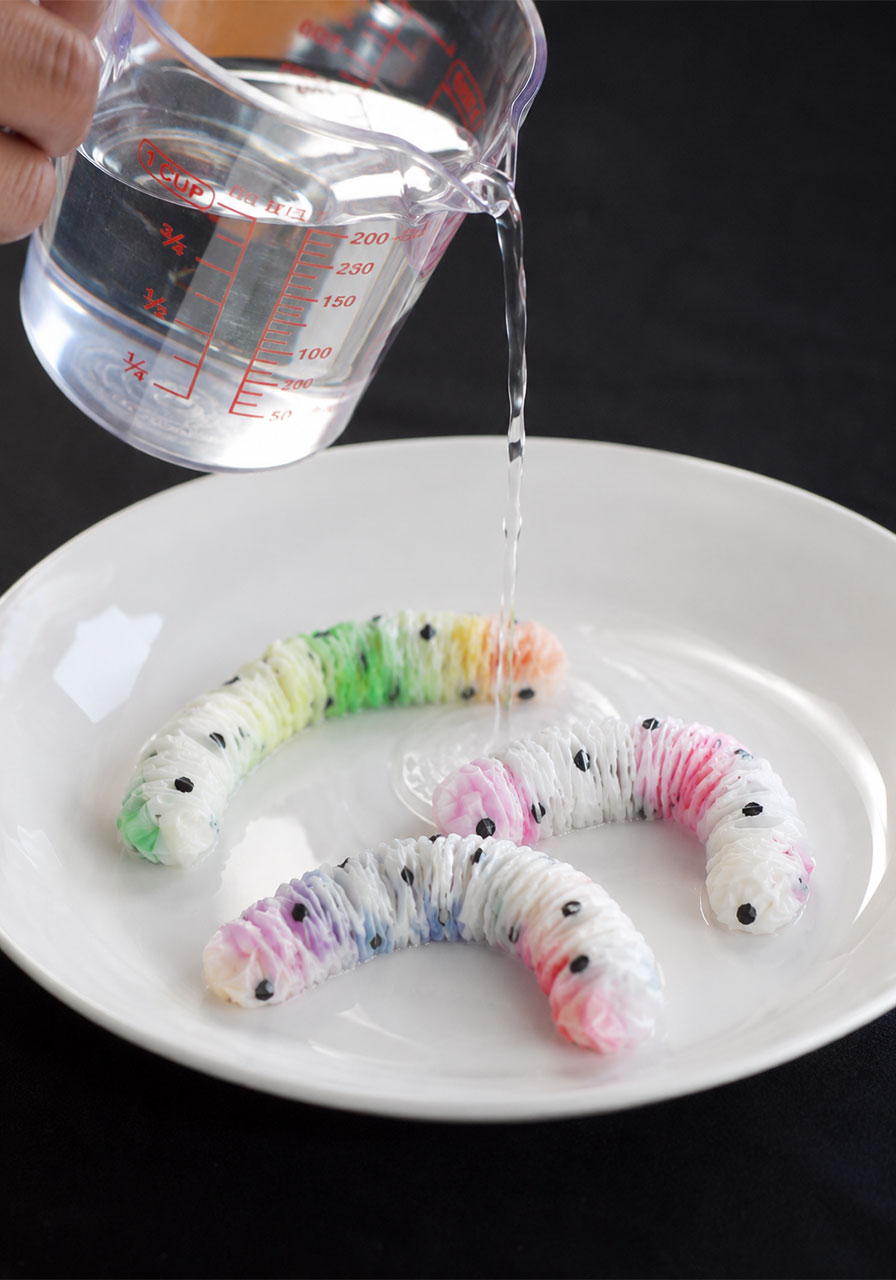
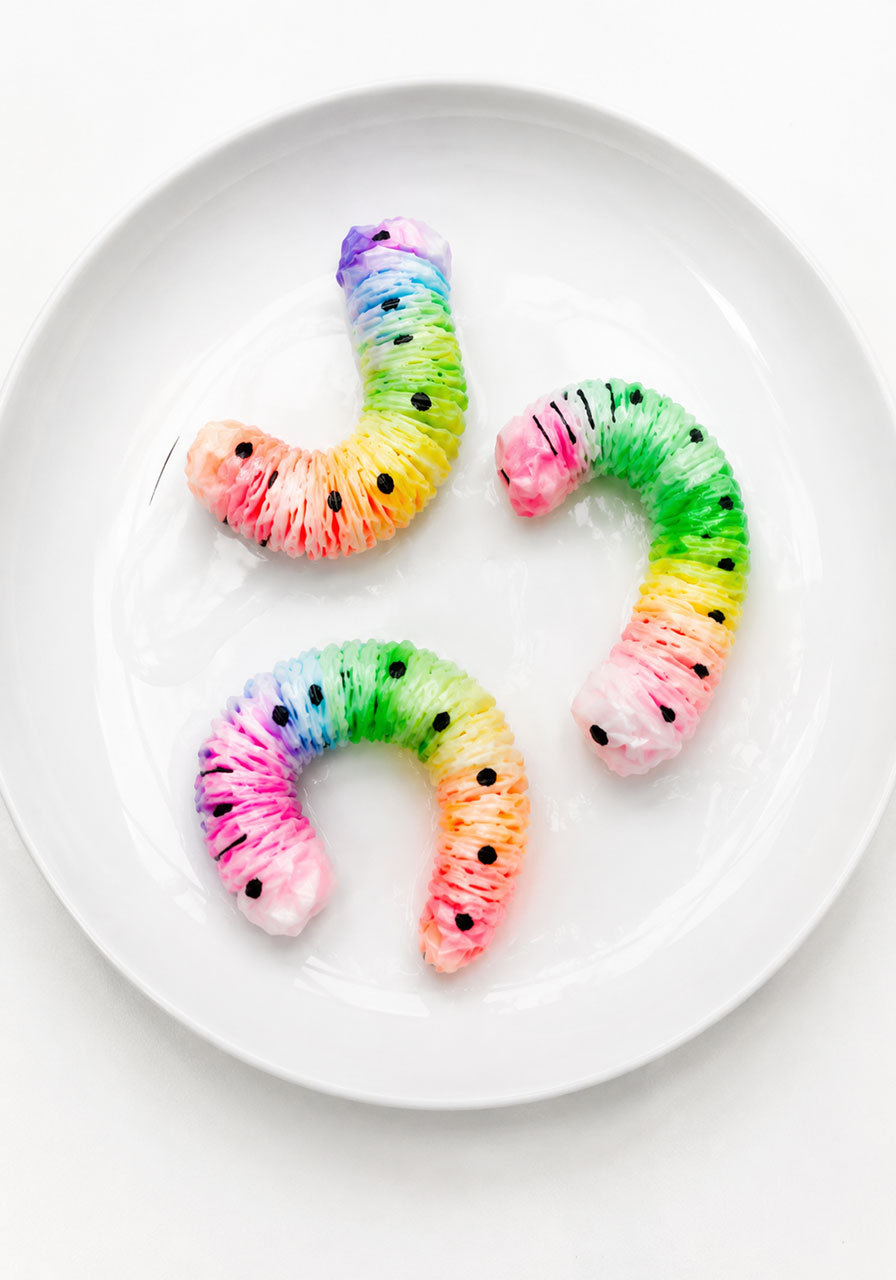
Let it sit for a few more seconds. The washable marker colors will bloom through the paper towel, while the permanent marker pattern stays crisp and defined.
If dry white patches remain, add a bit more water until your worm is fully grown, colorful, and wiggly from end to end.
Pro Tip: Control Your Water Like a Scientist
How you add water actually changes the experience, so pick the method that fits your group.
Pouring straight from a measuring cup gives you a fast, dramatic reveal, which is perfect for a classroom demo.
An eyedropper is ideal for younger kids. It builds hand strength, slows the process down, and lets them control exactly how much water goes where.
A straw works too. Dip it in water, seal the top with your finger, then release your finger over the worm to let drops fall exactly where you want them.
A small spoon is another simple, mess-free option if droppers aren’t handy.
Fun Variation: Build a Whole Worm Family
Once your class or kids get the hang of it, try cutting your paper towel in half crosswise before you start. This creates smaller, shorter worms, which means more colorful critters to grow and compare side by side.
You can also experiment with different rolling objects. A thin skewer creates a slim worm, while a thicker marker creates a chunkier one. Lining up several different sizes makes for a great visual comparison activity.
What Type of Paper Works Best?
Paper towel is our top recommendation because its absorbency creates the biggest, wiggliest growth effect.
That said, facial tissue, tissue paper, and even straw wrappers all work as fun substitutes if you want to compare materials as part of a science lesson.
The Real Science Behind the Wiggle
This is the part that turns a fun craft into a genuine STEM lesson, so it’s worth spending a few extra minutes on with your students or kids.
The secret is capillary action, the same force at work when you dip the corner of a paper towel into a glass of water and watch the water climb upward on its own.
Capillary action happens because of two forces working together: cohesion and adhesion.
Cohesion means water molecules are attracted to each other. They want to stick together, almost like they’re holding hands.
Adhesion means water molecules are also attracted to other materials, like the fibers in a paper towel.
When water touches the paper towel, adhesion wins out. The water molecules spread out and travel through the tiny gaps in the paper’s porous fibers.
As the water travels through those fibers, the paper towel physically expands and unfurls back toward its natural flat shape. That expansion is what creates the growing, wiggling illusion.
In other words, your worm isn’t really wiggling on its own. It’s expanding because water is racing through its fibers, which is a brilliant, hands-on way to help kids visualize a scientific principle they can’t normally see happening.
Classroom and Home Tips for the Best Results
Work on a protected surface. Washable marker is, well, washable, but a placemat still saves you cleanup time.
Let kids choose their own color combinations. Ownership over the design makes the reveal even more exciting for them.
If you’re running this in a classroom, prep a few pre-rolled, pre-scrunched worms ahead of time as backups, in case any little hands need extra support with the rolling step.
Have a shallow dish ready before you add water. Once the pouring starts, things move fast, and you don’t want to be scrambling for a plate.
Frequently Asked Questions
Can I reuse the same worm more than once?
Unfortunately, no. Once the paper towel absorbs water and expands, it won’t scrunch back down into its original tight shape. Each worm is a one-time show, so plan for one per student or one per activity round.
Is this experiment safe for young children?
Yes. The only supervision needed is around the permanent marker and glue stick steps. Everything else, including the final water reveal, is completely hands-on and safe for kids to do themselves.
How long does the worm stay “grown”?
Once expanded, your worm will stay wiggly and colorful for a good while as it air dries, giving you plenty of time for observation, discussion, or even a quick sketch activity before it fully dries out.
Ready to Grow Your Own Worms?
This is exactly the kind of activity that makes science feel like magic, which is precisely why it belongs in your teaching toolkit or your parenting back pocket.
Gather your paper towels, grab your markers, and get ready for a room full of amazed faces the moment that water hits the paper.
Because the best STEM lessons are the ones kids actually beg you to do again.
