
If you’ve ever needed a science activity that stops kids in their tracks, this is it. With just a few kitchen staples and one clear glass, you can build a striking rainbow of liquids that refuses to mix, then use it to teach real physics concepts kids will actually remember.
This is a classic density experiment, and it’s a favorite for a reason. It’s visual, it’s hands-on, and it works every single time as long as you follow the steps in order. Whether you’re a teacher planning a STEM lesson or a parent looking for a rainy-day activity, this one delivers.
Best of all, there’s no complicated setup and no special equipment. You likely already have everything you need sitting in your pantry right now.
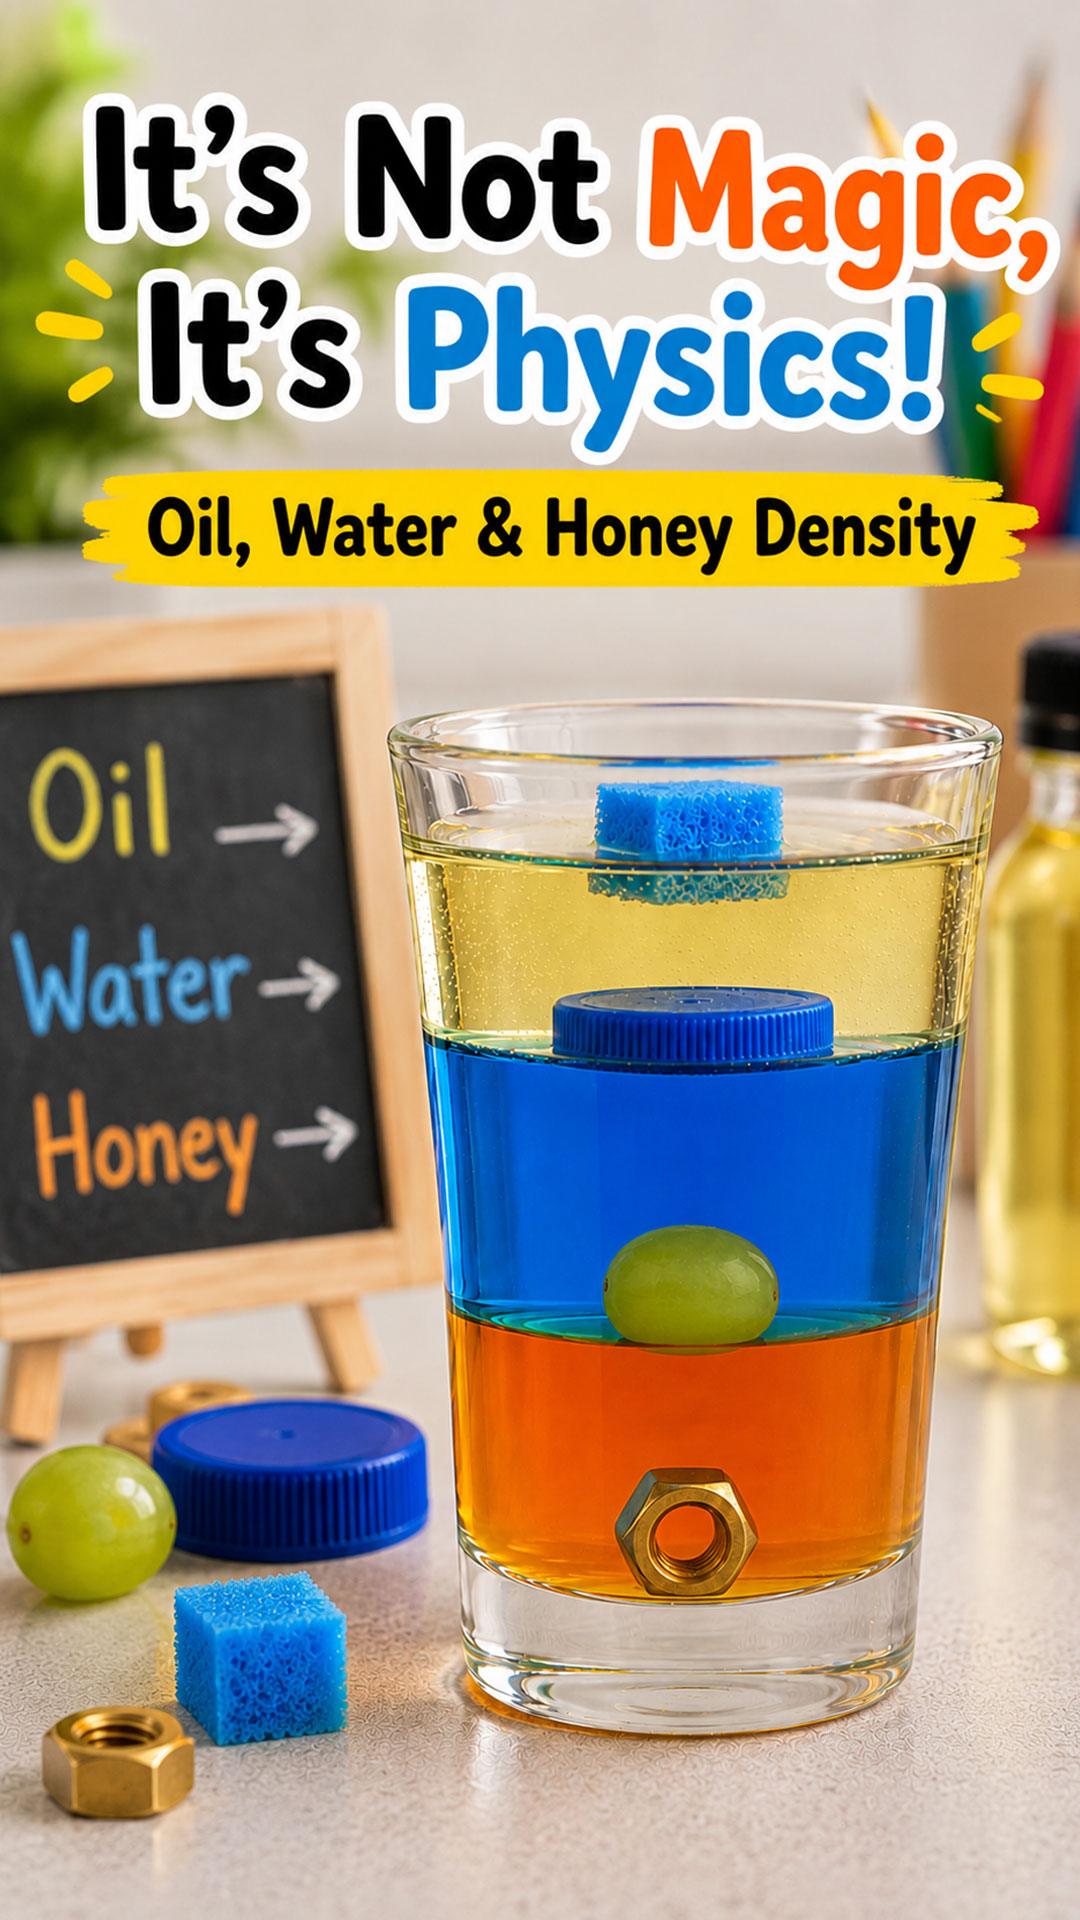
Why This Experiment Works So Well for Kids
Density is a tricky concept to explain with words alone. Kids can hear “some liquids are heavier than others” a hundred times and still not really get it.
But show them three liquids stacking themselves into neat, colorful layers, completely on their own? That clicks instantly. It turns an abstract idea into something they can see with their own eyes.
Then, when you start dropping in small objects and watching them settle at different levels, the lesson goes even deeper. Suddenly kids aren’t just watching a cool trick, they’re predicting outcomes and asking why. That’s real scientific thinking in action.

What You’ll Need
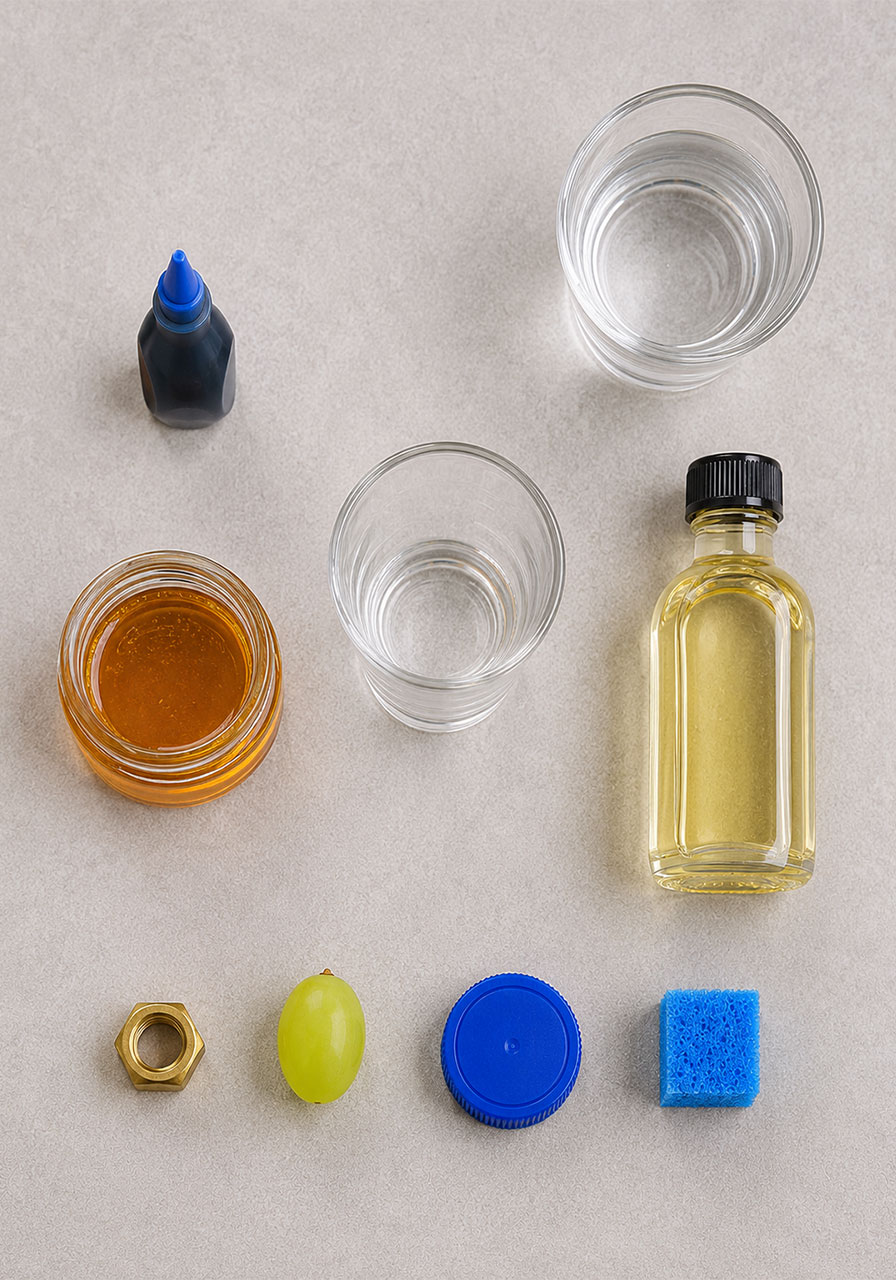
1 clear glass or tall shot glass (clear glass shows the layers best)
Water
Food coloring (blue works great for contrast)
Honey (this stands in for the classic “molasses” layer)
Cooking oil (vegetable or canola oil both work)
1 metal nut or bolt
1 grape
1 plastic bottle cap
1 small piece of sponge, cut into a cube
Best for: Elementary and middle school science lessons, homeschool STEM days, science fair projects, and curious kids at home.
Time Needed: About 20 minutes, including a short waiting period for the layers to settle.
Group Size: Works great for one curious kid, a small group, or a full classroom watching a teacher demonstration.
How to Build the 3 Liquid Layers
Here’s the part that matters most: the order you pour these liquids in changes everything. Follow this sequence exactly, and the layers will separate perfectly on their own.
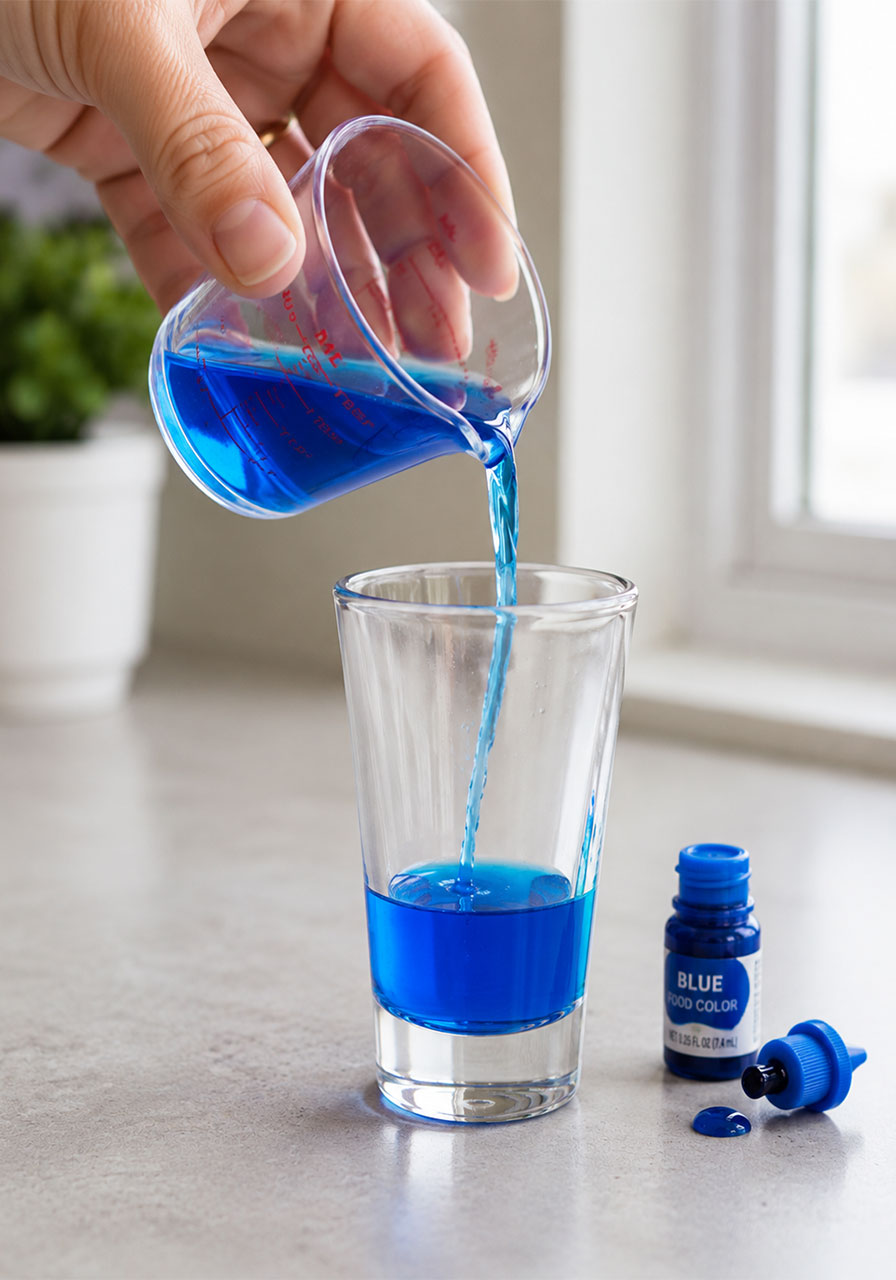
1. Pour in the water first.
Fill your glass about one-third of the way with water, then add a few drops of food coloring and stir until it’s fully mixed.
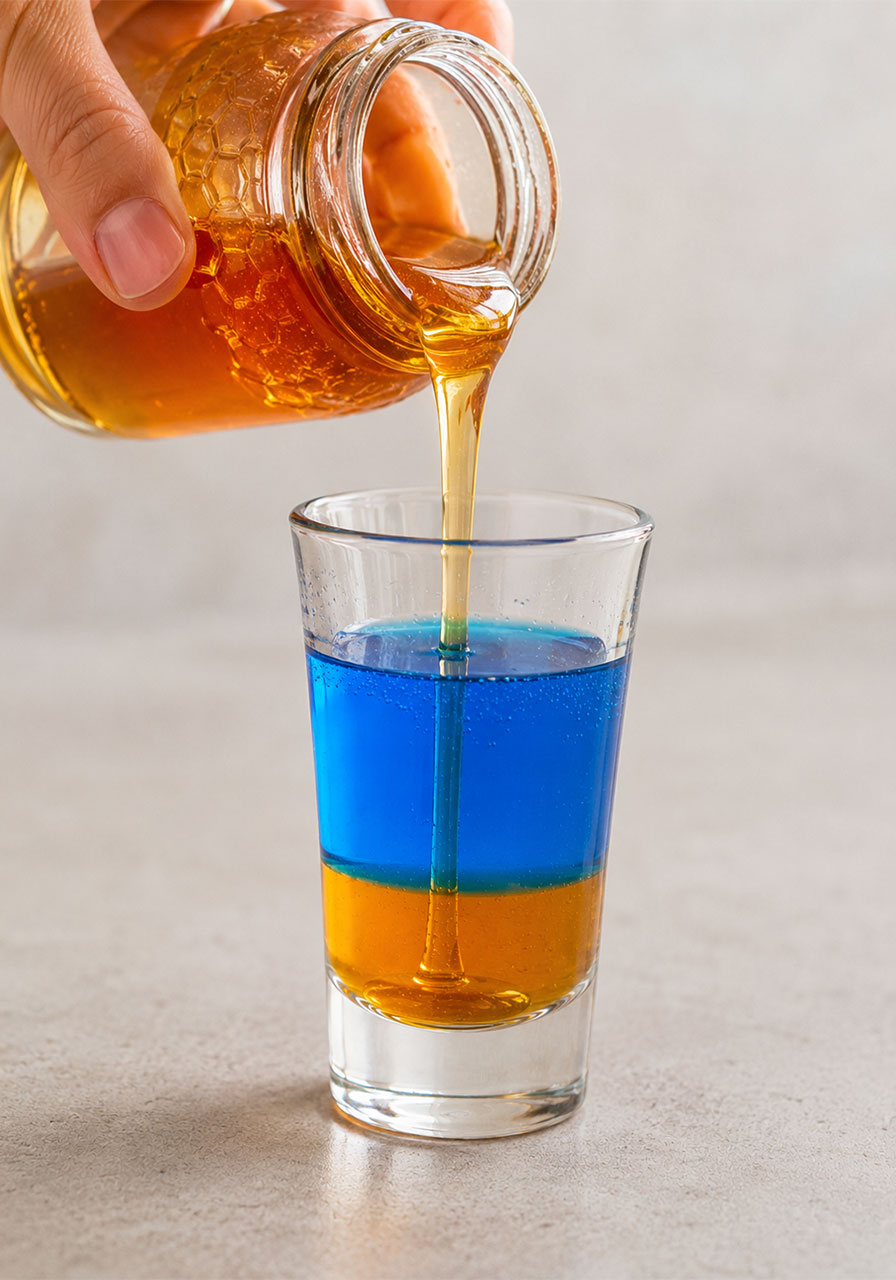
2. Slowly pour in the honey.
Pour it gently down the side of the glass. Because honey is denser than water, it will sink straight to the bottom and push the colored water up above it.
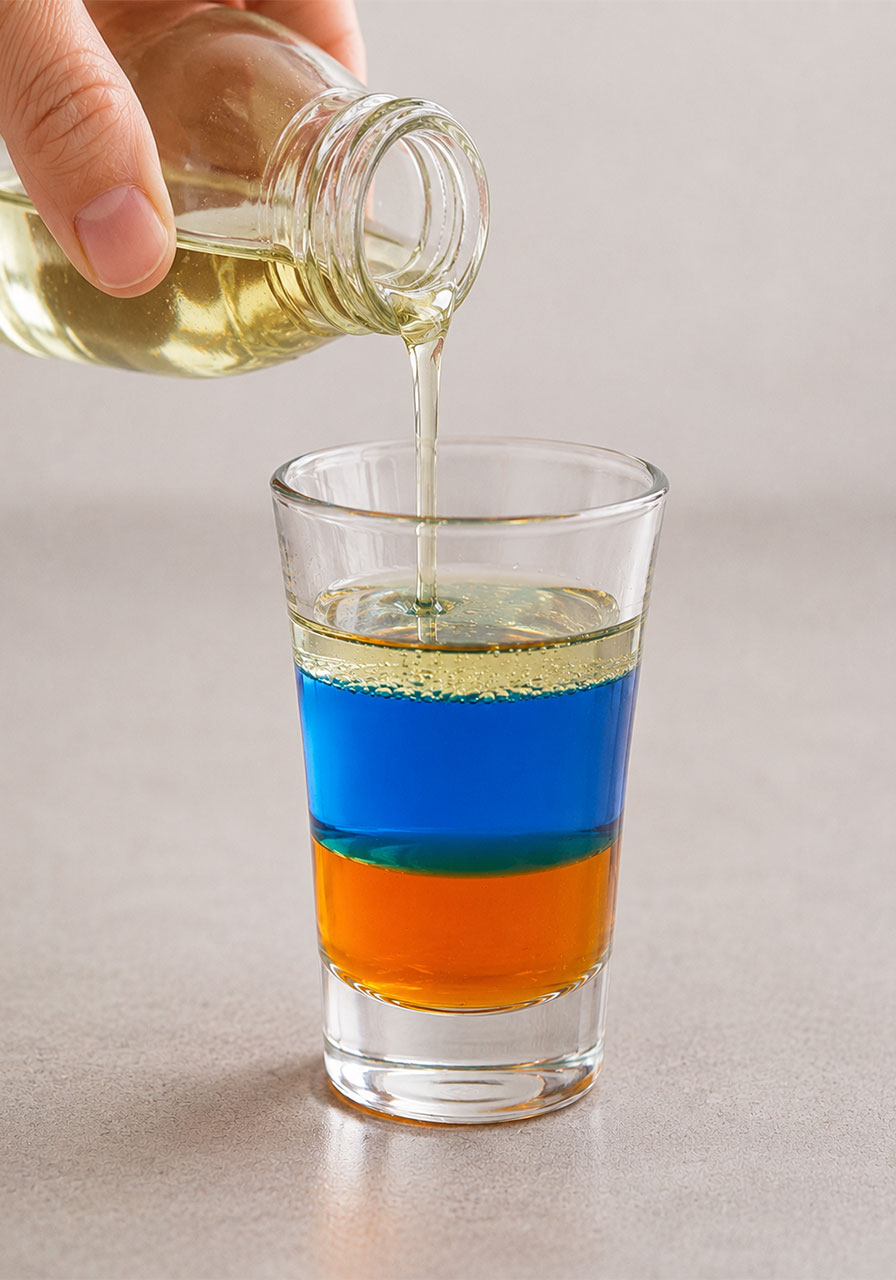
3. Slowly pour in the cooking oil.
Again, pour gently. The oil is the least dense of the three liquids, so it will float to the very top, sitting above the water layer.
4. Let the glass sit undisturbed for about 15 minutes.
This resting time lets any liquid that got mixed during pouring settle back into its proper layer.
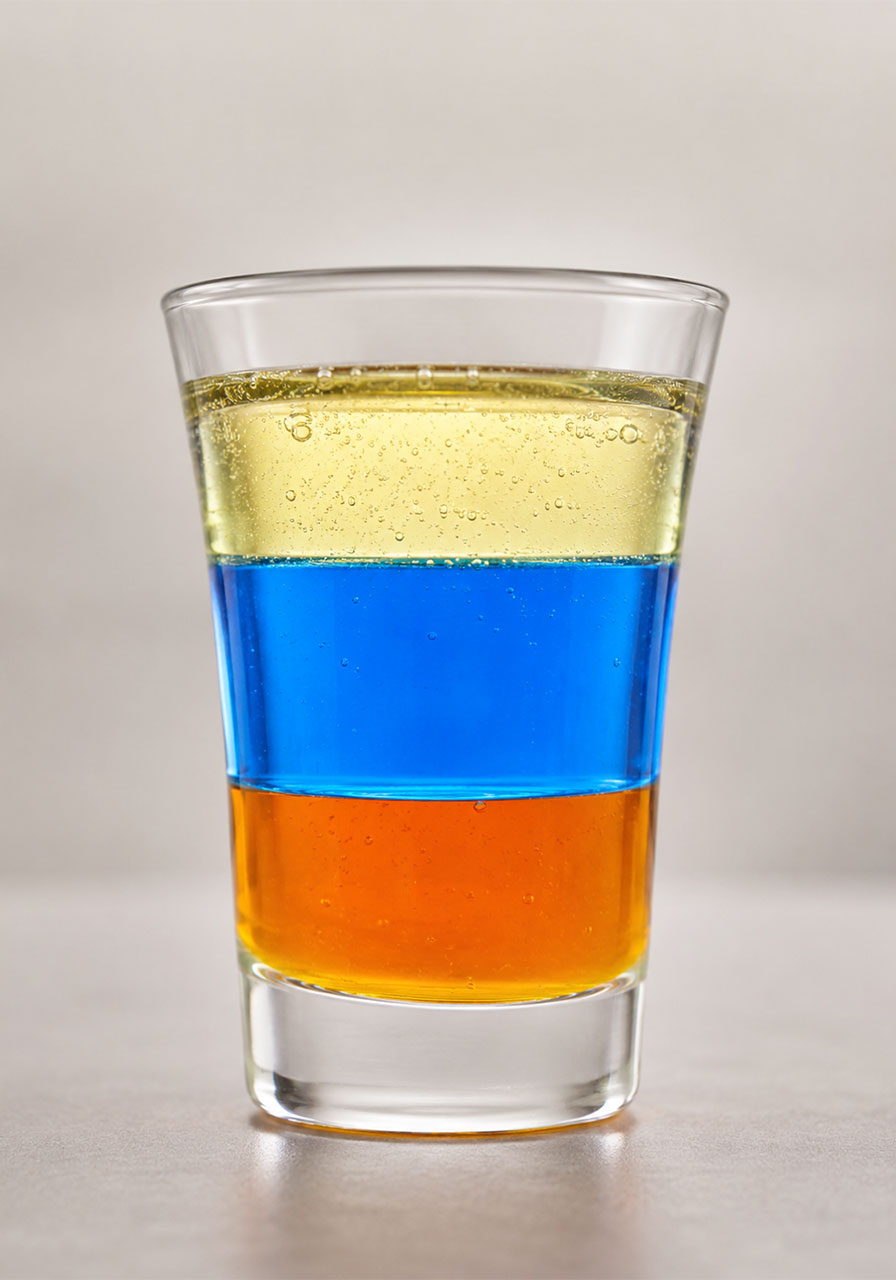
Once the layers settle, you’ll have a striking three-tier tower: honey on the bottom, colored water in the middle, and oil floating on top. None of the layers will blend together, no matter how long you leave it sitting.
The Science Behind It: Why Don’t the Liquids Mix?
The secret here is a property called density, which basically measures how tightly packed the molecules are inside a substance.
Honey has a very high density, meaning it’s packed with a lot of mass in a small amount of space. That’s why it sinks below everything else and settles at the bottom of the glass.
Water has a medium density. It’s heavier than oil but much lighter than honey, which is exactly why it lands in the middle layer.
Cooking oil has the lowest density of the three. Its molecules are more loosely packed, so it’s the lightest liquid in the glass and naturally floats on top.
There’s a simple rule at play here that’s worth teaching directly: denser liquids sink below less dense liquids. As long as liquids don’t dissolve into one another, they’ll always stack up in order of density, from heaviest at the bottom to lightest at the top.
Level It Up: Dropping Objects Into the Liquid Tower
Once your three layers are settled, the experiment gets even more interesting. Now you can test the density of solid objects against the density of each liquid layer.
This is the part that really hooks kids, because before you drop each item in, you can ask them to guess where it will land. Will it sink all the way down? Will it float on top? Or will it stop somewhere in the middle?
Here’s what happens with each object, and why.
The Metal Nut: Sinks Straight to the Bottom
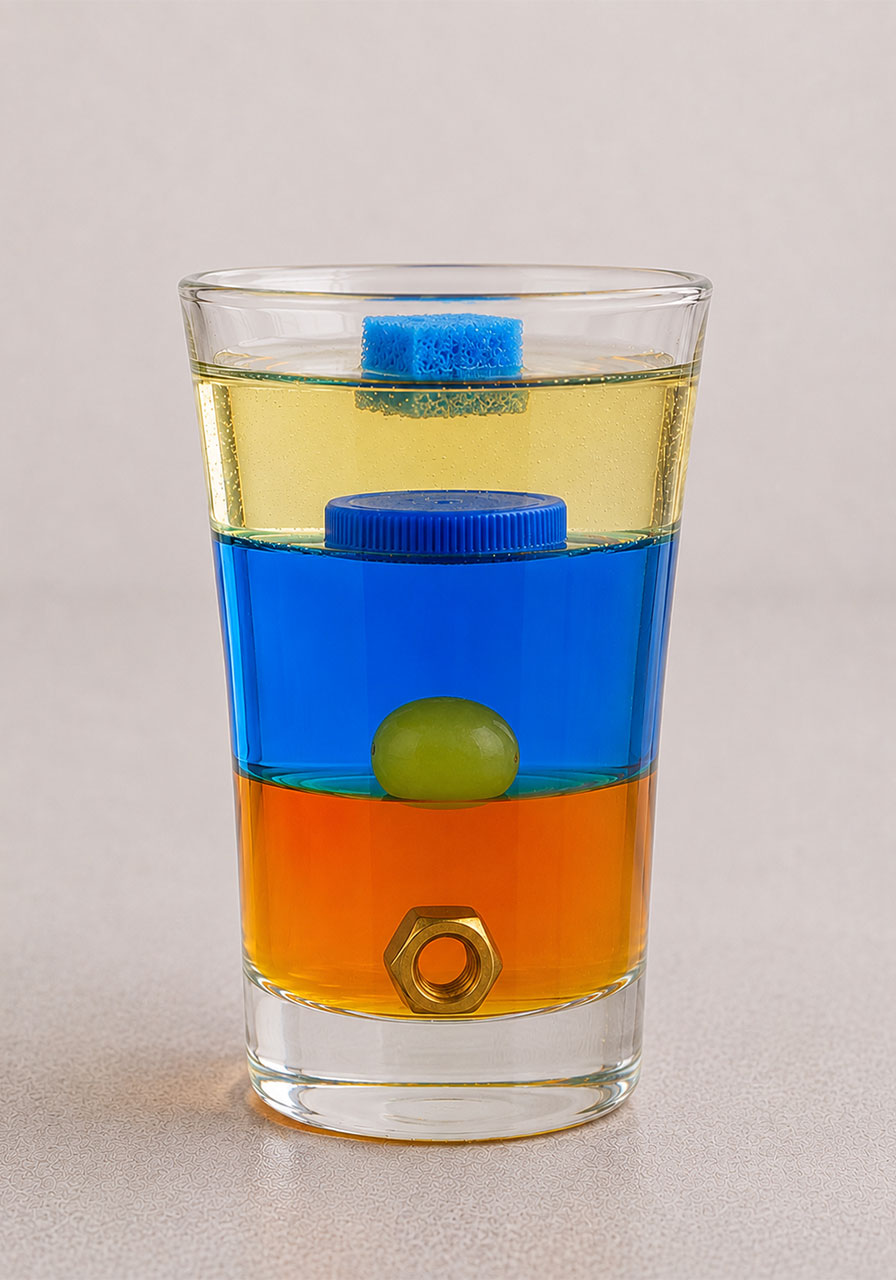
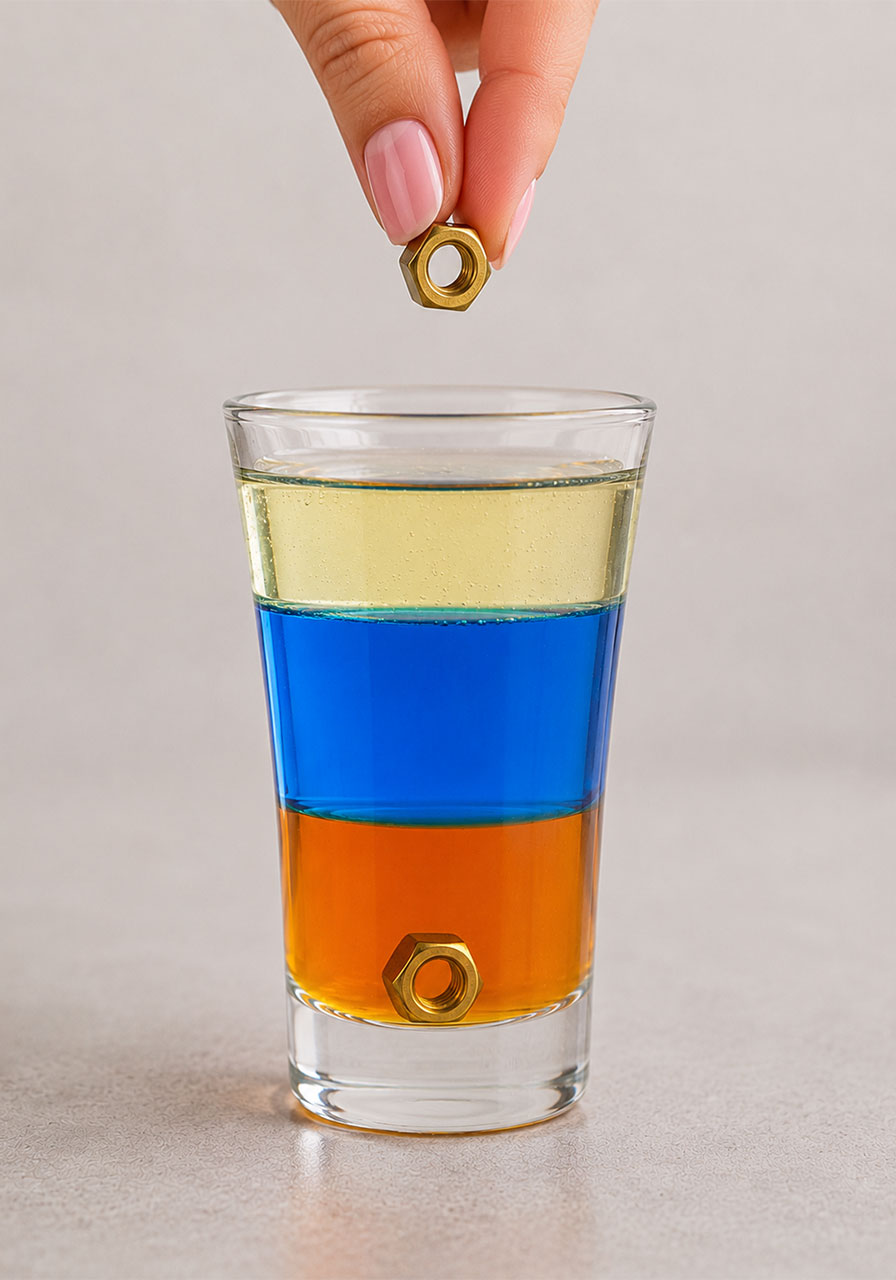
Drop a metal nut or bolt into the glass and watch it sink through the oil, straight through the water, and settle at the very bottom of the honey layer.
That’s because metal is denser than all three liquids. No matter how far down it travels, there’s nothing in this glass dense enough to stop it. This is a great moment to ask kids: what does it mean for something to be “denser than everything else in the room”?
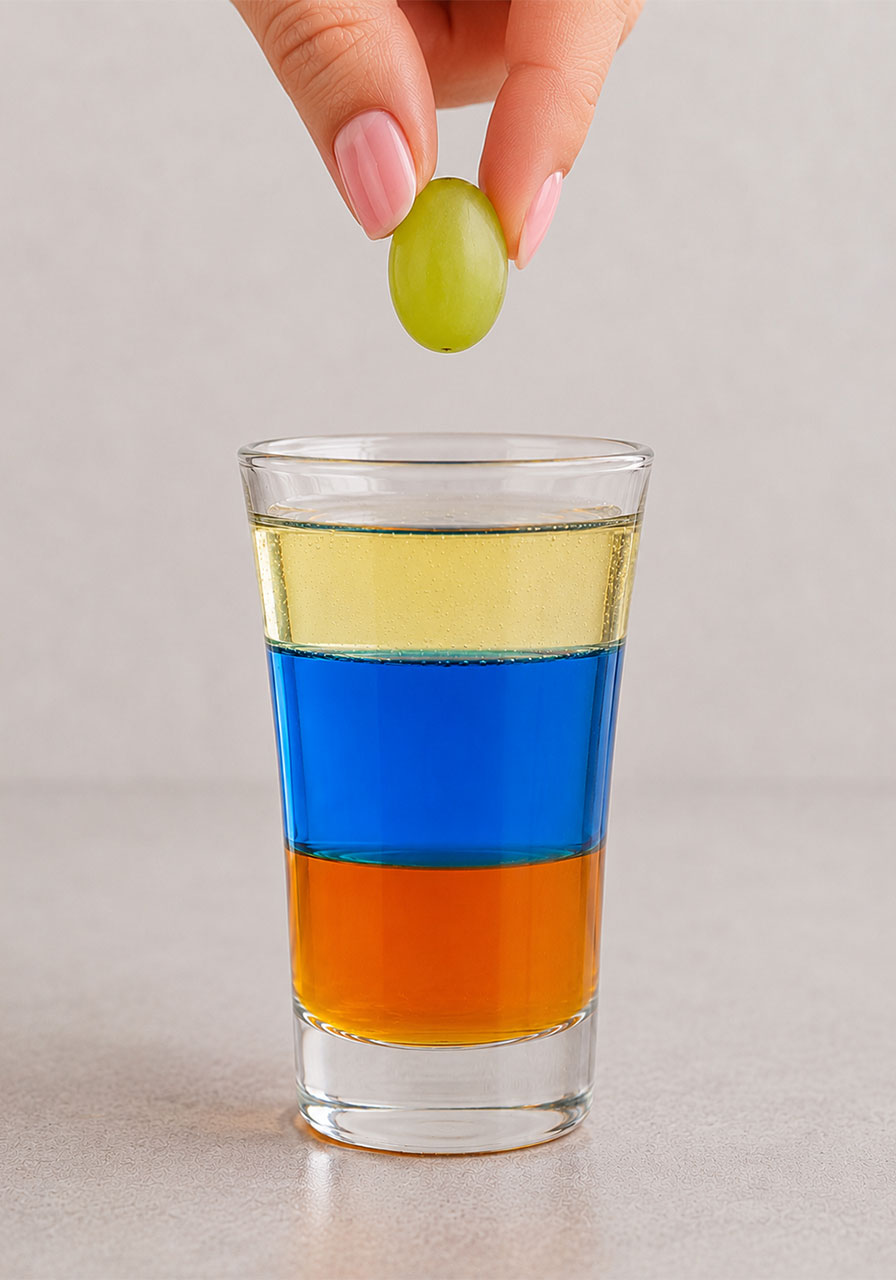
The Grape: Sinks Through Oil and Water, Then Stops on Top of the Honey
Drop a grape into the glass next. It will sink right through the oil layer and the water layer, just like the nut did. But this time, something different happens.
The grape stops moving once it reaches the top of the honey layer, resting right at the boundary between the water and the honey. It never breaks through into the honey itself.
That’s because the grape is denser than both oil and water, so it sinks past them. But it’s less dense than the honey, so the honey layer holds it up instead of letting it sink further. The grape essentially floats on top of the honey, even though it looks like it’s floating in the middle of the glass.
The Plastic Bottle Cap: Floats on Top of the Water Layer
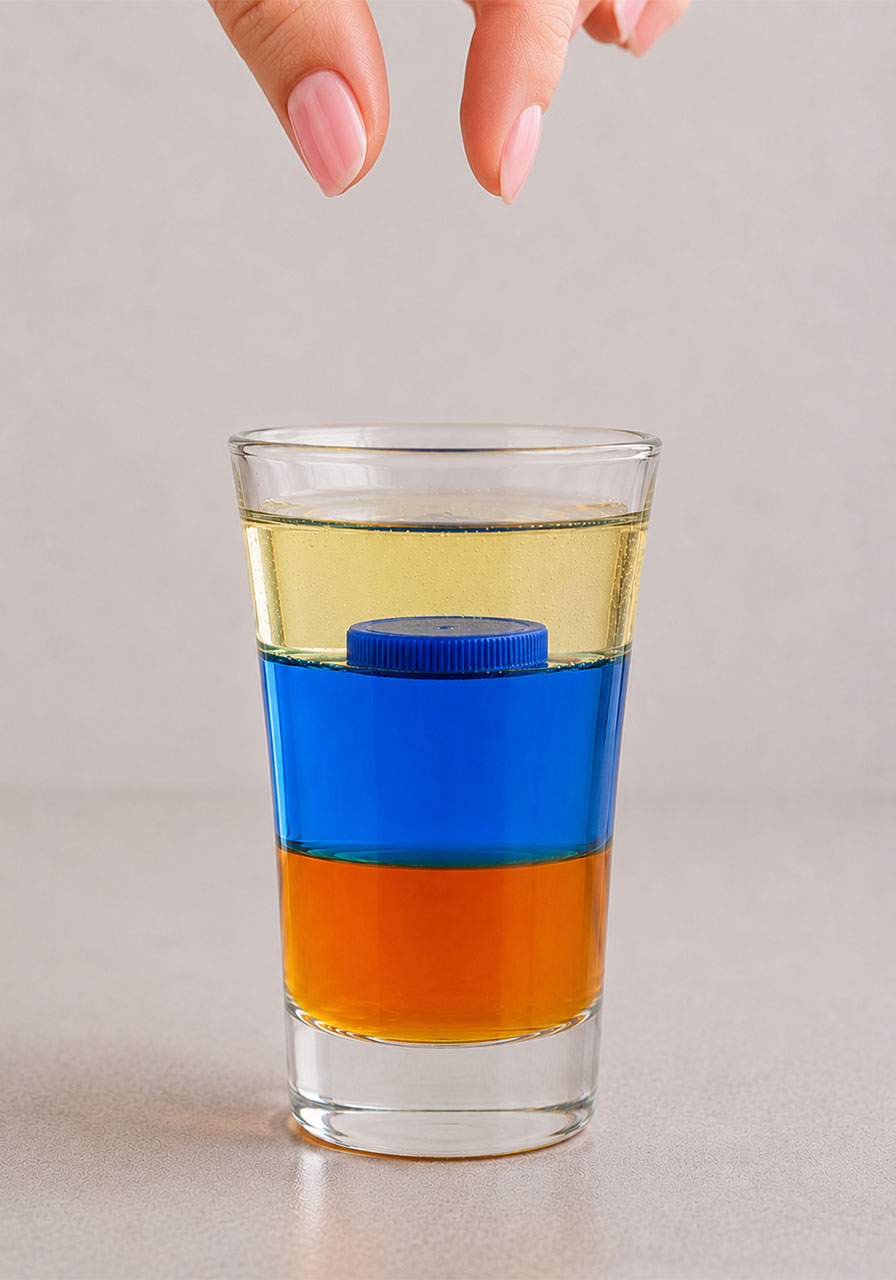
Drop in a plastic bottle cap, and you’ll see it sink through the oil layer but stop the moment it reaches the water underneath.
The cap is denser than oil, so oil alone can’t support it. But it’s less dense than water, so once it reaches the water layer, it stops sinking and settles right at the oil-water boundary.
This is a perfect chance to point out that the cap didn’t need to touch the water directly to “know” it was there. It sank until it hit a liquid dense enough to hold it up, then it stopped.
The Sponge Cube: Floats Right on Top of the Oil
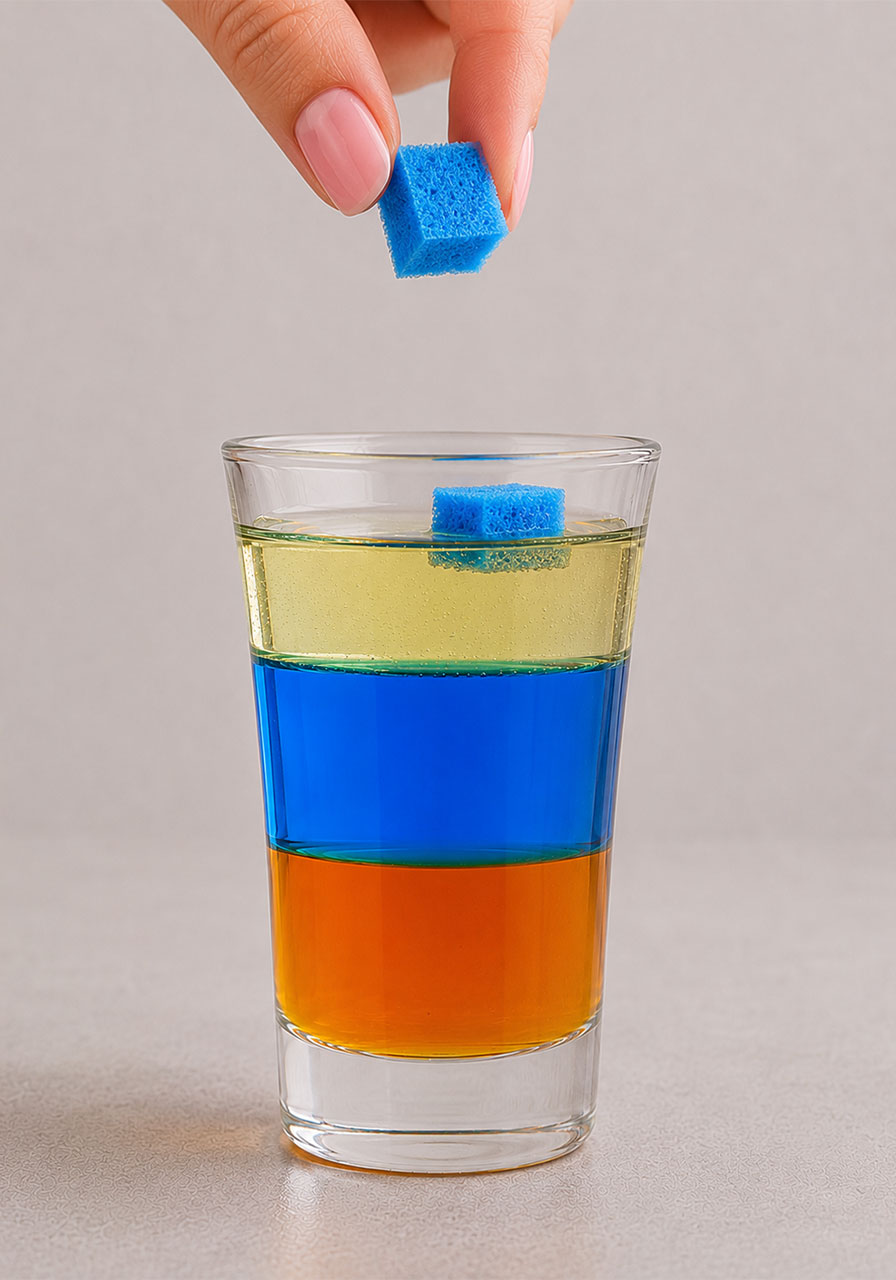
Finally, drop in a small cube of sponge. Unlike every other object in this experiment, the sponge doesn’t sink at all. It floats right on the surface of the oil, sitting partly above the surface.
That’s because the sponge is less dense than all three liquids in the glass. It’s light enough that oil, the least dense liquid here, is still enough to hold it up completely.
Pro Tip for a Foolproof Result
Pour each liquid slowly, down the inside wall of the glass rather than straight down the middle. Pouring too fast or too high above the glass will cause the liquids to splash and mix together, which means you’ll need to wait longer for the layers to fully separate again.
Fun Variation: Turn It Into a Prediction Game
Before dropping in each object, have kids write down or say out loud where they think it will land: top, middle, or bottom. Then drop it in and see who guessed correctly.
You can take this further by gathering a handful of small household objects, like a coin, a cork, a paperclip, or a small plastic toy, and testing them one at a time. It turns the whole activity into a hands-on density guessing game, and kids tend to remember lessons much better when they’ve made a prediction first.
A Few Things to Keep in Mind
This activity involves honey and oil, so expect a bit of a sticky cleanup afterward. It’s best done on a table with a wipeable surface or a tray underneath the glass.
Also, since small objects like nuts and bottle caps are involved, this experiment is best done with adult supervision for younger kids, especially if there are toddlers or very young children in the room who might be tempted to put small items in their mouths.
Why This Activity Is Worth Adding to Your STEM Lineup
Good STEM activities do two things at once: they hold a kid’s attention, and they teach a concept that sticks. This experiment checks both boxes without needing a science kit, a lab, or a big budget.
It’s also flexible. You can run it as a quick five-minute demonstration, or stretch it into a full lesson with predictions, discussion, and multiple rounds of object testing. Either way, it’s a reliable go-to whenever you need a hands-on science moment that actually works.
Keep this one in your back pocket for your next classroom lesson, homeschool day, or weekend activity at home. It’s simple, it’s visual, and it turns “physics” from a scary word into something genuinely fun to watch unfold.
