Looking for a Memorial Day activity that’s meaningful, mess-friendly, and actually fun for little ones? This Memorial Day Star Fingerprint Craft is exactly that – and then some.
It’s one of those crafts that checks every box. Easy enough for toddlers. Engaging enough for older kids. Beautiful enough to display proudly on your fridge or mantel all season long.
And the best part? All you need are a few bottles of acrylic paint, some cardstock, and their little fingers.
No fancy supplies. No complicated steps. Just red, white, and blue – and a whole lot of fun.
Whether you’re gearing up for Memorial Day weekend or planning ahead for the 4th of July, this patriotic fingerprint star craft is a keeper. Let’s get into it.

Why This Craft Is a Total Win for Memorial Day
Memorial Day is more than just the unofficial start of summer. It’s a day to pause, reflect, and honor those who gave everything for our freedom.
And while that’s a big concept for little kids to grasp, crafts like this one open the door to those conversations in the most gentle, age-appropriate way.
As you and your child dip fingers into red, white, and blue paint, you can talk about what those colors mean. You can explain that Memorial Day is a special day for remembering brave people. You can make it meaningful without making it heavy.
That’s the magic of a good craft. It’s never just about the end product – it’s about the connection and conversation that happens along the way.
Plus, this one doubles as a beautiful piece of patriotic art you’ll actually want to keep around.

What Makes This Fingerprint Star Craft So Special
There are a million kids’ crafts floating around on the internet. So what makes this one worth your time?
First, the resist technique is genuinely cool. You place a star template on the paper, cover the surrounding area in fingerprints, then peel it away to reveal a crisp white star in the middle. The result looks like something that took way more effort than it actually did.
Second, it’s a full sensory experience. Kids get to squish paint between their fingers, press dots all over the paper, and watch a picture come to life with their own hands. That’s a big deal for little brains and little bodies.
Third, it’s endlessly repeatable. Once your kids get the hang of it, they’ll want to make five more. Which means you’ve got a great activity that fills a whole afternoon – and you’ll have plenty of patriotic artwork to share with grandparents, teachers, or neighbors.
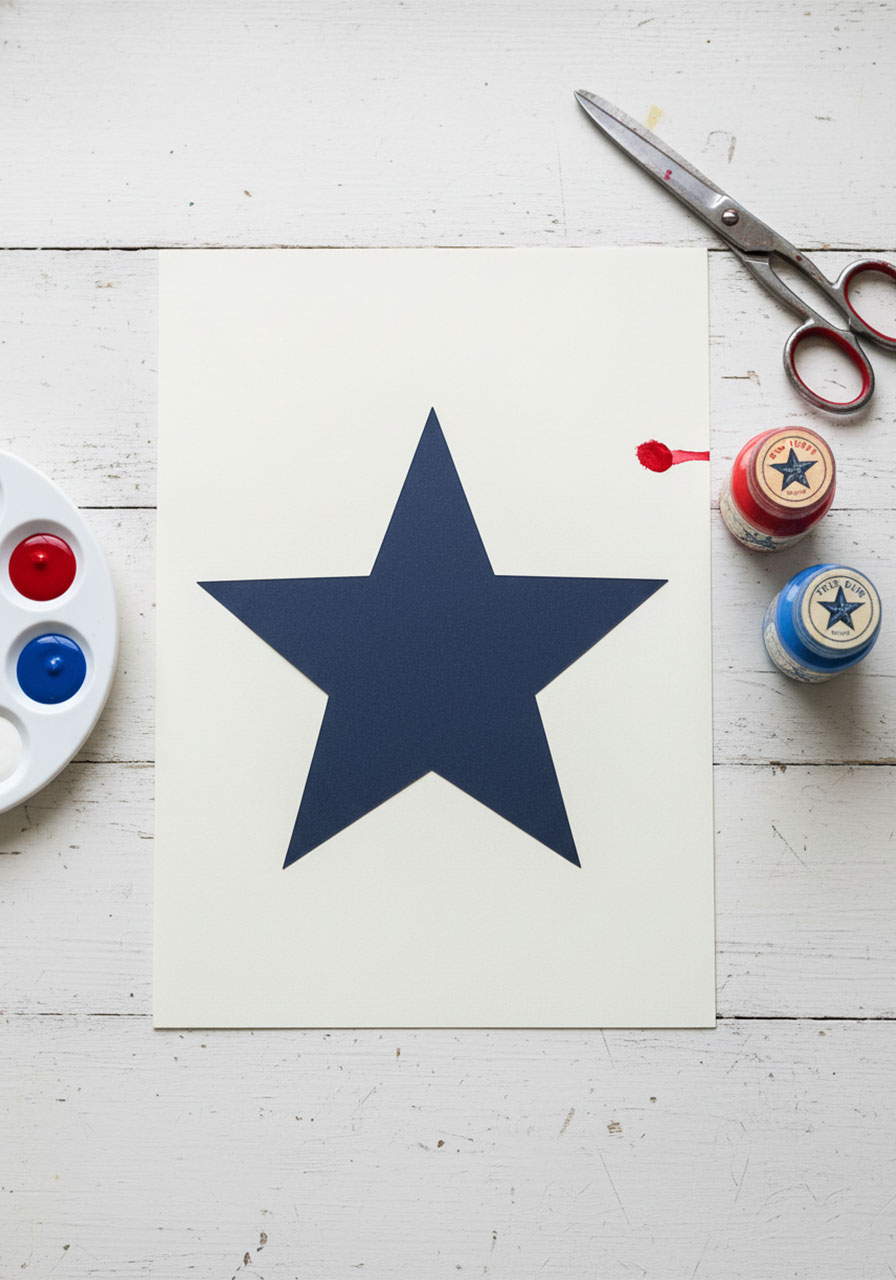
What You’ll Need
Printable star template (print it on cardstock for best results)
White cardstock (a few sheets, because they’ll want to make more than one)
Acrylic craft paint in red, white, and blue
A paint palette or paper plate for pouring
Scissors
Optional: glue dots or masking tape loops to secure the star template
Optional: baby wipes or a damp cloth for easy finger clean-up between colors
That’s it. Seriously. You probably already have most of this at home.
If you don’t have acrylic paint, grab a small set at your local craft store or order online. Apple Barrel and Folk Art brands work great and are very budget-friendly.
How to Make the Memorial Day Star Fingerprint Craft
Ready to get those fingers painted? Here’s exactly how to do it, step by step.
Step 1: Print and Cut Out the Star Template
Start by printing the star template. For best results, print it on cardstock rather than regular printer paper.
Why cardstock? Because it’s sturdier, holds its shape better when placed on another sheet, and won’t get soggy from the paint around its edges.
Once printed, cut out the star carefully. A clean, smooth edge will give you the crispest reveal at the end.
Step 2: Set Up Your Painting Space
Lay a sheet of white cardstock flat on your work surface. This is the sheet your child will be painting on – not the star template itself.
Pour a small amount of red, blue, and white paint onto your palette or paper plate. Keep the colors separated so they don’t muddy together right away.
Pro tip: Set up your workspace before calling the kids over. Things move fast once little hands are involved!
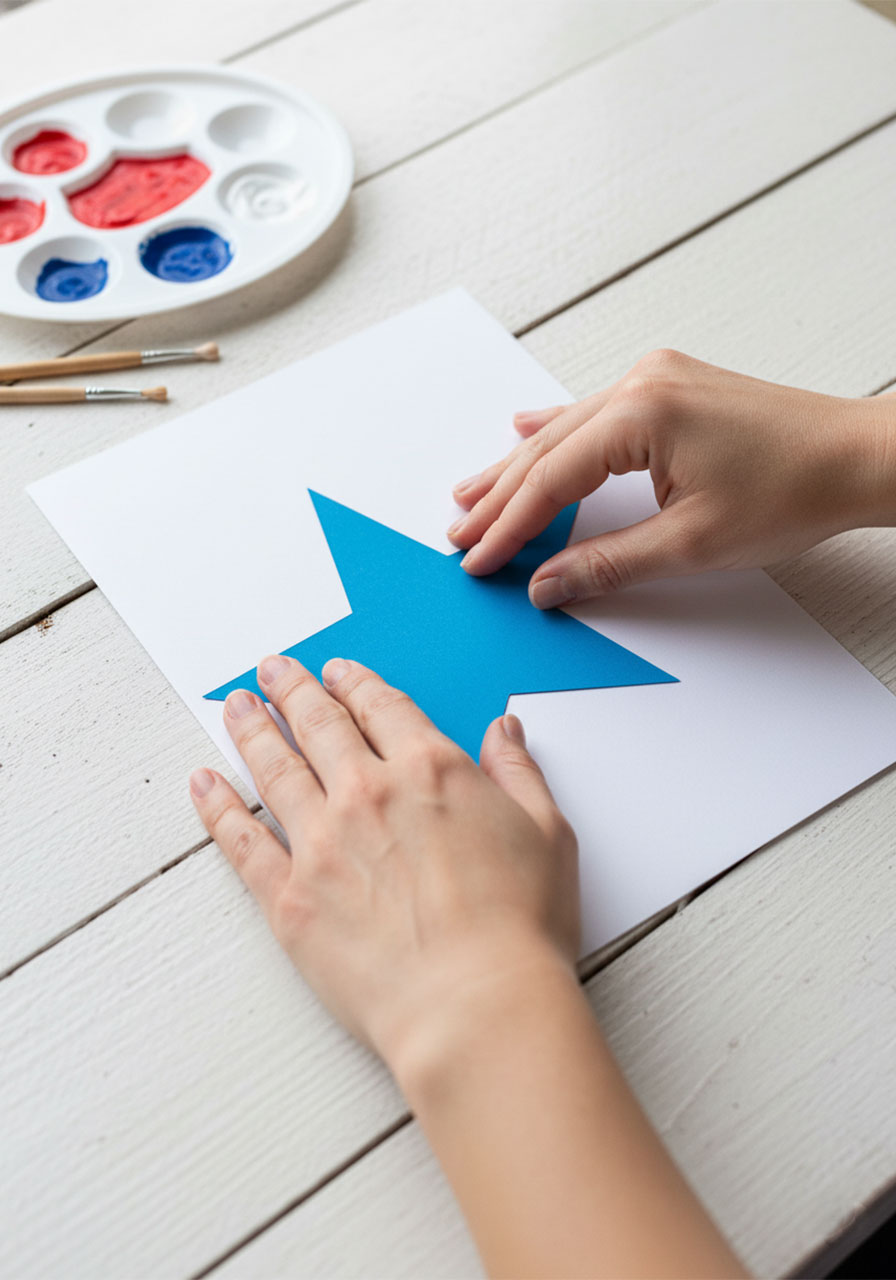
Step 3: Position the Star Template on the Cardstock
Place the star template in the center of the white cardstock sheet.
If you want it to stay perfectly in place while your child fingerprints around it, use a few glue dots or loops of masking tape on the back of the template to secure it.
This step is totally optional, but it helps get those crisp star edges that make the final result look so sharp.
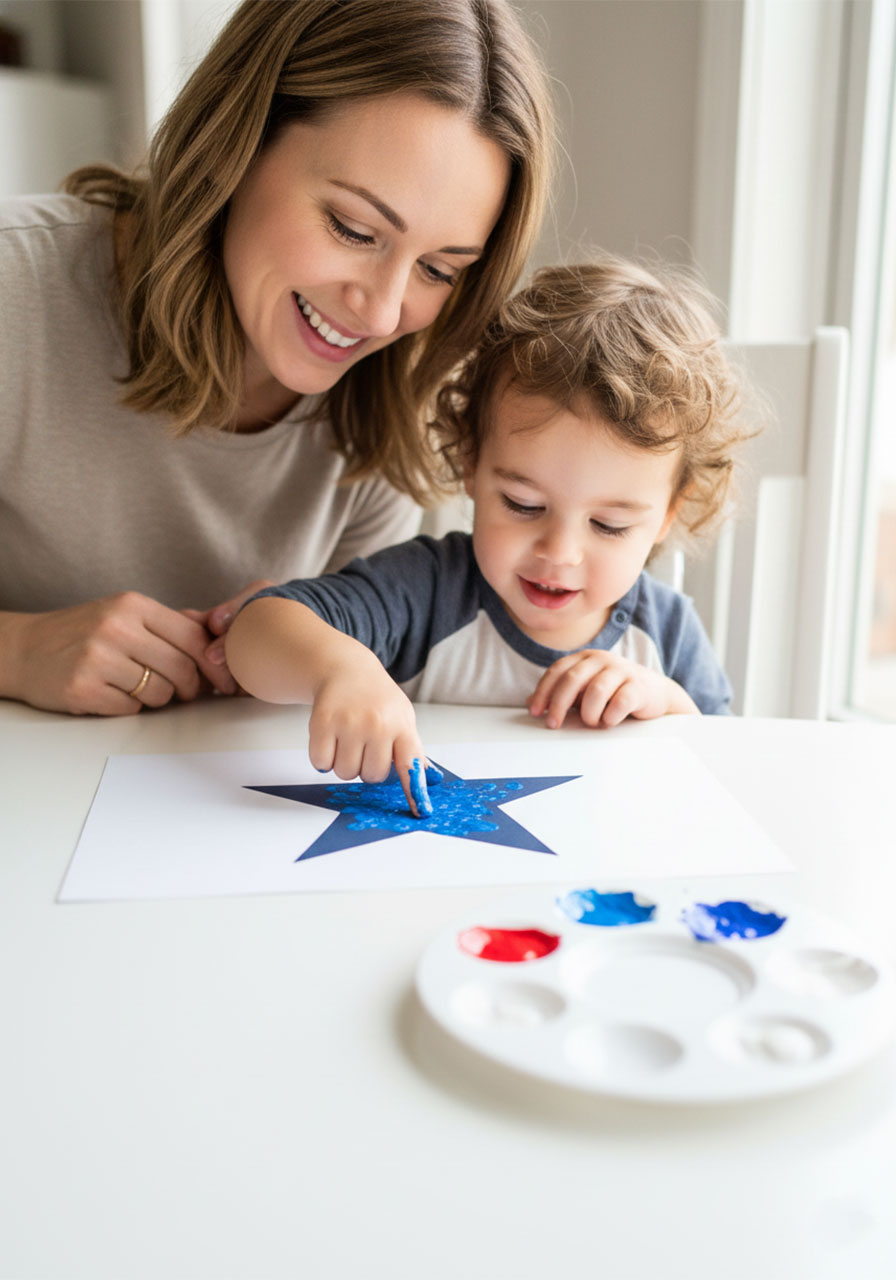
Step 4: Start Fingerprinting!
Now the fun really begins.
Have your child dip one finger into either the red or blue paint. Then press it firmly onto the white cardstock around the edges of the star template.

The goal is to fill the entire paper with fingerprints – except for the area covered by the star template. Work your way outward from the star edges, overlapping prints slightly as you go.
Encourage your child to alternate between red and blue as they go around the page. Random placement looks amazing – no need to follow any pattern.

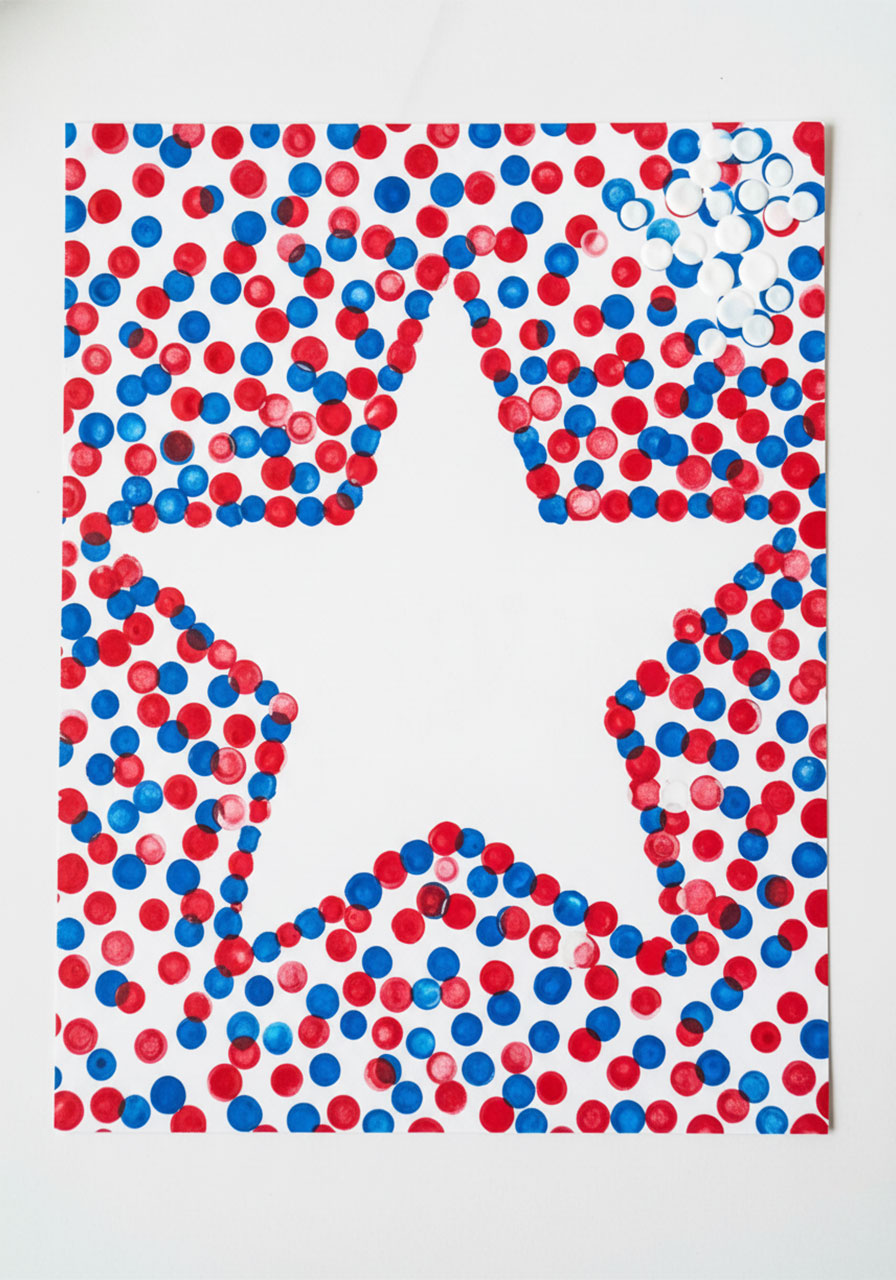
Step 5: Add the White Fingerprints
Once the red and blue fingerprints are filling the page, it’s time to add the white ones.
Look for spots where the red and blue prints are densely clustered together. Press white fingerprints in and around those areas to create some contrast and make the colors pop even more.
The white dots add a beautiful layered effect that really brings the whole piece to life.
Step 6: Make Sure the Edges Are Covered
Before you stop, do a quick scan of the paper. Make sure fingerprints go right up to the edges of the star template and also all the way to the outer edges of the cardstock.
You want every inch of the white paper (outside the star) covered in those patriotic dots. The more coverage, the more dramatic the reveal!
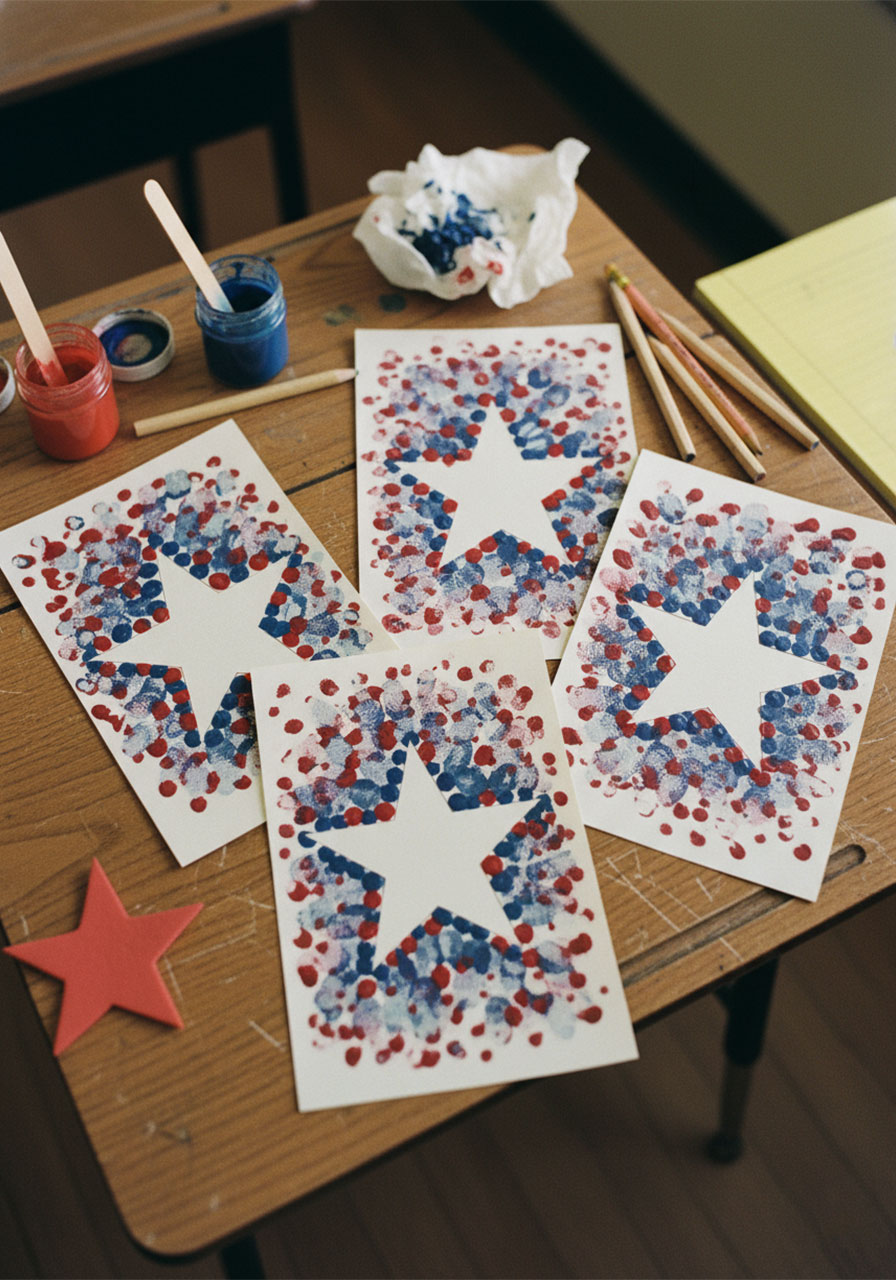
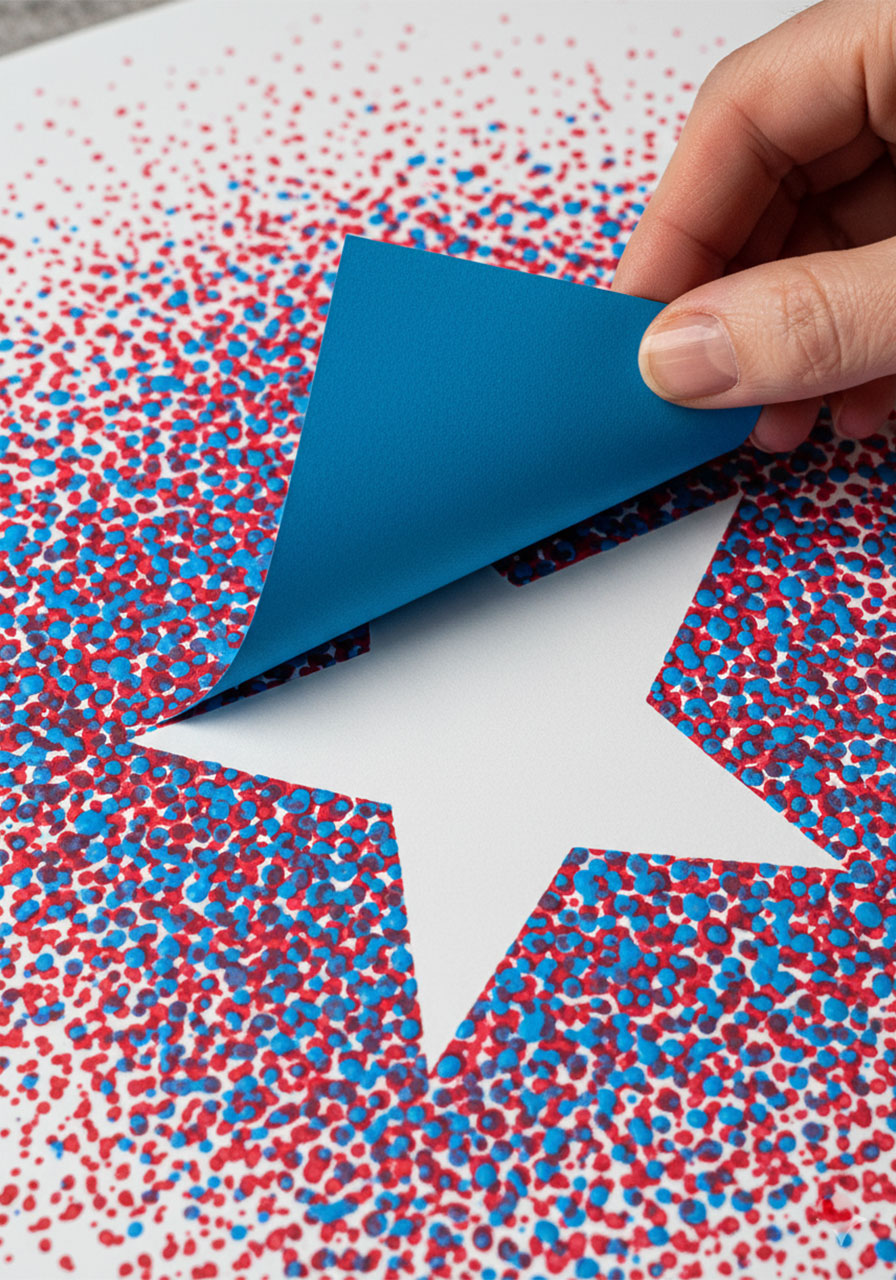
Step 7: Carefully Peel Off the Star Template
This is the most exciting moment of the whole craft.
Once your child is happy with their fingerprinting, gently peel the star template away from the cardstock.
Lift slowly and carefully from one corner. As the template comes away, a crisp white star will be revealed underneath – perfectly clean against a sea of red, white, and blue fingerprints.
Cue the gasps. It gets them every time.
Step 8: Let It Dry Completely
Set the finished artwork flat on a clean surface and let it dry completely before touching or displaying it. Acrylic paint usually dries within 30–60 minutes depending on how thick the fingerprints are.
While you wait, wash those little hands – and sneak a few extra kisses on those painted fingertips while you can.
Tips for the Best Results
A few things I’ve learned from doing this craft more than once:
Use cardstock for everything. Both the star template and the base sheet. Regular printer paper warps and buckles when it gets wet from paint. Cardstock holds up beautifully.
Don’t overthink the pattern. Random is better here. Encourage kids to just press and go without worrying about where each dot lands.
Keep the colors separate at the start. If all three colors get mixed on the palette too quickly, you end up with purple and brown instead of bold red, white, and blue. Rinse fingers between colors or just encourage them to rotate in order.
Make it a group activity. If you have multiple kids, give each child their own sheet. They can work side by side, compare their stars at the end, and feel proud of their individual creations.
Save the star templates. Once you cut them out, these little cardstock stars are cute on their own. Use them as gift tags, cards, or garland for Memorial Day decorations.
Fun Variations to Try
Once you’ve done the basic version, here are some fun ways to mix it up:
Make a whole constellation. Instead of one large star, use several small star templates placed all over the page. Fingerprint around all of them for a starfield effect.
Use a flag template instead. Try the same technique with a simple American flag outline for a more detailed patriotic piece.
Add glitter. While the paint is still wet, sprinkle a little silver or gold glitter over the fingerprints. Let dry and shake off the excess for a sparkly, festive look.
Try Q-tips instead of fingers. If you have a child who’s not into the feeling of paint on their skin, Q-tips work just as well and create a slightly different dot texture.
Go big. Use a large piece of poster board and let kids go wild with bigger, fuller fingerprints. Great for a classroom Memorial Day display.
What Kids Learn From This Craft (Bonus: It’s Educational!)
This craft isn’t just adorable – it’s genuinely good for your child’s development. Here’s why it deserves a spot in your Memorial Day activity lineup:
Fine motor skills. Pressing fingertips precisely onto paper strengthens the small muscles in little hands – the same ones they’ll use for writing and drawing.
Color recognition and mixing. As kids work with red, blue, and white, they naturally start noticing what happens when colors overlap. Great early science!
Patience and process. Waiting for the star reveal teaches kids that good things take time. That moment of peeling back the template and seeing the result is a powerful little lesson in delayed gratification.
Cultural awareness. Talking about what red, white, and blue represent – and who we honor on Memorial Day – plants early seeds of gratitude and civic pride.
Creative confidence. There’s no wrong way to fingerprint. Every finished star is uniquely beautiful. That’s a powerful message for a kid to internalize.
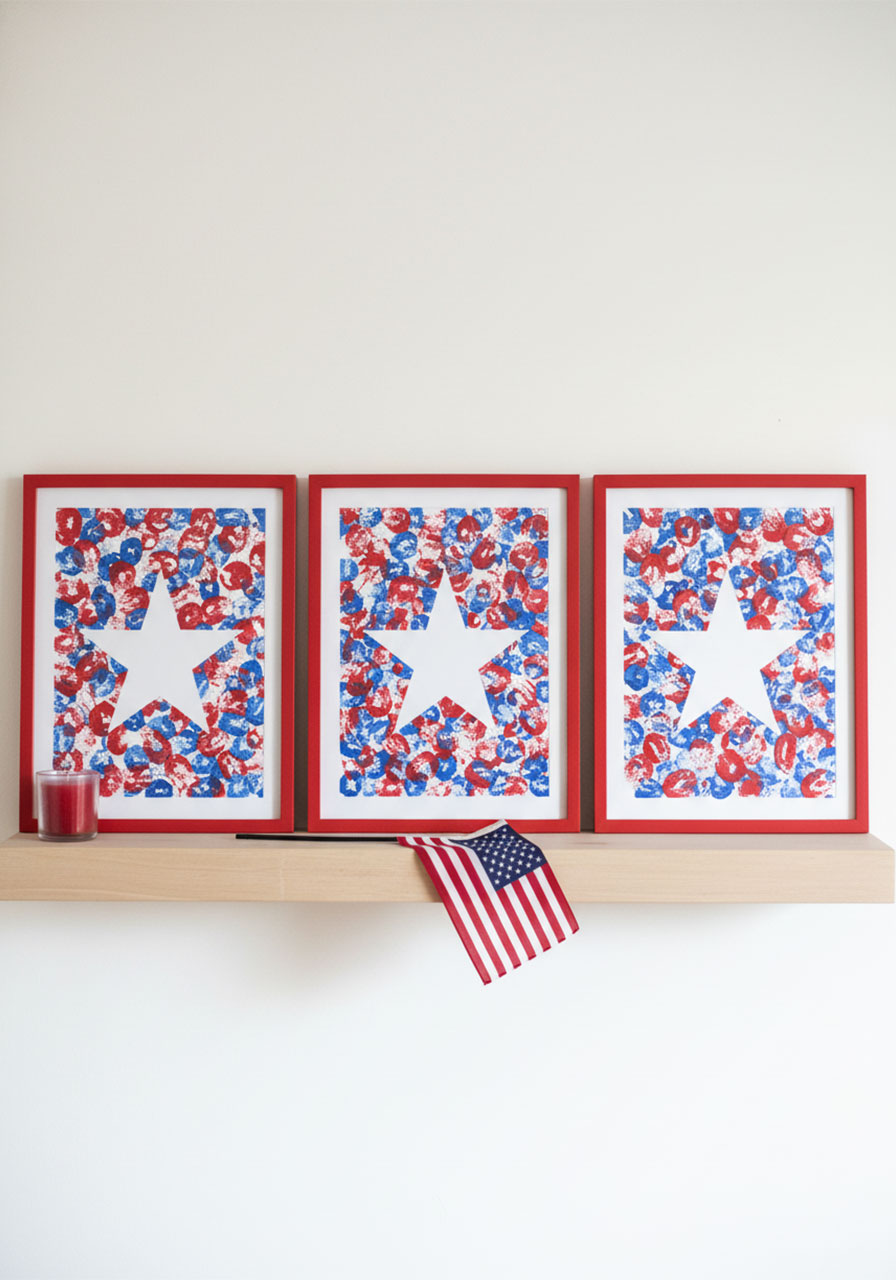
Displaying Your Patriotic Star Art
Once the paint has dried, don’t just stuff it in a drawer. This artwork deserves to be seen!
Frame it in a simple red or blue frame for instant Memorial Day décor. A gallery wall of multiple stars – especially if each one was made by a different child – looks stunning and incredibly personal.
You can also string finished stars together with twine and mini clothespins to create a patriotic banner. Hang it across a mantel, a window, or above a porch table for instant holiday charm.
Another sweet idea: take a photo of your child holding their finished star and turn it into a card to send to a veteran in your life. It’s a small gesture, but it means the world.
Make It a Memorial Day Tradition
Here’s the thing about simple crafts like this one: they become traditions without you even trying.
Do this with your kids once, and next year they’ll ask to do it again. They’ll remember the feel of the paint on their fingers, the excitement of the big reveal, and the pride they felt looking at their finished star.
Those little moments of making something together – those are the ones that stick. Long after the decorations come down and the holiday weekend is over, your child will remember that they made something beautiful with their own two hands.
And they’ll remember that you were right there beside them.
That’s what Memorial Day is really about, isn’t it? Remembering. Honoring. And making sure the next generation grows up knowing what it means.
So grab the paint, print the template, and get those fingers ready. This one’s going to be a hit.
Memorial Day Star Fingerprint Craft: Quick Reference
Prep Time: 10 minutes
Active Time: 30 minutes
Drying Time: 1 hour
Total Time: About 1 hour 40 minutes
Difficulty: Easy – great for toddlers and up
Best For: Memorial Day, 4th of July, any patriotic occasion
Materials
- Printable star template
- White cardstock
- Acrylic paint – red, white, and blue
- Paint palette or paper plate
- Scissors
- Optional: glue dots or masking tape
Instructions
- Print the star template on cardstock and cut it out.
- Place a fresh sheet of white cardstock flat on your work surface.
- Pour red, white, and blue paint onto a palette or paper plate.
- Position the star template in the center of the cardstock. Secure with tape if needed.
- Dip one finger in red or blue paint and begin pressing fingerprints around the star.
- Continue covering the entire paper (outside the star) with red and blue fingerprints.
- Add white fingerprints on top of areas with heavy red and blue concentration.
- Make sure the edges of the star template and outer edges of the paper are fully covered.
- Carefully peel off the star template to reveal the white star underneath.
- Let the paint dry completely – about 1 hour – before displaying.
Pro Tip: Always use cardstock for both the template and the base sheet. It holds up to paint far better than regular printer paper and gives you much crisper star edges when you peel the template away.
More 4th of July Ideas to Keep the Fun Rolling:
Simple Paper Plate Flag Craft for Kids (Patriotic Activity)
Coffee Filter Watercolor Fireworks Craft: The Most Magical 4th of July Activity for Kids
12 Fun & Creative Memorial Day Crafts for Kids (Patriotic Activities the Whole Family Will Love)
Bald Eagle Craft for Kids: Template + Step-by-Step Guide for Groups of 20!
Patriotic Star Suncatcher Craft: The Easiest 4th of July Activity That Kids AND Adults Will Love
How to Make a Tin Can Fireworks Centerpiece (Easy Patriotic Craft for 4th of July)
The Easiest 4th of July Firework Craft for Kids (Using Toilet Paper Rolls!)