
If you’re looking for a craft that’s simple to set up, stunning to display, and genuinely fun for kids to make – this paper plate butterfly is it.
We’ve been making this one with kids for years, and every single time, the results are absolutely gorgeous. The secret? Watercolors on a paper plate create the most beautiful, vibrant wings you’ve ever seen – and no two butterflies ever look the same.
Whether you’re a teacher planning your next art station, a parent looking for a rainy afternoon activity, or a camp counselor who needs a crowd-pleaser, this butterfly craft checks every single box.
It’s colorful. It’s creative. It takes almost zero prep. And kids absolutely beam with pride when they see the finished product.
Let’s make something beautiful together!

At a Glance
Best For: Kids ages 4 and up, kindergarten classrooms, summer camps, at-home rainy day activities
Time to Complete: About 30–45 minutes (including drying time)
Skill Level: Easy – great for beginners and young crafters
Group-Friendly: Yes! This craft works beautifully for a whole classroom or a party table.

What You’ll Need
The best part about this craft? You probably already have most of these supplies at home or in your classroom.
1 large white paper plate (per child)
Watercolor paints
A paintbrush
Scissors
A stapler
1 jumbo popsicle stick (per child)
Hot glue gun + glue sticks (adults only!)
Black marker
Pink colored pencil or crayon
Black cardstock (for antennae)
Glue stick or craft glue
That’s really it! No special tools, no fancy supplies. Just a few craft staples and a whole lot of color.

Step 1: Paint Your Paper Plate
This is the most magical step – and honestly, the most fun.
Set your paper plate flat on a protected surface and grab your watercolors. Start painting from the center of the plate and work your way outward toward the rim.
Go bold with your colors! Think summery pinks, oranges, yellows, purples, and blues. The more vibrant, the better – these are butterfly wings after all!
Don’t worry about painting “perfectly.” Watercolors blend and bleed together in the most beautiful way, and that’s exactly what we want here.
Once you’re happy with your design, set the plate aside and let it dry completely before moving on. This is a great time to prep your popsicle stick body!
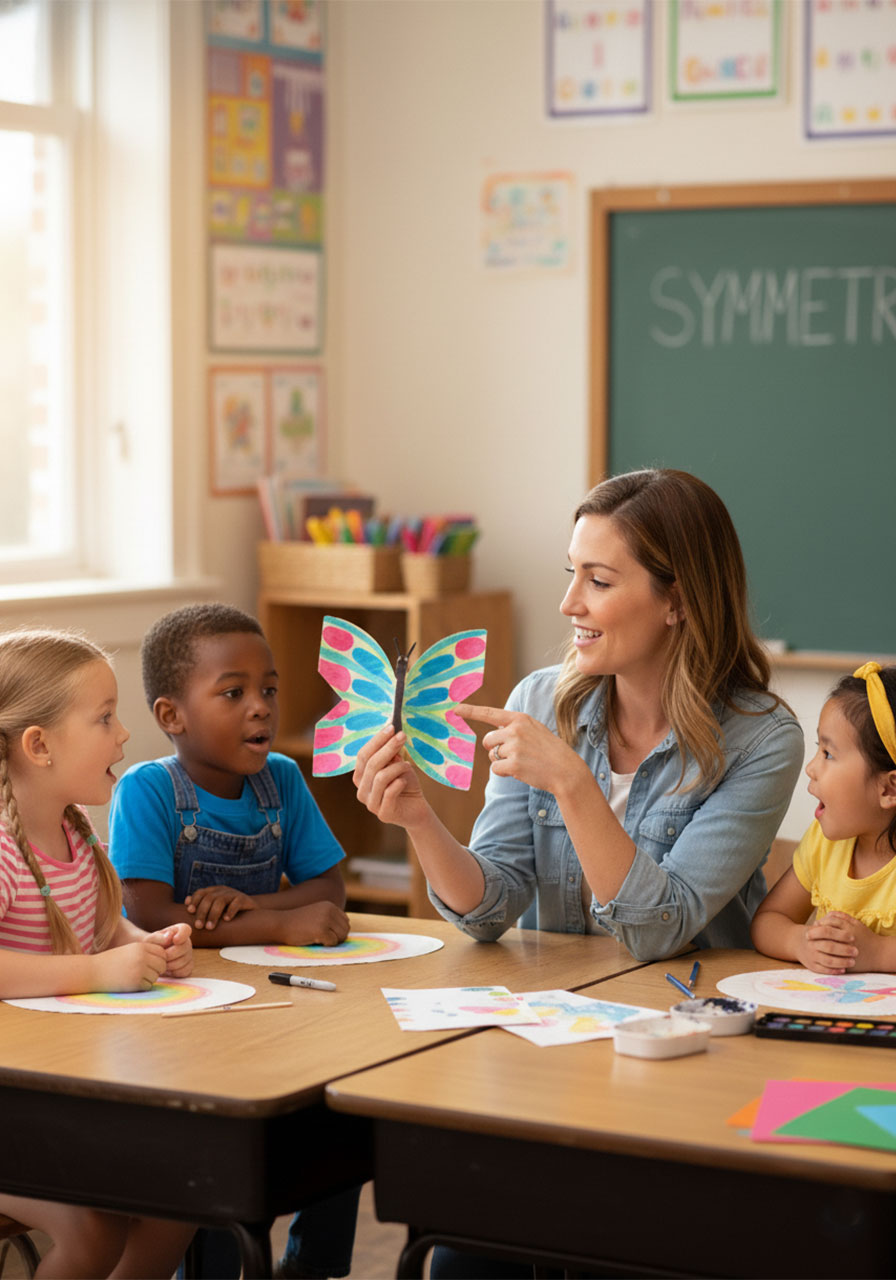
Teacher Tip: This is a perfect moment to introduce the concept of symmetry to your students. Explain that butterfly wings are a mirror image of each other – the same on both sides. When they fold their plate in the next step, they’ll actually see symmetry in action!

Step 2: Fold and Cut the Wings
Once your painted plate is fully dry, it’s time to shape those wings!
Fold your paper plate in half so the painted sides are facing out. Press down firmly to create a clear crease right down the middle.

Now, cut the plate in half along that fold line – you’ll have two equal semicircles.
Here comes the fun part: stack both halves on top of each other with the straight (cut) edges aligned. Then cut a small triangle shape out of the straight edge on both pieces at the same time. This little notch is what gives the butterfly her beautiful wing shape!
Take a peek at the photos above to see exactly how the wing shape should look. It’s much easier than it sounds, we promise!
Step 3: Assemble the Wings
Now your butterfly is really starting to take shape!
Place your two cut wing pieces with their rounded edges touching each other – picture the wings of a butterfly spread open. The painted, colorful sides should be facing up.
Once you have them positioned just right, use a stapler to staple the two wings together at the center point where they meet. You may need two staples to make sure everything is nice and secure.
Step back and admire those wings – they’re already looking amazing!

Step 4: Attach the Popsicle Stick Body
Note: This step is for adults. Hot glue can cause burns – please handle the glue gun yourself while kids watch!
Apply a line of hot glue along the center of the wings where the two pieces meet. Then press your jumbo popsicle stick firmly into the glue along that center line.
Hold it in place for about 30 seconds while the glue sets.
The popsicle stick serves as the butterfly’s body AND makes a great little handle so kids can hold or wave their butterfly around. (Spoiler: they absolutely will.)

Step 5: Draw the Face
Now for everyone’s favorite part – giving your butterfly some personality!
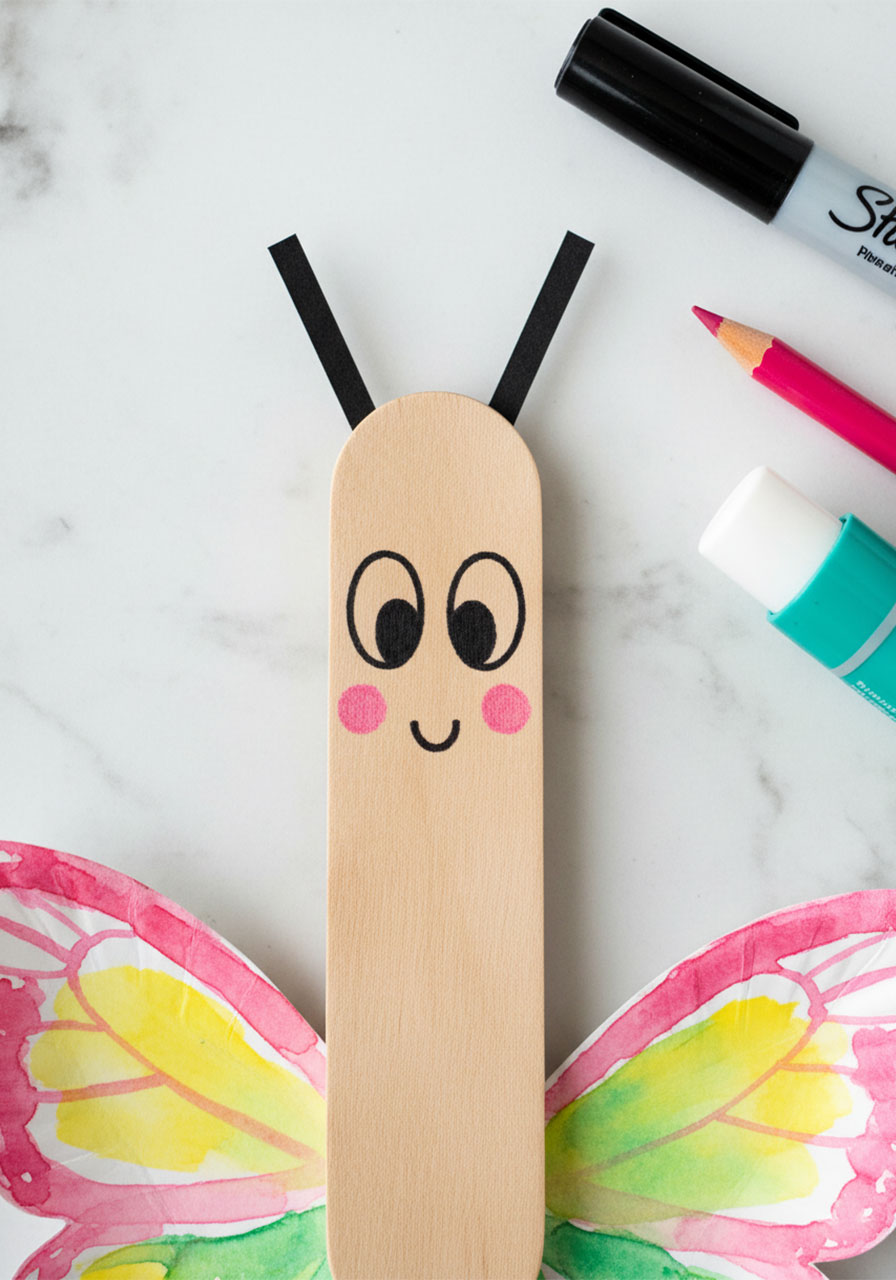
Using a black marker, draw two wide upside-down “U” shapes near the top of the popsicle stick for eyes. Add a little smiling “U” below for the mouth.
Then grab your pink colored pencil and gently color in two rosy little cheeks. It sounds simple, but this tiny detail is what makes kids absolutely fall in love with their butterfly!
Want to mix it up? Add googly eyes instead of drawn ones for an extra silly look. The kids in my class always go wild for that option!
Step 6: Add the Antennae
You’re on the home stretch – just one last detail to add!
Cut two small, thin strips of black cardstock for the antennae. They should be about 1.5 to 2 inches long.
Apply a small dab of glue to one end of each strip and press them behind the top of the popsicle stick, angling them outward like a real butterfly’s antennae.
Hold them in place until the glue dries, and just like that – your butterfly is complete!
Look at That Beautiful Butterfly!
Seriously, take a moment to appreciate what just happened. One plain paper plate turned into a stunning, one-of-a-kind butterfly that any kid (or teacher!) would be proud to display.
Every butterfly ends up looking completely different depending on the colors used, which makes this craft extra special when you do it in a group. Line them all up together and you’ve got the most colorful little butterfly garden you’ve ever seen.
Crafty Tips & Fun Swaps
Want to take your butterflies to the next level? Here are some of our favorite ways to customize this craft:
Try wet-on-wet watercolor: Dampen your paper plate lightly with water before painting. When you add the watercolors, they’ll blend and spread in the most dreamy, magical way. Each butterfly will look totally unique!
Add salt for texture: Sprinkle a little table salt onto your wet watercolor paint and let it dry before brushing the salt away. The result is a stunning, sparkly texture on the wings that looks absolutely incredible.
Go wild with patterns: Once the base watercolor is dry, let kids add dots, stripes, swirls, or zigzags with markers or paint pens. It’s a great way to encourage creative expression!
Pom-poms and pipe cleaners: Glue colorful pom-poms onto the wings for a fun textured effect. Swap the black cardstock antennae for bent pipe cleaners for even more dimension!
Googly eyes: Self-adhesive googly eyes are a hilarious alternative to drawn-on faces. Kids absolutely love the goofy look – and it’s way easier for little hands too.
Use tissue paper instead of paint: If watercolors aren’t available, torn pieces of colorful tissue paper glued onto the wings create a beautiful stained-glass effect. A great no-mess option!

Why This Craft Is Great for Kids (Beyond Just Being Fun)
This butterfly craft isn’t just cute – it’s genuinely educational, and teachers especially will love how many learning moments are built right in.
Fine motor skills: Painting, cutting, and assembling all help develop the small muscle control kids need for writing and other school tasks.
Color theory: Mixing watercolors introduces kids to how colors blend and create new shades – a foundational art concept.
Symmetry: Folding and cutting the plate in half is a hands-on lesson in symmetrical shapes. When you hold both halves up together, they match perfectly – just like real butterfly wings!
Science connection: Use this craft as a springboard to talk about the butterfly life cycle. From tiny egg to caterpillar, from chrysalis to glorious butterfly – kids are fascinated by metamorphosis, and this craft makes the lesson come alive.
Confidence and creativity: Every butterfly is unique, which means every child’s creation is genuinely one of a kind. There’s no “wrong” way to paint a butterfly, and that freedom is incredibly empowering for young crafters.
Tips for Teachers and Group Leaders
Planning to do this craft with a whole class or group? Here are a few things that’ll make your life a lot easier:
Pre-paint in advance: If you’re short on time, paint the paper plates the day before and let them dry overnight. That way, kids can jump straight into the cutting and assembling during craft time.
Set up painting stations: Place watercolor palettes and cups of water at each table ahead of time. Having everything ready means less chaos and more creating!
Handle the hot glue yourself: This is a non-negotiable for classroom and group settings. Pre-cut the antennae strips too, so kids can focus on the fun parts.
Display them together: There’s nothing quite like a wall full of colorful, unique butterflies. Hang them all in a cluster for a gorgeous classroom display that parents will absolutely love during open house.
Make it a station activity: This craft works beautifully as part of a spring or butterfly-themed learning center. Kids can move through the steps independently or in pairs.

Frequently Asked Questions
What age is this craft suitable for?
This craft is great for kids ages 4 and up. Younger children may need help with cutting and the hot glue steps, but the painting is accessible for even the littlest artists. The drawing and detailing steps are perfect for kids ages 5–8 to do independently.
Can I use regular paint instead of watercolors?
Absolutely! Acrylic or tempera paint work great too. Watercolors give the most beautiful blended, translucent effect on the paper plate, but any paint will produce a colorful result. If using thicker paint, the plate may take a bit longer to dry.
What if I don’t have a hot glue gun?
No hot glue gun? No problem! A strong craft glue or tacky glue works too – just give it more drying time before moving on to the next step. You can also use extra staples to attach the popsicle stick if needed.
Can I hang these on the wall instead of using them as a wand?
Yes! These butterflies look absolutely stunning hung on a wall or in a window. Simply loop a piece of string around the popsicle stick and you’ve got a gorgeous spring decoration. A row of colorful butterflies in a window is a total showstopper.
How long does this craft take?
From start to finish, about 30–45 minutes – but most of that is waiting for the paint to dry! Active crafting time is only about 15–20 minutes. It’s a great activity to pair with a story time or short video while the plates dry.
Ready to Let Your Creativity Take Flight?
This paper plate butterfly craft is one of those rare projects that’s just as enjoyable to make as it is beautiful to display.
It’s the kind of craft that kids ask to make again and again – and honestly? As a parent or teacher, it’s one you’ll genuinely enjoy setting up. Low prep, high reward, and zero mess complaints.
Whether you’re making one butterfly on a quiet afternoon at home or 25 of them for your kindergarten art wall, we hope this craft brings as much joy to your table as it has to ours.
Now go grab those paper plates and let’s get crafting! 🦋
More Summer Craft & Activity Ideas to Keep the Fun Rolling:
How to Make Straw Rockets with Kids (Printable Template!)
Easy Pinwheel Craft Kids Love – Step-by-Step Guide
Adorable Ocean Friends Craft Sticks Kids Will Beg to Make All Summer
How to Make Paper Plate Frisbees Kids Will Actually Want to Throw
Summer Crafts for Kids That Are Easy, Fun, and Mess-Approved
