
Ready to transform your windows into a vibrant Valentine’s Day display? These stained glass heart suncatchers are about to become your new favorite craft project – and here’s the best part: they’re ridiculously easy to make with just a few supplies you probably already have lying around!
I’m talking black glue, Sharpie markers, and some recyclable plastic. That’s it. No fancy craft store run required, no complicated techniques to master. Just pure creative fun that results in gorgeous, light-catching decorations your kids (and let’s be honest, you) will absolutely love making.
Plus, when the sun streams through these colorful hearts? You’ll catch those dreamy shadows dancing across your walls and curtains. It’s the kind of simple magic that makes you feel like you’ve totally nailed this whole Valentine’s Day thing.
Why You’ll Love This Craft
Perfect for: Family craft time, Valentine’s Day decorations, rainy day activities, classroom projects
Time to Complete: About 30 minutes active time (plus overnight drying)
Skill Level: Easy enough for kids, fun enough for adults
Here’s what makes this project a winner: it’s cheap, it’s easy, and the results look way more impressive than the effort you put in. Your windows will go from plain to festive in no time, and you’ll actually enjoy the process of getting there.

The Secret Ingredient: Black Glue

Before we dive into the heart suncatchers, let’s talk about black glue – because this homemade concoction is what makes the whole project work.
What You’ll Need:
1 bottle of white Elmer’s glue (the kind with a nozzle)
Black acrylic paint
An empty yogurt container (for the excess glue)

Cute Valentine Day Treasure Hunt Printable for Kids and Preschoolers
Instant download = Valentine’s Day saved at the last minute – Forgot to plan something special? Buy now, print in 5 minutes, become the hero parent.
30-60 minutes of pure entertainment – Kids stay happily busy solving clues while you finish dinner, wrap up work, or just enjoy your coffee hot.
No craft store runs, no supplies needed – Everything’s done for you. Just print on regular paper and hide around spots you already have (fridge, couch, bed).
Cupid storyline they’ll talk about for months – Way more memorable than another box of chocolates. Grandparents: this is the visit they’ll never forget.
Under $10 beats a babysitter – Keeps multiple kids engaged together with zero screen time. Siblings actually cooperate for once.

Romantic Valentine Scavenger Hunt Printable for Couples and Adults – Cupid’s Mischievous Adventure
Way better than dinner reservations – Skip the overpriced restaurant crowds. Create an intimate, playful experience at home that actually feels personal and memorable.
24 flirty clues = built-in foreplay – Romantic riddles leading around your home build anticipation and laughter. Way more fun than another box of chocolates gathering dust.
No awkward “”what do we do now?”” moments – Everything’s scripted but feels spontaneous. Perfect for couples who want romance without the pressure of planning it themselves.
Under $15 beats flowers that die in 3 days – Create a memory you’ll both laugh about for years. Add your own surprise at the end (jewelry, getaway reveal, or just champagne and you).

Conversation Heart Bulletin Board Classroom Decoration Set
130+ pieces = complete Valentine’s display in ONE box – No extra shopping trips or piecing together mismatched decorations.
Reusable for years – Sturdy cardboard that teachers confirm holds up, unlike flimsy paper that tears after one use.
Instant student engagement – Familiar conversation heart design captures attention and creates classroom buzz.
5-minute setup – Adhesive included. Transform your space faster than your morning coffee break.
Blank hearts = bonus teaching tool – Use for student names, vocabulary, or kind messages beyond just decoration.

Valentines Day Gifts for Kids – 24 Pack
24 pre-packaged valentines = ZERO prep work – Already assembled with cards attached. Just sign names and you’re done in minutes.
Candy-free option parents actually thank you for – No sugar rush, no red dye, no allergy worries. Kids still get excited, classrooms stay calm.
Keychains kids actually USE after February – Clip to backpacks and they’ll play tic-tac-toe for months. Way better than crushed candy hearts in the trash.
Under $1 per student – 24 complete valentines for less than a box of store-bought cards, but looks like you spent way more effort.
Four designs included – No awkward “”why did they get that one?”” moments. Every kid gets a fun variation with matching pun cards.

Valentines Day Gifts for Your Loved One
Custom photo + personalized text = looks way more expensive than it is – Recipients think you spent hours designing something unique. You just uploaded a photo and typed their name.
Doubles as functional night light – Not just décor gathering dust. Customers rave it’s the perfect bedroom glow without being too bright.
Clear, vibrant photo quality that lasts – Shatterproof acrylic with UV printing means colors stay vivid for years, unlike cheap frames that fade by next Valentine’s.
USB-powered, zero hassle setup – Plug in, flip switch, done. No batteries to replace, no complicated assembly that sits in the box for months.
Perfect last-minute gift that feels thoughtful – Arrives ready to give. Looks like you planned ahead even if you’re ordering the week before Valentine’s Day.
How to Make It:
1. Pour out about half the glue from your Elmer’s bottle into the yogurt container. (Save this – you can use it for other projects!)
2. Squeeze black acrylic paint directly into the glue bottle until it’s about half full again. You’re going for roughly a 1:1 ratio of glue to paint.
3. Shake vigorously for about one minute. Get that arm workout in!
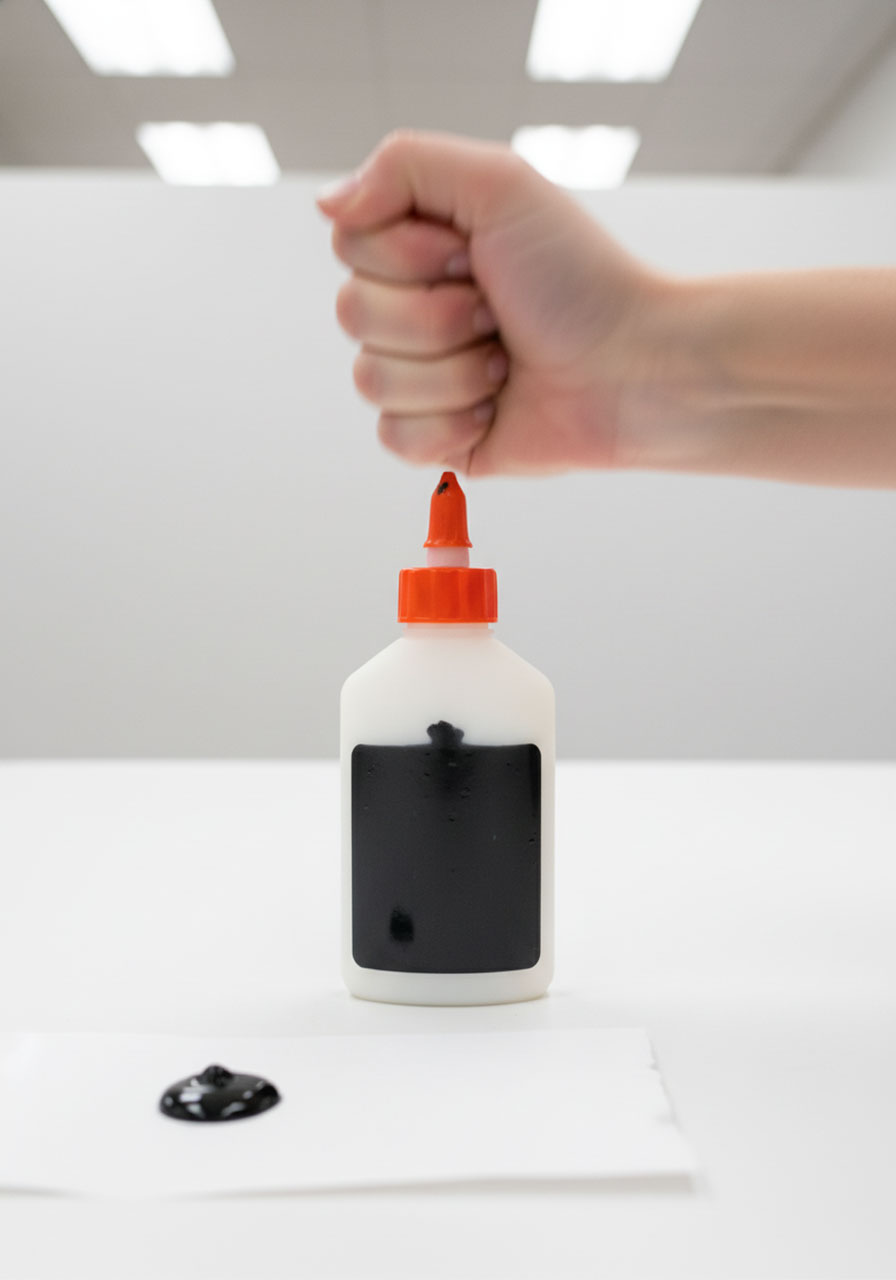
4. Squeeze a bit onto scrap paper to clear out any white glue that might be hanging out in the nozzle.
Why this works: The combination of acrylic paint and glue flows smoothly through the nozzle (way better than straight paint would) and dries into slightly raised lines that are perfect for coloring inside. It’s also cheaper than store-bought stained glass lead – and honestly? It works better. The glue creates those satisfying borders that hold up beautifully and give you that authentic stained glass look.
Pro Tip: You can control the boldness of your lines by adjusting how hard you squeeze the bottle. Sometimes you don’t even need to squeeze – just guide where the line goes and let gravity do the work!
What You’ll Need for Your Heart Suncatcher
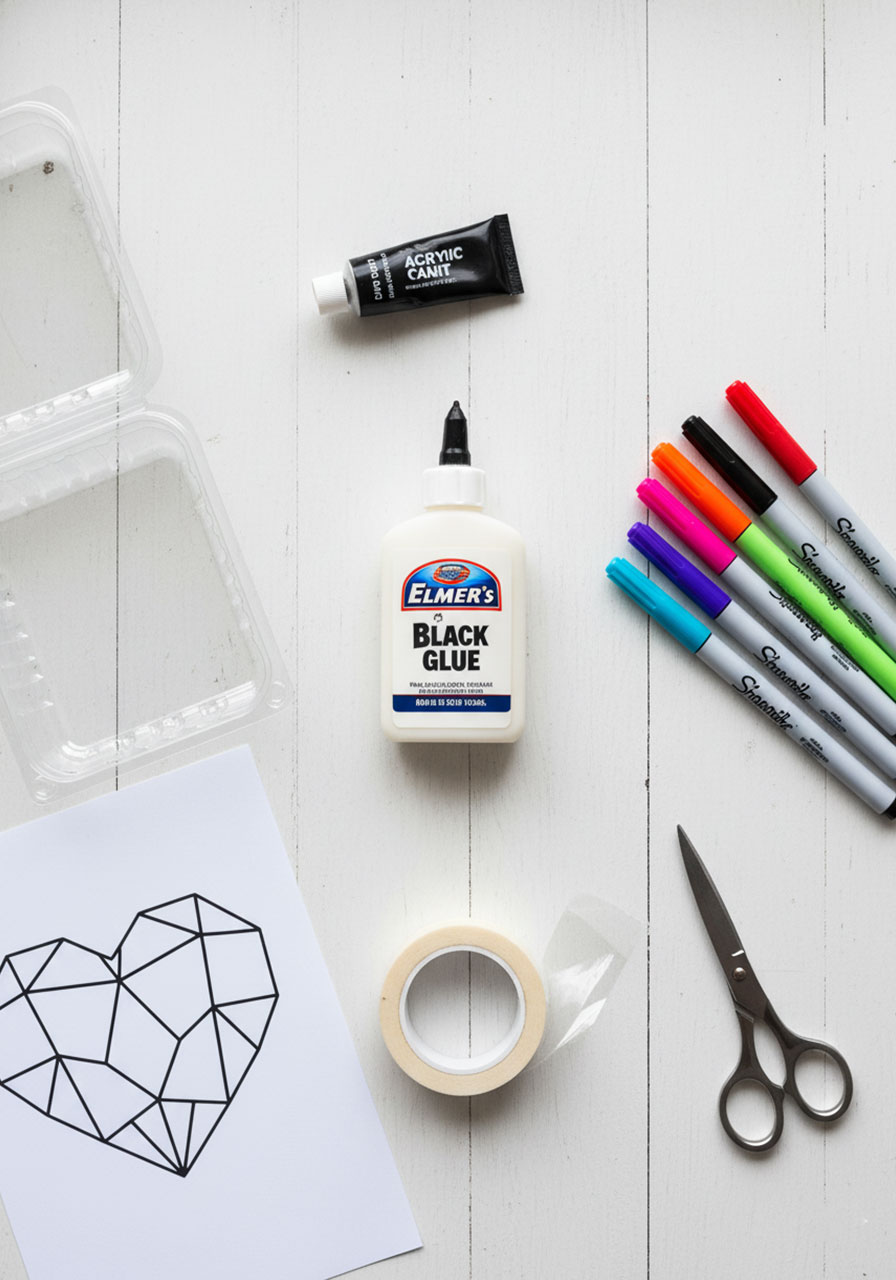
Time to gather your supplies! The best part? You’re probably raiding your recycling bin for most of this.
Materials:
Black glue (the magical mixture you just made)
Clear plastic from one of these sources:
- Empty plastic containers (like the clamshell packages berries or pastries come in)
- A clear plastic folder
- An empty laminating pouch that’s been run through a laminator
- Transparency sheets (if you have them)
Sharpie markers in assorted colors (the more, the merrier!)
Scissors
Double-sided tape
A heart design (sketch your own or find a geometric heart pattern online)
Quick Note on Plastic: Any stiff, clear plastic will work. The key is making sure it’s smooth enough for the glue to stick and sturdy enough to hold its shape when you hang it.
How to Make Your Stained Glass Heart Suncatcher
Ready to create something beautiful? Let’s break this down into foolproof steps.
Step 1: Set Up Your Workspace
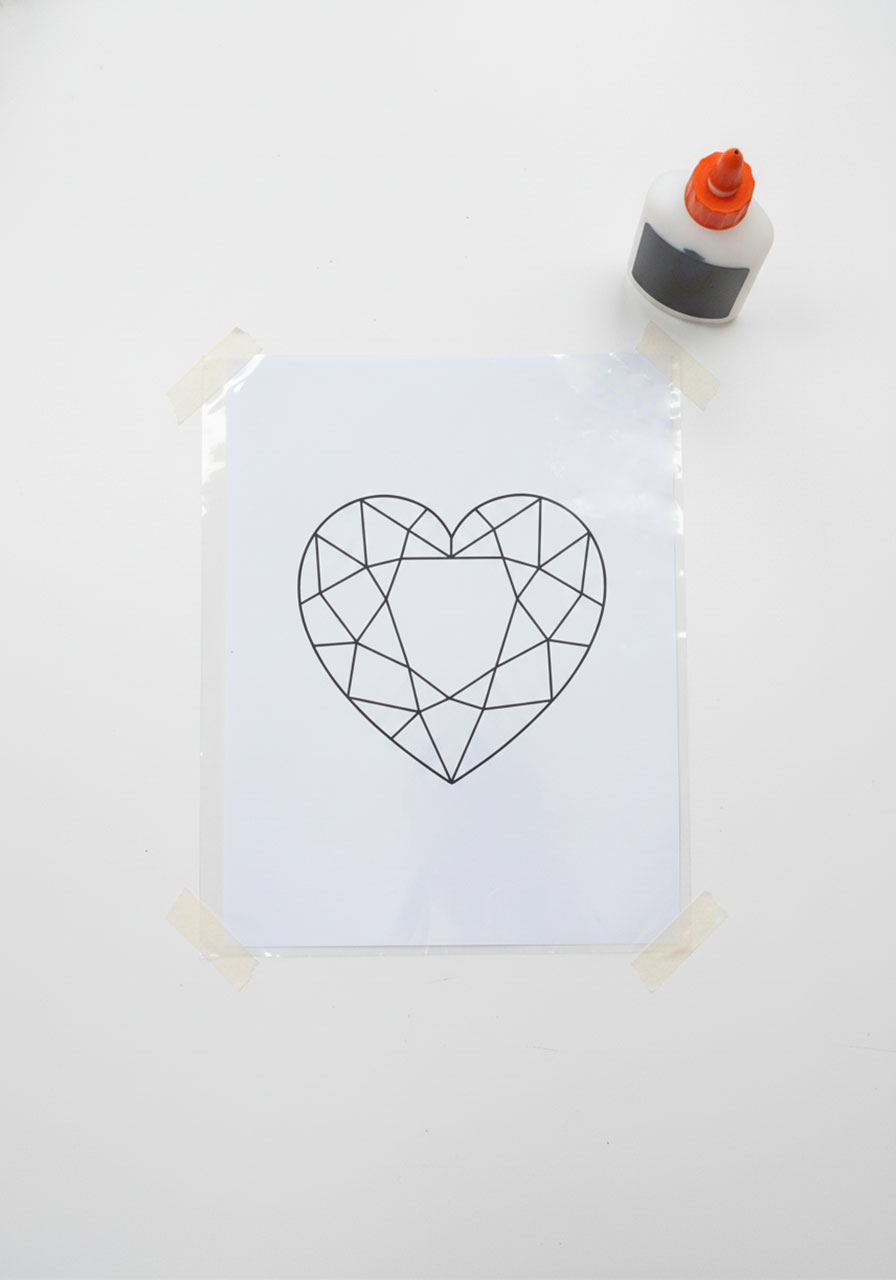
Print or draw a geometric heart design on regular paper. You want a design with multiple sections – think of it like a gemstone cut with lots of facets. The more sections you have, the more colorful and dynamic your final suncatcher will be!
Slip your heart design under your piece of clear plastic. If you’re working with kids, tape the paper to the plastic to keep everything from sliding around. Trust me on this one – it makes the whole process so much smoother.
Step 2: Trace with Black Glue
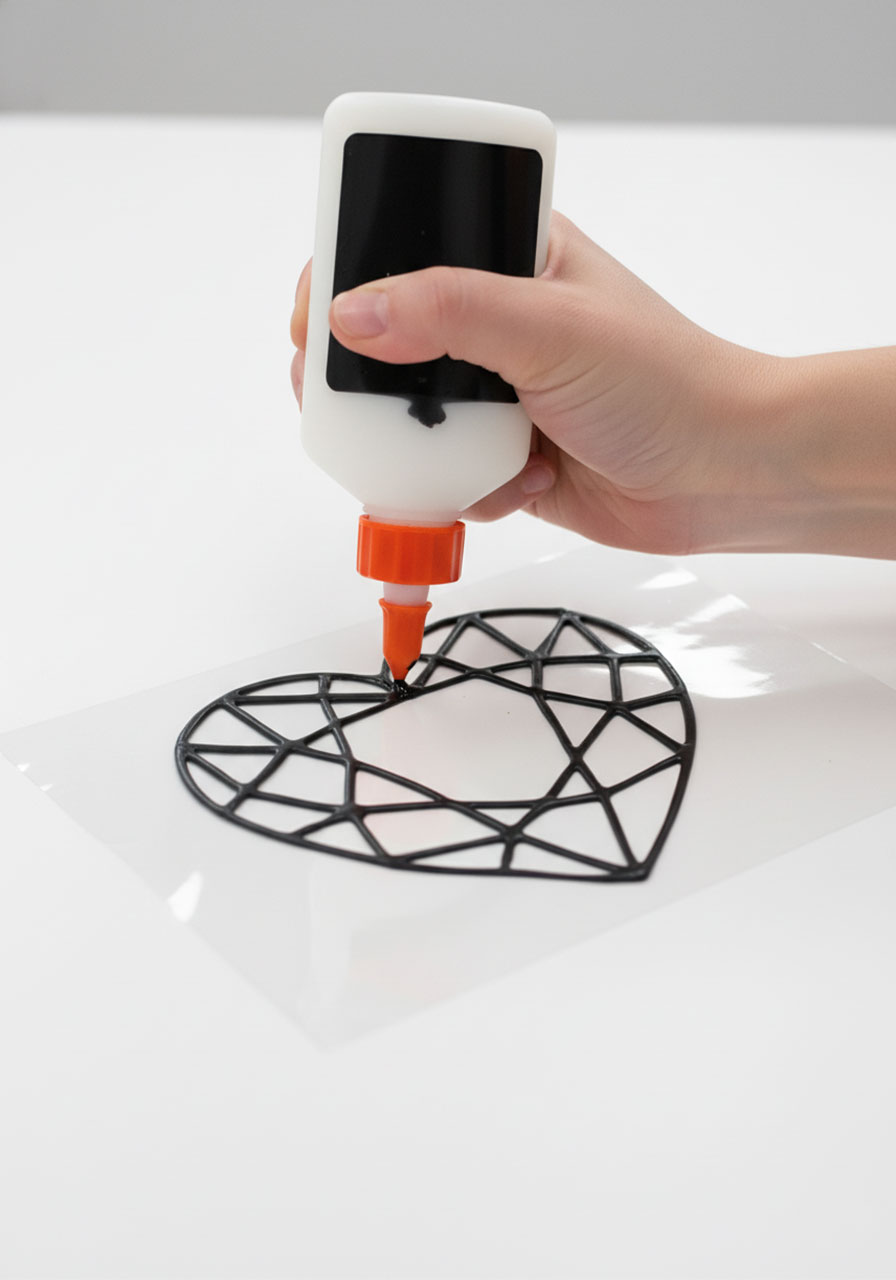
Here’s where the magic happens! Grab your black glue bottle and start tracing the outlines of your heart design directly onto the plastic.
The technique: Gently squeeze the bottle as you follow the lines. You can adjust the pressure to make thicker or thinner lines. Some areas might flow without squeezing at all – just guide the bottle and let the glue do its thing.
What you’re creating: Bold, raised black lines that will separate your color sections, just like the lead in real stained glass windows.
Take your time with this part. The beauty is in those clean, confident lines. If you mess up? No worries! Just wipe it off with a paper towel before it dries and try again.
Step 3: Let It Dry Completely
This is the hardest part: waiting! Let your outlined heart dry for at least 8 hours or overnight.
When it’s dry, check out how beautifully raised those outlines are. They create perfect borders for coloring and they’re thick enough to block light, giving you that convincing stained glass effect. Those raised lines are also incredibly helpful for young artists who like to color inside the lines!

Step 4: Color Your Heart
Now for the fun part – adding all that vibrant color!
Grab your Sharpies and start filling in the sections. Here’s why Sharpies are the MVP of this project: they’re easy for kids to use without difficulty, the colors are vibrant and consistent, and they dry instantly. No waiting, no smudging, just pure creative satisfaction.

Color Tips:
- Use different shades of the same color family for a sophisticated ombré effect
- Go bold with contrasting colors for maximum wow-factor
- Try blending colors by layering different Sharpies in the same section
- Don’t worry about perfection – the beauty is in the handmade charm!
Pro Tip: If you want even MORE vibrancy, color in layers. Let one layer dry for a minute, then go over it again. The color will be richer and more saturated.

Step 5: Cut Out Your Heart
Once you’re done coloring, it’s time to cut out your heart shape.
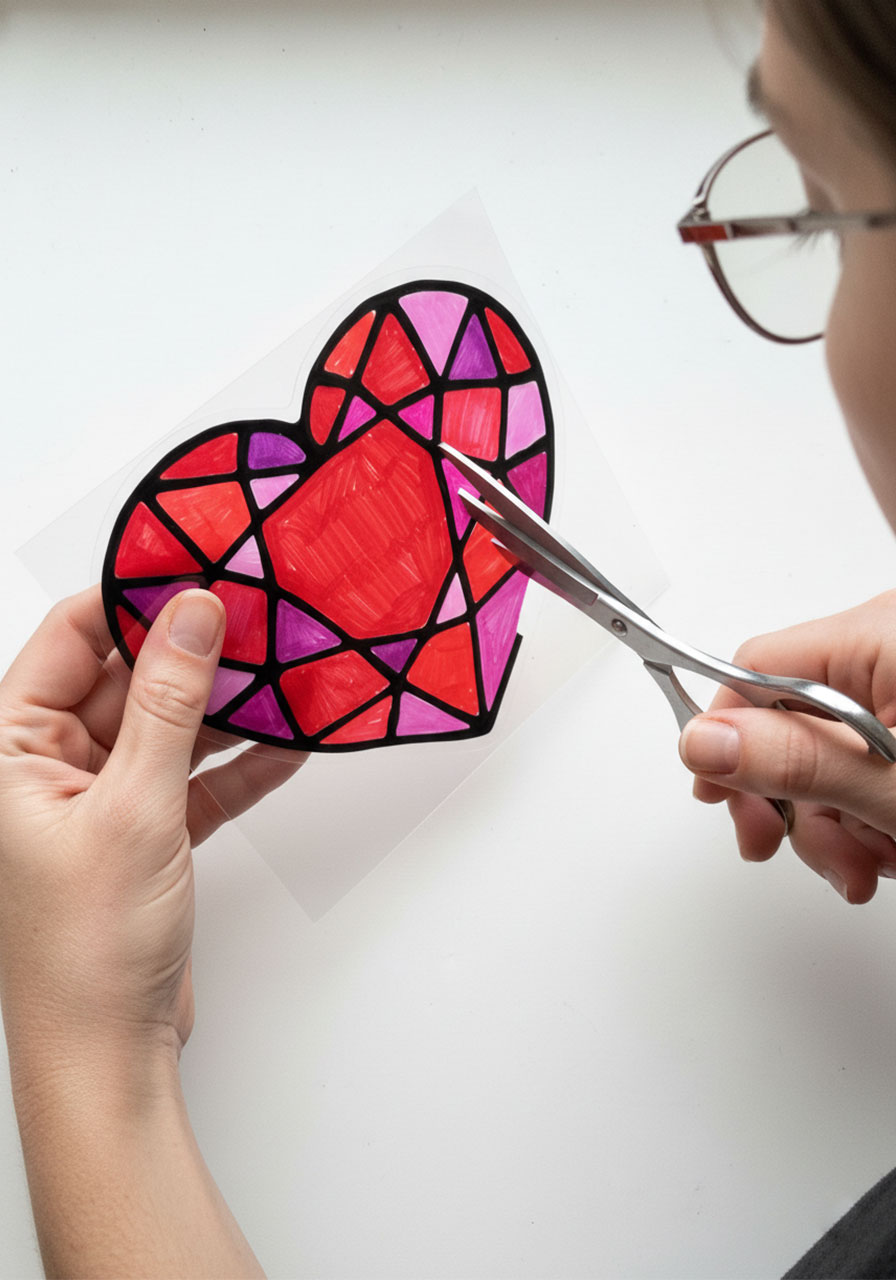
Here’s the beauty of working with translucent plastic: you don’t need to cut super close to the lines! Even if your cutting is a bit wobbly, it won’t affect how your suncatcher looks when it’s displayed. This makes it perfect for kids who are still mastering their scissor skills.
Just cut around the general heart shape, leaving a small border if you want. Easy peasy.

Step 6: Display Your Masterpiece
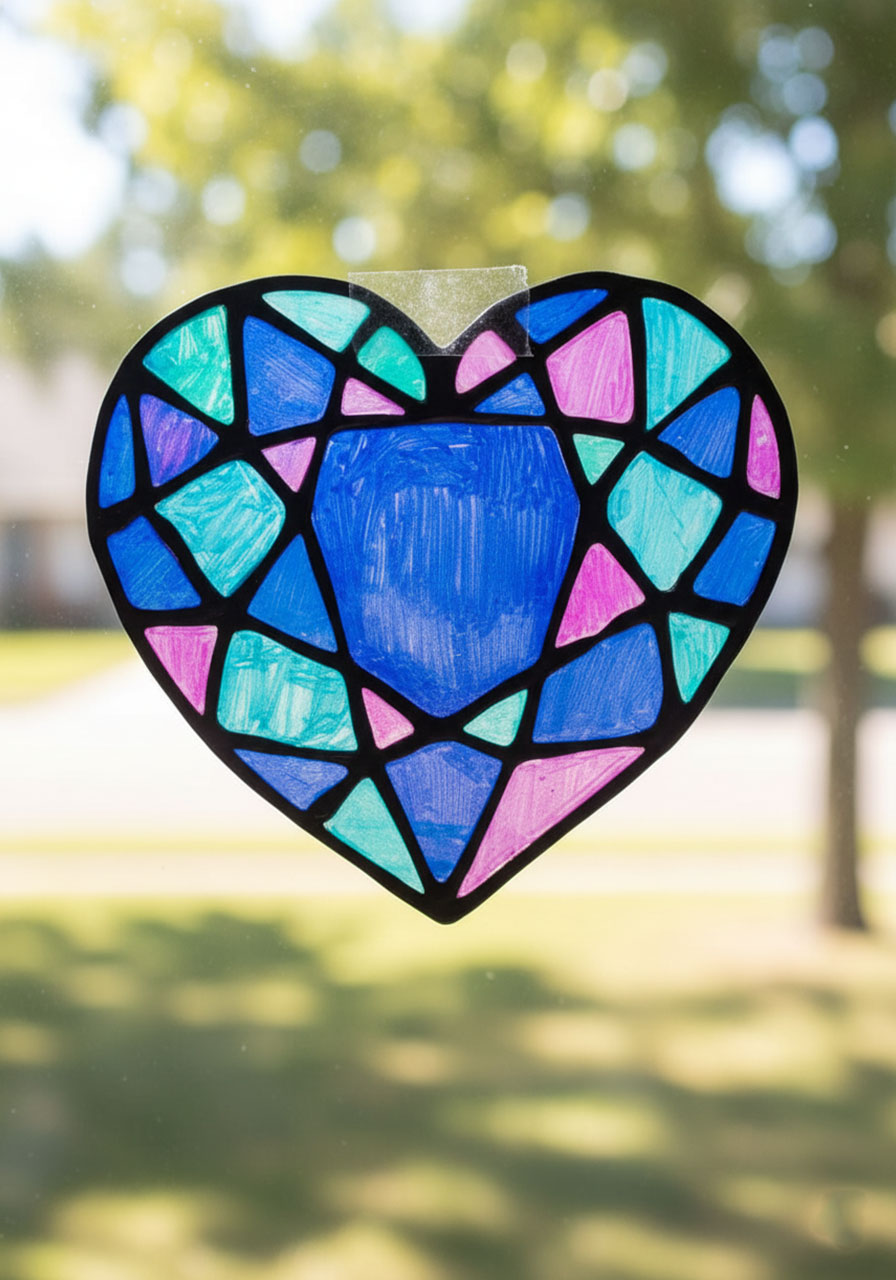
The final step! Use double-sided tape to stick your suncatcher to a window.
Position it where the sun will hit it during the day, and prepare to be amazed. When that sunlight streams through your colorful creation, you’ll see those gorgeous shadows cast on your walls and curtains. It’s the kind of simple beauty that makes you stop and smile every time you walk past.
Creative Variations to Try
Once you’ve mastered the basic heart, why not experiment?
Different Shapes: Try butterflies, flowers, or even abstract geometric designs. The black glue technique works for any shape you can dream up!
Rainbow Hearts: Use every color in your Sharpie collection for a vibrant rainbow effect that looks absolutely stunning in the sunlight.
Color Blocking: Pick just 2-3 colors and use them in a bold, graphic pattern for a modern look.
Seasonal Switches: This technique isn’t just for Valentine’s Day! Make shamrocks for St. Patrick’s Day, eggs for Easter, or snowflakes for winter. Once you’ve got the hang of it, you’ll want to make suncatchers for every holiday.
Troubleshooting Tips
Glue won’t stick to the plastic? Make sure your plastic surface is clean and dry. Some laminating sheets are extra slippery – if this happens, try a different type of plastic like a clear folder or container plastic.
Glue lines are bumpy? This is totally normal and actually adds to the handmade charm! If you want smoother lines, try squeezing more gently or practice your technique on scrap plastic first.
Colors look faded? Layer your Sharpie colors! Go over each section 2-3 times for deeper, more saturated hues.
Can’t find the right plastic? Check your recycling bin for clear plastic containers, or grab a clear plastic folder from any office supply store for under a dollar.
Why This Craft Is a Winner
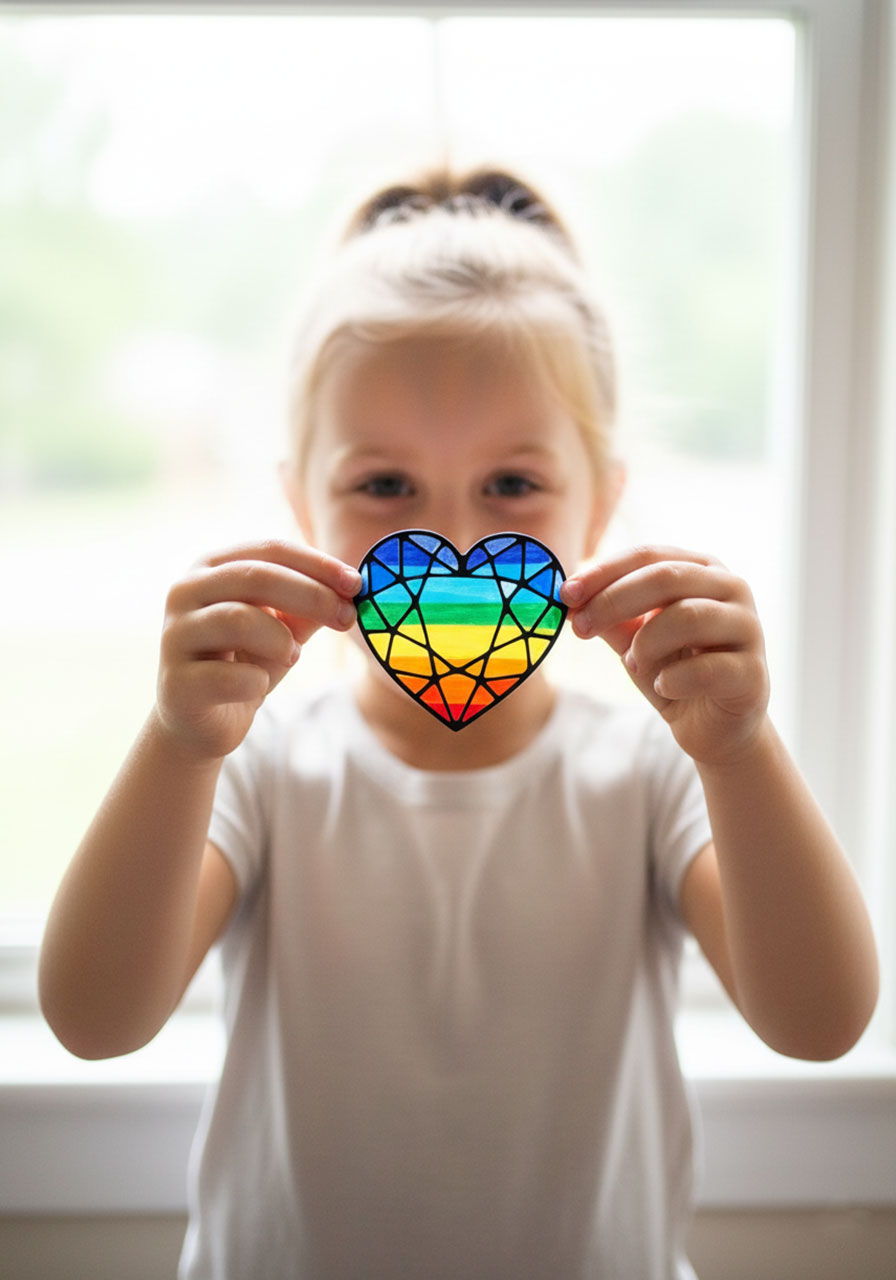
Here’s what makes these stained glass heart suncatchers such a hit: they’re cheap (we’re talking just a few dollars for supplies), they’re easy enough for kids but engaging enough for adults, and the end result looks way fancier than the effort involved.
Plus, there’s something genuinely satisfying about the whole process – from squeezing out those black glue lines to watching the colors come alive in the sunlight. It’s the kind of craft that makes you feel accomplished and creative, whether you’re 6 or 60.
Your windows are about to get a whole lot more interesting. And when your friends ask where you got those gorgeous decorations? You can smile and say, “Oh, we made them.” Because there’s nothing quite like the pride of creating something beautiful with your own hands.
Now grab that glue and those Sharpies – it’s time to make some magic!
More Valentine’s Day Party Ideas to Keep the Fun Rolling:
Valentine Science Magic: Grow Sparkly Heart Crystals Overnight
27 Exciting Minute to Win It Games to Celebrate Valentine’s with Fun
11 Creative Valentine Door Decorations for Classrooms That’ll Make Everyone Say “Aww!”
Easy Cardboard Heart String Art That’ll Make You Look Like a Craft Genius
3 Easy Heart Painting Ideas That’ll Make You Look Like a Creative Genius
46 Easy Valentine’s Day Crafts for Kids That’ll Make Their Hearts Skip a Beat
16 Galentine’s Day Party Ideas That’ll Make Your Squad Say “Yasss!”
As an Amazon Associate, we may earn a commission from qualifying purchases at no additional cost to you.
