
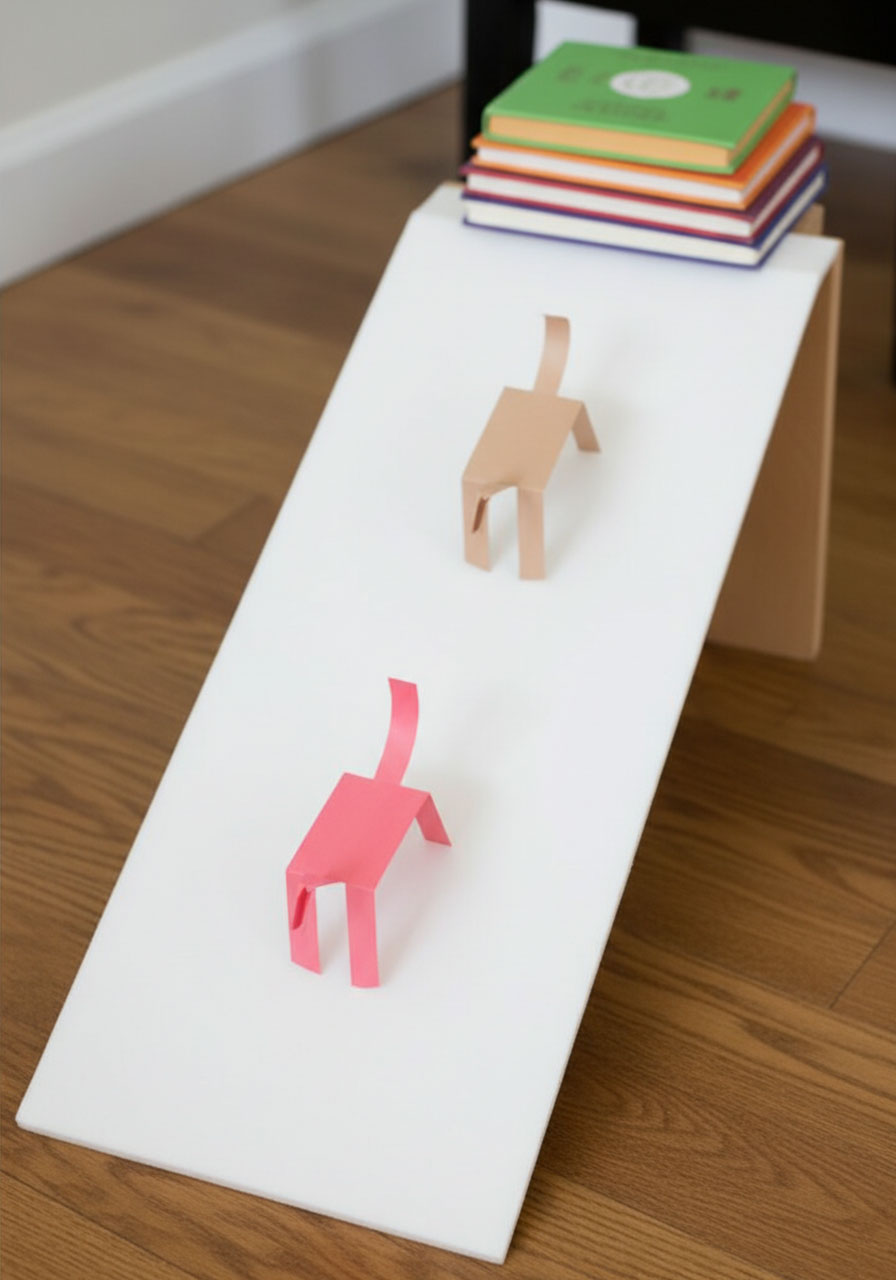
Get ready for some serious “wait, WHAT?!” moments – this paper horse doesn’t just sit there looking cute. It actually walks down a ramp all by itself! No batteries, no remote control, just pure physics magic that’ll blow your mind (and everyone else’s).
I stumbled across this genius project a while back, and let me tell you: watching a flat piece of paper transform into a self-walking horse is the kind of thing that makes you feel like a wizard. The best part? It looks impossible, but it’s totally doable – and the science behind it is ridiculously cool.
Why This Project Is Amazing
This isn’t your average paper craft. Here’s what makes it epic:
It’s a real STEM learning experience. Your paper horse walks using gravity, friction, and a rocking motion that mimics how real animals move. You’ll basically build a mini physics lesson that gallops down a ramp.
It’s perfect for ages 10 and up. Younger kids will absolutely love watching it in action (seriously, their faces will light up), but the precision cutting and folding works best for tweens, teens, and adults. Make it a team effort – older siblings or parents can help younger kids bring their horse to life.
It requires some trial and error, and that’s the fun part! Getting your horse to walk perfectly takes a little tweaking, but when you nail it? Total victory moment. Plus, all that troubleshooting teaches problem-solving skills without feeling like “learning.”
Ready to create your own walking paper horse? Let’s dive in!

What You’ll Need
Construction paper (one sheet makes 2-3 horses)
Scissors (sharp ones work best for clean cuts)
A metric ruler
A pen or pencil
A ramp surface (craft foam works perfectly – we’ll explain why below)
Books or a board to create your ramp
Pro Tip: Construction paper is ideal, but you can also experiment with light cardstock or even manila file folders if you want a sturdier horse. Just know that thicker paper might need more tweaking to get the rocking motion right.
Step-by-Step: Building Your Walking Horse
Step 1: Draw Your Horse Template
Grab your construction paper and ruler. You’re going to create a rectangle that’s 15 cm long by 4.5 cm wide.
Now divide it into sections:
- Split the length into three equal 5 cm sections
- Split the width into three equal 1.5 cm sections
Your grid should have 9 rectangles total. Here’s what each section becomes:
- Left column: Front leg (top), head (middle), front leg (bottom)
- Middle column: Body (all three sections together)
- Right column: Back leg (top), tail (middle), back leg (bottom)

Step 2: Cut It Out
Cut around the perimeter of your 15 cm x 4.5 cm rectangle. Then cut along the dotted lines inside to separate the legs, head, and tail from the body. Don’t cut the body apart – it stays as one solid piece in the middle.
When you’re done, you should have a paper horse that looks kind of like a weird cross or plus sign with legs hanging down.

Step 3: Fold and Shape Your Horse
Here’s where your flat paper becomes 3D:
Fold the legs down so they hang perpendicular to the body. Make sure both front legs are the same length and both back legs match each other – even tiny differences will throw off the balance.
Fold the head forward so it sticks out in front.
Curl the tail upward. Yes, horses don’t actually have curled tails, but trust me on this – it helps with balance and makes the walking motion smoother.
Now check the feet (the bottom of each leg). They need to be slightly rounded, like tiny rocking chair runners. If they’re too flat or pointy, your horse won’t rock properly. Trim them into gentle curves if needed.

Step 4: Build Your Ramp
This is where the magic happens – but the surface matters more than you’d think!
Why your ramp surface is crucial: Your horse needs the Goldilocks amount of friction – not too much, not too little, but juuust right.
We tried a few surfaces before finding the winner:
Slippery book cover: FAIL. The horse just slid straight down like a runaway sled.
Felt fabric: Better, but too much friction. The horse barely budged.
Craft foam: PERFECT! Just enough grip for the rocking motion to work.
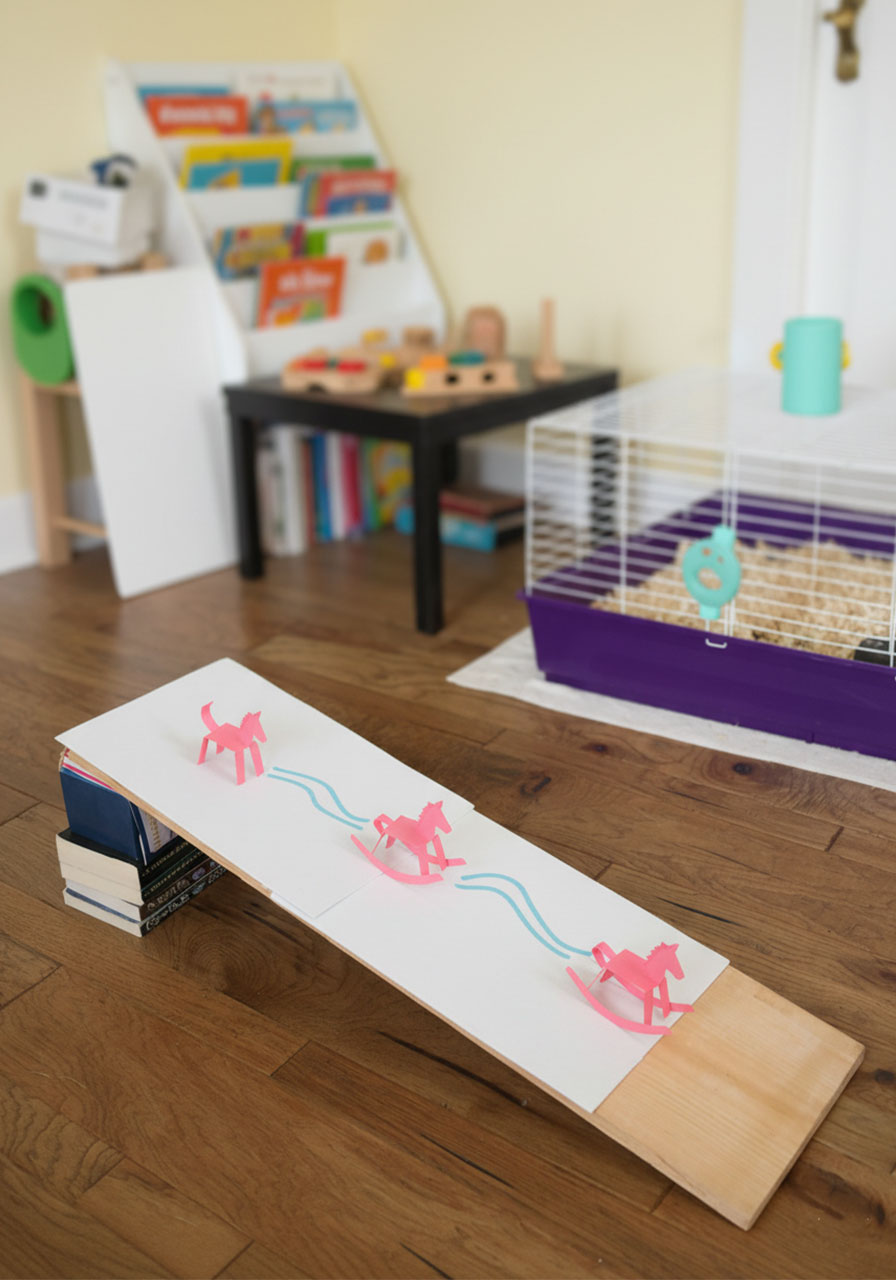
Setting up your ramp: Place a piece of craft foam on a board or large book. Prop one end up with a stack of books to create an incline. Start with a gentle slope (about 15-20 degrees) and adjust from there.

Step 5: Make Your Horse Walk!
Place your horse at the top of the ramp and gently release it. If everything’s balanced correctly, you’ll see it start rocking side to side as it “walks” down the slope!
Here’s the science: As your horse rocks to the right, gravity pulls the left foot (which is now in the air) forward down the ramp. When it rocks to the left, the right foot moves forward. It’s basically using its curved feet like a rocking chair to waddle its way downhill. Mind. Blown.
Troubleshooting Tips (Because Physics Can Be Finicky!)
Horse isn’t walking? Check these fixes:
Make sure the legs are perfectly straight. Even a tiny bend will mess up the balance. Hold your horse at eye level and look for any legs that aren’t hanging straight down.
Adjust the head position. Weirdly enough, head height matters! We found that raising the head a bit higher helped our horse walk more smoothly.
Trim and round the feet. If your horse is wobbling but not walking, the feet might be too flat or uneven. Trim them into smooth, rounded curves – think miniature rocking chair runners.
Play with your ramp angle. Too shallow? Your horse won’t move. Too steep? It’ll tip forward and face-plant. Adjust the height until you find the sweet spot.
Check for balance. Make sure no single leg is longer or shorter than its partner. Measure if you need to – precision is key here!
Take It Further: Horse Race Challenge!
Once you’ve mastered the basic walking horse, here’s how to level up the fun:
Double the dimensions for a larger horse. Make a 30 cm x 9 cm rectangle and follow the same proportions. Bigger horses walk differently and make for an awesome comparison!
Host a paper horse derby. Make multiple horses and race them down the ramp. Who designed the fastest walker? The most stable? The smoothest galloper?
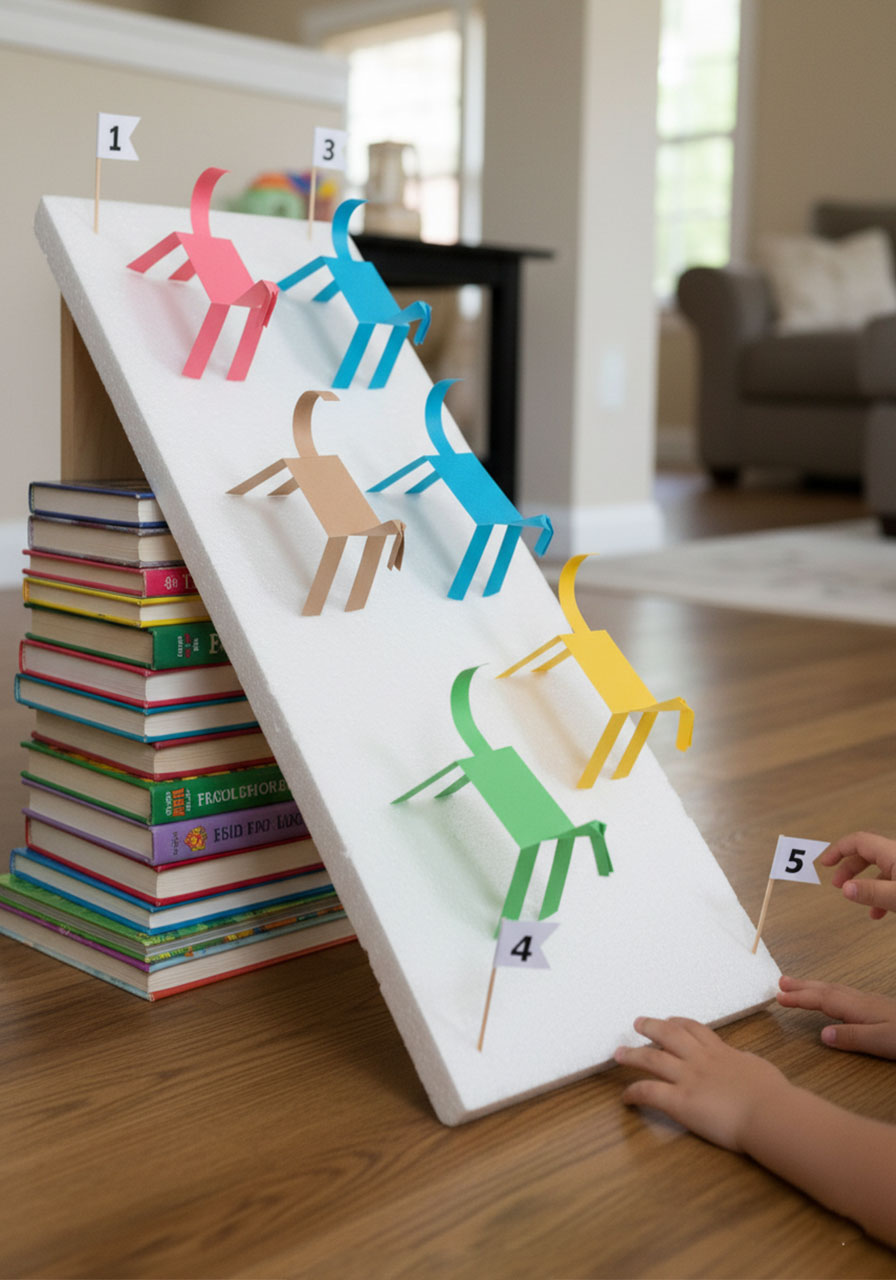
Experiment with different paper types. Try cardstock, printer paper, or construction paper and compare how each material affects the walking motion.
Design custom horses. Add spots, stripes, or color patterns before you cut. Make a whole stable with different designs!

The Bottom Line
This walking paper horse is hands-down one of the coolest STEM projects you can make with minimal supplies. It combines engineering, physics, and a hefty dose of “how is this even possible?!” magic that makes it perfect for rainy days, science fairs, or just impressing your friends.
Sure, it takes a little fiddling to get it just right – but that’s part of the adventure. And when your paper creation takes its first wobbly steps down that ramp? You’ll be grinning like you just discovered antigravity.
So grab some construction paper, channel your inner engineer, and get ready to watch paper come to life. Your walking horse is waiting!
More Kid’s Party Ideas to Keep the Fun Rolling:
27 Best Minute to Win It Games for Family Fun Night: Quick, Easy, and Hilarious Ideas
DIY Wooden Building Blocks: Build Epic Lincoln Log-Style Blocks for Hours of Imaginative Play
Rainbow Walking Water Science Experiment: Watch Colors Magically Mix Before Your Eyes!
How to Make a Paper Plate Kite: The Ultimate Summer Craft for Kids
How to Make a Straw Airplane That Actually Flies (Better Than Paper!)
How to Make Mini Lid Banjos: The Cutest 10-Minute DIY Musical Instrument
Make a Paper Plate Maze STEM Challenge That’ll Blow Your Kids’ Minds
DIY Car Ramp: The 5-Minute STEM Activity That’ll Keep Your Kids Racing for Hours
