
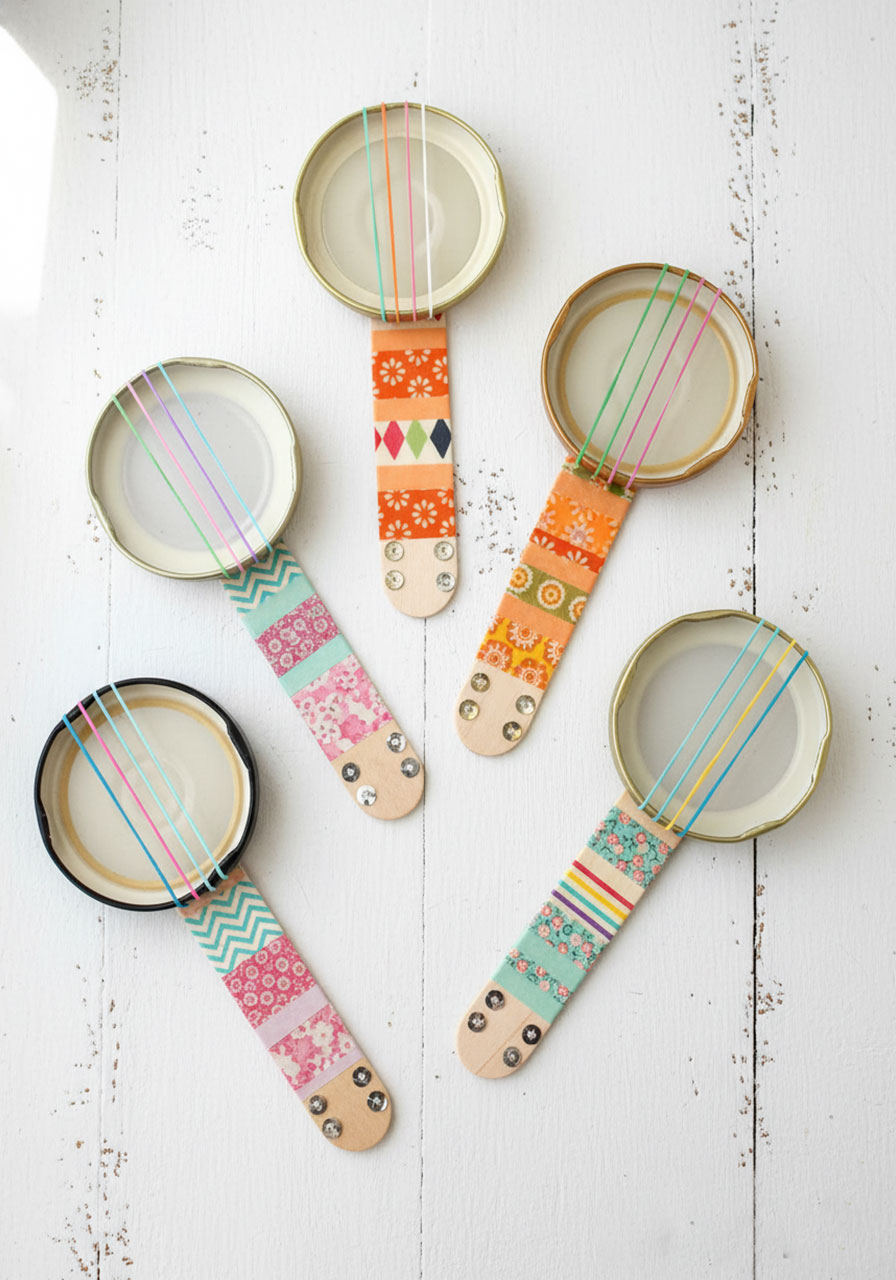
Get ready to turn your recycling bin into a music studio! These adorable mini banjos are made from jar lids and loom bands, and they’re so ridiculously easy that you’ll be strumming away in less time than it takes to find a matching pair of socks.
Trust me, this is the kind of craft that makes you look like a creative genius while secretly being almost embarrassingly simple. The best part? Parents everywhere will appreciate that these little banjos make the softest strumming sound imaginable. Your ears will thank you.
Best for: Kids ages 5+, rainy day activities, music-themed parties, summer crafts
Time to Make: Under 10 minutes per banjo
Difficulty Level: Easy peasy
Why You’ll Love This Mini Banjo Craft
Here’s the thing about this project: it’s the perfect intersection of adorable, musical, and incredibly satisfying to make. You’re basically a recycling wizard, transforming those jar lids you’ve been hoarding (no judgment – we all do it) into actual tiny instruments.
Plus, kids absolutely love making their own “real” instruments, and this one delivers on the cuteness factor without requiring any special skills or fancy equipment. Whether you’re planning a music-themed birthday party, need a quick summer activity, or just want to keep little hands busy on a rainy afternoon, these mini banjos are your new best friend.

What You’ll Need
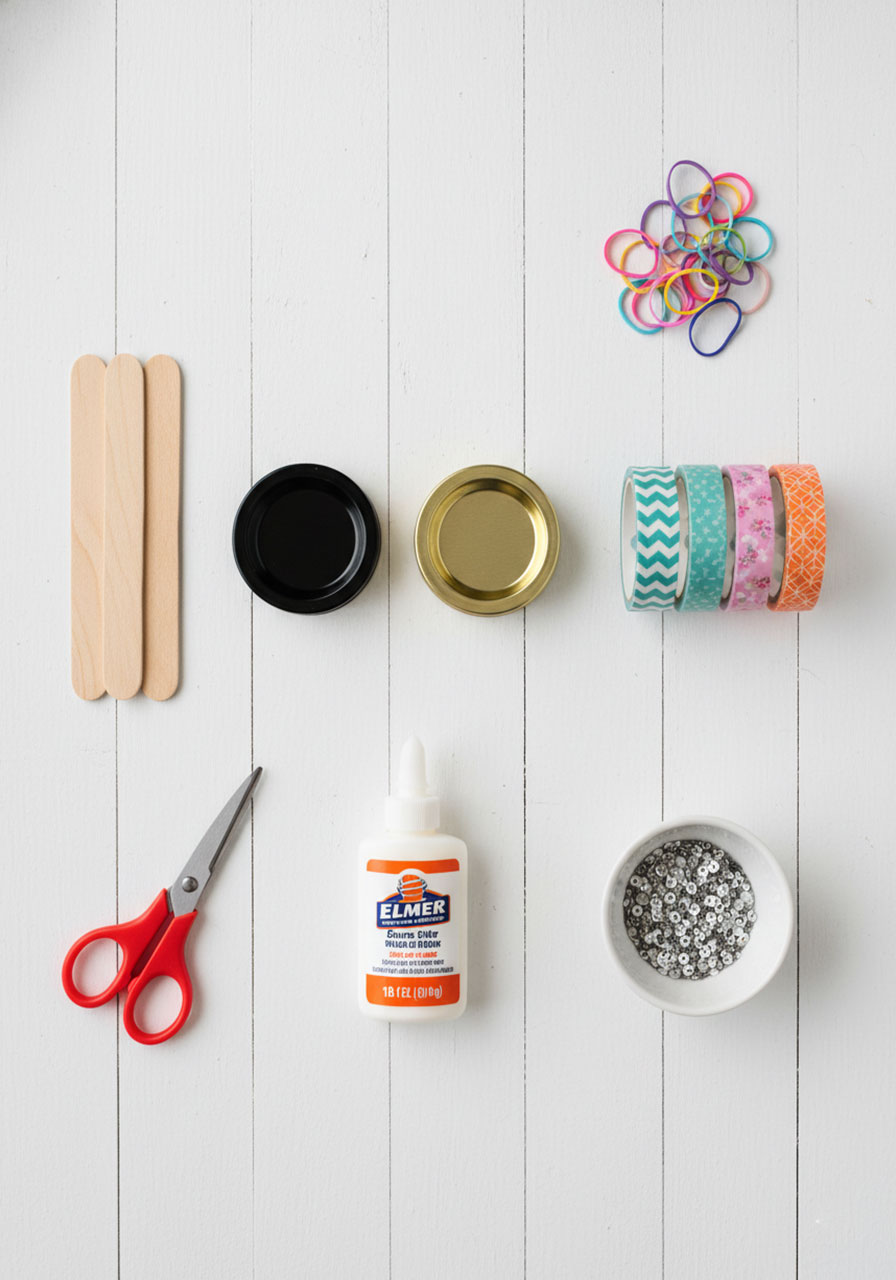
Here’s your shopping list (spoiler alert: you probably have most of this stuff already):
Jumbo craft sticks – one per banjo (regular popsicle sticks work too, but jumbo ones look more proportional)
Loom bands – four per banjo (or small rubber bands if you’re not swimming in leftover loom bands)
Jar lids – any size works, but medium ones (about 2-3 inches across) are ideal
Washi tape – for decorating the handle (the more patterns, the better!)
Duct tape – just small pieces to secure everything
Sequins or plastic gems – for the tuning pegs
Craft glue – regular white glue is perfect
Scissors – for trimming the craft stick
Pro Tip: Start saving those jar lids now! Pasta sauce jars, jam jars, pickle jars – they all work beautifully for this project.
How to Make Your Mini Lid Banjo
Ready to rock and roll? Let’s build these little beauties!
Step 1: String Your Banjo
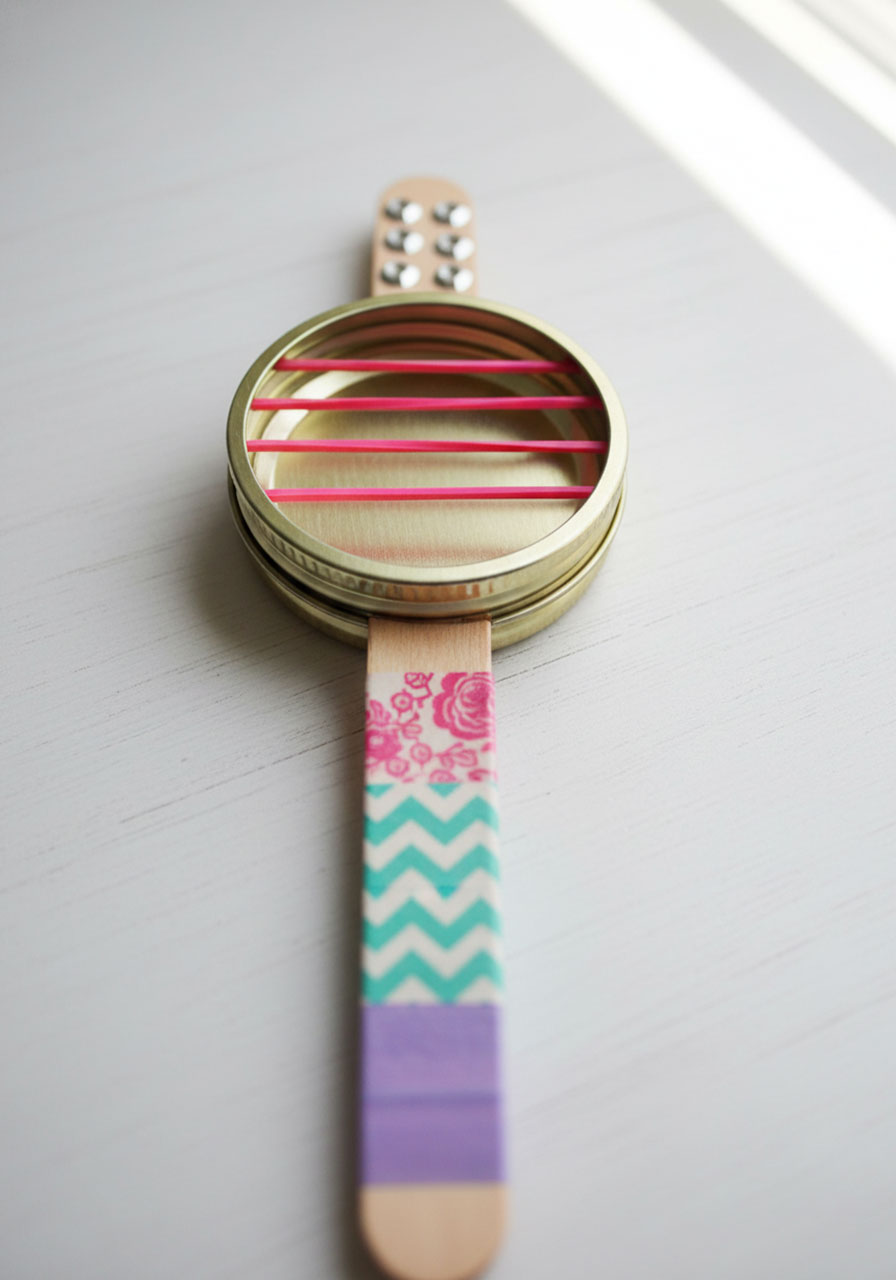
Place four loom bands over the jar lid, stretching them across like guitar strings. They should all run parallel to each other across the middle of the lid.
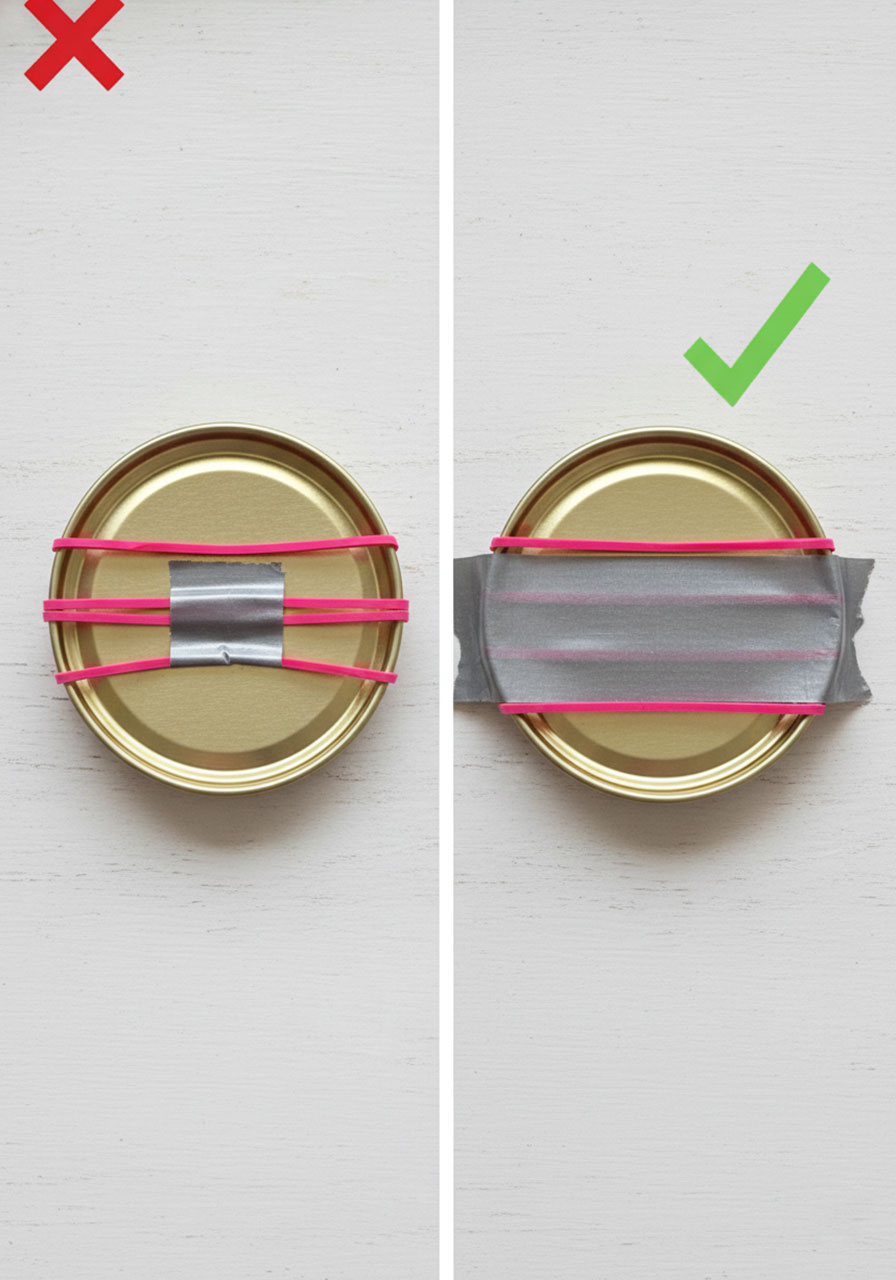
Flip the lid over and secure all the bands in place with a piece of duct tape on the back. Press it down firmly so those strings aren’t going anywhere.
Important note: Don’t even think about using a hot glue gun here. I learned this the hard way – the loom bands melt instantly and snap like tiny rubber band disasters. Duct tape is your friend!


Step 2: Create the Banjo Handle
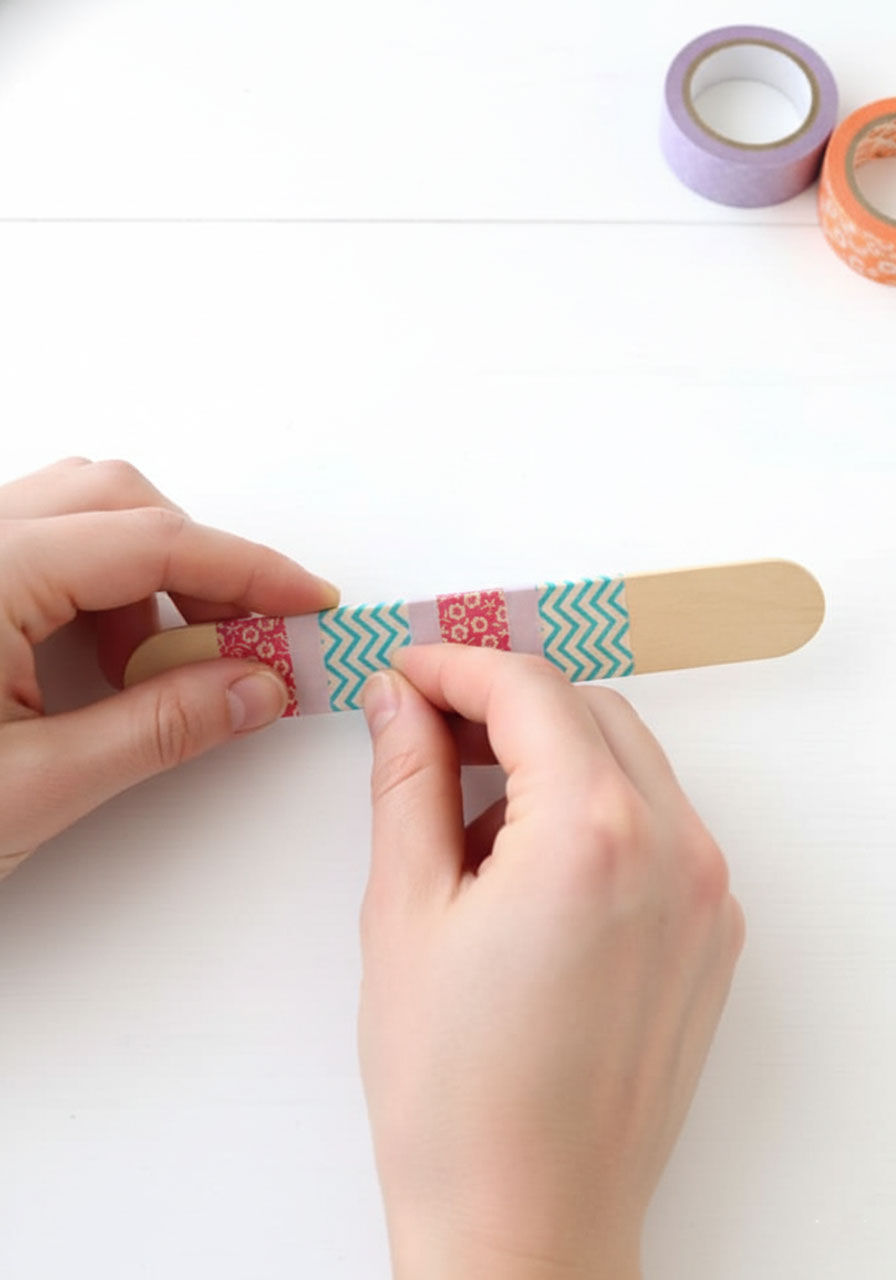
Grab your jumbo craft stick and cut off about one-third from the end using scissors. This shortens it to a more banjo-like proportion – you want it to look cute, not like you’re holding a giant paddle.
Now comes the fun part: decorate that handle with washi tape! Wrap different patterns around the stick in sections, or go wild with stripes and dots. There’s no wrong way to do this, so let your creativity run free.
Step 3: Attach the Handle
Take your decorated craft stick and position it behind your jar lid (the side with the duct tape). Line it up so the lid sits nicely at the top of the handle.
Secure everything together with another piece of duct tape, wrapping it around where the handle meets the lid. Make sure it’s nice and tight!
Step 4: Add the Finishing Touches
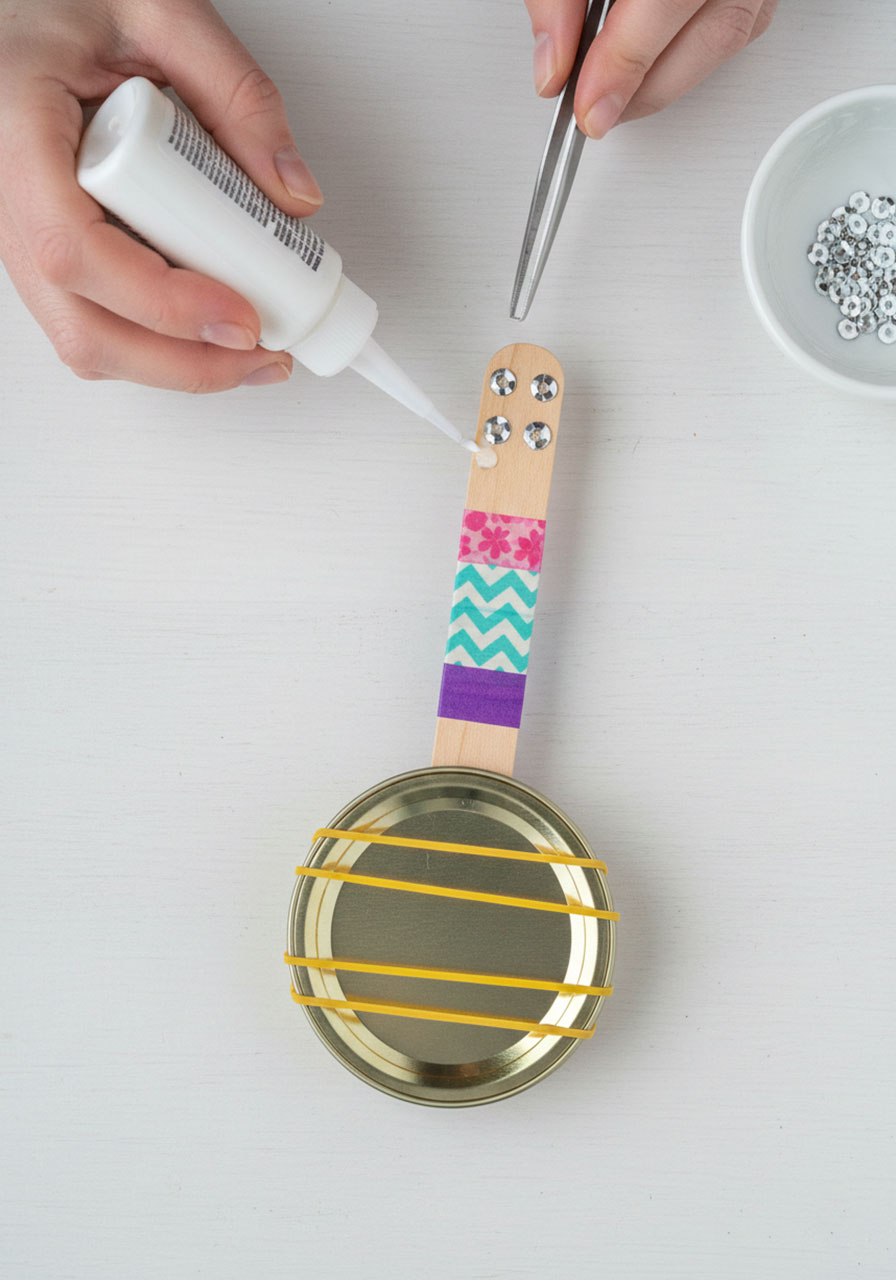
Time to add those adorable tuning pegs! Put small dabs of craft glue at the top of the handle (the part that extends past the lid) and stick on your sequins or plastic gems. Four little “tuning knobs” look super cute.
Let the glue dry completely, and you’re done!
Let’s Be Real: The Sound Quality
Okay, full transparency moment: these mini banjos aren’t going to make you sound like Earl Scruggs. The loom band strings create a very soft, gentle strumming sound – think “barely audible plinking” rather than “concert hall acoustics.”

But here’s why that’s actually perfect: your kids get to feel like they’re making music, and you don’t have to deal with the noise level of an actual instrument. It’s a win-win! Plus, they’re so stinking cute that the sound quality honestly doesn’t matter.
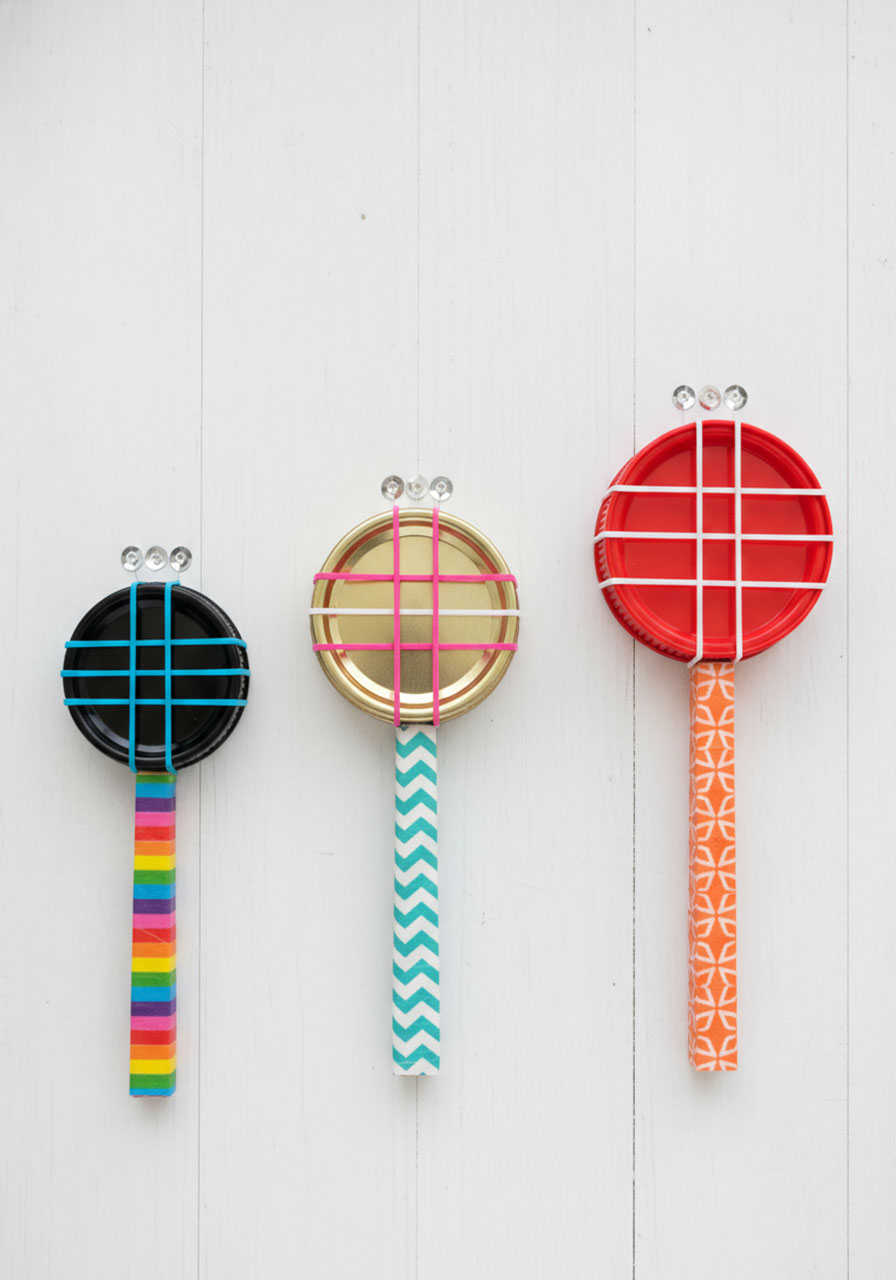
Fun Fact: Smaller lids produce a slightly higher pitch than larger ones, so if you make a whole collection, you can create different “notes”!
Creative Variations to Try
Want to mix things up? Here are some fun twists on the basic design:
Mini Banjo Band: Make multiple banjos in different sizes and colors, then host a “mini banjo concert” with friends or siblings. Bonus points for creating song cards with simple strumming patterns!
Themed Decorations: Planning a music party? Decorate the handles to match your theme – red, white, and blue for a patriotic celebration, or pastels for a spring event.
Custom Colors: Instead of washi tape, try wrapping the handles with colorful yarn or ribbon for a different look.
Personalized Gems: Use a marker to write initials on the sequins before gluing them on, turning each banjo into a personalized party favor.
Troubleshooting Tips
Loom bands keep slipping? Make sure you’re using enough duct tape on the back, and press it down really firmly. You can also use two small pieces of tape instead of one larger piece.
Don’t have jumbo craft sticks? Regular craft sticks work fine! You can even glue two regular sticks together for a sturdier handle.
Out of loom bands? Small rubber bands work perfectly as a substitute. Just make sure they’re not too thick or they won’t make any sound at all.
Want better sound? Try experimenting with different types of lids (metal vs. plastic) and different band tensions. While the sound won’t be amazing, you can definitely improve it with some trial and error!
Why This Craft Is Perfect for Groups
Planning a party or playdate? These mini banjos are fantastic group activities because:
Each one takes less than 10 minutes, so no one gets bored waiting
Kids can personalize their creations with different colors and patterns
The supplies are inexpensive and easy to buy in bulk
They make perfect take-home party favors
It’s a great STEAM activity that combines art and simple physics

Storage and Care
Your mini banjos are pretty durable, but here’s how to keep them in tip-top shape:
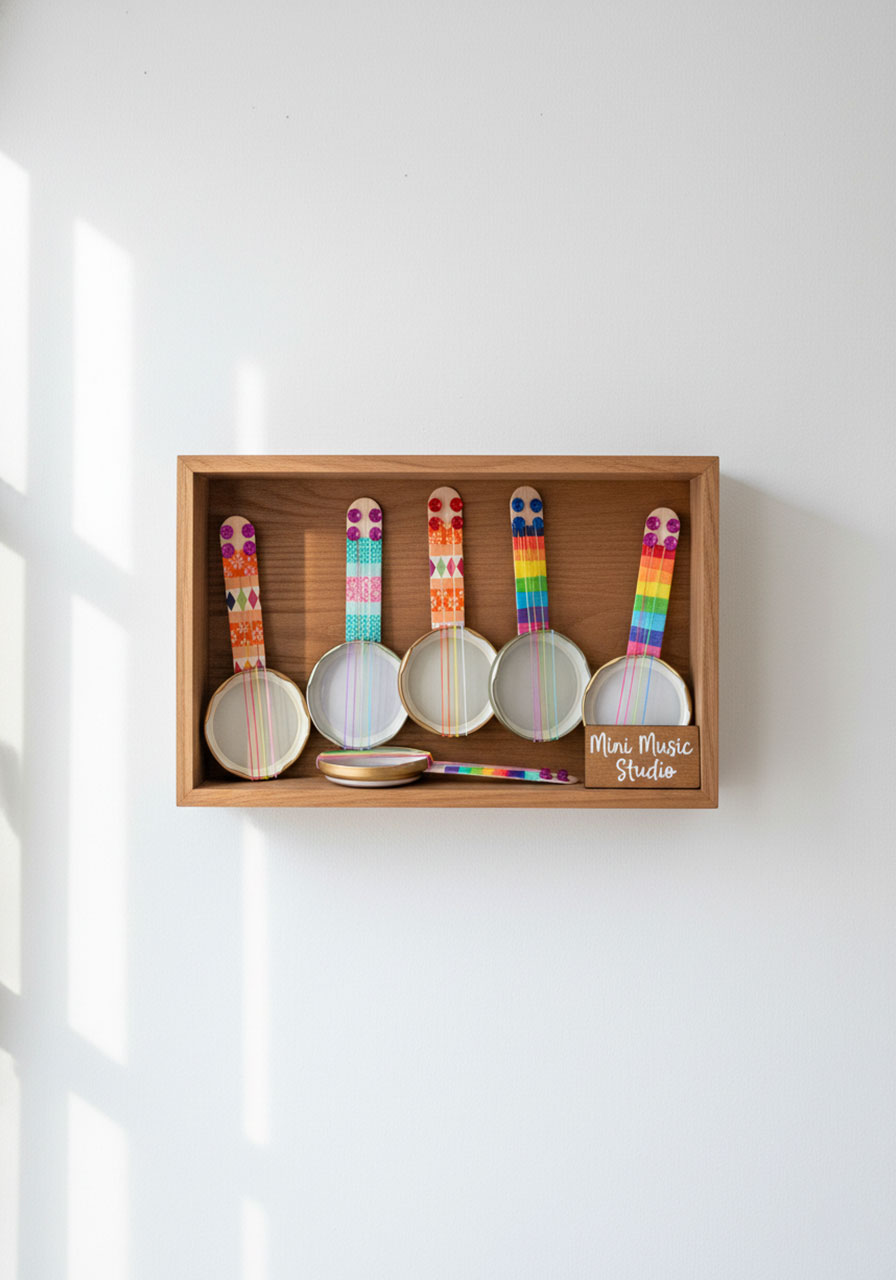
Store them flat or hang them on the wall as decoration
If the loom bands lose tension over time, just replace them – it takes 30 seconds
Keep them away from heat sources (remember, those bands melt easily!)
If the glue loosens on the sequins, just add a tiny drop of fresh glue
The Bottom Line
Look, I’m not going to promise you that these mini lid banjos will produce Grammy-worthy music. What I will promise is that they’re absolutely adorable, incredibly fun to make, and the perfect way to transform recyclables into something creative and playful.
Plus, there’s something genuinely satisfying about looking at a pile of random craft supplies and creating tiny musical instruments that actually work (even if “work” is a generous term for the sound they make). Your kids will love customizing their own mini banjos, and you’ll love how quickly this project comes together.
So grab those jar lids you’ve been saving for “someday,” raid the craft drawer, and get ready to strum your way into the cutest DIY project you’ll make all month!
More Kid’s Party Ideas to Keep the Fun Rolling:
Make a Paper Plate Maze STEM Challenge That’ll Blow Your Kids’ Minds
DIY Car Ramp: The 5-Minute STEM Activity That’ll Keep Your Kids Racing for Hours
45 Rainbow Craft Ideas for Kids That’ll Spark Epic Creativity!
How to Make Paper Claws: Turn Your Fingers Into Weapons in 5 Minutes
How to Play Help Your Neighbor: The Card Game That’ll Have Your Family Actually Wanting Game Night
28 Super Fun Dollar Store Crafts for Kids That Won’t Break the Bank
3 Easy Heart Painting Ideas That’ll Make You Look Like a Creative Genius
10 Easy Elementary School Indoor Party Games Kids and Room Moms Will Love
How to Make a Cardboard Loom Bracelet: Easy DIY Friendship Bracelets
