
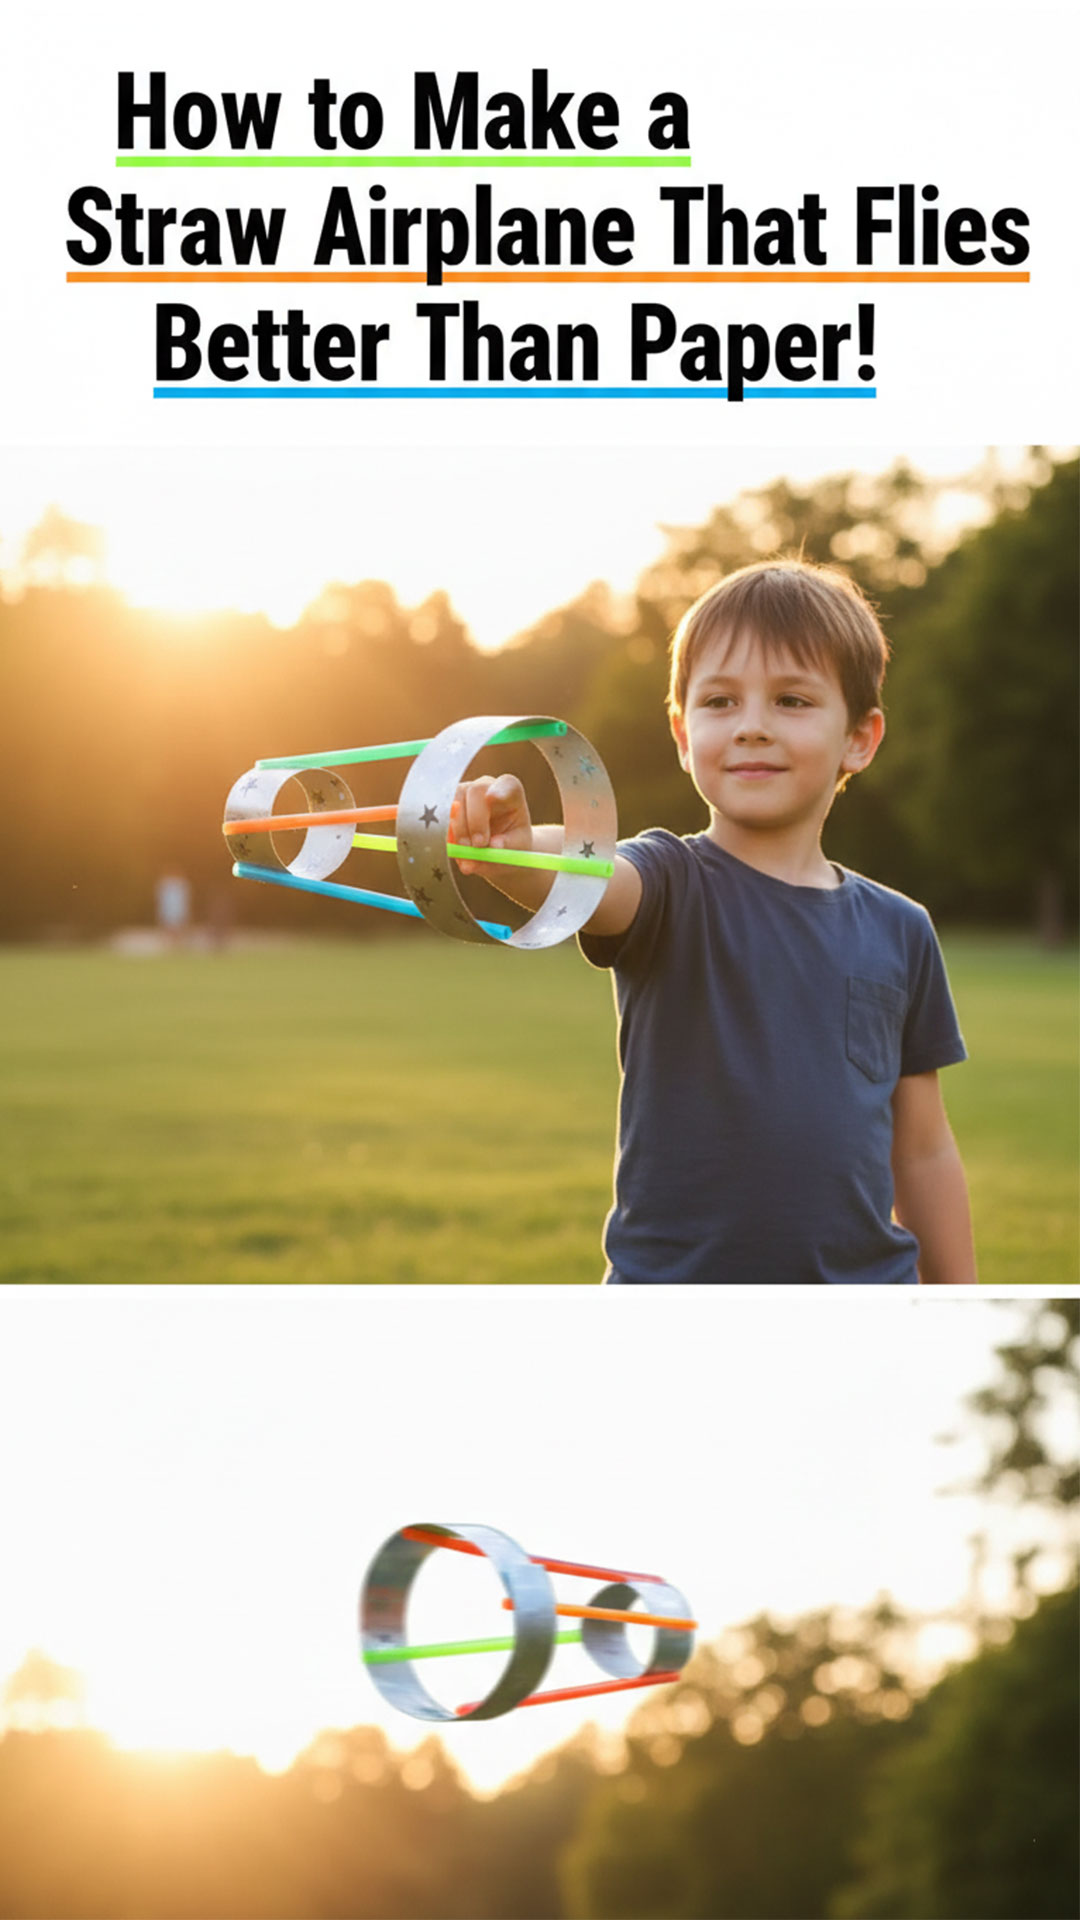
Forget everything you know about paper airplanes – we’re about to blow your mind with something way cooler. This straw airplane (made with paper hoops, not wings!) looks totally bizarre, but here’s the wild part: it flies straighter and farther than most origami planes you’ve spent 20 minutes folding. We call it the Hoopster, and trust us, once you launch this baby across your living room, you’ll wonder why you ever bothered with traditional paper airplanes.
Best for: Kids ages 3+, family craft time, backyard competitions, rainy day boredom-busters
Time to Make: 5-10 minutes
What You’ll Need:
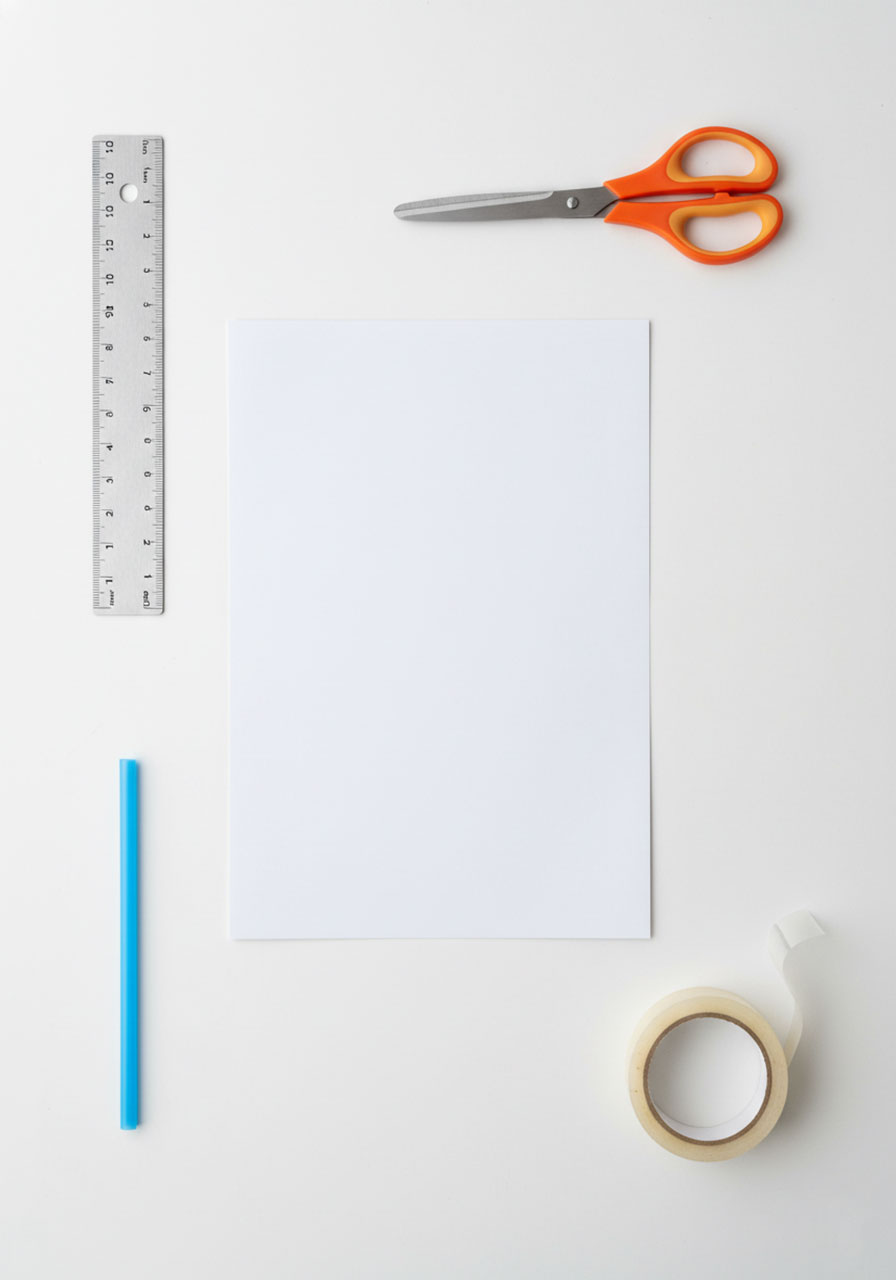
Cardstock paper (standard 8″x11″)
Scissors
Drinking straw (snip off the bendy part if you’ve got one)
Tape
Ruler (optional, but helpful for perfectionists)
How to Build Your Straw Airplane
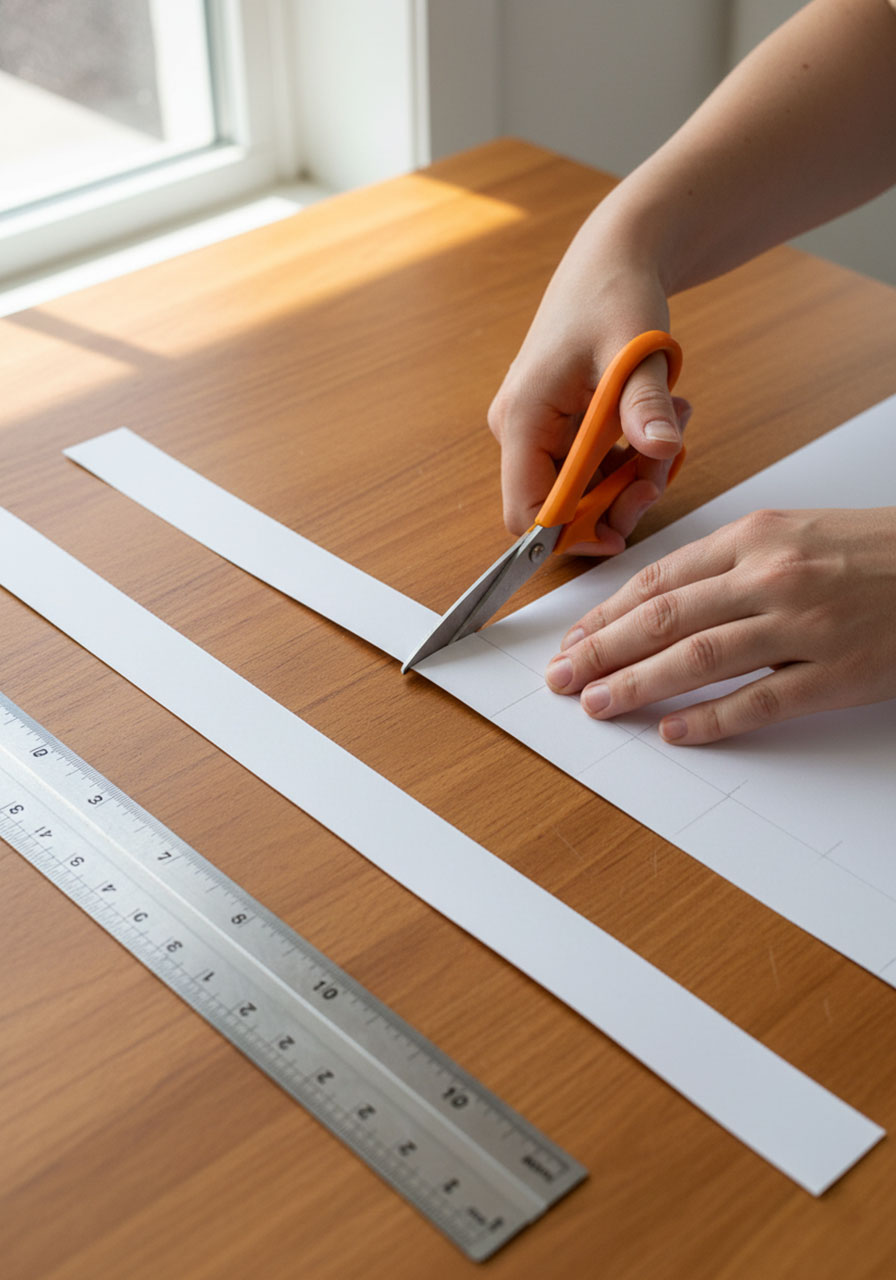
Step 1: Cut your cardstock into strips.
You’ve got options here – pick whichever method makes you happiest:
Option A: Cut three strips that are 5″ long and 1″ wide. Tape two of them end-to-end to create one long 10″ strip.
Option B: Cut one 10″x1″ strip and two 5″x1″ strips all at once. (This is our go-to because fewer pieces = faster craft time.)
Option C: Download a template online if measuring makes you grumpy.
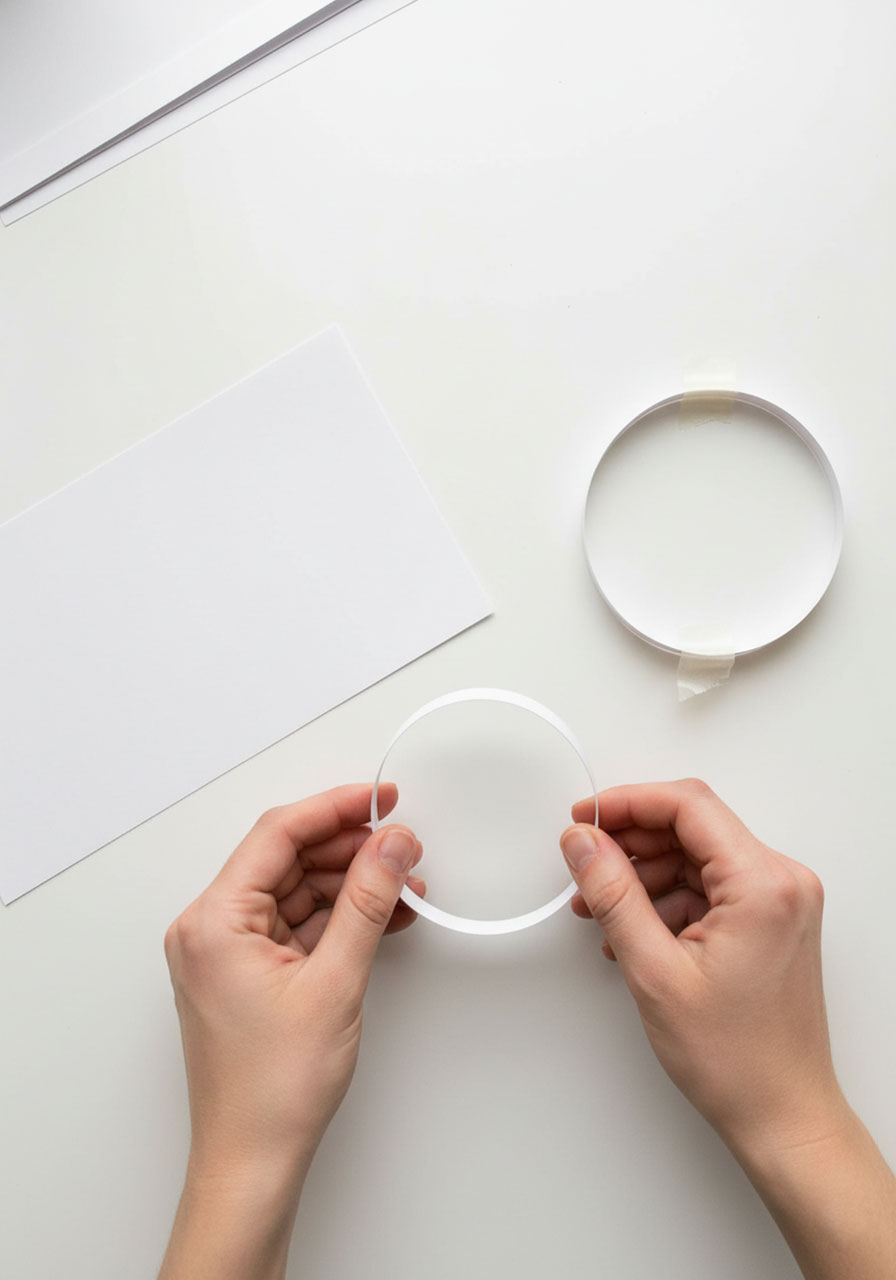
Step 2: Make the small hoop.
Take one 5″x1″ strip and curl it into a circle. Tape the ends together so you’ve got a nice, sturdy hoop. No gaps allowed – that tape needs to hold!
Step 3: Make the big hoop.
Grab your 10″x1″ strip and repeat the same process. You’ll end up with a bigger hoop that’s basically the little hoop’s cooler older sibling.
Step 4: Attach both hoops to your straw.
Here’s where the magic happens. Tape the small hoop to one end of the straw and the big hoop to the other end. Critical detail: Make sure the straw sits on the inside of both hoops and lines up straight. If your hoops are wonky or lopsided, your plane will fly like it’s had too much sugar.
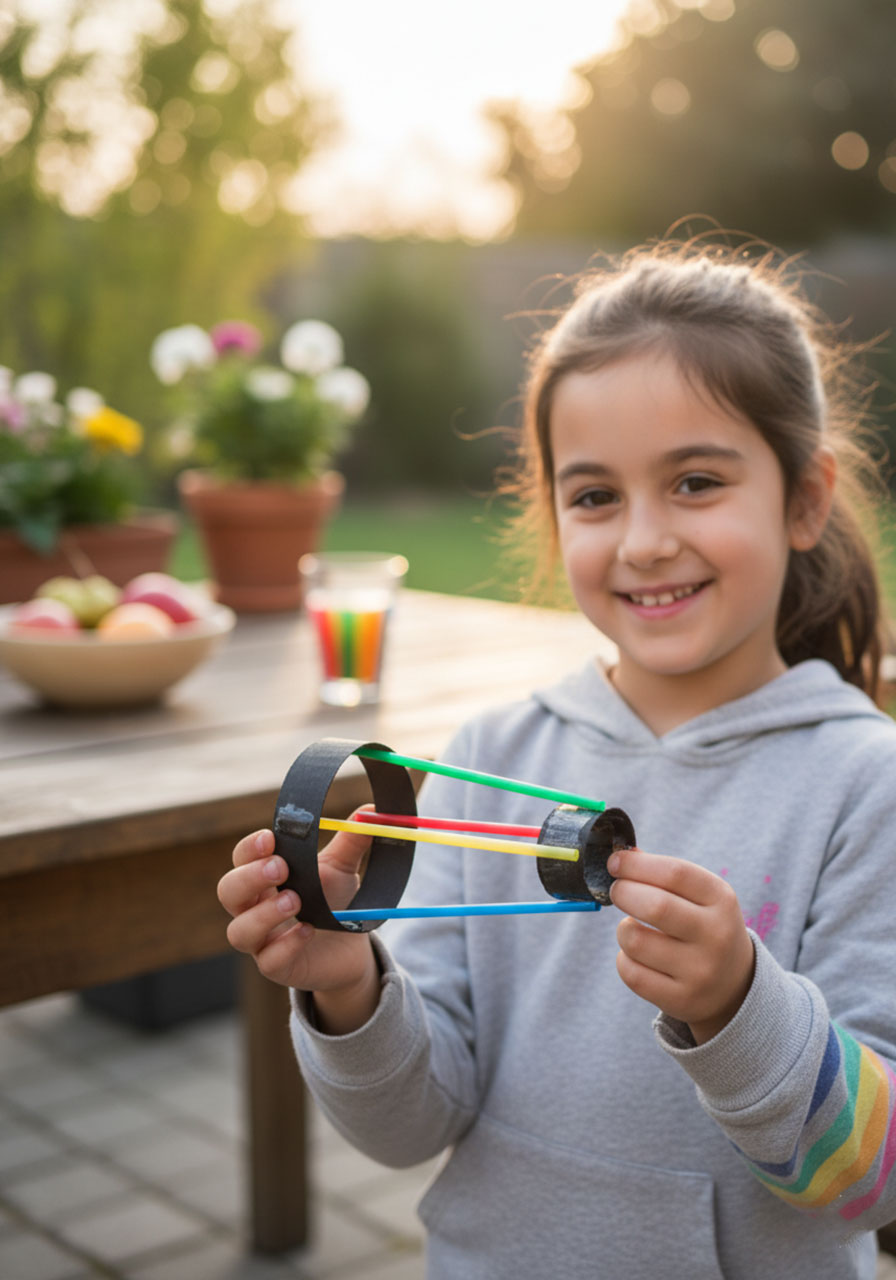
Step 5: Launch time!
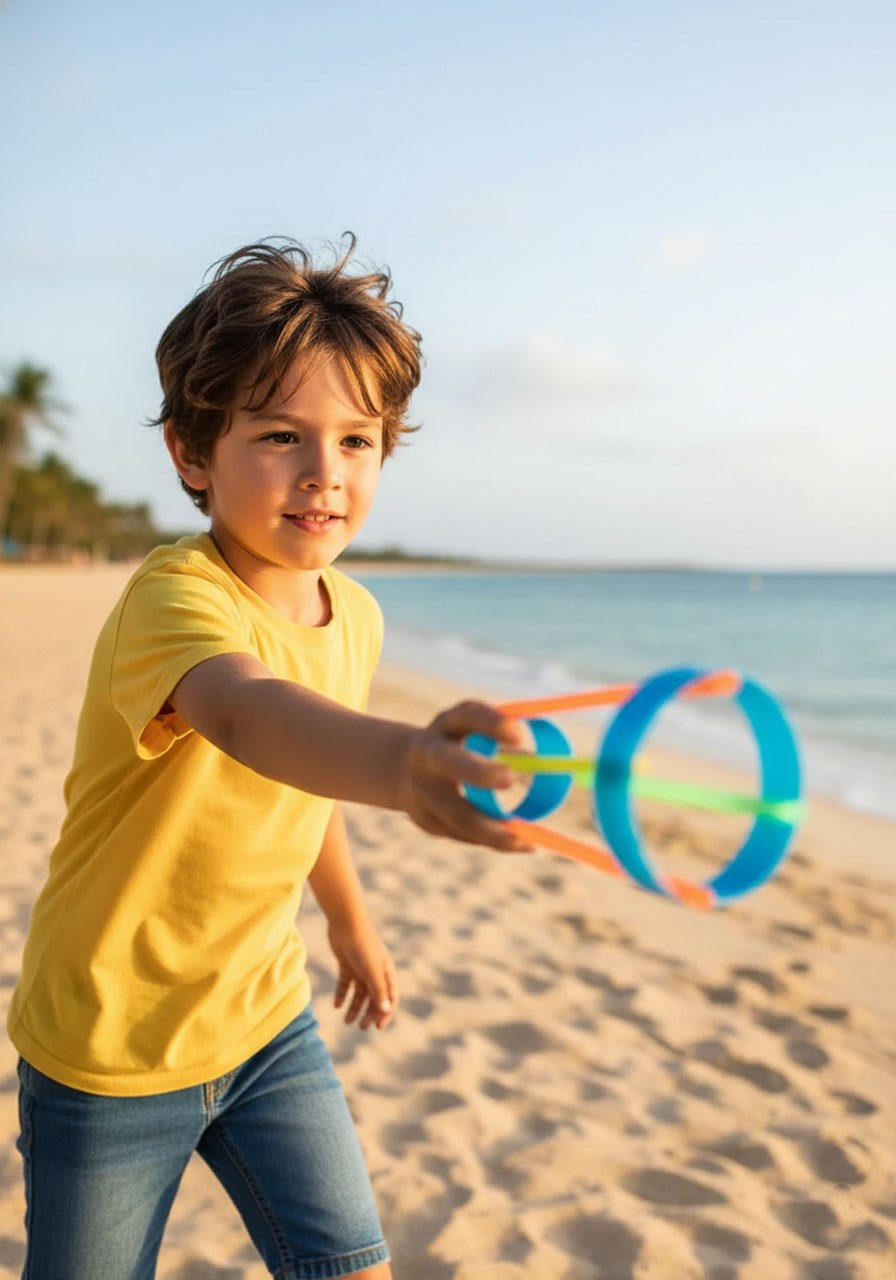
Hold the straw right in the middle with the small hoop facing forward. Give it a gentle throw (no need to hulk out here) and watch it soar in a perfectly straight line. Seriously – it’s oddly satisfying.
Pro Tip: My three-year-old made one of these after watching me do it once. Sure, hers was covered in stickers and had tape everywhere, but it still flew! This is genuinely one of those rare crafts where “messy” still equals “functional.”

Why Does This Crazy Thing Even Work?
We know what you’re thinking: “Paper hoops? Really?” But there’s actual science keeping your Hoopster airborne, and it’s pretty cool.
Four forces are working together here:
1. Thrust is what happens when you throw the plane – your hand generates the forward push that gets it moving through the air.
2. Drag (or air resistance) is the party pooper that slows your plane down as it flies.
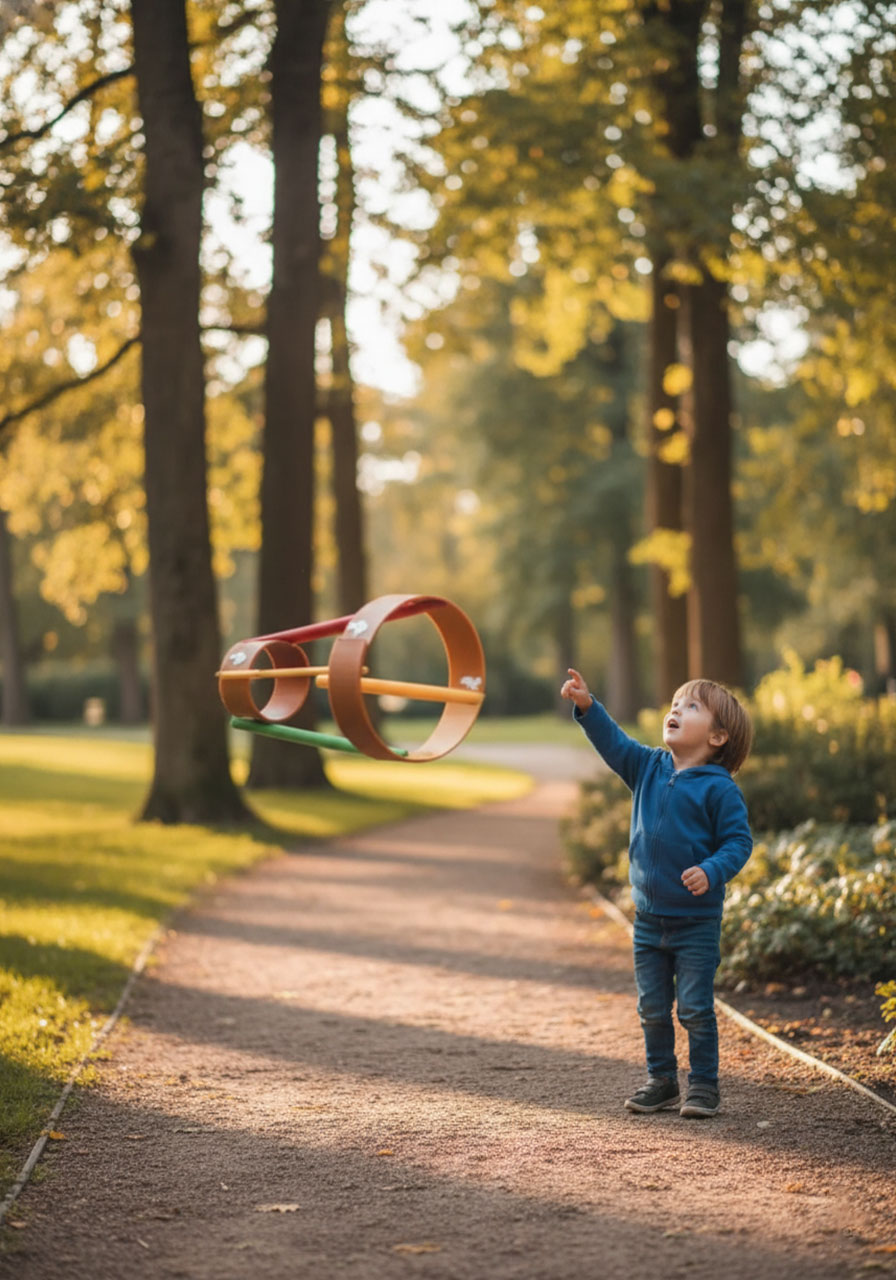
3. Lift is created as air flows through those paper hoops, keeping the plane up in the air instead of nose-diving immediately.
4. Gravity is constantly trying to pull your plane back to earth. Once the plane slows down enough (thanks, drag!), gravity wins and brings it back down for a landing.
The hoops aren’t just for show – they’re working hard to channel airflow and create lift. Mind. Blown.
Turn It Into a Full-On Experiment
Want to geek out and test some variables? Try these modifications and see what happens to your flight distance and accuracy:
Swap your straw length. Use a shorter coffee stirrer or a longer straw and compare the results.
Move the big hoop toward the middle of the straw instead of at the end.
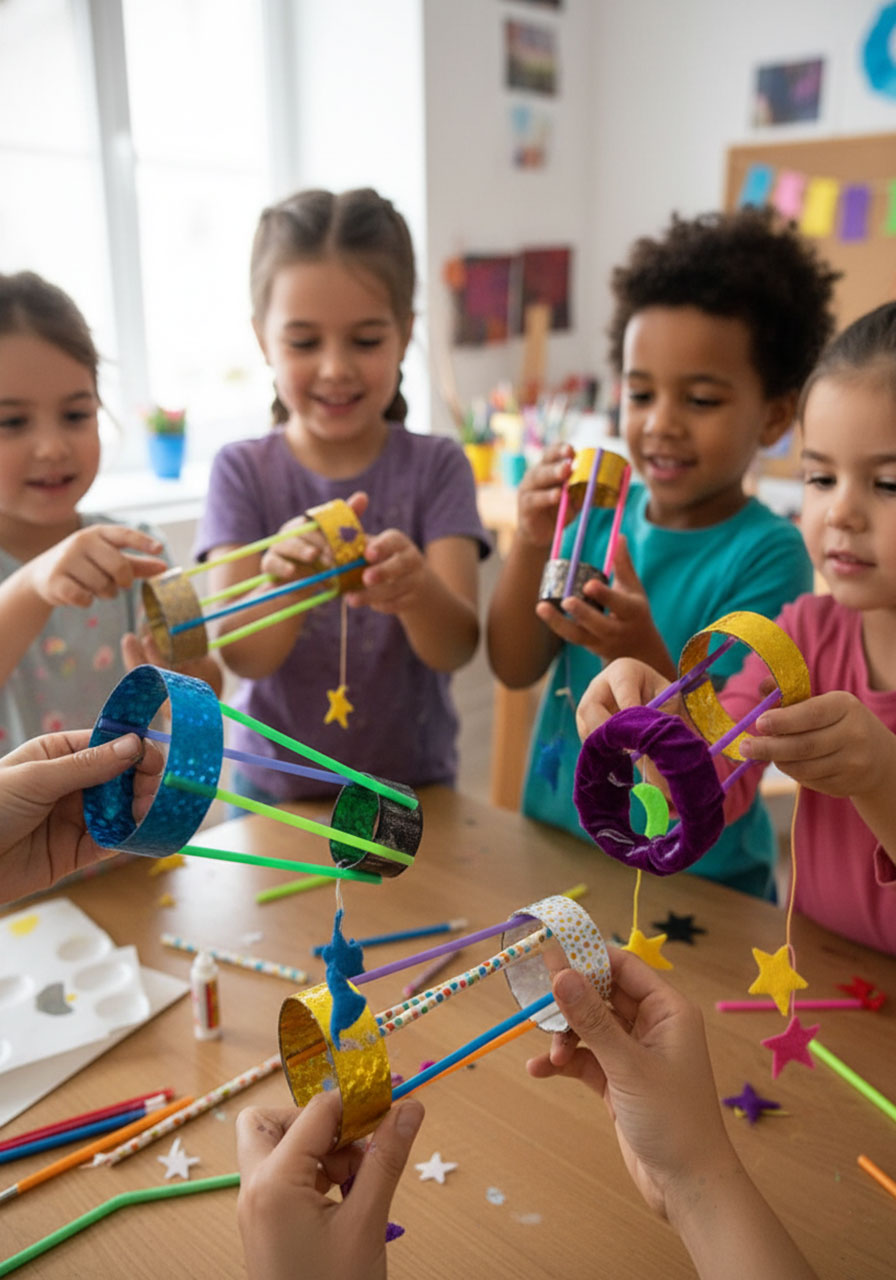
Double up on hoops. Attach two small hoops and two big hoops to the same straw. (It looks ridiculous. We love it.)
Offset the hoops so they’re not perfectly aligned on the straw.
Add weight by clipping a paper clip to the bottom of the small hoop.
Use two hoops that are exactly the same size and see if it still flies straight.
Ditch the straw and use a stick or pencil (something without a hollow center).
Try different paper weights – construction paper, regular copy paper, or super-thin tissue paper.
Can you make your Hoopster turn mid-flight, or does it only fly in straight lines? There’s only one way to find out!
Ways to Actually Play With Your Straw Airplane
Here’s where things get really fun. Because these things fly so straight and cover serious distance, they’re perfect for games:
Hoopster Tag: Have your kids ride their bikes around the yard while you try to hit them with the glider. (They’ll love the challenge of dodging incoming aircraft.)
Target Practice: Set up cups, buckets, or hula hoops at different distances and see who can hit the most targets. Keep score and crown a Hoopster Champion.
Distance Competition: Mark a starting line and see whose plane can fly the farthest. Winner gets bragging rights (and maybe an extra cookie).
Accuracy Challenge: Draw a bullseye on the driveway with chalk and see who can land their plane closest to the center.
The beauty of the straw airplane is that it’s just as much fun to make as it is to fly. Whether you’re killing 20 minutes on a rainy afternoon or hosting a full-blown backyard tournament, the Hoopster delivers every single time. So grab some cardstock, raid your straw stash, and get ready to launch something awesome!
More Kid’s Party Ideas to Keep the Fun Rolling:
How to Make Mini Lid Banjos: The Cutest 10-Minute DIY Musical Instrument
Make a Paper Plate Maze STEM Challenge That’ll Blow Your Kids’ Minds
DIY Car Ramp: The 5-Minute STEM Activity That’ll Keep Your Kids Racing for Hours
45 Rainbow Craft Ideas for Kids That’ll Spark Epic Creativity!
How to Make Paper Claws: Turn Your Fingers Into Weapons in 5 Minutes
How to Play Help Your Neighbor: The Card Game That’ll Have Your Family Actually Wanting Game Night
28 Super Fun Dollar Store Crafts for Kids That Won’t Break the Bank
3 Easy Heart Painting Ideas That’ll Make You Look Like a Creative Genius
10 Easy Elementary School Indoor Party Games Kids and Room Moms Will Love

Directions are scripted well, detailed with measurements, and includes simple science terms of why this works. Fun that you include silly things like “DRAG…is the party pooper that slows your plane down” when explaining to a younger audience.
Only photo that matches instructions is the first one (supplies). Remaining photos show a multi-straw design, different than pattern described. Obviously showing other possibilities, but there is no photo showing the actual finished design according to the printed instructions.
I’ve made the simple one-straw glider before. Teaching again to a youth group. Thank you for the nifty write-up to help with my activity.