
There’s something magical about bubbles that makes kids (and let’s be honest, adults too) light up with pure joy. Whether you’re planning a backyard birthday bash, need a quick save for a Fourth of July gathering, or just want to turn a boring afternoon into something memorable, a Bubble Wand Making Station is about to become your secret weapon.
Here’s why this activity is absolutely genius: it combines crafting, creativity, and playtime all in one. Kids get to design their own custom bubble wands, and then immediately put them to the test. No waiting around, no complicated instructions – just pure, bubble-blowing fun from start to finish.
Why You’ll Love This Activity
Best for: Kids ages 4+, birthday parties, summer playdates, family BBQs, Fourth of July celebrations
Setup Time: 5-10 minutes (seriously, that’s it!)
Activity Duration: 30-60 minutes (but kids will want to keep going)
Mess Level: Low (just some beads and pipe cleaners to wrangle)
This is one of those rare activities that requires almost zero prep, keeps kids entertained for ages, and doesn’t leave you with a mountain of cleanup. Plus, every child walks away with something they made themselves – which means you’ve just become the coolest host on the block.

What You’ll Need for Your Bubble Wand Making Station

Here’s your shopping list – and trust me, you probably have most of this already:
Pipe cleaners (the more colors, the better!)
Colorful beads (pony beads work perfectly)
Cookie cutters in fun shapes (hearts, stars, circles, animals – go wild!)
Scissors (one pair is fine, but having extras helps)
Bubble solution (grab a big bottle or whip up a DIY batch)
Shallow bowls or trays (for dipping the finished wands)
A table or workspace (outdoors is ideal, but indoors works too)
Pro Tip: Hit up the dollar store for supplies! You can stock up on pipe cleaners, beads, and cookie cutters without breaking the bank.
How to Set Up Your Bubble Wand Making Station
Step 1: Create Your Craft Zone
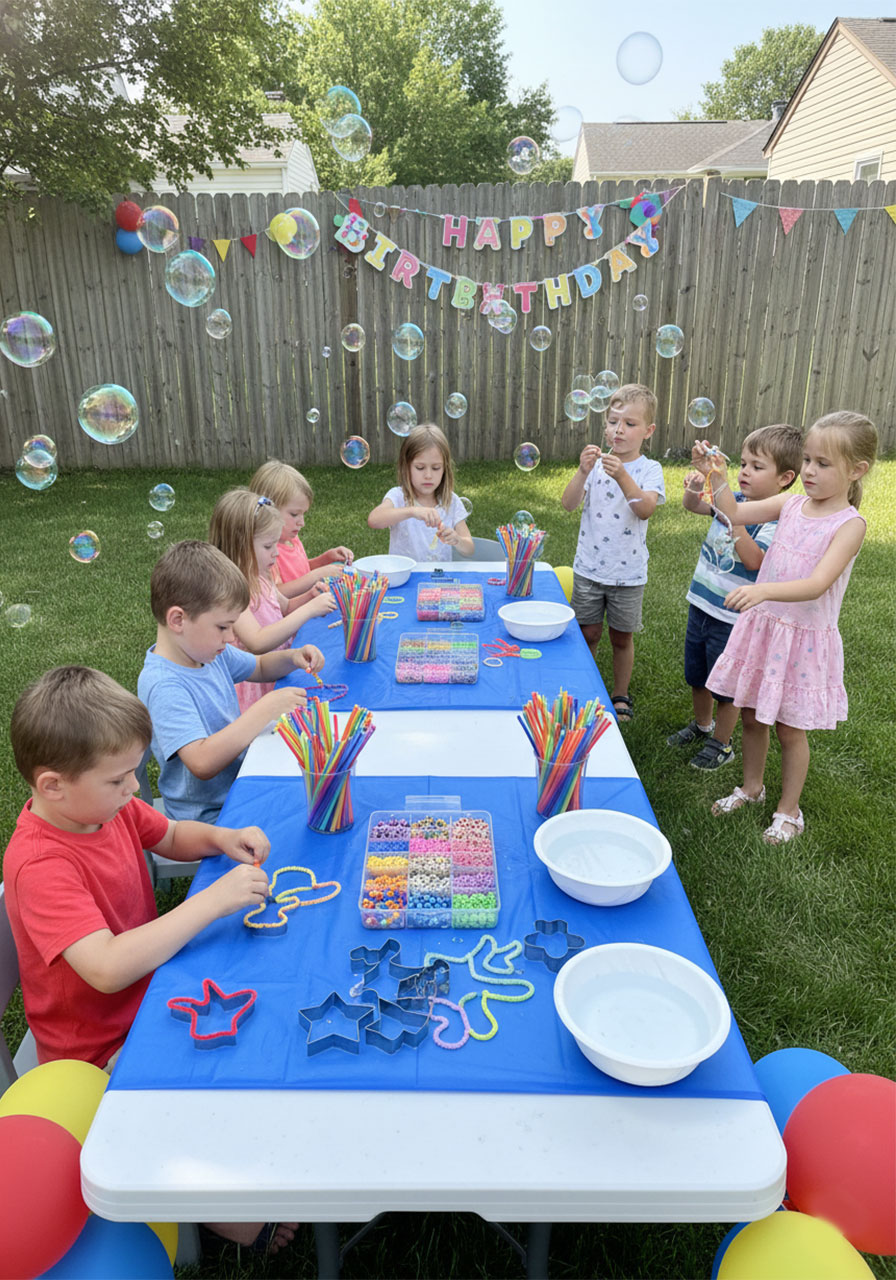
Clear off a table (kitchen, picnic, or card table all work great) and lay out all your supplies. Arrange them so kids can easily reach everything:
- Pile the pipe cleaners on one side
- Pour beads into small bowls or containers (or use a bead organizer tray – so satisfying!)
- Place cookie cutters in the middle
- Set scissors within reach (but maybe supervise the younger crafters)
Step 2: Make a Few Sample Wands
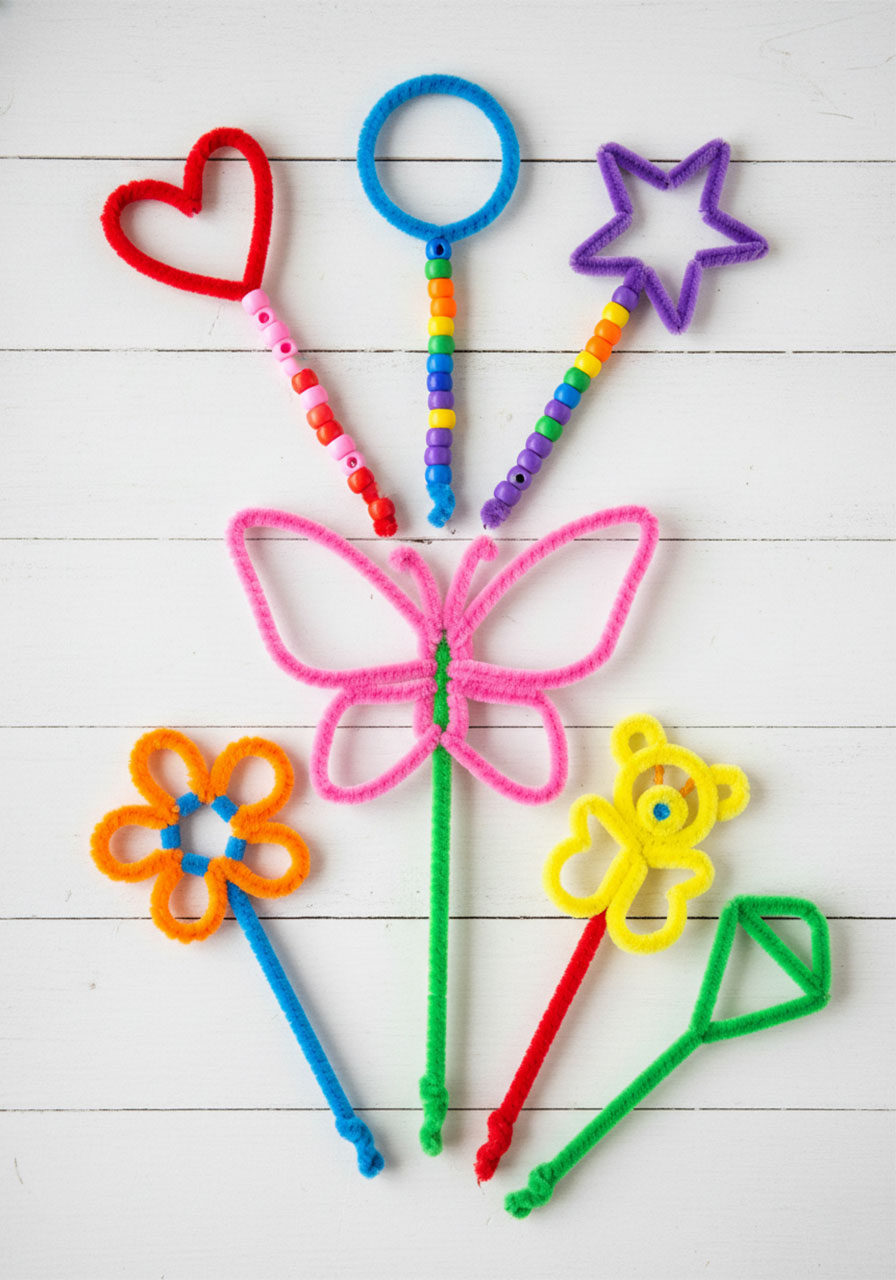
Before the kids dive in, create 2-3 example bubble wands and display them on the table. This gives everyone a visual guide and sparks inspiration. You don’t need to show them step-by-step yet – just let those colorful creations work their magic.
Step 3: Give a Quick Demo (Optional but Helpful)
If you’ve got little ones or first-timers, do a quick 2-minute demonstration. Show them how to wrap a pipe cleaner around a cookie cutter and thread on some beads. Keep it casual – the beauty of this activity is that there’s no “wrong” way to do it!

Step 4: Let the Creativity Flow
Now step back and watch the magic happen. Kids will come up with designs you never imagined – and that’s exactly the point. Some will create simple circles, others will go full artist mode with intricate bead patterns. Let them experiment and problem-solve on their own.
How to Make Your DIY Bubble Wands (Step-by-Step)
For Small Cookie Cutters (One Pipe Cleaner Method):
1. Form the shape: Wrap one pipe cleaner around your cookie cutter, following the shape all the way around.
2. Close the loop: When you reach the end, twist the pipe cleaner around itself a few times where it meets the starting point. This seals your bubble wand shape.

3. Create the handle: The remaining excess pipe cleaner automatically becomes your handle – no extra steps needed!
4. Add the bling: Thread colorful beads onto the handle section. Get creative with patterns or go rainbow style.
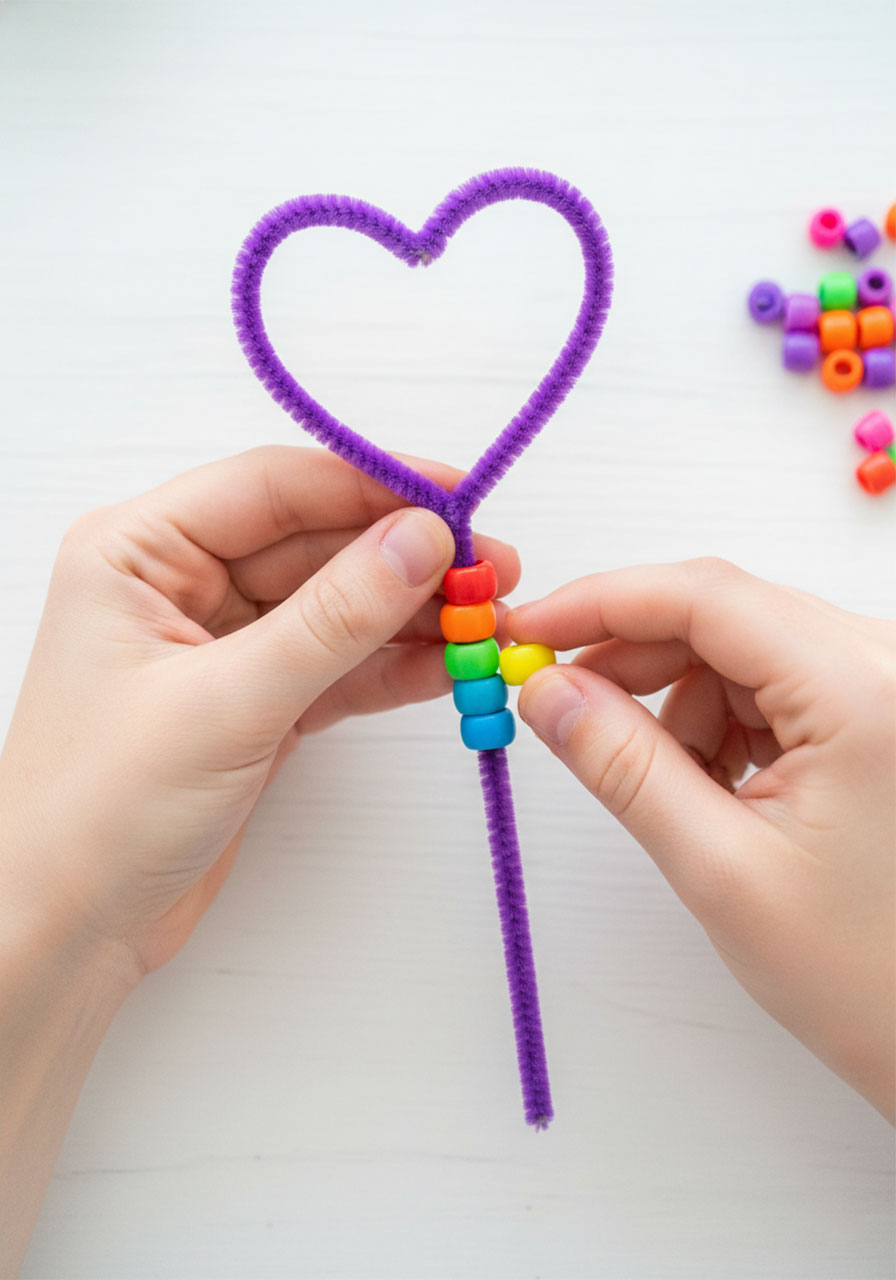
5. Seal it up: When you reach the bottom of your handle, fold the end of the pipe cleaner up and twist it into a little ball. This keeps all those beads from sliding off mid-bubble-blow.
For Large Cookie Cutters (Two Pipe Cleaner Method):
1. Make the bubble frame: Wrap your first pipe cleaner around the cookie cutter to form your shape.
2. Connect the ends: Twist the pipe cleaner ends together several times to close the loop securely.
3. Trim the excess: Snip off any extra pipe cleaner with scissors so you have a clean, closed shape.
4. Prep the handle: Take your second pipe cleaner and thread beads onto it until it’s about halfway full.
5. Secure one end: Bend up the bottom end of your beaded pipe cleaner to lock those beads in place.
6. Attach the handle: Wrap the top (non-beaded) end of your second pipe cleaner around your shape several times to connect them together.
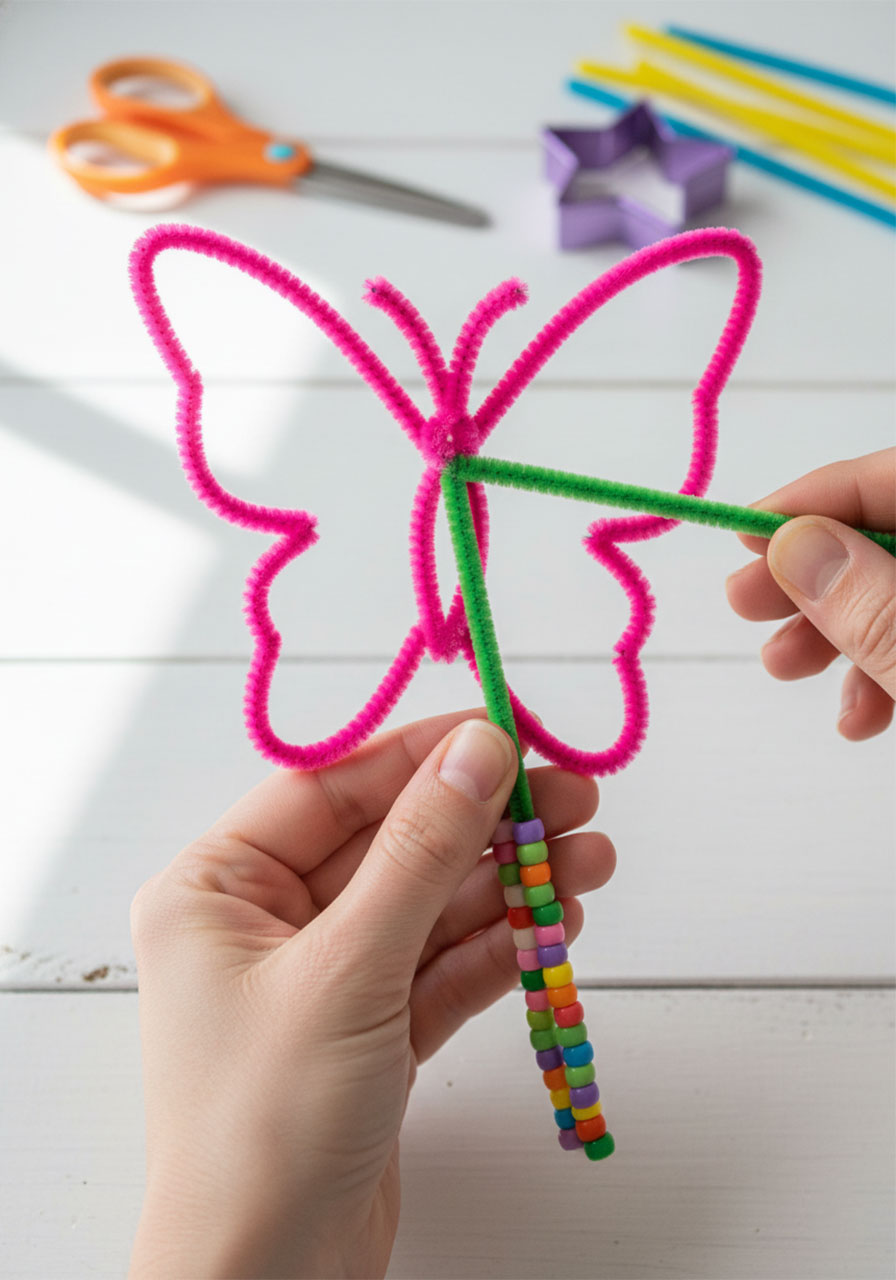
7. Final trim: Snip off any excess pipe cleaner and you’re done!
Time to Test Those Wands!
Once the crafting frenzy winds down, pour bubble solution into shallow bowls or trays – one for every 2-3 kids works great. Now for the moment everyone’s been waiting for: bubble time!
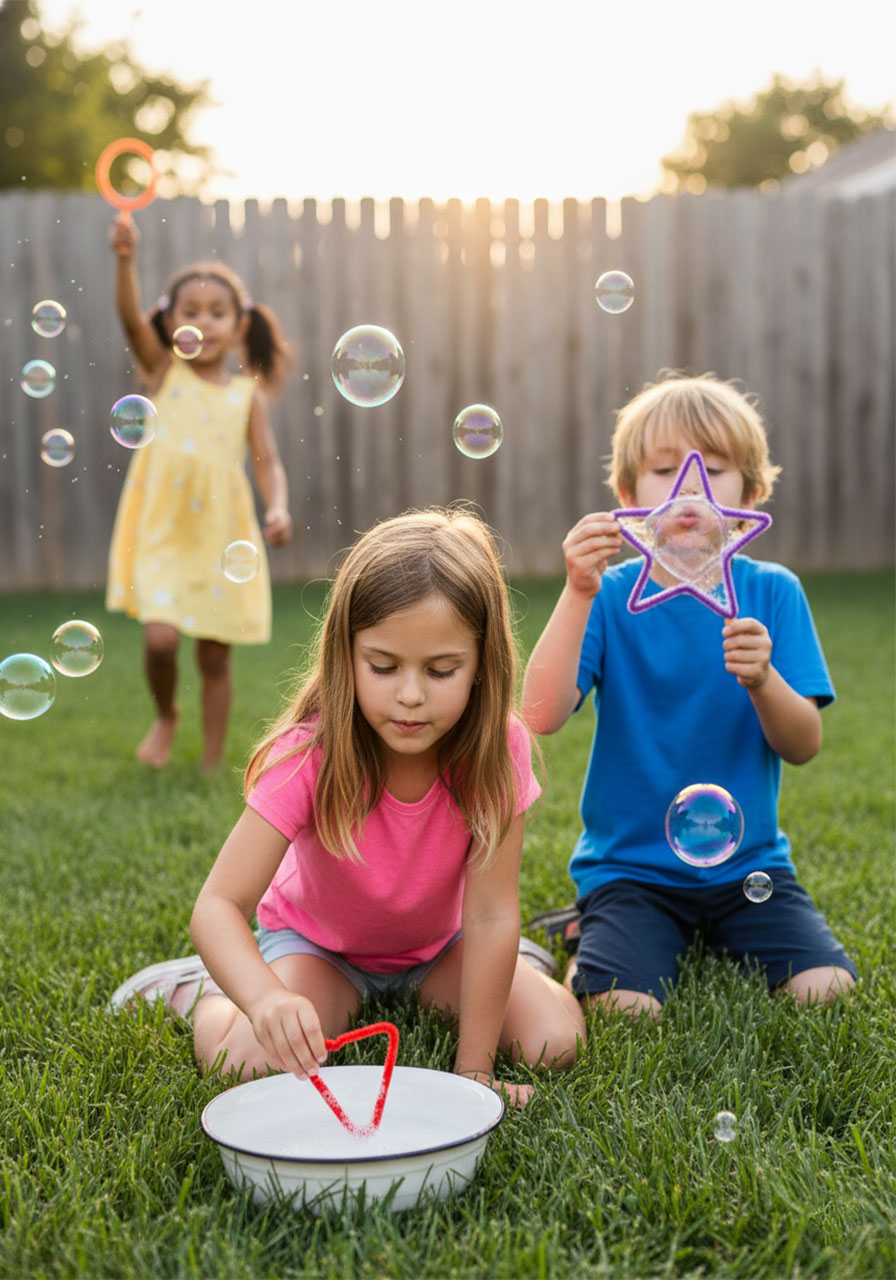
Here’s how to get the best bubbles:
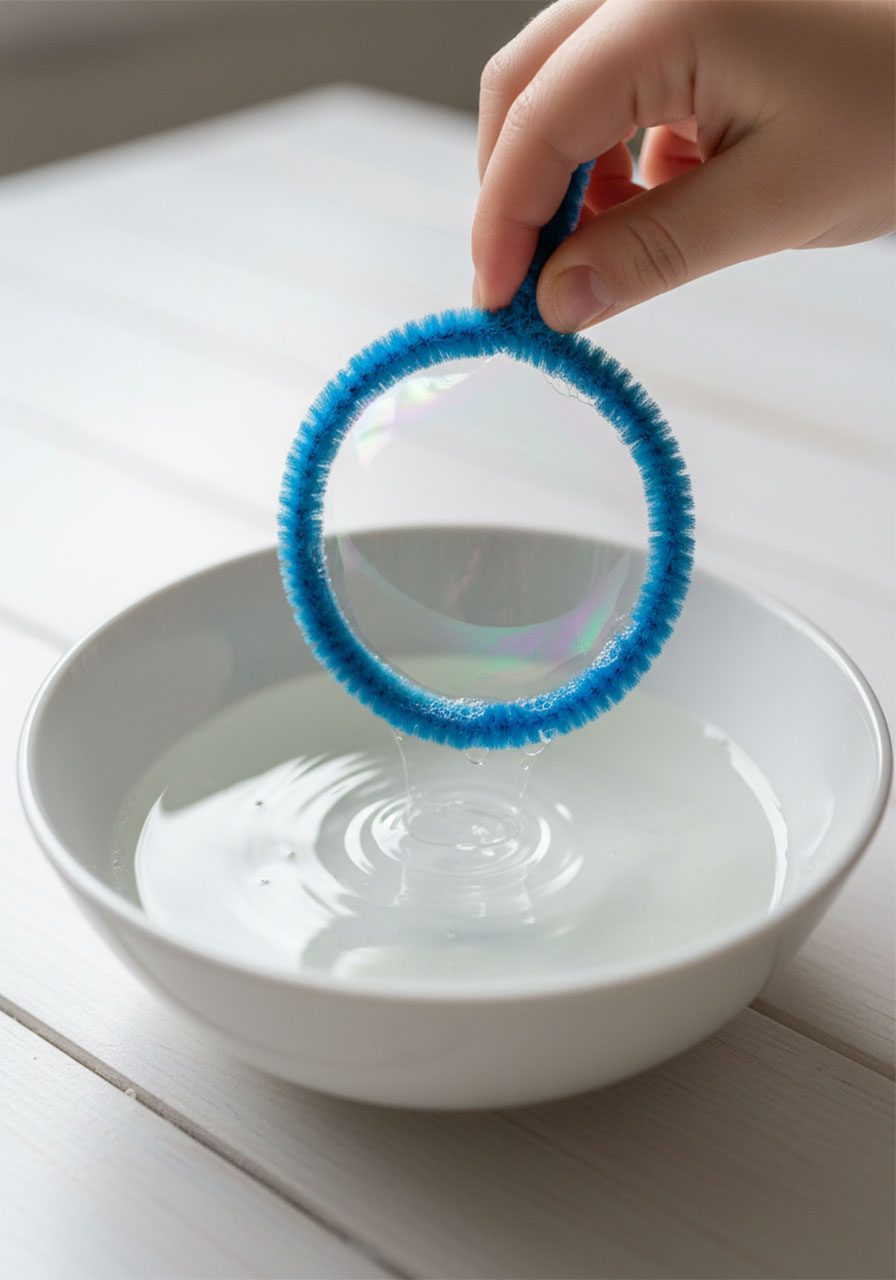
- Dip the shaped part of the wand (not the handle) into the solution
- Make sure the entire opening is coated with bubble film
- Blow gently through the wand or wave it through the air
- Watch as your custom-shaped bubbles float away!
Pro Tip: For guaranteed bubble success, make sure the pipe cleaner shape has a complete loop with no gaps. Even tiny openings will break that bubble film magic.
Why This Activity Is a Total Winner
It’s screen-free fun. In a world of tablets and TVs, this gets kids creating with their hands and playing outside. Victory!
It works for mixed ages. Got a 5-year-old and a 12-year-old at the same party? Both will have a blast – the older kids just make more elaborate designs.
It’s perfect for playdates. Set up the station and leave it out for a few days. Kids can craft new wands whenever friends come over or whenever boredom strikes.
Everyone gets a party favor. No need to buy goodie bags – each child leaves with their own handmade creation. Plus, they actually want to take it home.
It’s budget-friendly. For about $10-15, you can supply an entire party’s worth of kids. Try finding another activity that delivers this much fun for that little cash.
Fun Variations to Try
Ready to level up your bubble wand station? Try these twists:
Themed shapes: Use holiday cookie cutters (Halloween pumpkins, Christmas trees, Easter eggs) to match your party theme
Glow-in-the-dark party: Use glow-in-the-dark beads and host a twilight bubble party – magical!
Bubble wand contest: Give prizes for “Most Creative Design”, “Most Colorful”, or “Best Bubble-Maker”
Make it a station marathon: Set up the bubble wand station alongside other summer activities like sidewalk chalk or water balloon filling
Double wands: Twist two shapes together on one handle for double the bubble action

The Secret to Keeping Kids Engaged
Here’s what makes this activity stick: immediate gratification. Kids craft something, then instantly get to play with it. There’s no waiting for paint to dry or glue to set. The reward is built right in, which means even kids with shorter attention spans stay engaged.
Plus, if a wand doesn’t work perfectly on the first try? No biggie! Just reshape the pipe cleaner or make another one. The forgiving nature of this craft means frustration stays low and fun stays high.
Final Thoughts: Your New Go-To Summer Activity
A Bubble Wand Making Station is one of those brilliant ideas that seems almost too simple – until you see the kids’ faces light up as they blow bubbles through their own handmade creations. It’s creative, it’s active, it’s memorable, and best of all, it practically runs itself once you’ve got the supplies laid out.
So grab those pipe cleaners, round up some beads, and get ready to host a summer activity that kids will ask to do again and again. Because when you’ve got bubbles, sunshine, and a dash of creativity, you’ve got everything you need for an afternoon they’ll remember long after summer ends.
Now get out there and make some bubble magic happen!
More Kid’s Party Ideas to Keep the Fun Rolling:
Painting With Cars: The Messiest (and Most Awesome) Art Project Your Kids Will Beg to Do Again
16 Epic Indoor Recess Games Kids Actually Want to Play
Turn a Simple Egg Carton into the Ultimate Nature Color Hunt Adventure
5 Epic Newton’s Laws Projects That’ll Make Physics Click (Finally!)
Transform Old Yogurt Tubs Into Stunning Tissue Paper Lanterns
33+ Epic Outdoor Games That’ll Turn Your Backyard Into the Ultimate Family Fun Zone
Sticker Sorting Activity: The 5-Minute Setup That’ll Keep Your Toddler Busy (and Learning!)
