
Looking for a hands-on activity that helps you learn student names and sneaks in some serious fine motor skill practice? This Build a Name STEM activity is about to become your new favorite first-week tradition.
Here’s why this activity is brilliant: kids get to see their names transformed into colorful creations using everyday craft supplies, all while learning about letter shapes, spatial reasoning, and creative problem-solving. Plus, you’ll never forget a student’s name when you’ve watched them painstakingly bend pipe cleaners into each letter!
Why Pair This Activity with “Your Name Is a Song”
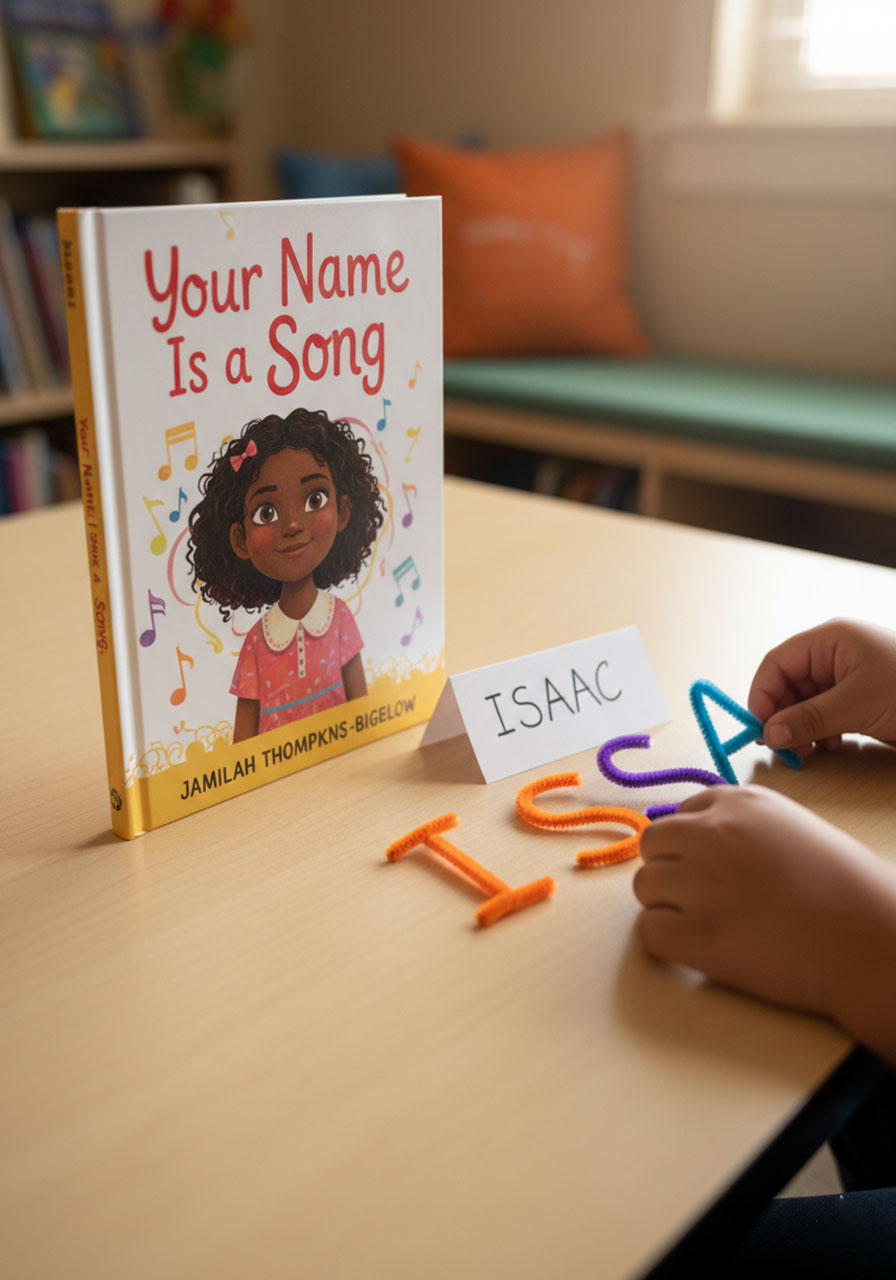
Before diving into the building fun, set the stage with Your Name Is a Song by Jamilah Thompkins-Bigelow. This book is an absolute must-read for the first week of school.
Here’s the story: A young girl feels embarrassed when her teacher can’t pronounce her name on the first day of school, and her classmates giggle at the struggle. Her mother offers beautiful wisdom – that names are like songs, each one unique and worthy of being sung correctly. The little girl decides to help her teacher by “singing” her name, showing everyone how special and important names truly are.
Why this matters: The book showcases a variety of names with their proper pronunciations, opening up a conversation about identity, respect, and celebration of differences. After reading, invite each student to say their name and share something special about themselves. It’s a simple yet powerful way to show that you value who they are from day one.
Pro tip for teachers: On the first day, always ask students what they’d like to be called rather than assuming based on your roster. This small gesture shows respect and sets the tone that their identity matters in your classroom.

What You’ll Need for the Build a Name Activity
The beauty of this STEM challenge is that it uses simple, budget-friendly materials you probably already have in your supply closet.
Materials to gather:
- Index cards or paper with each student’s name clearly written
- Craft sticks (popsicle sticks work perfectly)
- Pipe cleaners in various colors
- Paper clips
- Rubber bands
Want to mix it up? Other great building materials include bottle caps, various pasta shapes, wiki sticks, straws, chenille stems, or even Spielgaben sets with rods, circles, and semi-circles.
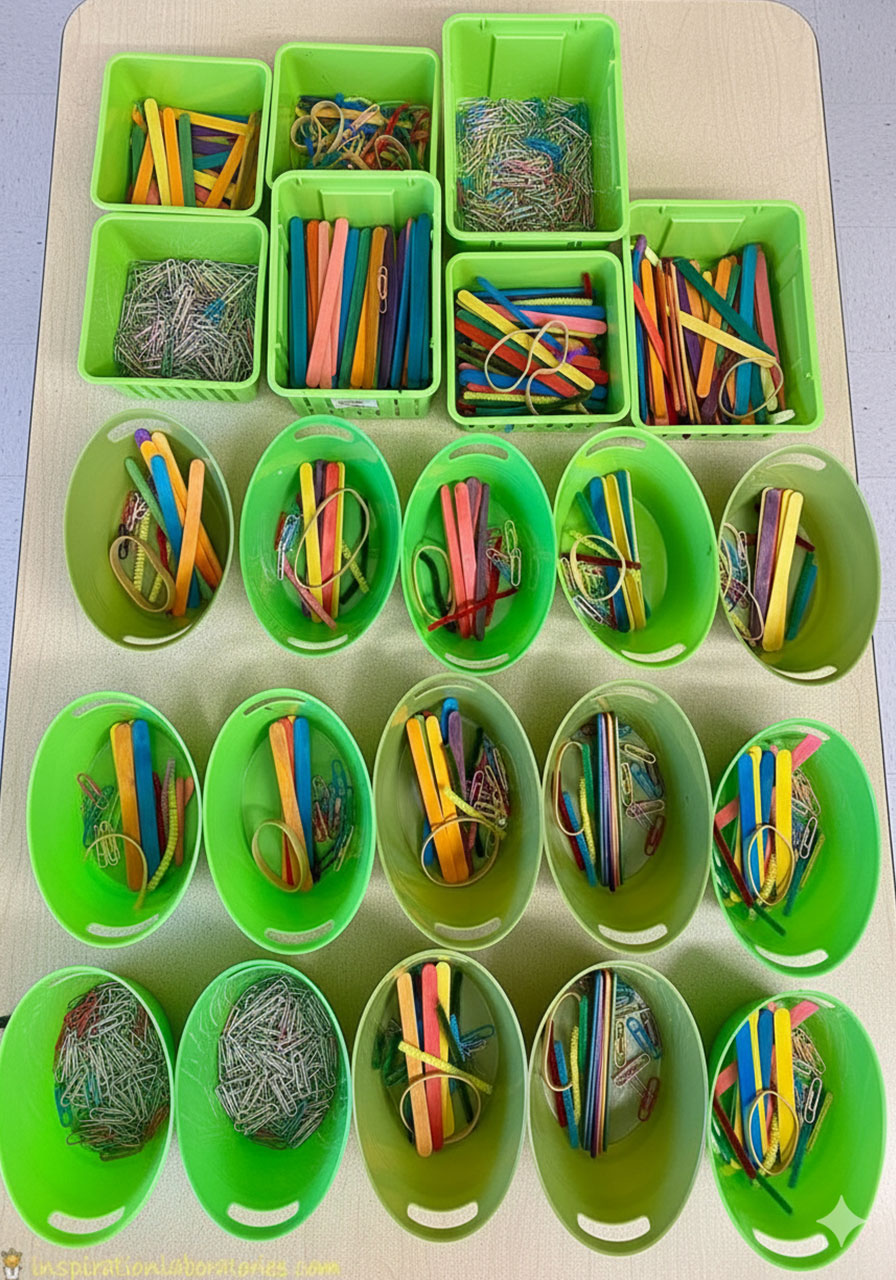
Organizational tip: Sort materials into individual bins or green baskets for each student (like the setup in the photos). Keep extra supplies on hand because some students will gravitate toward specific materials – and that’s perfectly okay! A child who loves pipe cleaners should be able to create an entire name out of bendy, colorful wonders.
How to Set Up for Success
Best for: Kindergarten, preschool, and first grade (works great for learning centers too!)
Time needed: 20-30 minutes
Before students start building:
1. Discuss letter shapes together. Talk about how letters are made up of straight lines, curves, and circles. This is a sneaky-good way to reinforce letter formation and geometry concepts.
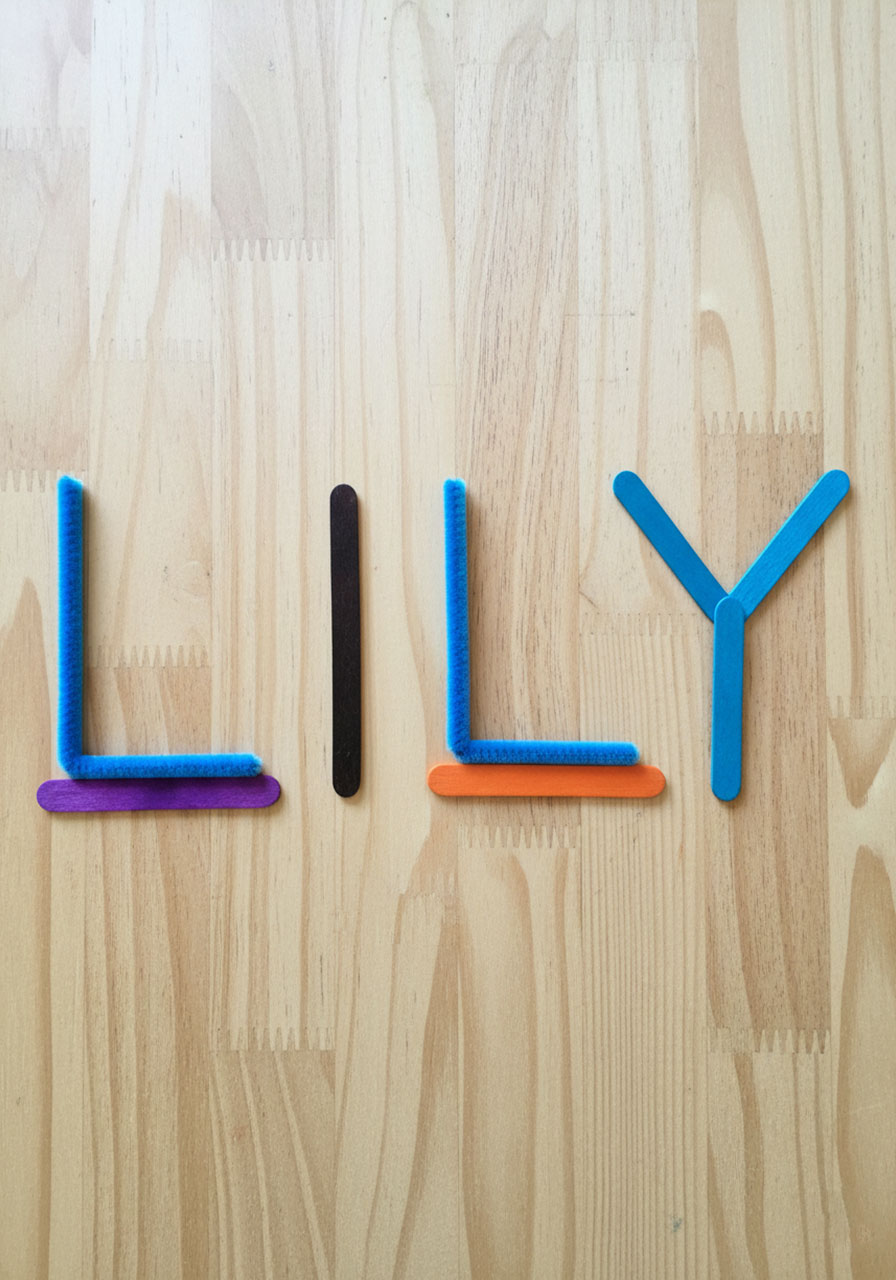
2. Explore the materials as a class. Show students how pipe cleaners can be bent into curves, how craft sticks make perfect straight lines, and how paper clips can be linked or shaped. Let them see the possibilities before they dive in.
3. Model one letter. Demonstrate building a letter or two so students understand they’re recreating the letters in their names, not just making random designs.
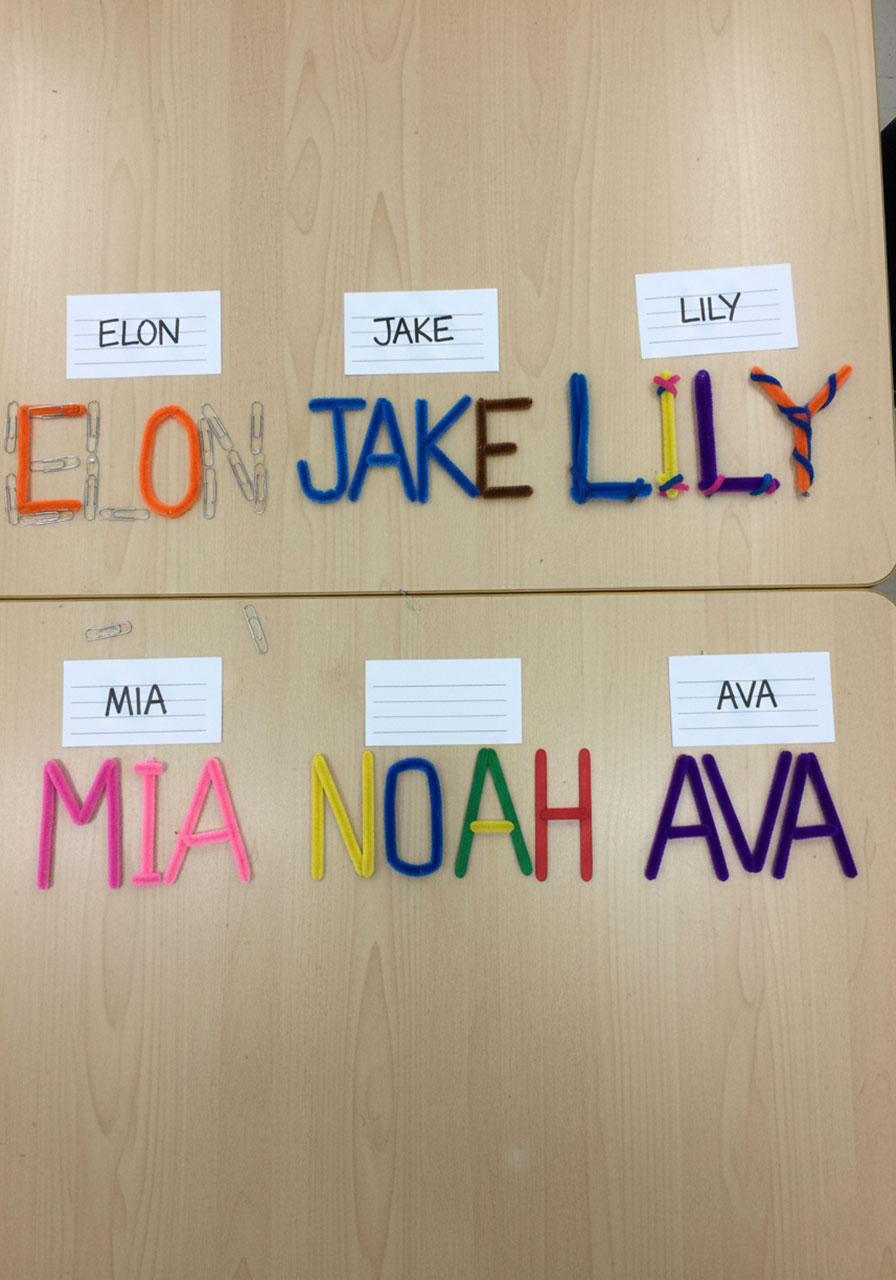
4. Decide on the workspace. Students can build directly on top of their name card, or they can build next to it (which often works better for longer names). In the example photos, you’ll see both methods – experiment to see what works best for your classroom setup.
Step-by-Step Instructions
How to play:
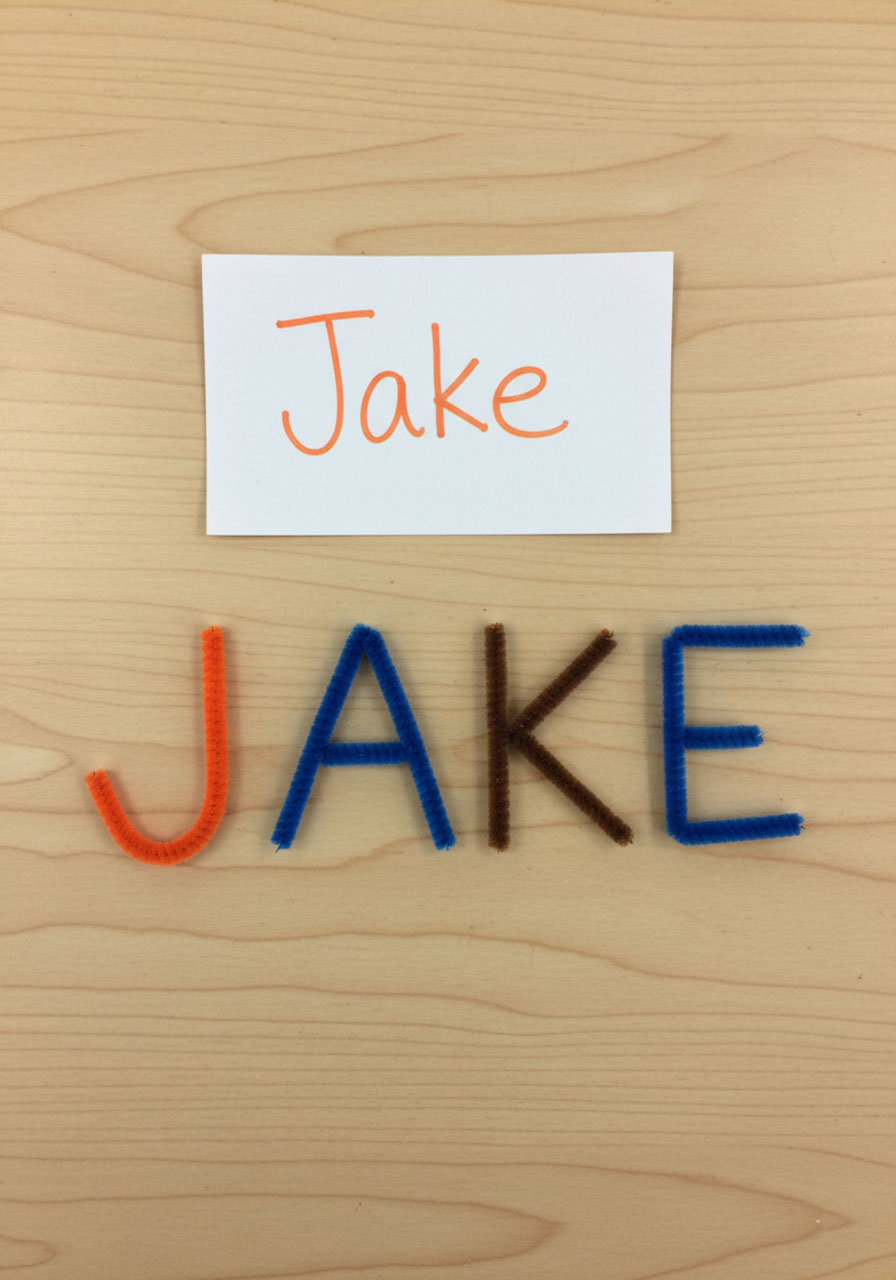
1. Give each student an index card or paper with their name clearly printed on it.
2. Provide each student with a bin of building materials (or have them share supplies at their tables).
3. Challenge students to recreate each letter of their name using the craft materials. They can build right on the card or alongside it on their desk or table.
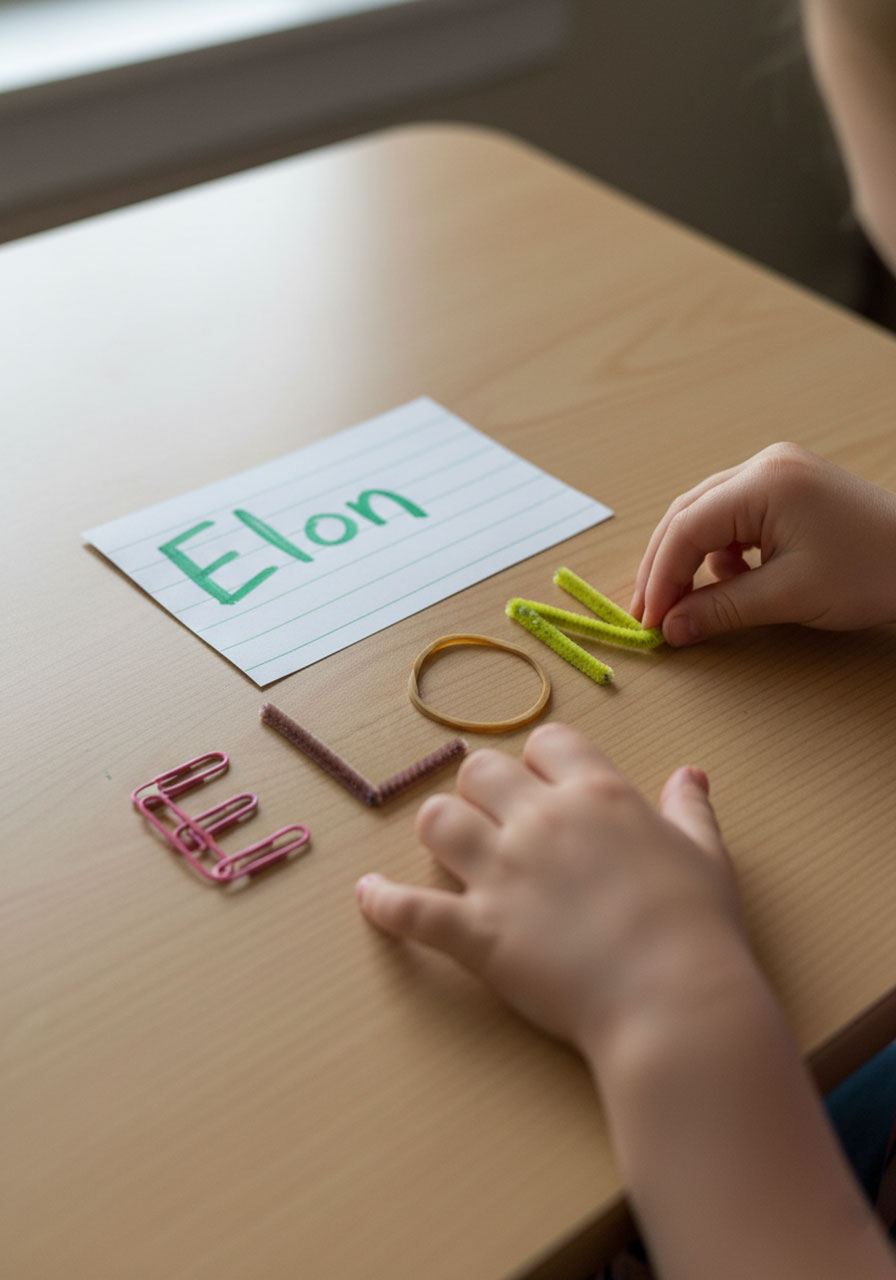
4. Encourage creativity! There’s no single “right way” to form a letter. Some students might use all craft sticks, while others create elaborate pipe cleaner masterpieces.
5. As students work, circulate and ask questions: “What shape is this letter?” “How many straight lines do you need?” “Can you make this curve with a pipe cleaner?”
6. When they finish, snap a photo of each creation. These make amazing covers for science journals, classroom displays, or welcome-back bulletin boards.
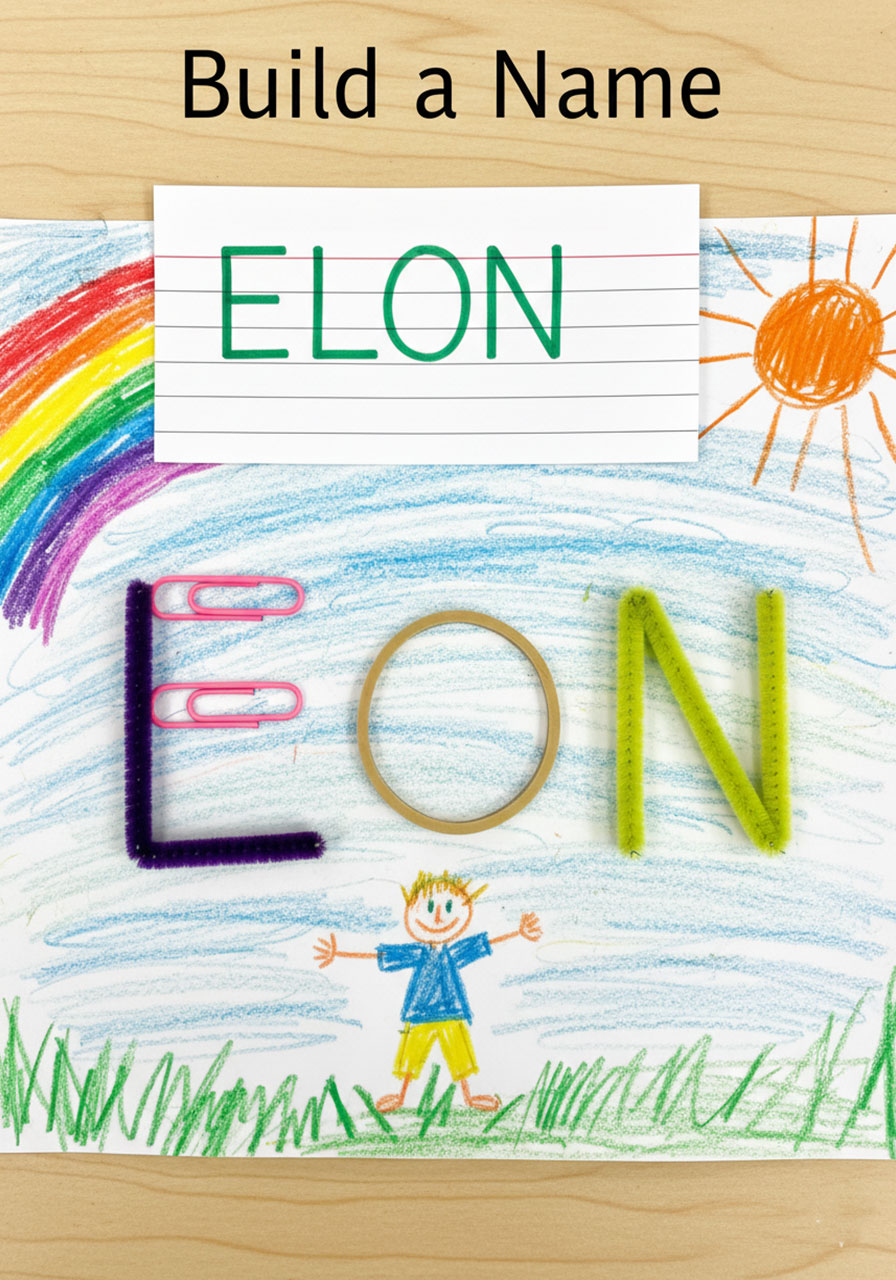
7. For early finishers: Have students decorate their name cards with drawings of things they love – favorite animals, hobbies, foods, or activities. This gives you bonus insight into their personalities while keeping everyone engaged. (Trust me, the student with 3 letters will finish way before the student with 8!)
Why This Activity Works So Well
This isn’t just a cute craft – it’s a legitimate learning experience packed into one colorful activity.
Here’s what students are actually practicing:
- Letter recognition and formation
- Fine motor skills (bending, arranging, placing small objects)
- Spatial reasoning (fitting letters in a space, sizing consistently)
- Problem-solving (which material works best for this letter shape?)
- Following multi-step directions
- Patience and perseverance
And here’s what YOU get:
- A memorable, tactile way to learn each student’s name
- Insight into their creativity, problem-solving approaches, and personalities
- Beautiful documentation for portfolios or classroom displays
- A calm, focused activity that builds community from day one
Pro Tips for Maximum Success
Make it inclusive: Some students have longer or more complex names. Celebrate this! Their creations will be more elaborate and impressive. Never suggest they use a nickname to make building “easier” – their full name deserves to be honored.
Embrace different approaches: Some kids will meticulously match colors to create patterns. Others will grab whatever’s closest. Both approaches are valid and reveal different thinking styles.
Create a gallery: Display photos of each student’s name build near the classroom entrance. It’s a welcoming, personalized touch that shows visitors how you celebrate each individual.
Extend the learning: Later in the year, have students build vocabulary words, spelling words, or even simple sentences. The possibilities are endless once they’ve mastered the technique.
A Final Word on Names
Names matter. They’re the first gift our families give us, often carrying deep meaning, family history, or cultural significance. When you dedicate time to learning, pronouncing, and celebrating each student’s name through an activity like this, you’re sending a powerful message: You belong here. You are valued. Your identity is important.
So gather those craft sticks, round up the pipe cleaners, and get ready to see your students’ names come to life in the most creative, colorful, and memorable way possible. This is the kind of first-week activity that students will remember years later – and so will you.
More Kid’s Party Ideas to Keep the Fun Rolling:
Unwrap the Alphabet: A Sneaky-Smart Fine Motor Game for Little Learners
LEGO Bridge Building Challenge: The Ultimate STEM Party Game for Kids!
Post-It Math Party: Turn Addition Practice Into an Active Game Your Kids Will Actually Beg to Play
Paper Plate Roller Coaster Challenge: The Ultimate Physics Party for Elementary Kids
Teddy Bear Bridge STEM Challenge: The Ultimate Team-Building Activity for Little Engineers
How to Make a Walking Paper Horse: The Coolest STEM Project That Actually MOVES!
27 Best Minute to Win It Games for Family Fun Night: Quick, Easy, and Hilarious Ideas
DIY Wooden Building Blocks: Build Epic Lincoln Log-Style Blocks for Hours of Imaginative Play
Rainbow Walking Water Science Experiment: Watch Colors Magically Mix Before Your Eyes!
