
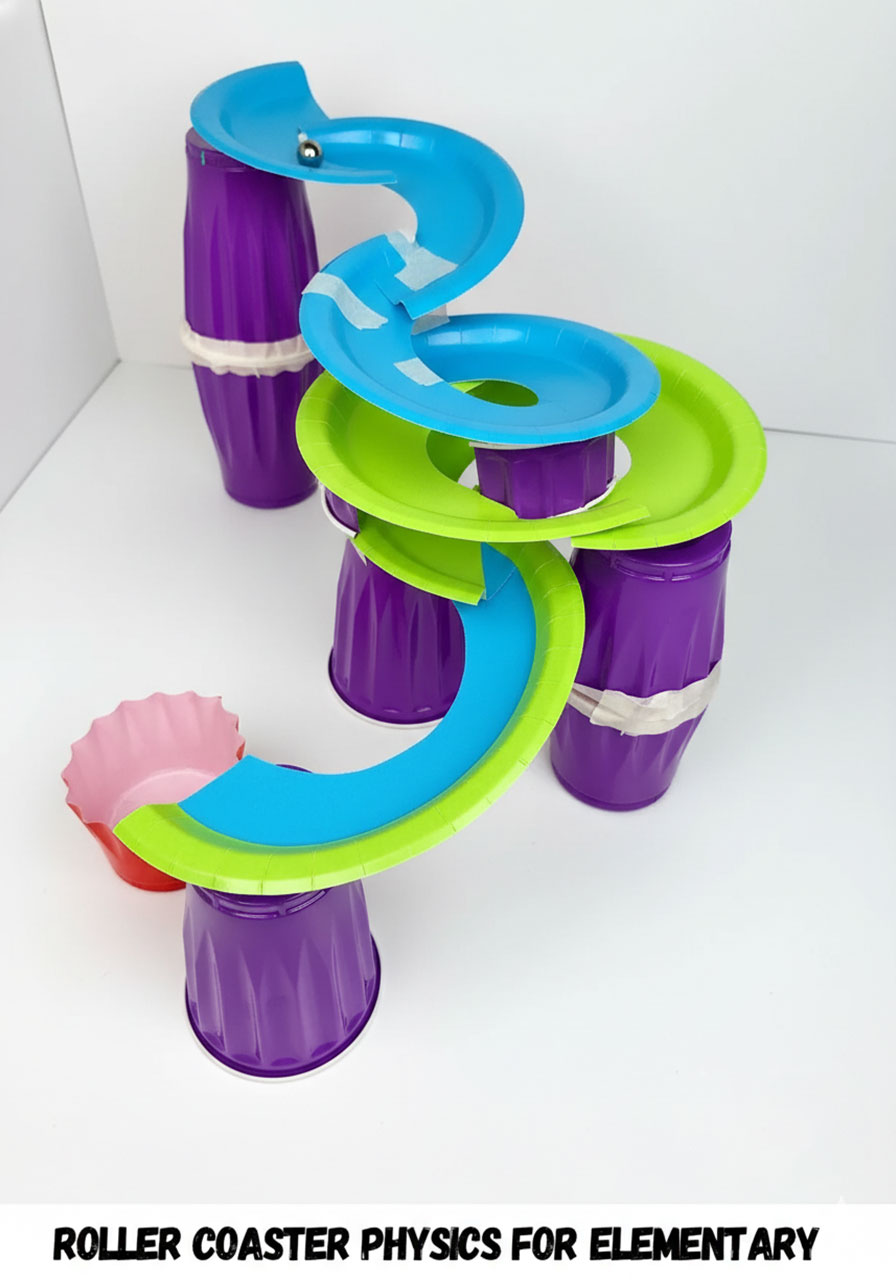
Get ready to unleash some serious STEM excitement! This paper plate roller coaster challenge is about to become your new favorite hands-on physics activity for third through fifth graders. We’re talking loops, drops, and marbles zooming around like tiny thrill-seekers – all while your students learn about energy, motion, and forces without even realizing they’re doing science!
I’ll never forget the first time I watched a group of fourth graders test their paper plate coasters. The room erupted in cheers when that first marble made it through a complete loop and landed perfectly in the muffin cup. That’s the magic of this challenge – it’s equal parts engineering puzzle and pure fun.
Why This Challenge Is an Absolute Winner
Here’s what makes this paper plate roller coaster project a guaranteed hit in any elementary classroom:
It’s hands-on learning at its best. Forget boring worksheets – your students will be building, testing, and problem-solving like real engineers. They’ll grasp physics concepts like potential and kinetic energy because they can see (and hear!) the results of their designs in action.
The “aha!” moments are incredible. There’s something magical about watching kids realize that a steeper drop means a faster marble, or that friction is the sneaky villain slowing everything down. These aren’t just facts they’re memorizing – they’re discoveries they’re making themselves.
Every student can succeed. Whether you’ve got future engineers or kids who think they “aren’t good at science,” this challenge meets everyone where they are. The basic concept is simple enough for anyone to start, but there’s plenty of room for creative problem-solving and advanced designs.

The Science Behind the Thrills
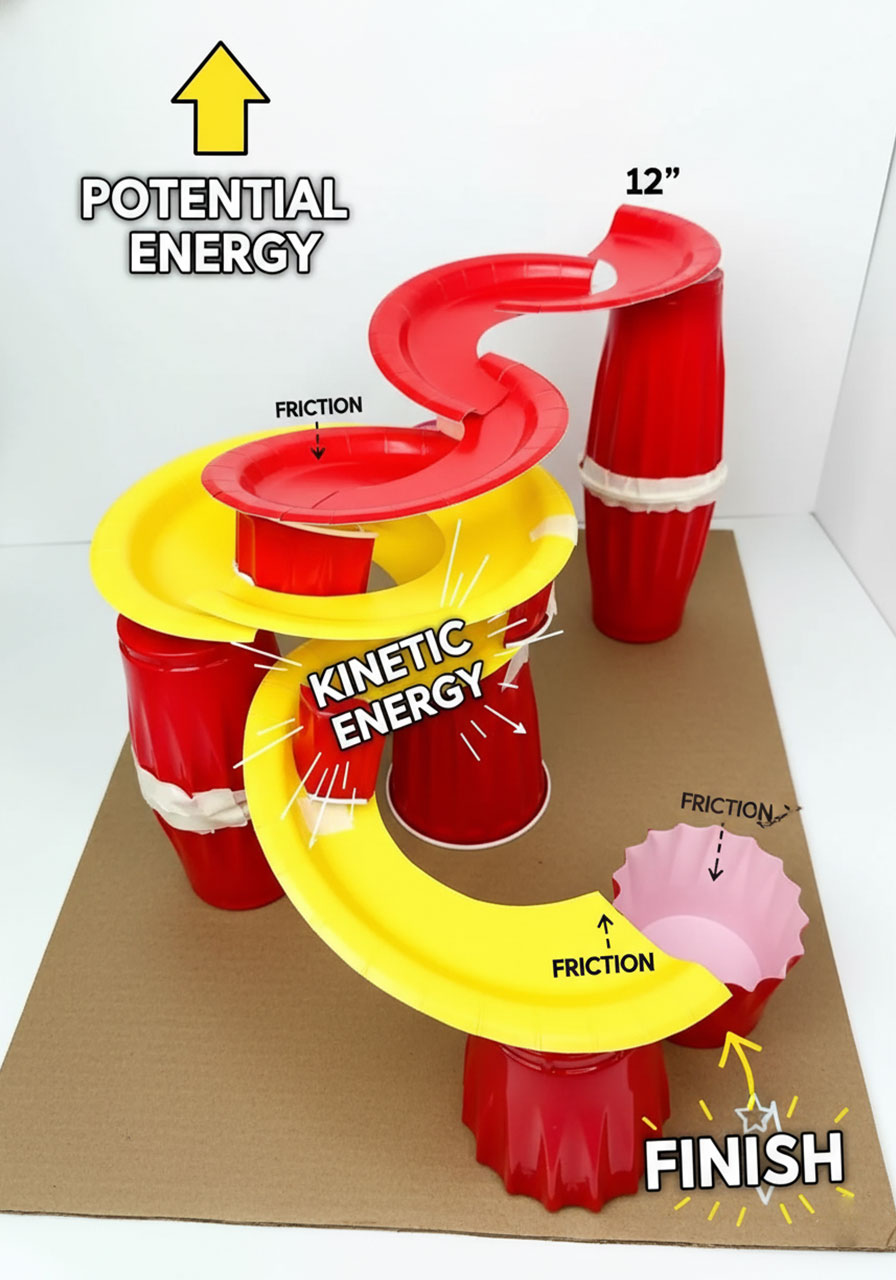
Before we dive into building, let’s talk about what makes these paper plate coasters work (because understanding the “why” makes the building part even more fun!).
Potential Energy: The Invisible Power Source When your marble sits at the top of your coaster, it’s loaded with potential energy – like a wound-up toy car just waiting to go. The higher up it starts, the more energy it’s packing!
Kinetic Energy: Speed Unleashed The moment that marble starts rolling down, all that stored-up potential energy transforms into kinetic energy – the energy of movement. This is what sends your marble racing through twists, turns, and loops.
Friction: The Fun Police Here’s the catch: friction is constantly working against your marble. The bumps on your track, the texture of the paper plate, even the air itself – they’re all trying to slow your marble down and steal its energy. Your job? Design a track that gives your marble enough speed to overcome friction and complete the course!
The Grand Finale If you’ve designed your coaster just right, your marble will lose all its kinetic energy at exactly the right moment and roll gently into your muffin cup finish line. Nailed it!
What You’ll Need to Build Your Coaster
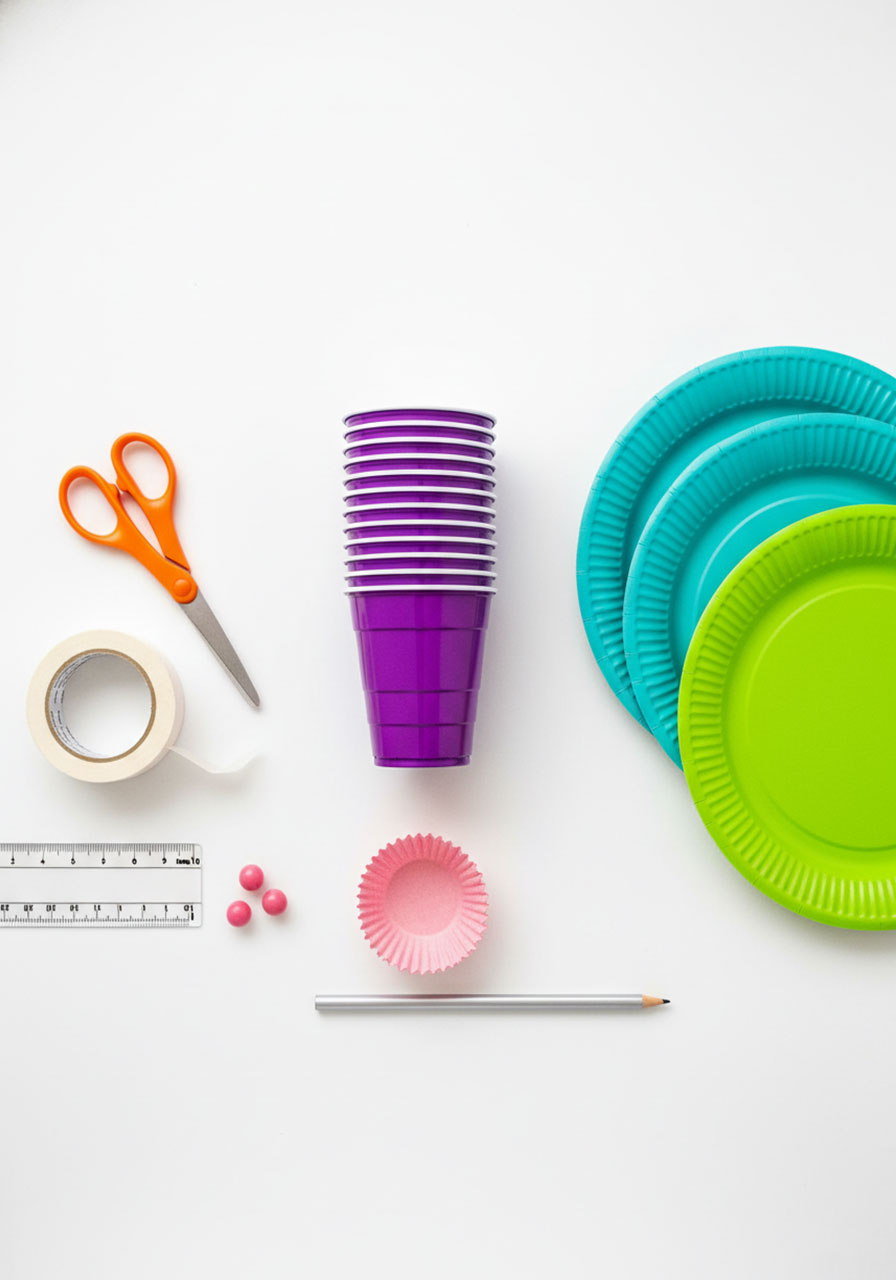
Ready to get started? Here’s your shopping list for this epic physics adventure:
The Essentials:
Paper plates (the colorful ones make it even more fun!)
Masking tape (you’ll use more than you think – grab extra!)
Scissors
Ruler
Pencils for planning
Marbles (one per student group)
Plastic or paper cups (these become your support towers)
Small muffin cups or containers (the marble’s final destination!)
The Secret Weapons:
STEM notebook or worksheets for sketching designs
Scientific calculator (for the students who want to get really into the math!)
Large cardboard pieces to use as a stable base
Pro Tip: Consider adding a few extra materials to your supply station – straws, cardboard scraps, or rubber bands. Some students love the extra challenge of incorporating additional elements into their designs!
Your Step-by-Step Game Plan
Here’s how to turn this into an unforgettable lesson that your students will be talking about for weeks:
Round 1: The Physics Pep Talk (10 minutes)
Kick things off with an energy discussion that gets everyone excited. Ask your students: “Have you ever wondered how roller coasters zoom around without any engines?”
Use relatable examples they already know—a ball rolling down a slide, a swing going back and forth, even a skateboard rolling down a hill. These everyday experiences are all about potential and kinetic energy!
Make it interactive: Have a student hold a pencil at shoulder height, then drop it. Where did the energy come from? Where did it go? These quick demonstrations make abstract concepts click.
Round 2: Dream Big and Sketch It Out (10 minutes)
Now it’s time for your students to become roller coaster designers! Hand out those notebooks and let the creativity flow.
Encourage them to think about:
- Where will their big starting drop be? (Remember: height = speed!)
- What cool features do they want? Loops? Sharp turns? A spiral?
- Where will friction cause problems, and how can they design around it?
Remind them: sharp turns and sudden changes are marble killers. Smooth, gradual curves keep the energy flowing!

Round 3: Build Like Your Marble Depends on It (20 minutes)
This is where the magic happens. Here’s the building strategy that works best:
Step 1: Create Your Support System
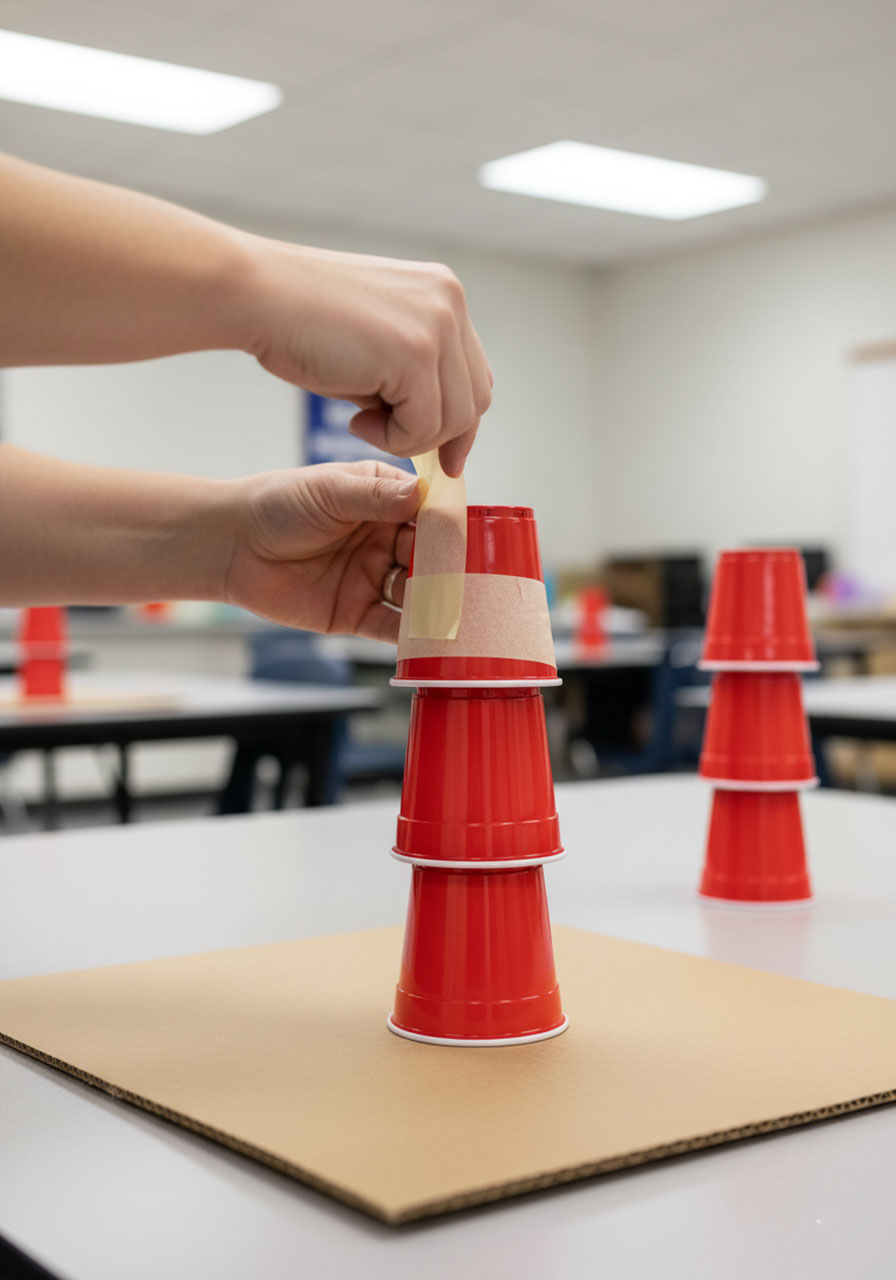
Stack and tape plastic cups together to build towers of different heights. These are the skeleton of your coaster. Tape them securely to a large piece of cardboard so nothing shifts during testing.
Step 2: Cut Your Track
Here’s the game-changer: cut your paper plates in a spiral pattern from the outside edge toward the center. This creates a natural curve that’s perfect for marble racing! You can cut multiple plates to create longer track sections.

Step 3: Assemble Your Track
Tape your spiral plate sections to your cup towers, creating that thrilling roller coaster path. Make sure your track is smooth where sections connect – any bumps will steal your marble’s momentum!

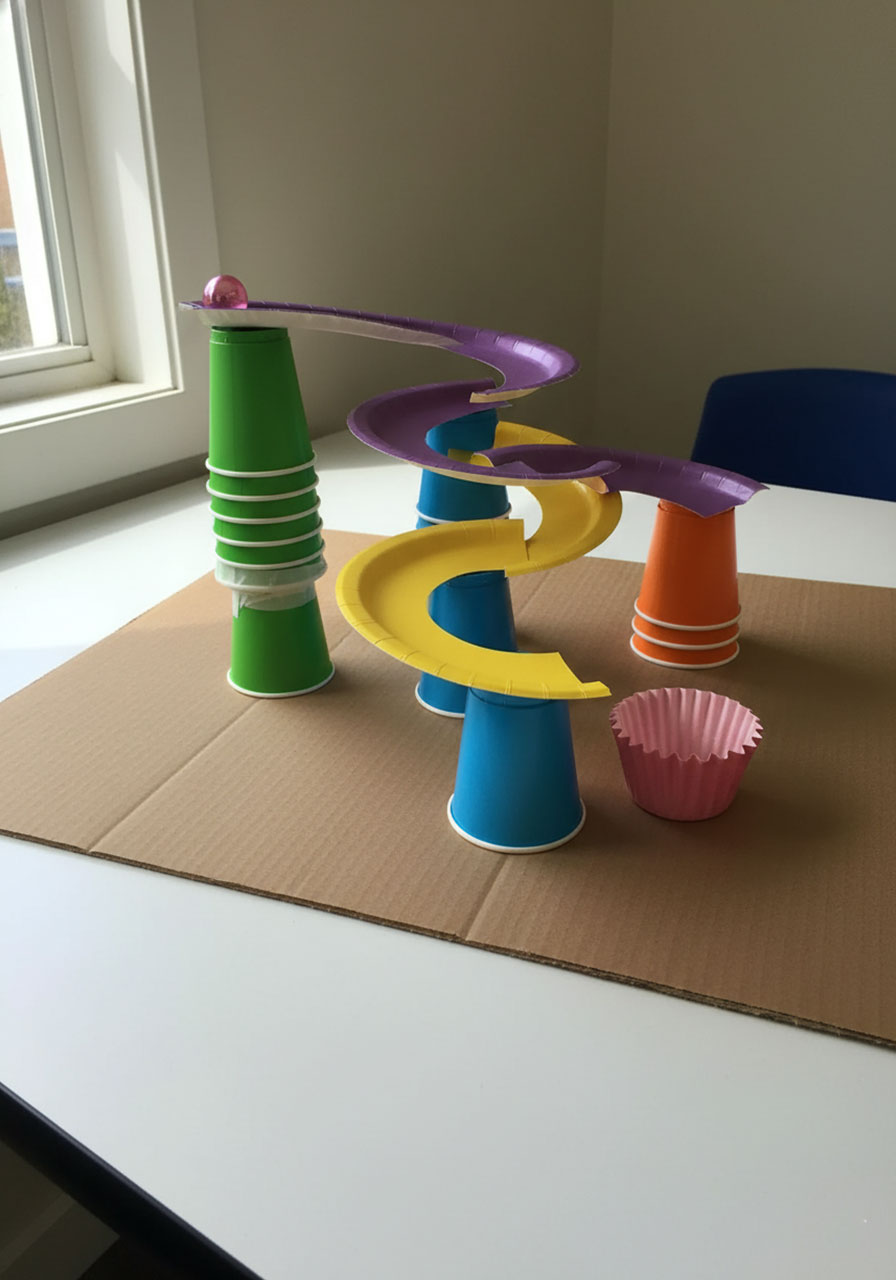
Step 4: The Loop Challenge (Advanced Move!)
Want to add a loop? You’ll need a seriously steep drop before it to give your marble enough speed to make it around. Test this early and often!
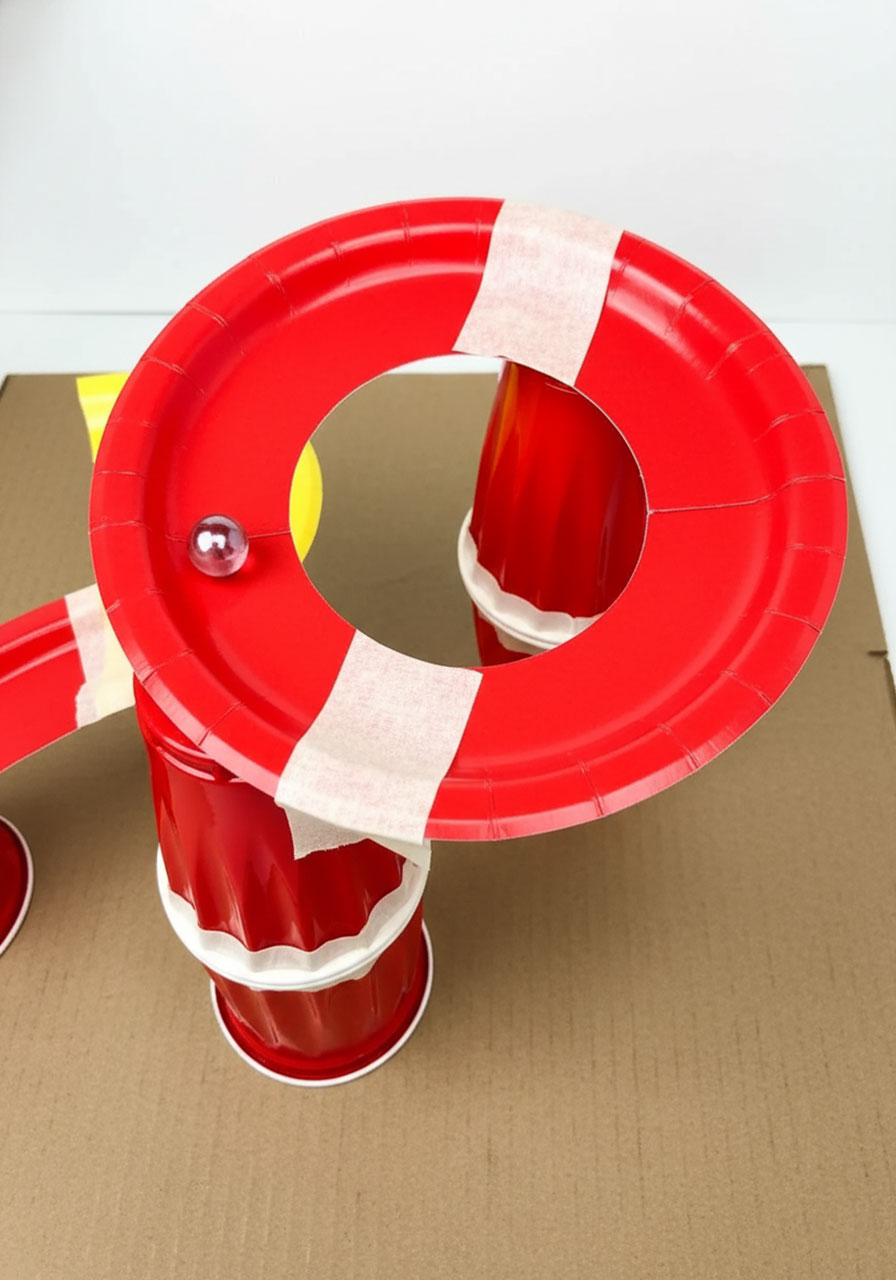
Step 5: Stick the Landing
Position your muffin cup at the end where your marble should gently roll to a stop. If your marble is still moving too fast at the end, you might need a slight uphill section to slow it down.
Round 4: Test, Fail, Learn, Repeat (10 minutes)
Here’s where the real learning happens! Release that marble and see what happens.
Did it stop too early? You might need a steeper starting drop or smoother connections between track sections.
Did it fly off the track? Your turns might be too sharp, or you might have too much speed for that section.
Did it skip over the muffin cup? Add a small “wall” or rim at the end to catch it.
Every “failure” is actually valuable data! Encourage your students to make one small change at a time so they can see what works and what doesn’t.
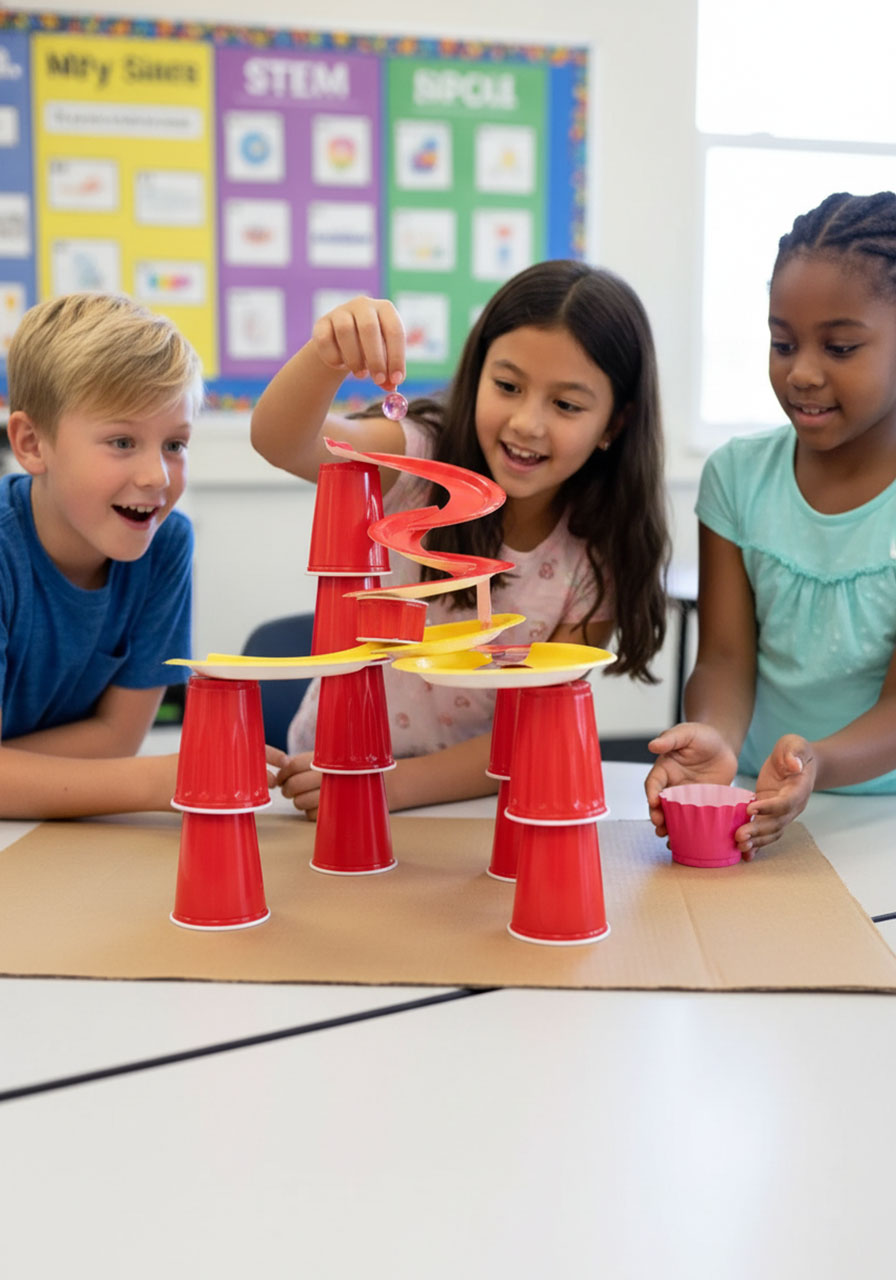

Round 5: Share the Genius (10 minutes)
Bring everyone together for the best part – showing off their creations!
Great discussion questions:
- What was your biggest design challenge, and how did you solve it?
- Where did friction cause the most problems in your design?
- If you could build this coaster again, what would you change?
- What surprised you most about how energy works?
The Real-World Connection: Ask students to think about actual roller coasters they’ve ridden or seen. Can they spot the same physics principles at work? That first massive hill on every coaster? That’s loading up the potential energy for the entire ride!
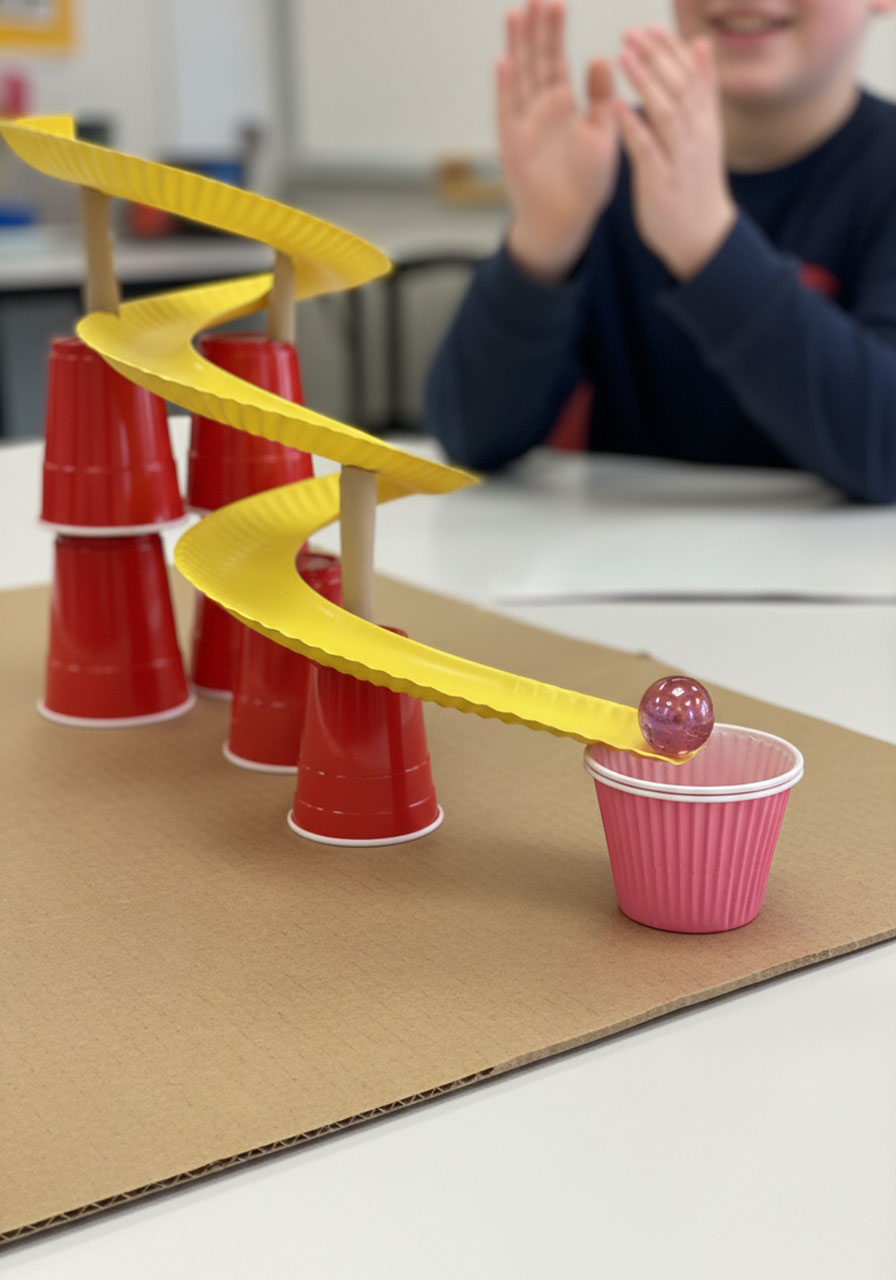
Pro Tips for Maximum Success
Start Simple, Build Up For students new to this challenge, encourage a basic design first – just a few hills leading to the cup. Once they nail that, they can add loops and fancy features.
Smooth Is the Name of the Game The smoother your track connections, the better your marble will perform. Take time to carefully tape down any rough edges or gaps.
Physics Is Your Friend Remind students to use what they know: Want more speed? Add height. Want to slow down? Add an uphill section or use a rougher surface.
Celebrate the Failures Some of the best learning happens when things don’t work! Make sure your classroom culture celebrates experimentation and problem-solving, not just perfect results.
Time Management Hack If you’re short on time, have students build their support structures one day and add the track the next. This also gives them time to think about their design overnight!
Why Students (and Teachers!) Love This Challenge
This isn’t just another classroom activity – it’s an experience that brings physics to life. Your students aren’t just learning about energy; they’re manipulating it, testing it, and seeing it in action. They’re not memorizing physics vocabulary; they’re discovering why those concepts matter through hands-on problem-solving.
Plus, there’s something universally satisfying about watching a marble complete a course you designed from scratch. It’s the perfect blend of creativity, science, and good old-fashioned fun.
So grab those paper plates, clear some table space, and get ready for one of the most engaging physics lessons your students will experience all year. Because the best way to understand how energy works? Build something awesome and watch it in action!
Ready to roll? Your students are about to become marble roller coaster engineers, and trust us – they’re going to have a blast learning physics along the way.
More Kid’s Party Ideas to Keep the Fun Rolling:
Teddy Bear Bridge STEM Challenge: The Ultimate Team-Building Activity for Little Engineers
How to Make a Walking Paper Horse: The Coolest STEM Project That Actually MOVES!
27 Best Minute to Win It Games for Family Fun Night: Quick, Easy, and Hilarious Ideas
DIY Wooden Building Blocks: Build Epic Lincoln Log-Style Blocks for Hours of Imaginative Play
Rainbow Walking Water Science Experiment: Watch Colors Magically Mix Before Your Eyes!
How to Make a Paper Plate Kite: The Ultimate Summer Craft for Kids
How to Make a Straw Airplane That Actually Flies (Better Than Paper!)
How to Make Mini Lid Banjos: The Cutest 10-Minute DIY Musical Instrument
