
Looking for the perfect patriotic activity that kids will actually love – and that won’t drive you crazy to prep? You just found it.
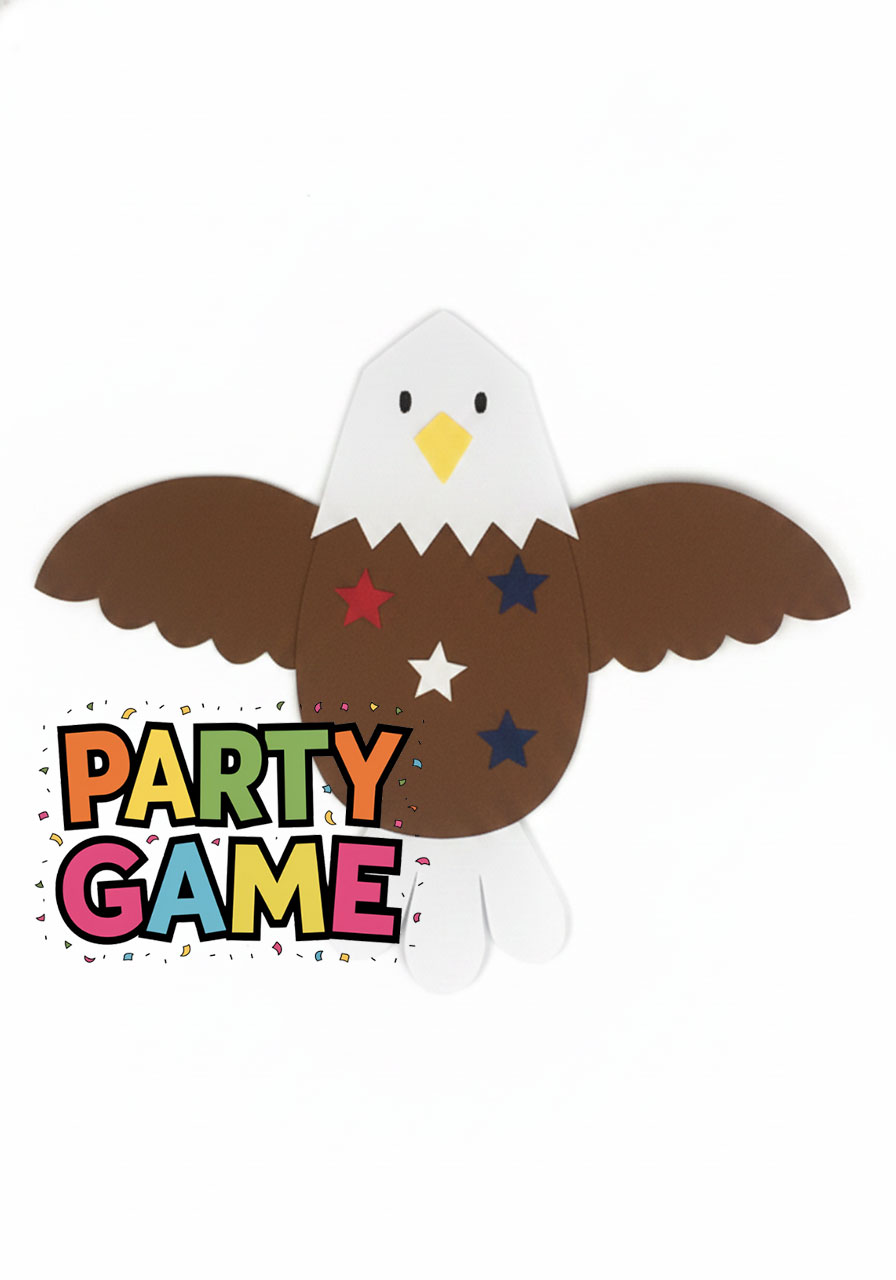
This Bald Eagle craft is everything a good kids’ activity should be: simple, adorable, and packed with that proud American spirit. Whether you’re planning a Fourth of July celebration, a Memorial Day classroom activity, a Veterans Day tribute, or just a fun afternoon project, this eagle craft checks every box.
And here’s the best part: with the printable template below, you can prep supplies for 20 kids in about 15 minutes. Yes, really.
Grab the template, a few sheets of colored paper, and let’s get those little wings ready to fly!
Why This Bald Eagle Craft Is a Total Winner
I’ve prepped a lot of crafts for groups, and this one is genuinely one of the easiest I’ve ever pulled off. The secret? Stack-and-cut batch prep that multiplies your effort instantly.
No complicated pieces. No expensive supplies. Just simple shapes that come together into the most darling little bald eagle you’ve ever seen – complete with red, white, and blue stars on its chest.
It’s also a wonderful way to open a conversation with kids about why the bald eagle is America’s national symbol – and why it matters. Did you know bald eagles typically mate for life? There’s something beautifully faithful about that.
This craft is perfect for:
- Fourth of July parties
- Memorial Day classroom activities
- Veterans Day tributes
- Labor Day gatherings
- Presidents’ Day projects
- Scout troop meetings
- Preschool and elementary classrooms
- Sunday school or VBS patriotic themes
- Any “God & Country” celebration

What You’ll Need
The supply list is short and sweet – most of this you probably already have at home or in the classroom!
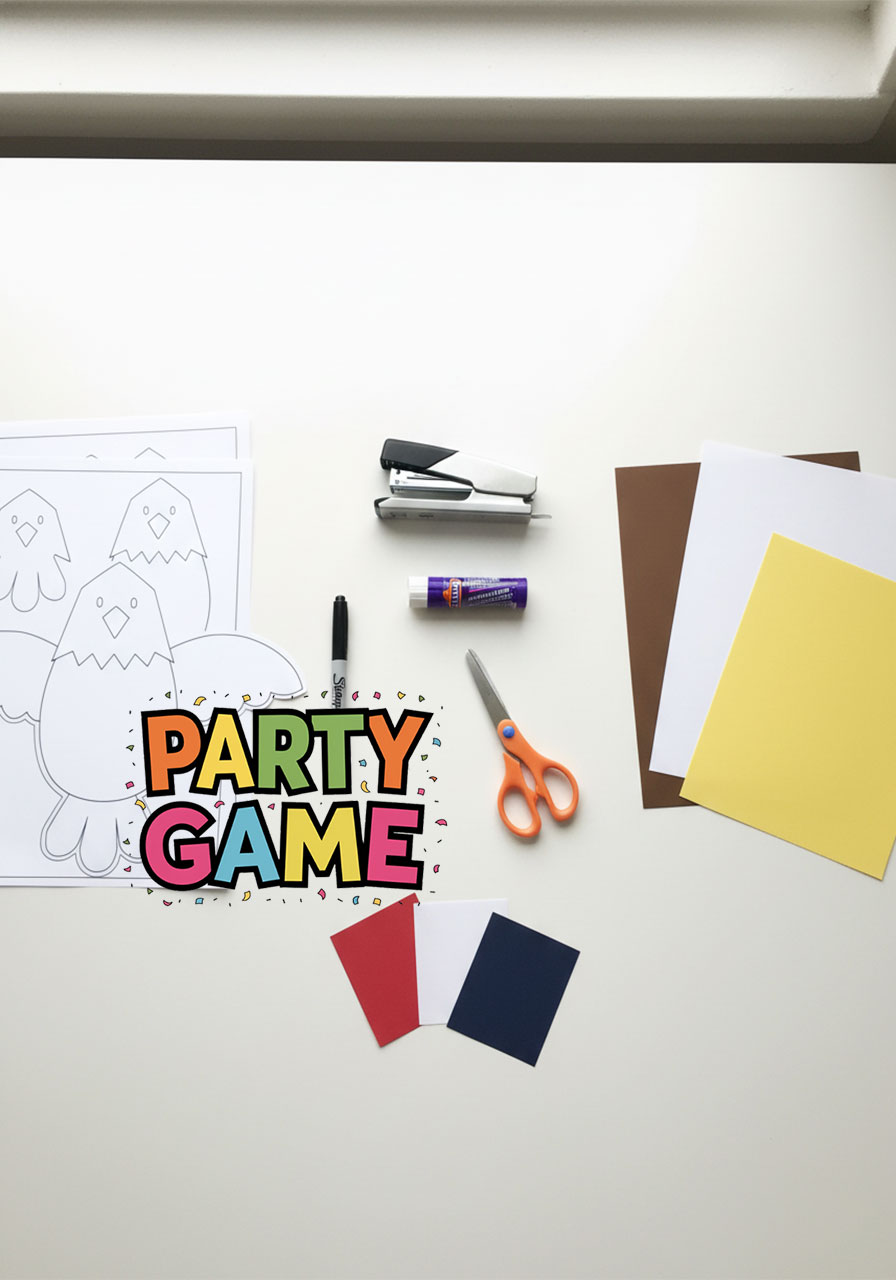
Bald Eagle Printable Template (download below!)
White, brown, and yellow colored copy paper or cardstock
Red, white, and blue paper (for the stars)
A good pair of scissors
A stapler
Glue sticks
A black marker (for drawing the eyes)
Pro Tip: Cardstock gives you a sturdier eagle, but regular copy paper works great too – especially when you’re cutting 10 shapes at a time. More on that in a minute!
Step 1: Download the Bald Eagle Template
Start by downloading the Bald Eagle Printable Template linked below.
The template includes all the shapes you need: the head, body, tail, wings, beak, and stars. Everything is designed to be printed, stacked, stapled, and cut – making it incredibly efficient for group settings.
Once you’ve downloaded it, print as many copies as you need based on your group size. Don’t worry – the batch-cutting trick in Step 2 means you won’t need nearly as many copies as you think!
Step 2: Staple and Cut Out All the Eagle Shapes
Here’s the game-changing trick that makes this craft work for big groups without losing your mind.
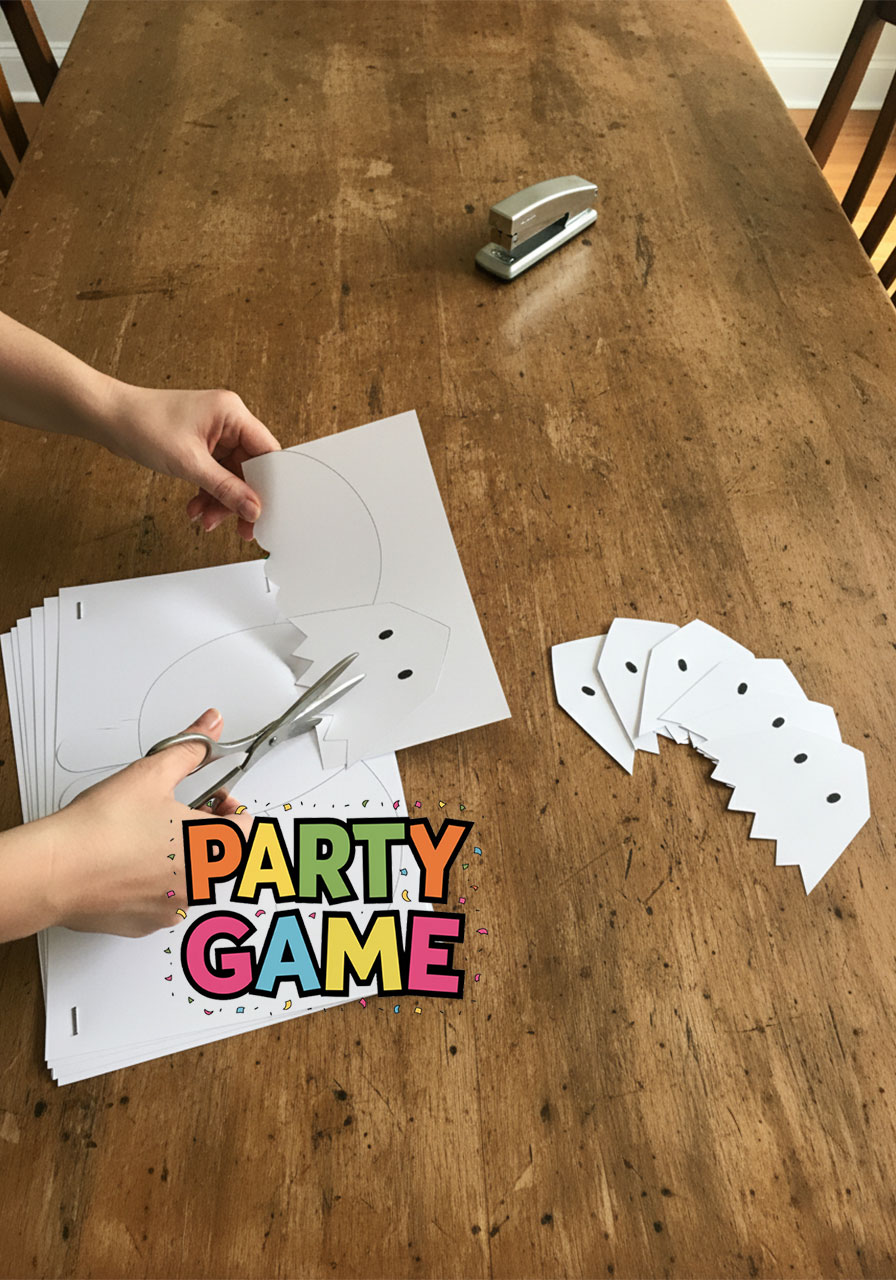
Stack your paper. Staple through the template and all layers. Then cut.
Here’s how many sheets you can cut at once:
Copy paper: Stack up to 10 sheets at a time
Cardstock: Stack up to 5 sheets at a time
Construction paper: Stack 5–8 sheets at a time
That means one pass with your scissors can produce 10 eagle bodies, 10 heads, or 10 wings all at once. It’s honestly one of the most satisfying prep experiences ever.
Why the stapler matters: Stapling the sheets together keeps everything from shifting while you cut. The more staples, the better – especially around the edges of the shape. If you’ve cut away all the sections with staples, pause and re-staple the remaining sheets before continuing.
For the stars, stack up to 8 sheets of red, white, and blue paper together and cut all your stars at the same time. Three colors, one cut, done!
Extra Tip: Sort your cut shapes into labeled piles (head, body, tail, wings, beak, stars) before the kids sit down. This makes assembly time smooth and stress-free.
Step 3: Assemble the Bald Eagle – Kids Take the Wheel!
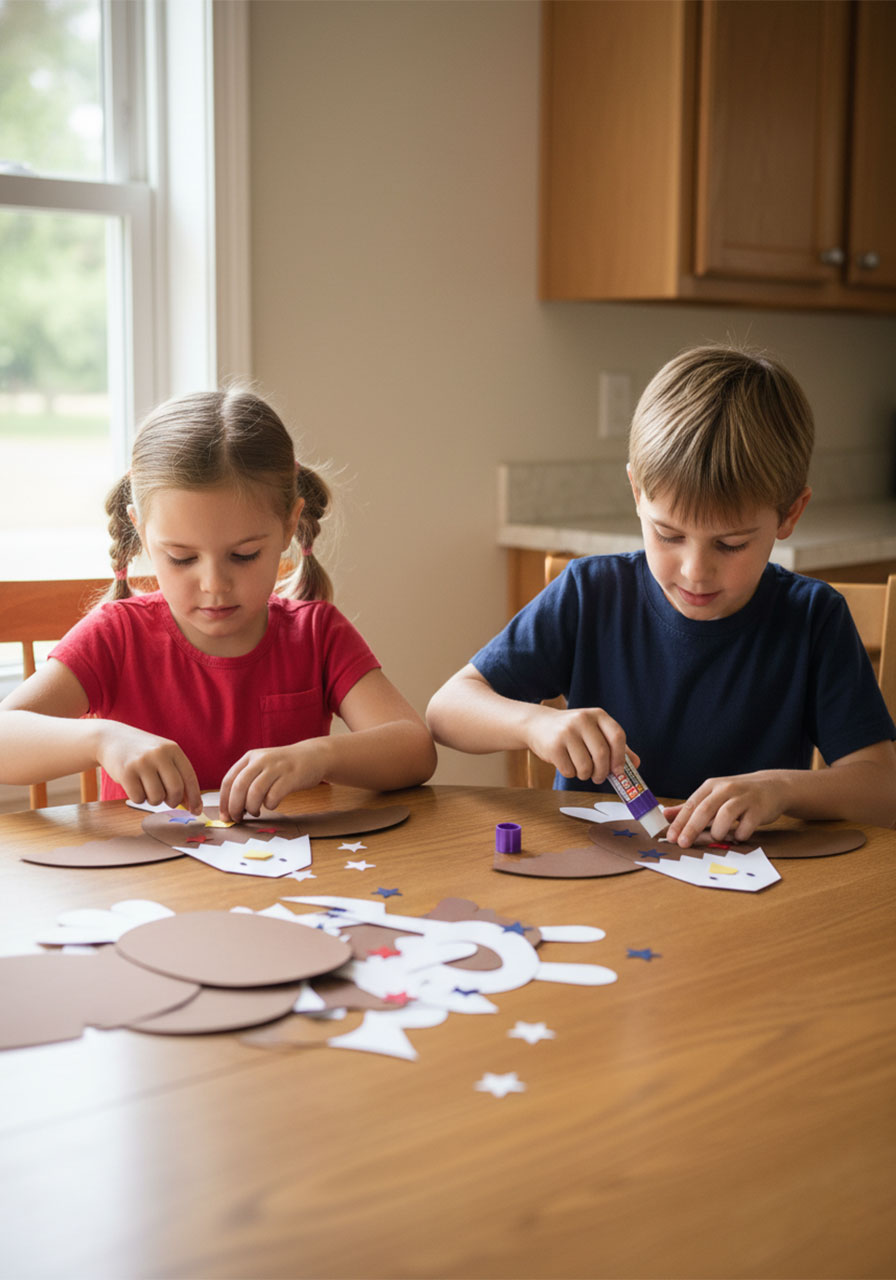
This is where the magic happens. Hand each child their pile of pre-cut shapes and a glue stick, and let them build their eagle from scratch. Kids love this part.
Here’s the assembly order to share with the kids:
1. Glue the tail and head onto the body. The oval body is the starting point – attach the feathery tail at the bottom and the white head at the top.
2. Flip the body over and glue the wings onto the back. The wings should stick out from both sides when you flip it back around.
3. Glue on the yellow beak. Position it right at the bottom center of the white head – that’s the signature bald eagle look!
4. Glue on the stars. Place one white, one red, and one navy blue star on the brown body. Arrange them however feels right – there’s no wrong way!
5. Draw on the eyes with a black marker. Two small dots right above the beak bring this eagle to life.
And that’s it – your eagle is finished and ready to soar! 🦅
From the moment you sit down to the moment 20 kids hold up their finished eagles, you’re looking at a smooth, joyful, chaos-free craft session. That’s the goal every single time.
Make It a Learning Moment Too
While little hands are gluing and crafting, here are a few fun conversation starters to weave in:
- The bald eagle was chosen as America’s national symbol in 1782.
- Bald eagles are not actually bald – their white head feathers just make them look that way from a distance!
- They typically mate for life, returning to the same nest year after year.
- A bald eagle’s nest can weigh up to a ton over many years of building!
Pair this craft with a few great books for an even richer experience:
Hello World! Birds – a perfect introduction to birds for the little ones
National Parks of the U.S.A. – gorgeous illustrations that spark curiosity about America’s wild places
If you’re using this craft in a faith-based or character education setting, the eagle is also a beautiful symbol of strength, freedom, and rising above – themes that resonate deeply with kids of all ages.
Frequently Asked Questions
How long does prep take for a group of 20 kids?
About 15 minutes – seriously! The stack-and-cut method is the key. Once you get your rhythm going, the shapes fly off the pile.
What age is this craft best for?
This eagle craft works beautifully for preschool (ages 3–5) with adult help on the gluing, and kids ages 6–10 can handle most of it independently. Even older kids in Scouts or Sunday school enjoy it!
Can I make this craft at home with just one child?
Absolutely! The template works just as well for one. Just print once, cut out each shape individually, and enjoy a cozy one-on-one craft session.
What if I don’t have colored paper?
White copy paper works! Let the kids color the pieces themselves before assembly – it adds an extra creative layer to the project and kids love personalizing their eagle.
Can I use this for a classroom bulletin board?
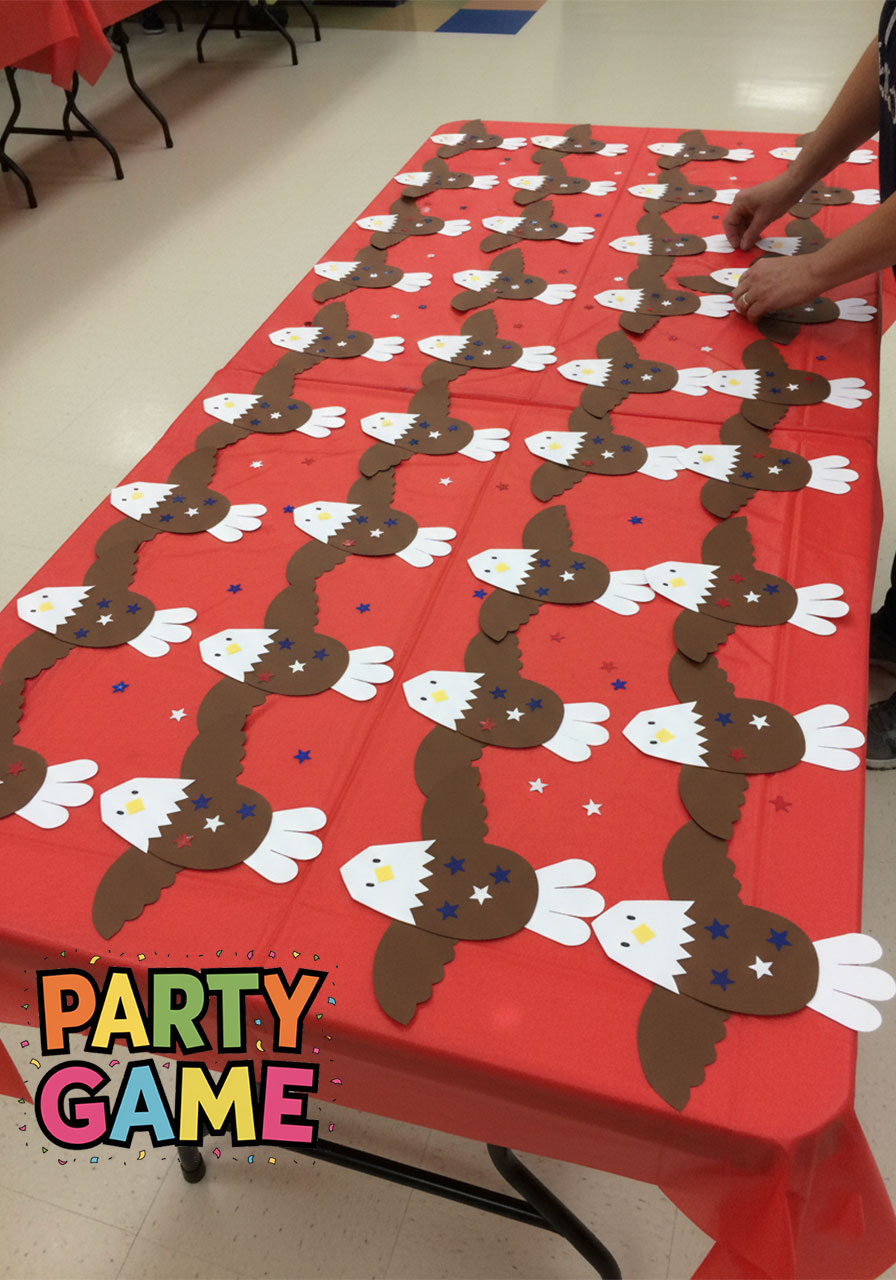
YES. A wall full of these eagles is stunning. Add each child’s name to their eagle and display them together for a show-stopping patriotic display.
Print it. Stack it. Staple it. Cut it. And watch 20 kids light up when they hold their finished eagles in the air.
You’ve got this, mama. Happy crafting! 🦅❤️🤍💙
More 4th of July Ideas to Keep the Fun Rolling:
Patriotic Star Suncatcher Craft: The Easiest 4th of July Activity That Kids AND Adults Will Love
How to Make a Tin Can Fireworks Centerpiece (Easy Patriotic Craft for 4th of July)
The Easiest 4th of July Firework Craft for Kids (Using Toilet Paper Rolls!)
Straw Stamped Paper Plate 4th of July Craft (Easy & So Festive!)
5 Easy Steps to Make the Cutest Fourth of July Windsocks for Kids
Egg Carton Memorial Day Poppy Wreath (A Meaningful Craft Kids Will Love)

How to I get the template? for the eagle and the star crafts
Hi, please click to the download button at the end of the post.