
If your kids have been glued to screens, bored out of their minds, or desperately asking “what can we DO?”, I have the answer – and it involves pipe cleaners, colorful beads, and the most satisfying little craft you’ll make all season.
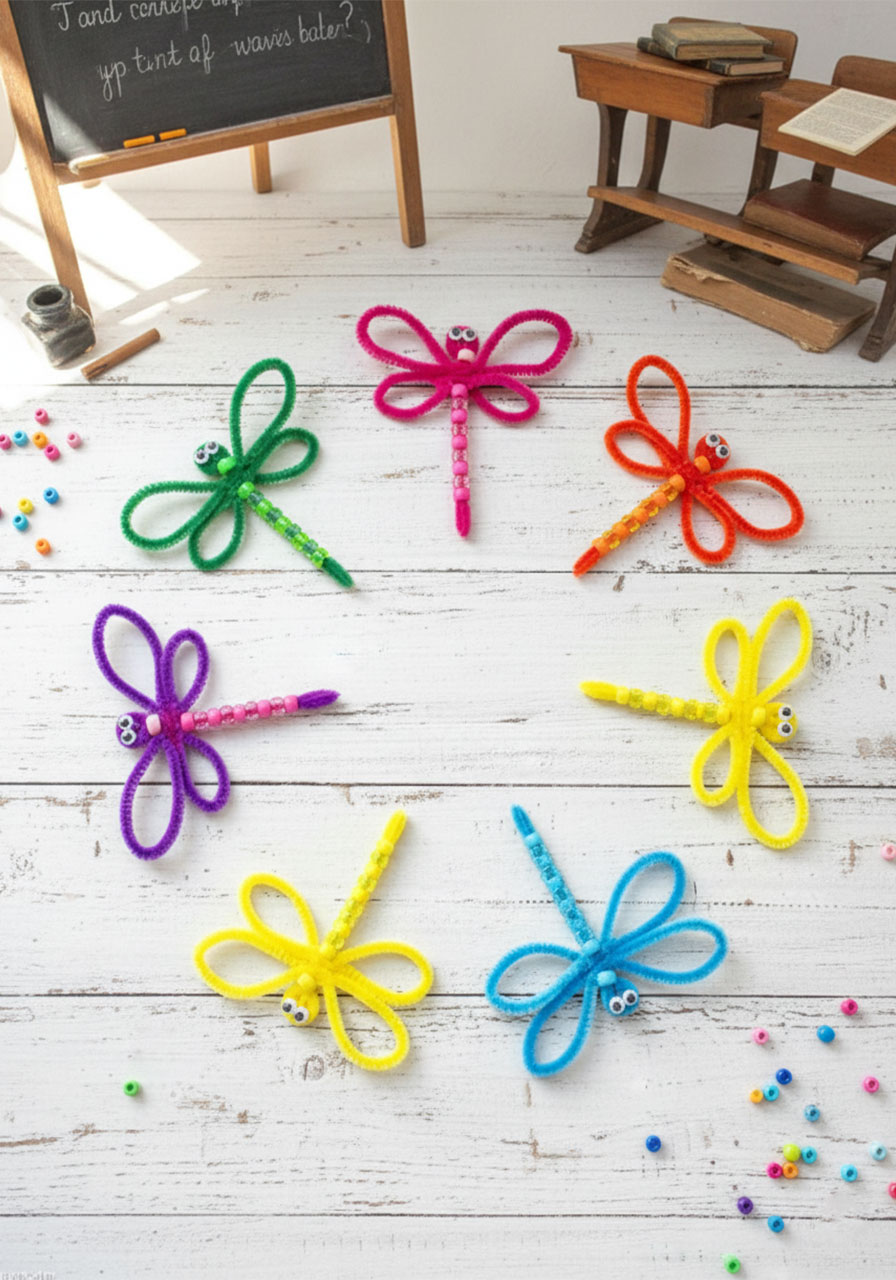
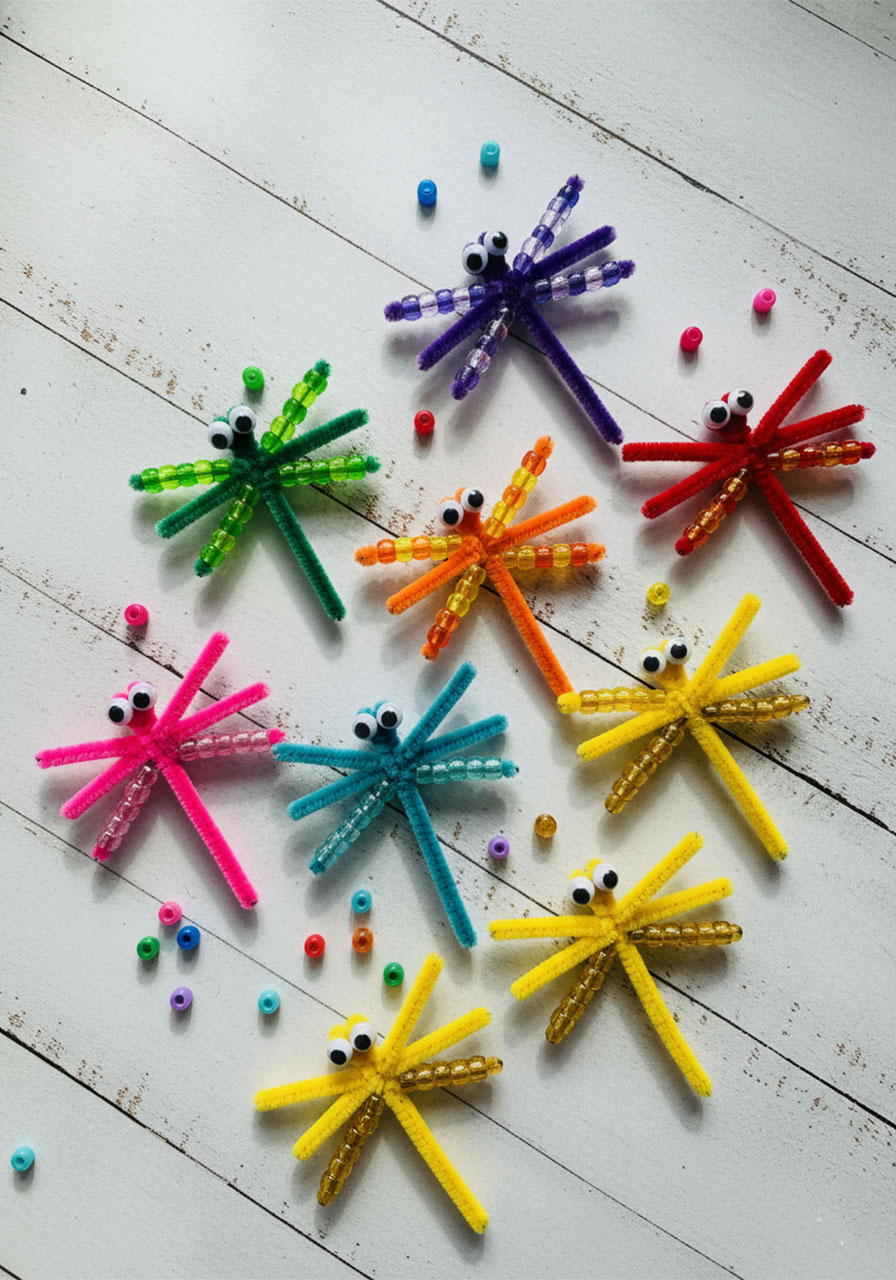
These beaded pipe cleaner dragonflies are whimsical, cheerful, and honestly so fun to put together. I made a whole swarm of them one afternoon, and I couldn’t stop. Once you get the hang of the technique, you’ll want to make one in every color of the rainbow.
The best part? You only need a handful of supplies, and the whole project comes together in under 30 minutes. No special skills required. No crafting experience needed. Just your hands, a little creativity, and the willingness to have a great time.
Why You’re Going to Love This Craft
There’s something almost meditative about threading beads onto a pipe cleaner and watching a tiny dragonfly take shape right in your hands. It’s simple, it’s satisfying, and it’s the kind of activity that genuinely slows you down in the best possible way.
For the moms and women reading this – whether you’re doing this solo, with your kids, or with a group of friends – this craft is a little gift to yourself. It nurtures your creativity, gives your hands something to do, and produces something genuinely beautiful at the end. That’s a win on every level.
And for the kids? They go absolutely wild for these. The moment they finish their first dragonfly and hold it up, their faces just light up. That feeling of “I made this” is priceless – and it never gets old.

What You’ll Need
3 pipe cleaners (all the same color, or mix it up!)
10 pony beads (try to coordinate colors for a gorgeous effect)
2 googly eyes
Hot glue gun and glue sticks
Scissors
Pro Tip: Pick up a variety pack of pony beads so kids can mix and match their colors. Alternating opaque and transparent beads on the body gives the dragonfly the most gorgeous shimmer effect – like a real dragonfly catching the light!

How to Make Your Beaded Pipe Cleaner Dragonfly
Ready? Let’s do this step by step. I promise it’s easier than it looks!
Step 1: Prep Your Three Pipe Cleaners
Grab your three pipe cleaners and lay them out. Here’s what you’ll do with each one:
Pipe cleaner #1: Fold it in half. This becomes the body of your dragonfly.
Pipe cleaner #2: Cut about 2 inches off one end. Set aside. This will form the smaller set of wings.
Pipe cleaner #3: Leave it full length. This will form the larger set of wings.
Simple so far, right? You’ve already done 30% of the work – keep going!

Step 2: Thread the Beads onto the Body
Take your folded pipe cleaner (that’s your body!) and start sliding 9 of your 10 pony beads onto it. Thread them onto both strands together, pushing them down toward the fold so they sit nice and snug in the center.
Save that last bead for later – it’s going to become the dragonfly’s adorable little head.
Pro Tip: Alternate between two bead colors for a striped effect, or use all translucent beads for a magical, jewel-toned look. Either way, gorgeous.

Step 3: Shape the Wings
Now take your shorter pipe cleaner (#2) and bend it into a circle, twisting the ends together to secure it. Then take your full-length pipe cleaner (#3) and do the same – you’ll end up with two loops, one slightly larger than the other.
Don’t stress about making them perfectly round. Organic, slightly imperfect loops actually look more natural – and way more charming!

Step 4: Attach the Wings to the Body
This is where your dragonfly really starts to come to life!
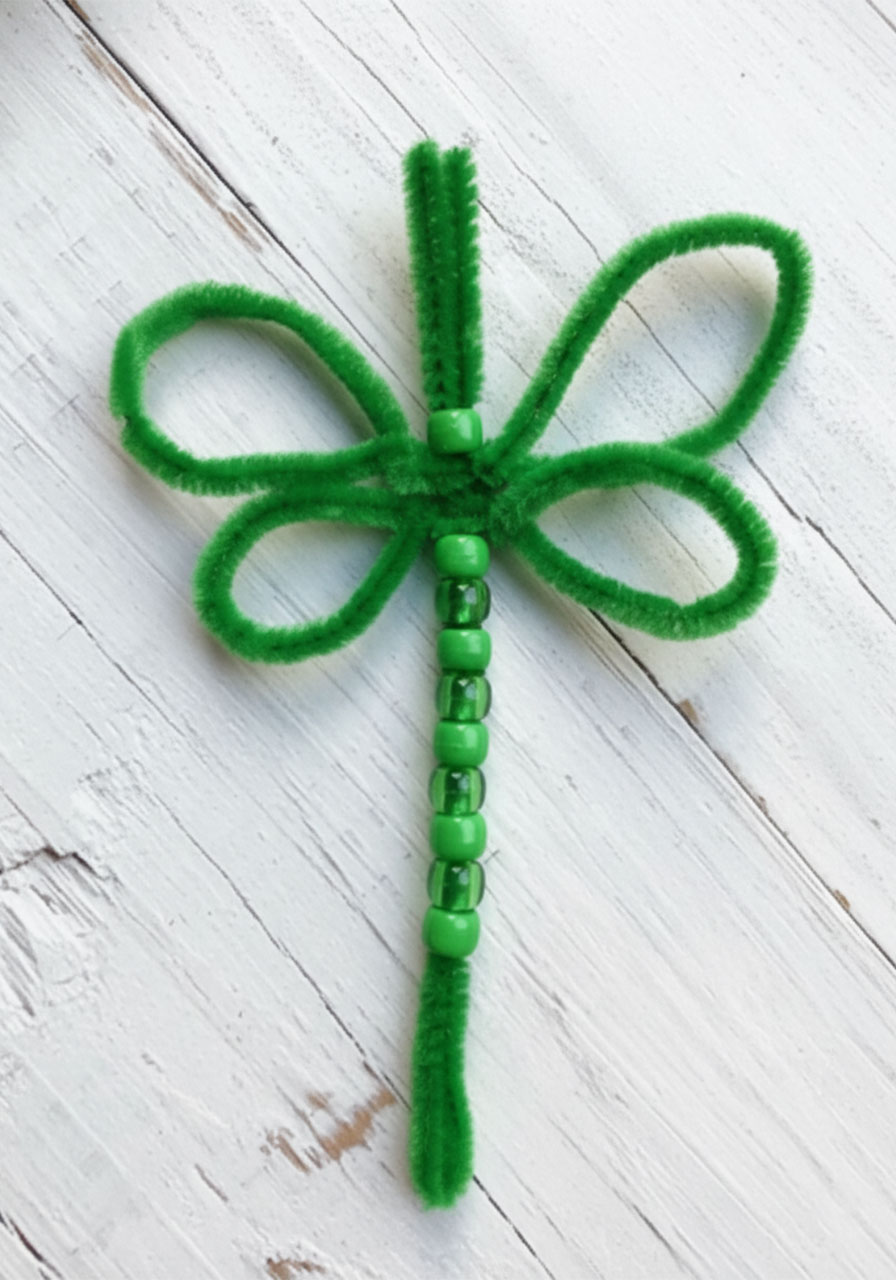
Take the smaller loop and slide it around the top portion of your beaded body (above the beads). Fold the loop in half so you have two equal wings on either side, then twist it at the center point to lock it in place securely.
Now repeat with the larger loop, positioning it just below the first set of wings. Fold and twist to secure. You should now have four beautiful wings – two smaller ones on top, two larger ones below.
Give them a little adjustment to spread them out evenly. Looking good already!


Step 5: Form the Head and Add the Eyes
Almost there – here comes the finishing touch that makes these dragonflies absolutely irresistible.
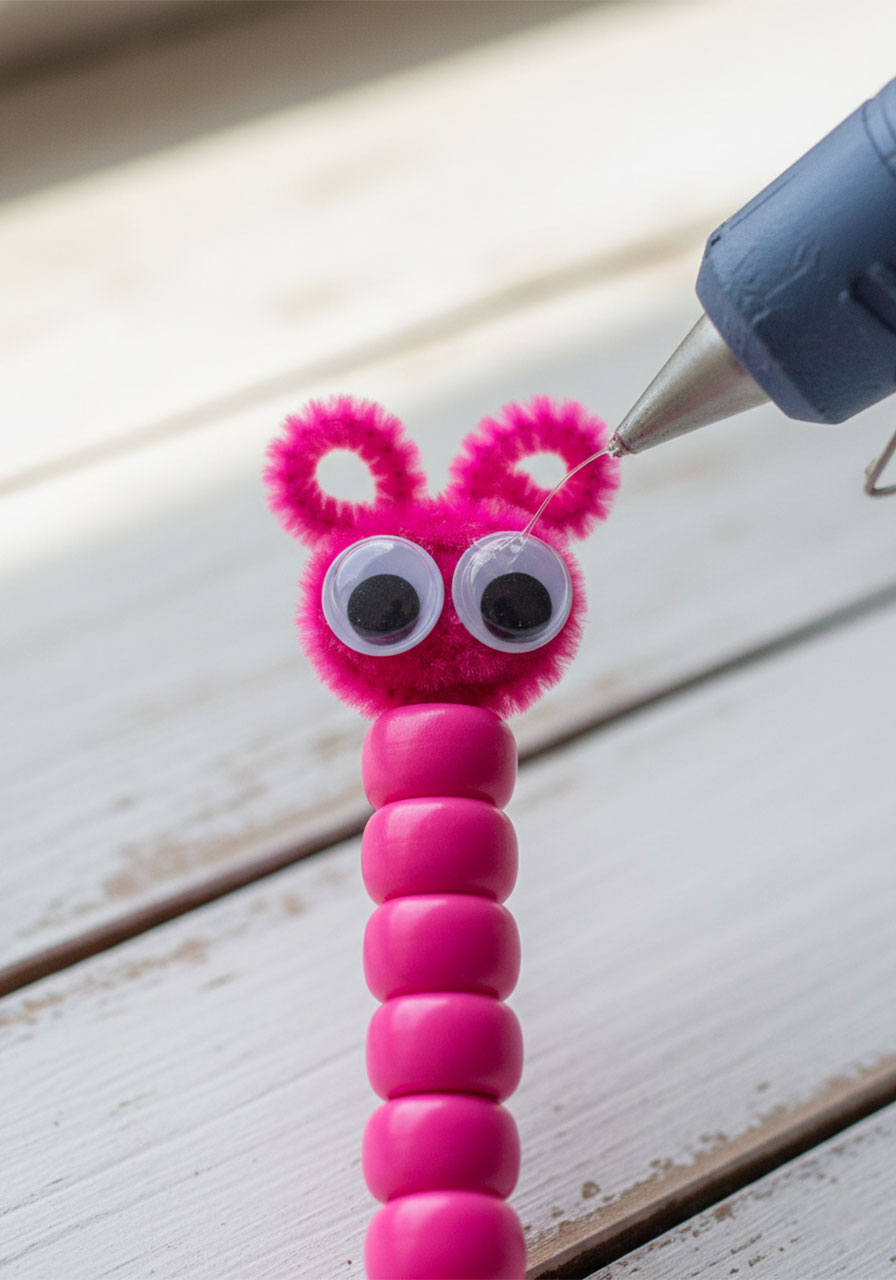
Slide your final bead onto the two loose ends of the pipe cleaner at the top of the body. Then gently roll and curl those two pipe cleaner tips downward to shape a sweet little rounded head.
Once you’re happy with the shape, grab your hot glue gun and add a tiny dot of glue to the head. Press both googly eyes on firmly and hold for a few seconds until set.
Step back and look at what you just made. Isn’t it the most adorable little thing?!
Fun Ways to Use Your Dragonflies
Here’s the thing – once you’ve made one, you’re going to want to make ten. And then you’ll need somewhere to put them all! Here are some of our favorite ideas:
Cork board display: Pin your dragonflies onto a colorful cork board for a gorgeous, whimsical wall art piece in a kids’ room or craft room.
Fairy garden decoration: Tuck a few dragonflies among the plants and miniature houses in your fairy garden for an enchanting touch.
Refrigerator magnets: Hot glue a small magnet strip to the back of each dragonfly and display them on the fridge. Instant smile every time you open it.
Party favors: Wrap each dragonfly in a little cellophane bag with a ribbon – they make the sweetest handmade party favors for spring or garden-themed parties.
Gift toppers: Tie one onto a wrapped gift as an adorable, one-of-a-kind topper. Far better than a boring bow.
Friendship gifts: Have your kids make a few extras to give to their friends. Handmade gifts carry so much heart.
Make It a Group Activity!
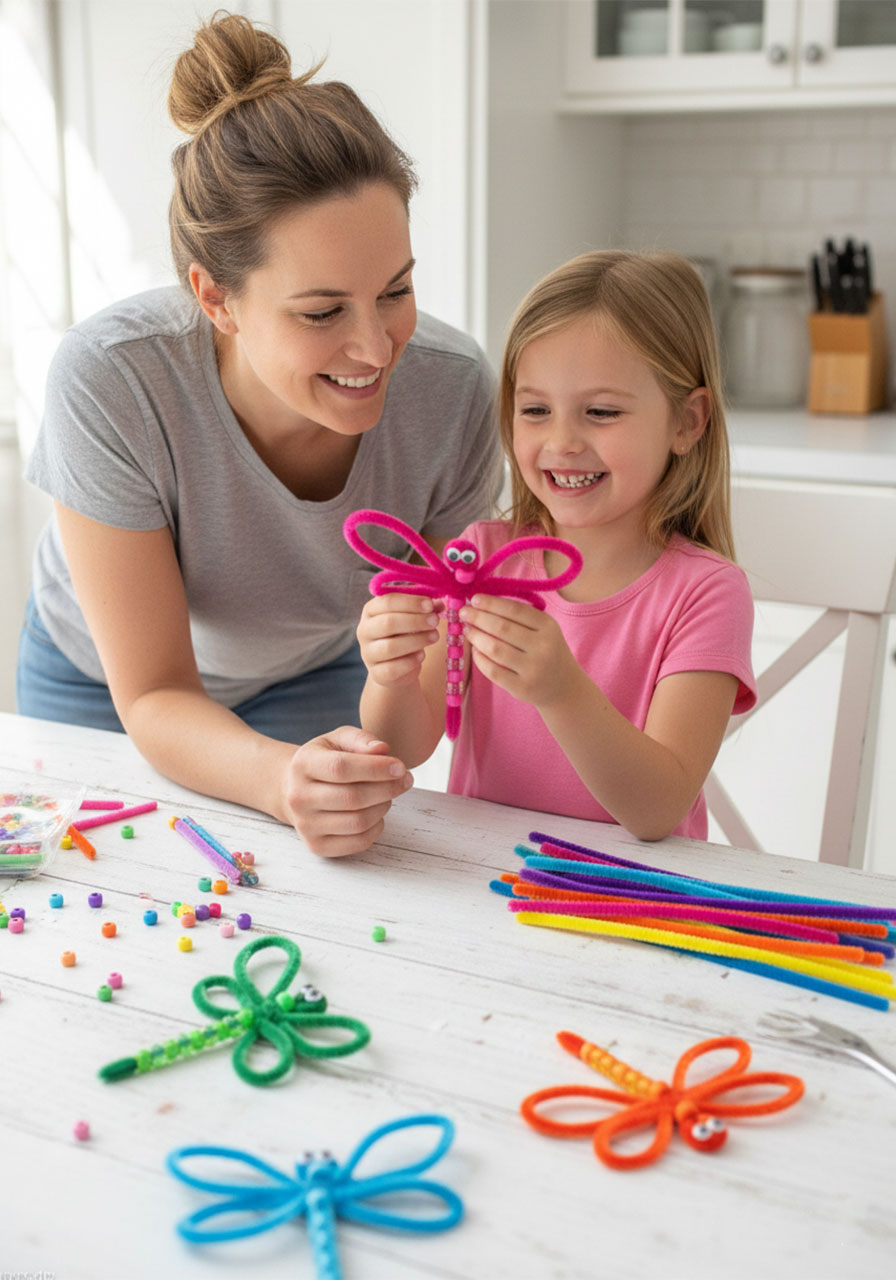
This craft is absolutely perfect for a group setting – a birthday party, a summer camp afternoon, a church youth group activity, a homeschool co-op day, or even a laid-back crafty get-together with friends.
Set up a craft table with little bowls of sorted beads in different colors, a supply of pipe cleaners, and a hot glue station for grown-up supervision. Let everyone pick their own color palette and watch the creativity fly (pun very much intended).
There’s something so beautiful about a group of people sitting together, creating with their hands, and sharing in the simple joy of making something. It’s the kind of activity that quiets the noise of everyday life and brings people back to what matters – connection, creativity, and a little bit of wonder.
Helpful Tips for Making the Best Dragonflies
Keep the wings symmetrical. When folding your wing loops in half, take a moment to make sure both sides are the same size before twisting. A few extra seconds here makes a big difference in the finished look.
Twist firmly. Give each twist a good firm turn so your wings stay put. A loose twist means droopy wings – and nobody wants a sad dragonfly!
Hot glue is for adults. If you’re doing this with younger children, let a grown-up handle the hot glue gun step for attaching the googly eyes.
Go wild with color combos. There’s truly no wrong combination. Hot pink body with orange and yellow beads? Yes. Blue and green ombre? Stunning. All translucent beads for a jeweled effect? Absolutely magical.
Make a few practice ones first. Once you’ve made one or two, you’ll have the technique totally dialed in. Your third dragonfly will be noticeably more polished than your first – and that’s part of the fun!

BONUS: Pipe Cleaner Clothespin Butterflies
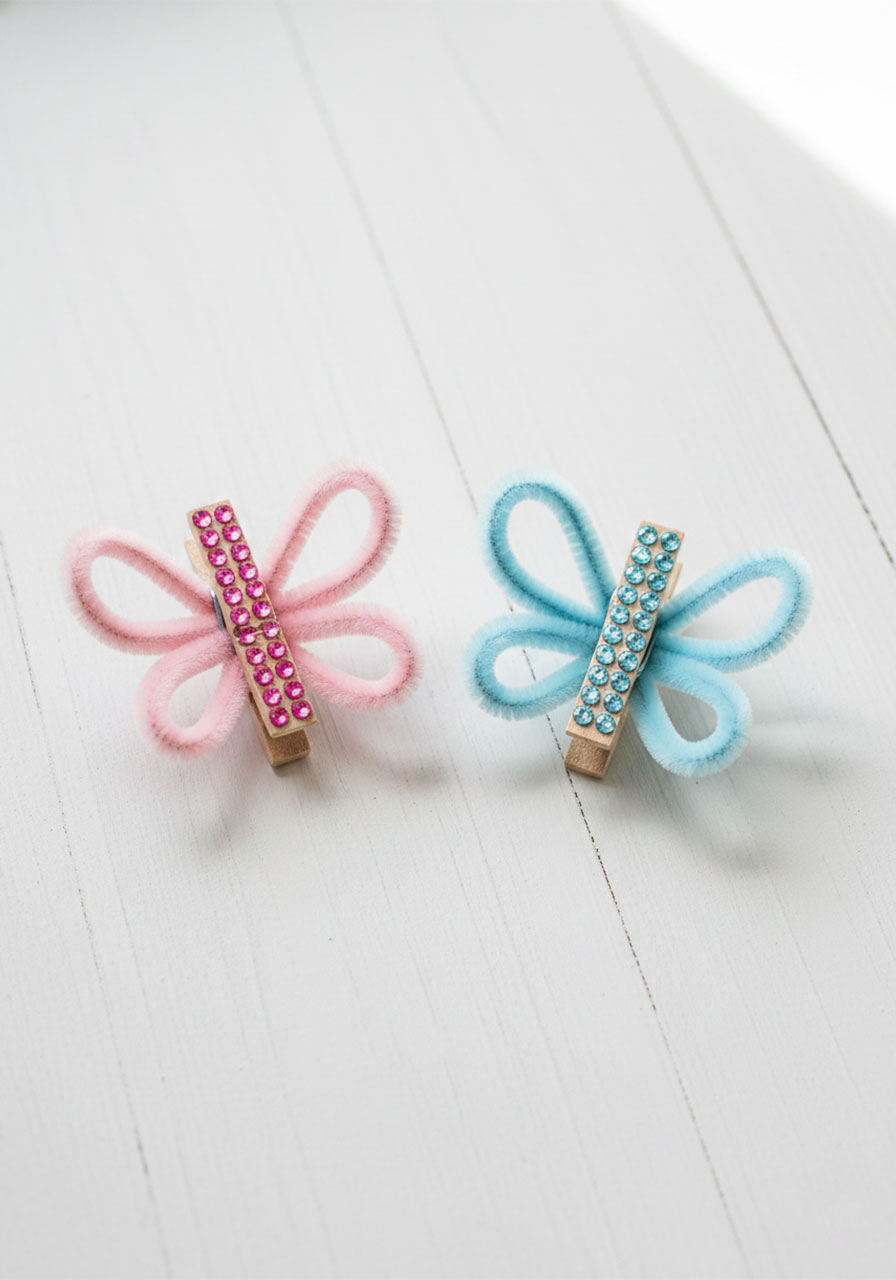
Loved the dragonflies? Then you are going to flip over these pipe cleaner clothespin butterflies!
Using the exact same wing-shaping technique from the dragonfly craft, you can create the most stunning butterflies – and here’s the clever twist: instead of a beaded body, you sandwich the wings between the handle end of a mini clothespin.
The clothespin becomes the butterfly’s body, and then you get to decorate it however your heart desires. Go bold with plastic rhinestones glued along the front for a sparkly, glamorous look. Use glitter paint for a shimmer effect. Or wrap it in washi tape for something more playful and colorful.
The finished butterflies are absolutely gorgeous – and because they’re clothespins, they’re actually functional too! Clip them onto a string of twine for a beautiful garland, use them to hold photos on a display board, or clip them onto a gift bag as a decorative accent that doubles as a keepsake.
My daughter and I spent an entire afternoon making both dragonflies and butterflies together, and I’ll be honest – the butterflies might have edged out the dragonflies as our favorites. (Don’t tell the dragonflies.)
Check out the full step-by-step tutorial for Beaded Pipe Cleaner Butterflies to get all the details on making those beauties!
A Little Note for the Mamas and the Makers
If you’re here because you’re searching for something to do with your kids – something that doesn’t involve a screen, something that produces a tangible result, something that gives everyone in the room a sense of pride and joy – you’ve found it.
Crafts like this are so much more than a way to pass the time. They slow us down. They engage our creativity. They give our kids the incredibly powerful experience of making something with their own hands. And in a world that moves so fast, there’s real value in sitting still together and creating something beautiful from almost nothing.
So grab those pipe cleaners. Pour out those beads. And enjoy every single minute of it.
You’ve got this. Now go make something wonderful.
More Summer Craft & Activity Ideas to Keep the Fun Rolling:
Easy Paper Bowl Jellyfish Craft Kids Will Absolutely Love (No Paint Needed!)
Handprint Pineapple Craft – Printable Template for Kids
Summer Popsicle Tissue Paper Craft For Kids (So Easy, So Cute!)
Sandcastle Texture Summer Art Project for Kids (Easy & So Much Fun!)
Handprint Fish Puppet Craft: The Cutest 20-Minute Activity Your Kids Will Beg to Do Again
