Let’s be honest – store-bought cards are fine, but they’re forgettable. This one? Dad is going to set it on his desk and show every person who walks by.
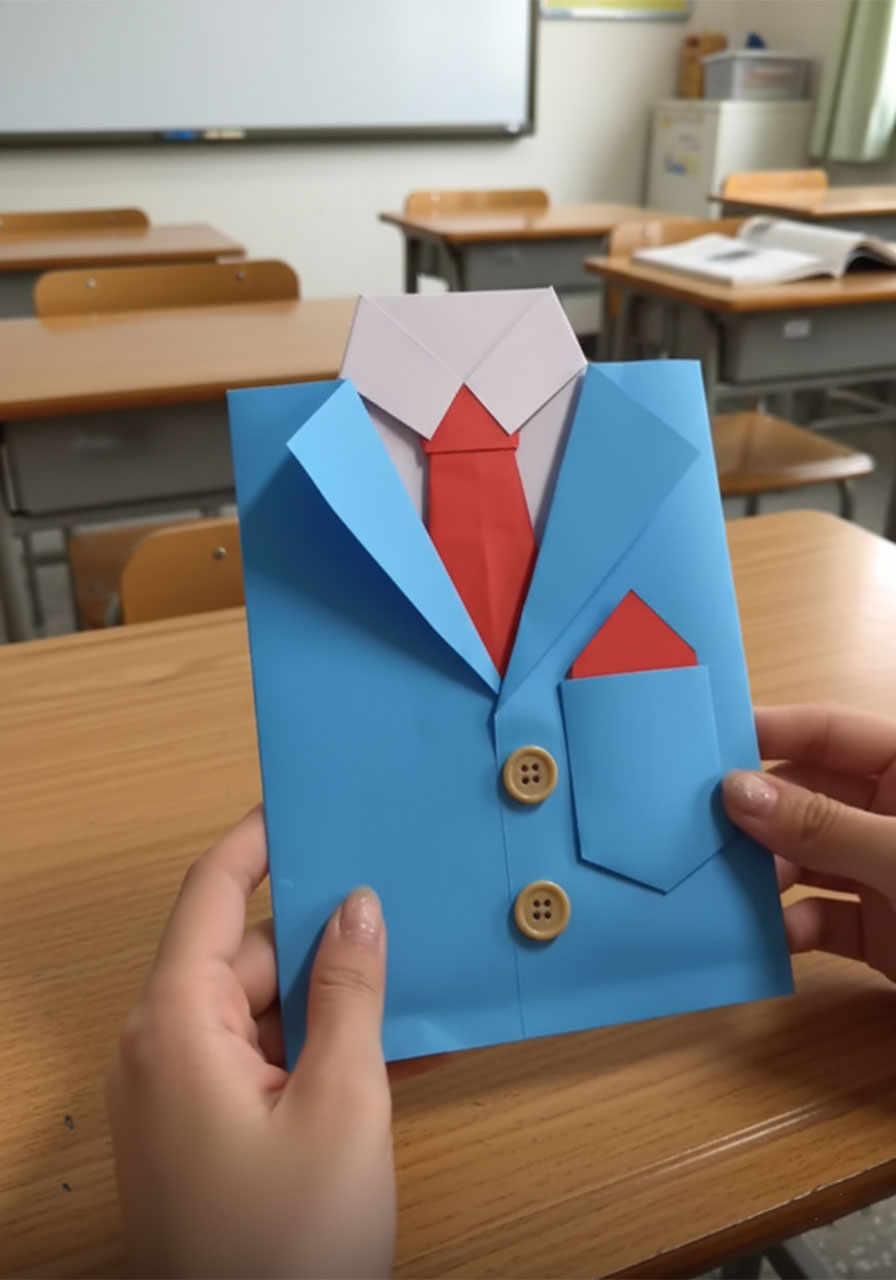
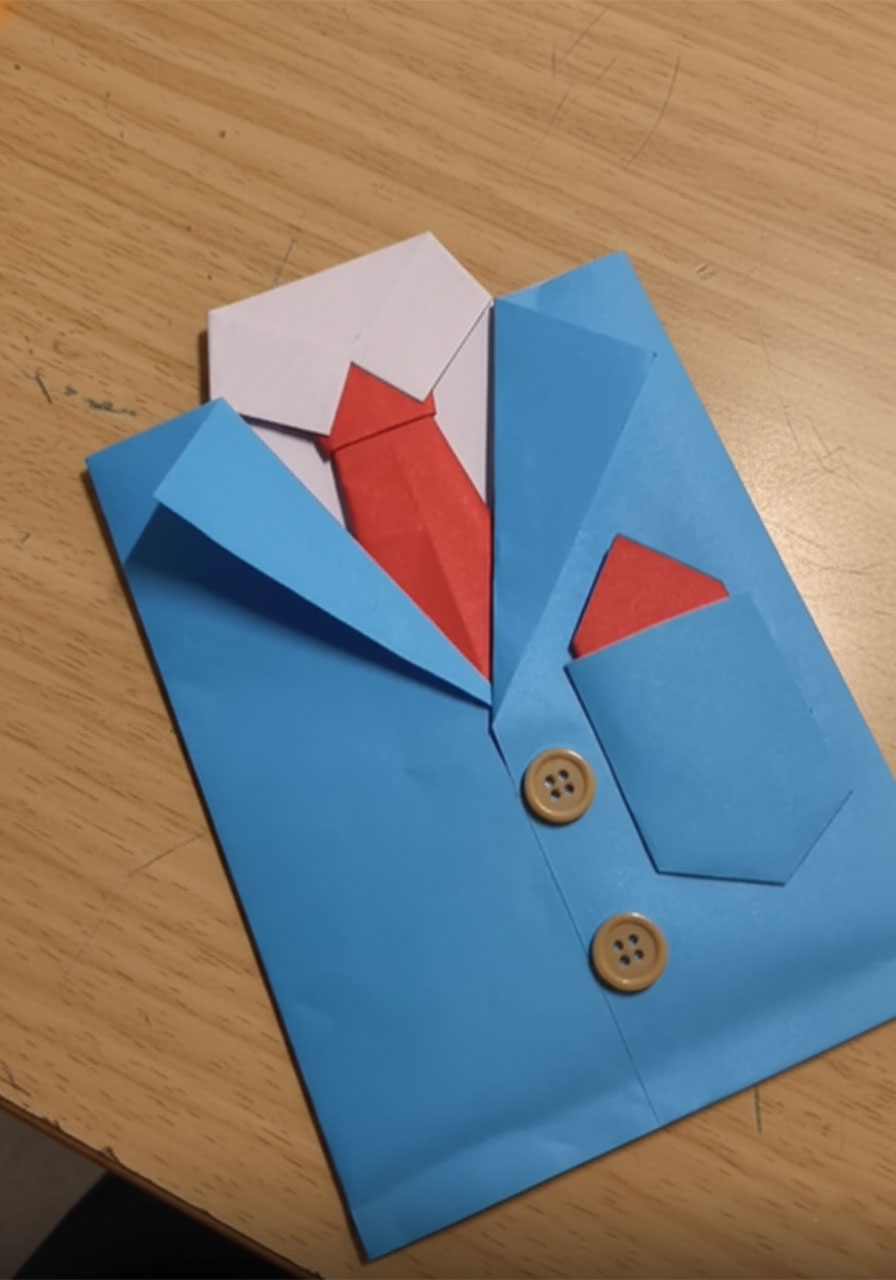
This DIY suit-and-tie Father’s Day card is a paper craft that looks like a mini blazer complete with a collared shirt, a folded origami tie, a pocket square, and real buttons. It’s interactive too – the shirt slides right out of the jacket so you can tuck a handwritten note inside.
It sounds fancy. It’s actually very doable. Whether you’re making this with your kids on a Sunday afternoon or sneaking away for a quick solo craft session, you’ll have a finished card in under an hour that looks like it took three.
Here’s everything you need to know to pull it off.

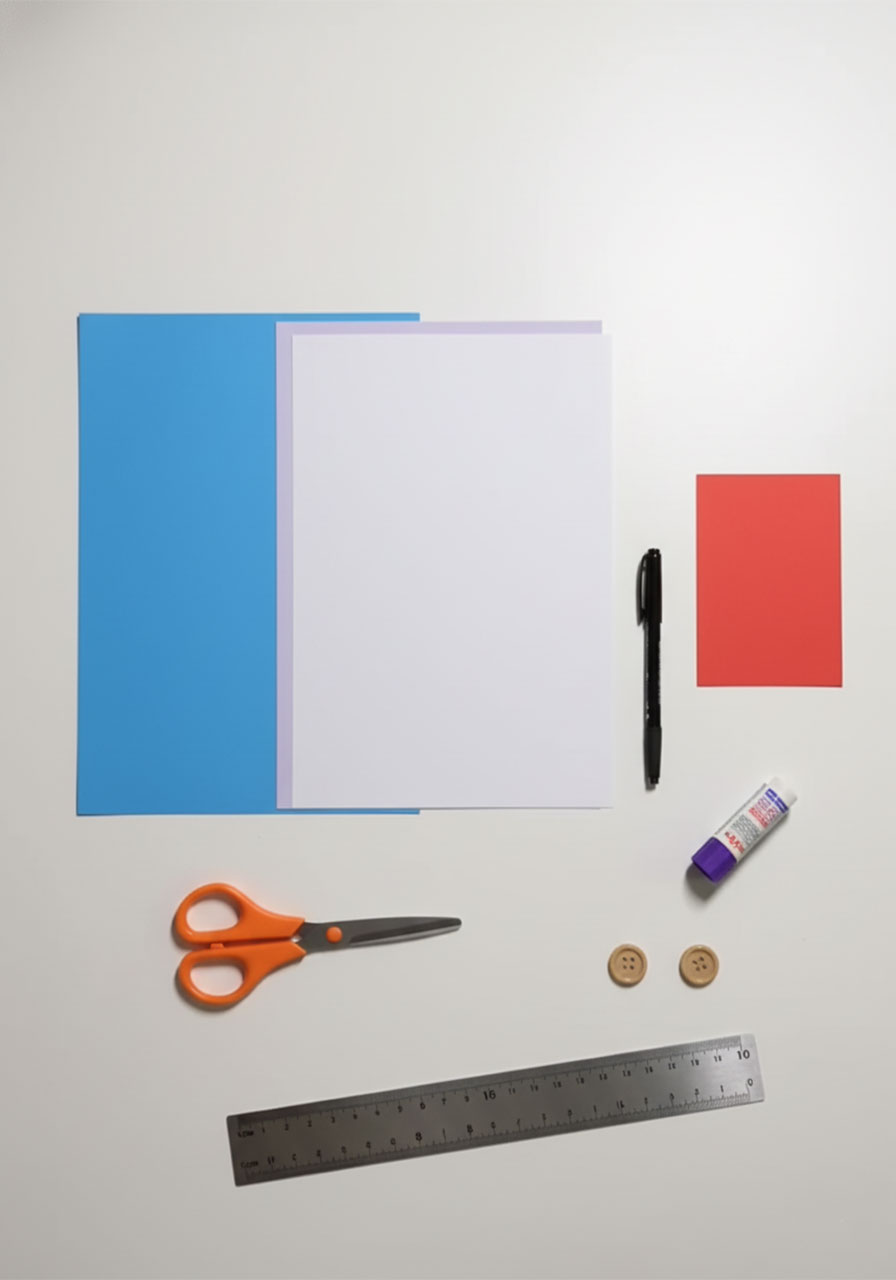
What You’ll Need
Blue paper – for the suit jacket (one full sheet)
White or light purple paper – for the shirt insert (one sheet)
Red paper – for the tie and pocket square (one small sheet or scrap)
Scissors
Glue stick or tape runner
A ruler
A pen or marker
Two small buttons – real ones from a craft store or an old shirt work perfectly
That’s it. No special tools, no fancy supplies – just paper and a little patience.

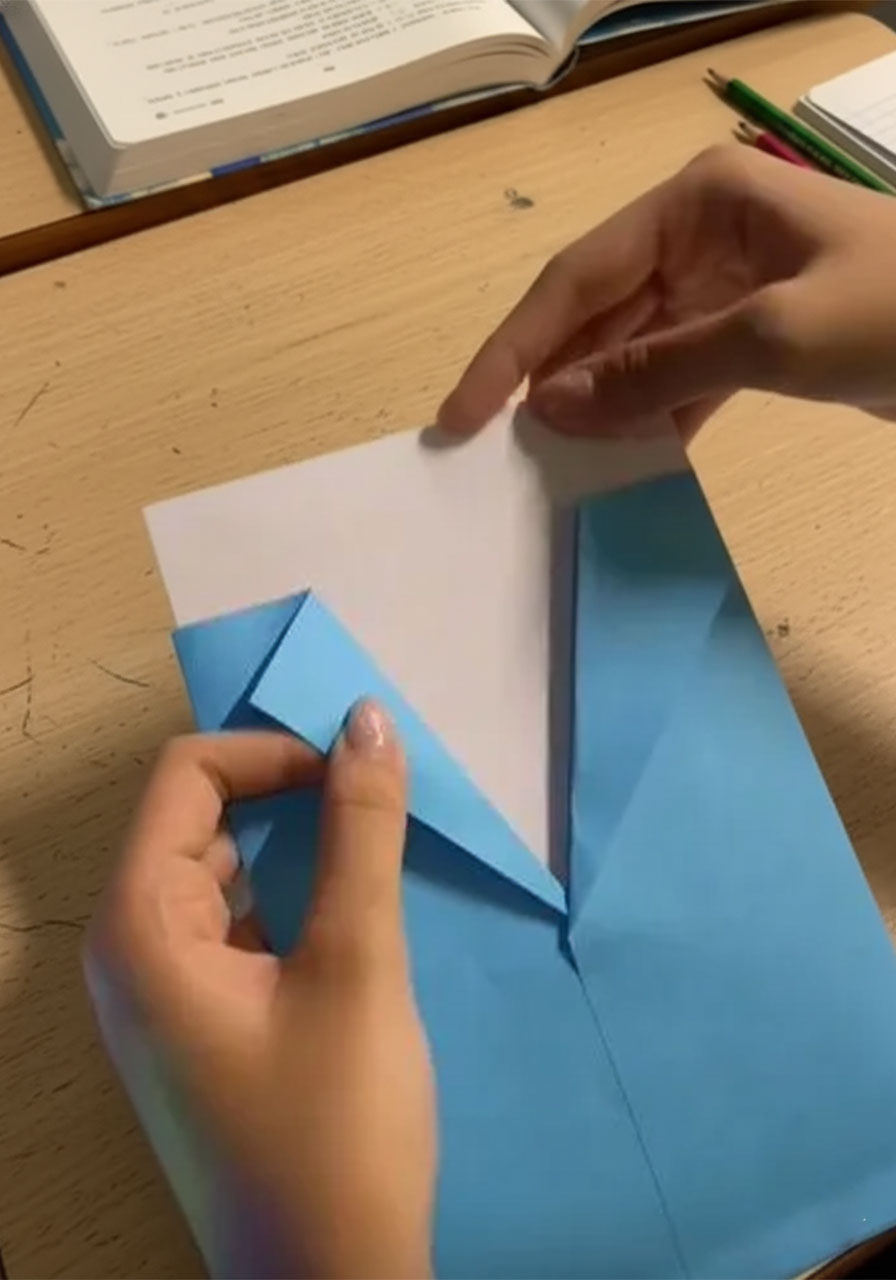
Step 1: Build the Suit Jacket (Your Blue Base)
This is the outer shell of the whole card, and it sets the tone. Get this right, and everything else falls into place beautifully.
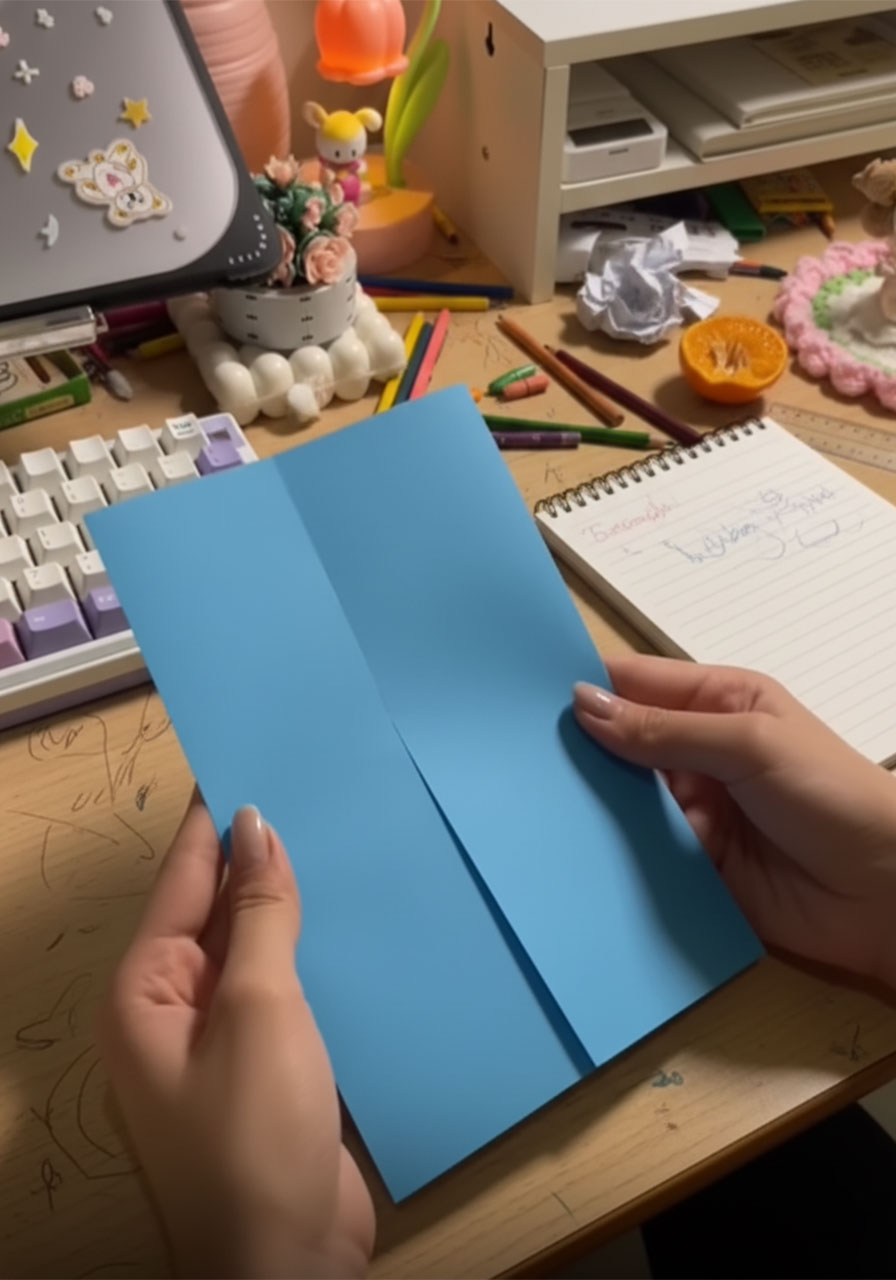
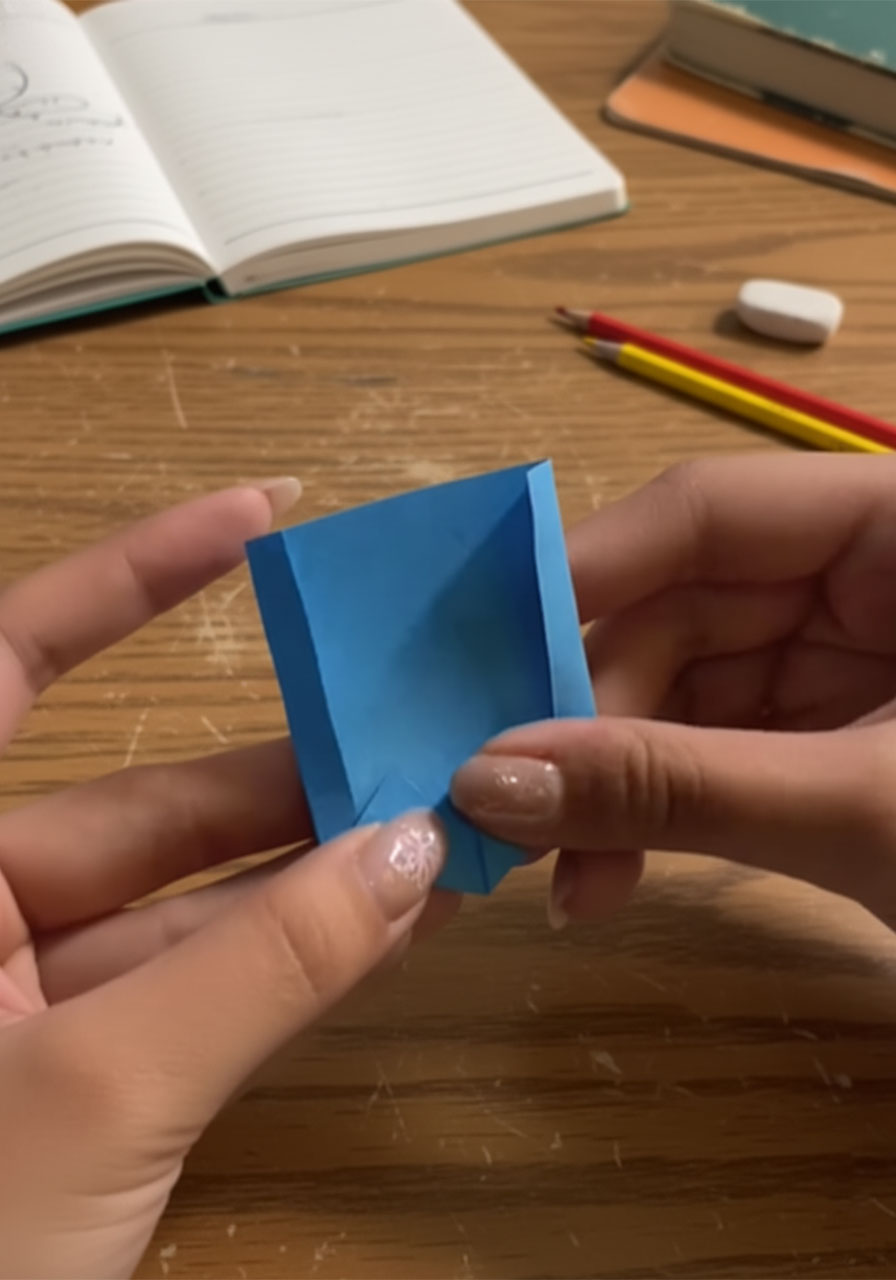
Start with your blue sheet of paper laid out vertically in front of you.
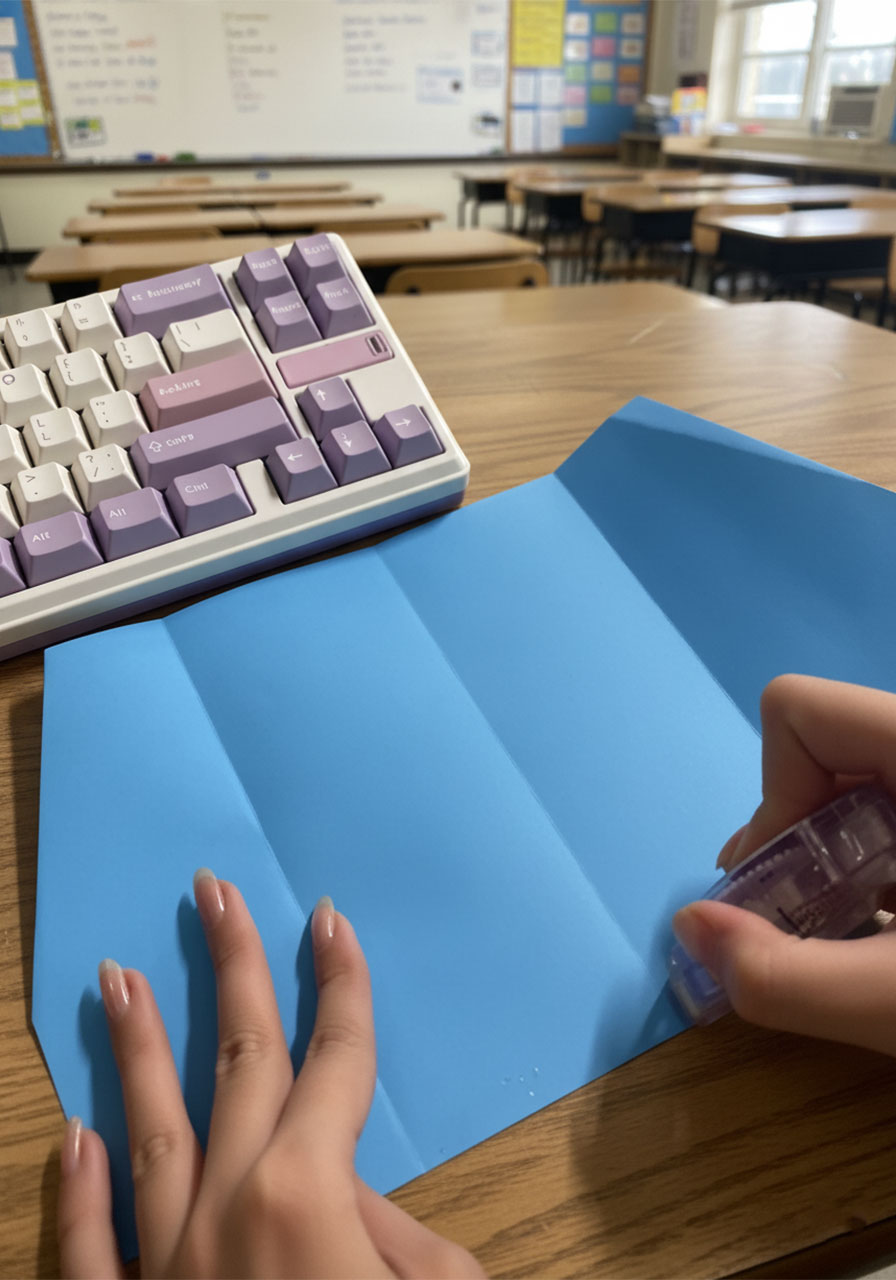
Fold it in half lengthwise, bringing the left side over to meet the right. Crease it well, then unfold. That center crease is your guide.
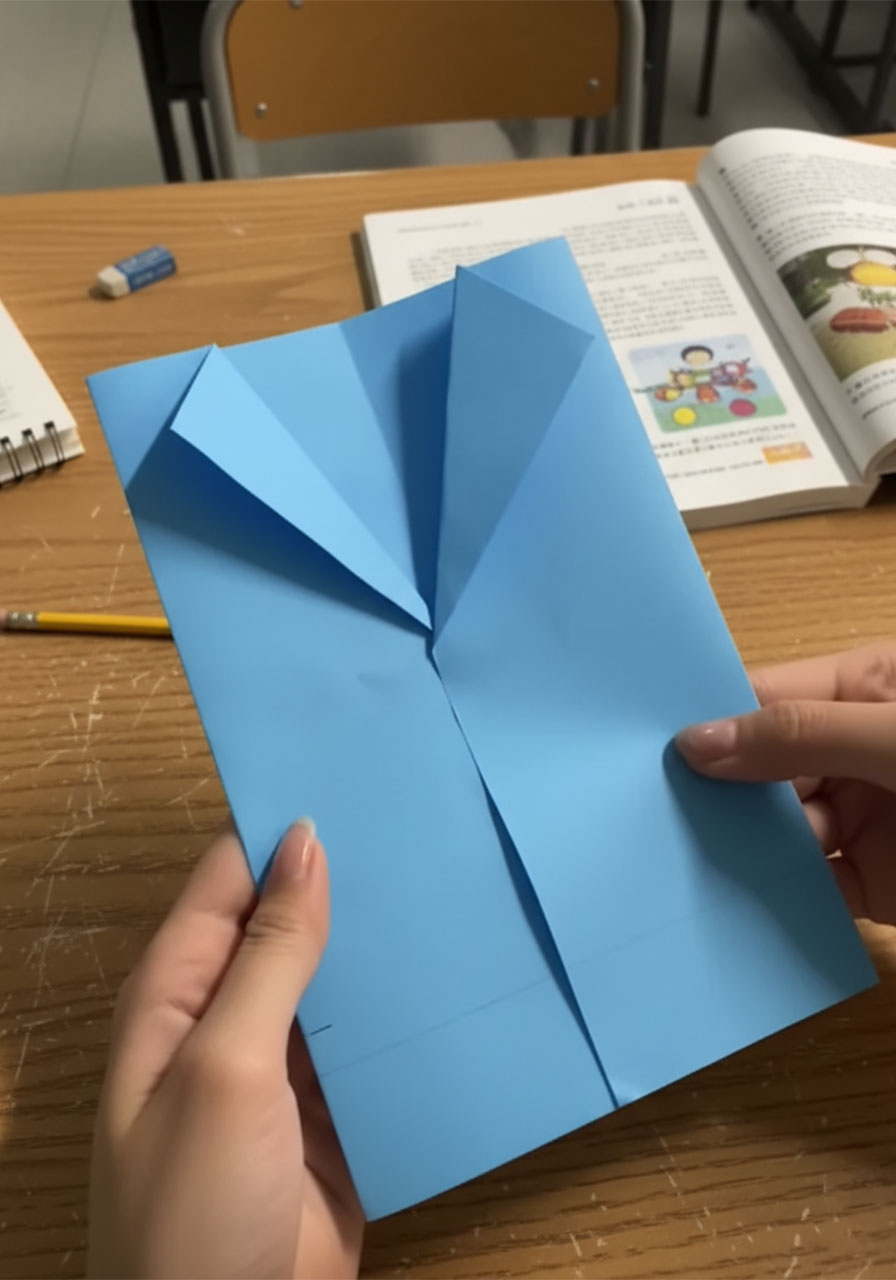
Now fold both sides inward toward that center crease. The left side folds right, and the right side folds left. Let one flap overlap the other slightly – this is what creates the look of a jacket that’s buttoned closed. Press the folds flat and crease them firmly.
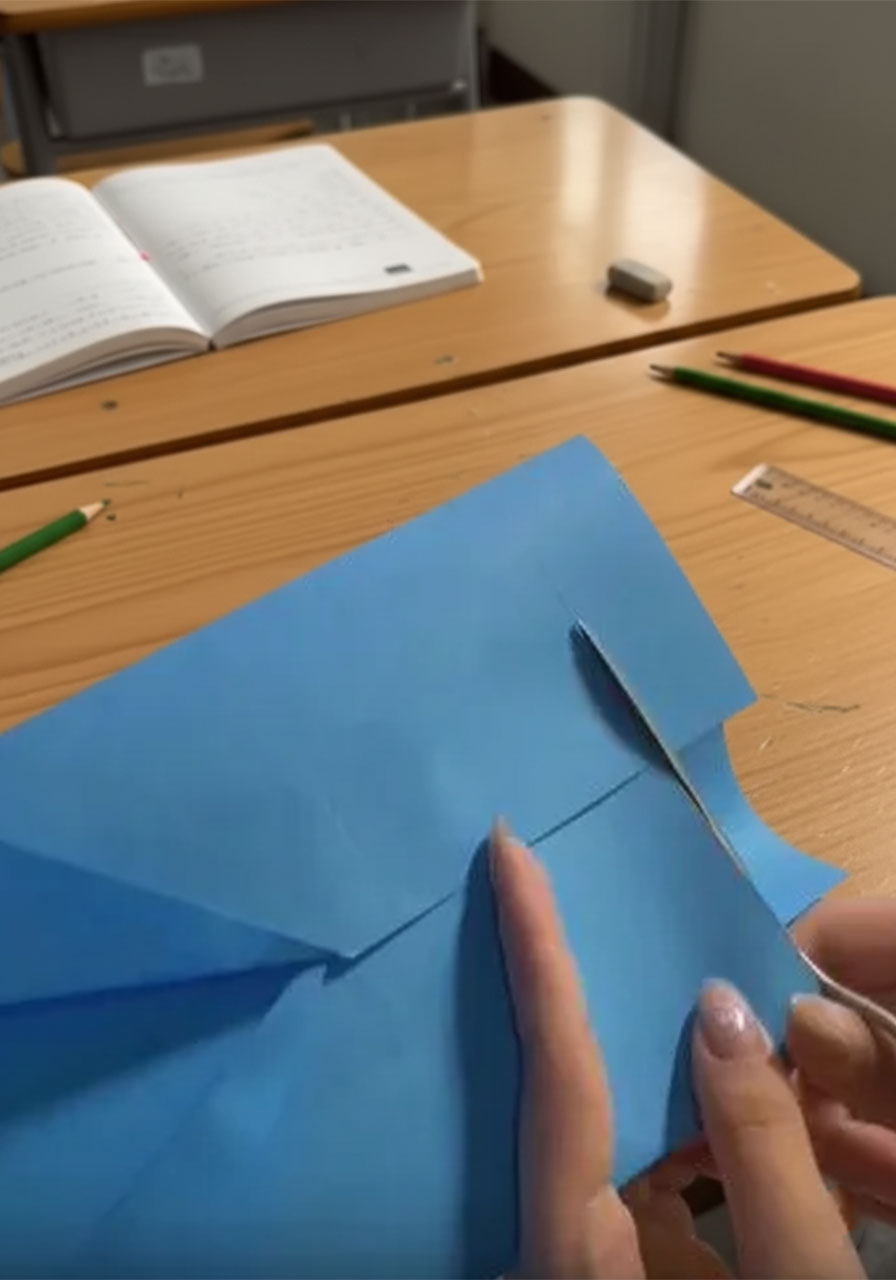
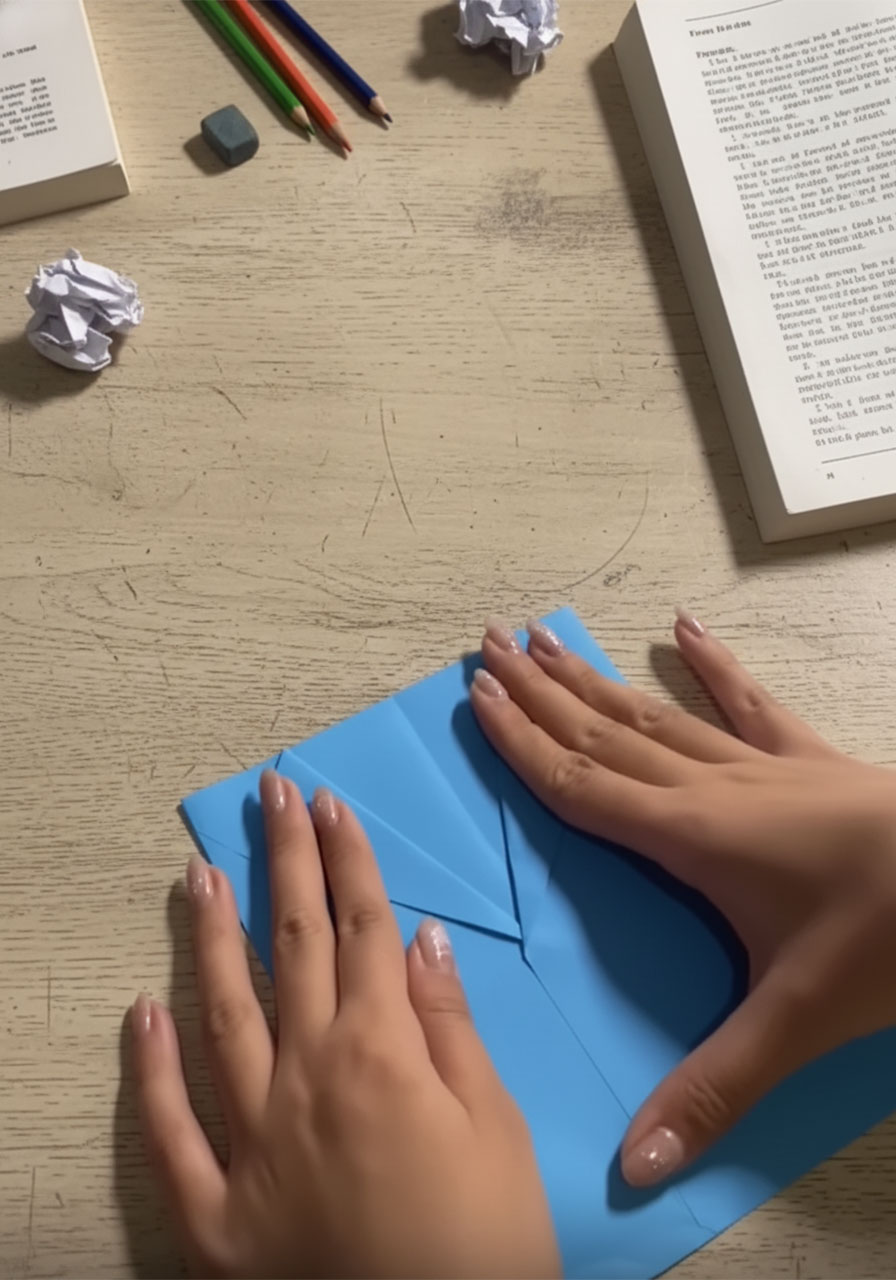
Next, create the lapels. Fold the top corners outward diagonally on both sides. Use your ruler to keep the angle consistent – aim for a natural V-shape, like a real blazer lapel. The wider and more confident the angle, the sharper the jacket looks.
To finish the jacket shape, cut a small curved or straight notch from the bottom center edge. This gives it that classic suit silhouette.
Finally, add a little glue to the inner flaps to keep the jacket from flopping open. Let it dry fully before moving on.
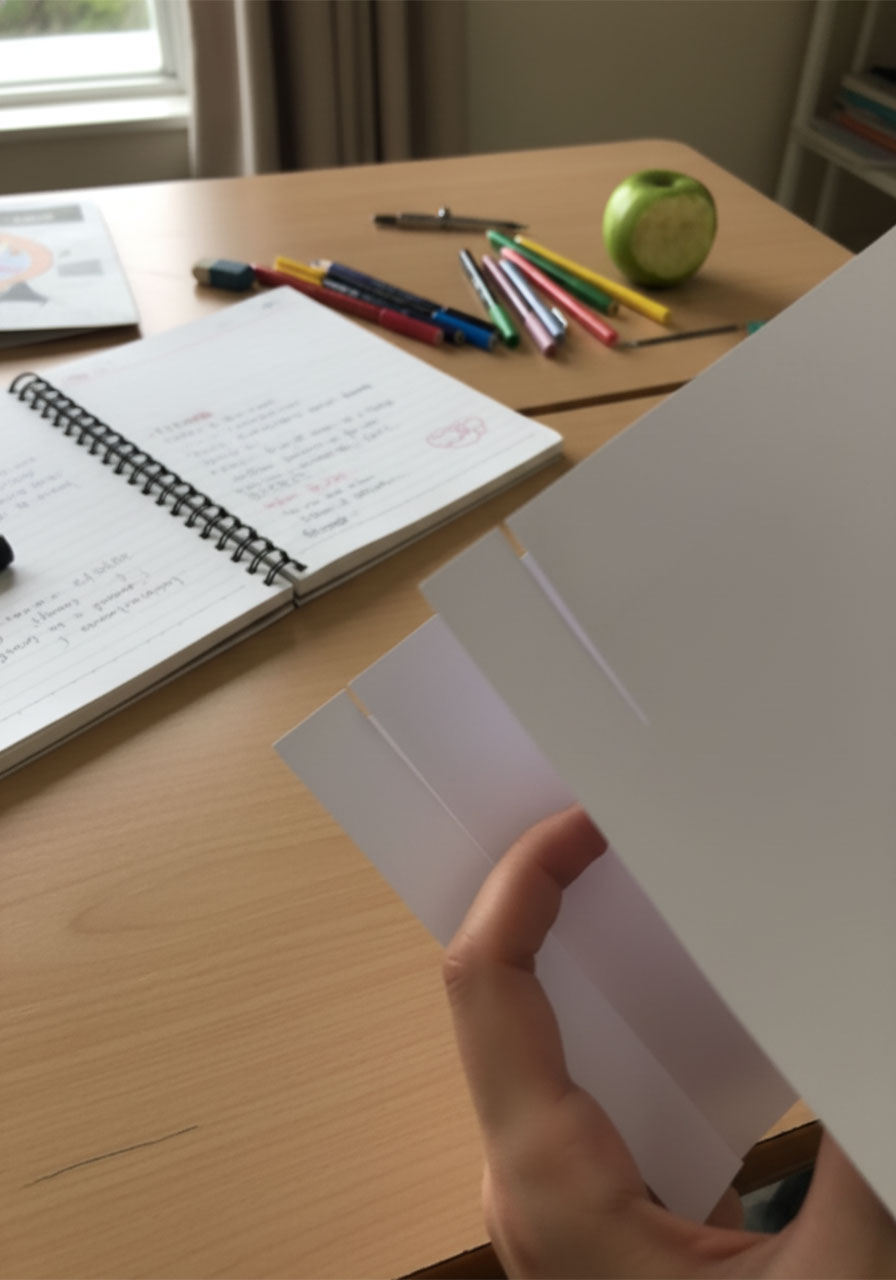
Step 2: Make the Shirt Insert (Where the Message Lives)
This is the piece Dad actually unfolds to read your note – so make it with love.
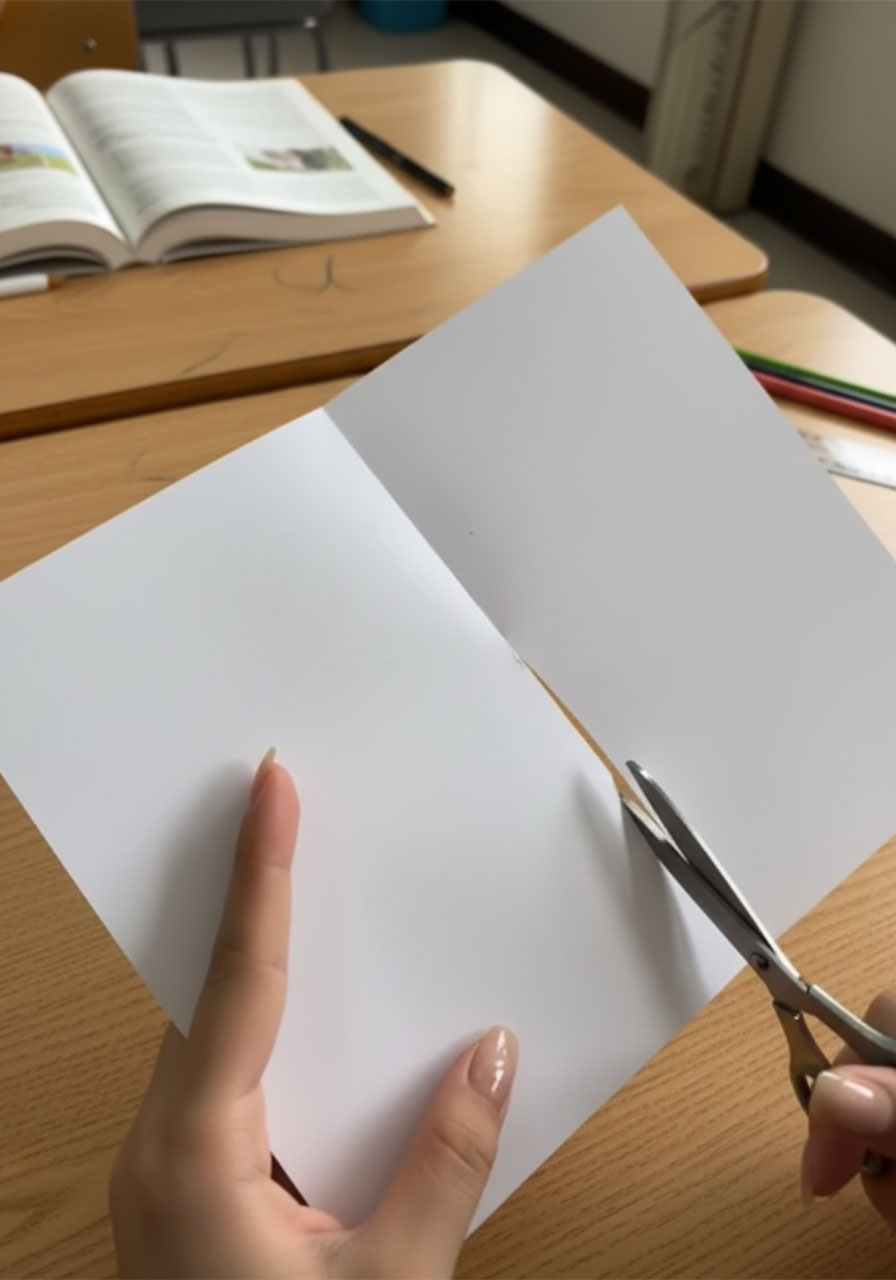
Cut your white or light purple paper so it fits snugly inside the open jacket. You want it to slide in and out easily, with just the top portion (the collar area) peeking out above the jacket’s lapels.
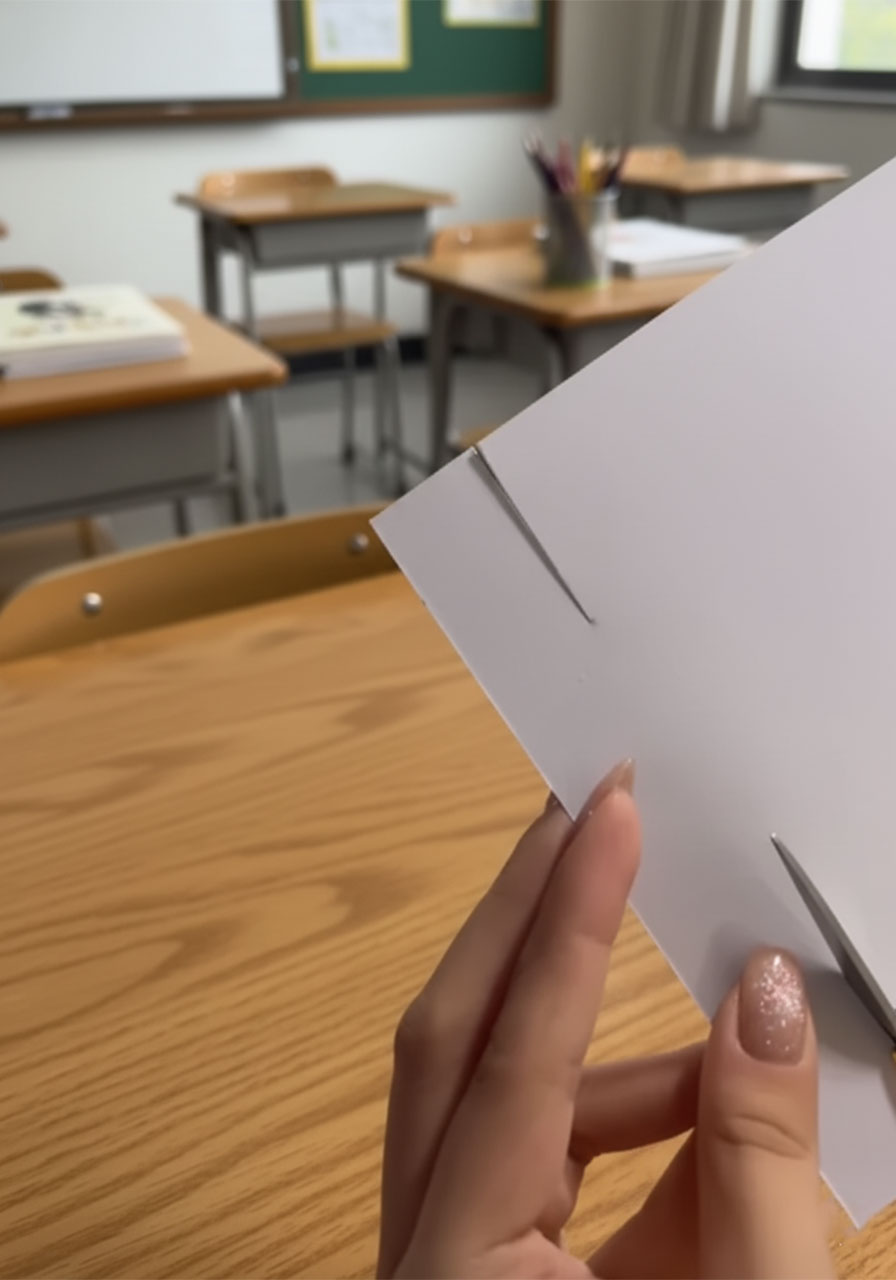
Now for the collar, which is the detail that makes this craft look so polished.
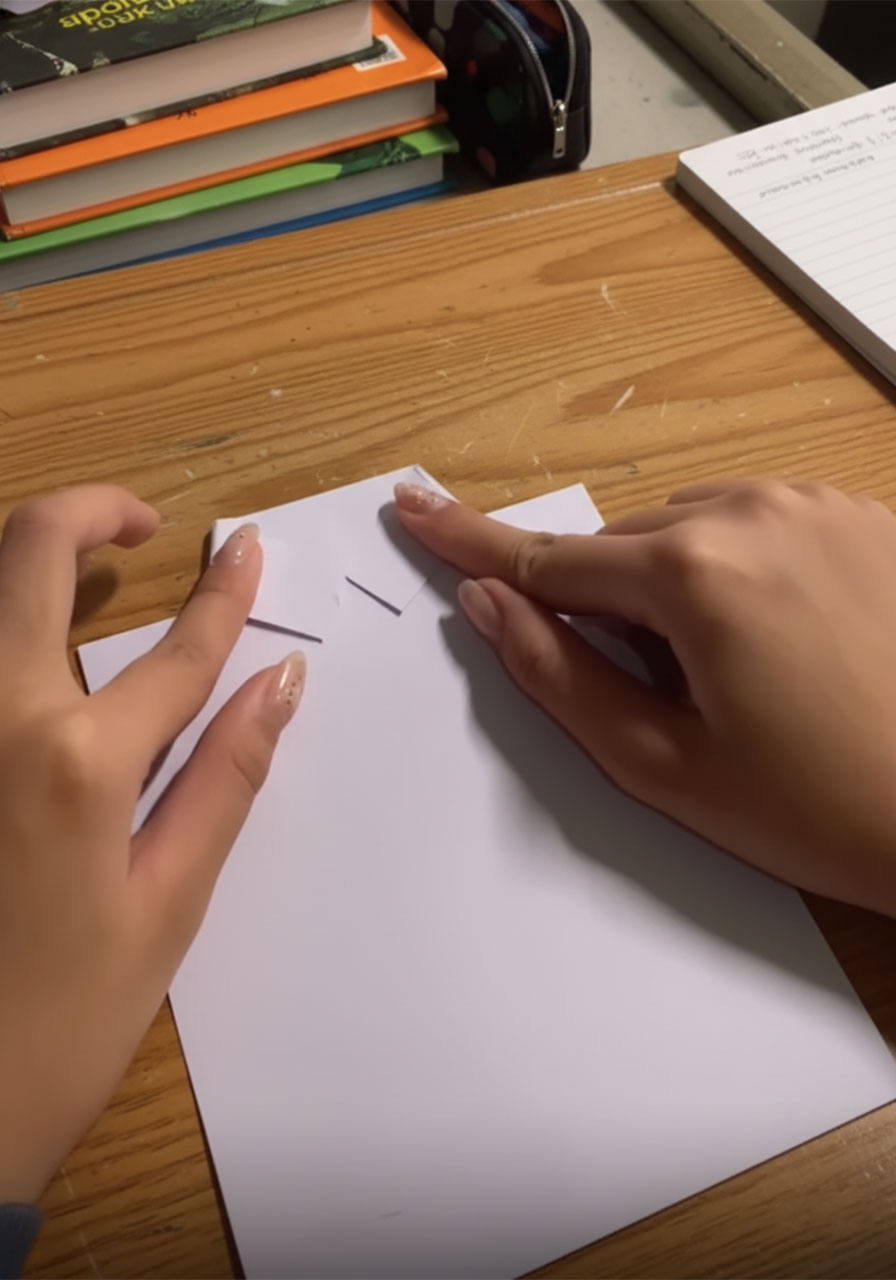
Near the top of the shirt piece, make two small horizontal cuts – one on each side, about an inch in from the edge. These cuts should be parallel and positioned symmetrically.
Fold the resulting flap inward diagonally on each side, angling them toward the center. When both sides are folded, they form a crisp little collar with a V-neck opening right in the middle – just like a real dress shirt.
Crease everything sharply. A well-folded collar makes the whole card look put-together.
Set this piece aside for now. You’ll write your message on it before sliding it into the jacket at the very end.

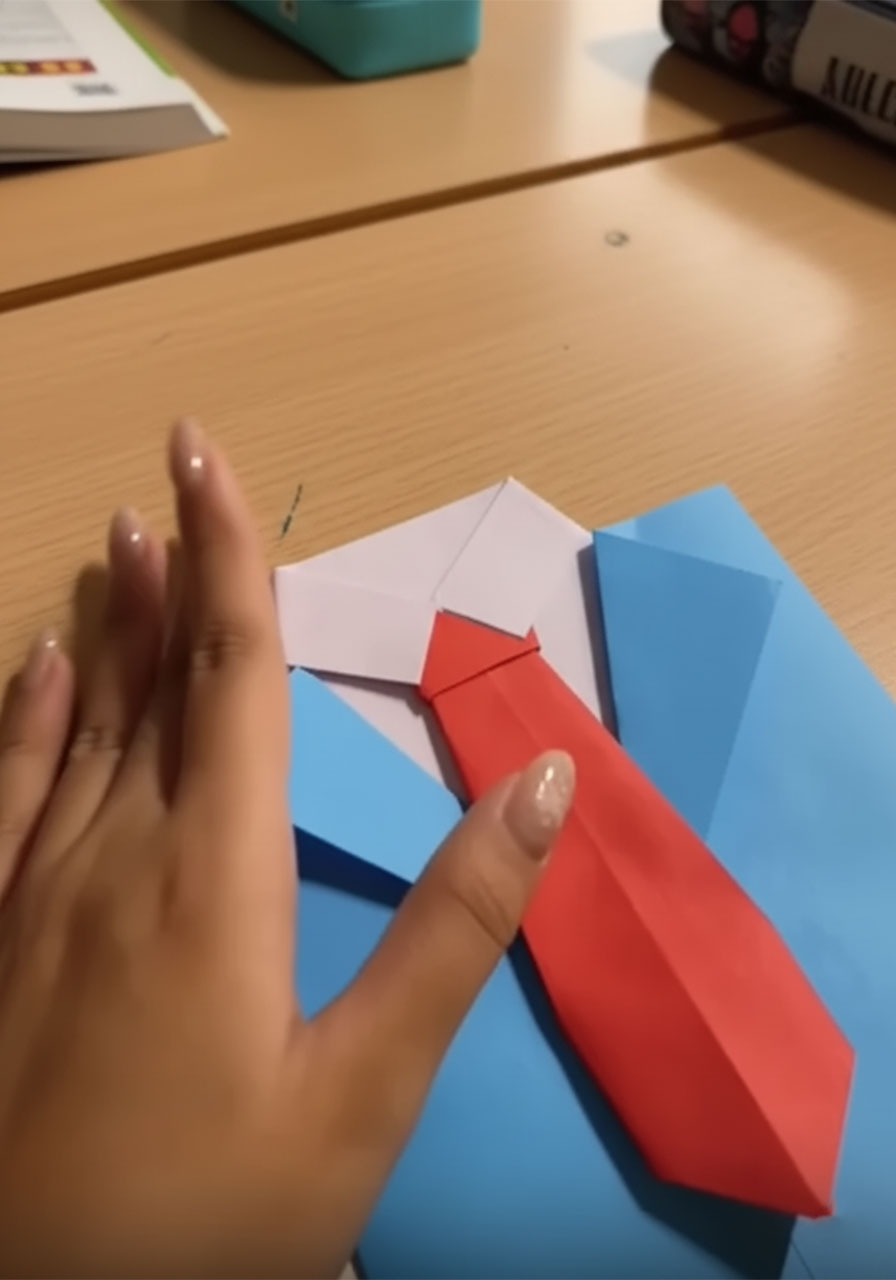
Step 3: Fold the Origami Tie (The Star of the Show)
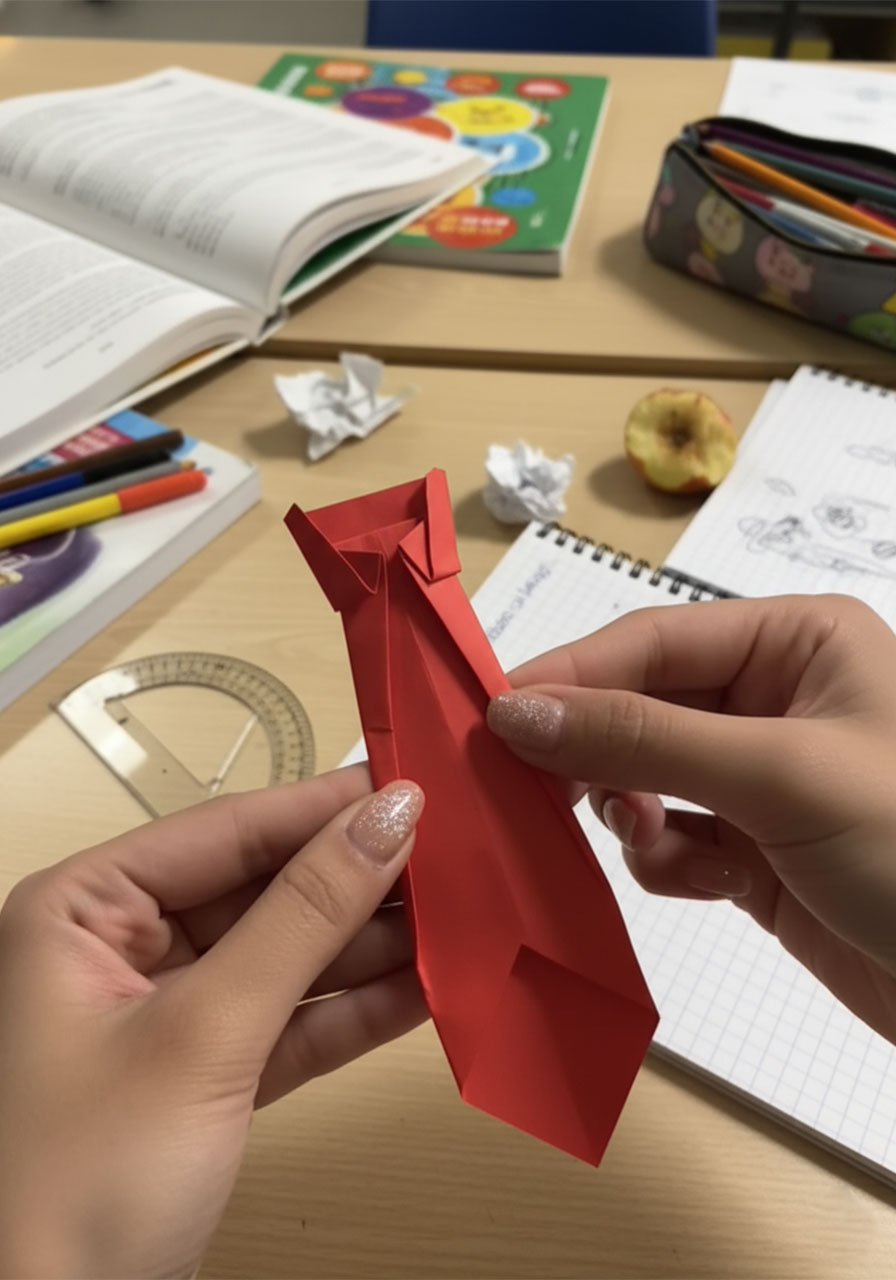
This is the most impressive-looking part of the card, and it’s much simpler than it appears. The finished tie has dimension and shape – it genuinely looks like a little knotted necktie, not just a flat triangle of paper.
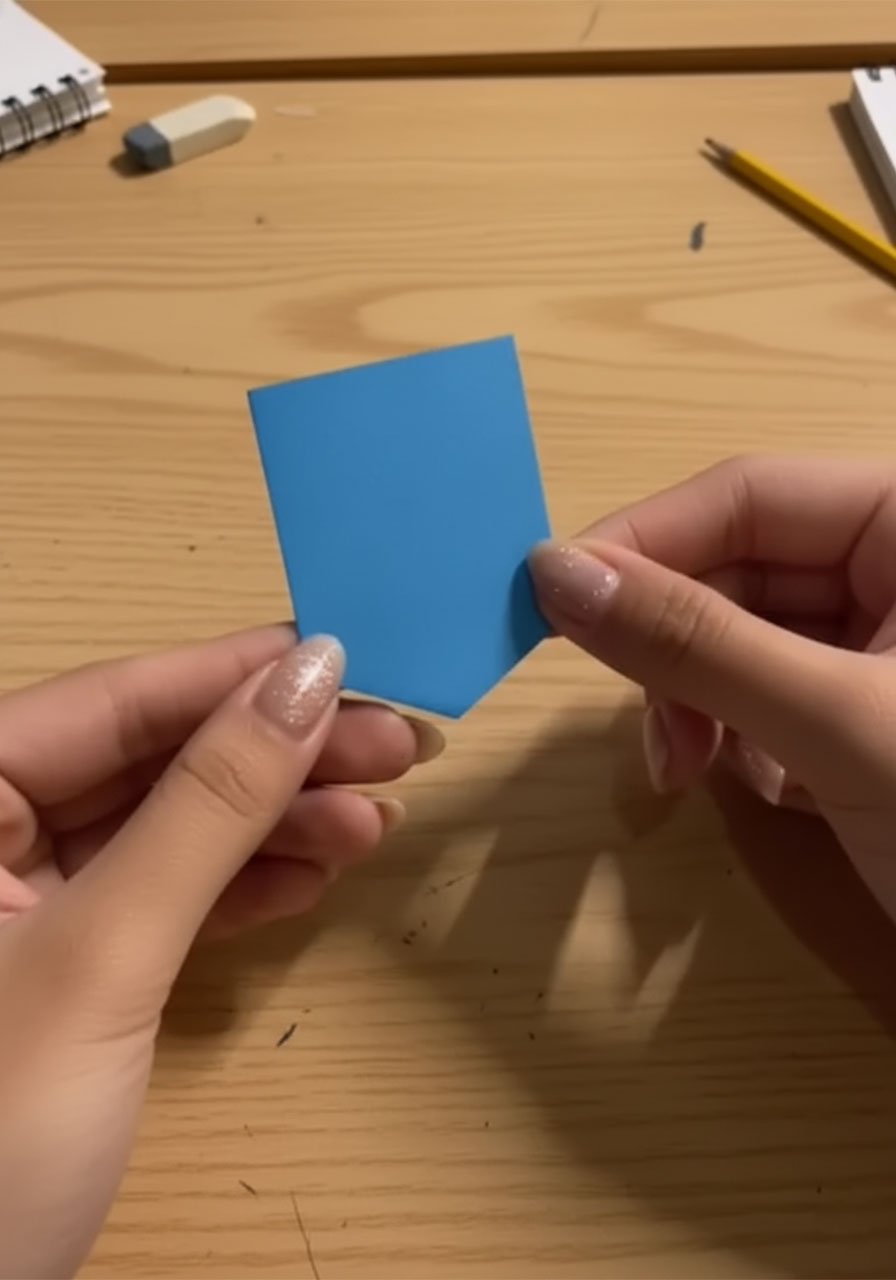
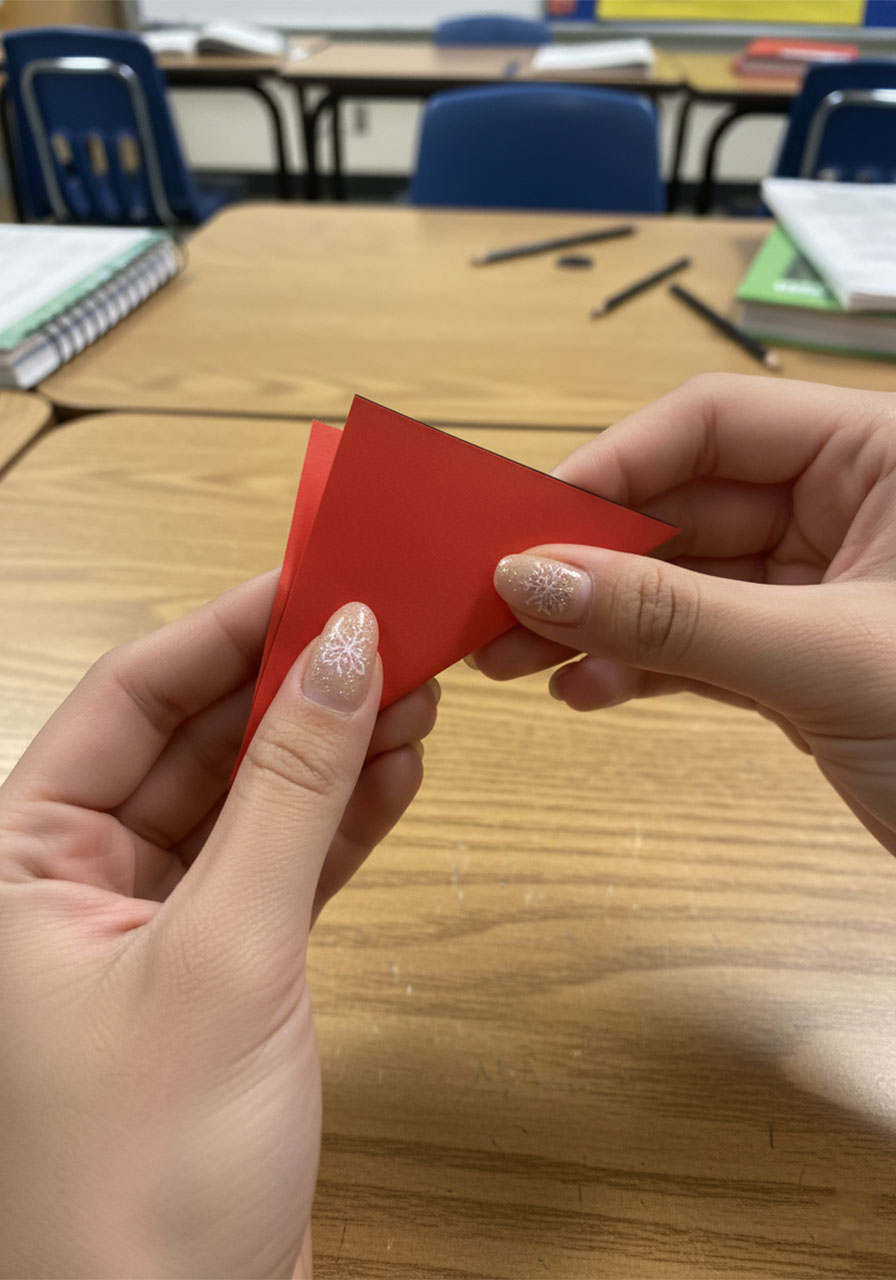
Start with a small rectangle of red paper. If you have a square, that works too.
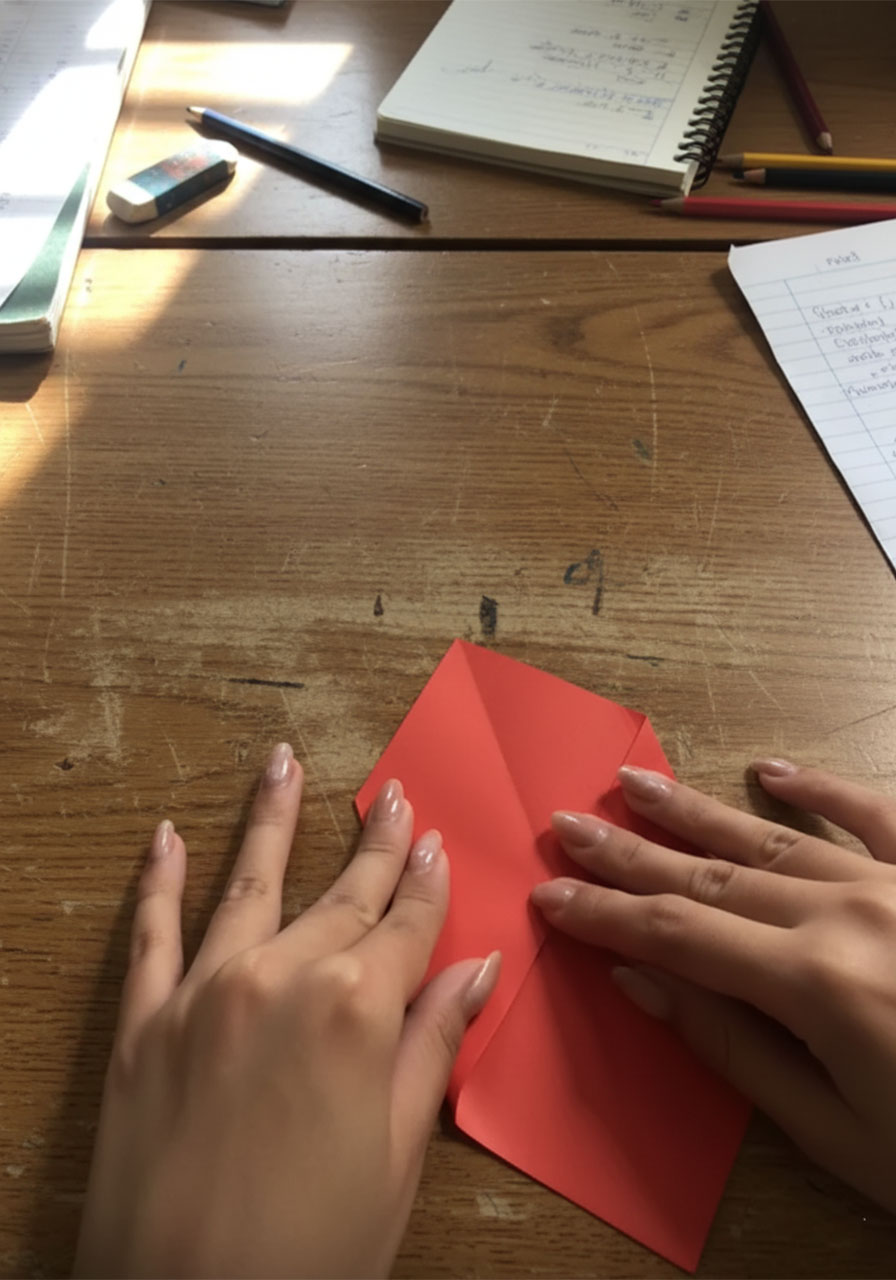
Fold it in half lengthwise, crease it, and unfold. Then fold it in half the other way, crease, and unfold. You now have an X crease running through the paper.
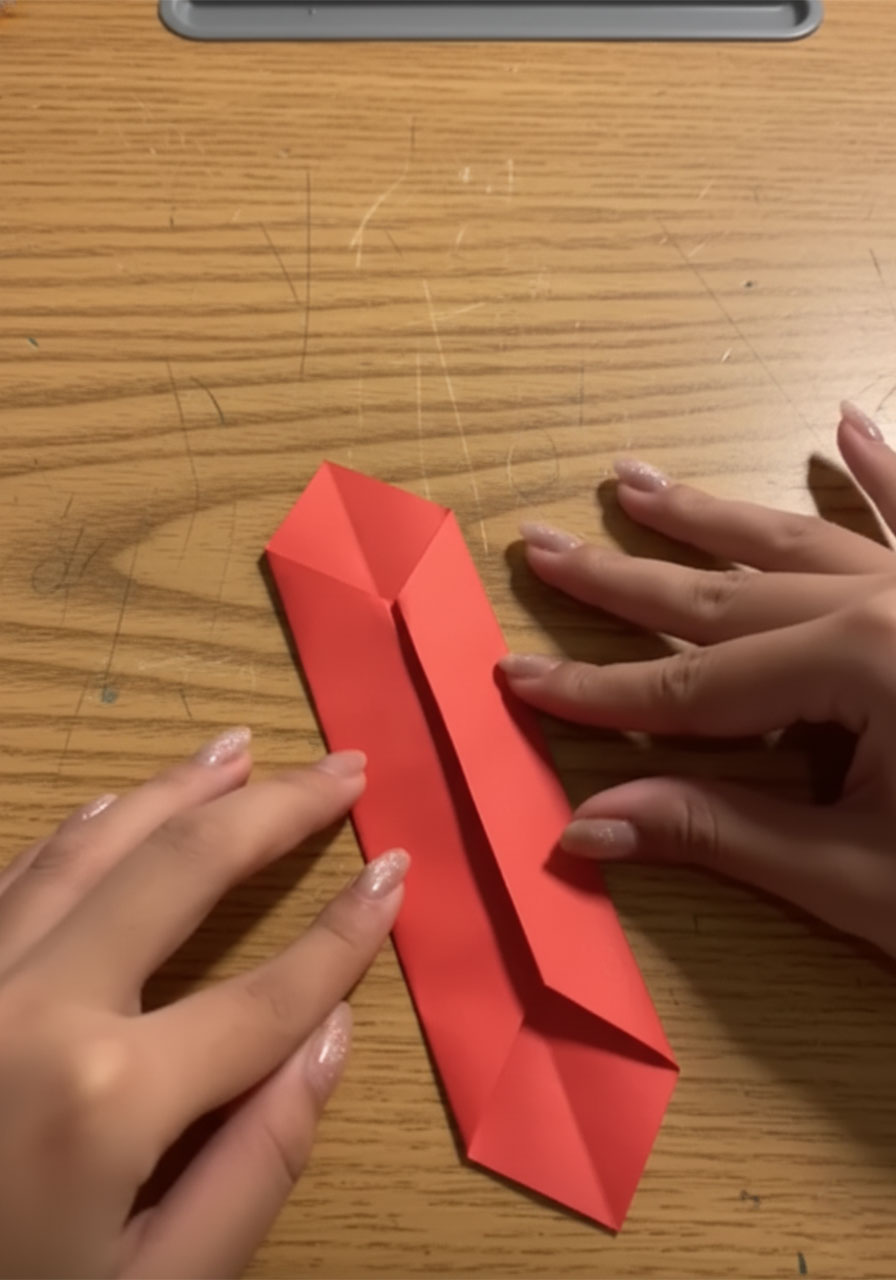
Bring both long edges inward to meet the center crease. The paper is now a long, narrow strip. Crease the edges flat.
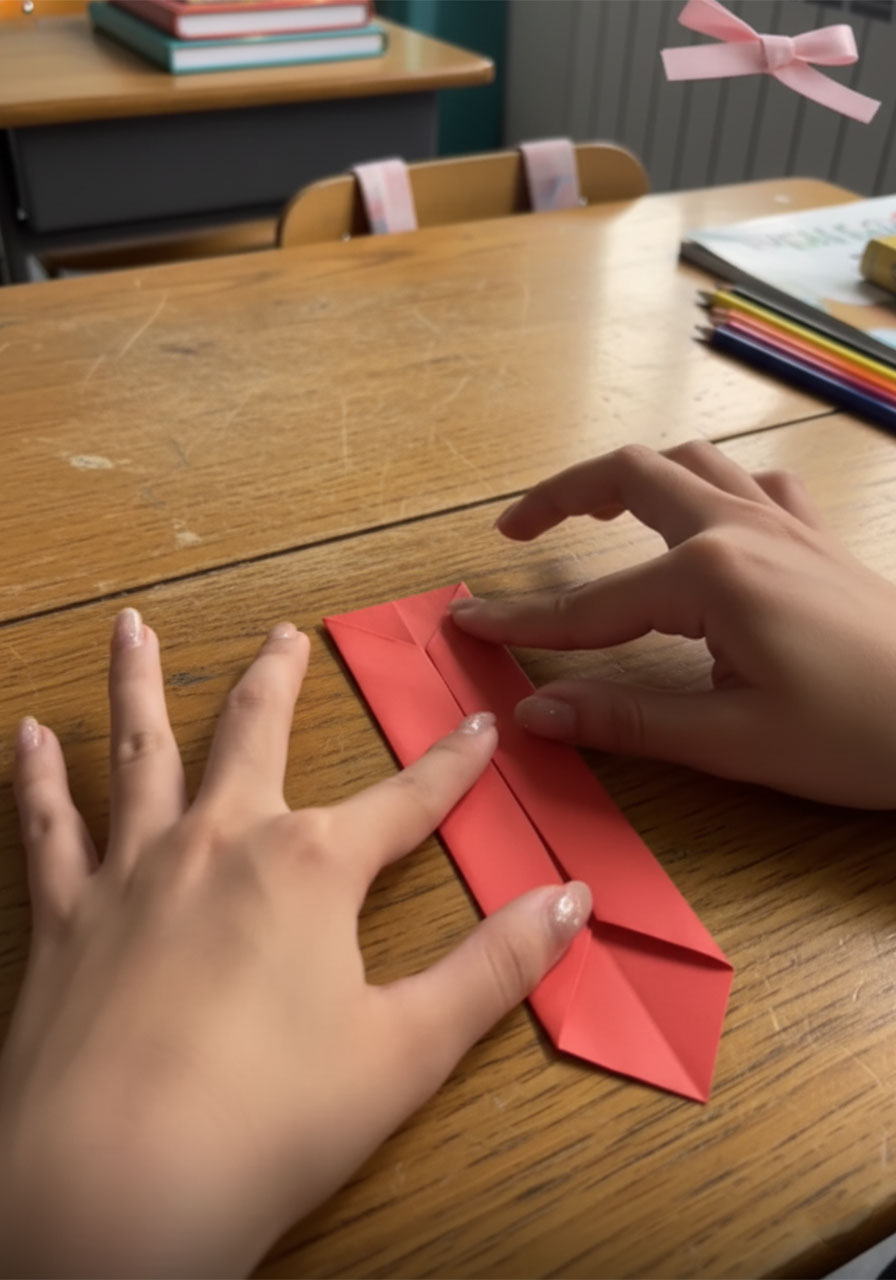
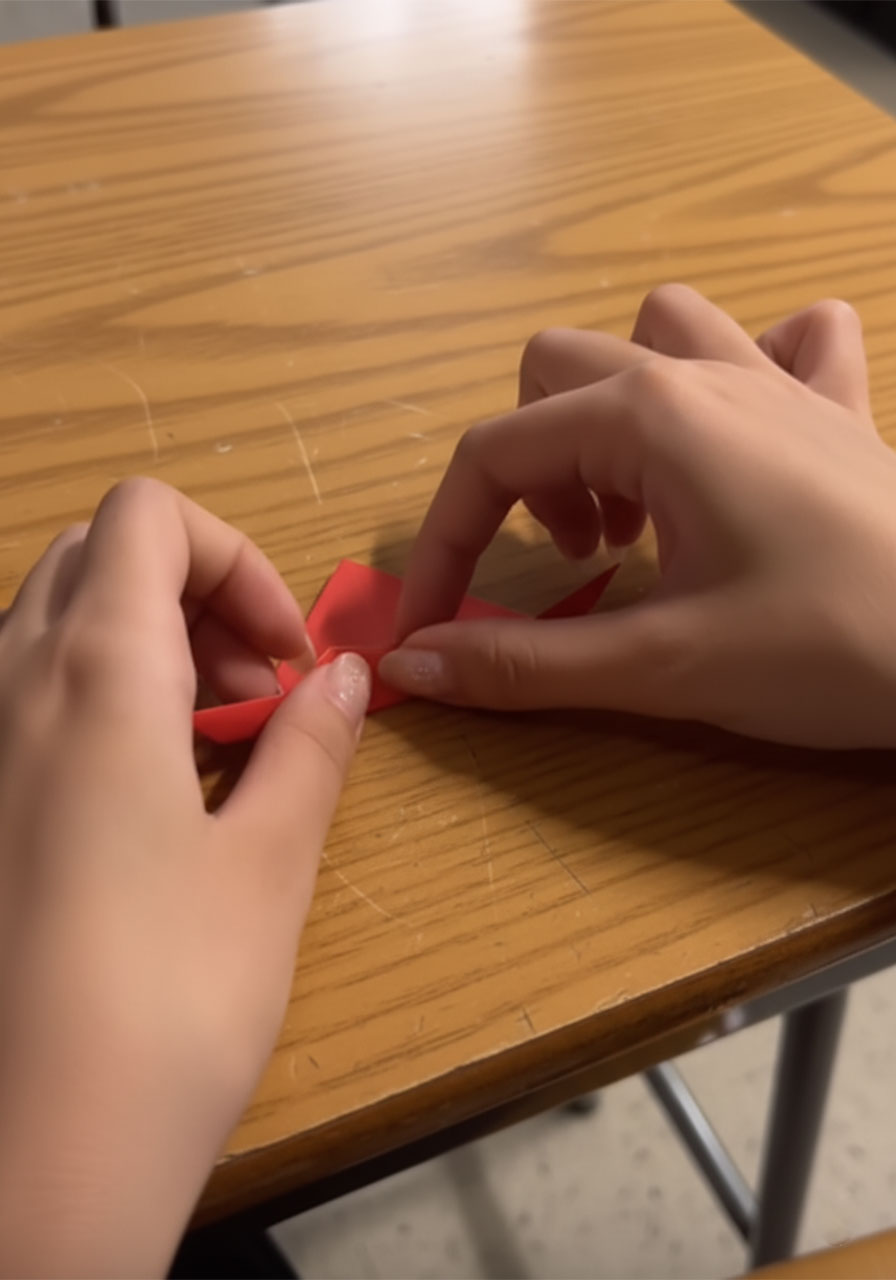
Now fold the bottom point up to create the wide bottom of the tie shape, then fold the sides in diagonally to taper it into a pointed tip. Think of making a paper airplane nose, but gentler.
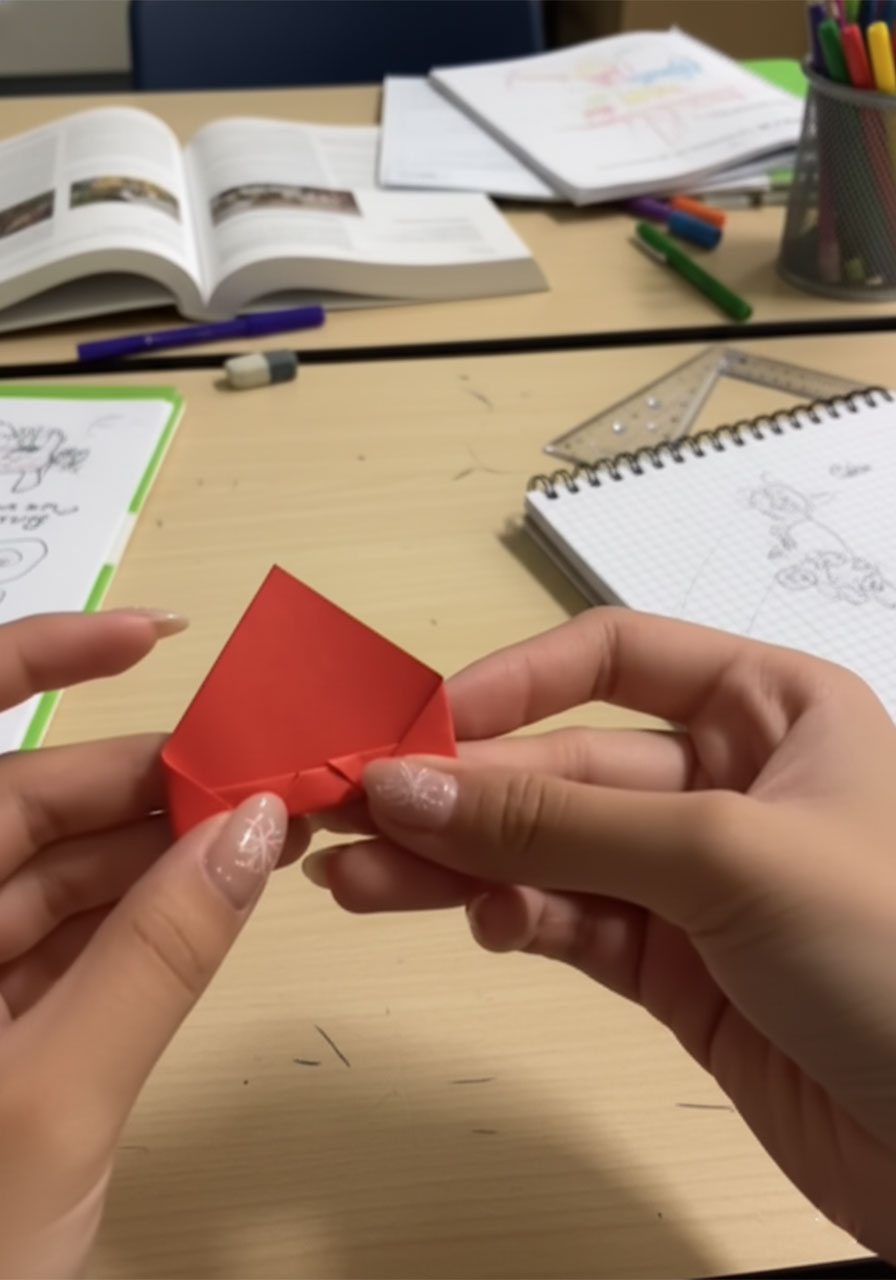
For the knot: flip the paper over. Fold the top section down about half an inch, then fold it back up slightly to create a small, raised bump – that’s your tie knot. It gives the tie a realistic 3D look that everyone will notice.
Once you’re happy with the shape, glue the tie onto the shirt insert. Center it below the collar, and tuck the very top edge under one of the collar flaps so it looks like the tie is knotted under the collar. Press and hold until it’s secure.
Step 4: Add the Finishing Details
This is where the card goes from “cute craft” to “wow, did you make this?” territory. A few small touches make a huge difference.
The pocket: Cut a small rectangle of blue paper – about the size of a postage stamp. Fold down the top edge slightly to create a clean lip, then glue it to the front left side of the jacket. Keep it low, near where a real breast pocket would sit.
The pocket square: Take a tiny scrap of red paper and fold it into a small triangle. Tuck it into the pocket so just the tip peeks out. It’s a tiny detail that makes the whole thing look unexpectedly sophisticated.
The buttons: Glue two real buttons down the front center of the jacket. Space them evenly, right along the center overlap. If you don’t have buttons on hand, draw two circles with a marker – it still works! But the real buttons add a tactile, charming quality that really sells the look.
Let everything dry completely before handling the card further.

Step 5: Write Your Message and Assemble
This is the moment it all comes together – and honestly, the most heartwarming part.
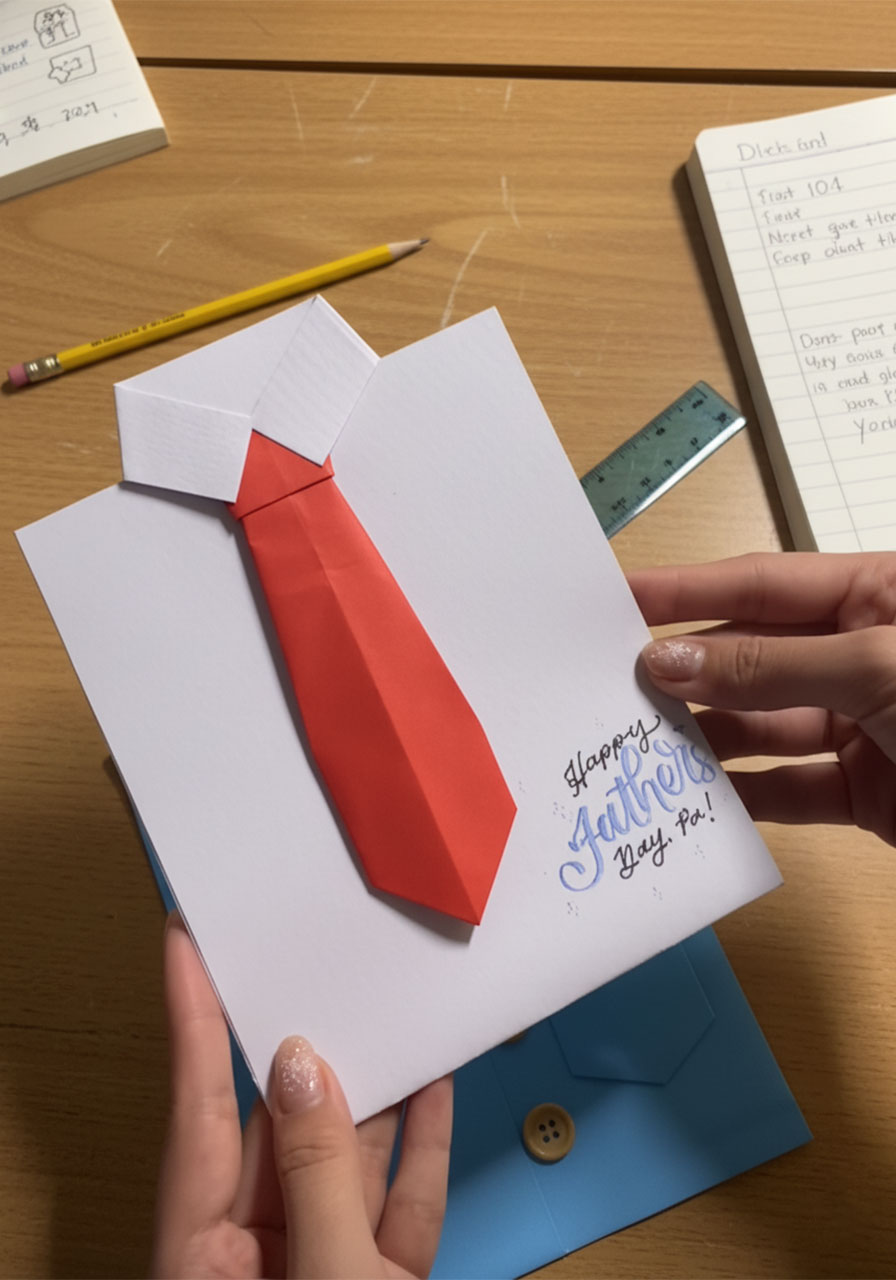
Carefully slide the shirt insert out of the jacket. Write your message on the front of the shirt – below the tie or along the bottom portion that’s hidden inside the jacket when assembled.
Keep it simple and from the heart. Something like “Happy Father’s Day, Dad – thanks for always showing up in your best.” Or go funny. Or let your kids write their own scrawled version. All of it is perfect.
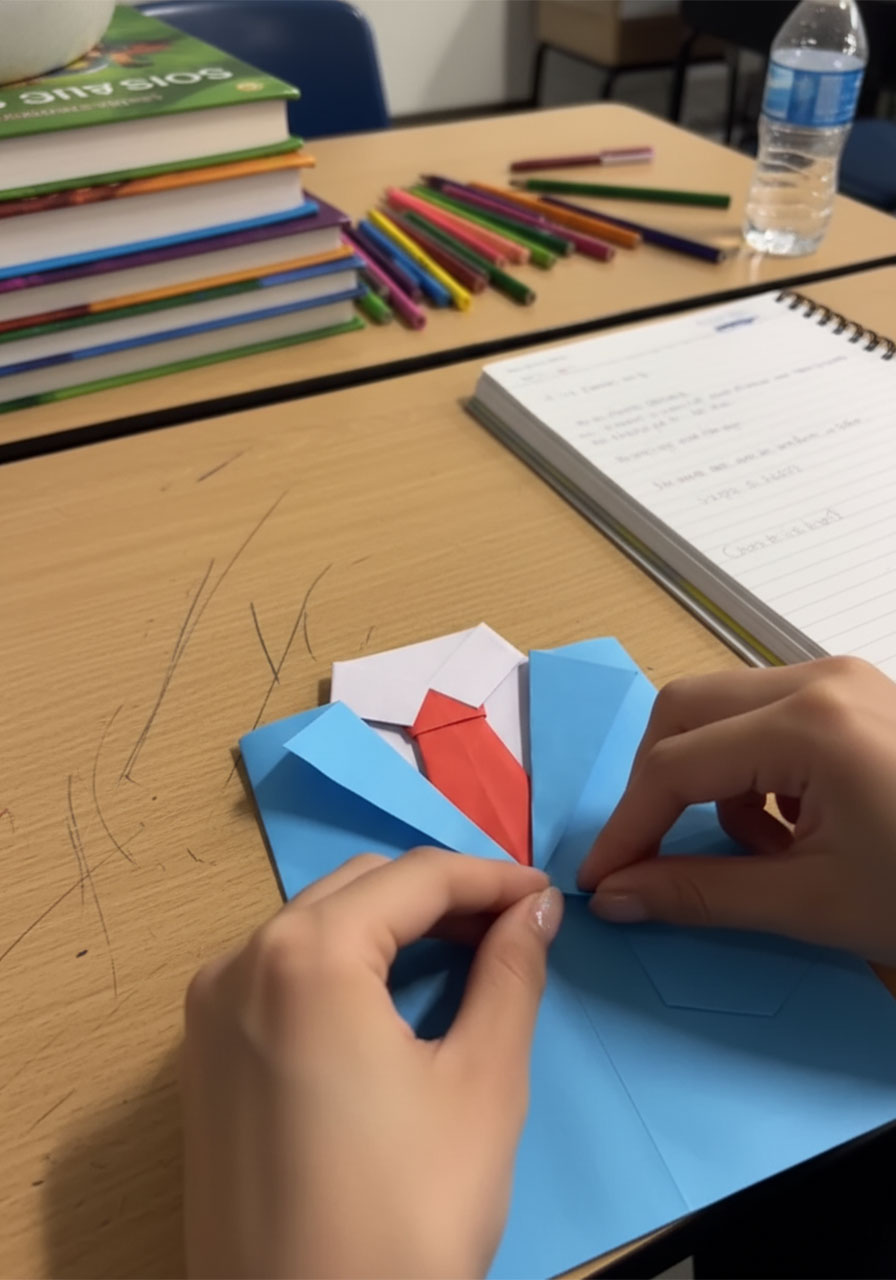
Once you’ve written your note, slide the shirt back into the jacket. Make sure the collar pokes up above the lapels and the tie is centered and visible.
Stand back and look at what you just made.
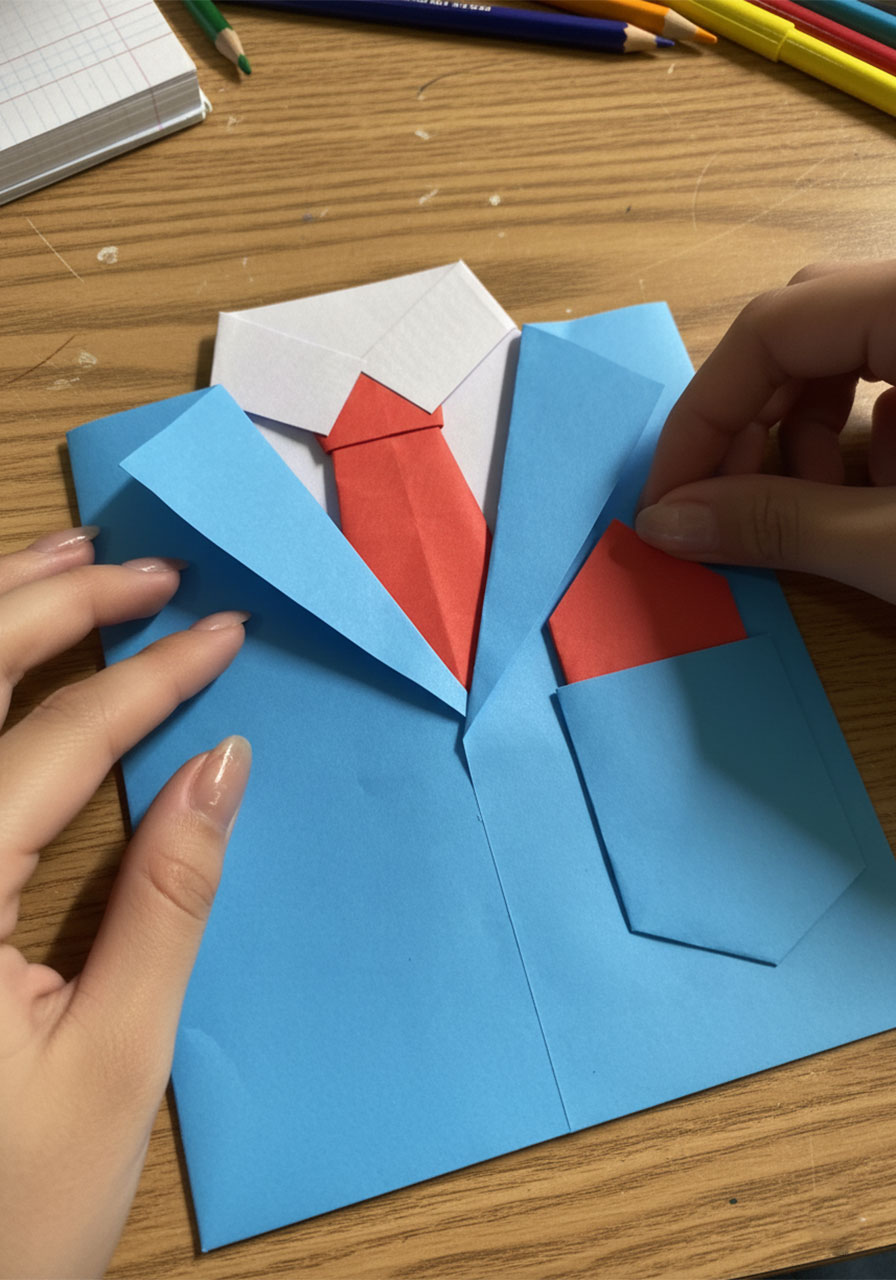
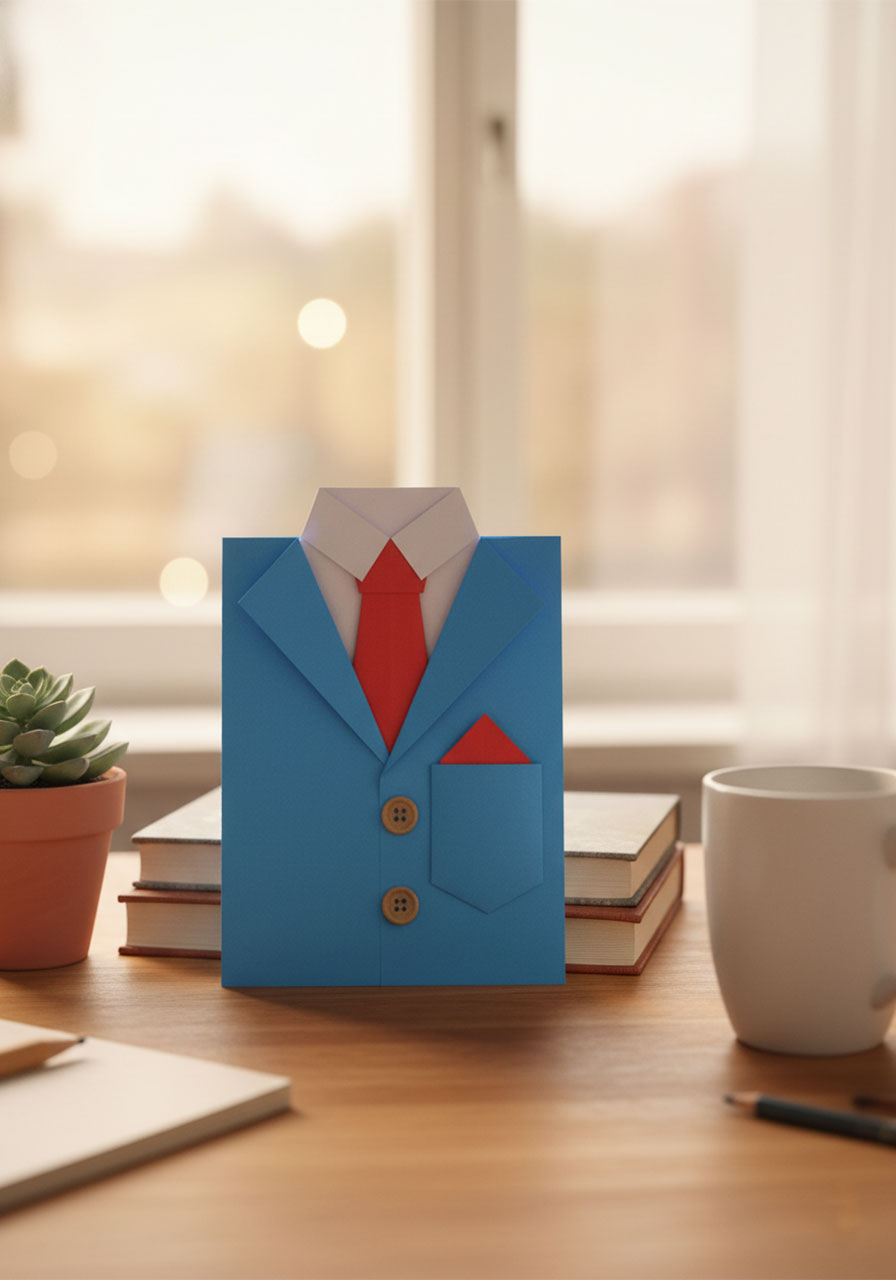
The Finished Card
What you’re holding is a fully interactive, three-dimensional Father’s Day card that looks like a tiny, stylish suit hanging in a frame. The shirt slides out to reveal your message. The tie has a real knot. There are actual buttons.
It’s the kind of handmade gift that doesn’t get thrown away. Dad will prop it up on the counter, put it on his desk at work, or tuck it into his nightstand drawer – because it’s personal, it’s clever, and it took real effort to make.
And honestly? It’s also just really fun to put together. Crafting something like this – even as an adult – is genuinely satisfying in a way that a trip to the greeting card aisle never will be.
So grab your blue paper, pick out your fanciest red scrap, and give Dad a gift this Father’s Day that actually means something.
Happy crafting – and happy Father’s Day to all the amazing dads out there. 🎉

More Father’s Day Ideas to Keep the Fun Rolling:
The Cutest Father’s Day Craft: Printable Toolbox Cards Kids Can Color & Gift
Dad, You Rock! How to Make a Handprint Guitar Father’s Day Card (Printable Included)
How to Make a Magic Flip Card for Father’s Day (That Looks Way Harder Than It Is)
How to Make a DIY Tuxedo Father’s Day Card (Step-by-Step)
Super Dad Father’s Day Gift: The Sweetest Superhero Craft Kids Can Make in Minutes
“You Mean the World to Me”: How to Make the Cutest 3D Father’s Day Card for Dad or Grandpa
Going the Extra Mile: A Sweet DIY Handprint Semi-Truck Craft for Father’s Day