
Every year, the Father’s Day gift hunt starts the same way. You scroll through endless “Best Gifts for Dad” lists, get hit with overpriced gadgets and sad gift card options, and end up wondering if another tie is really the move.
Here’s the truth: the gifts dads and grandpas actually treasure aren’t the expensive ones. They’re the ones that made someone think of them.
And this “You Mean the World to Me” 3D card? It does exactly that – in the most adorable, punny, can’t-help-but-smile kind of way.
It looks like something you’d find at a boutique stationery shop. It’s actually made with cardstock, a few markers, and one genius little trick that gives it that show-stopping 3D globe effect. And the best part? Kids can help make it too, which makes the whole thing even more meaningful.
Whether you’re making this for Dad, Grandpa, Papa, or any father figure who deserves to feel celebrated – this is the craft for you. Let’s get into it.

Why This Card Works So Well
Before we dive into the how-to, let’s talk about why this particular craft hits so differently.
First, it’s the wordplay. “Dad, you mean the world to me” is a classic for a reason – it’s warm, sincere, and just a little cheesy in the best way. Dads love a good pun. (You know it’s true.)
Second, it’s the 3D element. That raised globe sitting right in the center of the card transforms a sweet message into something genuinely impressive. When he opens it and sees that little planet popping off the page, he’s going to want to show everyone.
Third, it’s personal. Something handmade carries a kind of weight that no store-bought gift can replicate. It says: I sat down, I took my time, and I made this for you. That matters – especially to dads and grandpas who already have everything they need.
This card isn’t just a card. It’s a keepsake he’ll actually keep.

What You’ll Need
The supply list here is short and sweet. You probably already have most of this at home, and anything you’re missing is an easy craft store grab.
White cardstock – This is your card base. Regular printer paper will work in a pinch, but cardstock gives it that sturdy, polished feel.
Light blue paper – For the ocean part of the globe.
Light green paper – For the continents.
Colored markers – Alcohol-based markers (like Copics or similar sets) give you those rich, bold colors you see in the finished card. But any markers you have on hand will work beautifully.
A pencil – For sketching your lettering and shapes before you commit with marker.
Scissors – Sharp ones make the circle-cutting so much easier.
A glue stick – For flat pieces.
Foam adhesive tape or foam squares – This is the secret weapon. These little squares are what create the raised 3D effect on the continents. Find them in the scrapbooking section of any craft store.
A circular template – A glass, a small bowl, or even a compass. You just need something to trace a clean circle.
A dark marker or fine liner – For outlining and adding a border to the card.
That’s it! Simple supplies, stunning result.

Step-by-Step Instructions
Step 1: Set Up Your Card Base
Take your white cardstock and fold it in half to create the card shape. This gives you a sturdy, greeting-card-style base to work on.
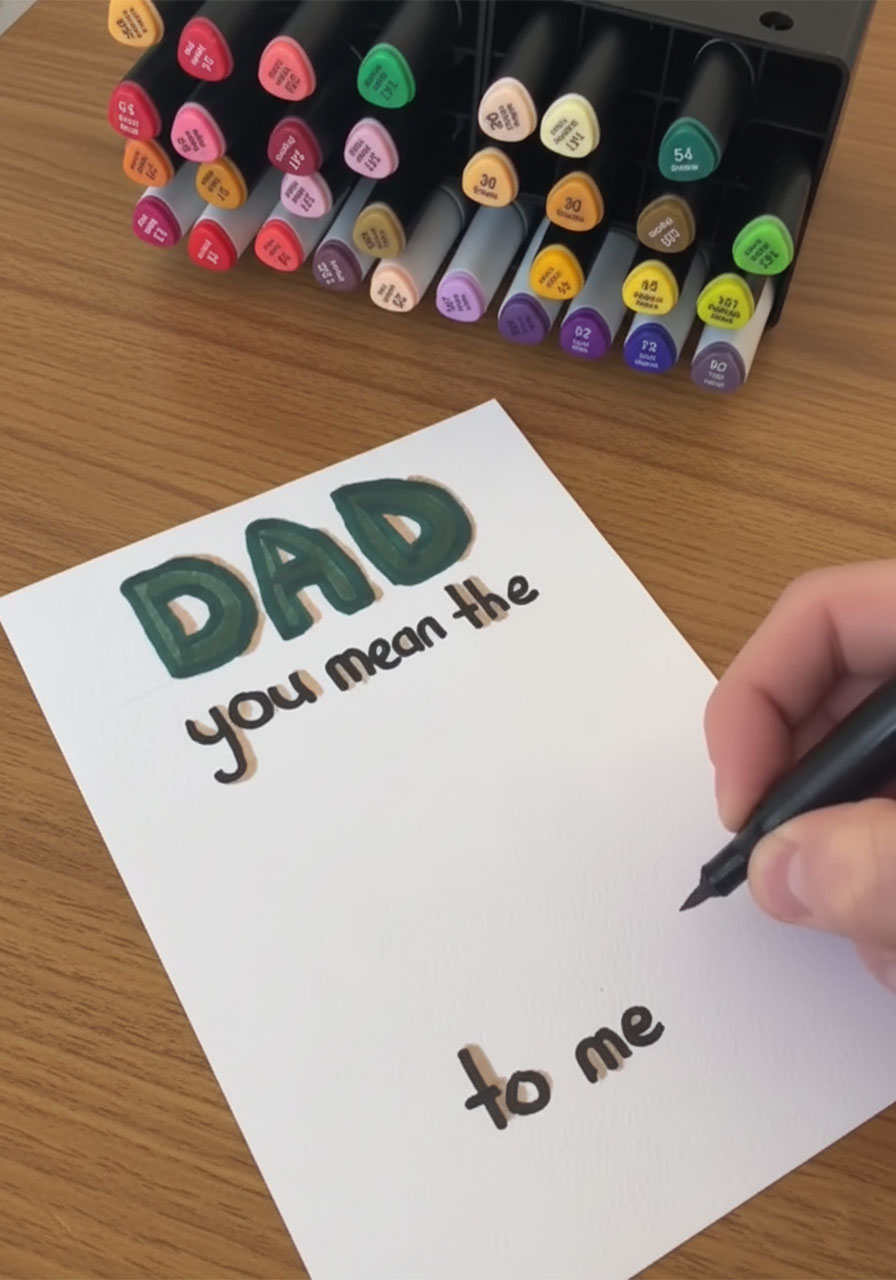
Before you pick up a marker, use your pencil to lightly plan your layout. Sketch “DAD” in large bubble letters across the top third of the card. Then sketch “you mean the” in smaller, flowing script just beneath it. Leave a big open space in the center – that’s where your globe is going to live. Write “to me” in the lower third of the card.
Getting the spacing right at this stage saves you a lot of frustration later. Take your time here – the pencil is forgiving, the marker is not!

Step 2: Letter the Card
Once you’re happy with your pencil layout, it’s time to bring in the markers.
Fill in the “DAD” letters with a deep forest green – this is your bold focal point. Give each letter some personality by adding a slightly darker outline or a subtle shadow on one side. This makes the letters feel dimensional even before you add the 3D globe.
Use a warm brown or caramel tone for “you mean the” and “to me.” These smaller words shouldn’t compete with “DAD” – they’re supporting cast, not the headliner.
Go over your pencil lines carefully, then erase any pencil marks that are still showing once the marker is fully dry.
Step 3: Cut Out Your Blue Ocean Circle
Grab your light blue paper and your circular template. Trace and cut out a circle – aim for about 3 to 3.5 inches in diameter, or whatever fits nicely in the center of your card.
Cut a second circle the exact same size from your white cardstock. This white circle acts as a hidden backing that gives the whole globe extra sturdiness. Set both aside.
Pro tip: When cutting circles, rotate the paper rather than the scissors. You’ll get a smoother, rounder edge every time.


Step 4: Create the Continents
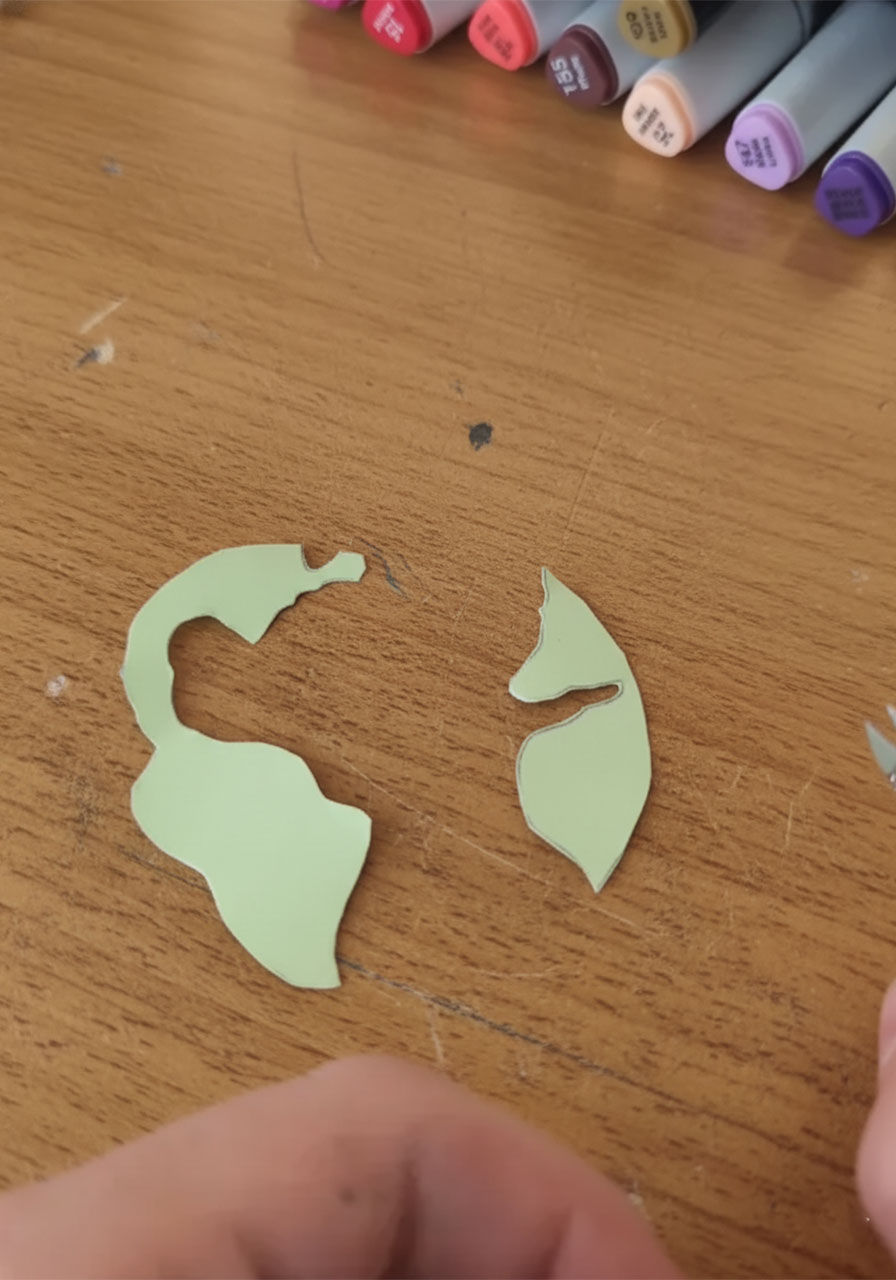
Here’s where you get to be a little creative – and a little geographically loose. Take your light green paper and sketch out continent-like shapes. Think big blobby landmasses. You’re going for “looks like Earth,” not “passes a geography quiz.”
Sketch two or three shapes – a larger one for the Americas or Africa side, and a couple of smaller pieces for the other side of the globe. Cut them out carefully.
They don’t need to be perfect. In fact, slightly imperfect shapes look more organic and charming than anything too symmetrical.

Step 5: Build the 3D Globe
This is the step that takes the card from “sweet” to “wait, HOW did you make this?”
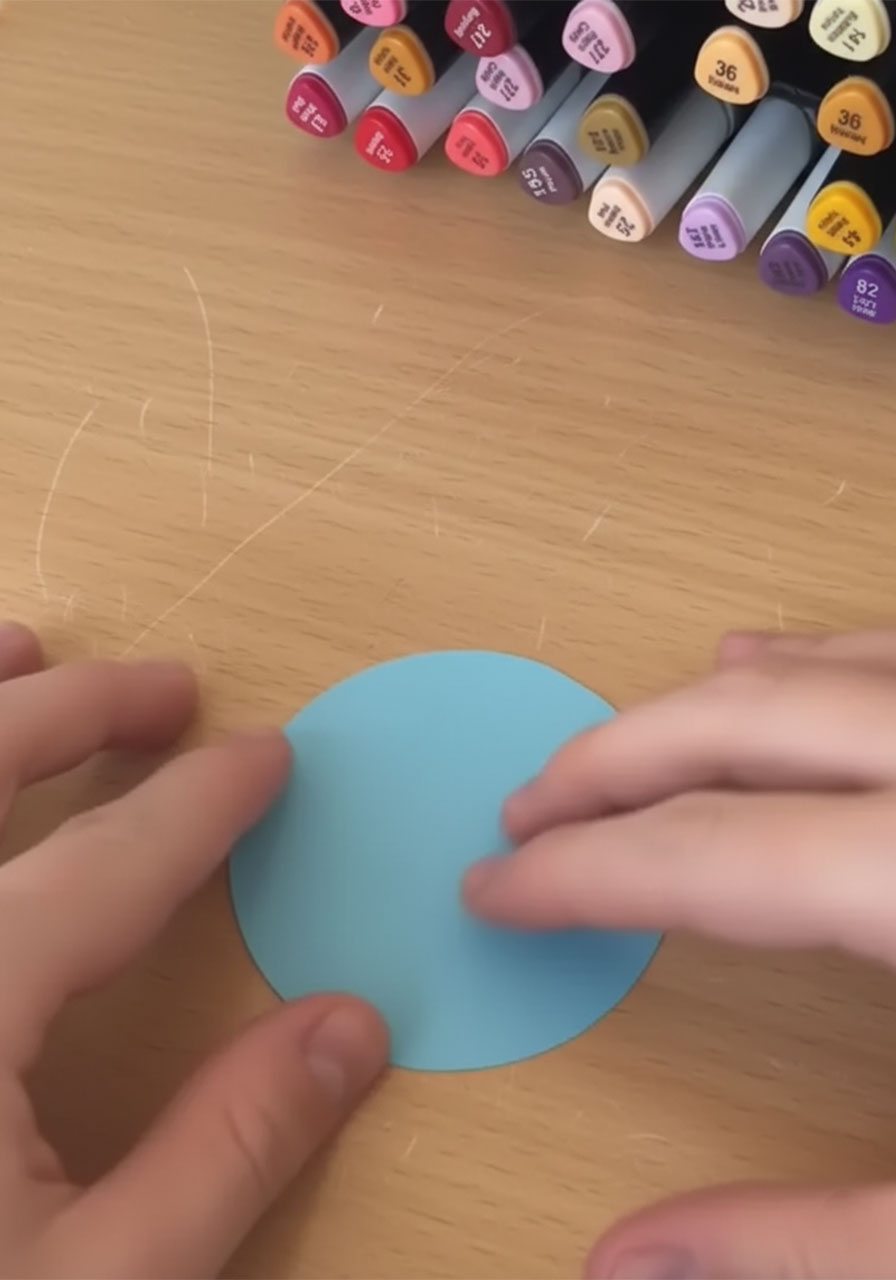
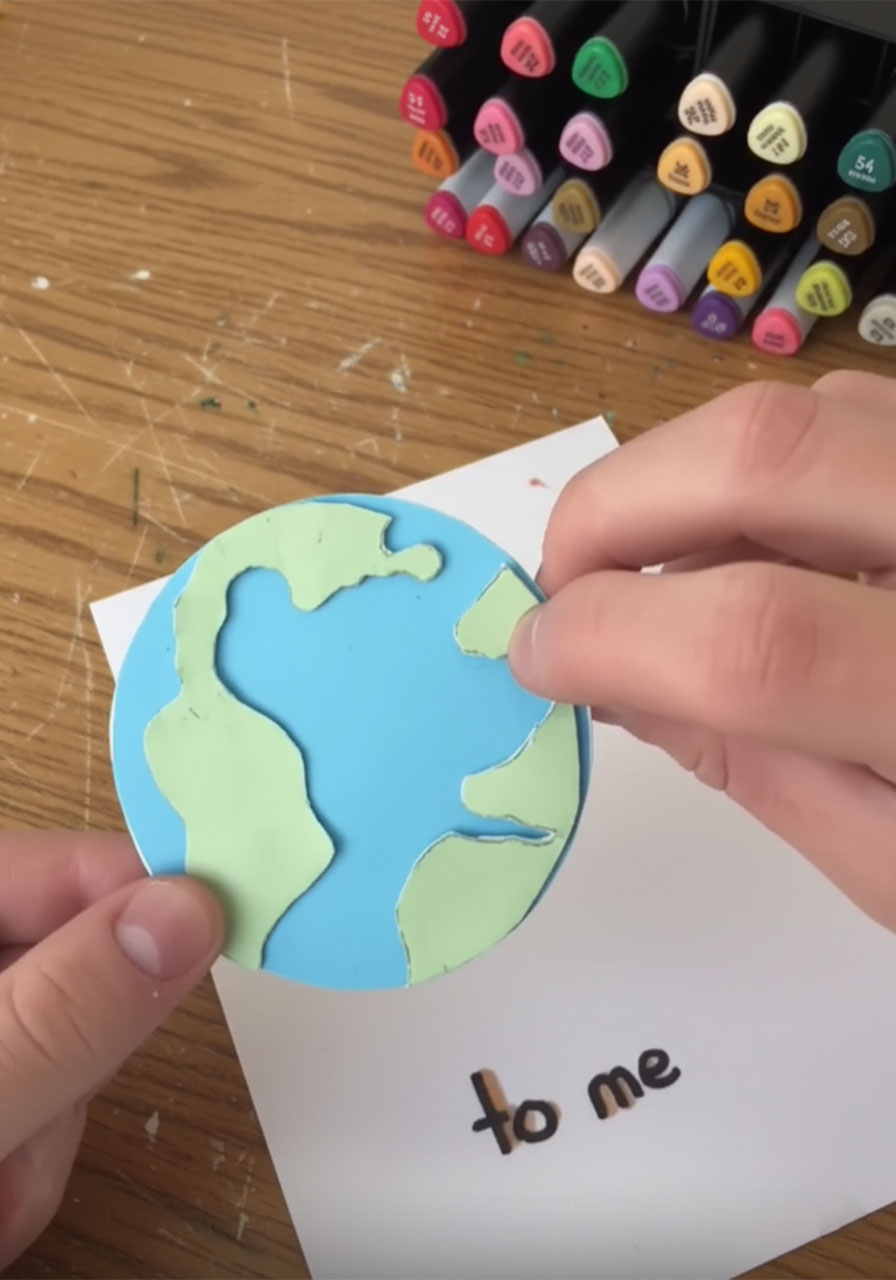
First, glue your blue ocean circle onto the white backing circle using your glue stick. Press firmly and let it sit for a moment.

Now, instead of gluing the green continents flat onto the blue circle, you’re going to use your foam adhesive squares. Stick one or two foam squares to the back of each green continent piece, then press them onto the blue circle.

That tiny lift – just a millimeter or two – is what creates the shadow effect that makes the world look like it’s actually floating. It sounds almost too simple to be that impressive, but trust the process. The result is genuinely stunning.
Step 6: Attach the Globe to the Card
Apply glue to the back of your white backing circle (the bottom of your globe) and press it firmly into the center of the card, right in that open space between your lettering.
Hold it down for a count of thirty, or set something heavy on top of it while it dries. You want this to be secure.
Step back and take a look. The card is already coming together beautifully at this point.

Step 7: Add the Finishing Touches
This is the step that separates a cute card from a seriously impressive one. Don’t skip it!
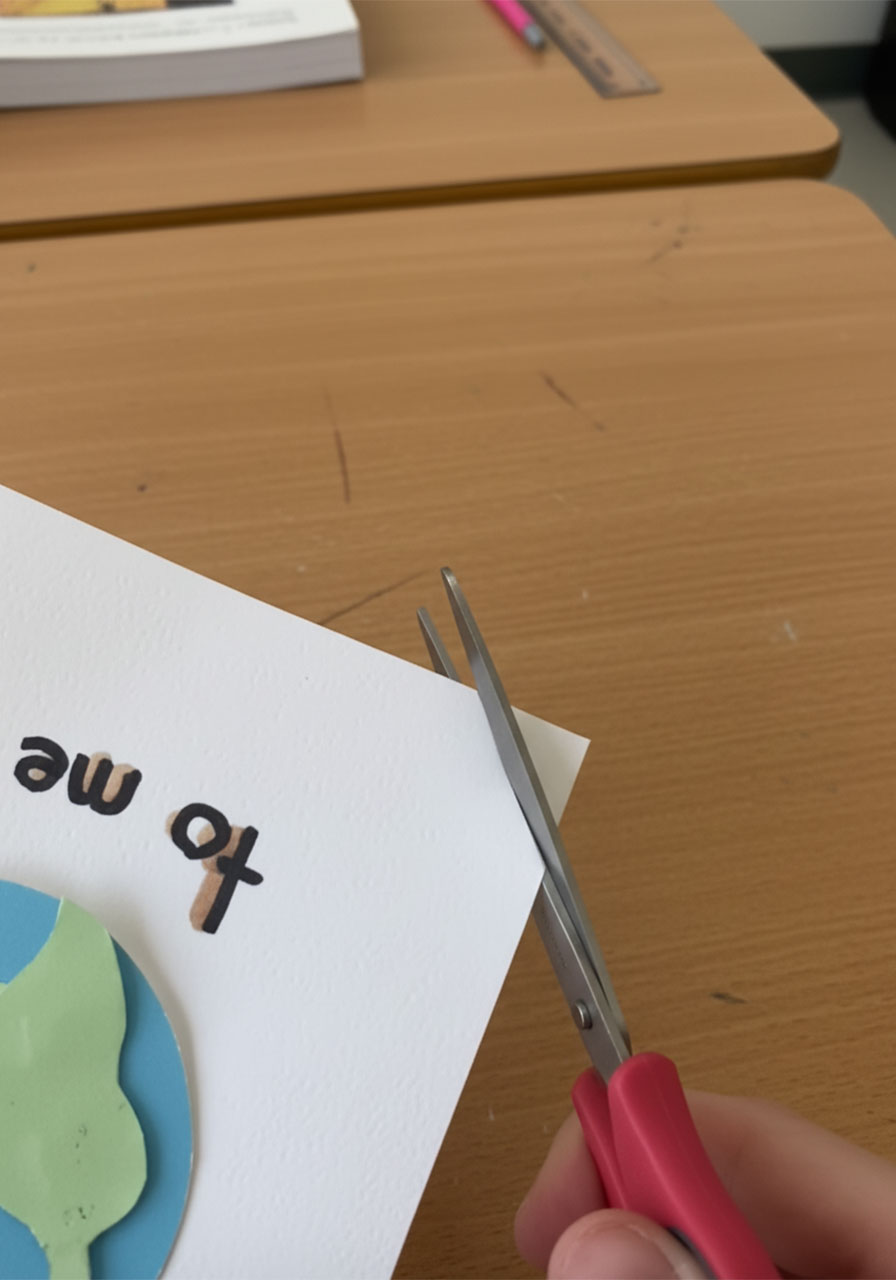
Trim the corners.
Use your ruler and a pencil to mark each corner of the card at a slight angle, then snip. This gives the card a more intentional, custom shape – like it came from a boutique.
Draw a border.
Use a dark marker or fine liner to draw a clean frame around the edge of the card. Keep it simple – just a straight line about a quarter inch from the edge. This instantly makes everything look more polished and put-together.

Add little hearts.
Scatter small heart outlines or tiny stars around the globe to fill in the white space. Keep them small so they add texture without competing with the globe. In the video, you can see these little hearts make the whole composition feel warm and complete.

Mount it on green paper.
For the final touch, cut a piece of light green paper slightly larger than your white card – just about a quarter inch on each side – and glue the whole card on top of it. This creates a colorful “mat” effect that frames everything beautifully and ties in the color of the continents.


The Final Result
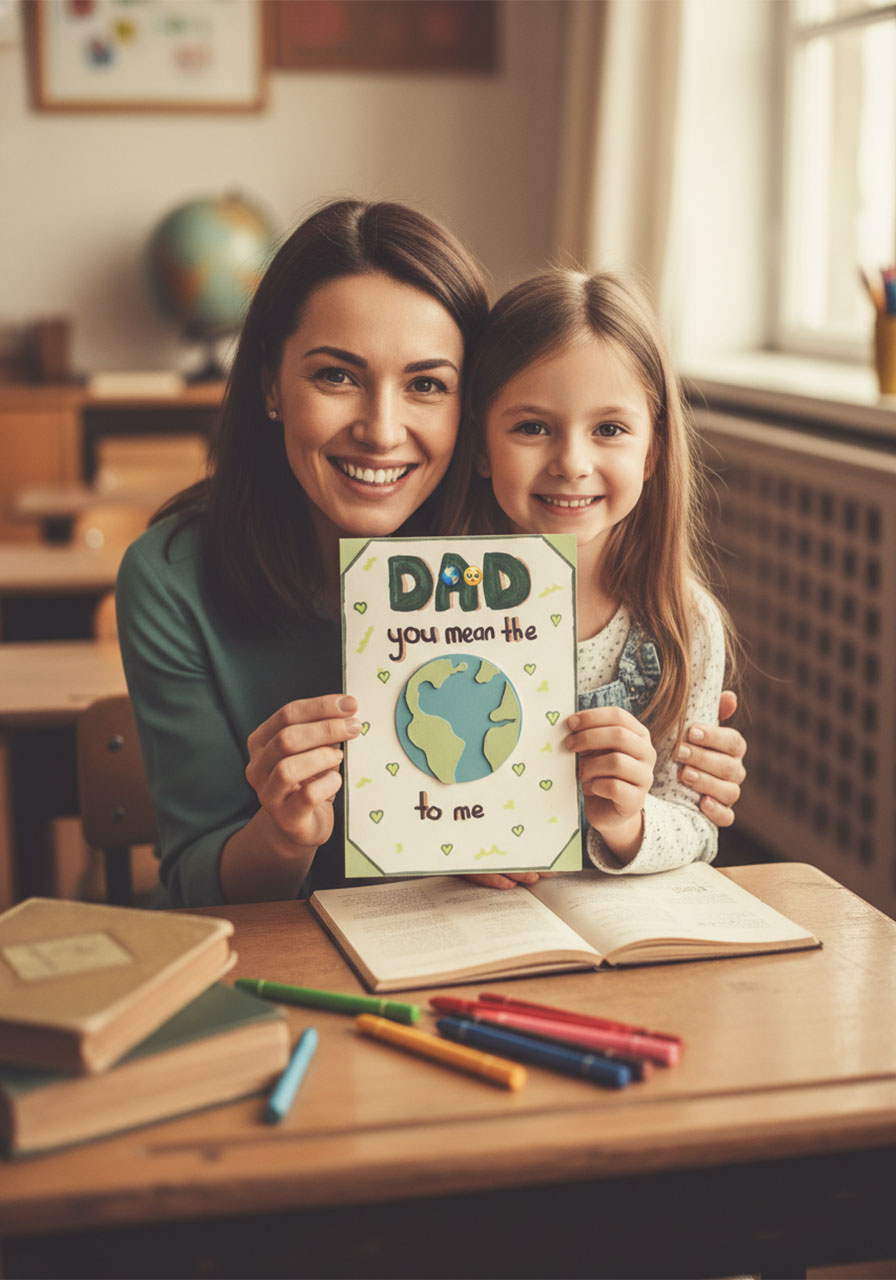
What you’re holding now is a handmade card that looks like it took a professional crafter hours to put together. It didn’t. But it absolutely feels like it did.
The 3D globe pops right off the page. The lettering is bold and personal. The little hearts make it feel warm instead of formal. And that green border? It pulls everything together into something that genuinely looks frame-worthy.
This is the kind of card that doesn’t get thrown away. It gets propped up on a desk, or pinned to a bulletin board, or tucked into a drawer of things that matter.
How to Customize This Card
One of the best things about this craft is how easy it is to make it feel perfectly personal. Here are a few ideas to make it your own:
Swap out “DAD” for any name.
“GRANDPA,” “PAPA,” “POPS,” “GRAMPS” – whatever he goes by, it works just as beautifully. The globe message stays the same, and the sentiment hits just as hard.
Change up the color palette.
If Dad’s favorite color is navy blue or burgundy, use that for your lettering instead of green. Make it feel like him.
Add a handwritten note inside.
The 3D front is the showstopper, but don’t let the inside go to waste. Write a few sentences about a specific memory, something you love about him, or just a simple “Thank you for everything.” That’s what he’ll read over and over again.
Make it a family project.
Have each kid or grandkid draw one small continent piece and sign the back of their piece before you glue everything together. Dad gets a globe made of love from everyone he loves most. Try not to cry.
Pair it with a small gift.
This card is substantial enough to be the gift on its own, but if you want to add something, keep it simple – his favorite candy bar, a handwritten coupon book, or a photo of the two of you tucked inside.
Tips for Making This with Kids
This craft is genuinely kid-friendly, which makes it extra special. Here’s how to divvy up the tasks depending on age:
Toddlers and preschoolers can help with the easy parts – choosing the colors, pressing the foam squares onto the continents, or adding the little heart decorations with a marker.
School-age kids can handle the cutting (with safety scissors for the circle) and coloring in the letters. They might need a hand with the lettering layout, but let them put the markers to paper themselves.
Tweens and teens can likely do the whole project with just a little guidance on the foam tape trick. This is a great age to let them take full ownership of the craft – Dad will be even more proud knowing they did it themselves.
There’s something really special about sitting down to make a gift together. Even if the end product has a wobbly continent or slightly uneven letters, that’s not a flaw. That’s the whole point.
Why Handmade Gifts Hit Differently
We live in a world where you can have almost anything delivered to your door in two days. That convenience is great, but it also means that effort stands out more than ever.
When you hand someone something you made with your own hands – something that required you to sit down, focus, and think about them the whole time – it communicates something no amount of money can buy. It says: you were worth my time.
Dads and grandpas, more than almost anyone, feel that. They’ve spent years being worth your time. Showing them the same in return? That’s the real gift.
This card is the perfect vehicle for that message. It’s not just cute (though it absolutely is cute). It’s a tangible, hold-in-your-hands reminder that someone loves them enough to make something beautiful just for them.
Quick Recap: Your Supply List
- White cardstock
- Light blue paper
- Light green paper
- Colored markers (alcohol-based preferred)
- Pencil
- Scissors
- Glue stick
- Foam adhesive tape or foam squares
- Circular template (glass or cup)
- Fine liner or dark marker for borders
Quick Recap: Your Step-by-Step
- Fold cardstock and pencil-sketch your layout.
- Letter “DAD,” “you mean the,” and “to me” with markers.
- Cut a blue circle and a matching white backing circle.
- Cut green continent shapes from green paper.
- Glue blue circle to white backing, then attach continents with foam tape for the 3D effect.
- Glue the finished globe to the center of the card.
- Trim the corners, add a border, and scatter small hearts around the globe.
- Mount the finished card onto a slightly larger piece of green paper.
Father’s Day comes once a year. The card you give doesn’t have to be store-bought, fancy, or expensive to be unforgettable.
It just has to come from you.
This one absolutely does – and it looks incredible doing it.
Happy crafting, and happy Father’s Day to every incredible dad and grandpa out there. 🌍
More Father’s Day Ideas to Keep the Fun Rolling:
Going the Extra Mile: A Sweet DIY Handprint Semi-Truck Craft for Father’s Day
Unmask the Hero: DIY “Secret Superhero” Dress Shirt Card for Father’s Day
“Best Dad in the Universe”: The Cutest DIY Father’s Day Card Kids Can Make in an Afternoon
Hands Down the Best! 4 Easy DIY Handprint Crafts for Father’s Day
“High-Five for Dad!” – The Cutest Father’s Day Handprint Card Kids Can Make
8 Heartfelt DIY Gifts for the New Dad That He’ll Actually Love (And Keep Forever)
The Cutest Handprint Father’s Day Grill Card (Template Inside!)
