
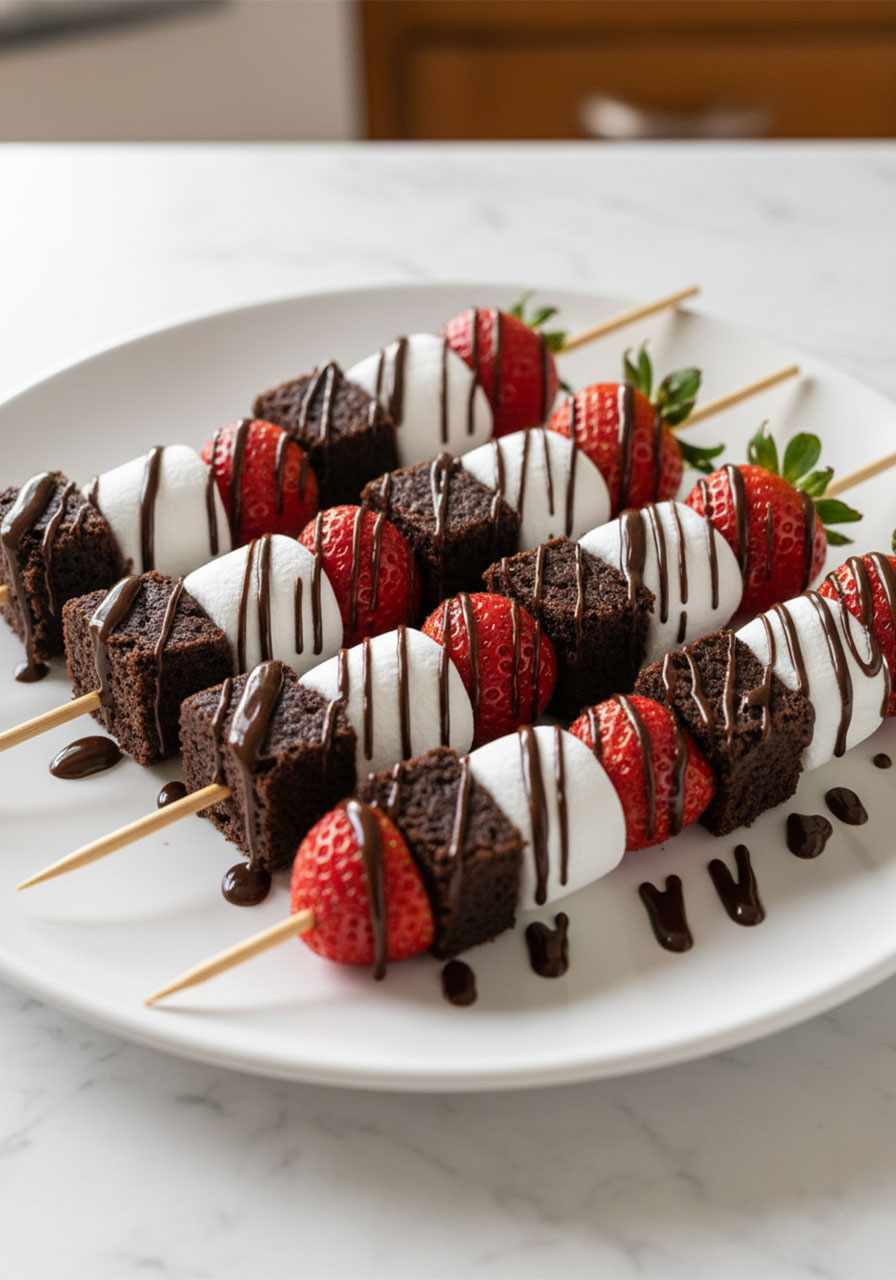
If you’re looking for a dessert that’s as fun to make as it is to eat, you’ve just found it.
These Strawberry Brownie Kabobs are exactly what they sound like – chewy brownie squares, juicy fresh strawberries, and fluffy marshmallows, all threaded onto a wooden skewer and finished with a gorgeous drizzle of melted chocolate.
They look like something from a fancy dessert table. But here’s the secret: they take under an hour to make, and even the kids can help assemble them.
Whether you’re planning a birthday party, a classroom celebration, a summer BBQ, or just a fun Saturday afternoon with the family, these kabobs are guaranteed to steal the show.
Trust me – put a plate of these on the table and watch them disappear in minutes.
Why You’ll Love These Strawberry Brownie Kabobs
Before we dive into the recipe, let me tell you why these have become a go-to party dessert for so many parents and teachers.
They’re incredibly easy to put together. You don’t need any special equipment or fancy baking skills. If you can bake a box of brownies and thread things onto a stick, you’re already halfway there.
Kids absolutely love them. There’s something magical about food on a skewer. Even picky eaters get excited when dessert comes on a stick.
They look stunning without much effort. The combination of deep chocolate brownie, bright red strawberry, and white marshmallow is naturally eye-catching. Drizzle some chocolate on top and you’ve got a dessert that looks Pinterest-worthy with almost zero extra effort.
They’re endlessly customizable. Swap out the fruits, change the chocolate, go seasonal – there are so many ways to make these your own (more on that below!).
They’re great for large groups. One batch makes about 10 kabobs, and you can easily double or triple the recipe for bigger crowds.

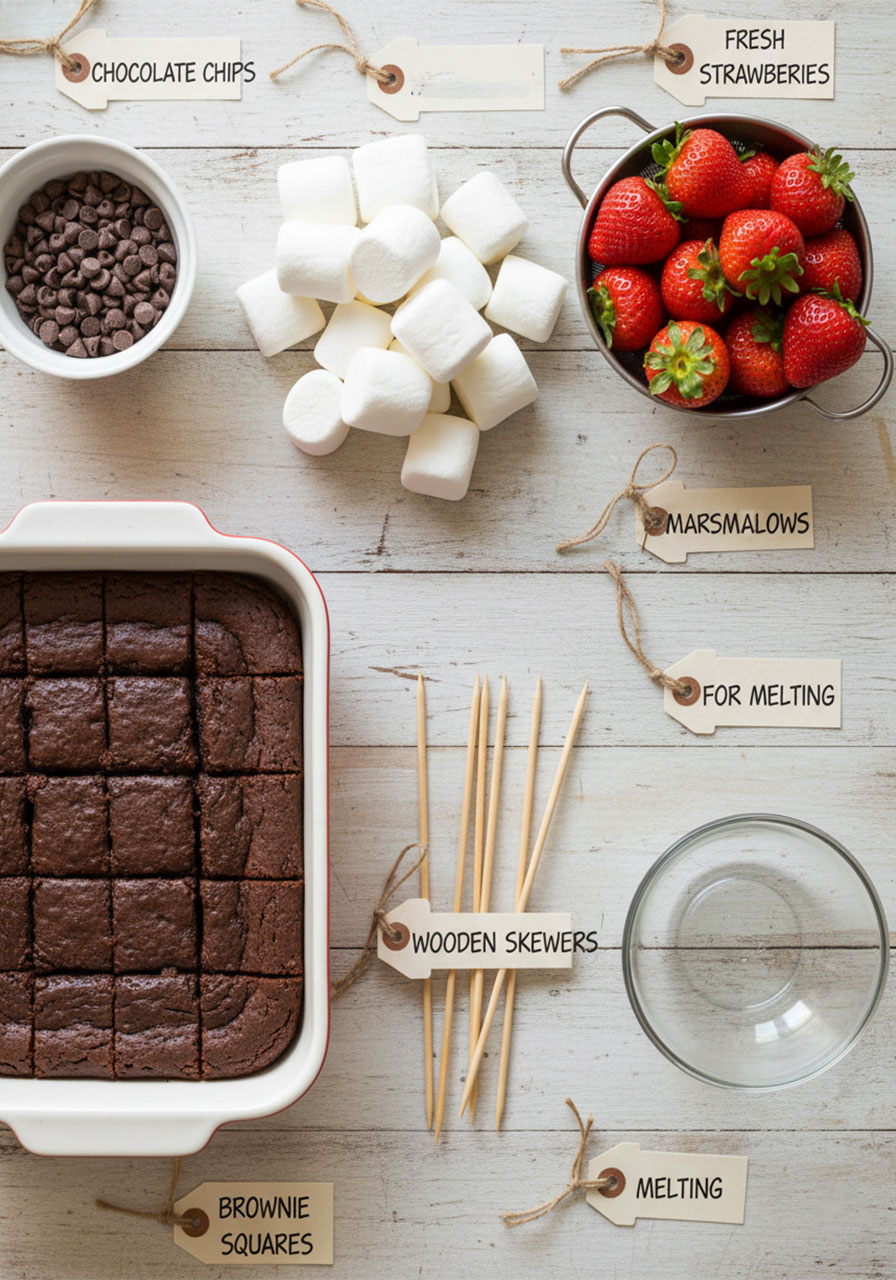
What You’ll Need
Here’s the simple ingredient list. Nothing exotic, nothing hard to find – just good, fun ingredients from your local grocery store.
For the Brownies:
1 box brownie mix (plus the eggs, oil, and water listed on the box)
Or use your favorite homemade brownie recipe – totally up to you!
For the Skewers:
1 pint fresh strawberries, hulled and rinsed
1 cup large marshmallows
10 wooden skewers
For the Chocolate Drizzle:
1 cup semi-sweet chocolate chips
Tip: Dark chocolate works beautifully here too, and adds a slightly richer, less sweet finish.
That’s it. Simple, right?
How to Make Strawberry Brownie Kabobs (Step-by-Step)
Let’s walk through this together, one step at a time. Even if this is your first time making these, you’ve totally got this.
Step 1: Bake Your Brownies
Preheat your oven according to the directions on the brownie mix box (usually 350°F / 175°C).
Mix the brownie batter according to the package instructions, pour it into a greased baking dish, and bake for 20–25 minutes.
You’ll know they’re done when a toothpick inserted in the center comes out clean (or with just a few moist crumbs – not wet batter).
This part is important: let the brownies cool completely before you cut them. If they’re still warm, they’ll crumble when you try to skewer them. Give them at least 30 minutes at room temperature, or pop them in the fridge to speed things up.
Once cooled, cut the brownies into roughly 1-inch squares. You want them chunky enough to hold their shape on the skewer.
Step 2: Prep Your Strawberries
While your brownies are cooling, rinse your strawberries under cold water and hull them (that means removing the green leafy tops and the white core with a small knife or a strawberry huller).
Pat them dry with a paper towel.
This step matters more than you’d think. Wet strawberries will prevent the chocolate drizzle from sticking properly – and nobody wants chocolate sliding off their kabob.
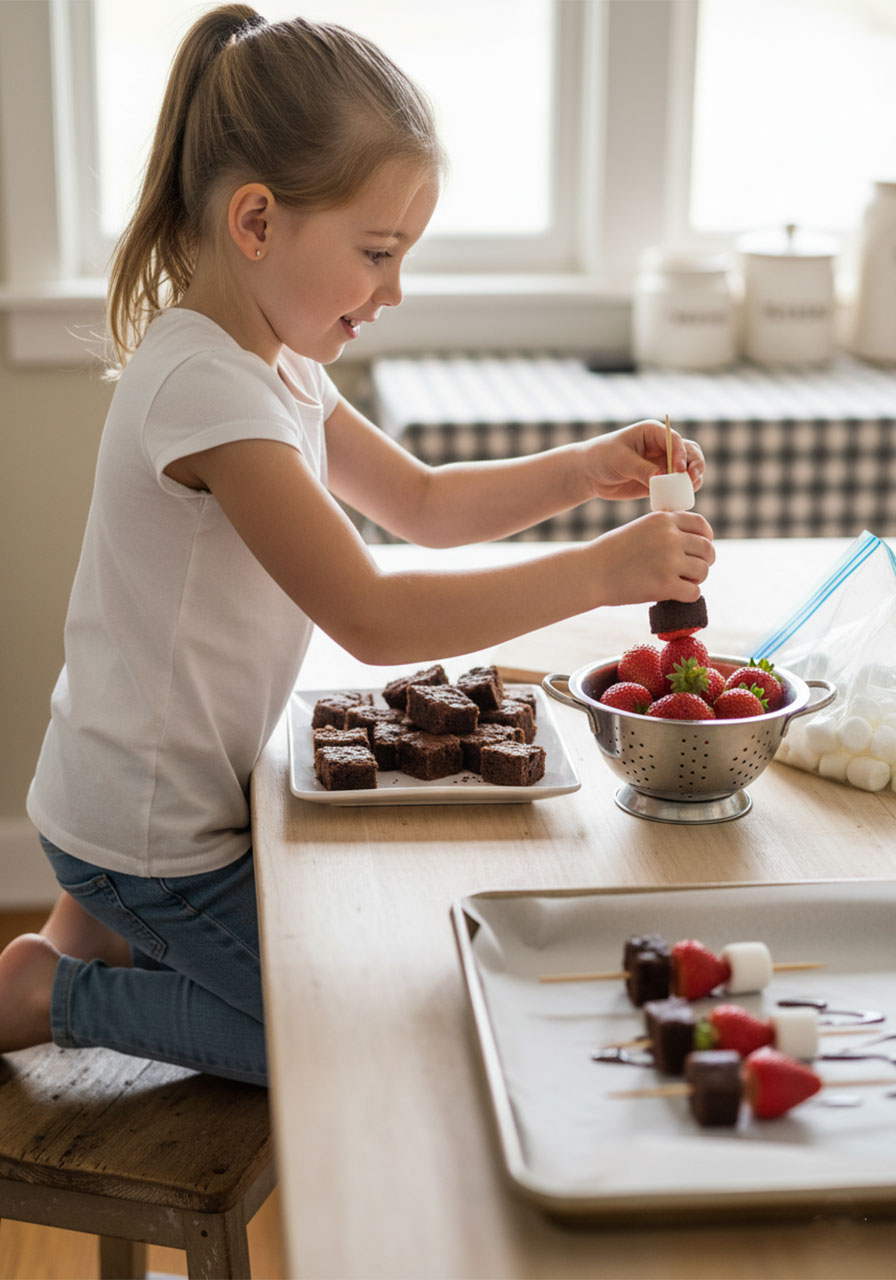
Step 3: Assemble the Skewers
Now comes the fun part – and this is a great step to get the kids involved!
Thread the ingredients onto each wooden skewer in this order:
1. One brownie square
2. One strawberry
3. One marshmallow
Repeat the pattern until the skewer is nicely filled. Leave about 1–2 inches of empty skewer at the bottom so people have something to hold onto when they eat it.
Set the finished skewers on a parchment-lined baking tray and get ready for the best part.
Step 4: Melt the Chocolate
Add your chocolate chips to a microwave-safe bowl.
Microwave in 30-second intervals, stirring well between each one. This usually takes 1–2 minutes total.
Don’t rush this step by blasting it on high heat. Chocolate can seize up (turn grainy and stiff) if it overheats. Low and slow keeps it silky smooth.
Once fully melted and smooth, you’re ready to drizzle!
Step 5: Drizzle (or Dip!) the Chocolate
Here’s where your kabobs go from tasty to absolutely irresistible.
You have two options:
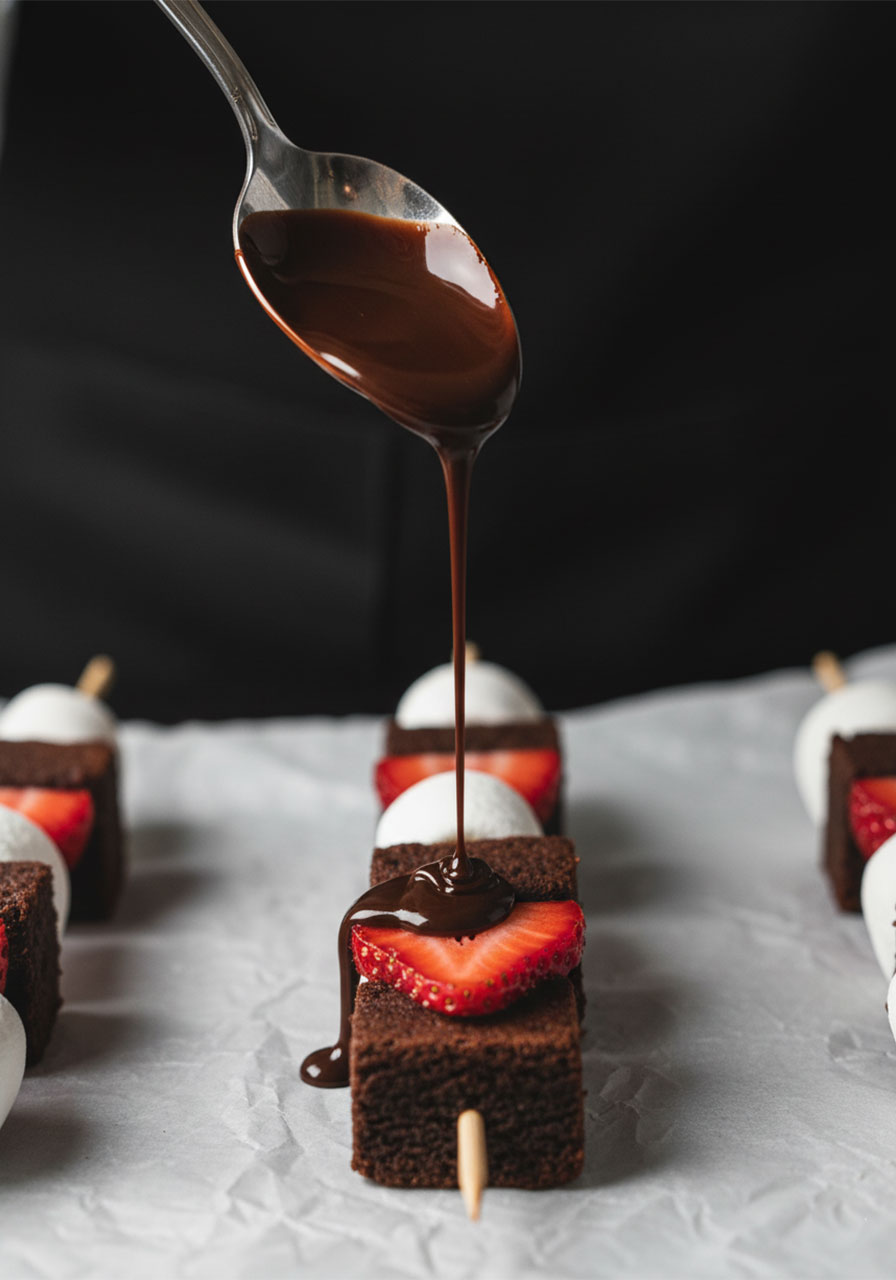
Drizzle method: Use a spoon to drizzle melted chocolate back and forth across the skewers. This gives that gorgeous “dessert shop” look.
Dip method: Dip the top half of each kabob directly into the melted chocolate for a more dramatic coating.
Both are delicious. Both look amazing. Pick whichever feels more fun to you!
Step 6: Chill and Serve
Once all your kabobs are drizzled, pop the tray in the refrigerator for 10–15 minutes. This lets the chocolate set into that satisfying, slightly firm shell.
After chilling, they’re ready to serve! Arrange them on a platter, stand them upright in a tall glass or jar, or lay them across a beautiful board – whatever presentation makes you happy.
Pro Tips for Perfect Kabobs Every Time
Here are a few things I’ve learned from making these that will save you time and make your kabobs look extra professional.
Cool the brownies fully. Seriously, don’t skip this. Warm brownies crumble and fall apart on the skewer. Room temperature or slightly chilled brownies hold their shape beautifully.
Dry your strawberries thoroughly. Moisture is the enemy of a good chocolate drizzle. Give them a good pat-down before assembling.
Use large marshmallows. Mini marshmallows are too small to thread neatly and tend to fall off. Large, fluffy marshmallows look great and stay put.
Soak your skewers in water first. If you’re planning to serve these at an outdoor BBQ or near any heat source, soaking wooden skewers in water for 20–30 minutes beforehand prevents them from splintering.
Don’t skip the refrigeration step. Even 10 minutes makes a huge difference in how clean and set the chocolate looks when you serve them.
Assemble close to serving time. If you’re making these for a party, bake and cool the brownies the day before, but wait to thread and drizzle until a few hours before guests arrive. This keeps everything fresh and the chocolate looking its best.
Fun Variations to Try
Once you’ve made the classic version, feel free to get creative! These kabobs are super flexible, and here are some of our favorite twists.
S’mores Style: Swap the regular marshmallows for toasted mini marshmallows, and sprinkle crushed graham crackers over the chocolate drizzle. Campfire vibes, no campfire required!
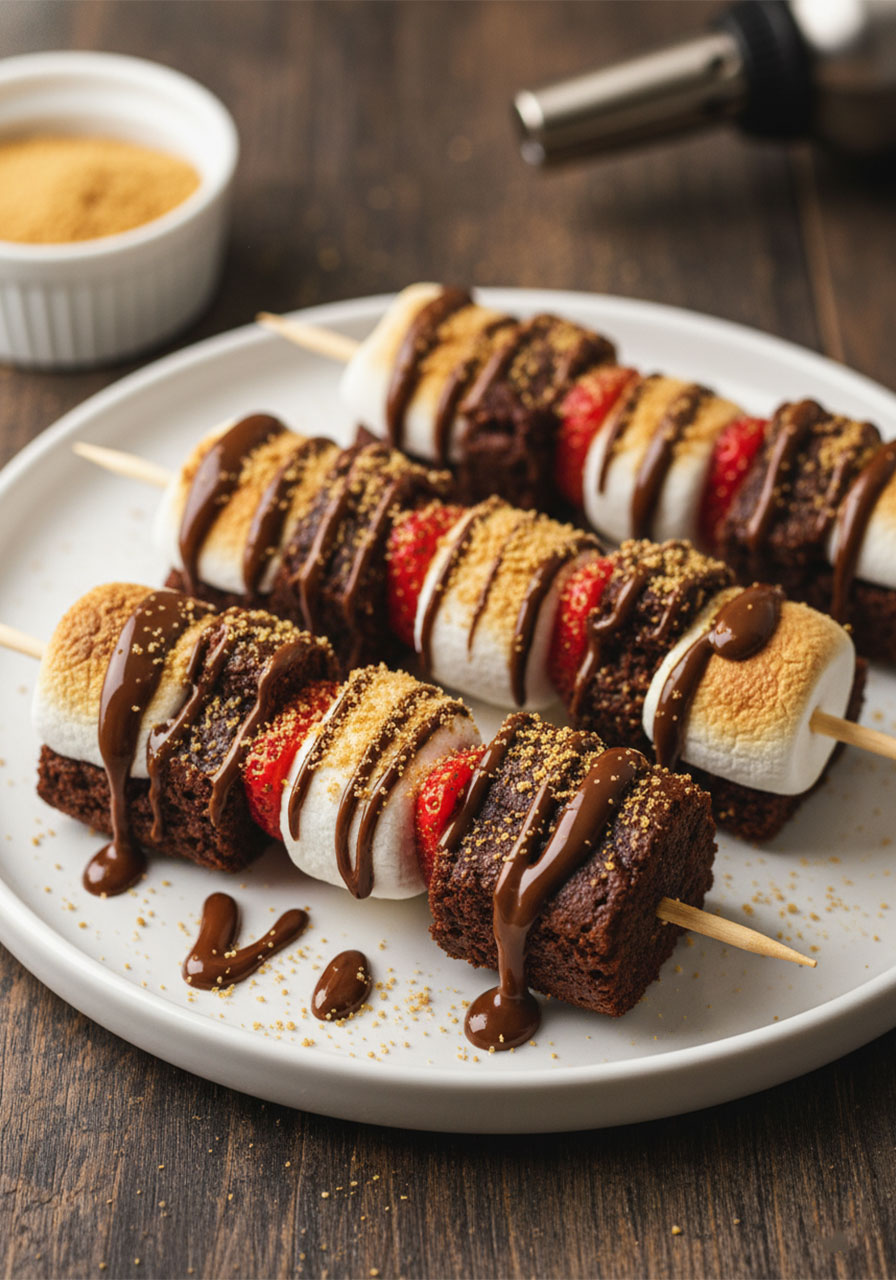
Holiday Version: Use red and green sprinkles for Christmas, orange and black for Halloween, or pastel colors for Easter. A simple sprinkle change can make these fit any holiday party perfectly.
Tropical Twist: Replace some of the strawberries with pineapple chunks or halved kiwi slices. The bright colors look stunning, and the fruity combo is so refreshing.
White Chocolate Drizzle: Use melted white chocolate instead of (or in addition to) dark or semi-sweet chocolate. A swirl of both looks bakery-level beautiful.
Nut Lover’s Version: Sprinkle chopped almonds, peanuts, or pecans over the chocolate while it’s still wet. The crunch factor is unbeatable.
Vegan-Friendly: Use a dairy-free brownie mix, vegan marshmallows, and dairy-free chocolate chips. Just as delicious – and everyone at the table can enjoy them.
Healthier Swap: Substitute the marshmallows with banana slices or even cubes of angel food cake for a lighter option that still looks gorgeous.
Perfect Occasions for These Kabobs
One of the reasons these kabobs are such a crowd-pleaser is how versatile they are. Here’s when they really shine:
Birthday parties: Kids and adults alike lose their minds over these. Set up a DIY kabob station and let guests build their own – it becomes an activity AND a dessert in one.
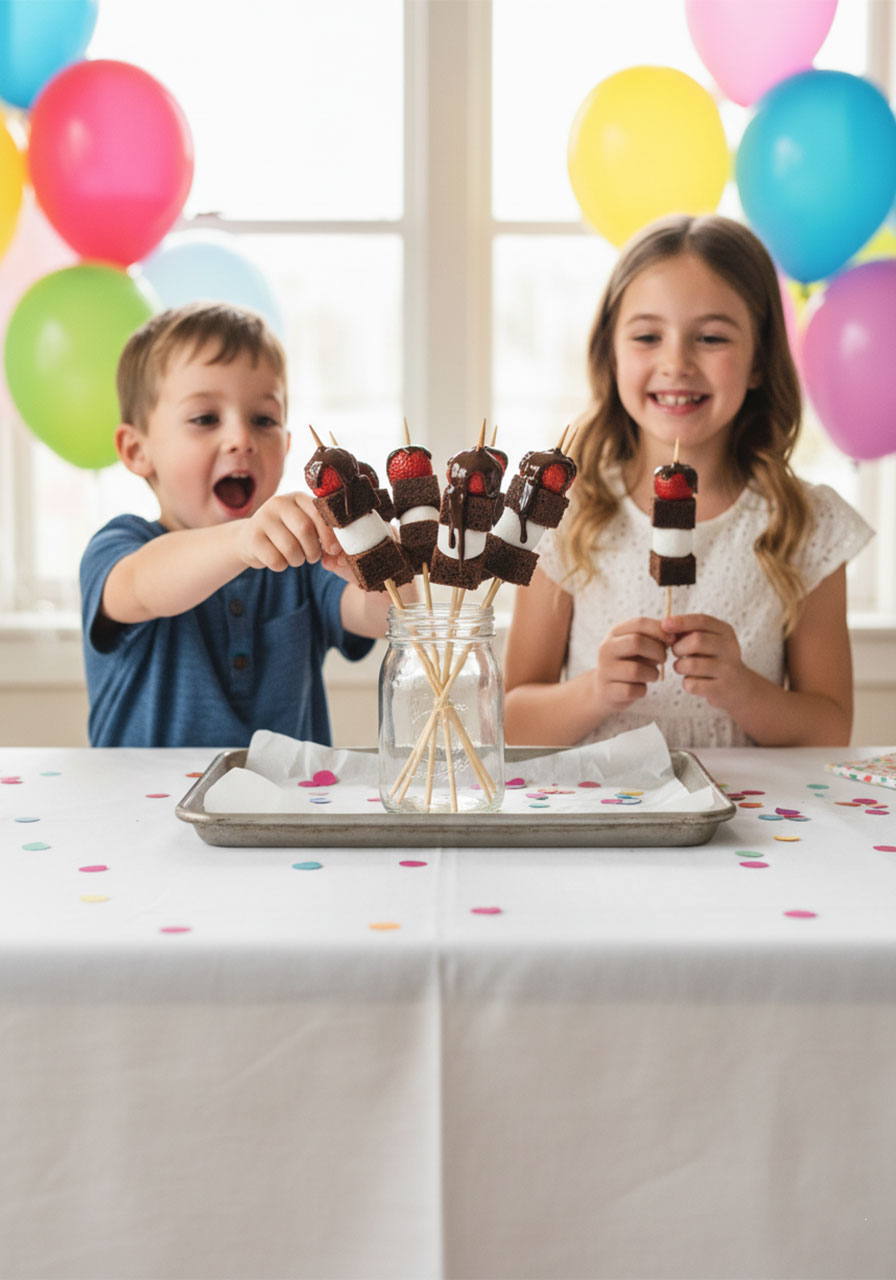
School and classroom parties: Easy to transport, easy to eat without utensils, and customizable enough to avoid most common allergens with a few swaps. Teachers, these are your new secret weapon.
Summer BBQs and cookouts: They fit right in next to the grill and look gorgeous on an outdoor dessert table.
Valentine’s Day: Strawberries plus chocolate? This one basically makes itself. Tie a little ribbon on the stick and you’ve got a gift AND a dessert.
Baby showers and bridal showers: Elegant enough for a fancy spread, fun enough for a casual one.
Potlucks and bake sales: These always sell out first. Just saying.
What to Serve Alongside Your Kabobs
These kabobs are a complete dessert on their own, but if you want to build out a fuller dessert spread, here are some pairings that work beautifully.
Vanilla ice cream: The classic combo. The cold creaminess against the chocolate drizzle is next-level good.
Whipped cream for dipping: Set out a bowl of freshly whipped cream and let guests dip their kabobs as they go.
Sparkling lemonade: The bright, citrusy fizz cuts through the sweetness perfectly and looks festive in a pitcher.
A fresh fruit salad: Light, refreshing, and it balances out the richness of the brownies and chocolate.
Mini cupcakes: Double up the fun dessert table with a mix of kabobs and mini cupcakes for variety.
Make-Ahead Tips (Because Party Planning is Stressful Enough)
Here’s the good news: these kabobs are very make-ahead friendly, which is a lifesaver when you’re juggling party prep.
Bake the brownies up to 24 hours ahead. Let them cool completely, cut into squares, and store them in an airtight container at room temperature or in the fridge.
Hull and rinse strawberries the night before. Store them in the fridge in a covered container lined with paper towel to absorb any excess moisture.
Melt chocolate up to 3 days ahead. Store it in an airtight container at room temperature. When you’re ready to use it, reheat gently in the microwave in 15-second intervals, stirring until smooth.
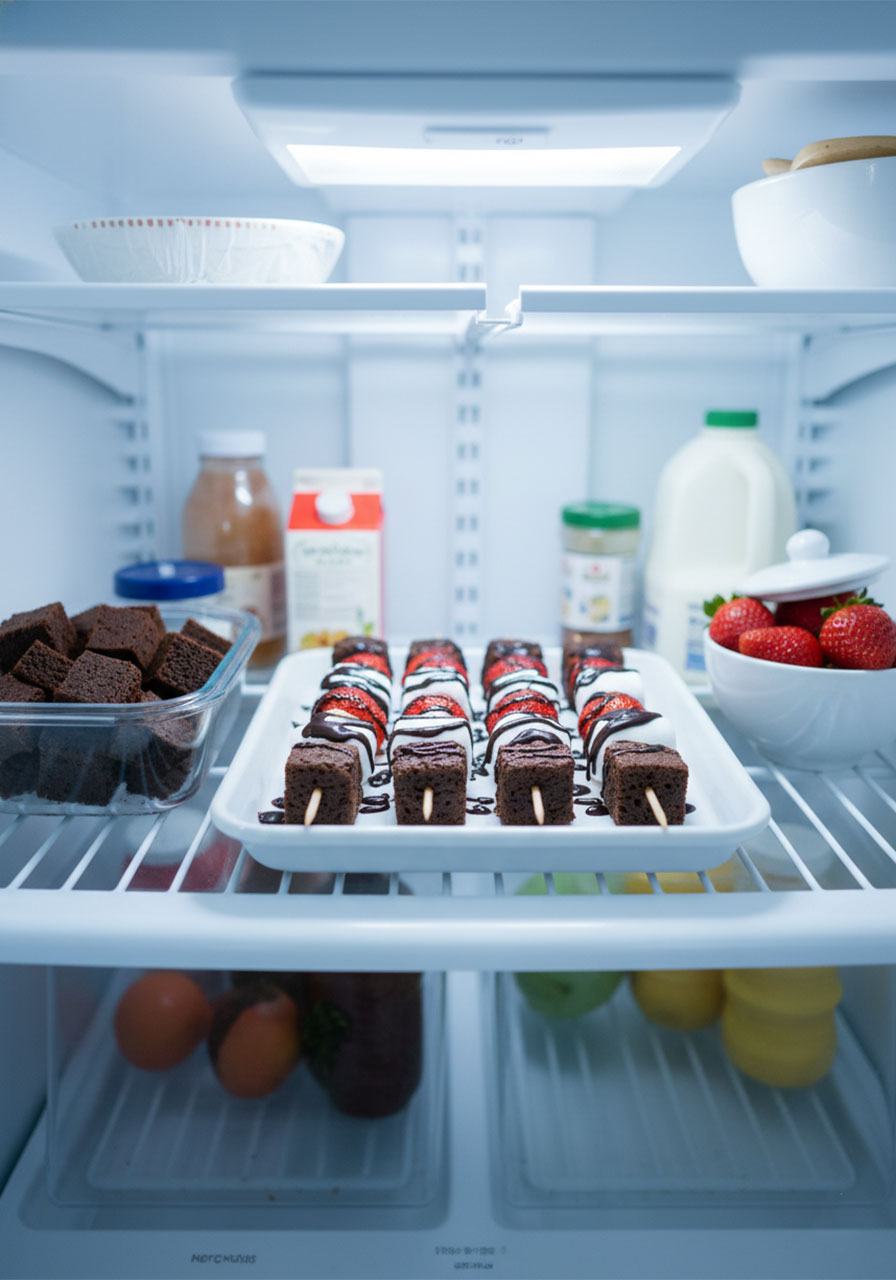
Assemble 2–3 hours before serving. Once threaded and drizzled, store kabobs uncovered in the fridge so the chocolate stays set and the skewers don’t get soggy.
With this prep strategy, party day becomes almost effortless.
How to Store Leftovers
Got leftover kabobs? Lucky you – here’s how to keep them fresh.
In the fridge: Store in an airtight container for up to 1–2 days. The brownies may soften slightly over time, but they’ll still taste delicious.
In the freezer: You can freeze kabobs without the chocolate drizzle for up to 3 months. Lay them flat on a baking sheet to freeze first, then transfer to a freezer-safe bag. When you’re ready to eat them, thaw in the fridge overnight and add fresh chocolate drizzle before serving.
Reheating: If you prefer them slightly warm, 10–15 seconds in the microwave does the trick. Watch the marshmallows though – they puff up fast!
Frequently Asked Questions
Can kids help make these?
Absolutely! The assembly step – threading brownies, strawberries, and marshmallows onto skewers – is perfect for little hands. Just handle the baking and chocolate melting yourself, and let the kids do the fun part. It’s a great activity for a rainy afternoon or a classroom party prep session.
How do I pick the best strawberries?
Look for strawberries that are bright, deep red all the way to the tip, firm to the touch, and smell sweet and fragrant. Avoid ones that are pale, mushy, or have white or green patches – those won’t taste as good and will look less vibrant on the skewer.
What if my brownies are too gooey to cut?
They’re probably slightly underbaked. Pop them back in the oven for 3–5 more minutes and test again with a toothpick. Alternatively, refrigerate the fully cooled pan for an hour – cold brownies are much easier to cut cleanly.
Can I use store-bought brownies?
One hundred percent yes. Grab a pack of fudgy brownies from the bakery section and skip the baking step entirely. Perfect for when you’re short on time!
Are these okay for a nut-free classroom?
The base recipe is nut-free – just double-check the labels on your brownie mix and chocolate chips to make sure they’re processed in a nut-free facility if allergies are a concern.
Can I make these without skewers?
Of course! You can stack the ingredients in a small cup or jar for a “deconstructed kabob” that looks just as cute and is even easier to eat with a fork.
One Last Thing Before You Go
If you’ve been scrolling through party dessert ideas and feeling overwhelmed, let this be your sign to keep it simple.
You don’t need an elaborate cake or a dozen complicated recipes to make people feel special.
Sometimes all it takes is a plate of gorgeous, chocolate-drizzled skewers, a few excited kids (or adults!), and the look on everyone’s faces when they take that first bite.
These Strawberry Brownie Kabobs deliver that moment every single time.
So go bake those brownies, grab those strawberries, and get ready to be everyone’s favorite host. You’ve got this!
Did you make these kabobs? We’d love to hear how they turned out! Drop a comment below and tell us what variations you tried.
Strawberry Brownie Kabobs
Equipment
- Oven
- 9×13 baking dish
- Mixing bowl
- Knife and cutting board
- Microwave-safe bowl
- Parchment-lined baking tray
- Spoon (for drizzling)
Ingredients
For the Brownies:
- 1 box brownie mix (plus eggs, oil, and water per package instructions)
For the Skewers:
- 1 pint (about 16–18) fresh strawberries, hulled and dried
- 1 cup large marshmallows
- 10 wooden skewers
For the Chocolate Drizzle:
- 1 cup semi-sweet chocolate chips
Instructions
- Bake the brownies. Preheat your oven to 350°F (175°C). Prepare brownie mix according to package directions, pour into a greased baking dish, and bake for 20–25 minutes until a toothpick inserted in the center comes out clean. Let cool completely, then cut into 1-inch squares.
- Prep the strawberries. Rinse strawberries under cold water, hull them, and pat dry thoroughly with paper towels. Dry strawberries are key – moisture stops the chocolate from sticking!
- Assemble the skewers. Thread one brownie square, one strawberry, and one marshmallow onto each wooden skewer. Repeat the pattern until the skewer is filled. Leave 1–2 inches free at the bottom for easy handling. Place finished skewers on a parchment-lined tray.
- Melt the chocolate. Add chocolate chips to a microwave-safe bowl. Microwave in 30-second intervals, stirring after each one, until fully melted and smooth (about 1–2 minutes total). Do not overheat.
- Drizzle the chocolate. Use a spoon to drizzle melted chocolate generously over each kabob in a zigzag pattern – or dip the top half of each kabob directly into the chocolate for a bolder finish.
- Chill and serve. Refrigerate kabobs for 10–15 minutes until the chocolate sets. Serve on a platter, stand upright in a jar, or arrange on a dessert board. Enjoy!
Notes
- Cool brownies completely before cutting – warm brownies crumble on the skewer.
- Pat strawberries fully dry before assembling – wet fruit prevents the chocolate drizzle from setting properly.
- Use large marshmallows only – mini marshmallows are too small to thread neatly.
- Assemble 2–3 hours before serving for best freshness. Bake brownies the day before to save time!
- Fridge: Store in an airtight container for up to 1–2 days.
- Freezer: Freeze without chocolate drizzle for up to 3 months. Thaw overnight in the fridge, then drizzle fresh chocolate before serving.
- Reheating: Microwave for 10–15 seconds if you prefer them slightly warm.
More Easy Party Food Ideas to Keep the Fun Rolling:
Taco Ranch Bites (Easy Party Finger Food for a Crowd!)
No-Bake Oreo Cheesecake Cups (Easy Dessert for Parties!)
Crispy Chicken Bacon Ranch Wrap (The Ultimate Easy Party Food & Lunch Idea!)
Easy Unicorn Cookies (The Most Magical Birthday Party Treat for Kids!)
Easy Pinwheel Sandwiches (Make-Ahead Party Finger Food!)
Sheet Pan Burger Sliders on Hawaiian Rolls (Easy Crowd Meal!)
