
Get ready to turn your backyard into a five-star resort – for bugs! This bug hotel craft is the perfect blend of creativity, learning, and hands-on fun that’ll have your kids begging to spend time outdoors. Plus, you’re secretly teaching them about biodiversity and nature conservation. Win-win!
Why Your Kids Need to Build a Bug Hotel (Like, Yesterday)
Here’s the thing: a bug hotel isn’t just another craft project destined for the recycling bin next week. It’s a legitimate wildlife habitat that attracts beneficial insects like ladybugs, bees, and other garden helpers, giving them a cozy place to shelter – especially during cold winter months.
But the real magic? Your kids get to become wildlife landlords, checking on their tiny tenants and learning about the incredible insect world right in your own garden. It’s STEAM learning disguised as pure fun, and trust us, they’ll be hooked.
Best for: Kids ages 2+, nature lovers, outdoor enthusiasts, eco-conscious families
Time to Complete: 45-60 minutes (plus drying time)
Mess Level: Medium (but totally worth it!)

What You’ll Need to Build Your Bug Hotel
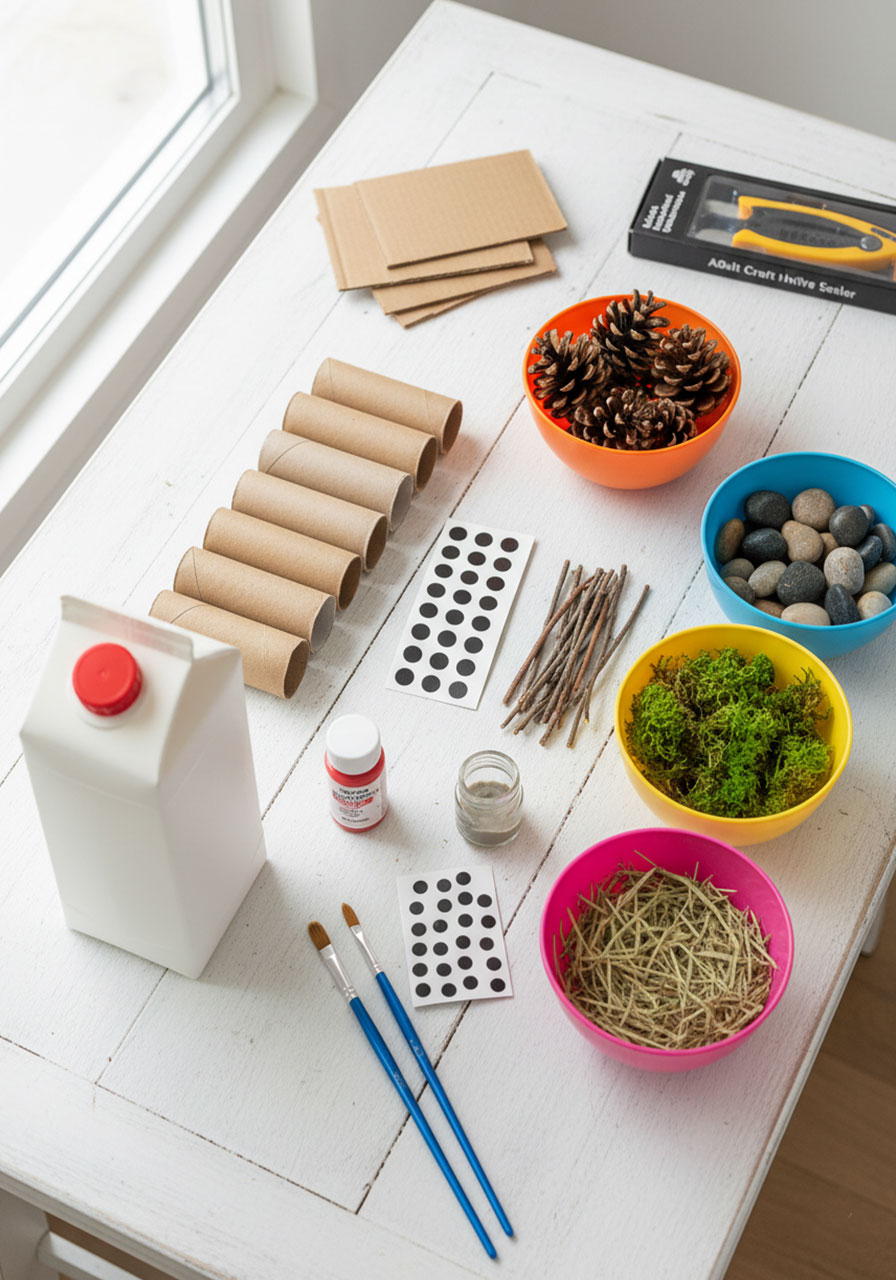
Here’s your supply list – most of which you probably already have lying around:
For the Hotel Structure:
- 1 empty milk carton (cleaned and dried)
- 7-8 toilet paper or paper towel rolls
- Red acrylic paint
- Black dot stickers (or black paint/marker)
- Waterproof sealer (if keeping outdoors)
- Craft knife (adults only!)
- Paintbrushes
For the Bug-Friendly Filling:
- Dried grass clippings or hay
- Moss (find it in your yard or craft store)
- Small twigs and sticks
- Pinecones
- Pebbles or small stones
- Dried leaves
- Large straws or tightly rolled paper tubes
- Cardboard sign material (for your “Bug Hotel” sign)
Pro Tip: Start collecting natural materials on your next nature walk! Kids love the scavenger hunt aspect, and it makes the craft even more meaningful.
How to Build Your Bug Hotel: Step-by-Step
Follow these foolproof instructions, and you’ll have a bug mansion ready for occupancy in no time:
Step 1: Prep Your Hotel Frame
Adult task: Use a craft knife to carefully cut a large opening on one side of the milk carton. This is your hotel’s “entrance.” Leave the other three sides and the top intact to create a sturdy structure.

Step 2: Paint It Red (Because Even Bugs Love Curb Appeal!)
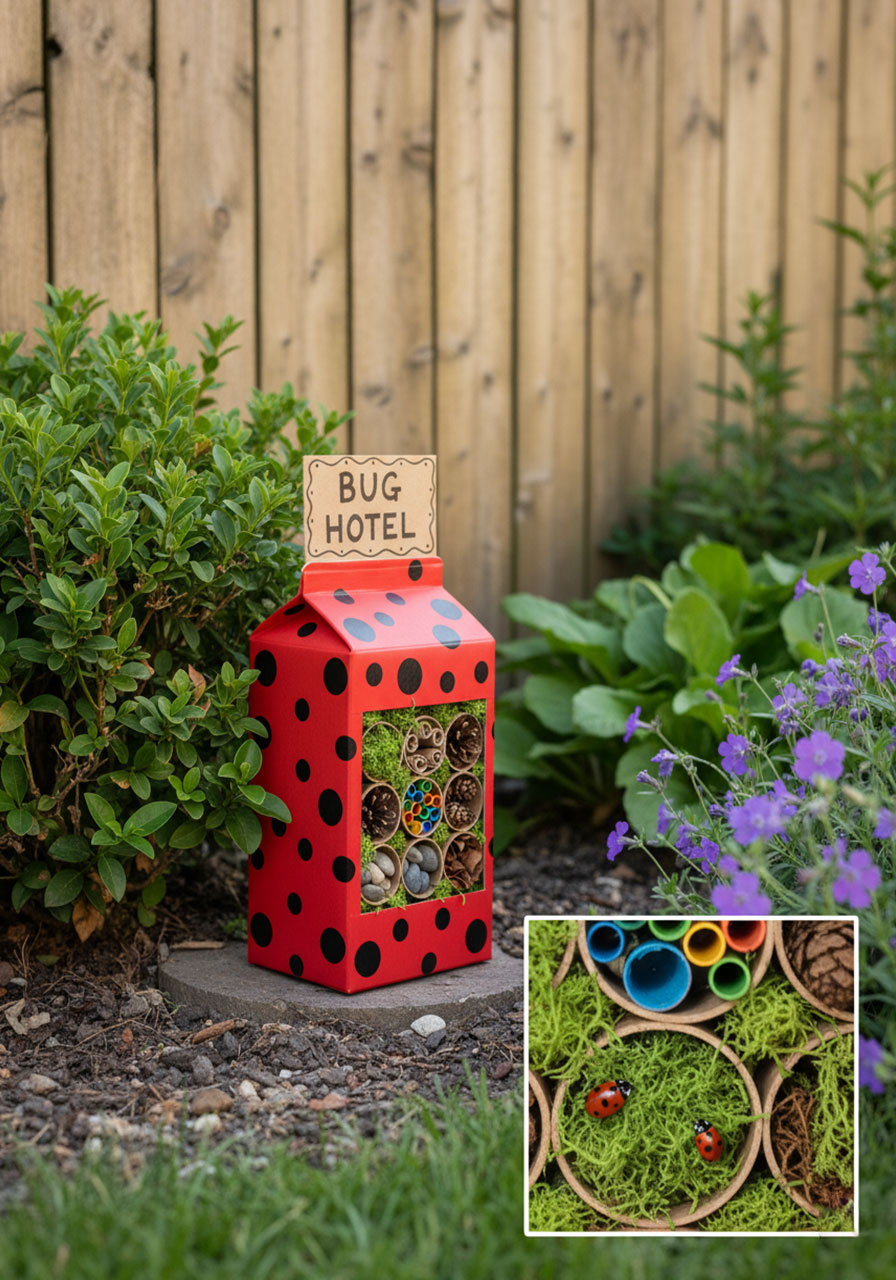
Grab your red acrylic paint and cover the entire outside of the milk carton. We’re going for a ladybug look here! Let it dry completely – this is a great time for a snack break.
Time-Saver Tip: Use a hairdryer on low heat to speed up drying time.

Step 3: Add the Ladybug Spots
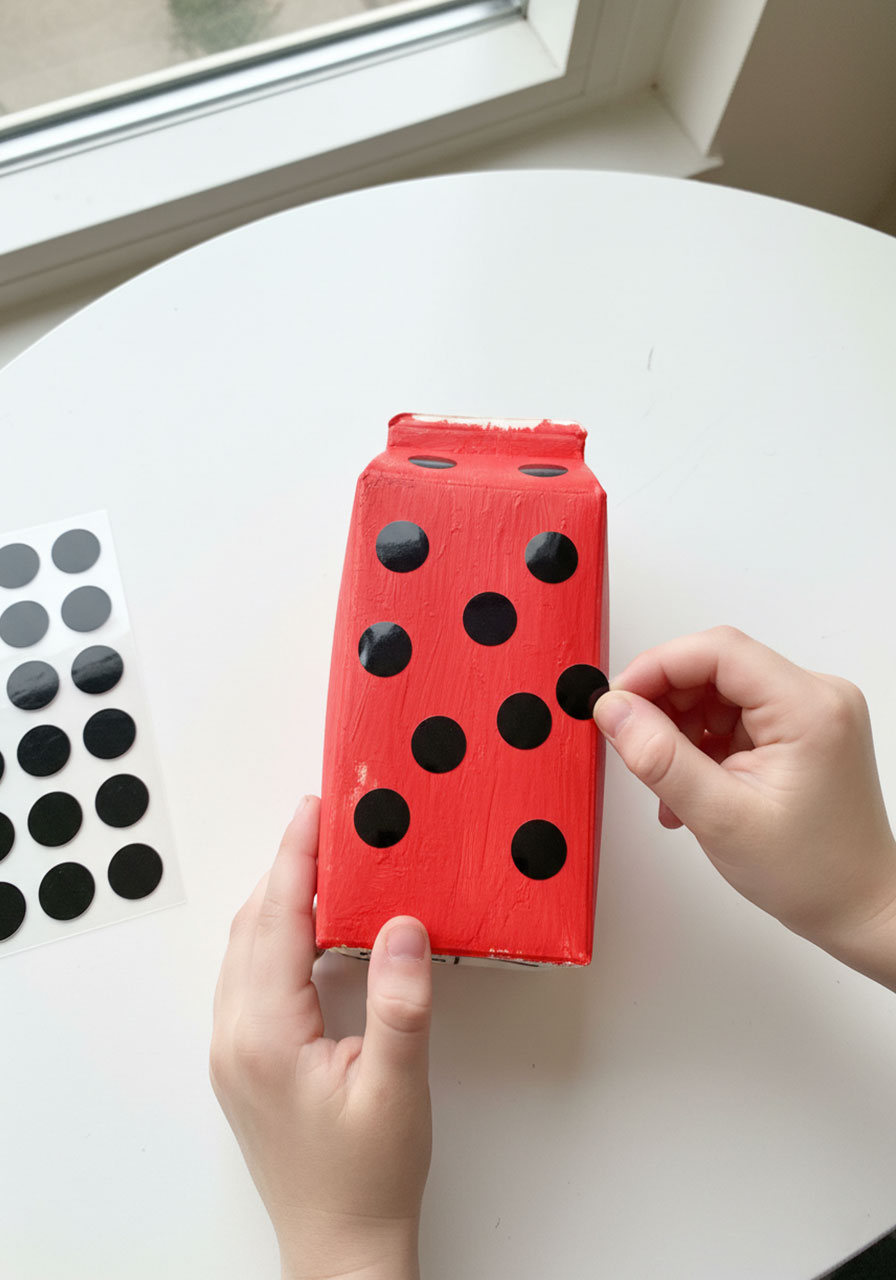
Once dry, stick those black dot stickers all over your red hotel to create the classic ladybug pattern. No stickers? No problem – black paint or permanent marker works just as well. Let your kids go wild with the design!
Step 4: Seal the Deal (Literally)
If your bug hotel is heading outdoors (and it should!), brush on a coat of waterproof sealer over the painted surface. This keeps your hotel looking fresh through rain, snow, and everything in between.
Step 5: Create the Room Dividers
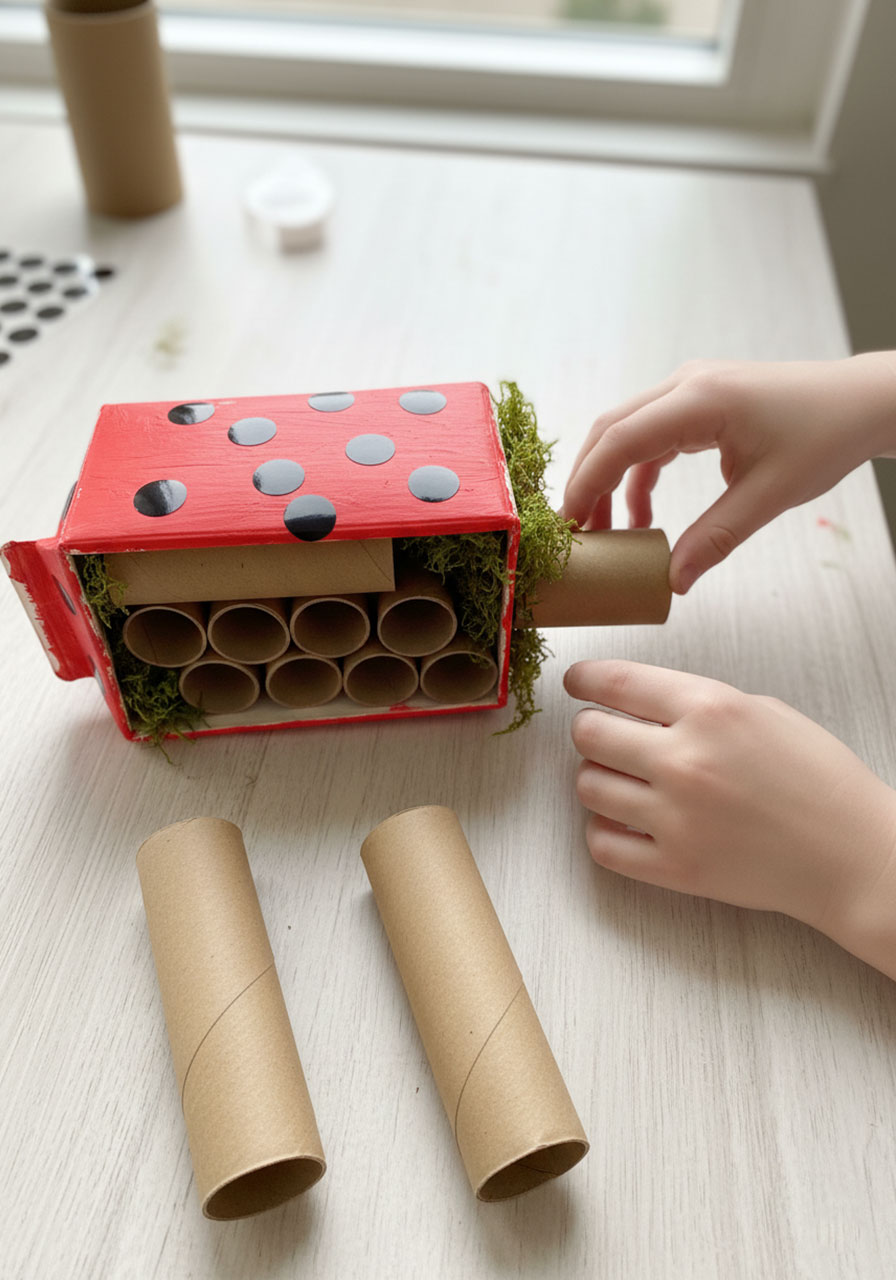
Slide 7-8 toilet paper rolls into the milk carton opening. These create individual “rooms” that different bugs will love. Arrange them however they fit best – there’s no wrong way to do this!
Step 6: Add the Base Layer
Tuck dried grass or moss around the edges of the toilet paper rolls and along the back of the milk carton. This creates cozy insulation and fills gaps where smaller insects can hide.
Step 7: Fill Each “Room” with Different Materials
Here’s where it gets really fun! Each toilet paper tube gets a different filling:
Tube 1: Stuff with soft moss (perfect for ladybugs)
Tube 2: Fill with small twigs and sticks (great for beetles)
Tube 3: Roll up pieces of paper and insert them (solitary bees love these!)
Tube 4: More moss (because you can’t have too much)
Tube 5: Tuck in a pinecone or two (spiders and woodlice)
Tube 6: Insert cut paper straws (another bee favorite)
Tube 7: Add small pebbles (ground beetles appreciate these)
Tube 8: Dried leaves or bark pieces
Why the variety matters: Different bugs have different preferences! By offering diverse materials, you’re creating a hotel that welcomes all kinds of beneficial insects.

Step 8: Fill the Gaps
Use any remaining rocks, dried grass, sticks, pinecones, or moss to fill in the spaces around the sides of your milk carton. Pack it in gently – you want it cozy, not jam-packed.
Step 9: Make Your Sign
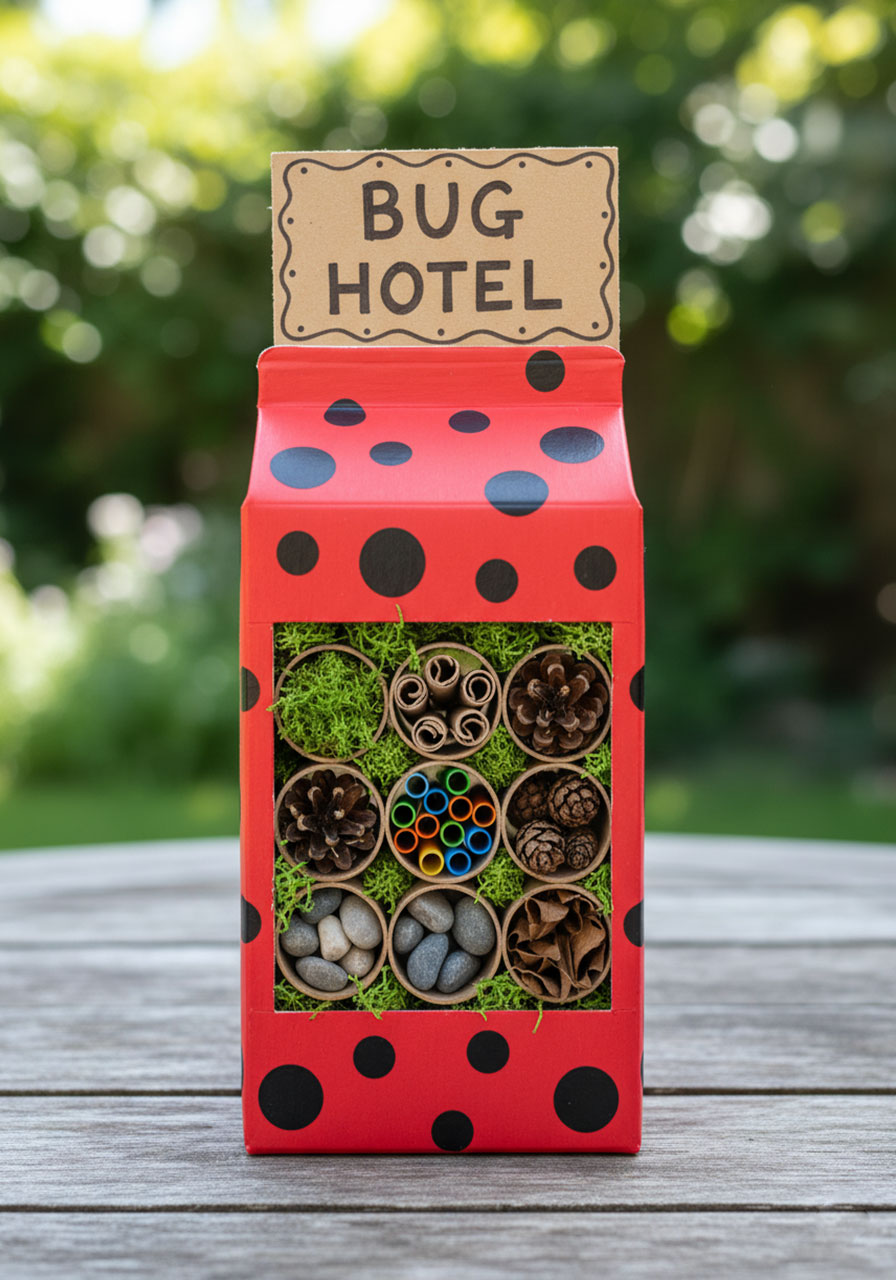
Cut a piece of cardboard and let your kids write “BUG HOTEL” on it. Get creative with the lettering! Attach it to the top of your hotel with tape or glue, or stick it on a popsicle stick and insert it into the structure.
Step 10: Find the Perfect Location
Place your bug hotel outside in a sheltered spot – near a garden bed, under a bush, or against a fence works great. Somewhere that’s protected from strong winds but still accessible to insects.
What Happens Next? (The Fun Part!)
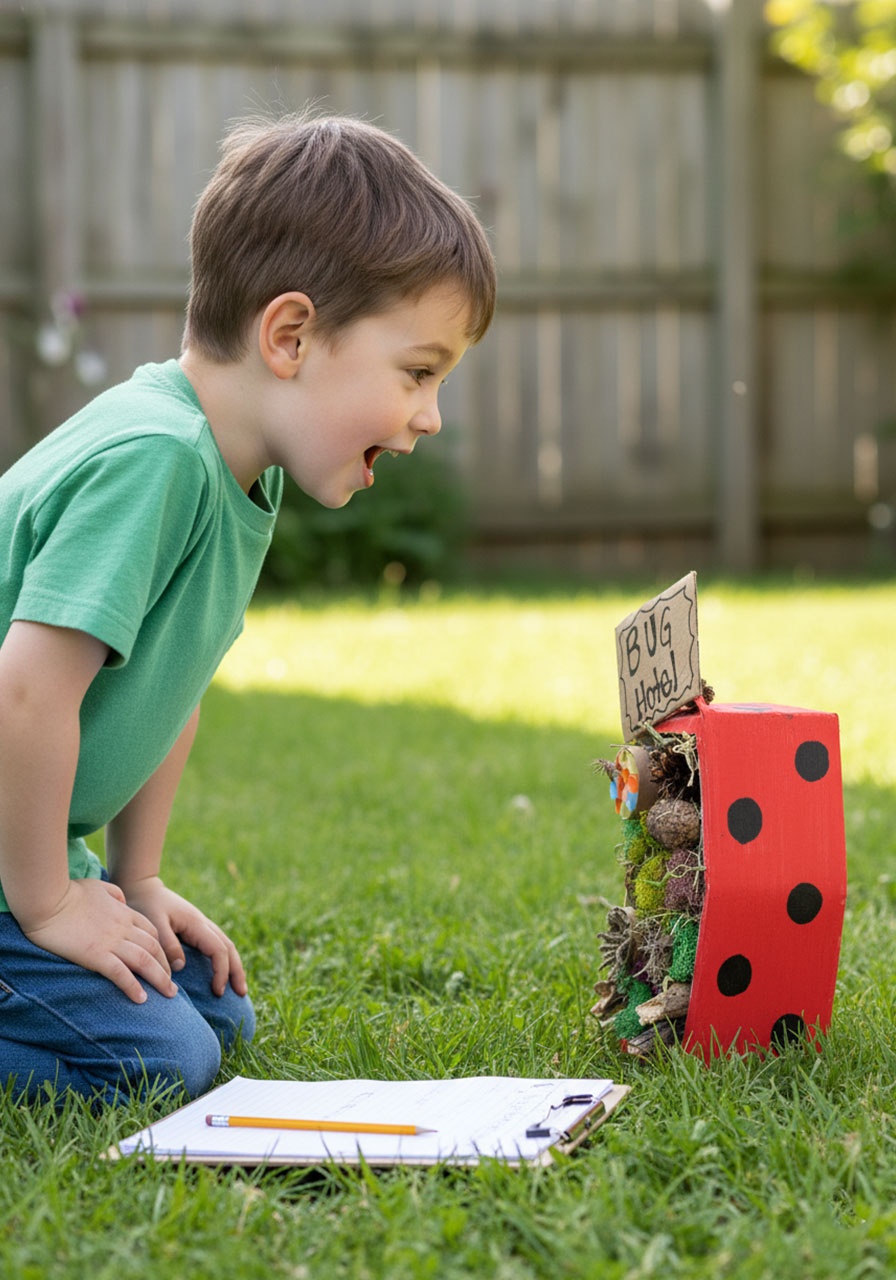
Now comes the exciting waiting game! Within a few days to a couple of weeks, you should start seeing tiny tenants moving in. Check your hotel regularly (but gently – no need to disturb the residents!) and see if you can spot:
Ladybugs hiding in the moss
Solitary bees using the paper tube rooms
Spiders building webs in the pinecones
Beetles exploring the twig chambers
Ants creating pathways through the grass
Make it a learning opportunity by keeping a simple journal: What bugs did you see? When? What were they doing? Kids love being scientists!
Fun Variations to Try
The Mega Hotel: Use a larger box (like a wooden crate or deep picture frame) to create a deluxe multi-story bug resort!
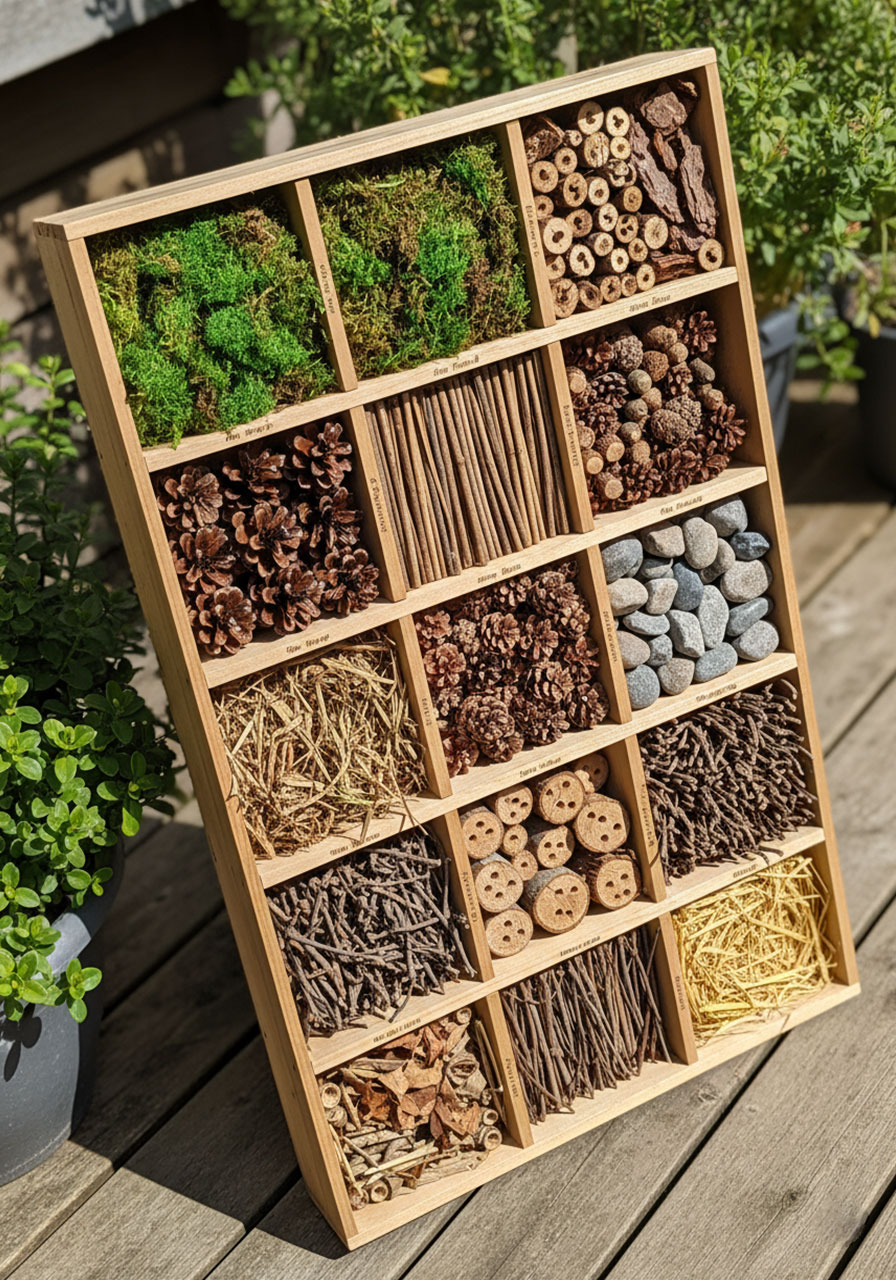
The Themed Hotel: Instead of a ladybug, paint your hotel like a bee (yellow and black stripes) or leave it natural for a rustic woodland look.
The Observation Hotel: Cut a small “window” in the side (cover it with clear plastic wrap) so kids can peek inside without disturbing the bugs.
The Class Project: Have each student decorate their own toilet paper tube before assembling one giant classroom bug hotel. Perfect for Earth Day!
Why This Craft Is Actually Educational (Don’t Tell the Kids!)
While your children think they’re just having fun, they’re actually:
Learning about ecosystems and how insects contribute to a healthy garden
Developing fine motor skills through cutting, filling, and arranging materials
Practicing observation skills when checking for bug tenants
Understanding biodiversity and why different creatures need different habitats
Building environmental awareness and empathy for living things
It’s basically a STEAM lesson wrapped in an adorable ladybug package.
Troubleshooting Tips
No bugs showing up? Be patient! It can take a few weeks. Make sure your hotel is in a garden area where insects actually live – not on a concrete patio.
Hotel getting soggy? Add more waterproof sealer or move it to a more sheltered location.
Kids want to check it every 5 minutes? Set a “bug hotel check-in schedule” – maybe once every few days. Too much disturbance will scare tenants away!
The Bottom Line
This bug hotel craft hits all the sweet spots: it’s easy to make, uses materials you already have, keeps kids engaged, teaches valuable lessons, and actually benefits your local ecosystem. Plus, it looks adorable sitting in your garden!
So grab that empty milk carton, round up some nature treasures from your yard, and get ready to become the hotelier of the insect world. Your tiny tenants are waiting!
Ready to make your garden the buzziest place on the block? Get crafting!
Skills Your Kids Are Developing:
✓ Fine motor skills and hand-eye coordination
✓ Color and shape recognition
✓ Creative thinking and imaginative play
✓ Scientific observation and patience
✓ Environmental awareness and empathy
✓ Language development (describing materials, bugs, and observations)
More Kid’s Party Ideas to Keep the Fun Rolling:
DIY Marshmallow Catapult: The Ultimate STEM Activity That Kids Actually Beg to Do
How To Make Magical Light-Up Fireflies (That Kids Go Absolutely Crazy For!)
52 Fun Math Activities That Make Learning Count!
13 Brilliant Spring Process Art Ideas That’ll Have Your Little Artists Begging for More
13 Safari Fine Motor Activities That’ll Make Your Kids Go Wild!
Pass the Ice Cream: The Ultimate Sharing Game for Preschoolers
How to Make a Stunning Leaf Butterfly Craft – Easy Nature Art for Kids
10 Epic DIY Cardboard Carnival Games That’ll Make You the Hero of Any Party
