Turn a rainy day into pure magic with this ridiculously easy bubble science experiment that actually works.
Let’s be honest – bubbles are basically kid crack.
There’s something hypnotic about those rainbow-colored spheres floating through the air, and your little ones just can’t get enough of them.
But here’s the problem: Regular bubbles are an outdoor-only situation.
Sure, it’s just soap and water, but somehow you always end up with sticky hands, slippery floors, and that weird film on everything. Plus, Mother Nature doesn’t always cooperate.
Too hot? Bubbles evaporate in seconds. Raining? You’re stuck inside.
Too cold? Well, frozen bubbles are cool, but not exactly what we’re going for here.
So what if I told you there’s a way to bring bubbles inside – without the chaos – AND make them nearly impossible to pop?
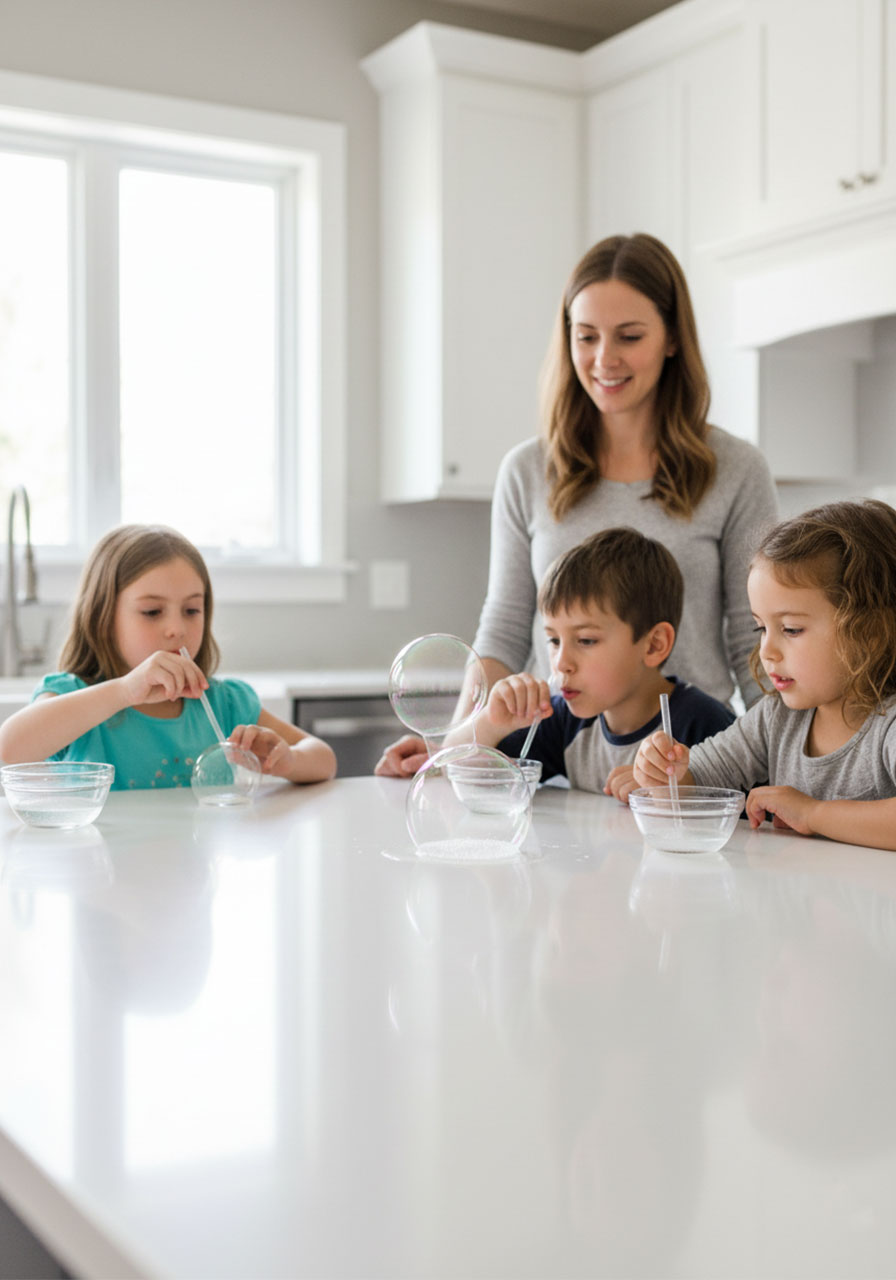
Welcome to the world of magic unpoppable bubbles. These aren’t your average backyard bubbles.
These bad boys can be stacked, layered, and poked without bursting.
Your kids will think you’re a wizard, and you’ll look like the genius parent who just unlocked a whole new level of indoor fun.
What Makes These Bubbles So Special?
Best for: Rainy day activities, STEM learning, keeping kids entertained indoors, showing off your cool parent skills
Time to Make: 5 minutes (seriously, that’s it)
Mess Level: Surprisingly low (we’re doing this the controlled way)
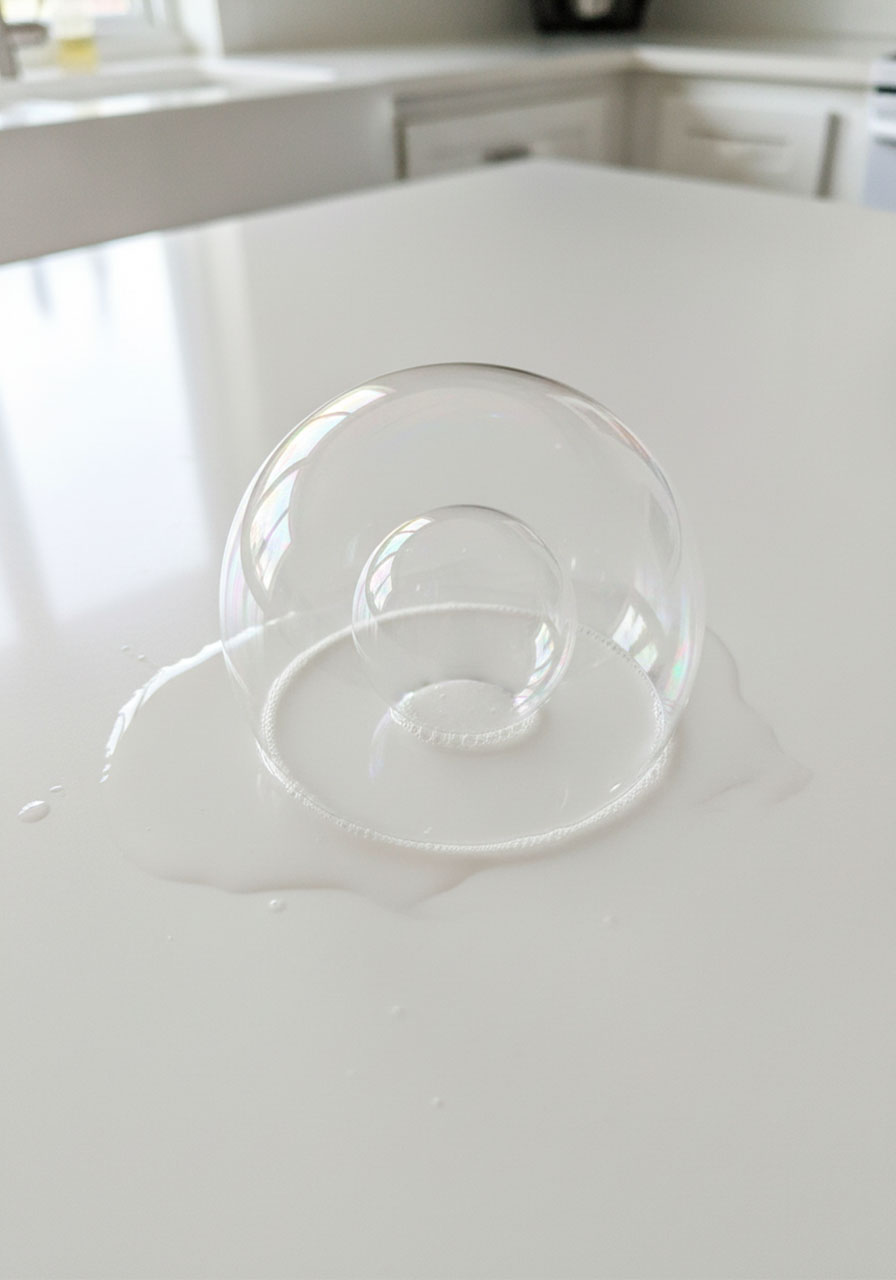
These magic bubbles are tough enough to blow one bubble inside another bubble. Yes, you read that right. We’re talking bubble-ception.
And the best part? You probably have everything you need sitting in your kitchen right now.


What You’ll Need:
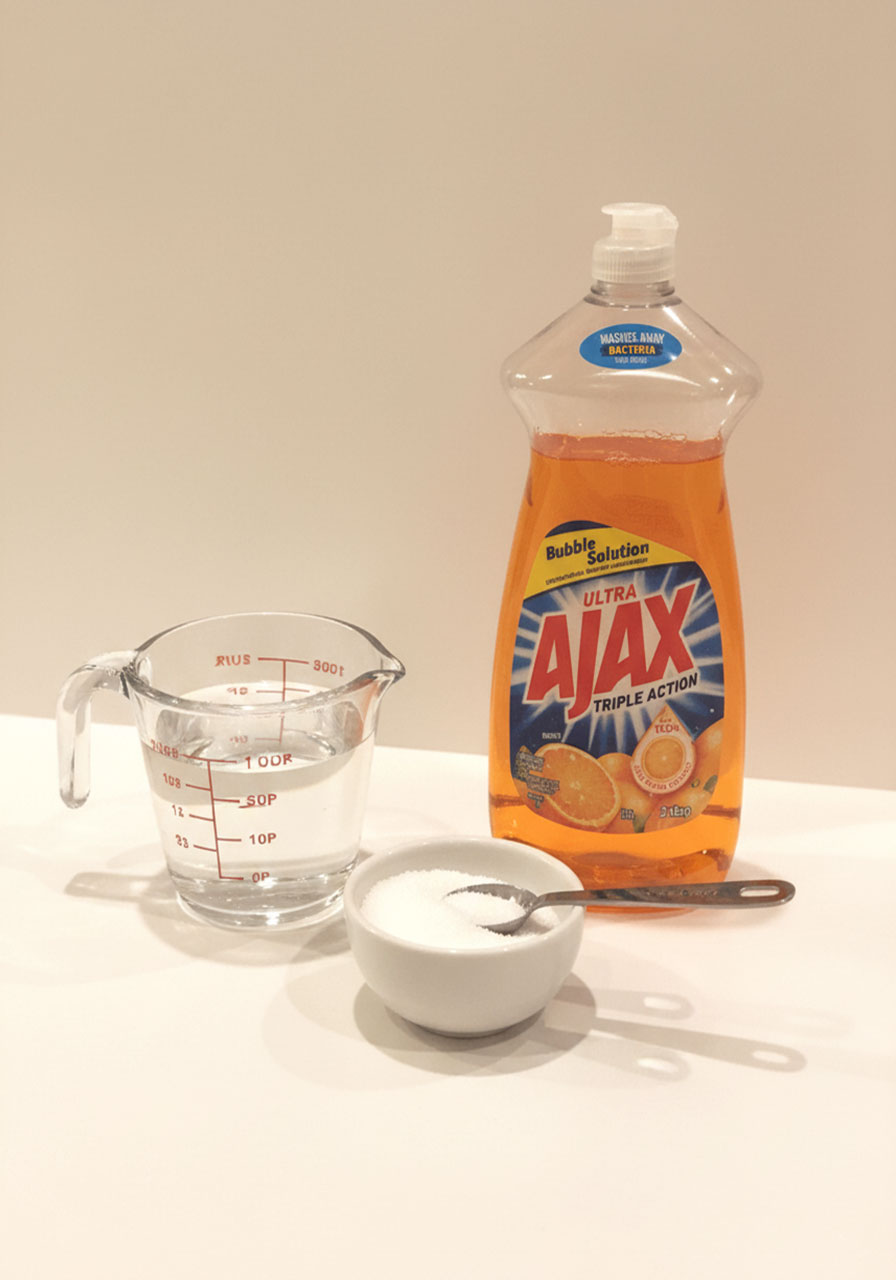
1 cup water
1 tablespoon granulated sugar (this is the secret ingredient)
2 tablespoons liquid dish soap (any brand works)
A straw (one per kid)
A clean counter or table (emphasis on clean – we’ll explain why in a sec)
That’s it. Four ingredients. No special equipment, no trip to the craft store, no complicated chemistry set required.
How to Make Your Unpoppable Bubbles:
Step 1: Mix the sugar into the water.
Grab your cup of water and dump in that tablespoon of sugar.
Give it a good stir until the sugar completely dissolves.
Don’t stress if it takes a minute – you’re not baking a cake here.
Just make sure you can’t see sugar crystals anymore.
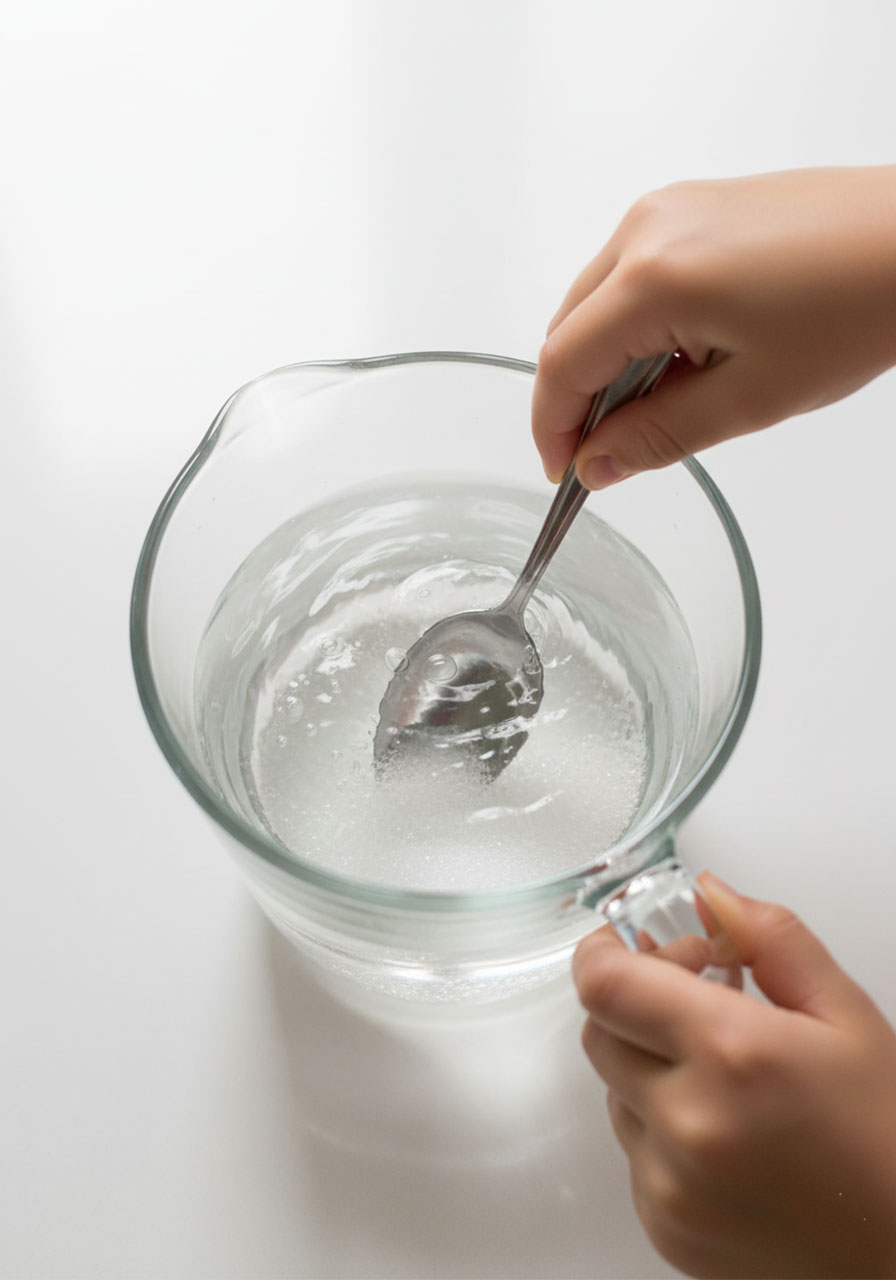
Step 2: Add the dish soap – gently.
Pour in your 2 tablespoons of liquid dish soap and mix it in carefully. The key word here is carefully.
You don’t want to create a frothy mess of regular bubbles.
Just a gentle swirl to combine everything.
Think “folding ingredients” rather than “mixing a milkshake.”
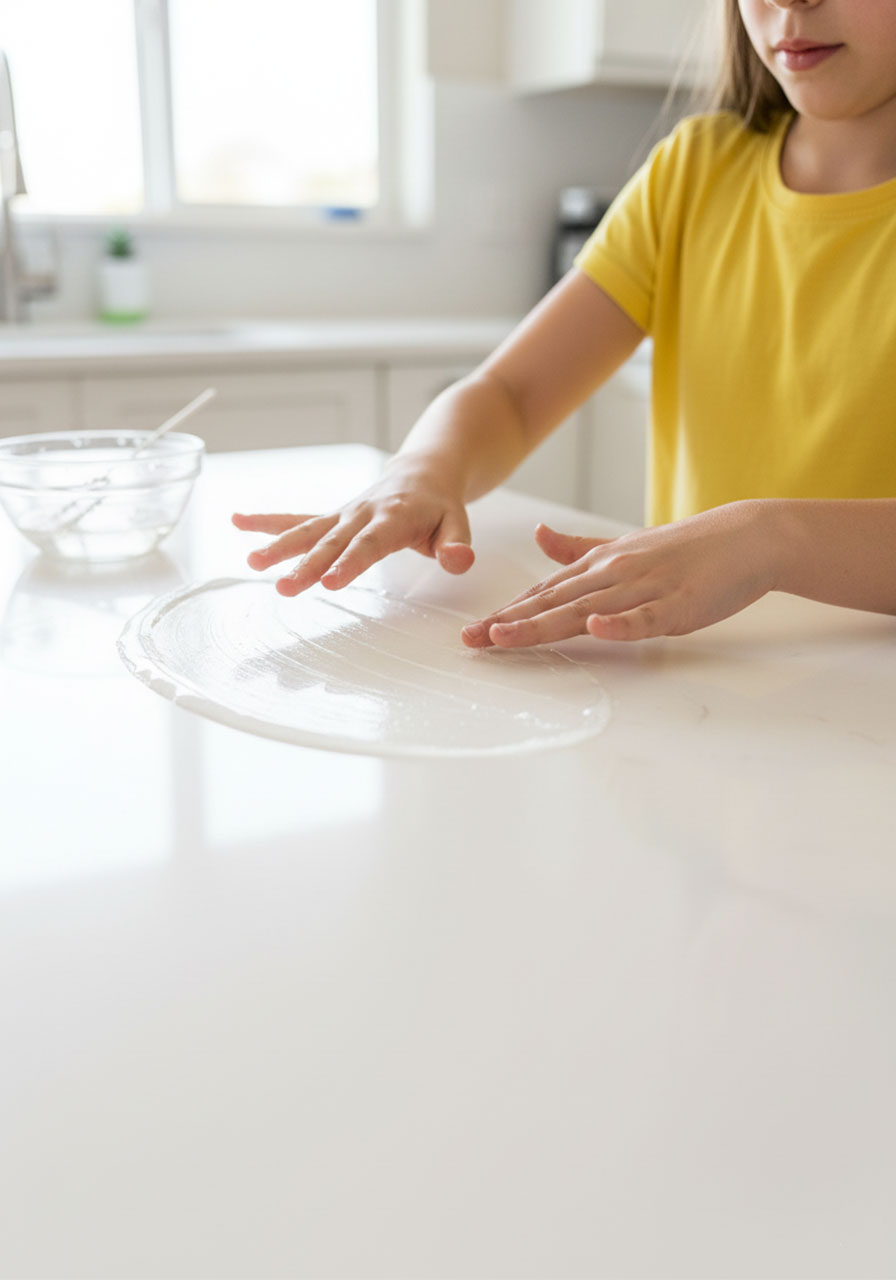
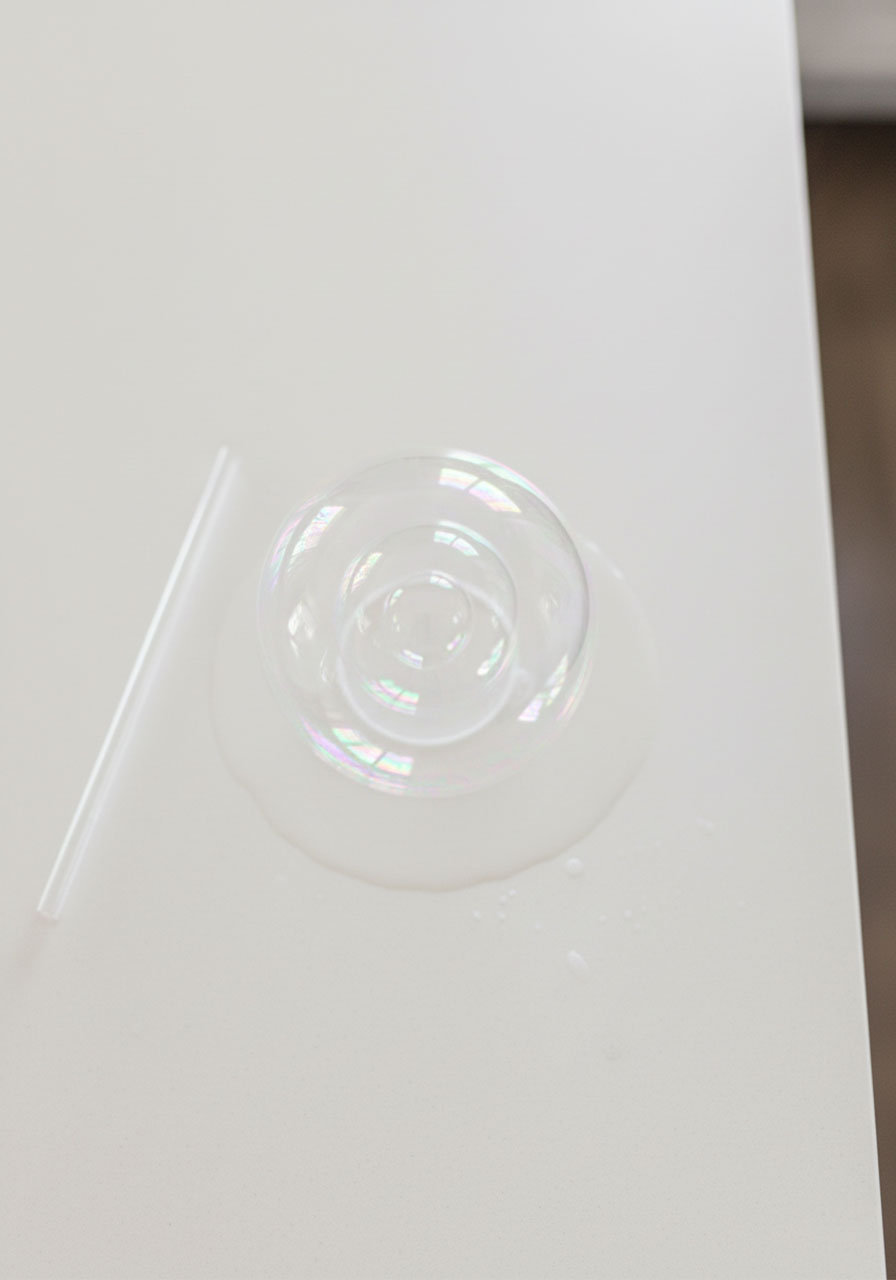
Step 3: Prep your bubble-blowing surface.
Here’s where things get fun.
Spread a thin layer of your bubble solution on a clean counter or table.
(And yes, it needs to be actually clean – any sticky spots or crumbs will sabotage your bubbles. Trust me on this.)
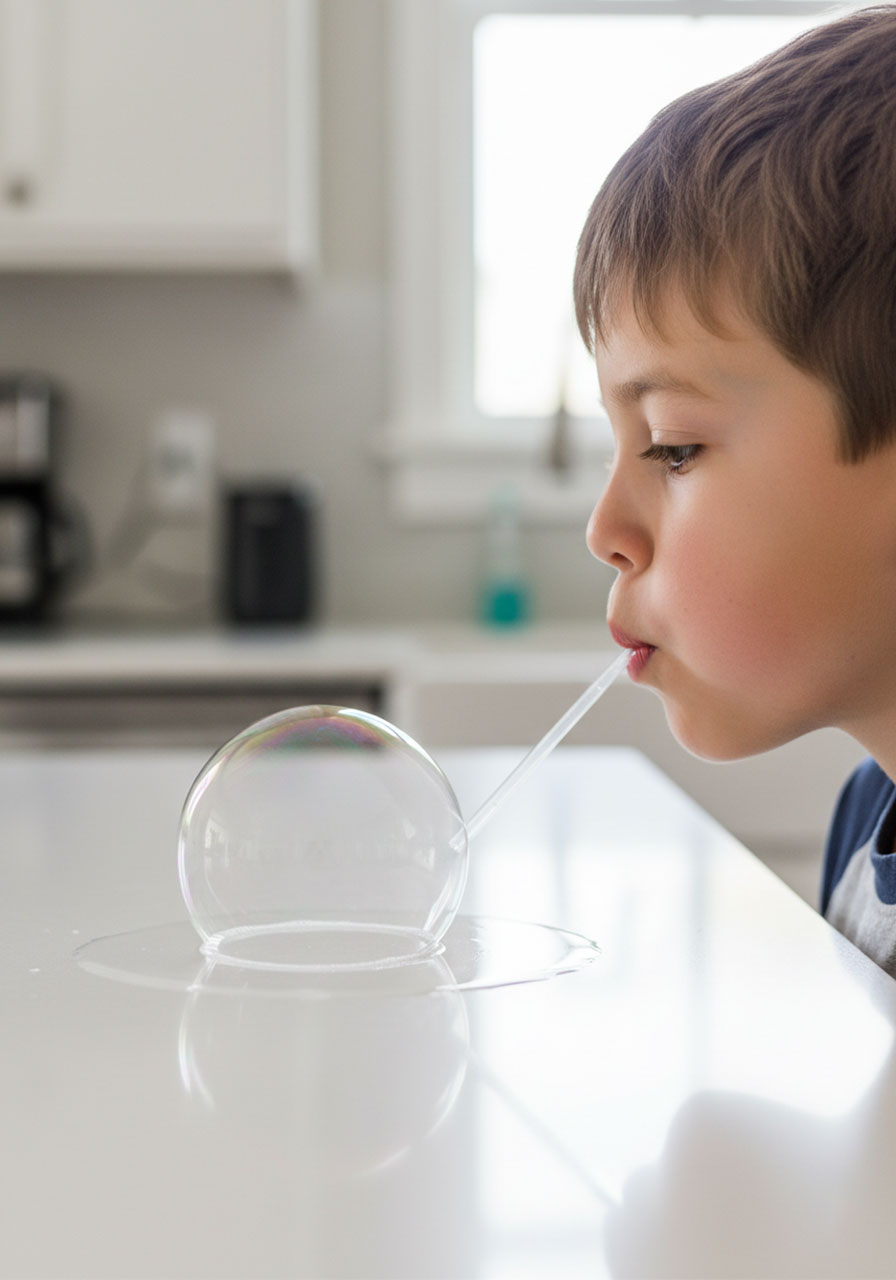
Step 4: Blow your first bubble.
Dip your straw into the bubble solution, then hold it close to your prepped surface.
Blow gently and watch as a perfect bubble forms on the table.
Boom – you just made a bubble that won’t pop the second you breathe near it.
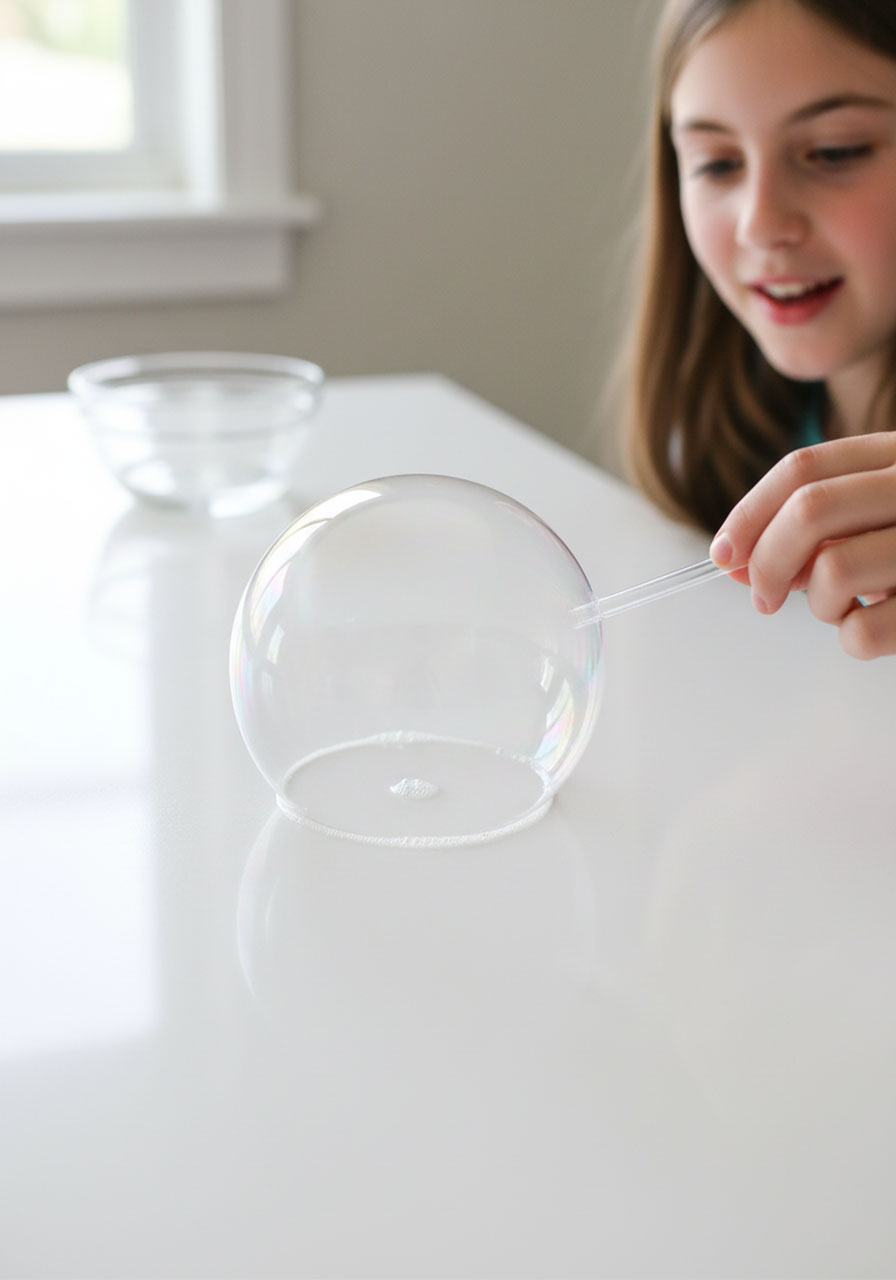
Step 5: Now for the magic part.
Ready to absolutely blow your kids’ minds?
Dip your straw back into the solution, then carefully poke it through the wall of your first bubble.
Once you’re inside, blow another bubble. You’ve just created a bubble within a bubble.
Challenge your kids:
How many layers can they create?
Can they make three bubbles? Four?
See who can build the tallest bubble tower!
Pro Tips for Maximum Bubble Success:
Make it a competition
Set a timer and see who can create the most bubble layers in 2 minutes.
Winner gets to pick the next activity.
Experiment with the recipe
Once you’ve mastered the basic version, try tweaking the sugar amount.
More sugar = thicker bubble walls = even harder to pop.
Safety reminder
Make sure your kids know how to blow out through the straw, not suck in.
You don’t want anyone drinking bubble solution. (It won’t hurt them, but it tastes nasty and defeats the whole point of the straw.)
Clean up while it’s fresh
Wipe down your surface right after you’re done. This solution dries sticky, and Future You will thank Present You for not leaving it overnight.
The Cool Science Behind the Magic
Okay, real talk – you don’t need to know the science to have fun with this.
But if you’ve got a curious kid (or you just want to sound smart), here’s what’s happening:
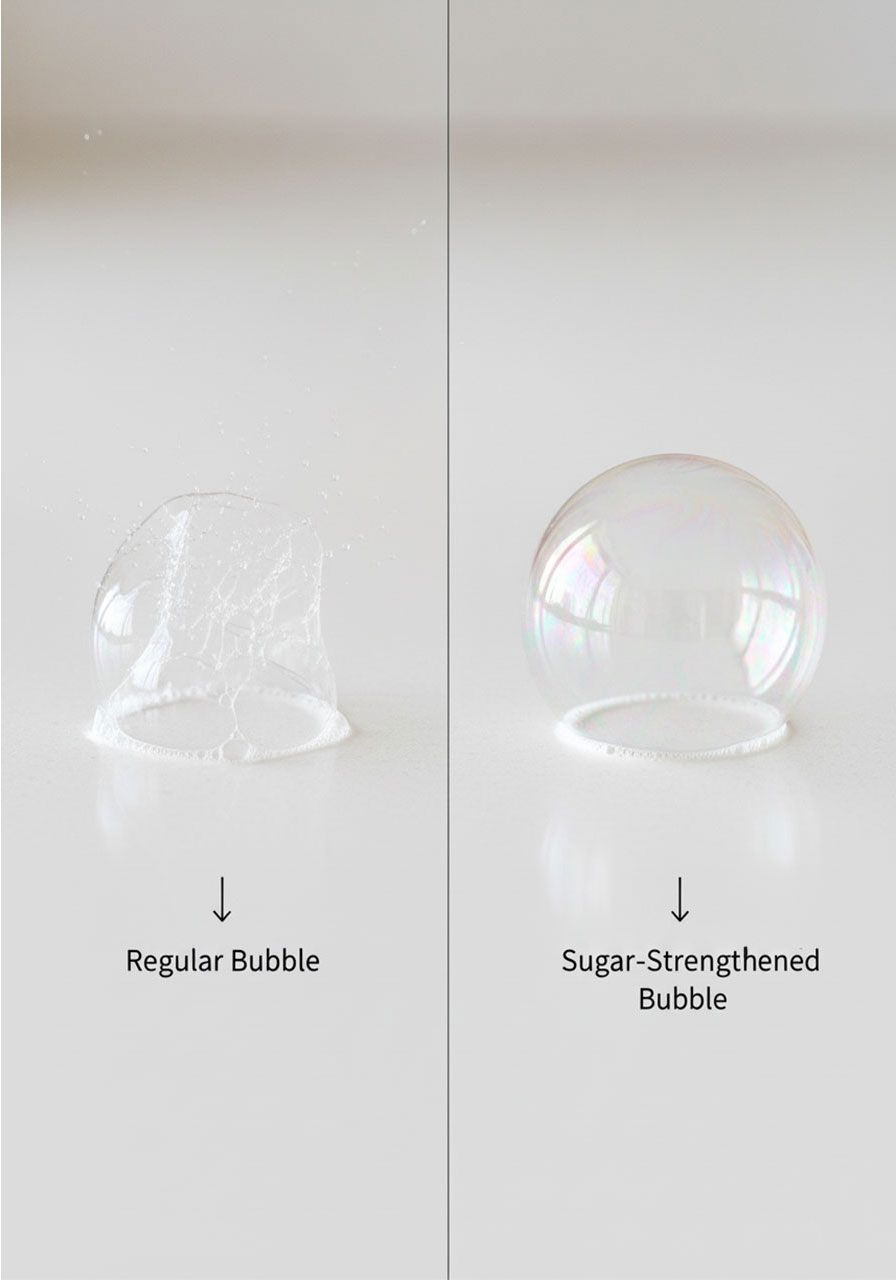
Regular bubbles are just air trapped inside a thin skin of soapy water. They pop so easily because that skin is incredibly fragile – like, thinner-than-a-human-hair fragile.
The water in the bubble evaporates quickly, which weakens the skin even more, and pop – your bubble’s gone.
So what’s the sugar doing?
The sugar slows down evaporation by making the bubble’s skin thicker and more durable.
It’s like giving your bubble a tiny invisible shield.
The sugar molecules get in the way of the water molecules trying to escape, so your bubbles stick around way longer.
This is why you can actually poke a straw through them without destroying everything – the walls are strong enough to handle it.
Bubble Science Activity Kit – Printable PDF for Kids
You just read the blog, you’re excited, and you know your kids are going to love this. But here’s what happens without a plan:
Someone loses track of how many bubbles they made, someone else wants a turn at the straw, and the whole thing wraps up in 10 minutes with nothing to show for it.
This printable kit turns a fun 10-minute activity into a full afternoon of structured discovery – with a recipe card to stick on the fridge, a challenge tracker that turns bubble-blowing into friendly competition, and a science worksheet that makes your child feel like a real researcher.
It’s the difference between a cool moment and a memory they’ll talk about for weeks.

Why Your Kids (and You) Will Love This Activity
This isn’t just a “keep the kids busy for 10 minutes” activity. This is the kind of thing that turns into a full-blown bubble science lab in your kitchen. Here’s why it’s awesome:
It’s genuinely impressive: Blowing bubbles inside bubbles looks like actual magic. Your kids will feel like they have superpowers.
It’s low-prep: No elaborate setup, no expensive materials, no hour of preparation for 5 minutes of fun.
It works for all ages: Toddlers love the sensory experience, older kids get into the competitive challenge, and even adults can’t resist trying to beat the family record.
It’s educational (but sneaky about it): Your kids are learning about surface tension, evaporation, and molecular structure without even realizing it. That’s STEM education at its finest.
It’s an indoor activity that actually works: No mud, no screaming, no running in circles until someone crashes into furniture. Just calm, focused, magical bubble-blowing.
Make It Even More Fun:
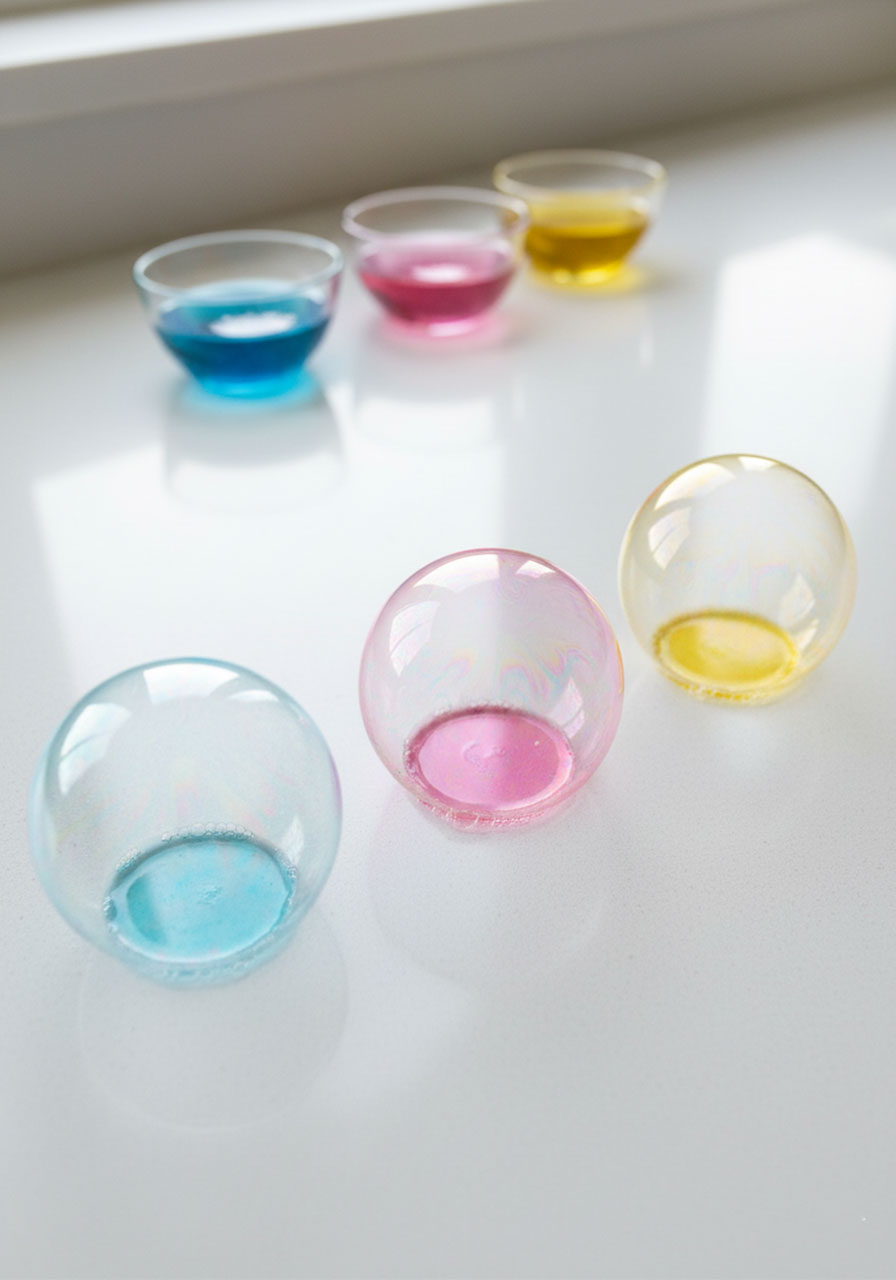
Once you’ve mastered the basic technique, try these variations:
Add food coloring to create rainbow-tinted bubbles
Use different surfaces (plates, trays, baking sheets) to see what works best
Time-lapse challenge: See whose bubble lasts the longest before finally popping
Create bubble art by blowing colored bubbles and letting them pop on paper
Ready to Bring the Magic Home?
With just three simple ingredients and 5 minutes of prep, you’ve got an activity that’ll keep your kids entertained, amazed, and begging to do it again tomorrow.
No more staring out the window wishing for better weather – you’ve got the power to make magic happen right in your own kitchen.
So grab that sugar, dish soap, and a few straws, and get ready to become the hero of the next rainy day. Because the best kind of indoor fun is the kind that makes your kids say, “Wait, how did you DO that?!”
Now go blow some minds – one unpoppable bubble at a time.
More Kid’s Party Ideas to Keep the Fun Rolling:
Paper Airplane Birthday Party Ideas That’ll Have Your Guests Soaring
Cornstarch & Dish Soap Bubble Dough: Easy DIY Sensory Fun!
25+ Hands-On Human Body STEM Activities Kids Will Love
The Soap and Pepper Experiment: A Mind-Blowing Way to Get Your Kids to Actually Use Soap
How to Make a DIY Kaleidoscope: A Mind-Blowing Science Craft for Kids
15 Minions Party Ideas For The Ultimate Despicable Me Birthday Bash
16 Fun Games for Toddlers (Because You Need to Keep Them Busy)
Can this be made ahead of time and stored in an airtight container?
Yes, absolutely! You can make this bubble solution ahead of time and store it in an airtight container. In fact, letting it sit overnight can actually improve the bubbles by allowing the sugar to fully integrate with the soap and water.
Very well written! I enjoyed the facts and the humor. Such a great idea for kid fun. Thanks!