

Want to give Mom a Mother’s Day card she’ll actually gasp over? This isn’t your average fold-and-sign situation. This pull-tab card hides your heartfelt message inside – and when Mom tugs on the little tab, the whole thing unfolds to reveal a beautiful surprise. It’s interactive, it’s adorable, and it’s completely no-mess. No scissors. No glue. Just one sheet of paper and some colorful markers
Kids absolutely love making this (it feels like a magic trick), and moms love opening it even more. Teachers, this one’s a winner for a classroom craft too – it’s quick, low-prep, and every single kid can do it successfully.
Best for: Kids ages 5 and up (with a little adult help on the folding steps), classroom crafts, at-home Mother’s Day projects
Time to Make: 20–30 minutes
Cost: Almost free – just grab paper and markers!
What You’ll Need
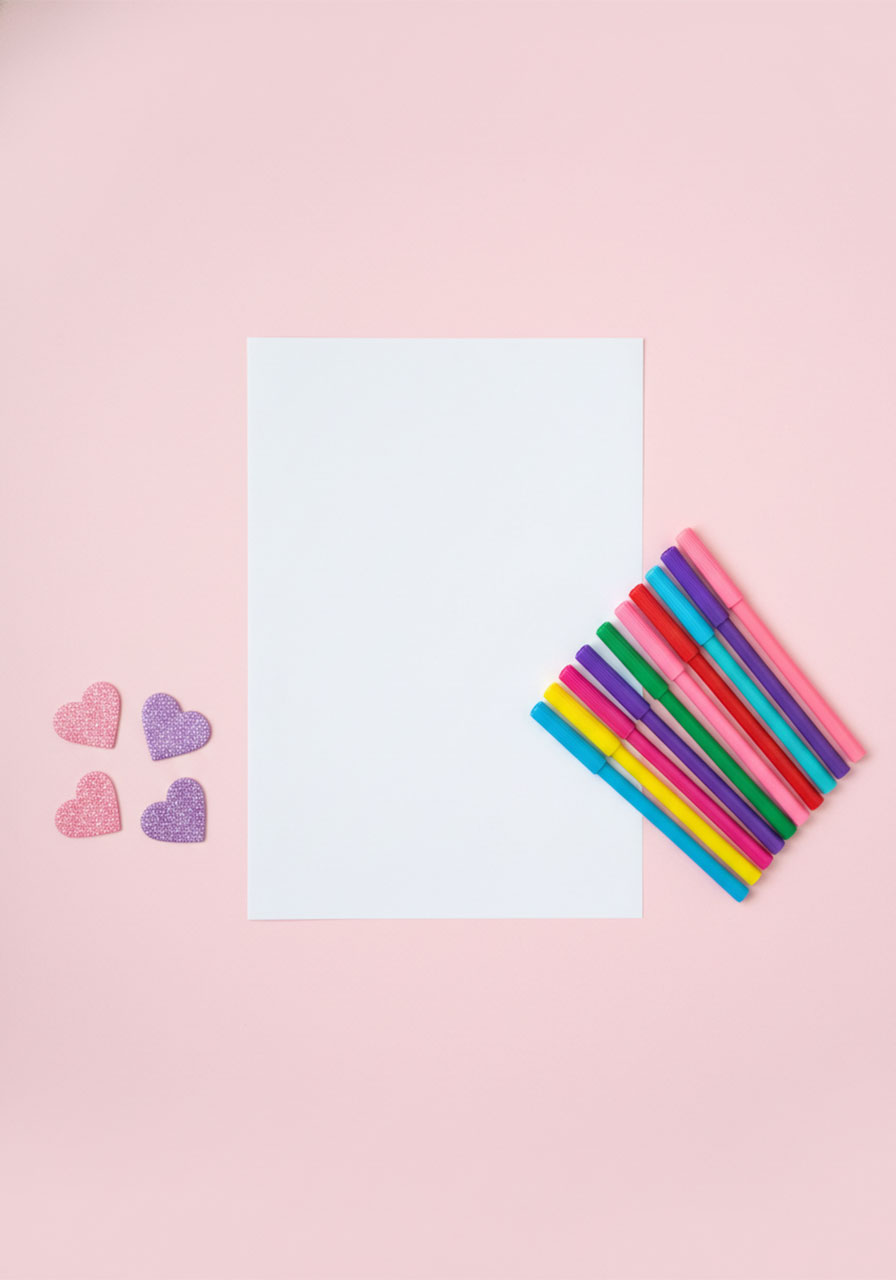
1 sheet of A4 or letter-sized white paper (or any light color you love)
Colored markers in a variety of colors
Glitter heart stickers or foam heart stickers (optional, but oh-so-fun!)
That’s it. Seriously. One sheet of paper and you’re in business.

How to Make It: Step-by-Step
Step 1: Make Your First Fold
Lay your paper flat in portrait orientation (tall, not wide). Fold it in half lengthwise – top to bottom – to find the center crease, then open it back up flat. This center line is your guide for everything that follows, so make sure it’s crisp and clear.
Step 2: Fold the Top Corners In
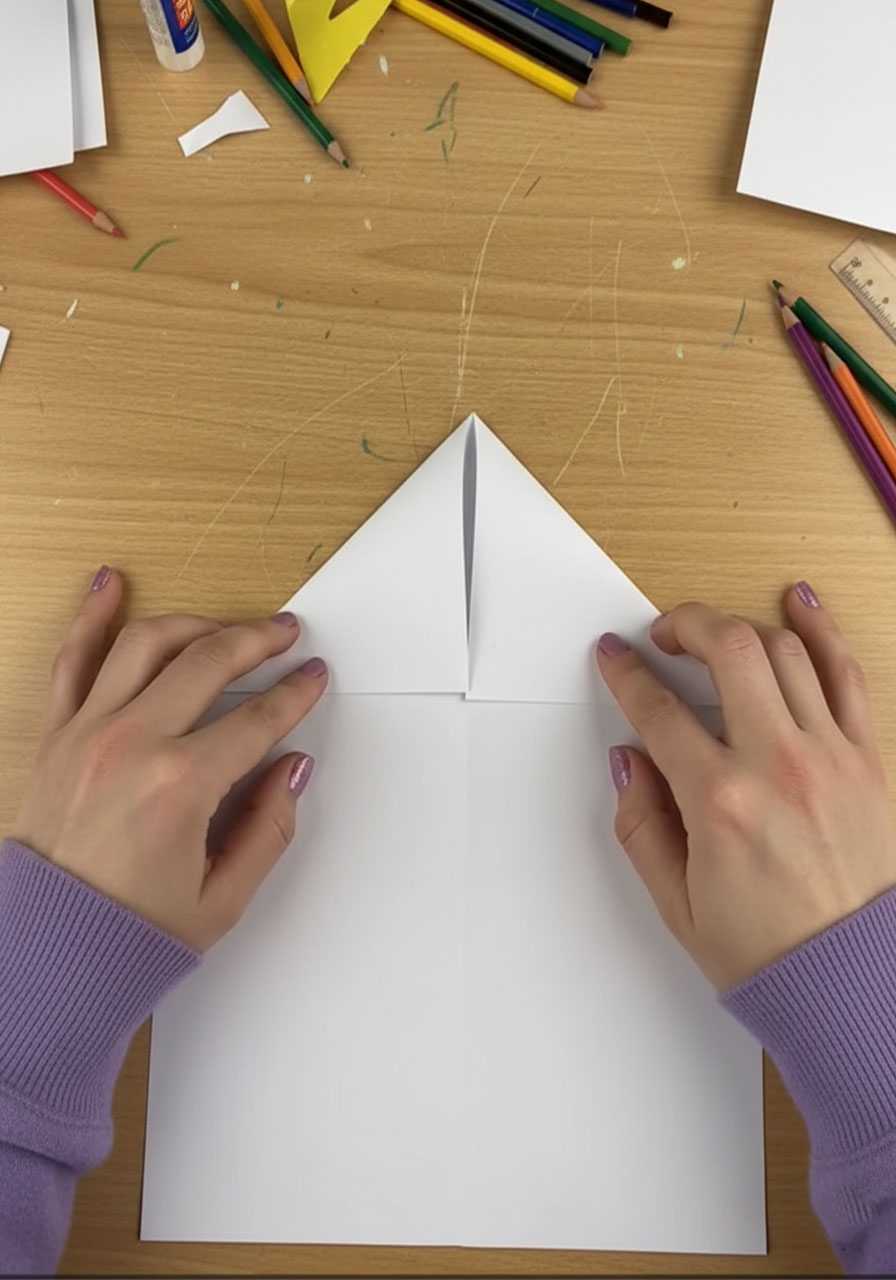
Take the top-right corner and fold it diagonally inward so it points to the center of the paper – just like you’re making the nose of a paper airplane. Do the same with the top-left corner. Both corners should now meet neatly at the center, forming a triangle point at the top.
Step 3: Repeat on the Bottom
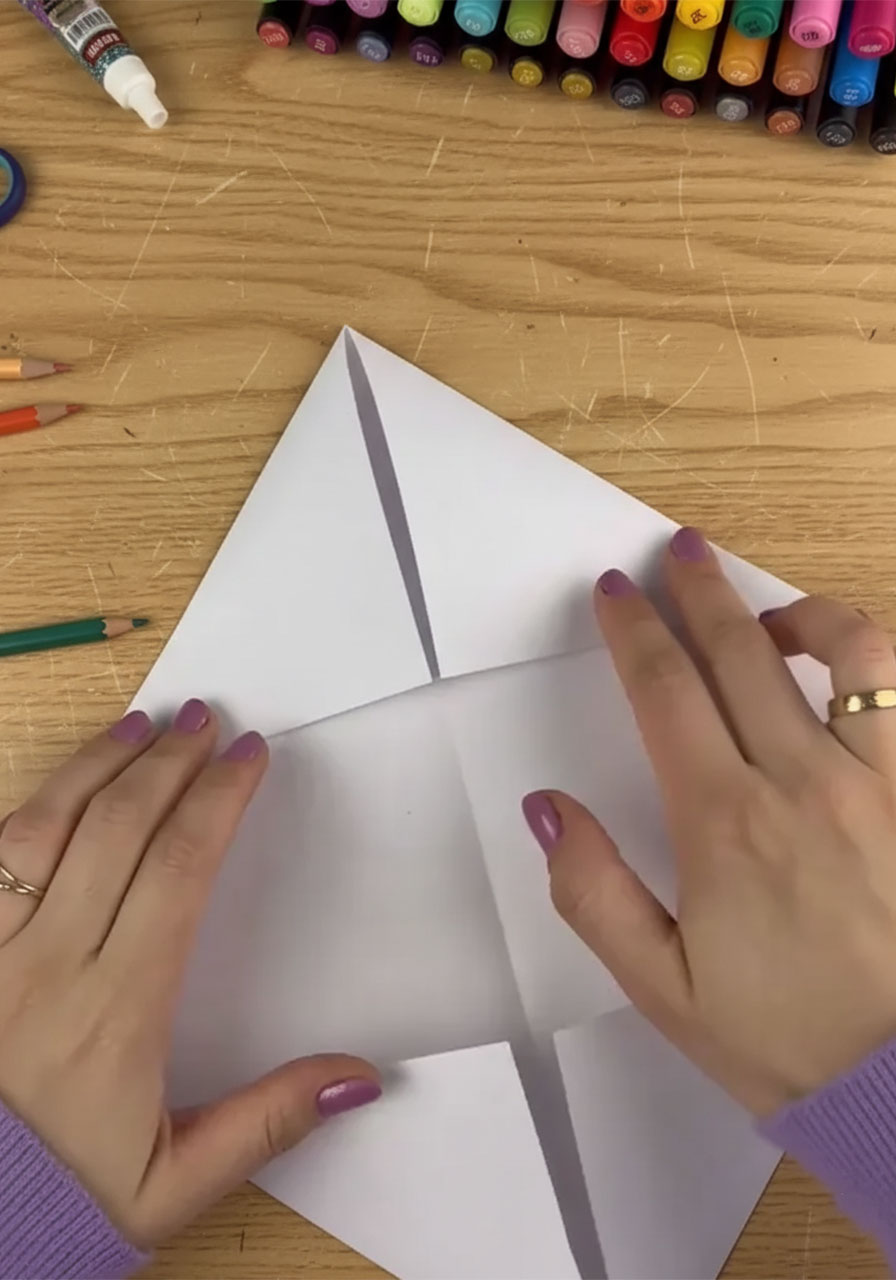
Now do the same thing with the bottom two corners. Fold the bottom-right corner diagonally to the center, then the bottom-left. You’ll now have a diamond or hexagon shape with pointed tips at both the top and bottom.
Step 4: Fold the Long Sides In
Fold the left edge of the paper inward to meet the center crease. Then fold the right edge in the same way. Your paper should now look like a long, slim rectangle with two pointed tips – one at the top, one at the bottom.
Step 5: Fold the Points to the Middle
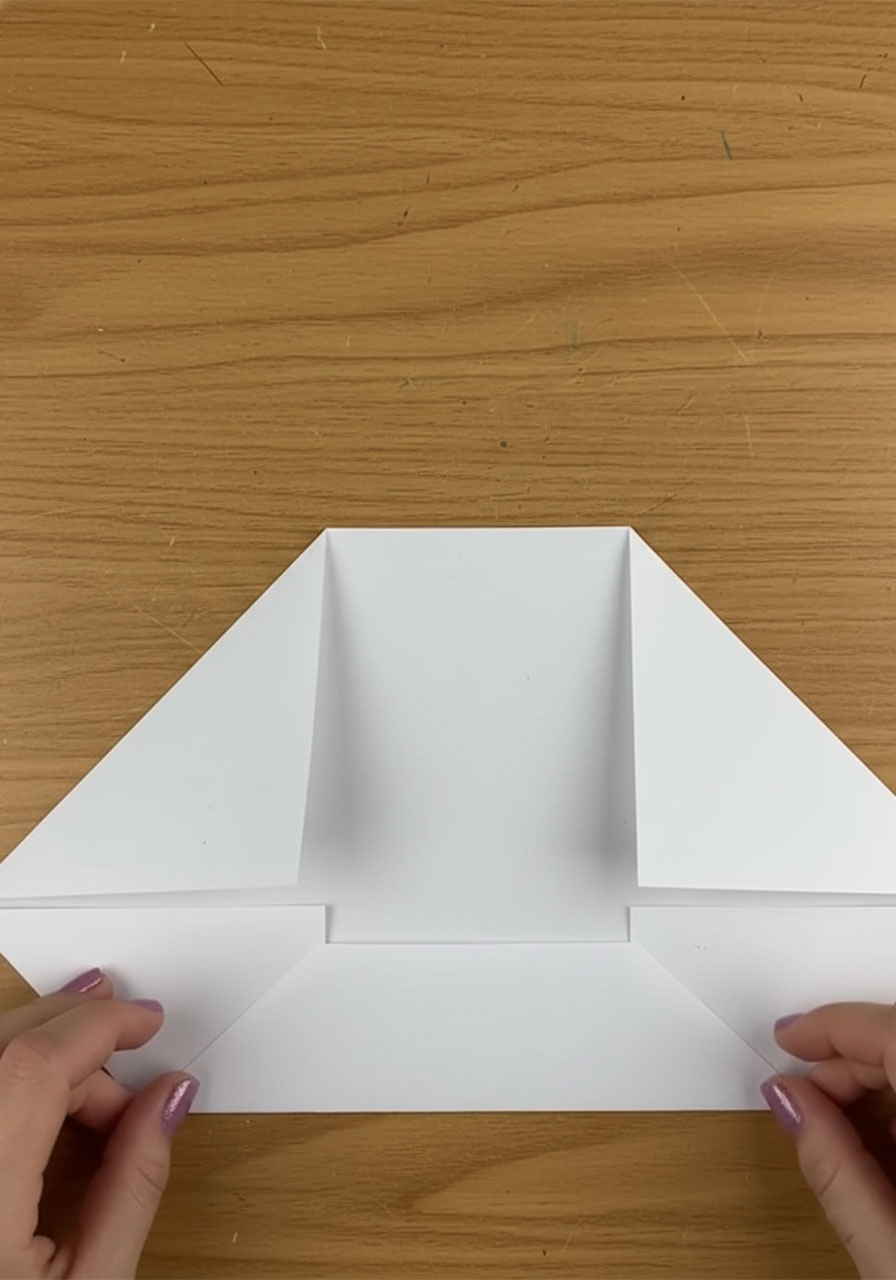
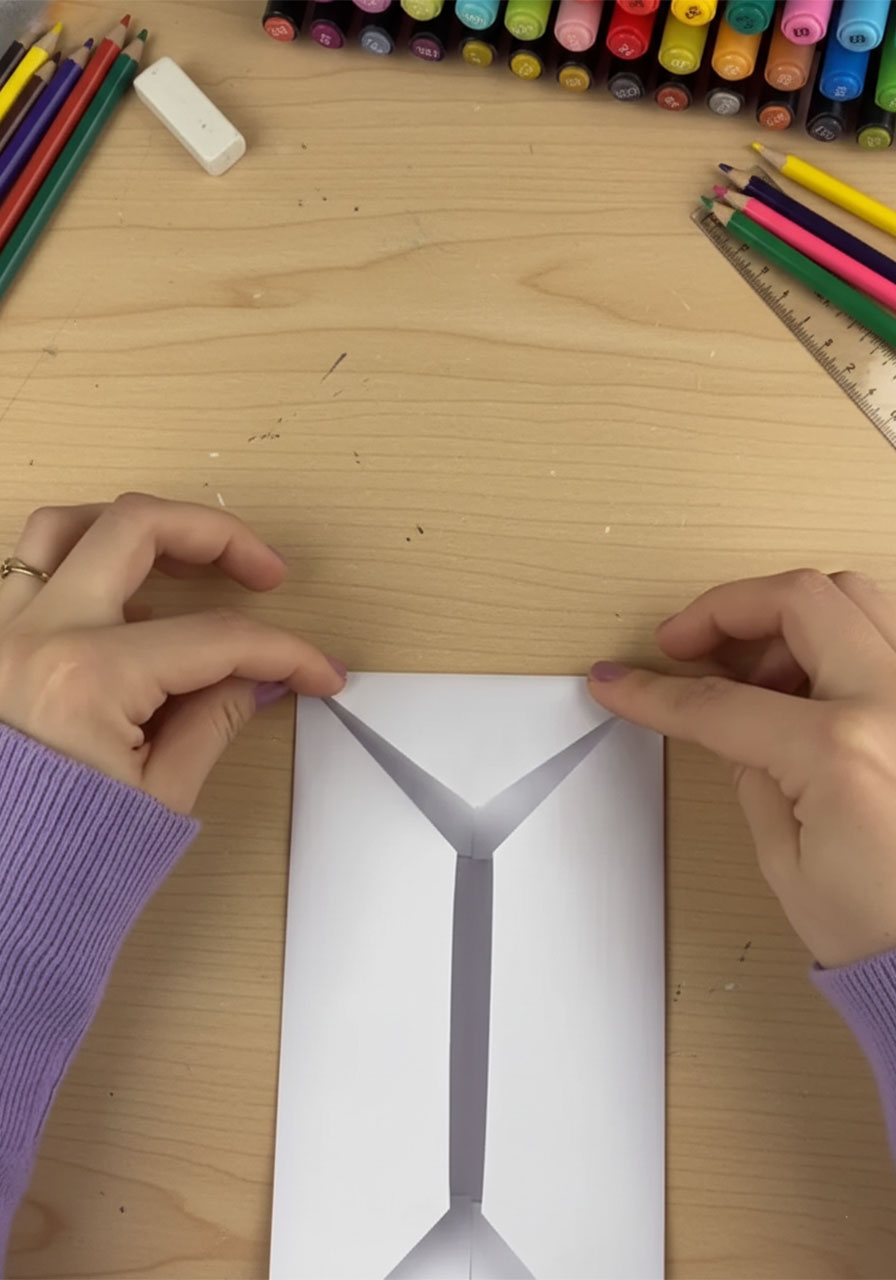
Fold the top pointed tip down toward the center of the rectangle. Then fold the bottom pointed tip up toward the center. Both tips should now meet right in the middle. You’ll have a tidy little square-ish shape in front of you.
Step 6: Write Your Secret Message (The Fun Part!)
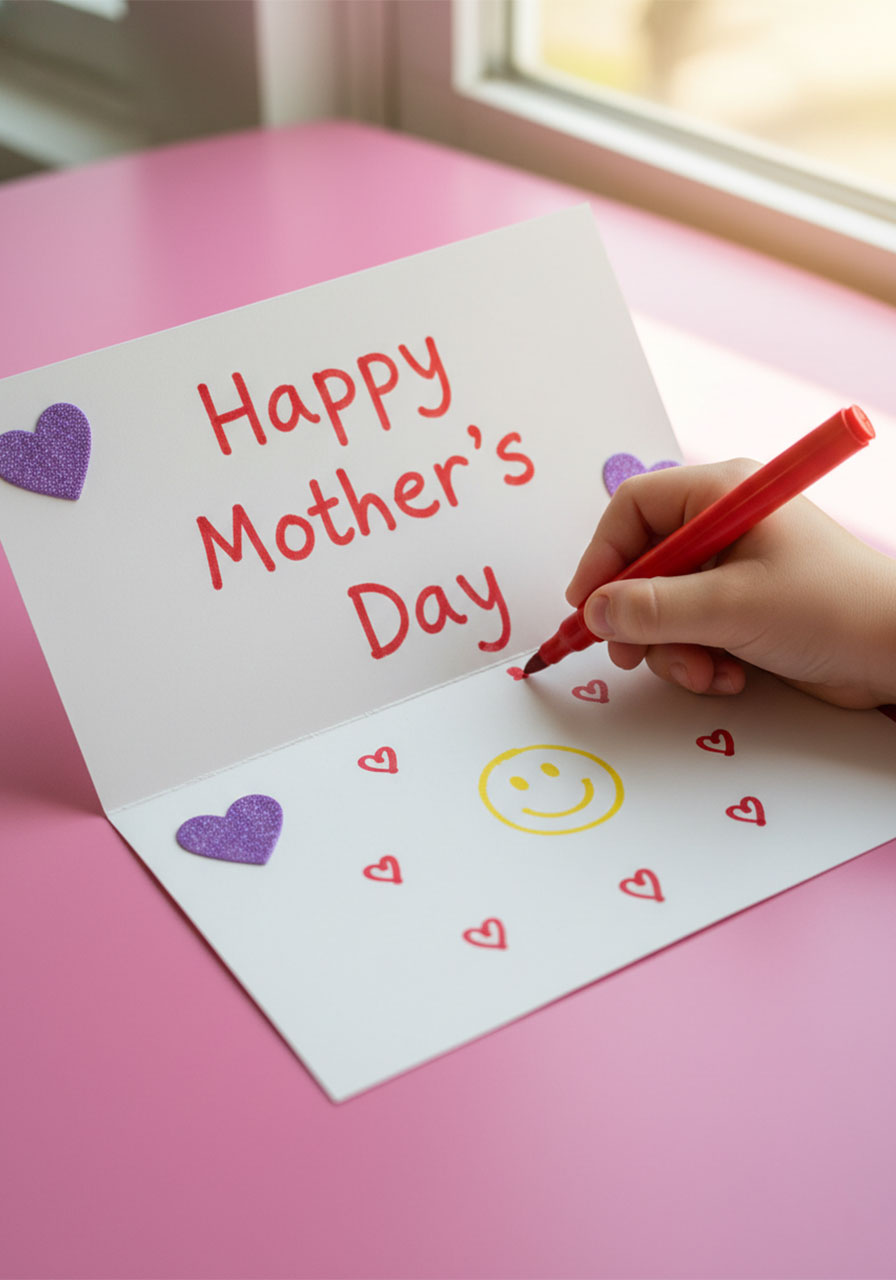
Unfold those top and bottom tips again so you have a long, flat rectangle open in front of you. This is your secret message panel – the part Mom will see when she pulls the tab!
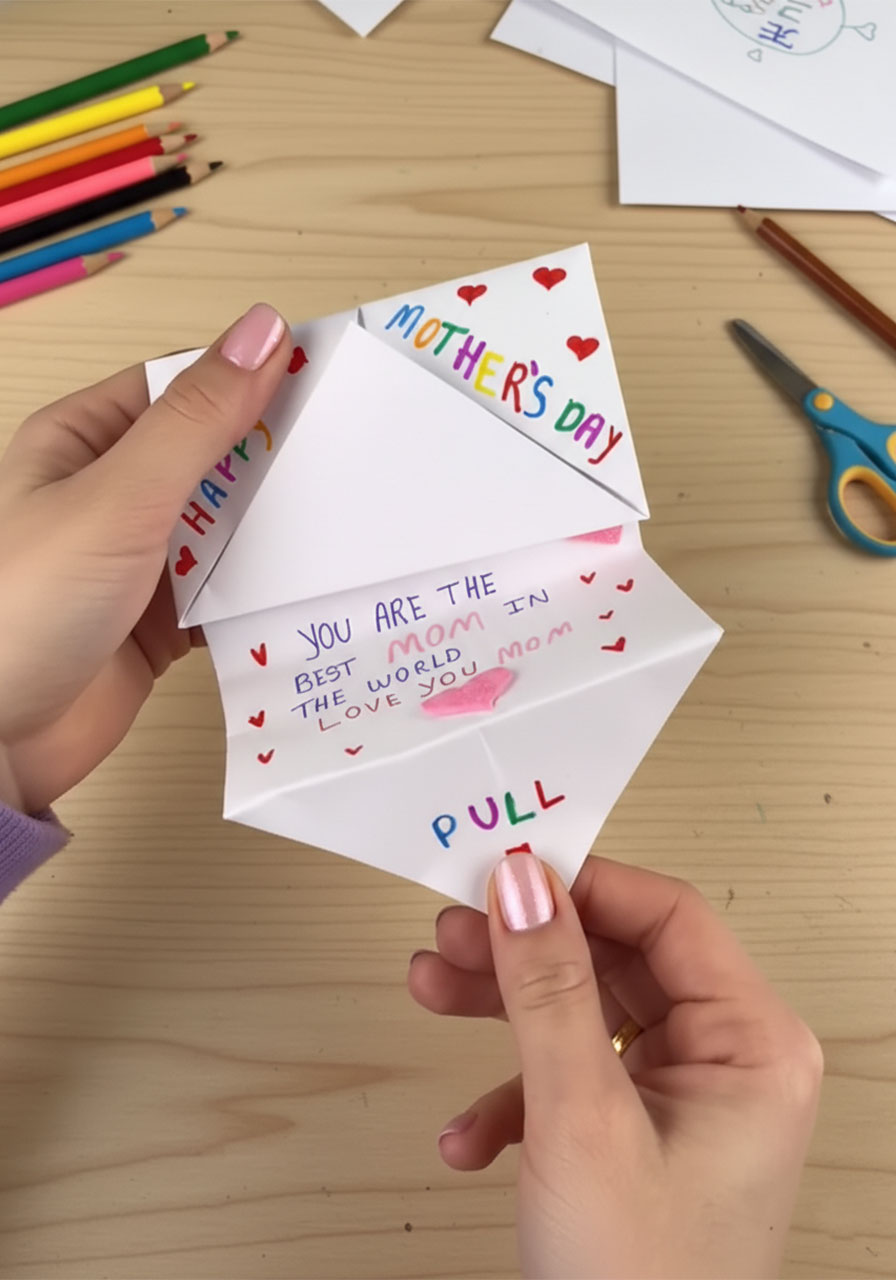
At the top, write “Happy Mother’s Day” in big, bold, colorful letters. At the bottom, write your heartfelt message – something like “You are the best Mom in the whole world! Love you, Mom!” works perfectly.
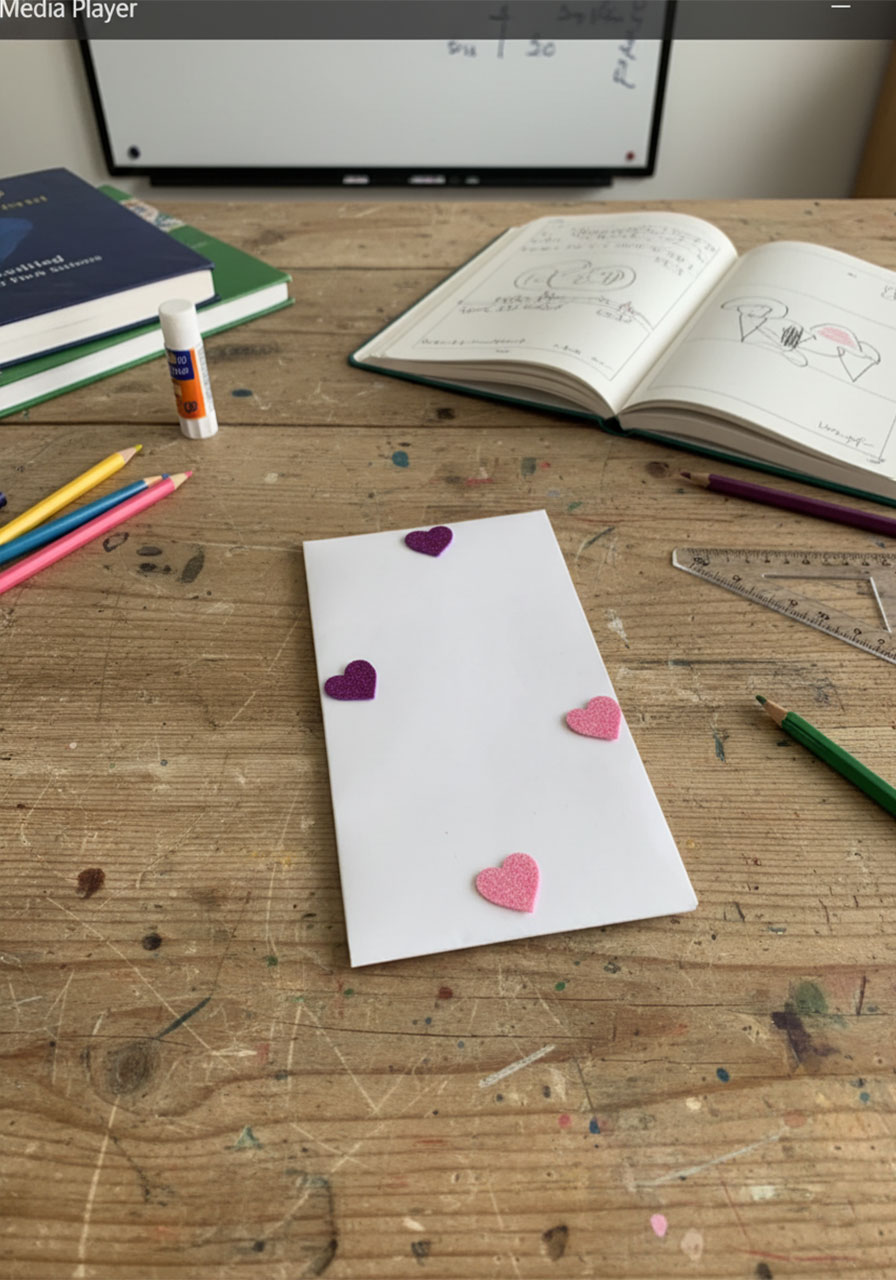
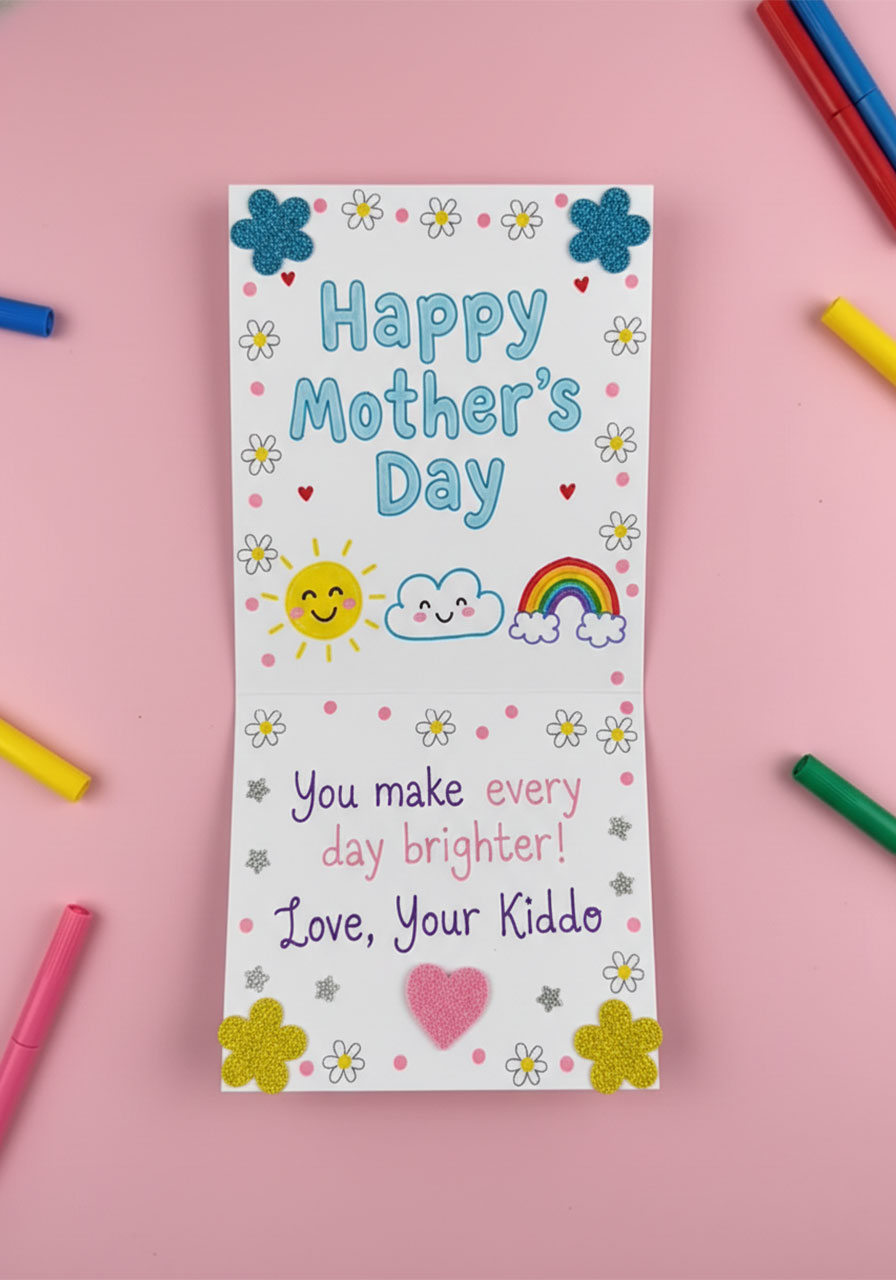
Decorate this panel with little heart drawings, smiley face emojis, colorful doodles, or press on some glitter heart stickers. Go all out – this is what Mom will see when the magic happens!
Pro Tip: Have kids draft their message on a separate piece of paper first so they can plan the layout before writing on the actual card. No stress, no scribble-overs!
Step 7: Fold the Tips Back Down
Once your message is written and decorated, fold those top and bottom tips back to the center (like you had them in Step 5). The message is now hidden inside.
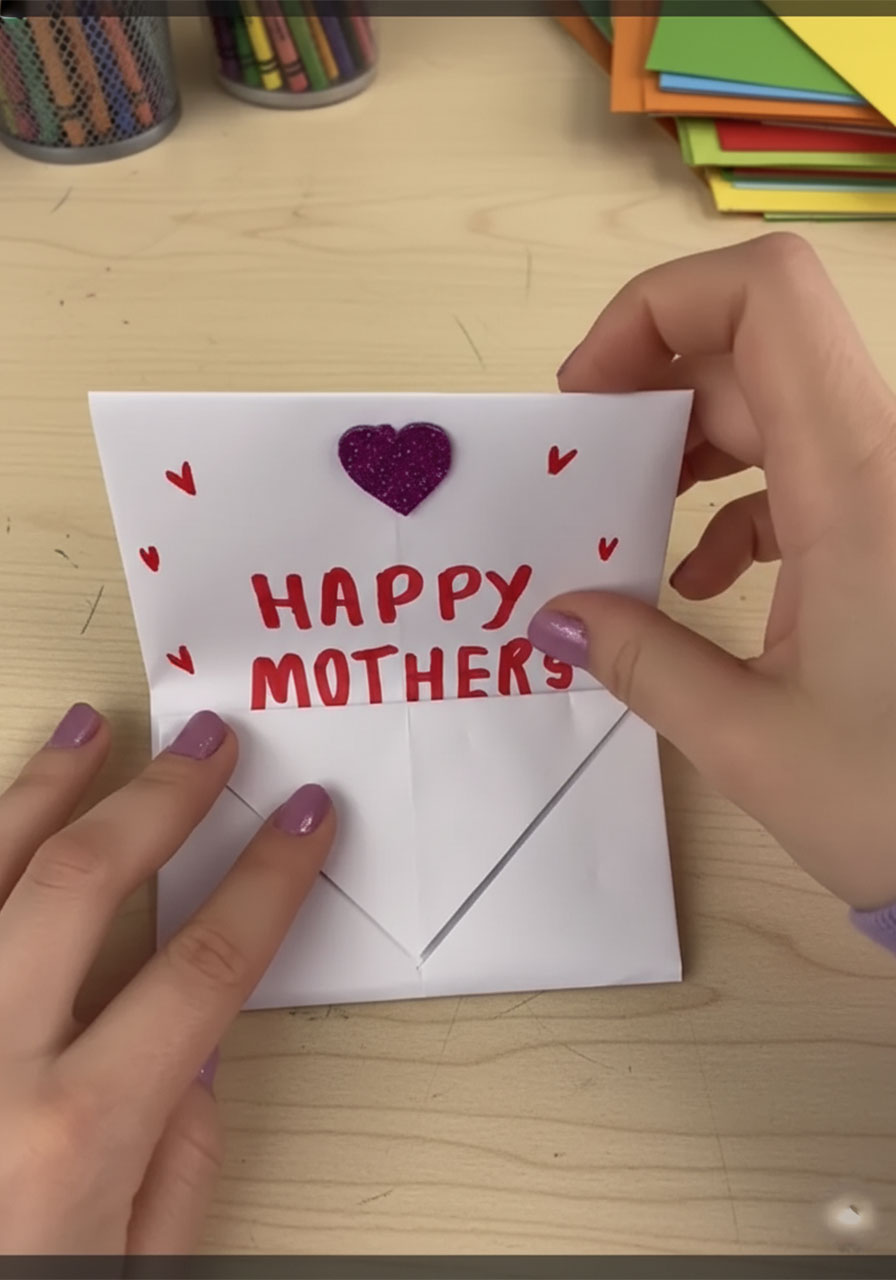
Step 8: Flip and Fold Into Thirds
Flip the paper over to the blank side (message-side facing down). Now fold the bottom third of the rectangle up toward the center, and fold the top third down over it. You’re essentially folding the whole thing into thirds, like a letter going into an envelope.

Step 9: Lock It (This Is the “Magic” Step!)
Here’s where it gets clever. After folding into thirds, you’ll notice the top triangular flap is sitting over the bottom fold. Gently tuck that top triangle flap into the pocket opening of the bottom fold. It slides right in and “locks” the card into a compact little rectangle. No tape or glue needed – the folds hold it all together!
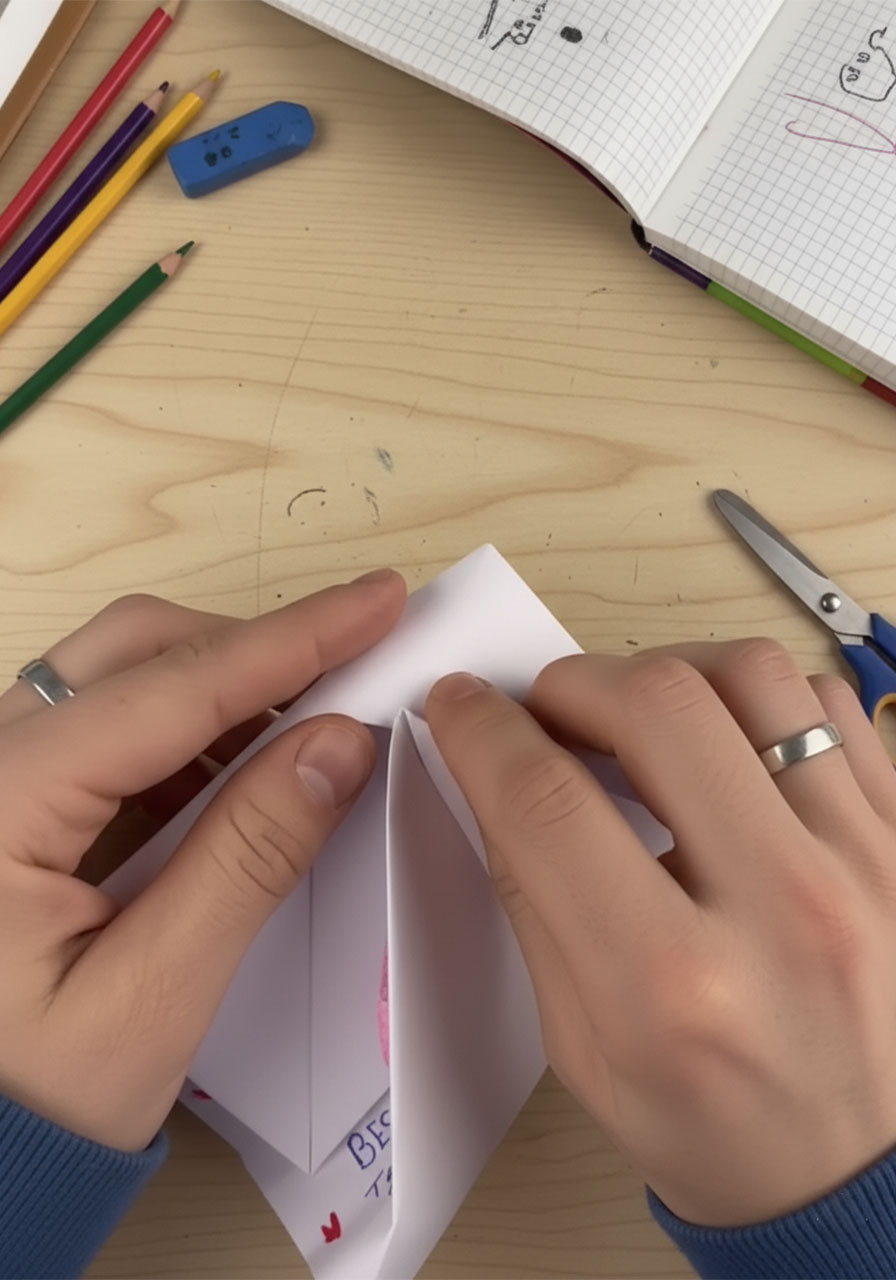
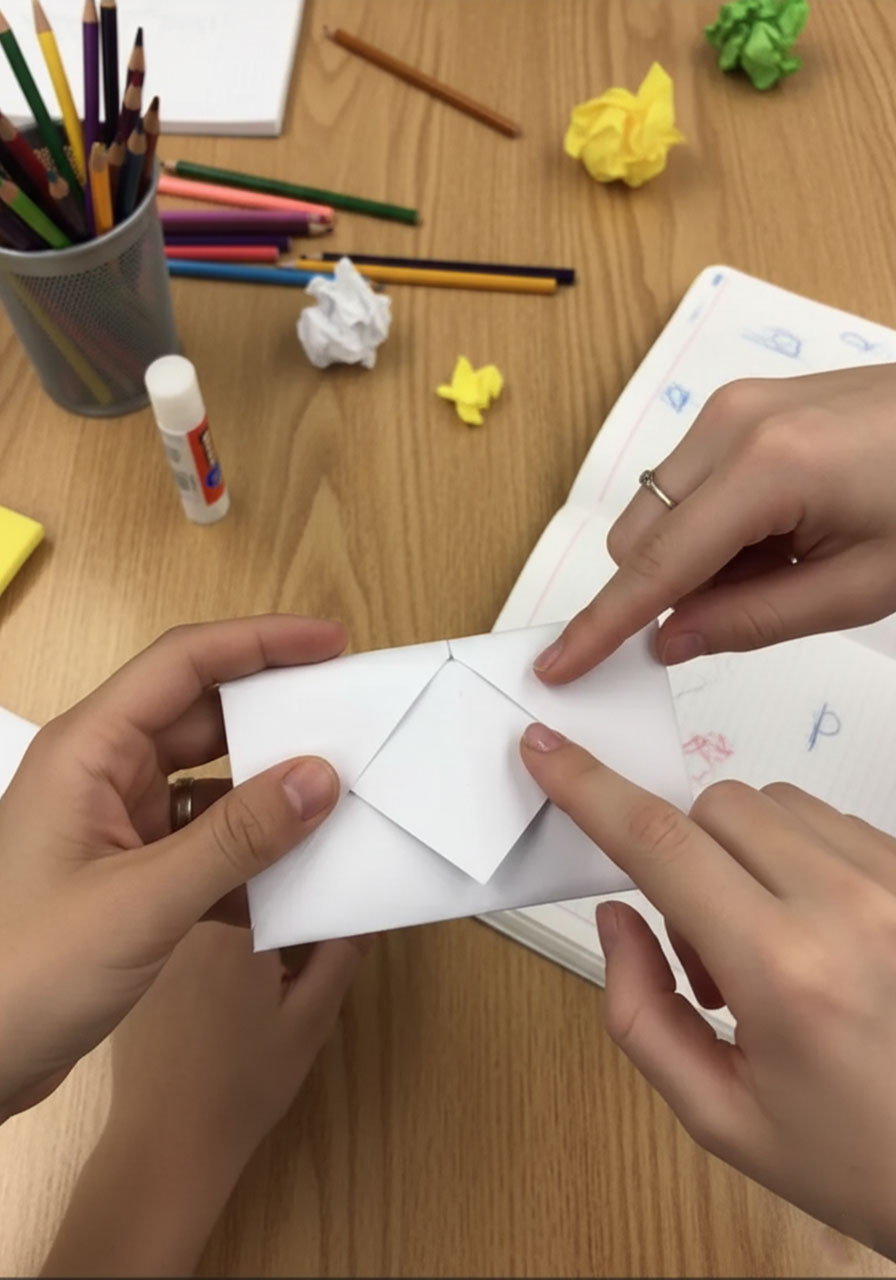
Step 10: Decorate the Outside and Add the Pull Tab
Now decorate the front of your little folded card! Write “Happy Mother’s Day” across the front in rainbow colors. Add hearts, doodles, and stickers to make it look extra special.
See that small triangular flap peeking out at the bottom center? That’s the pull tab! Write “PULL” on it in big, bright letters and draw a little arrow pointing down so Mom knows exactly what to do. You can also add a tiny heart sticker right on the tab to make it irresistible.
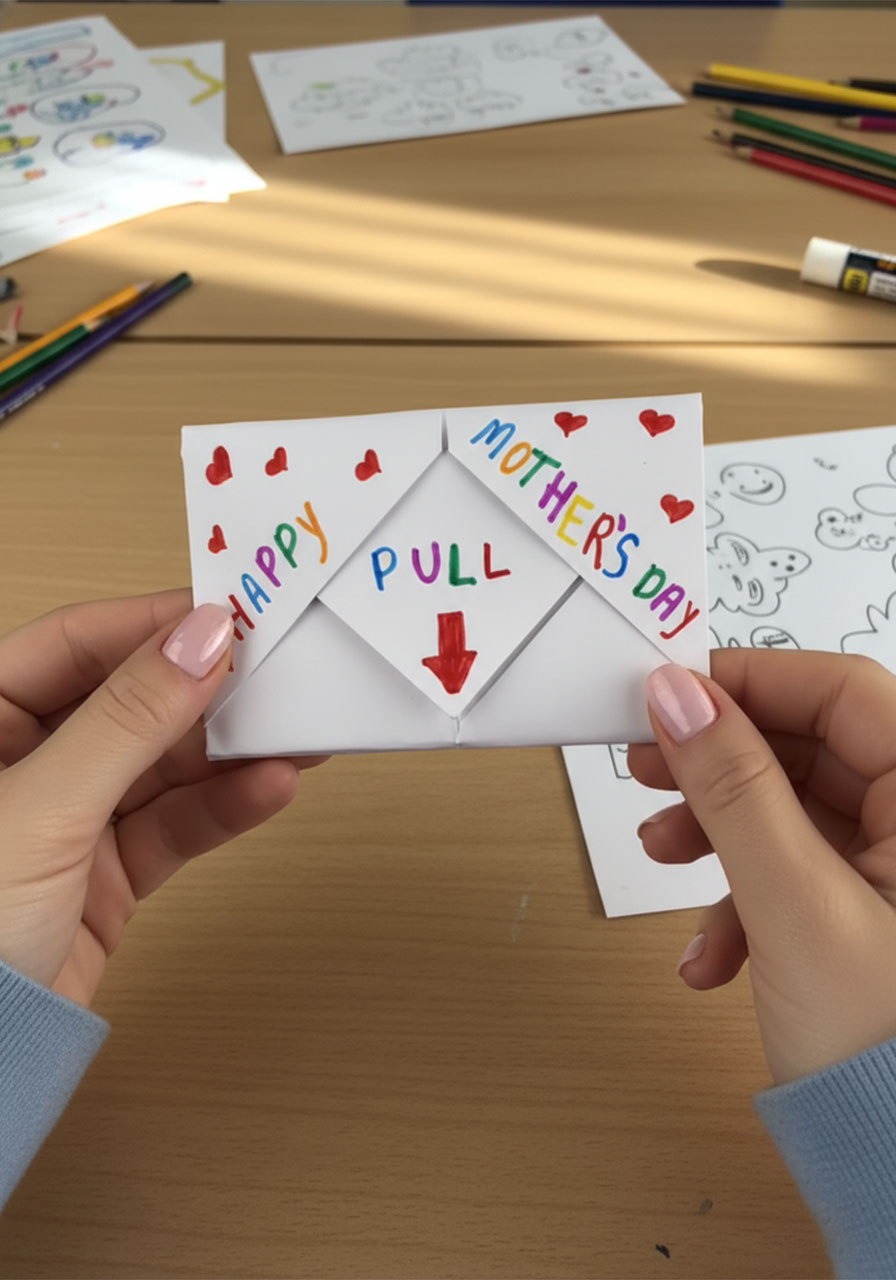
How the Magic Reveal Works
Hand the card to Mom and watch her face! She’ll see a cute little folded card on the outside. Then when she pulls on the tab – the whole thing opens up like a blooming flower to reveal your full colorful message and all the decorations inside. It’s genuinely delightful every single time.
I’ve watched kids hand these to their moms and teachers, and the reaction is always the same: a big surprised smile followed by “Wait, HOW did you make this?!” Trust me, kids beam with pride when that happens.
Fun Variations to Try
Add a photo! Print a small photo of you and Mom, and glue it inside the message panel before folding everything up. The photo reveal makes it even more emotional and special.
Make it a “Top 10 Reasons I Love You” card. Number your message panel and list 10 tiny things you love about Mom. She’ll read it over and over.
Class gift idea: Have every student in the class make one, then bind them together as a class memory booklet for the teacher. One card per student, all collected in a little bundle – it’s a keepsake she’ll treasure forever.
Switch up the occasion! This same fold works beautifully for Valentine’s Day, birthdays, or Teacher Appreciation Week. Just change what you write on the outside!
Tips for Teachers Setting This Up in Class
Pre-crease the paper for younger kids (Kindergarten and Grade 1) before handing it out – it makes the folding much easier for little hands.
Draw a small pencil dot at the center of the paper before class so kids know exactly where to aim their corner folds.
Have kids write and decorate the inside message BEFORE doing the final folding steps – it’s much easier to write on a flat surface!
Set up a “drafting station” with scrap paper where kids can practice their message layout before committing to the real card.
With this pull-tab card in your hands, you’re all set to give Mom a gift that’s genuinely one-of-a-kind. Because the best presents aren’t the expensive ones – they’re the ones that show you put real thought and heart into them. And nothing says that more than a handmade card that literally opens up to reveal your love.
More Mother’s Day Ideas to Keep the Fun Rolling:
30+ Mother’s Day Crafts for Kids of All Ages
“I Love You This Much!” DIY Handprint Card for Mother’s Day
Surprise Mom with This Magic Foldable Heart Flower Card
How to Make a DIY Tissue Paper Heart Flower Bouquet for Mother’s Day
How to Make a Stunning Quilled Heart Mother’s Day Card (Step-by-Step)
DIY Mother’s Day Flower: The Cutest Toilet Paper Roll Craft Kids Can Actually Make
Handprint Flower Bouquet The Perfect DIY Mother’s Day Craft
DIY Paper Hyacinths: The Perfect “Everlasting” Mother’s Day Craft
