

Want a Mother’s Day card that makes Mom actually gasp? This DIY Foldable Heart Flower Card is the one. It looks like a single heart when she first holds it – then she opens it up and a full colorful flower blooms right in her hands, complete with a secret message inside. It’s interactive, it’s beautiful, and it’s made entirely by her favorite person in the world.
Whether you’re doing this around the kitchen table or setting up a whole classroom craft station, this project is a winner. Kids practice cutting, folding, and gluing while creating something Mom will keep forever. That’s what we call a craft with real staying power.
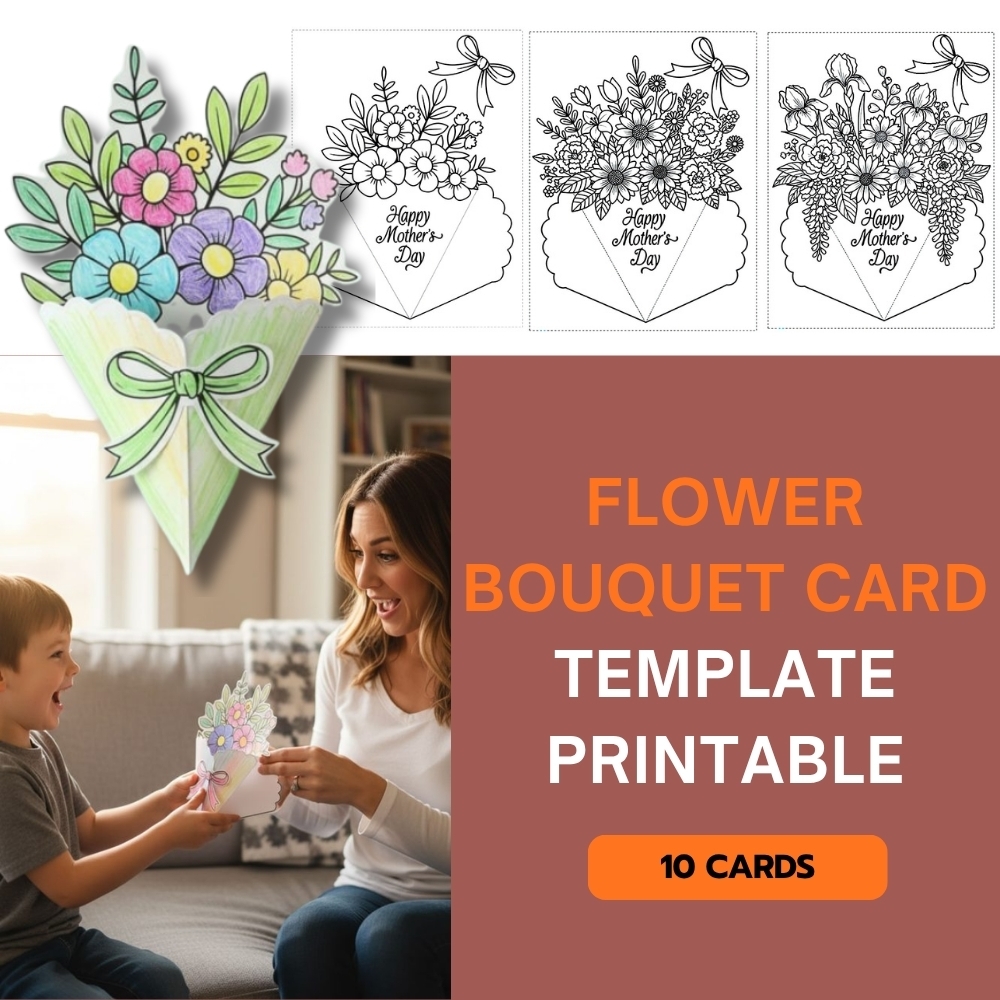
What You’ll Need
White cardstock or thick paper – You’ll draw four connecting hearts on this to create the flower base. Cardstock holds up best when folding, but thick printer paper works too.
Colorful tissue paper – Squares or scraps in a mix of bright colors. Pink, purple, teal, and orange create a gorgeous mosaic effect.
Glue stick or school glue – A glue stick is easiest for little hands; school glue works great for older kids.
Scissors – Kid-safe scissors are perfect here.
A small circle of colored cardstock – This becomes the flower’s center where the secret message lives. Gold or yellow looks stunning!
Markers or a pen – For writing Mom’s special note.
One green popsicle stick – This is the stem! A green craft stick is ideal, or grab a plain one and color it green.


How to Make It: Step-by-Step
Step 1: Draw and Cut Your Four-Heart Shape
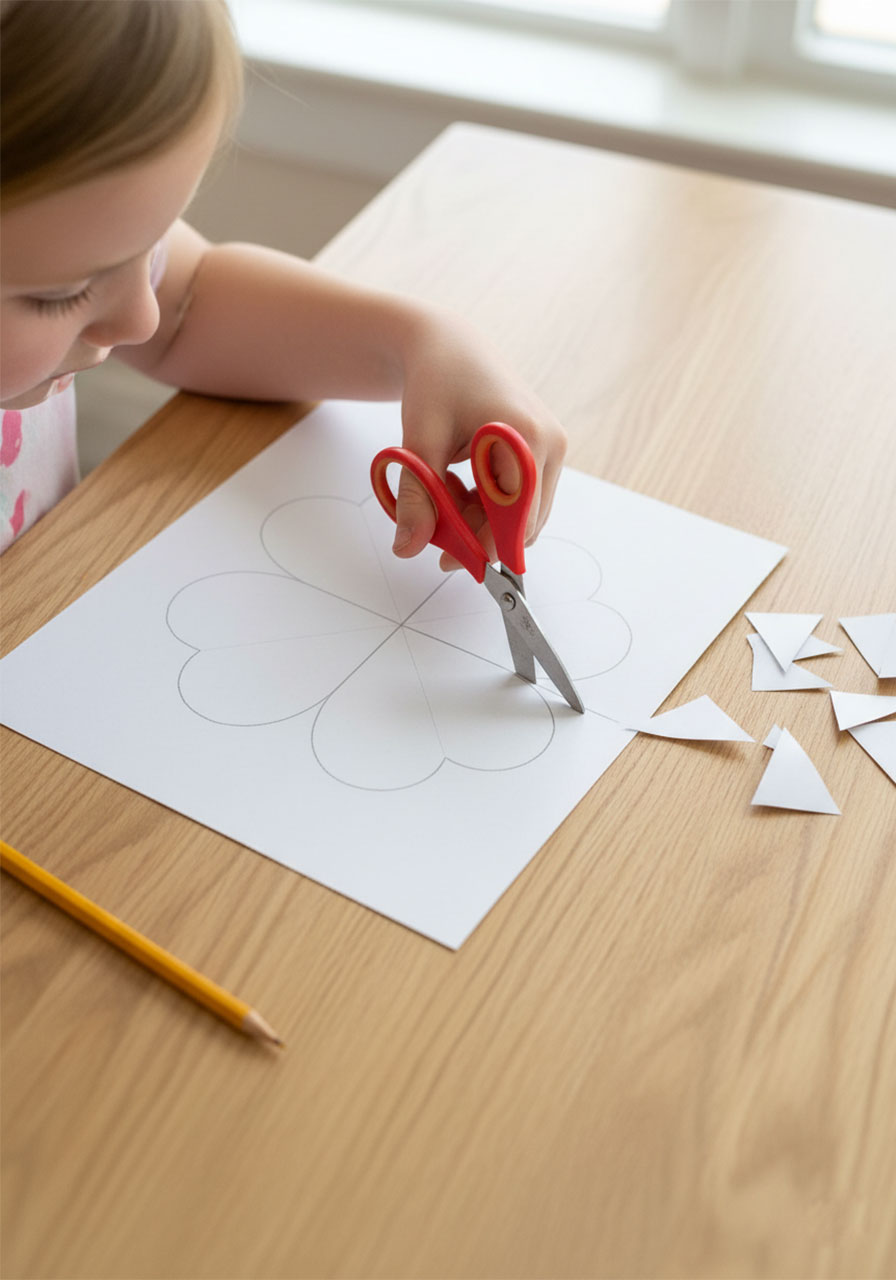
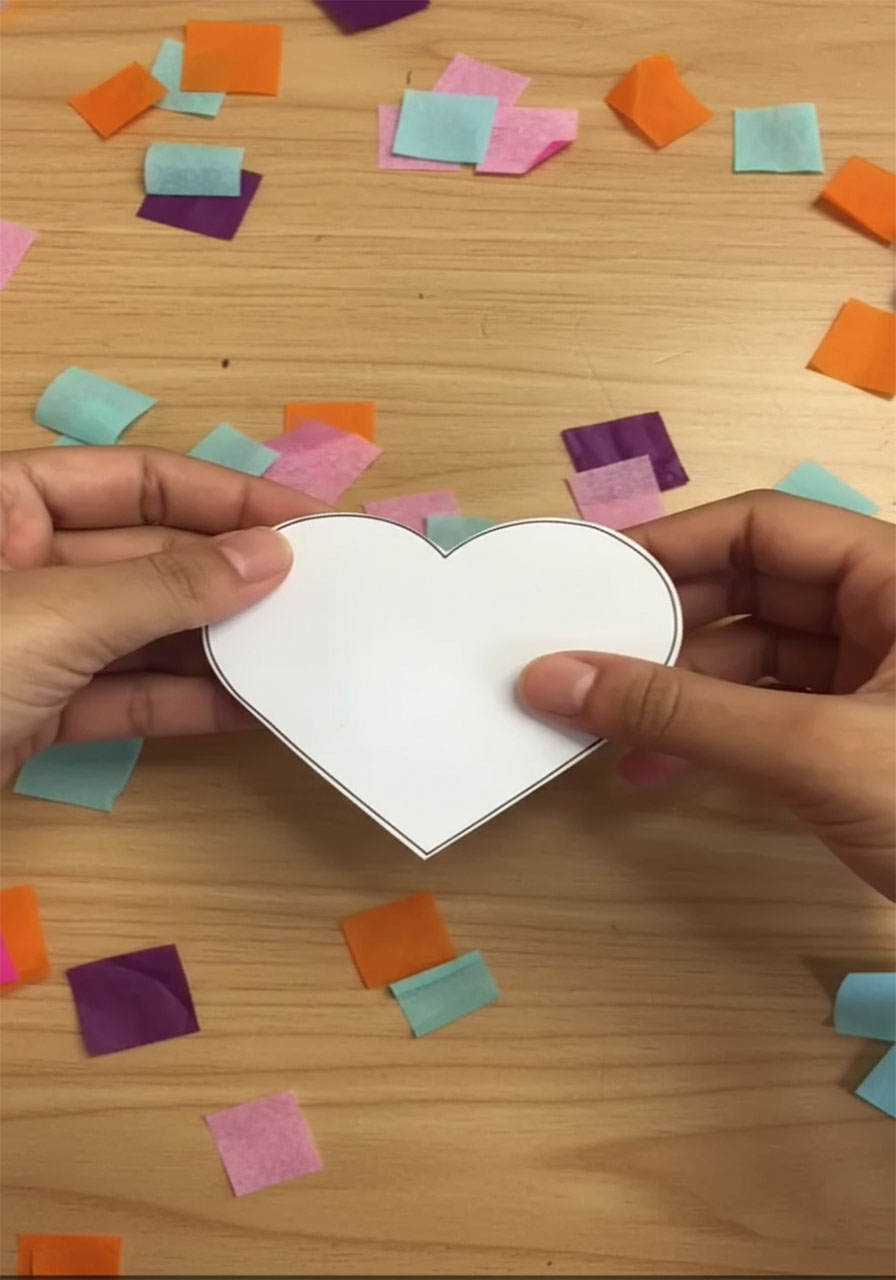
On your white cardstock, draw four hearts arranged so all four tips meet at a single center point – picture a four-leaf clover, but each “leaf” is a heart. Keep the hearts roughly the same size. Then cut around the full outside edge so you end up with one connected four-heart shape.
Teacher tip: Draw one master template on cardstock, then let each student trace and cut their own. It’s great scissor practice and makes every card feel personal.
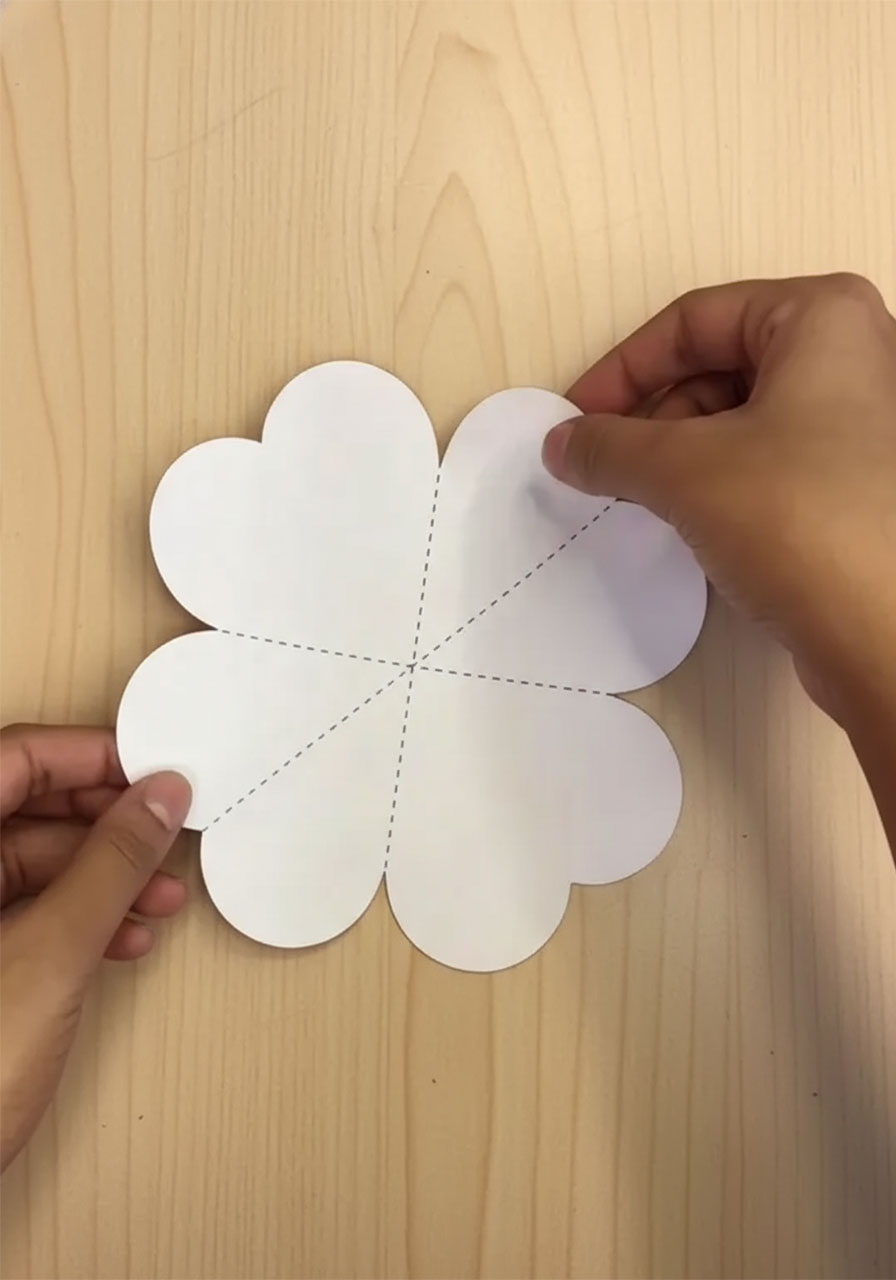
Step 2: Score and Fold the Petal Lines
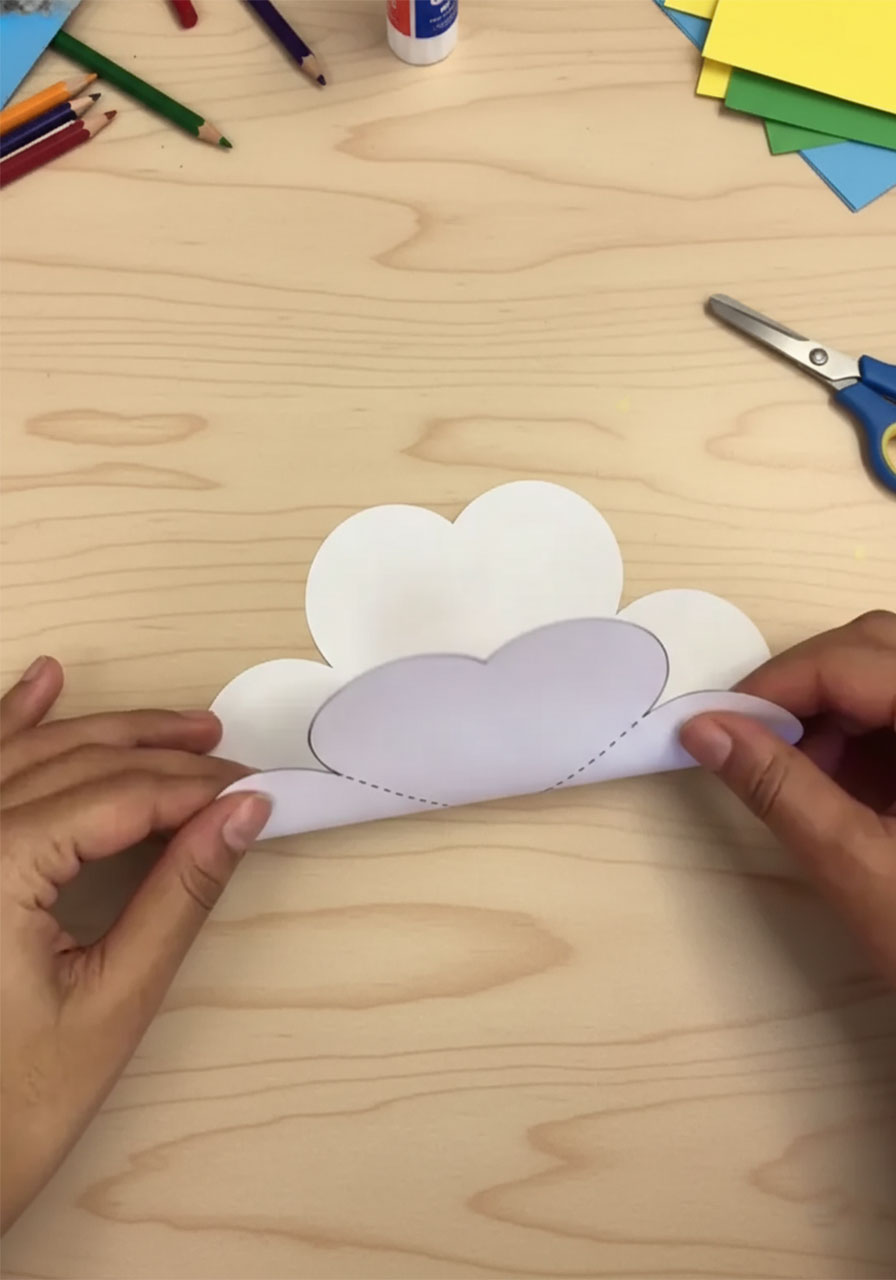
Using a pencil tip or the dull edge of a butter knife, gently press a straight line from the center point outward between each heart – you’ll have four lines total, forming an X shape through the middle. These are your fold guides. Fold each heart inward along the lines and crease them well, then unfold everything flat. You’ll decorate first, then fold for the final reveal.


Step 3: Cover the Petals in Color
Now for the best part! Tear or cut your tissue paper into small squares or rough shapes. Working one heart-petal at a time, brush glue onto the surface and press tissue paper pieces down in a patchwork, collage style. Overlap the pieces, mix the colors freely – the more layered and colorful, the more beautiful the finished flower looks. Let pieces hang slightly past the edges and trim them once the glue dries.
There’s no wrong way to do this step. The more layered it looks, the more gorgeous the mosaic effect becomes!

Step 4: Write the Secret Message
Cut a circle from your colored cardstock – about 2 to 3 inches across is perfect. Write Mom’s message right in the center: “Happy Mother’s Day!”, “I Love You, Mom!”, or something completely personal. This circle gets glued to the very center of the flower where all four hearts meet, so it’s the first thing Mom sees when she opens it up.

Step 5: Attach the Stem
Flip your decorated flower face-down. Apply a good line of glue along one end of the green popsicle stick and press it firmly onto the back of one of the heart petals, centered at the bottom. Let it dry completely before moving on – this is the handle Mom will hold when she opens her flower.

Step 6: Fold It Into the Surprise
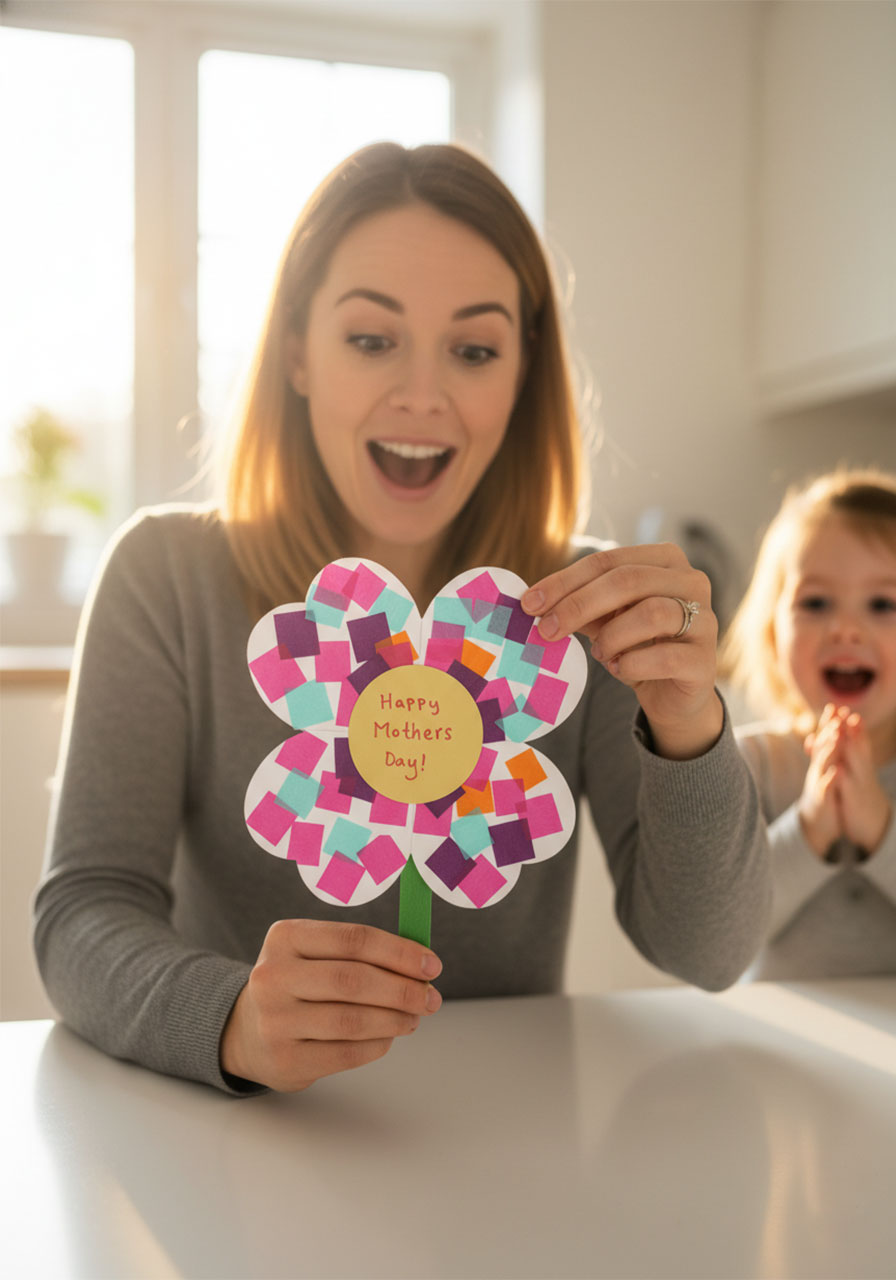
Here comes the magic! Fold each heart petal inward along your scored lines, one by one, layering them until they overlap and close into a single heart shape on top. The popsicle stick stem peeks out from the bottom. Hand it to Mom just like this – one sweet heart on a stick.
When she opens the petals, the flower blooms right in her hands and her message is right there in the center. Get the camera ready.
Pro Tips to Make It Even More Special
Photo surprise: Skip the written message and glue a small photo of your child in the center circle instead. It might just be the best Mother’s Day gift she’s ever received.
Scented flower: Dab a tiny drop of Mom’s favorite perfume or essential oil onto the tissue paper before folding. When she opens it, it smells like a real bouquet.
Add a leaf: Cut a simple leaf shape from green paper and glue it to the popsicle stick stem for a more realistic flower look.
Make a whole bouquet: Make two or three flowers and tie the popsicle sticks together with a ribbon. Zero wilting, zero watering required.
Glitter upgrade: Add a little biodegradable glitter around the edges of the petals for extra sparkle. Because some Moms deserve glitter.

Why This Craft Is So Worth Making
Most cards get read once and tucked in a drawer. This one gets opened and closed again and again – because it actually does something. The blooming reveal never gets old, and every single time Mom opens it she’ll think of the kid who made it for her.
From a practical standpoint for teachers and parents: this craft covers cutting, folding, fine motor control, color recognition, and creative decision-making. It checks every box while feeling like pure fun. That’s the sweet spot every good craft hits.
So clear the table, lay out the tissue paper, and get ready to make something truly unforgettable. Mom is going to love it.
More Mother’s Day Ideas to Keep the Fun Rolling:
30+ Mother’s Day Crafts for Kids of All Ages
“I Love You This Much!” DIY Handprint Card for Mother’s Day
How to Make a DIY Tissue Paper Heart Flower Bouquet for Mother’s Day
How to Make a Stunning Quilled Heart Mother’s Day Card (Step-by-Step)
DIY Mother’s Day Flower: The Cutest Toilet Paper Roll Craft Kids Can Actually Make
Handprint Flower Bouquet The Perfect DIY Mother’s Day Craft
The Cutest DIY Pull-Tab Mother’s Day Card Kids Can Actually Make (No Glue, No Scissors!)
DIY Paper Hyacinths: The Perfect “Everlasting” Mother’s Day Craft
